
Perdition
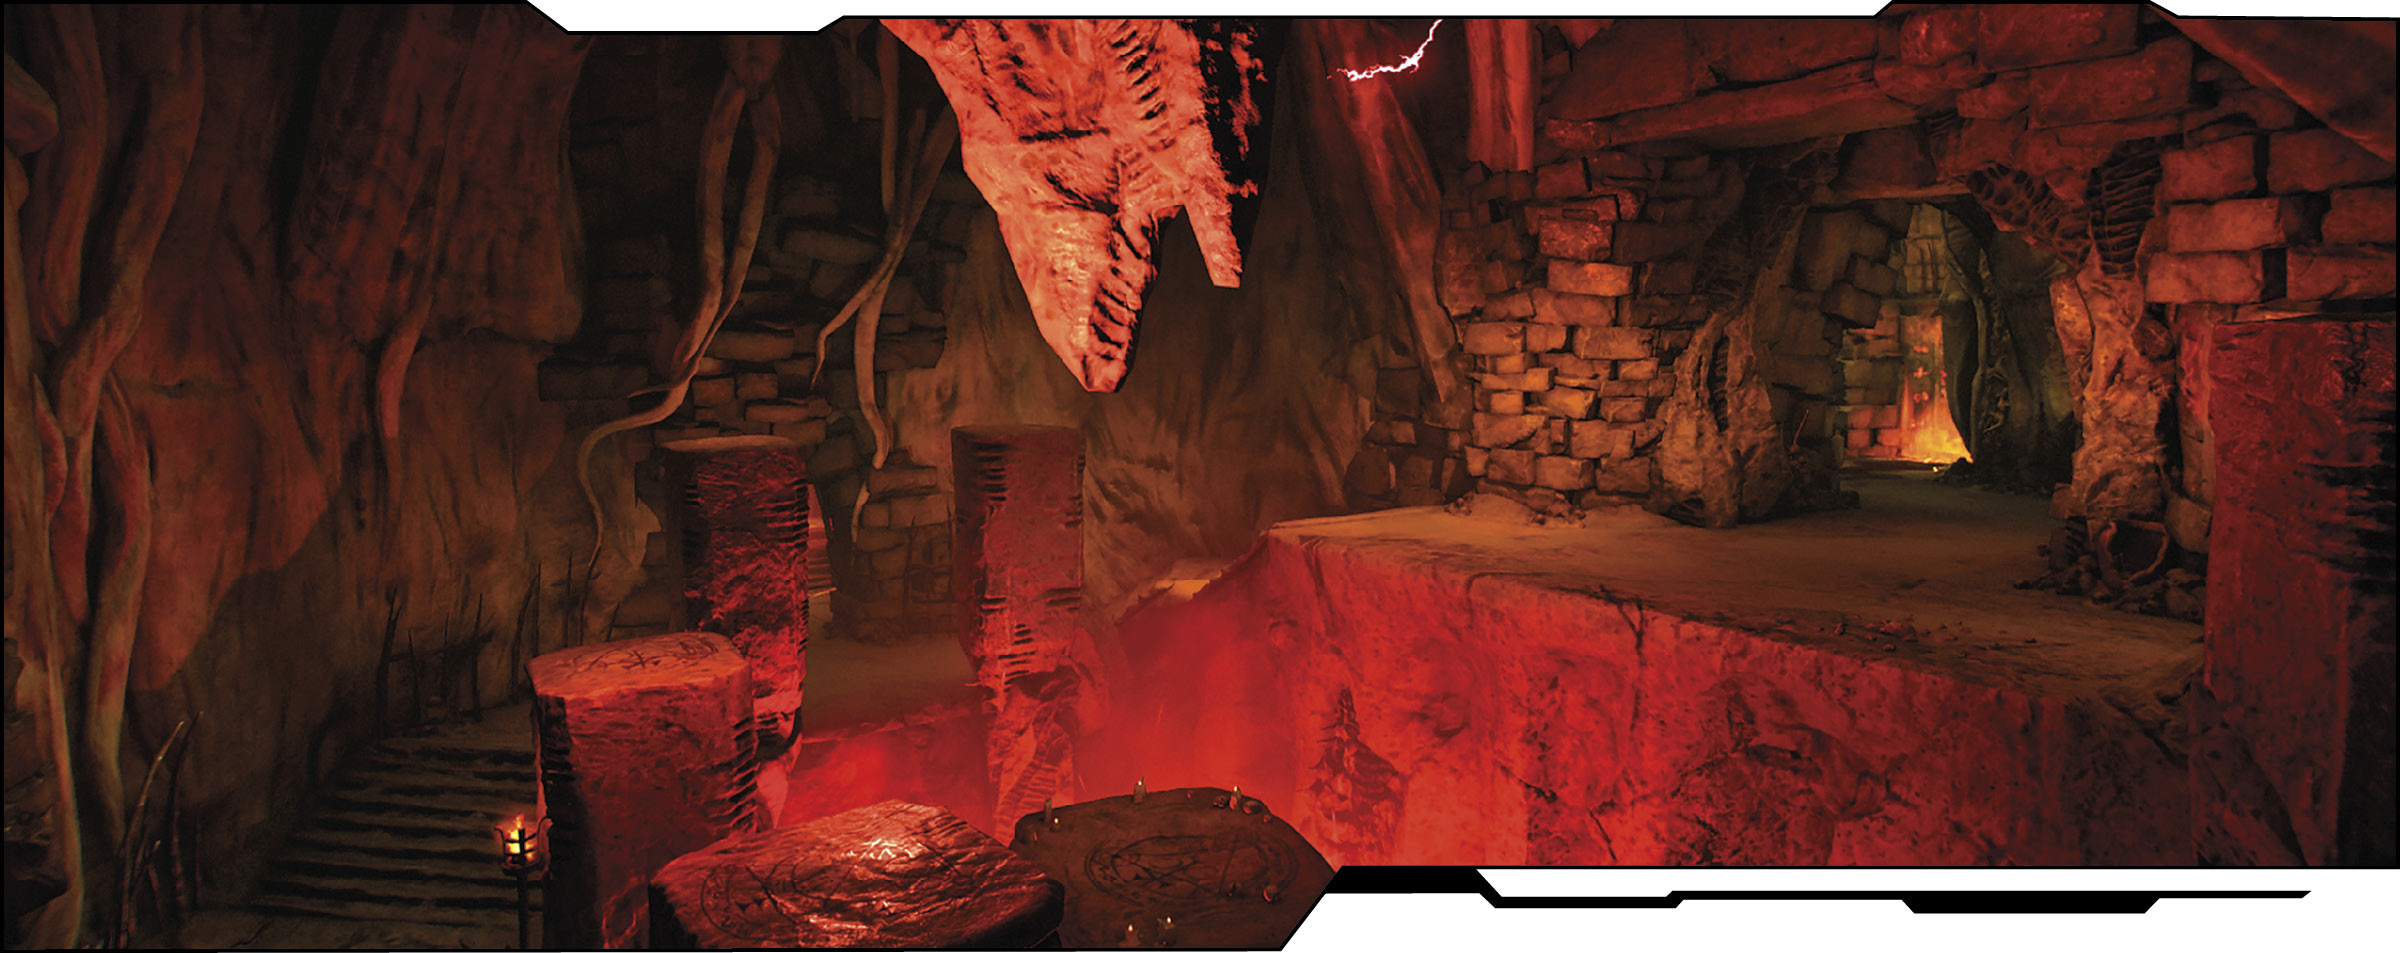
As the world fractures and falls apart, all that binds the ground beneath our feet are the roots of the mightiest organisms. The trees that sprout in this land of eternal damnation serve as guideposts on the way to salvation—or at least to the BFG or Regeneration powerup. Perdition is a foul land of suffering with numerous places to fall to your death and myriad altars upon which you can be slaughtered.
Location Intel
Power Weapon: BFG
Powerup: Regeneration, Haste
Suicide Risk: High
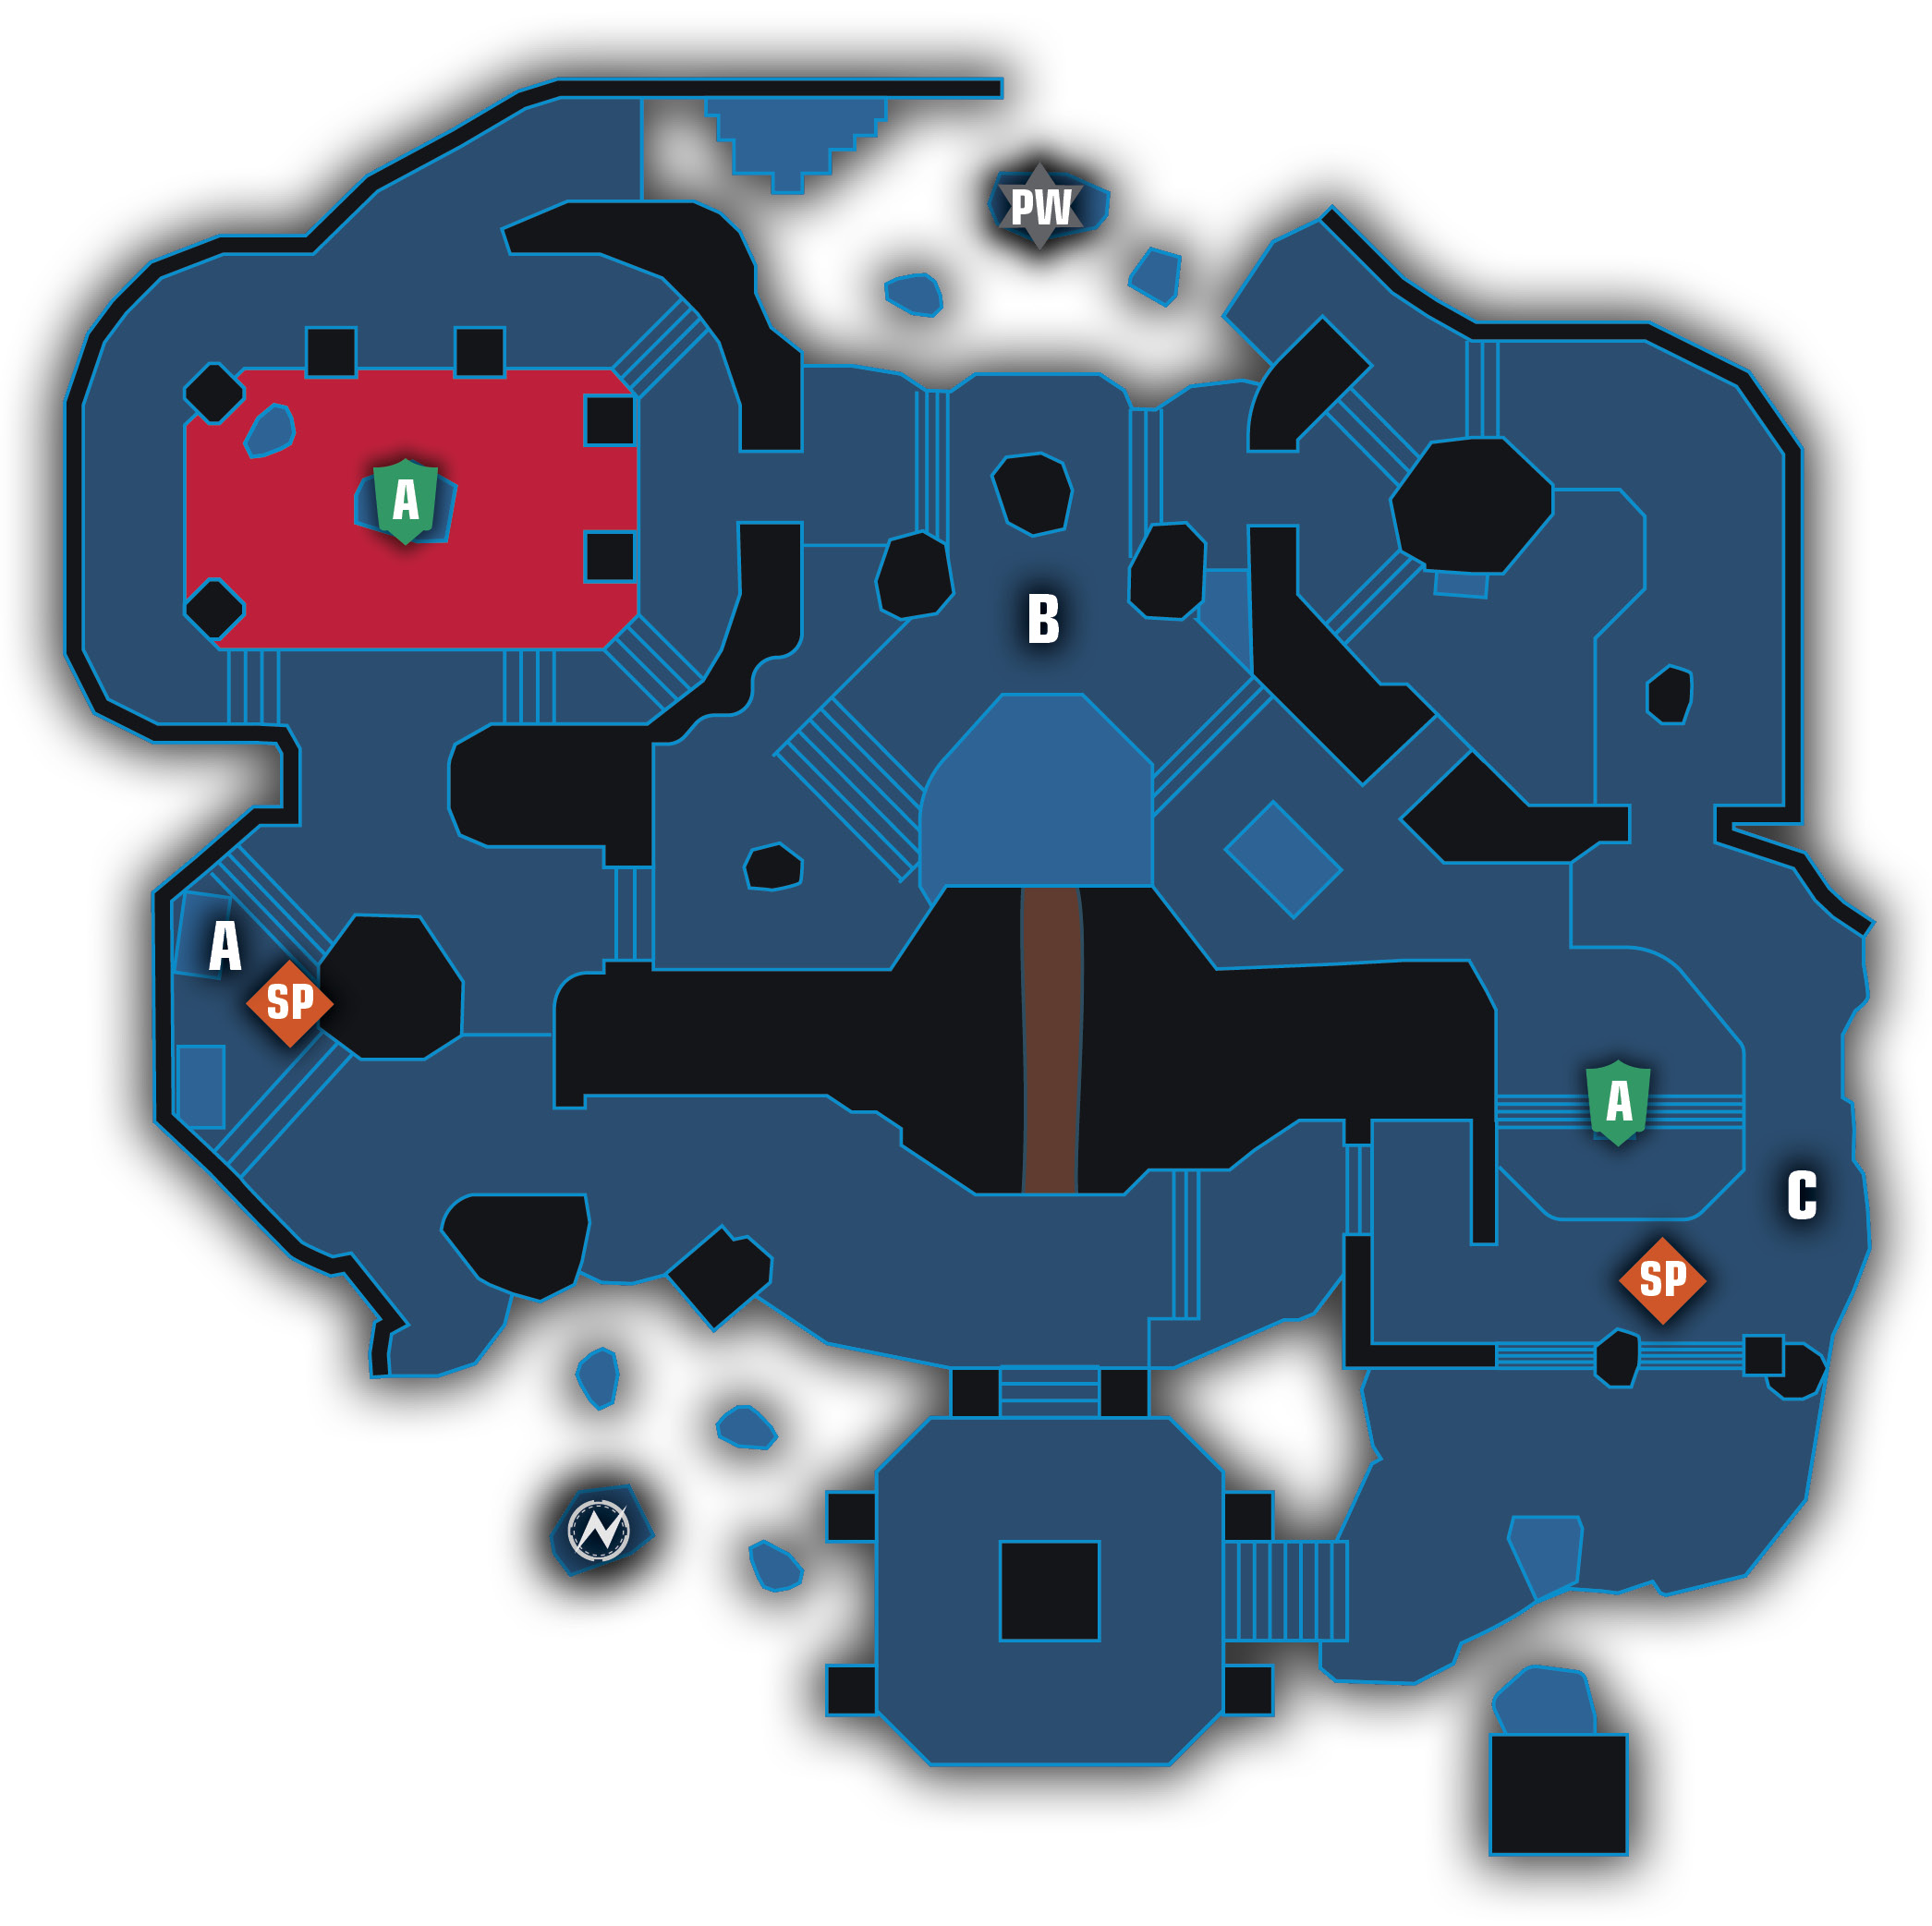
legend
 |
Armor |  |
Portals in |
 |
Domination Capture A |  |
Portals out |
 |
Domination Capture B |  |
Powerup |
 |
Domination Capture C |  |
Power Weapon |
 |
Mega Health |  |
Spawn Point |
Area Recon
This relatively small, circular map features an array of staircases, pillars, tunnels, and rock pedestals that make the area feel far larger and more complex than it actually is. The teams spawn directly across from one another and can quickly engage the opposition in the area in front of the totem with the pink-glowing stone sphere on the south side of the map. The pink tunnel lined in blood and flesh facing the totem leads through the center of the map to the area to the north where the BFG is located. Follow the trail of small Armor pickups for a valuable shortcut! This tunnel can be utilized in both directions.
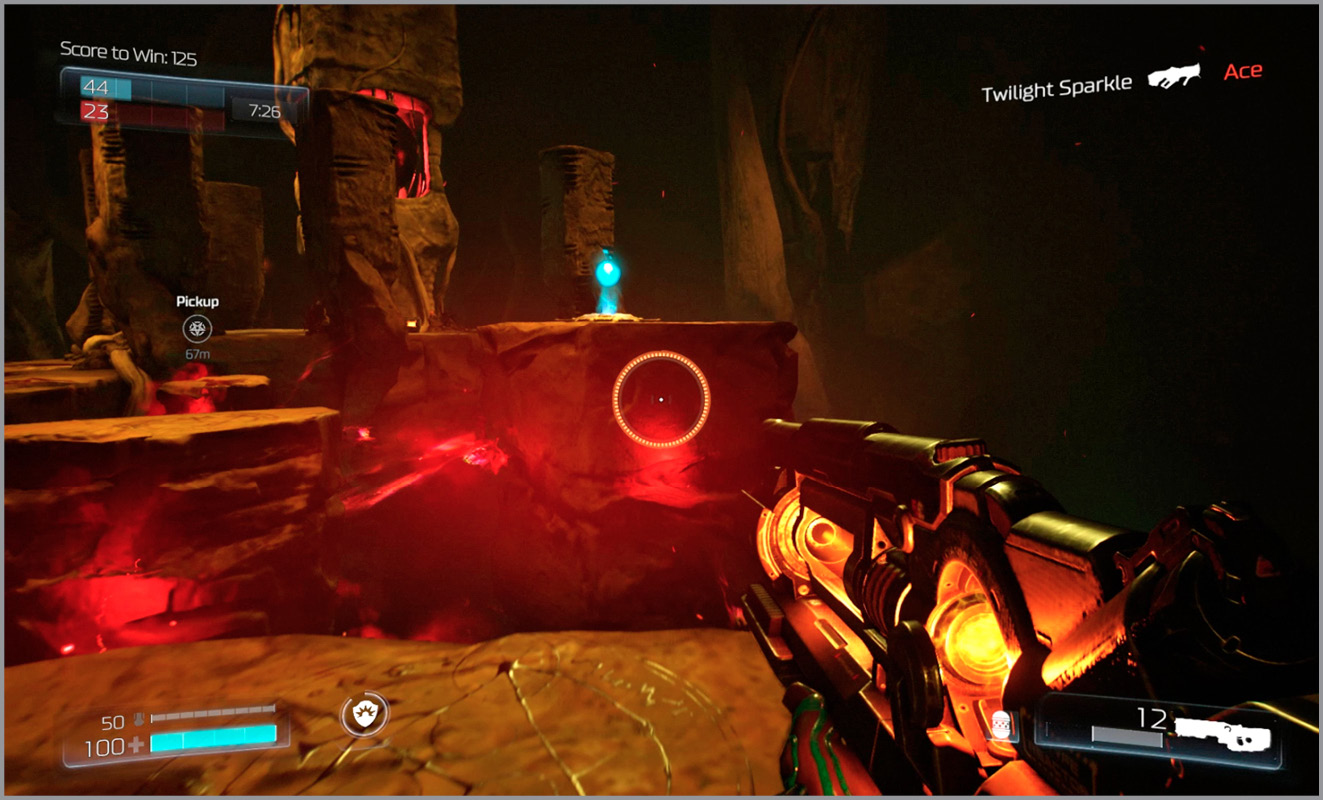
Both the Regeneration powerup and the BFG are perched atop floating rock fragments that can be reached only with careful leaps. Engage the thrusters to double jump if necessary, but try to save the one-use thrusters in case you get shot and need to correct your trajectory while airborne. There is no Mega Health on this map, but there are numerous medium-sized Health pickups. Be aware that the Armor pickup atop the altar near the eastern spawn point is not there during Domination matches. It is replaced with a Haste powerup in that mode. There are also no portals on Perdition.
Objective Based Modes
Try to keep the enemy occupied on the south side of the map during the beginning of the match where there’s more solid ground upon which to have the major clash. Sweep through the eastern side of the map to collect up the Armor pickup and move into position to claim the BFG when it spawns. The north, northwest, and southwest corners of the map pose the greatest risk of Suicide. Take into account where the battle is being fought when you have the opportunity to claim a Demon Rune and consider letting a teammate with the Revenant get the Demon Rune instead if the enemies are all near the more hazardous area of the map.
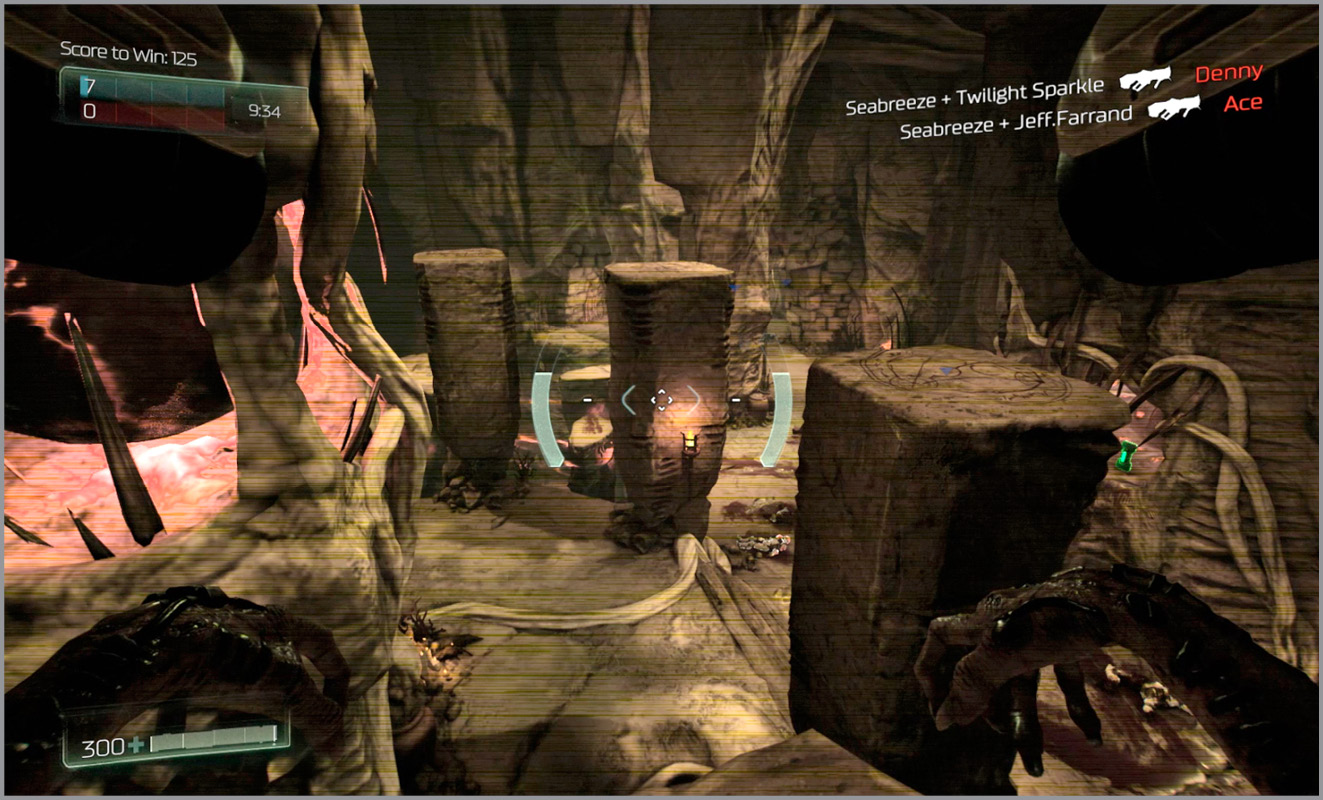
The shortcut that leads through the center of the map (the pink tunnel with the Armor pickups) provides a quick transit from the Regeneration powerup to the BFG and vice-versa. Use it to escape combat or to quickly lend support to your teammates. There aren’t any portals on this map, but you can still get just about anywhere very quickly if you know the way. There’s a central circle around the large mountain with the tunnel through it, as well as two smaller circular paths in the northwest and southeast corners. Your team needn’t travel far and disperse themselves across the map, but can mow down the enemy by focusing on one of these smaller circular routes. The enemy will be on the move, looking for you, especially in Soul Harvest and Team Deathmatch, so move as a unit and focus your forces in one small area at a time. Then, once the Demon Rune spawns, get to that location fast.
Domination
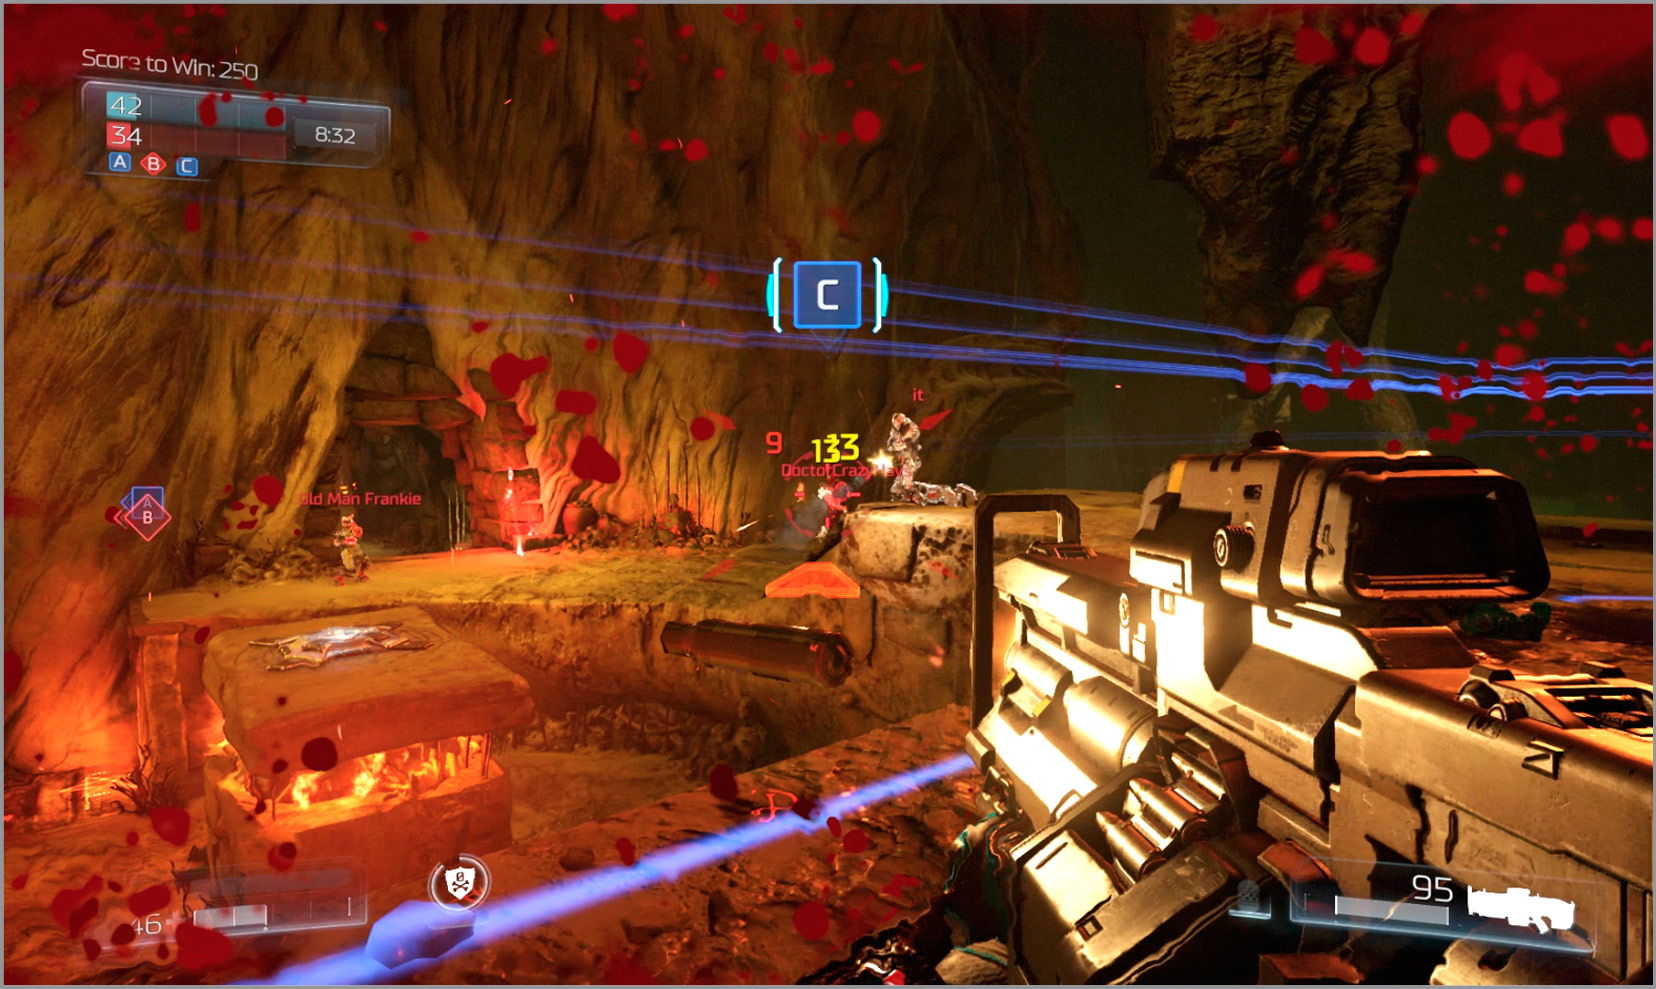
Zones A and C are easy to capture at the start of the match, one per team as is usual. Both of these Control Points are on solid ground with no risk of falling to your death when defending and attacking these places. This can’t be said for Zone B, which is perched along the cliff where the BFG spawns. Listen for the Demon Rune spawn and get near Zone B with your teammates so you can time the pickup of the BFG as it spawns 10 seconds after the Demon Rune. The Haste pickup that replaces the Armor pickup near Zone C in Domination matches can help you beat the enemy to the Demon Rune or the BFG and shouldn’t be overlooked. All of the Zones on Perdition can be approached from multiple directions and are all challenging to hold for long. Expect Control Points to change hands frequently on this map.
Round Based Modes
The narrow brick-lined tunnels that help to form tighter, circular paths in the corners of the map can be helpful in quickly flanking your enemy. With no pickups available in Clan Arena, it’s always wise to loop back around after picking off some enemies. As the action tends to congregate along the eastern side of the map in Clan Arena, you can use the area near the jump boost to evade and encircle enemies. This is particularly helpful if you find yourself outnumbered and the lone survivor on your team.
Freeze Tag matches can be a lot of fun on Perdition if the players dare take the battle to the far northern or southern edges of the map, near the powerups.