Doom Guide Campaign Walkthrough
Advanced Research Complex
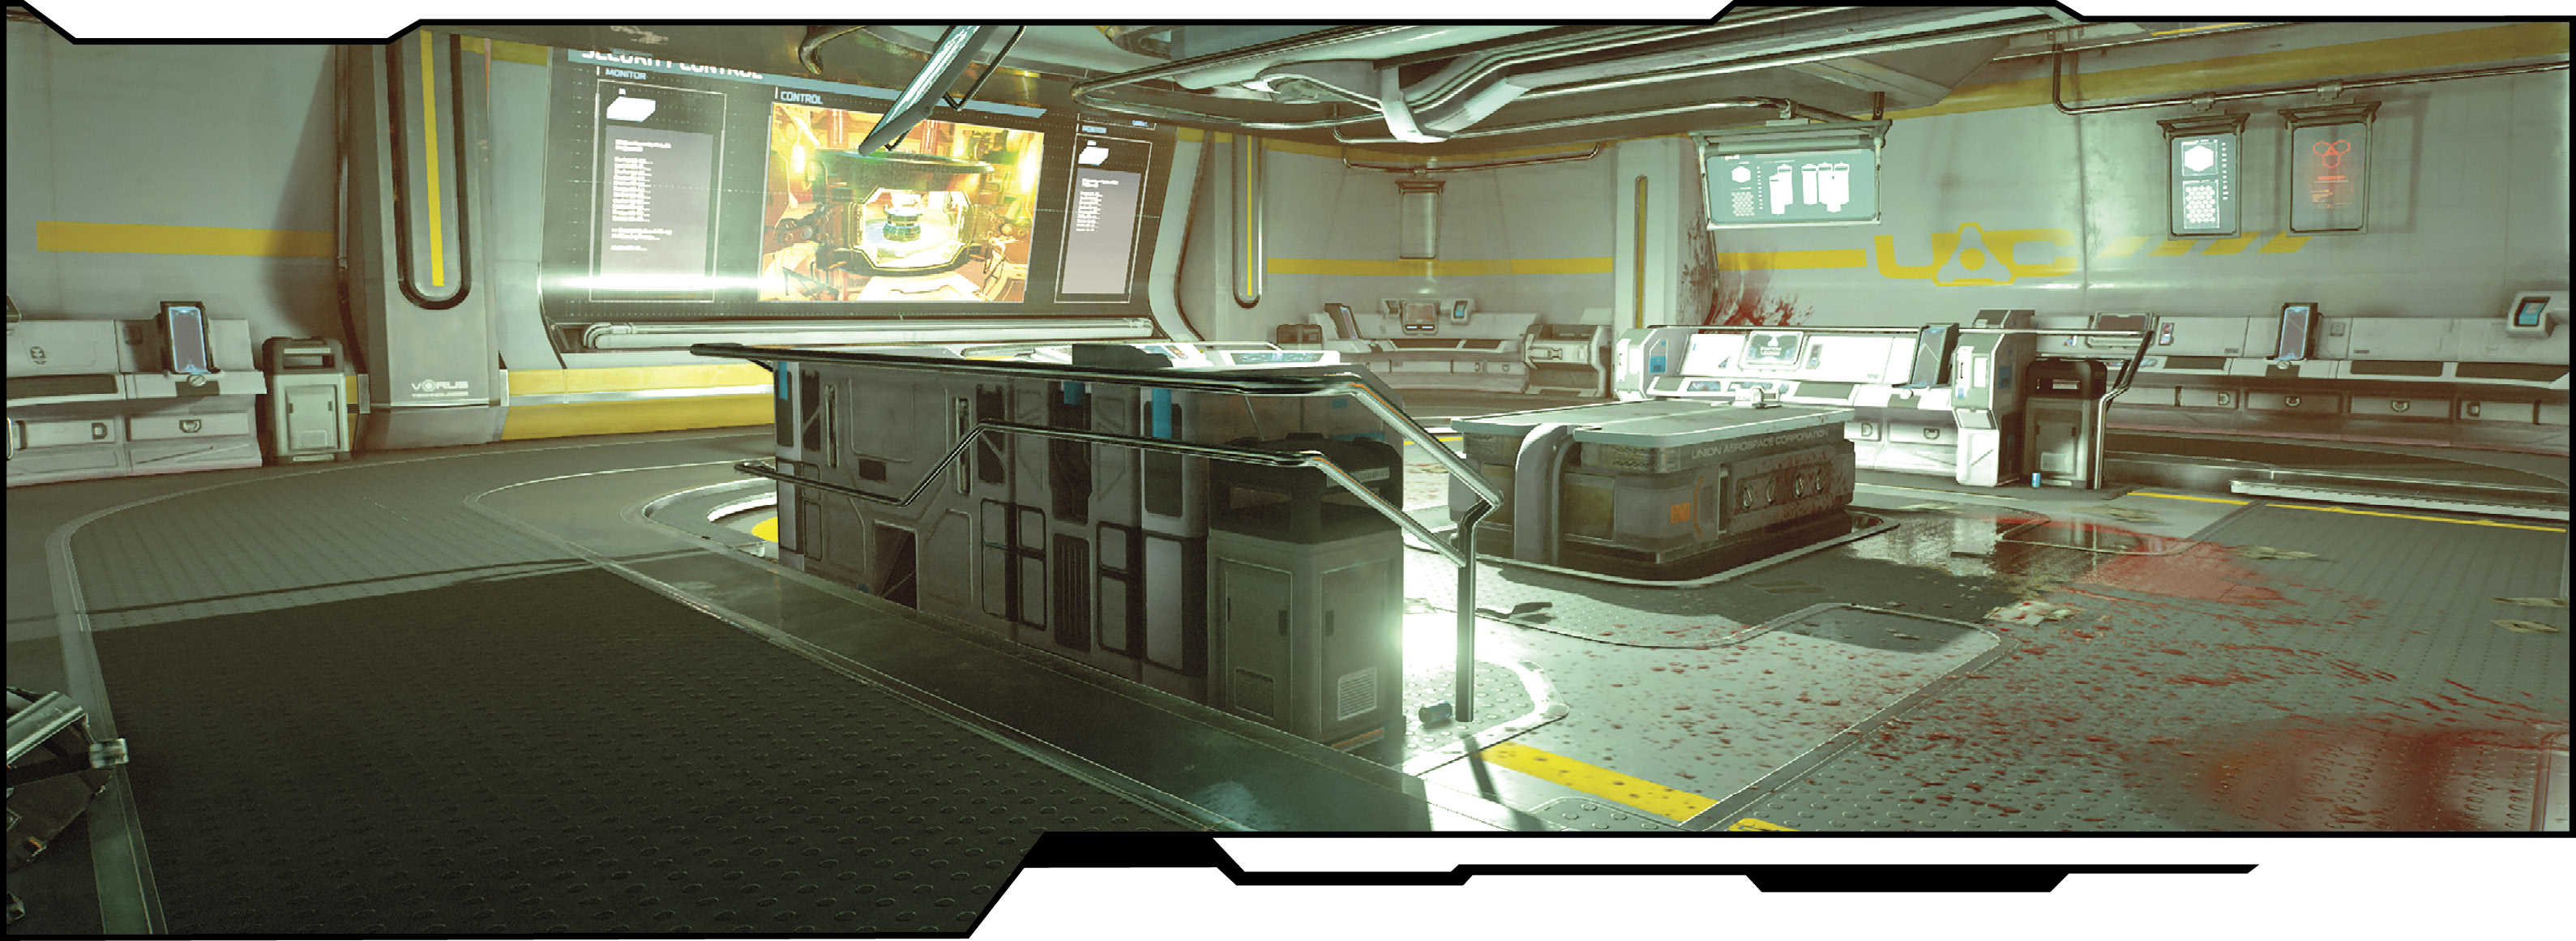
Main Objective Go to the Lazarus Facility
New Weapons/Equipment BFG
New Monsters Cyber-Mancubus
Challenges
| Challenge | Description |
|---|---|
| Bottle Opener | Perform 5 “Screw Top” Glory Kills on The Possessed (attack lower right leg or head from behind). |
| Double Take | Interact with 2 Rune Trial Stones. |
| Hide and Seek | Find 2 Collectibles. |
Collectibles
| Collectible | Unlocks |
|---|---|
| Phobosguy | Super Shotgun Model |
| Pinkguy | Pinky Model |
Rune Trials
| Trial Name | Objective |
|---|---|
| Rune Trial: Blood Fueled | Armed with the Heavy Assault Rifle, eliminate all targets before the timer expires. Movement is only permitted for 3 seconds following any kill. |
| Rune Trial: Intimacy is Best | Use the Pistol to weaken and then Glory Kill 8 Imps before the timer expires. |
Classic Map: DOOM - Phobos Lab
Meet Samuel Hayden at His Office
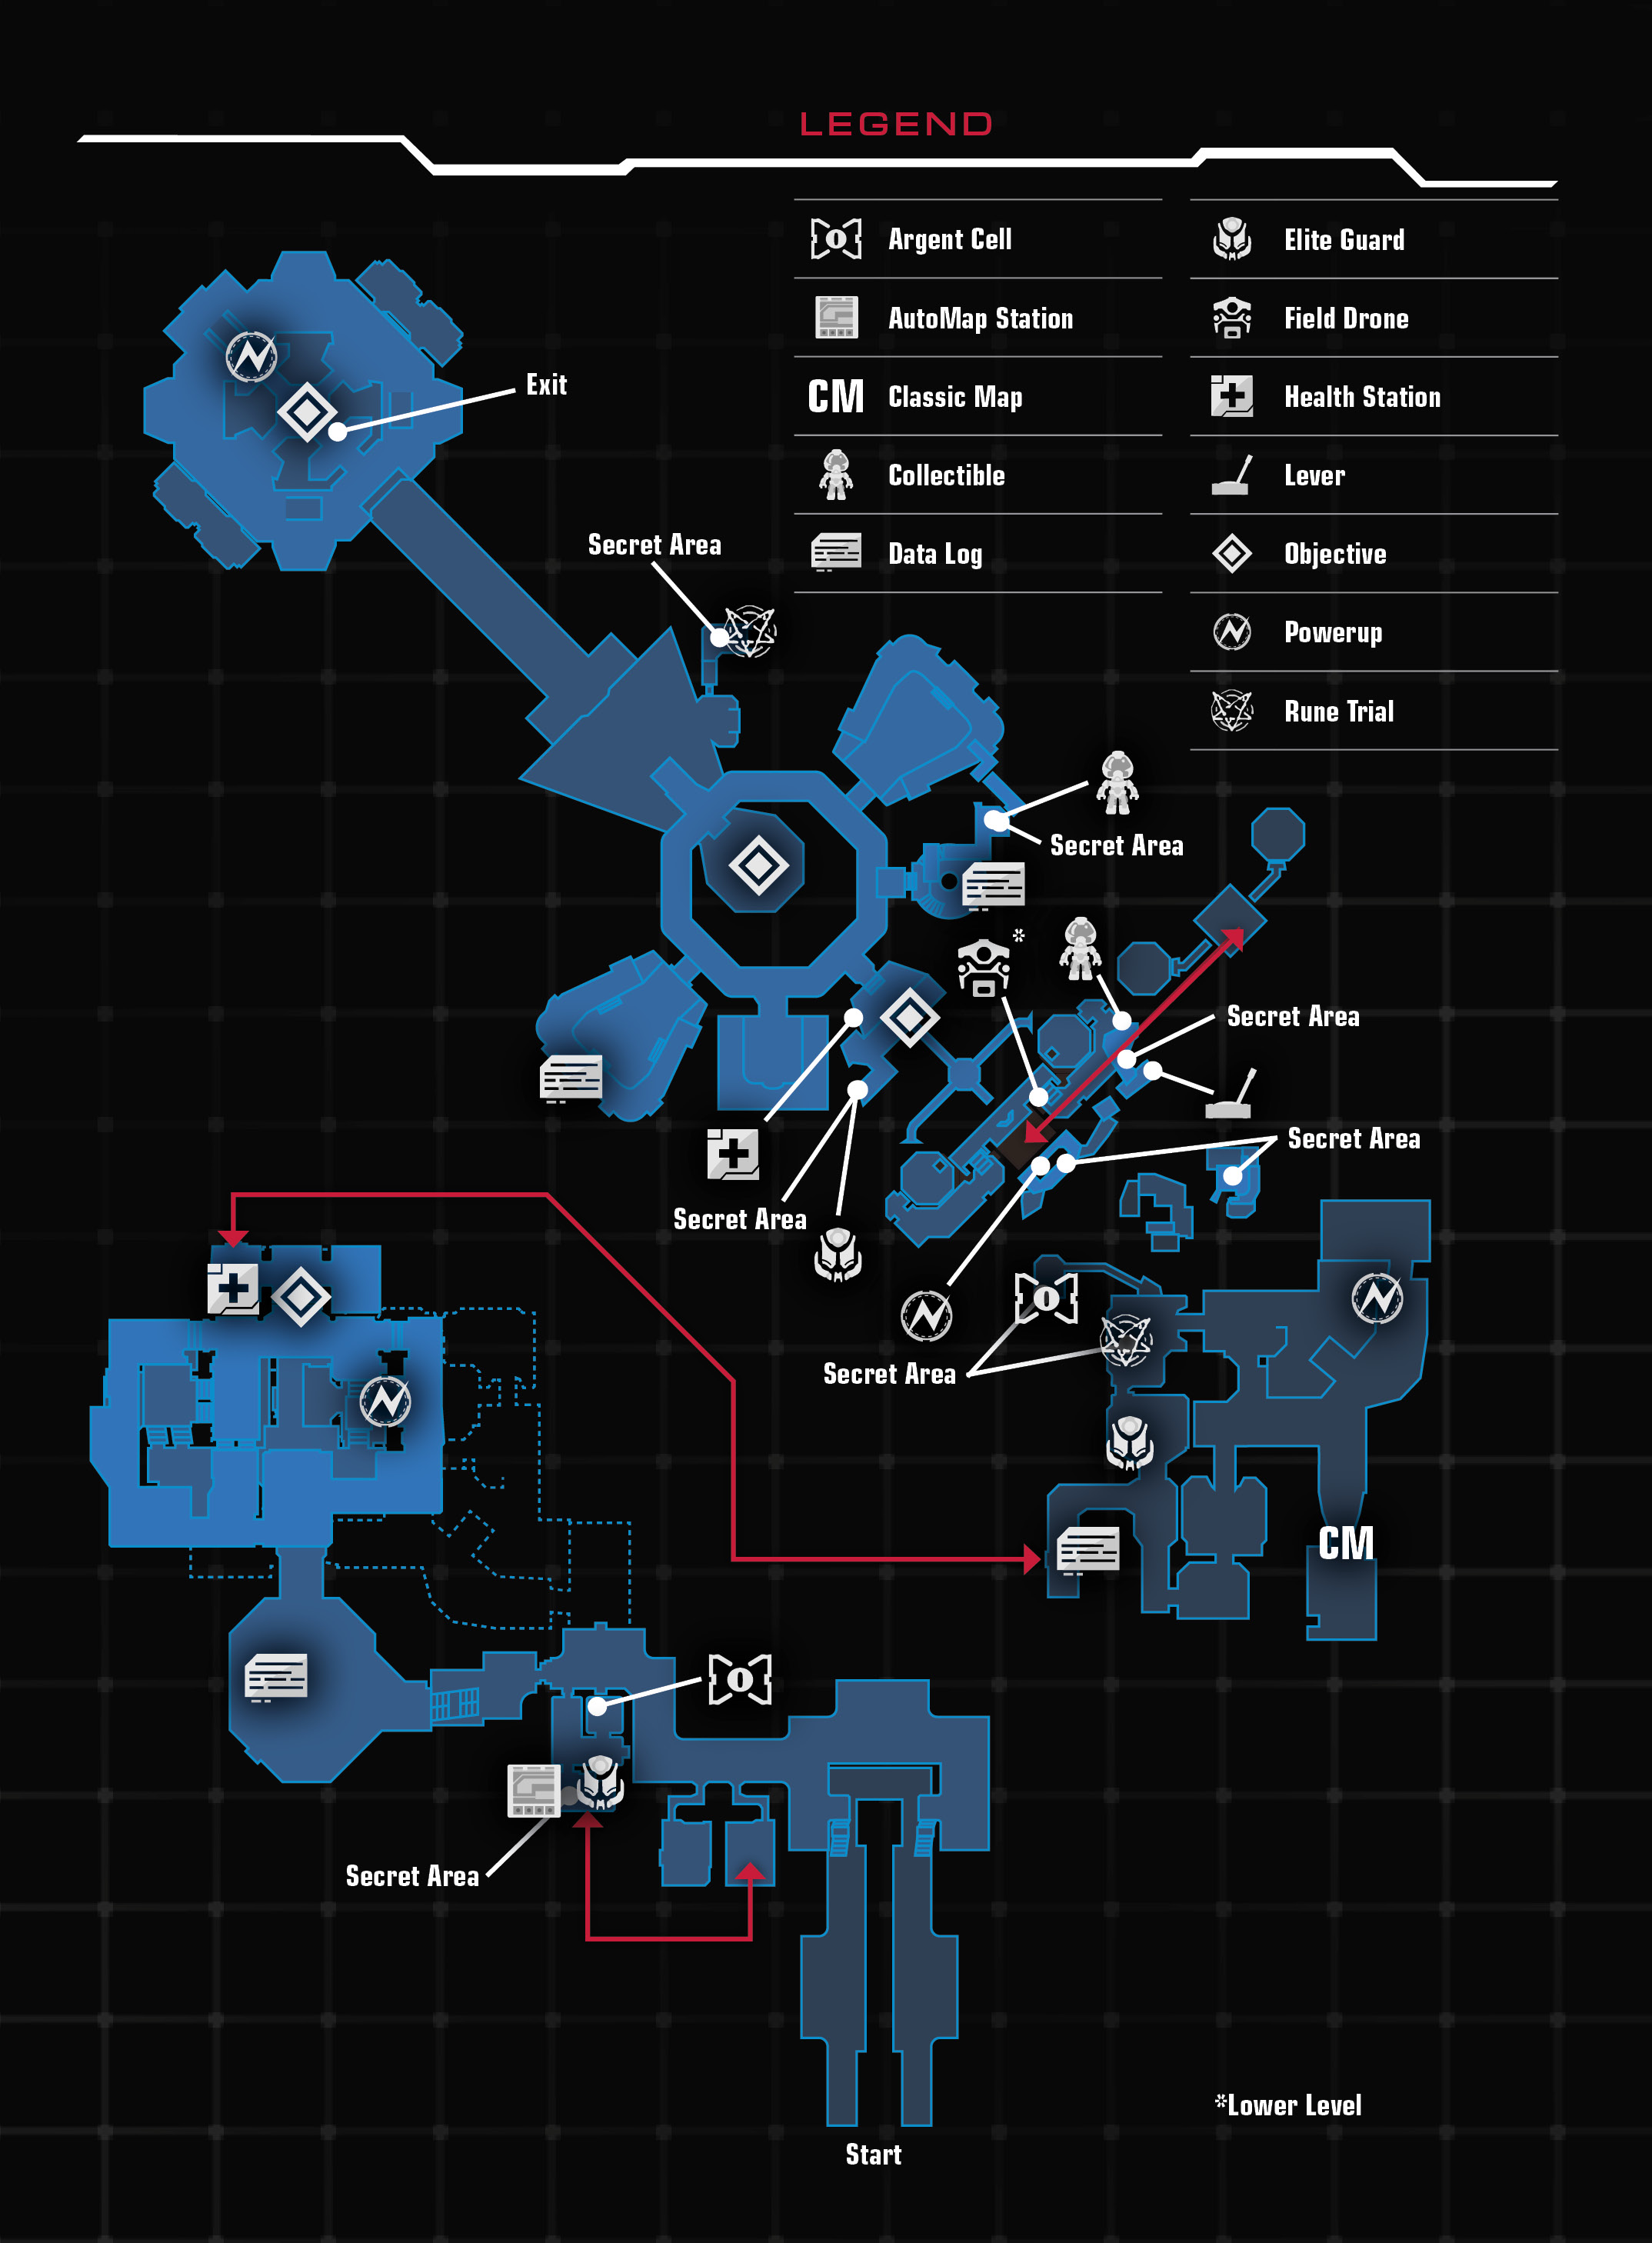
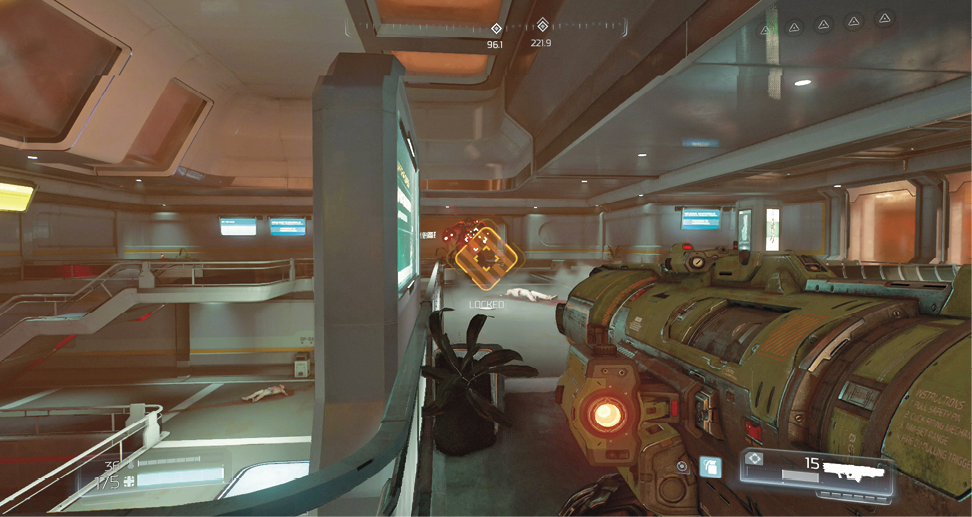
You arrive inside the tram station at the office complex. Take the steps up to the second floor and take down the Mancubus who resides to the left. Enter the second restroom on the left, hop onto the sinks, and jump into the access door in the ceiling above. Follow the path until you drop into the break room.
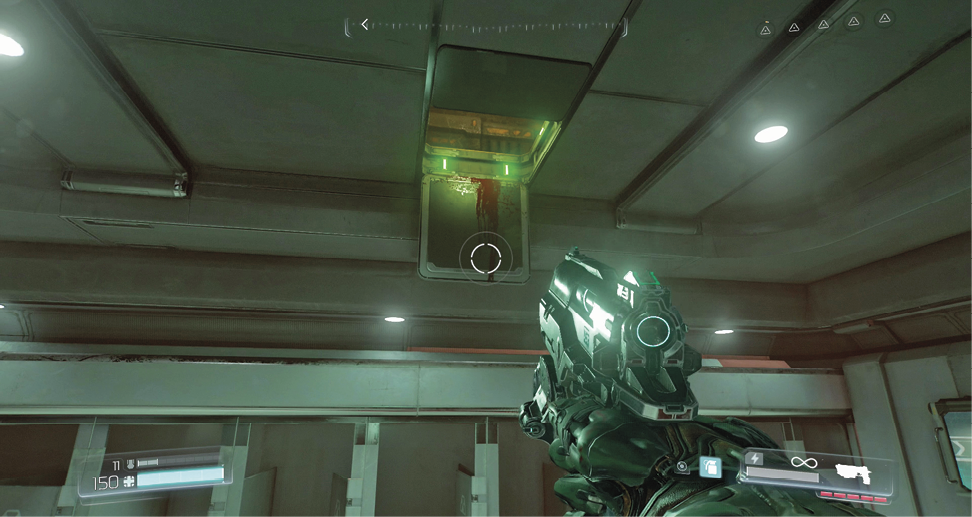
Grab the Praetor Token from the Elite Guard and interact with the AutoMap Station before exiting the room. Take down The Possessed and step into the security office to find an Argent Cell. Activate the Access Control and fight your way through the newly opened door.
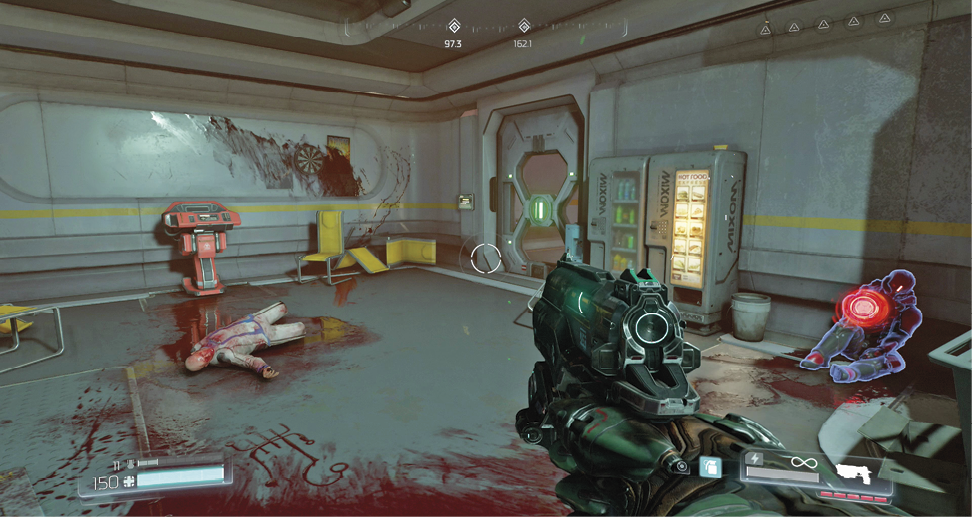
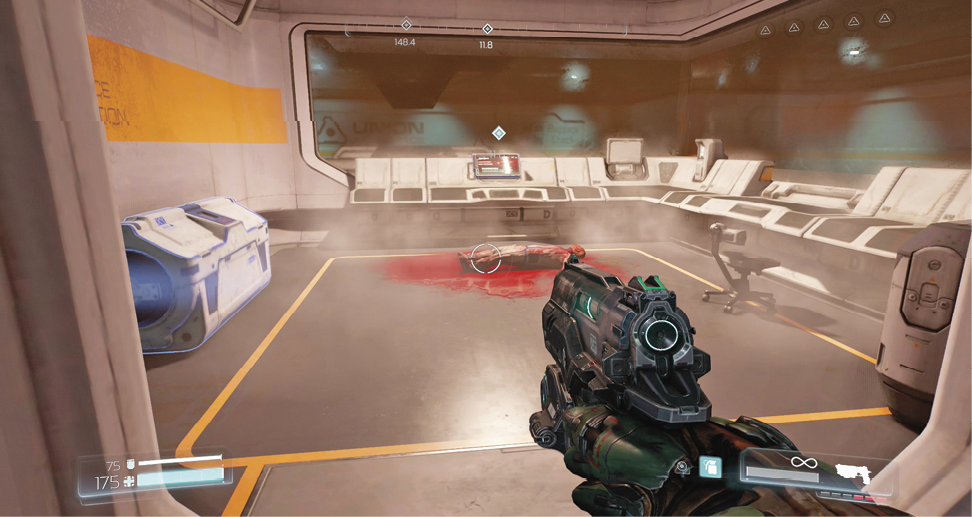
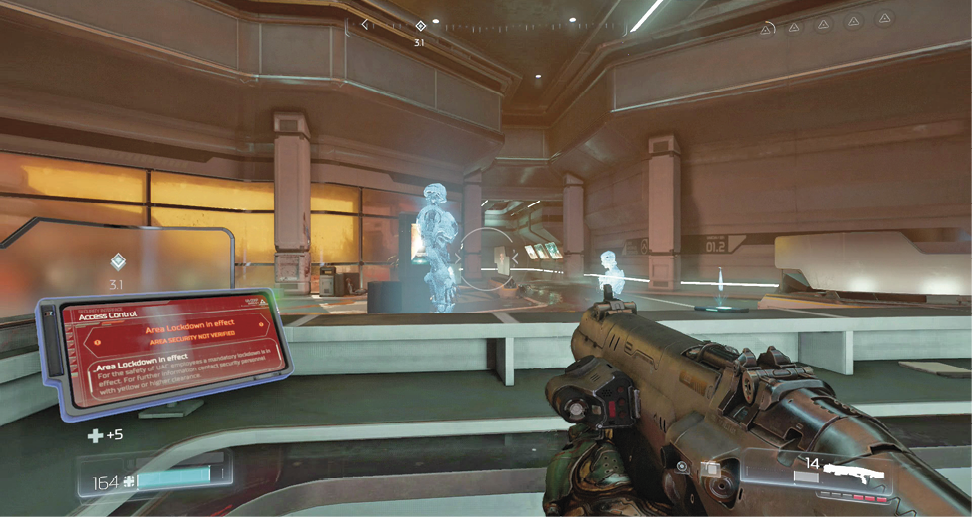
Move up to the lobby and clear out the remaining monsters. Approach the receptionist desk, pick up the Data Log, and interact with the Access Control to open the door to the left.
The facility has seen better days, but at least one worker still makes use of it. A Gore Nest resides on the lower floor. Kill off the initial demons before destroying the nest. Use the multiple floors to escape trouble as you take out the second wave. Collect the Berserk powerup that’s tucked into a corner on the lower level to help in your efforts.
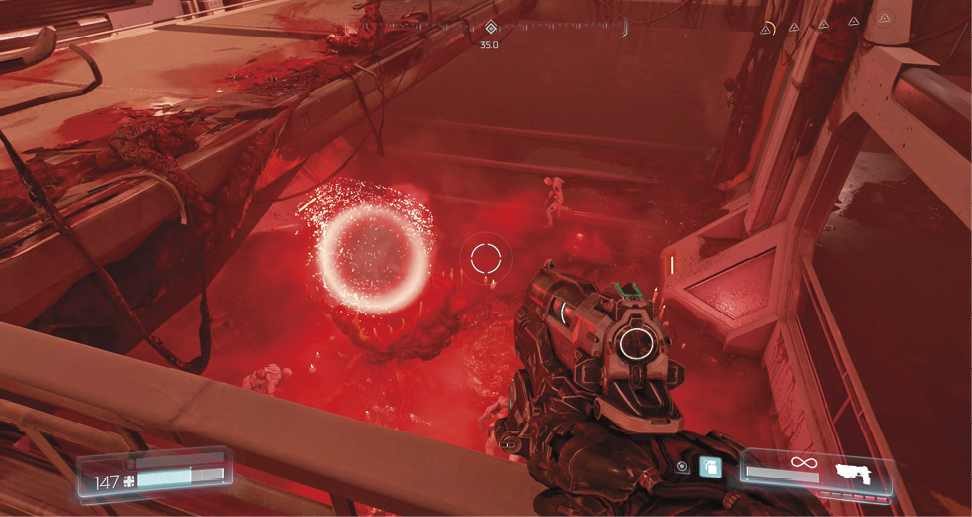
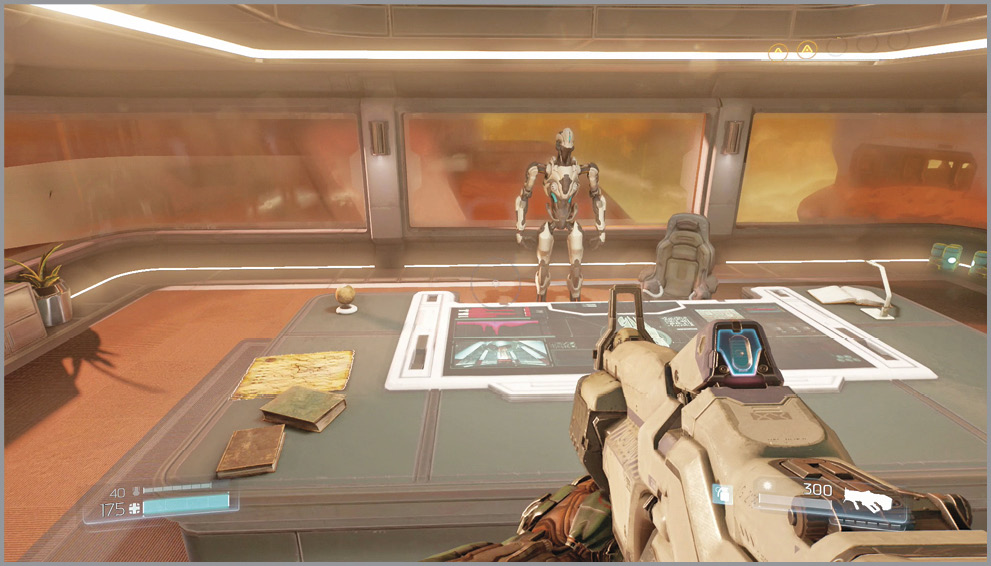
Collect any remaining pickups as you climb to the top floor. Use the Access Control to enter the Executive Wing. Follow Samuel into his office and grab any armor and ammo that you need. Approach his desk to find out what he knows about the artifact.
Infiltrate the Weapons Division
Return to the hallway and run to the far end where a Health Station is available if required. Step into the elevator and activate the controls to ride it down. Move out and grab the Data Log on the floor. Follow the corridor around to find more demons. Take them down, search to the left for an Elite Guard, and then head the other way. Watch out for the Possessed Engineer and friends.
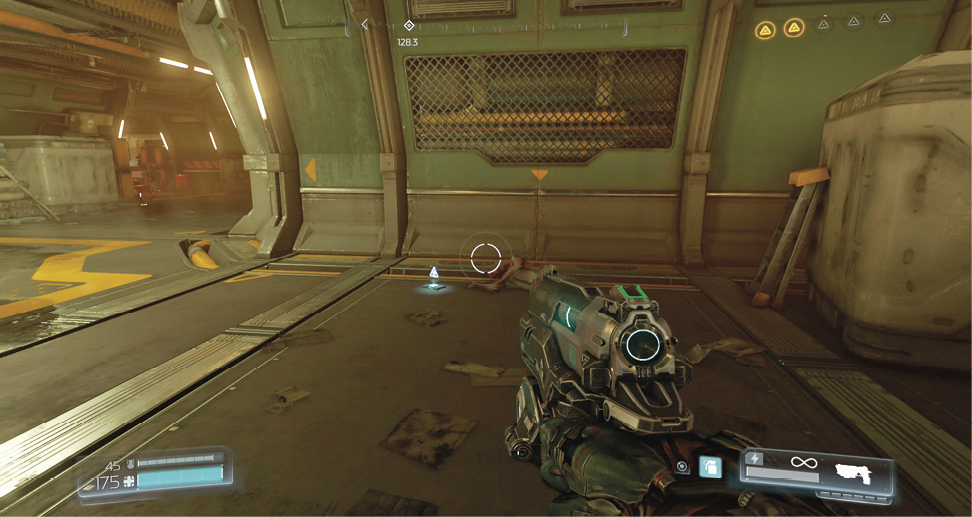
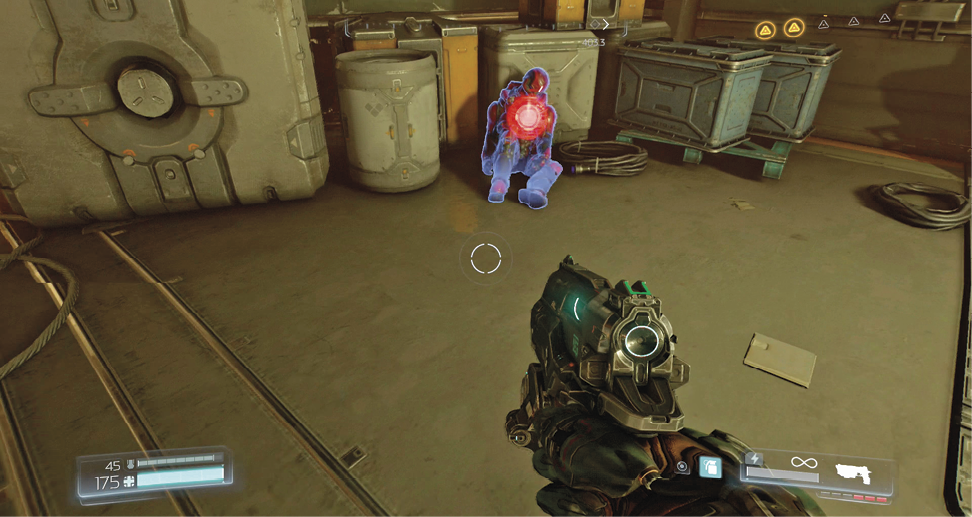
Cut through a storage room on your way to an airlock. Use the console to access the outdoors. There’s a Gore Nest on a platform to the right. Pick off the engineers scattered around the area, interact with the nest, and then battle the demons that spawn in. This includes the new Cyber-Mancubus. A Haste powerup, located near the control room, offers some help. With the monsters out of the way, move up to the control room and turn off the security field at the Cargo Access Gate.
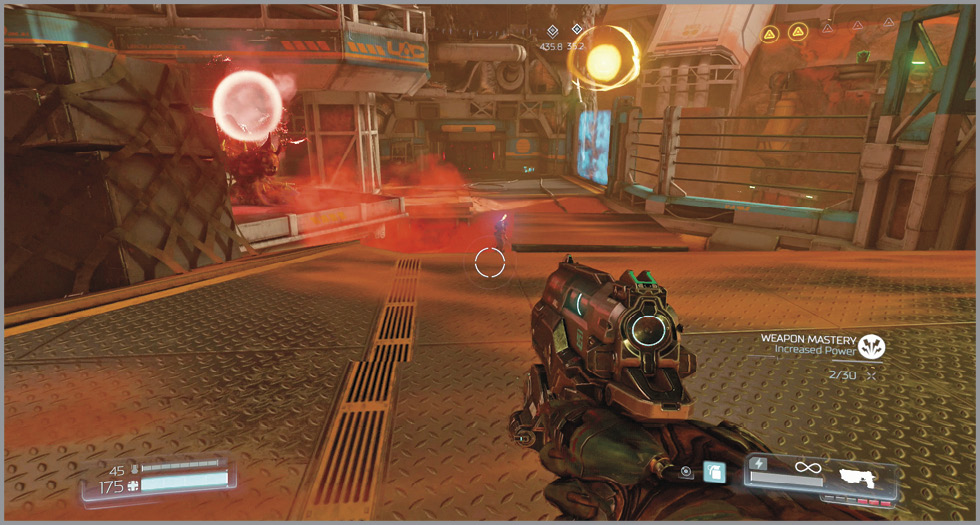
Blood FueledObjective: Armed with the Heavy Assault Rifle, eliminate all targets before the timer expires. Movement is only permitted for 3 seconds following any kill.
Disable the security field and then, instead of exiting through the new opening, go through the airlock ahead to find the first Trial Stone. With the HAR equipped, kill the demons around the arena before the one-minute timer expires. There are no time bonuses and you can only move for three seconds after each kill. When the movement icon appears on screen, you should quickly move toward ammo or the next enemy, though the Imps do tend to run at you. Occasionally, you may need to take one out from a distance, so always be looking for your next target.  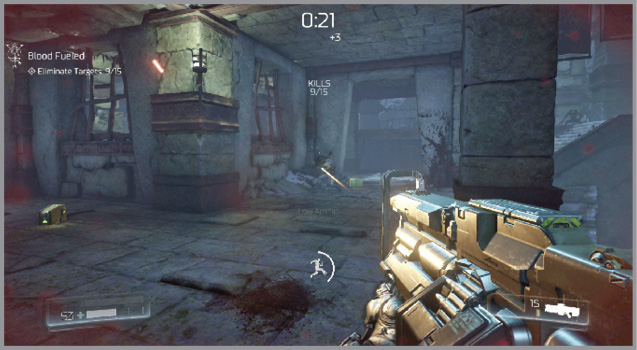 |
Move through the gate, jump over to the platform ahead and continue over to the upper level on the left—fighting off the Lost Souls who spawn around the area. If you need armor, turn around and shimmy along the beam to the left. Jump right and climb to the top to collect a big armor. Return to the previous platform and look down to the left to spot a pipe running along the rock face. Jump down and follow the path to the right to find an Argent Cell. Turn around, wait for the pipe to open up ahead, and jump over to it. If you need some health, there’s a Mega Health hidden above this pipe. It’s accessible from the nearby rock formation. Watch out for the Cacodemon that spawns as soon as the item is picked up.
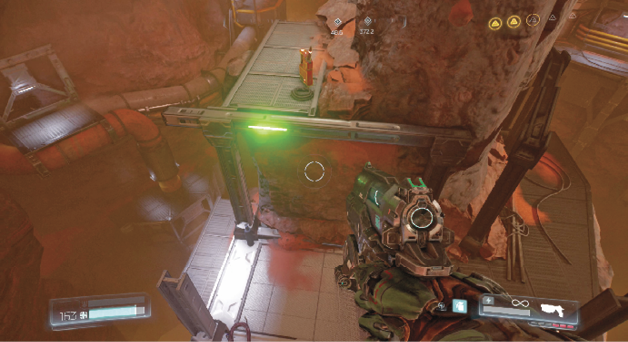
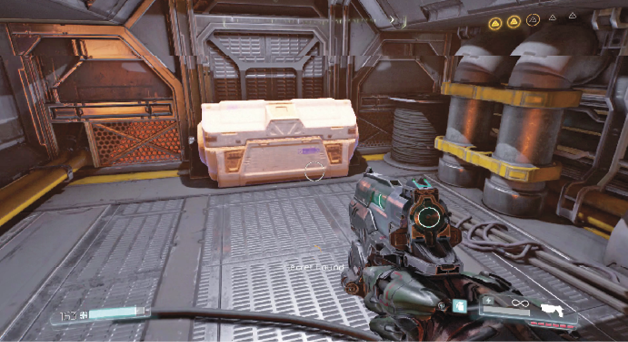
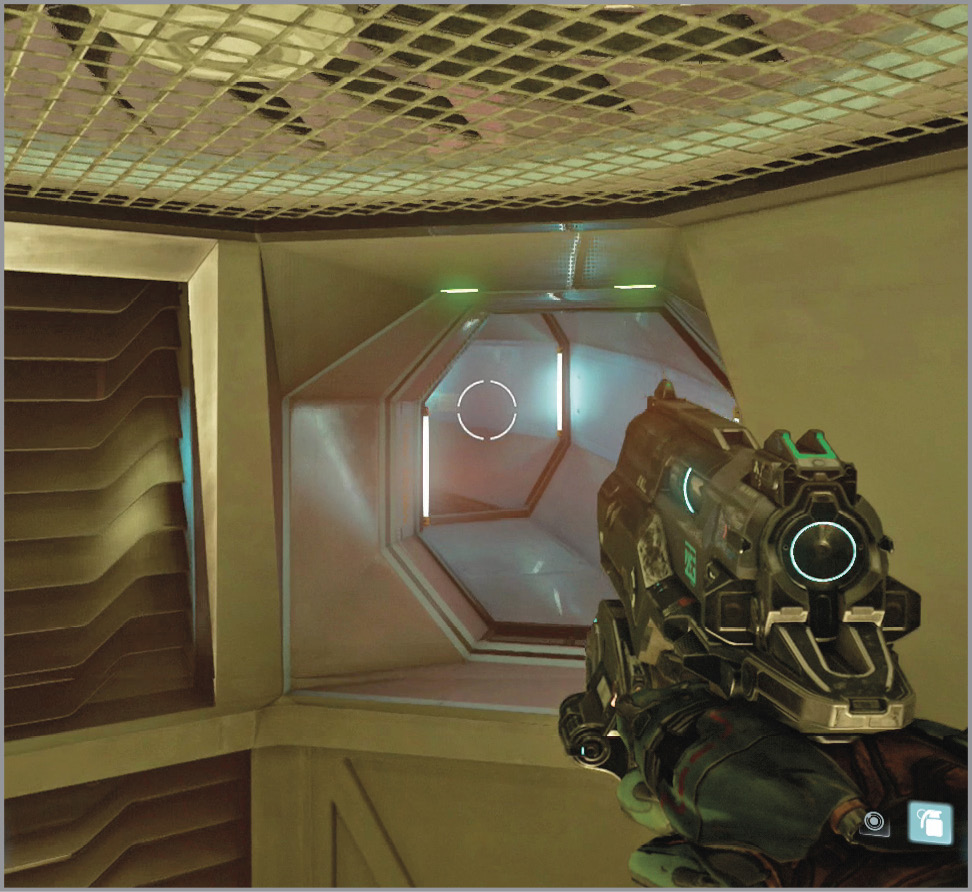
Follow the pipe until you drop into a small, square room. Move through the short corridor to an octagonal ventilation shaft and jump onto the right small ledge. Turn right, hop over to the arm, and then double jump into the hatch above. Climb through the window ahead.
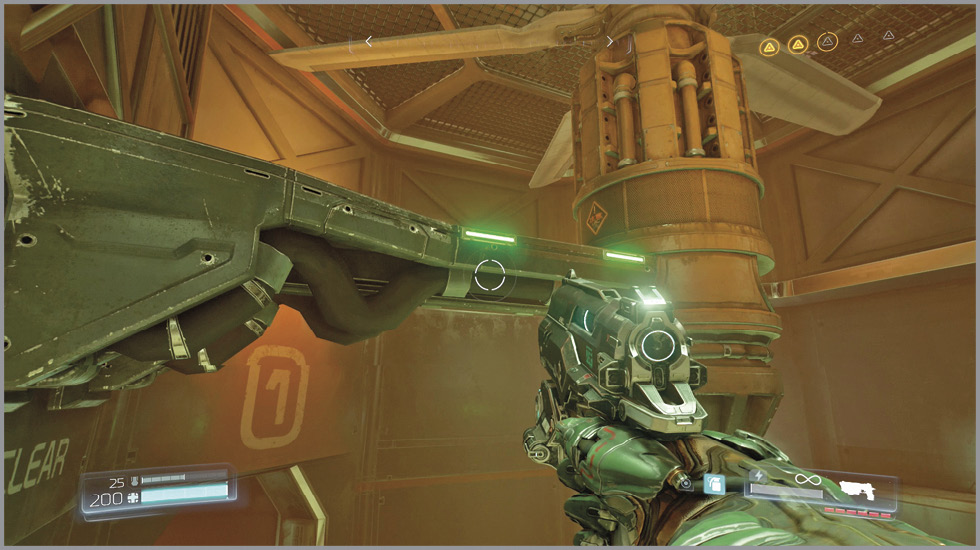
Follow the corridor to the left, watching out for the Imp that occupies the area. Run all the way to ventilation shaft 2 and activate the switch on the window to turn the fan off. Drop into the shaft and then into the hatch. Find the Field Drone that hangs out in the nearby tunnel. Return to the upper corridor in the same manner that you used for shaft 1.
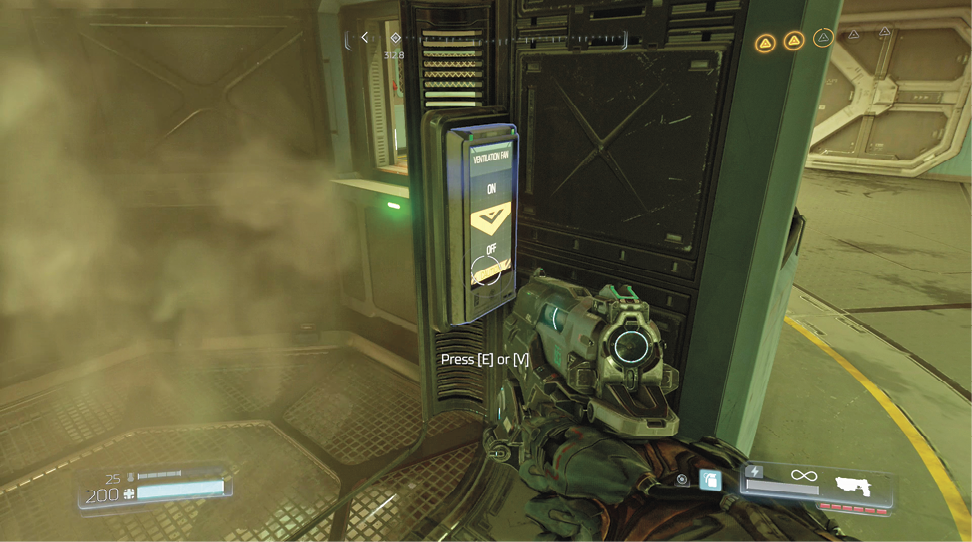
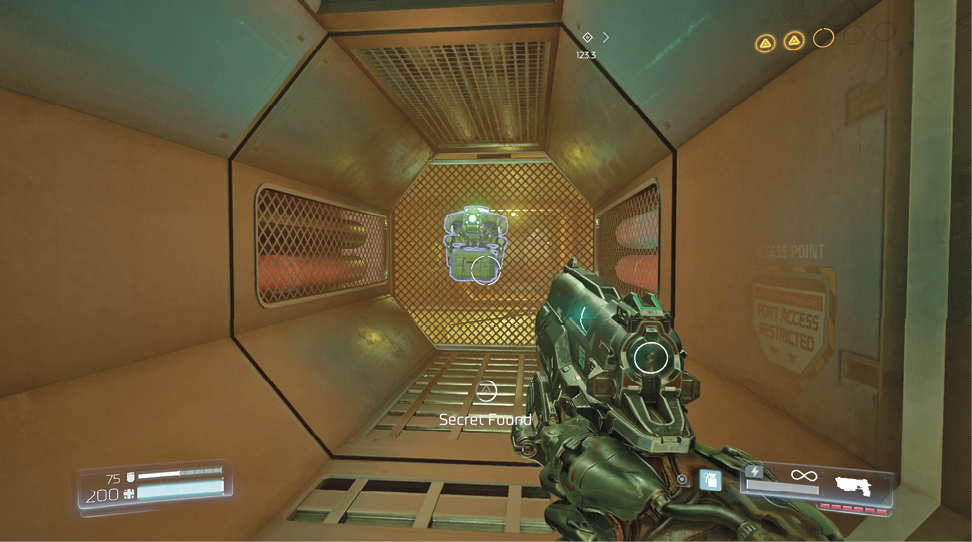
Reactivate the fan and ride the current up into the octagonal passageway. At the intersection, turn left to retrieve a big armor, straight to reach the first ventilation shaft, and right to continue toward your objective.
Access the Lazarus Elevator
In the next room, turn left and move through the door to find an Elite Guard. Top off your health at the Health Station and enter the BFG Labs. Demons infest all areas of this facility, so always be ready for a fight. There are two rooms to the right and two to the left, but your goal is to reach the BFG Prime Lab accessible on the opposite side.
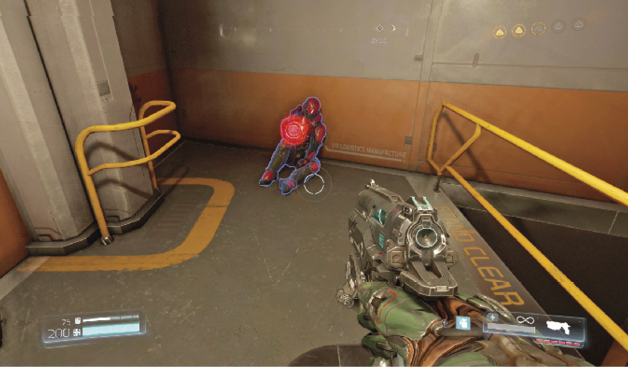
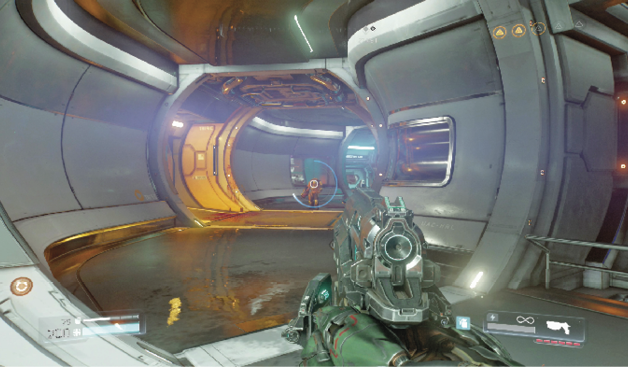
Enter the Server Room to the right and collect the Data Log on the floor below. Return to the hall and move left past maintenance to the Security Room. Inside, grab the Corpse Upper Torso. Exit back to the hall and enter Prototype Lab 02 to the left. Collect another Data Log on the equipment on the far side.
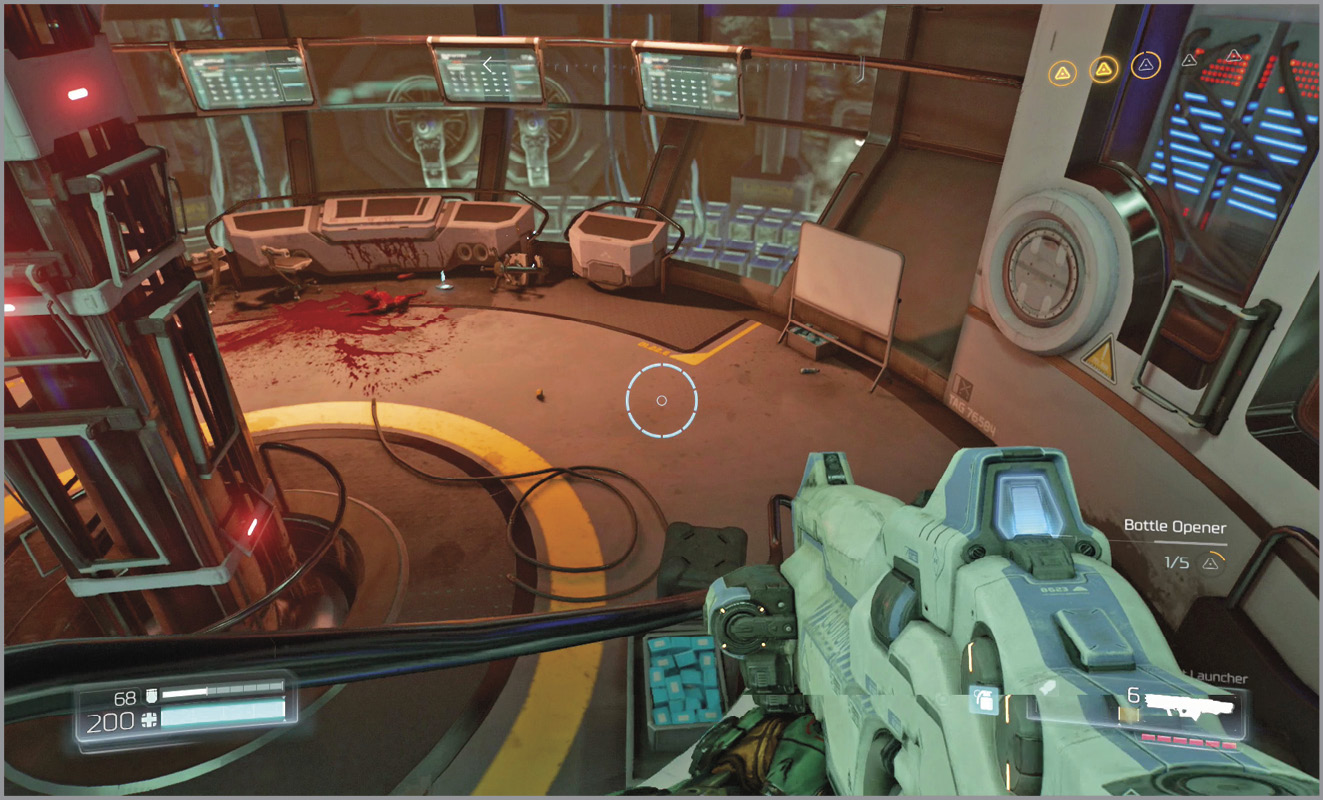
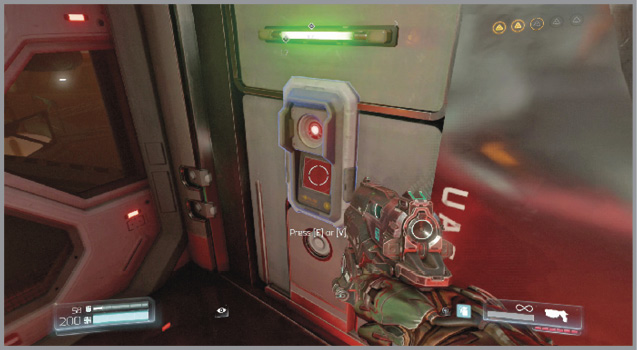
Return to the corridor and, once you’re ready to move on, approach the BFG Prime Lab. Use the worker’s eyes to fool the retinal scan and get inside. Here you find the ultimate weapon, the BFG, but security protocols lock it up tight.
Quickly climb on top of the BFG chamber and jump over to one of the four small platforms as they move into place against the wall. Lasers that appear below slice you up if you drop down while lasers from above deter you from jumping onto the chamber. With the upper lasers above you, use your Pistol to shoot out four of the red fuses to cause it to drop.
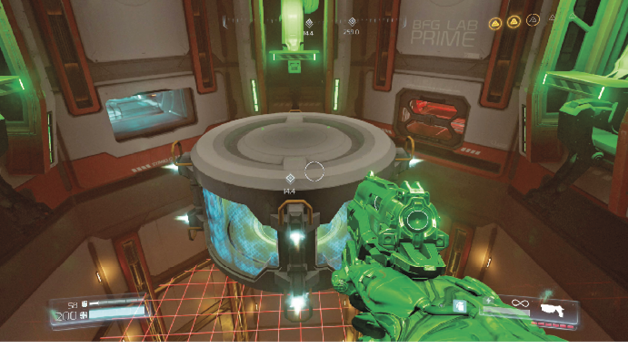
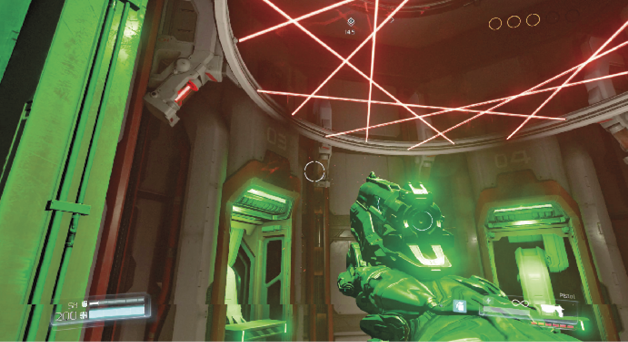
Jump over to what’s left of the chamber and collect the BFG. At this point, the platform drops to the floor below. Lift open the door ahead and step into the next room where a horde of demons resides. Hit one of them with the Argent Energy from the BFG to wipe out the entire room. Interact with the Control Console to open the Lazarus Elevator access and continue forward.
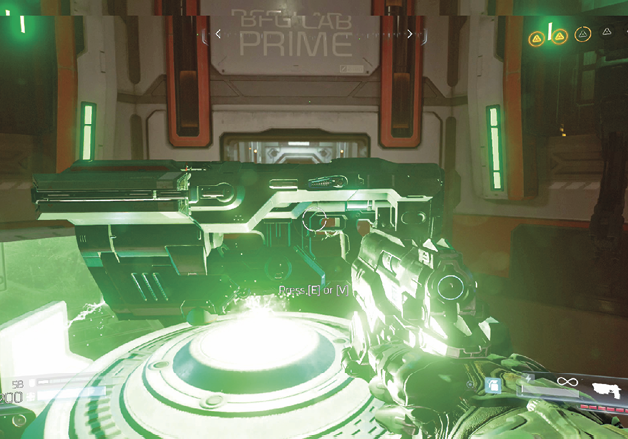
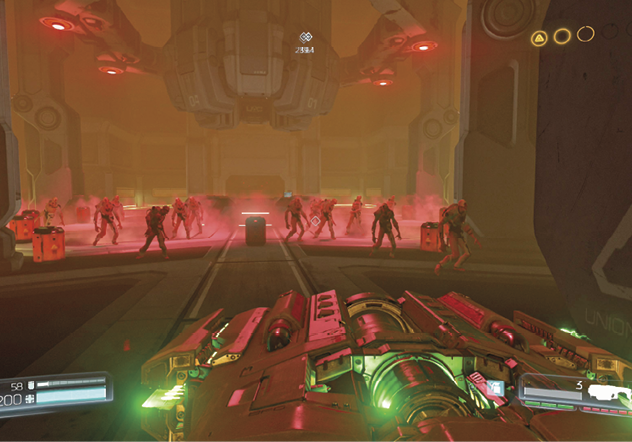
BFGPowerful weapon that delivers streams of supercharged Argent plasma to multiple targets and is somewhat self-guiding. Like the Chainsaw, an assigned button/key gives you access to the BFG-9000. Ammunition for this powerful gun is extremely limited, so use it sparingly. It fires Argent Energy at your target and then splits off toward any nearby enemies. It kills anything in one shot and has the ability to eliminate several foes at once. |
Intimacy is BestObjective: Use the Pistol to weaken and then Glory Kill 8 Imps before the timer expires.
After opening the Lazarus Elevator, turn right and enter Testing Chamber 1. Turn left and follow the narrow corridor to find the second Trial Stone. Using the Pistol, you must perform eight Glory Kills on the Imps before the timer reaches zero. A three-second bonus is given each time a Glory Kill is performed, but you still need to take the demons out quickly. Be careful not to kill the Imps. Rapidly fire a few shots into a demon as you move its way and once they begin flashing, press the Glory Kill button. 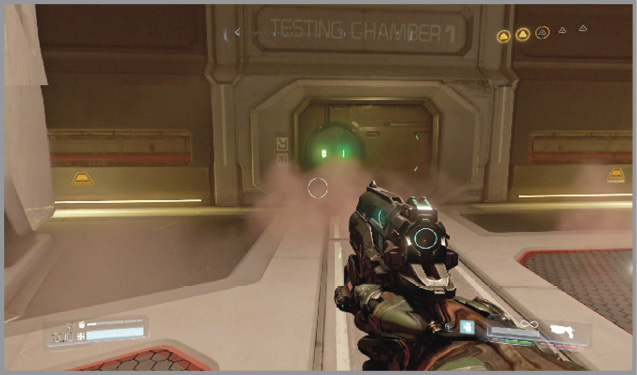 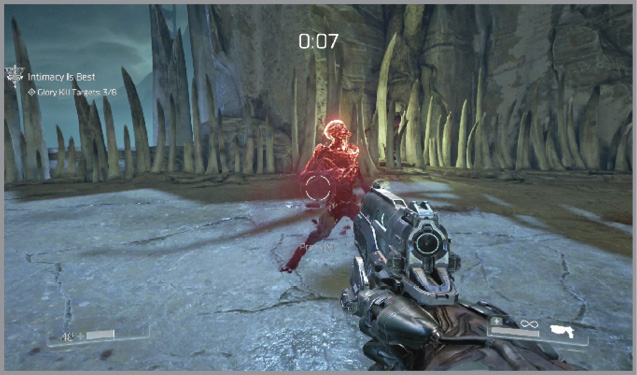 |
A group of demons waits at the other end of the hall. Quickly eliminate them before they pin you inside the corridor. Inside the next room, prepare for a big battle and destroy the Gore Nest. A Quad Damage powerup floats nearby and there’s BFG ammo on the bottom and top floors. Use the BFG on big groups of enemies if possible, but remember you can only take one ammo with you, so not using the rest is wasteful. Two teleporters, blue and red, allow you to quickly move between the second and third floors. Use these tools to tip this fight in your favor. Use the different floors and walls to break line of sight as you pick off the monsters. With the enemies out of the way, step into the elevator and activate the Cargo Lift.