
Sacrilegious
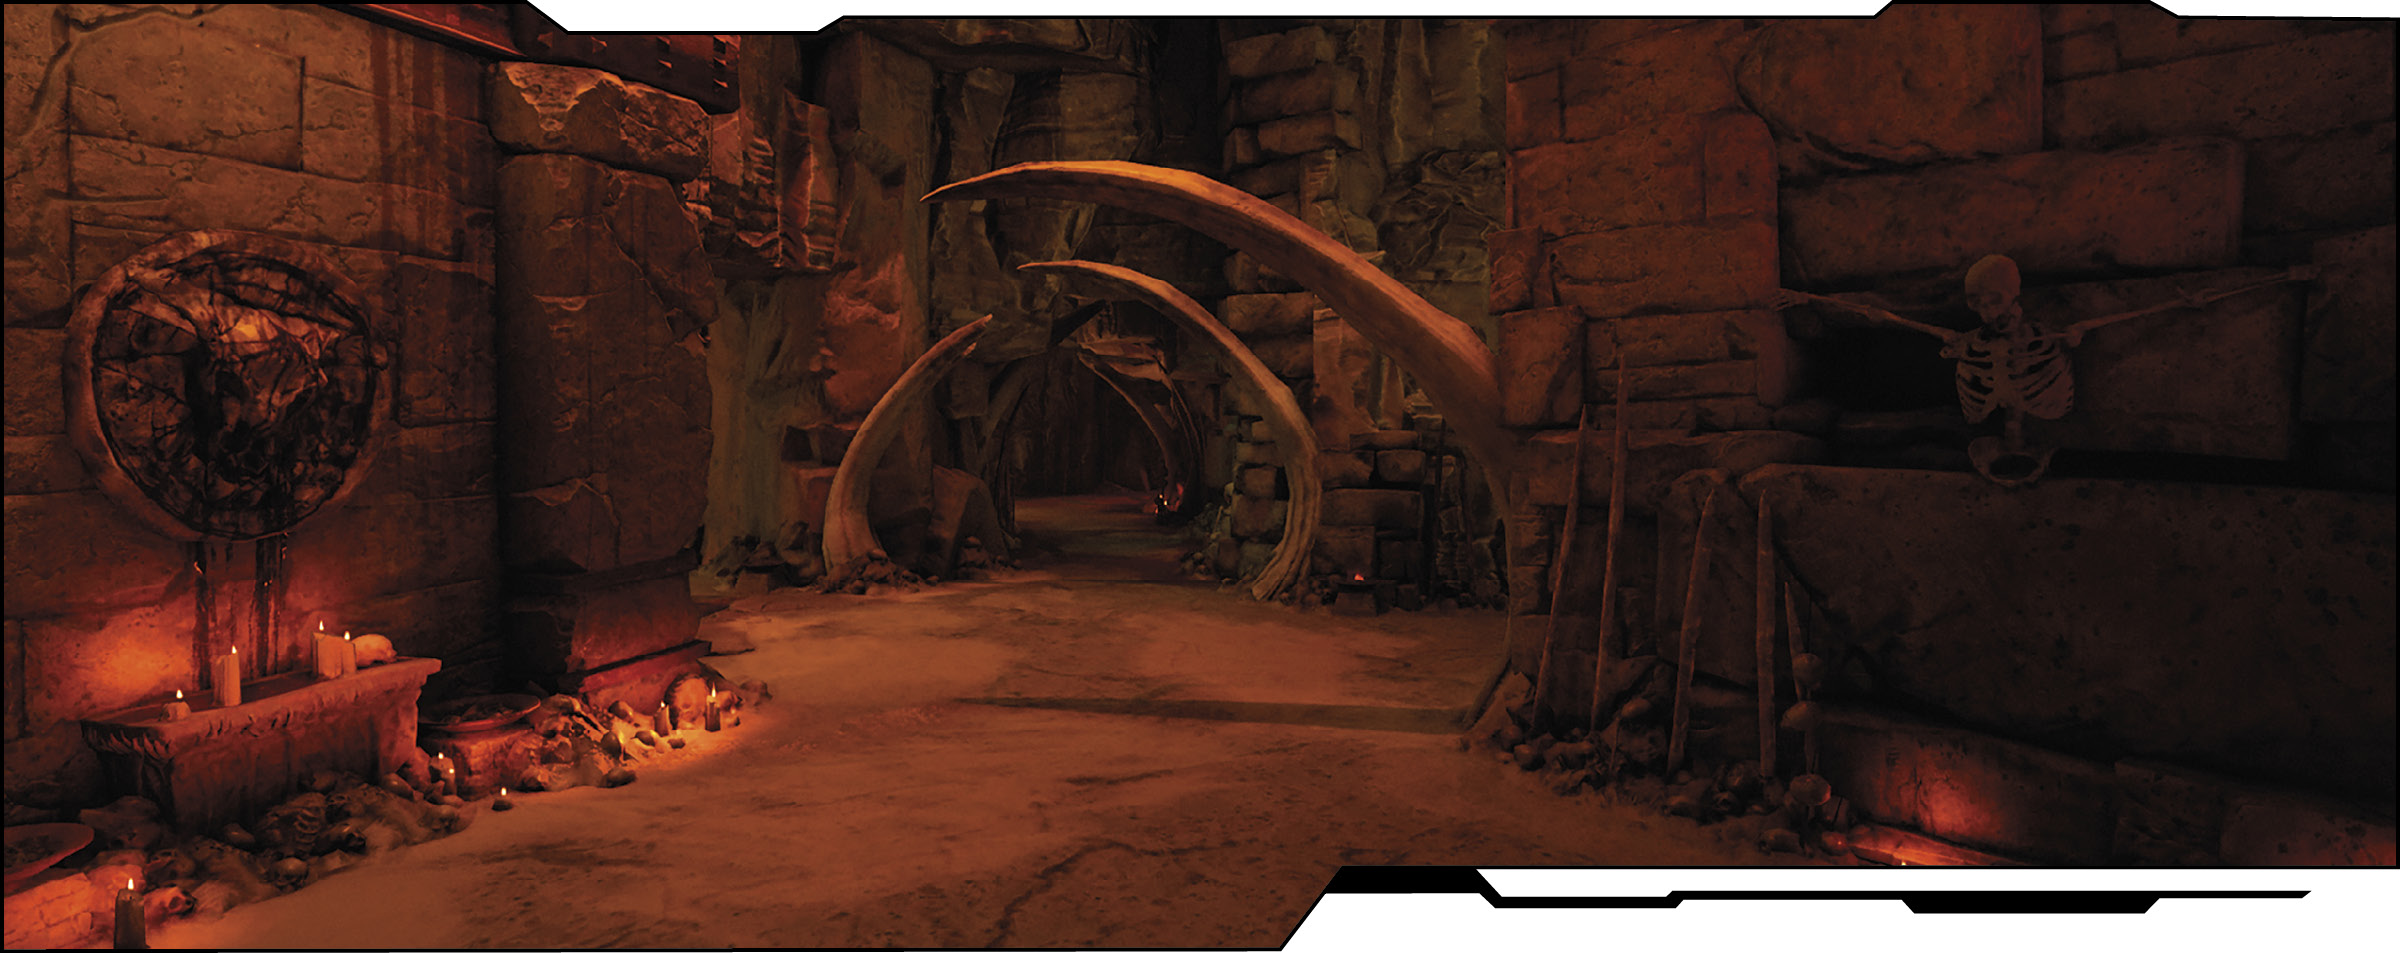
Sacrilegious teeters on the edge of an abyss, where one wrong step could be your last. Bone-lined caves lead to pits of lava and floating rock pedestals where the environment is as threatening as your opposition. Sacrilegious is larger than it plays because many of the powerups are clustered in the southwest quadrant of the map. Monitor your Health and Armor carefully when venturing out alone or else your bones, too, will become part of the scenery.
Location Intel
Power Weapon: Gauss Cannon
Powerup: Regeneration, Haste
Suicide Risk: High
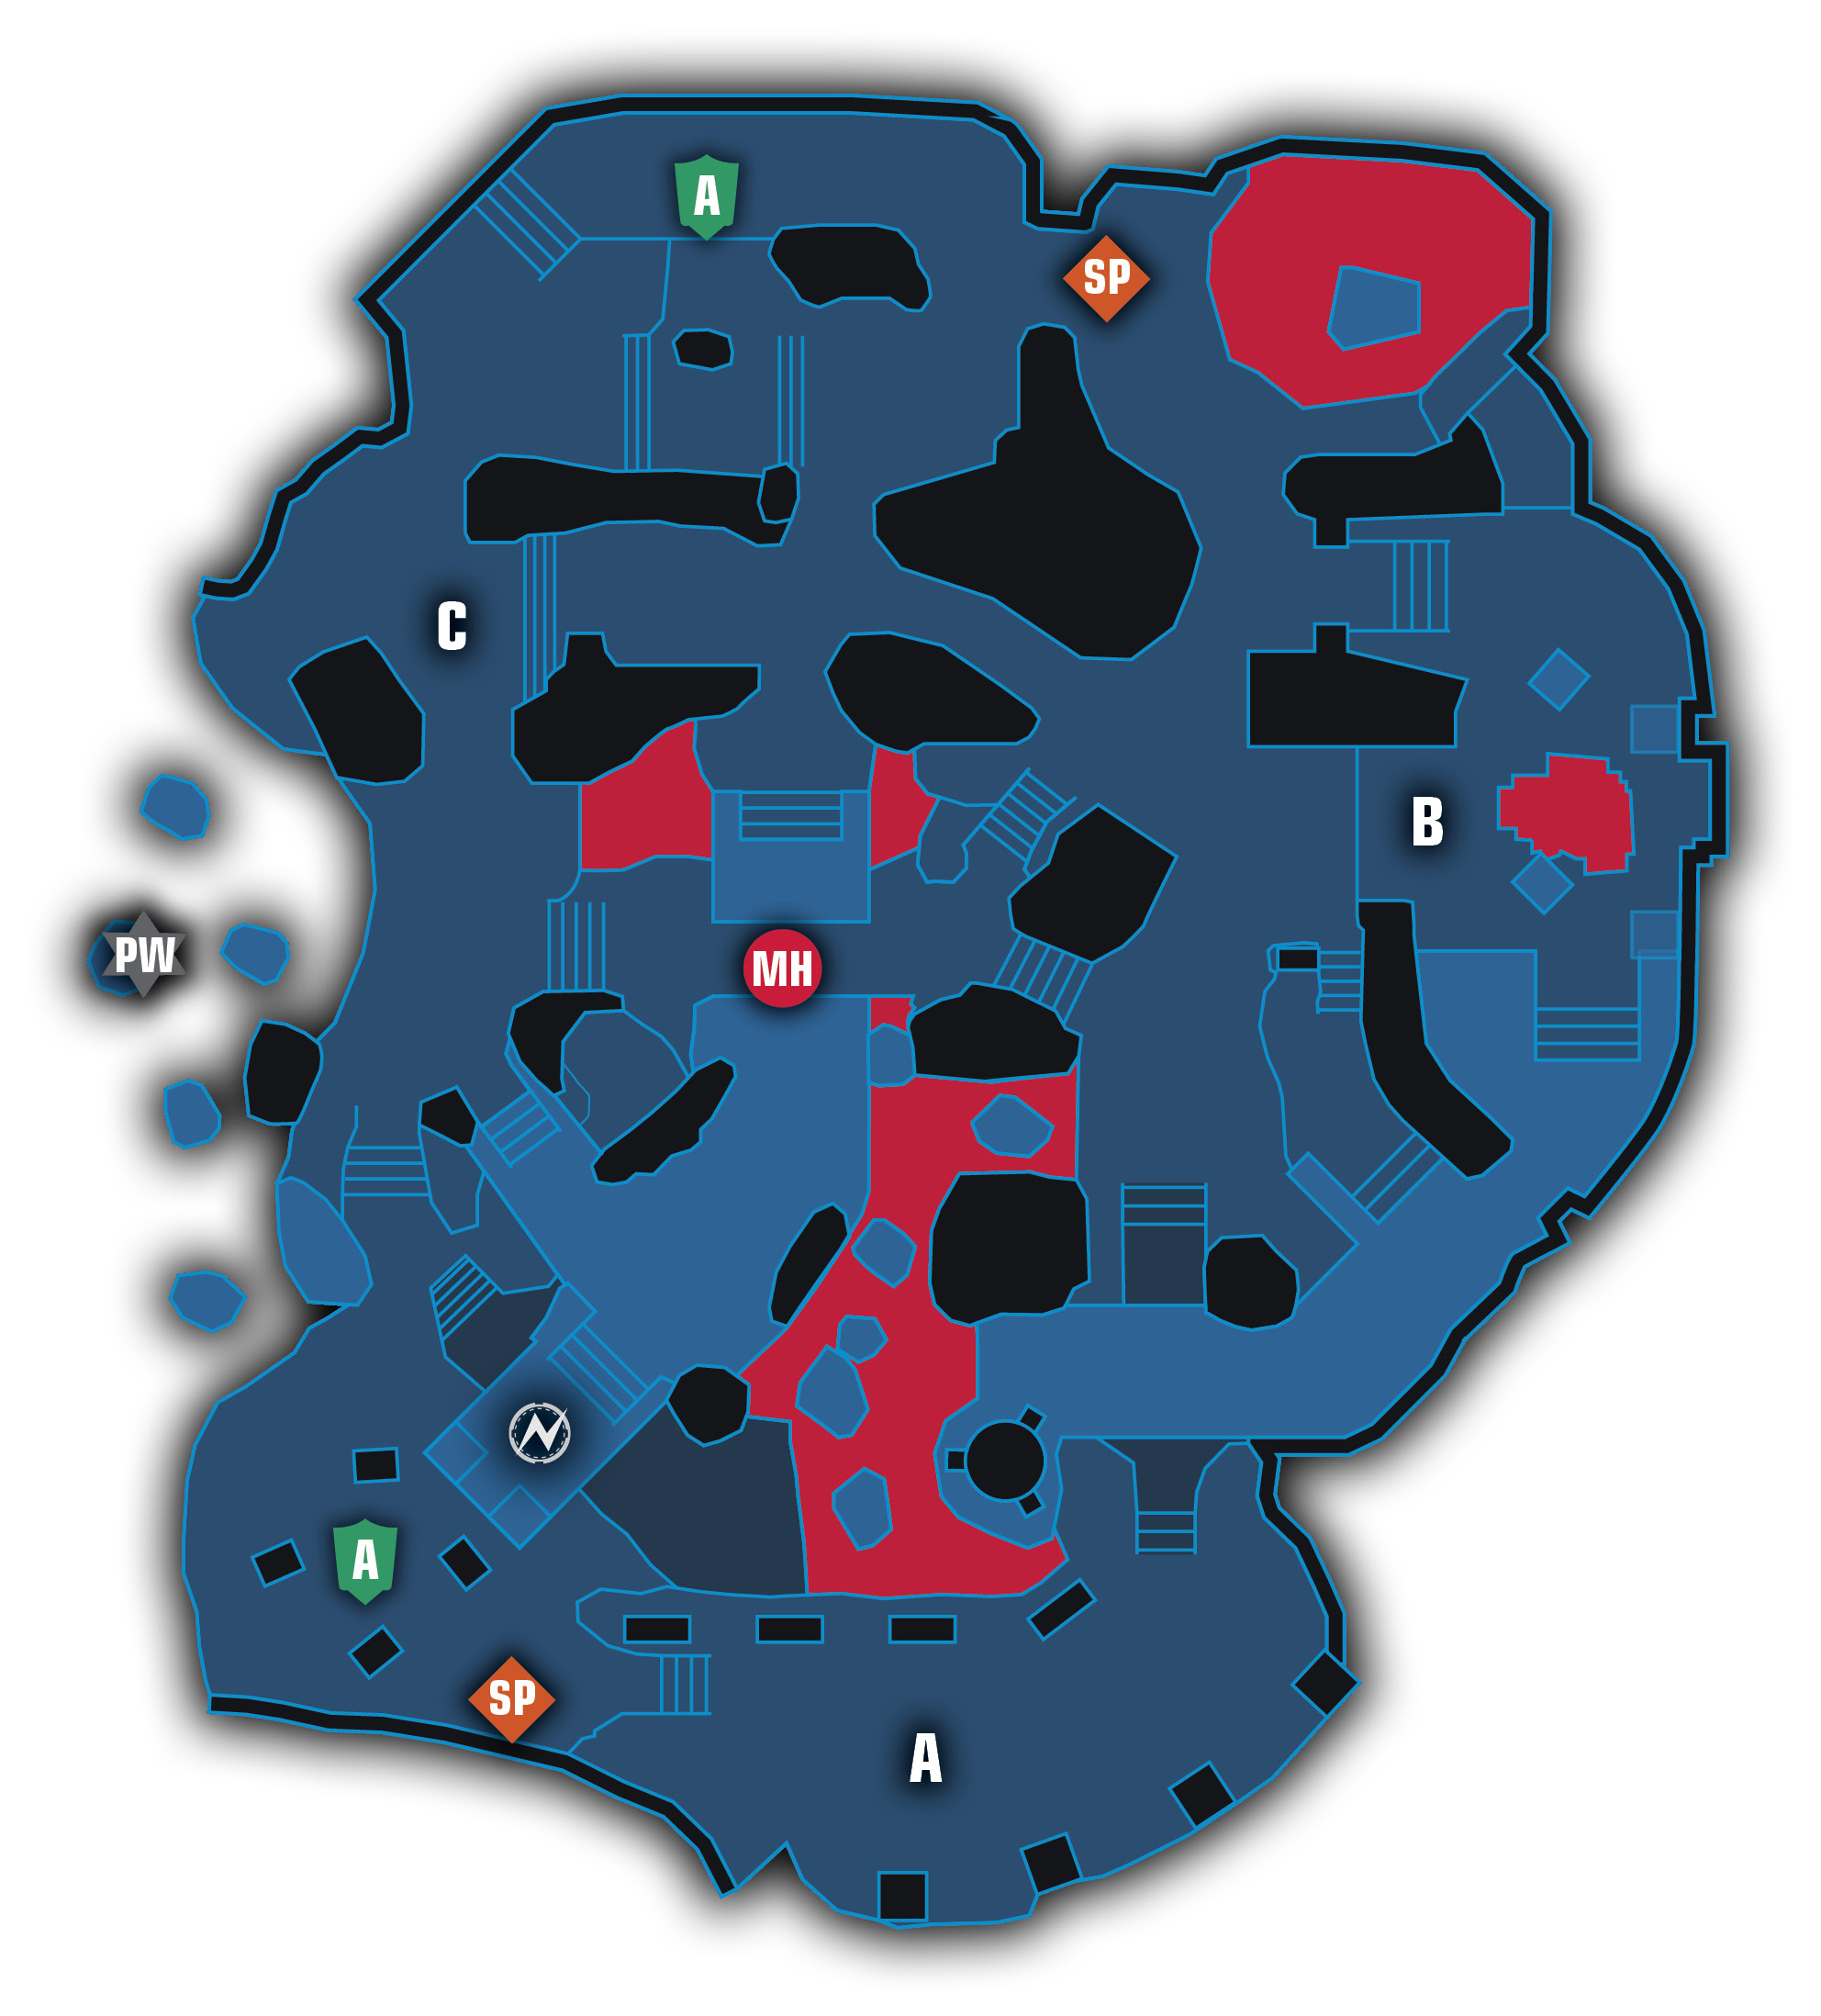
legend
 |
Armor |  |
Portals in |
 |
Domination Capture A |  |
Portals out |
 |
Domination Capture B |  |
Powerup |
 |
Domination Capture C |  |
Power Weapon |
 |
Mega Health |  |
Spawn Point |
Area Recon
The teams spawn in opposite corners of the map, with one located in a lava-filled cave in the northeast corner and the other out in the open to the southwest. Teams commonly clash in the corridor near the stairs in the eastern portion of the map. The team spawning near the four pillars in the southeast can head to the right and sweep around the periphery of the map in a counter-clockwise direction to initiate contact with the enemy as they follow the perimeter south from their spawn point.
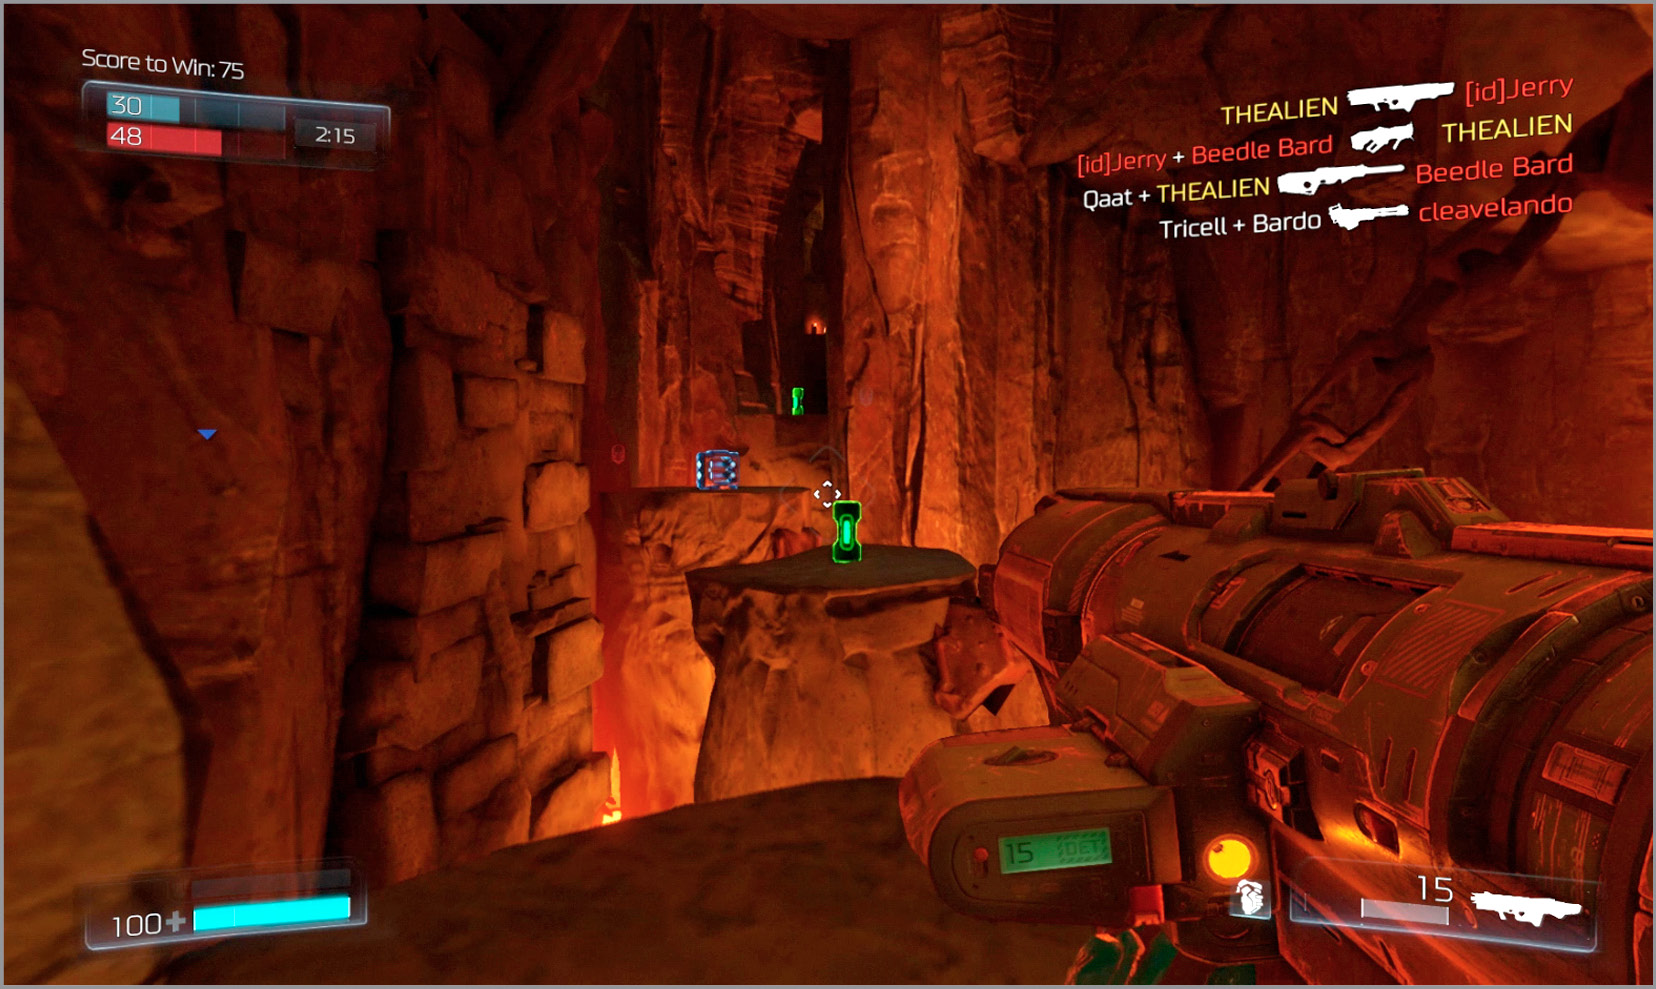
The center and western edge of the map have many obvious landmarks, including a series of floating rock pedestals where the Gauss Cannon can be found, along with an elevated platform that contains the powerup. One of the most dangerous areas on the map is the channel below the Mega Health. This narrow corridor located beneath the two upper ramps leading to the Mega Health is a shooter’s gallery and should be avoided at all costs when enemies are present. The center portion of the map features numerous platform trails with small Health and Amor pickups—grab them by jumping from rock to rock. Those heading in the downslope direction from north to south can run across these pedestals without having to jump, making it safer and faster to collect these items.
Objective Based Modes
Advance with your team toward the initial class in the southeast area of the map, then shift your focus to launching hit-and-run attacks throughout the map while trying to keep the enemy away from the Mega Health and Gauss Cannon spawns. Consider equipping Siphon Grenades and the Plasma Rifle for two attacks that can inflict damage over time across an area. Launch these attacks simultaneously against enemies caught in the channel beneath the Mega Health pickup or on the upper altar where the powerup (and often the Demon Rune) spawns.
Use the shortcuts that lead through the lava pits to collect small amounts of Health and Armor and to surprise enemies by climbing up from ledges they may not anticipate. The element of surprise can play a huge role on this map as there are numerous paths to take. Coordinate with your teammates to fall back to either spawn location (or the southeast corner) and regroup when you find yourselves getting too separated. Communication is also important when going for the Gauss Cannon as having multiple teammates so exposed, over such delicate footing, is a recipe for disaster. It wouldn’t take much from the enemy to assist in your Suicide. Remember that the powerups are in positions that are highly exposed to enemy fire, so use the buddy system!
Domination
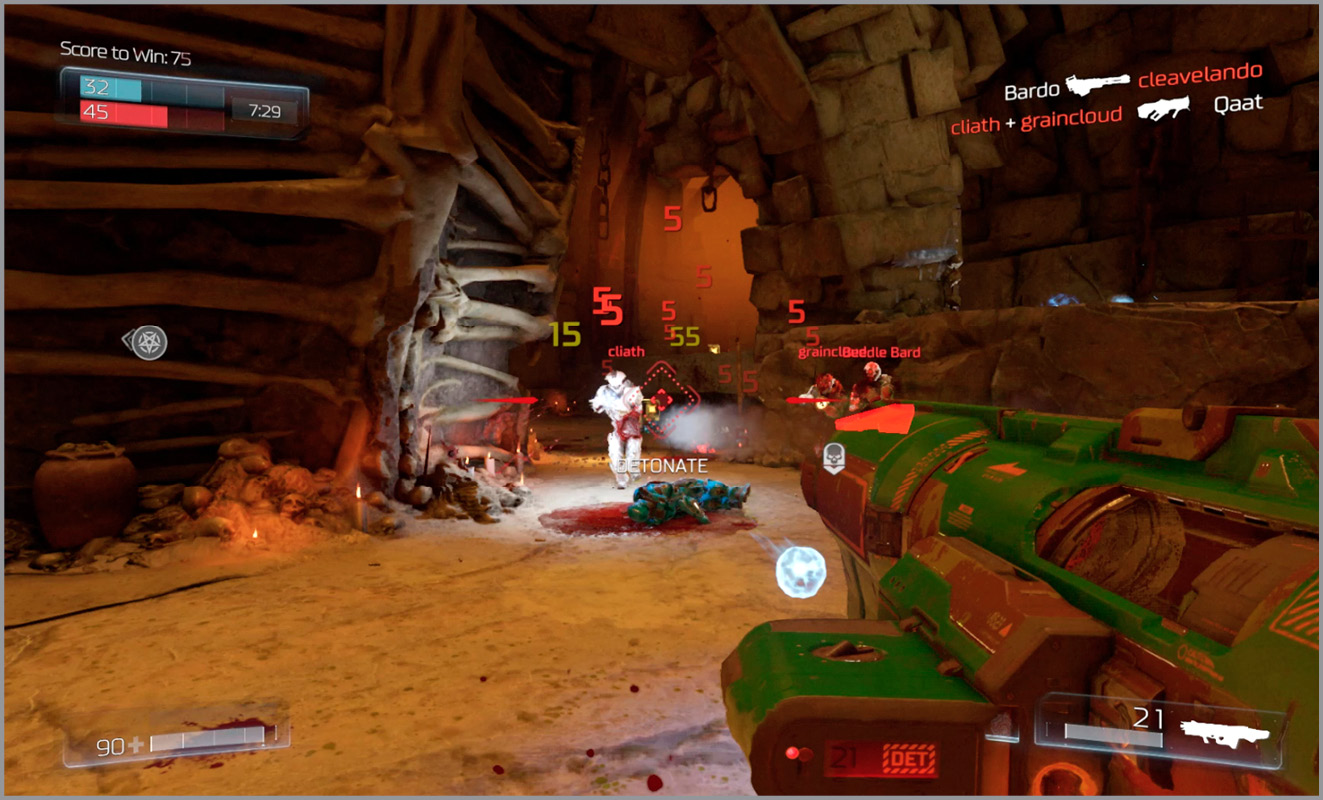
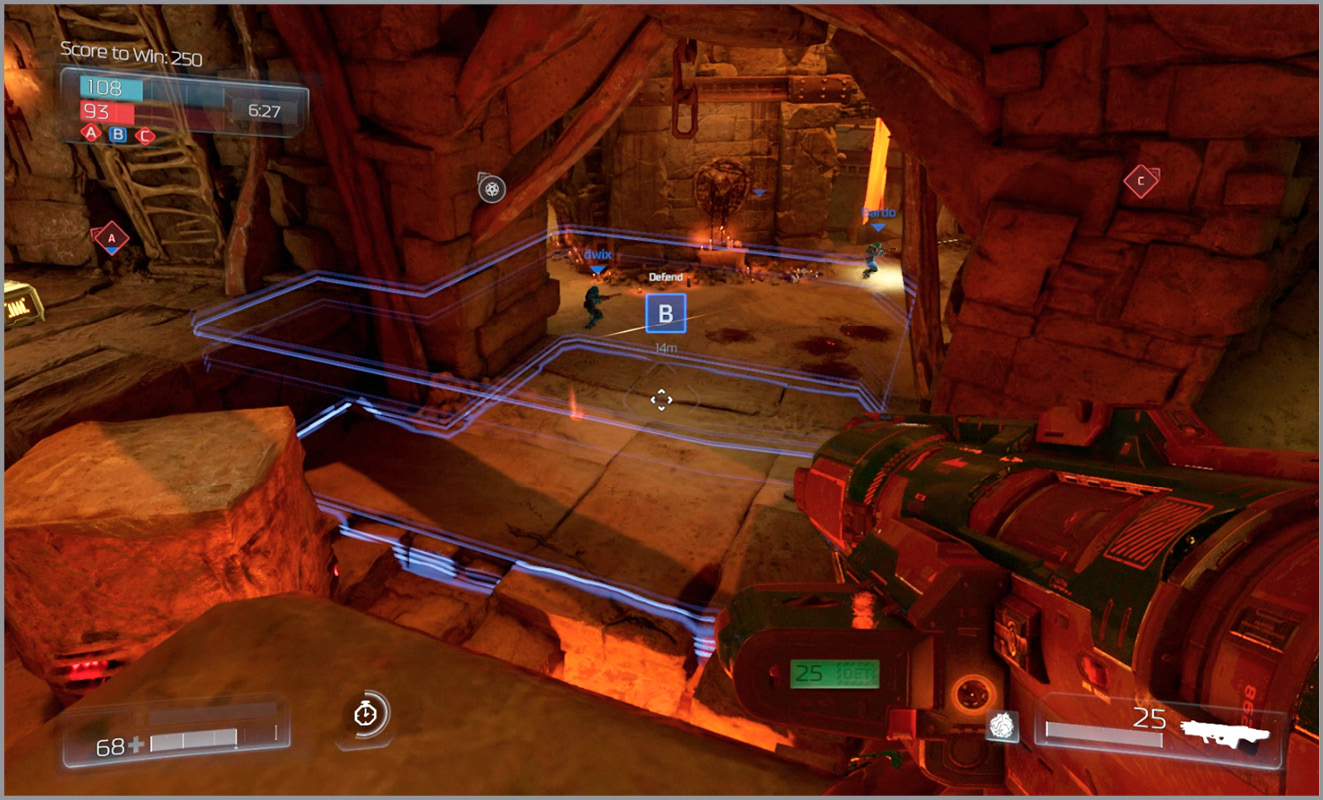
Zones B and C are closer to one another than Zone A, resulting in the latter Control Point often going undefended. Claim it quickly if you spawn in the southwest corner, then split your forces and attack the other two Zones, both of which can be difficult to hold for long. Zone B is one of the more easily defended Control Points thanks to the nearby pit of lava and the upper ledges that offer a grand view of the area—and excellent sightlines for attacking approaching enemies. Zone C is out in the open at a crossroads of four paths and has the added disadvantage of being near the Gauss Cannon. Alert your teammates if the Gauss Cannon is taken by the enemy and consider yielding Zone C to the enemy at once. Fall back to Zones B and A where you may be able to fortify your position or trade one Control Point for two.
Round Based Modes
Those playing Freeze Tag here should be extra careful when charging the enemy near the center of the map or near the lava pits along the eastern edge as there are numerous barrier-free places to fall to your death. Try to keep to the upper ledges and bridge-like paths overlooking the channel beneath the Mega Health spawn or any of those atop staircases along the western side of the amp so that you are shooting from the higher ground.
For Clan Arena matches, consider equipping the Rocket Launcher, Siphon Grenade, and Vortex Rifle for the initial clash with the enemy. Lob the Siphon Grenade to offset any damage that you might be taking. Then either fire rockets at the crowd or fall back and snipe with the Vortex Rifle. The Burst Rifle can also be effective in this situation.