Doom Guide Campaign Walkthrough
Resource Operations
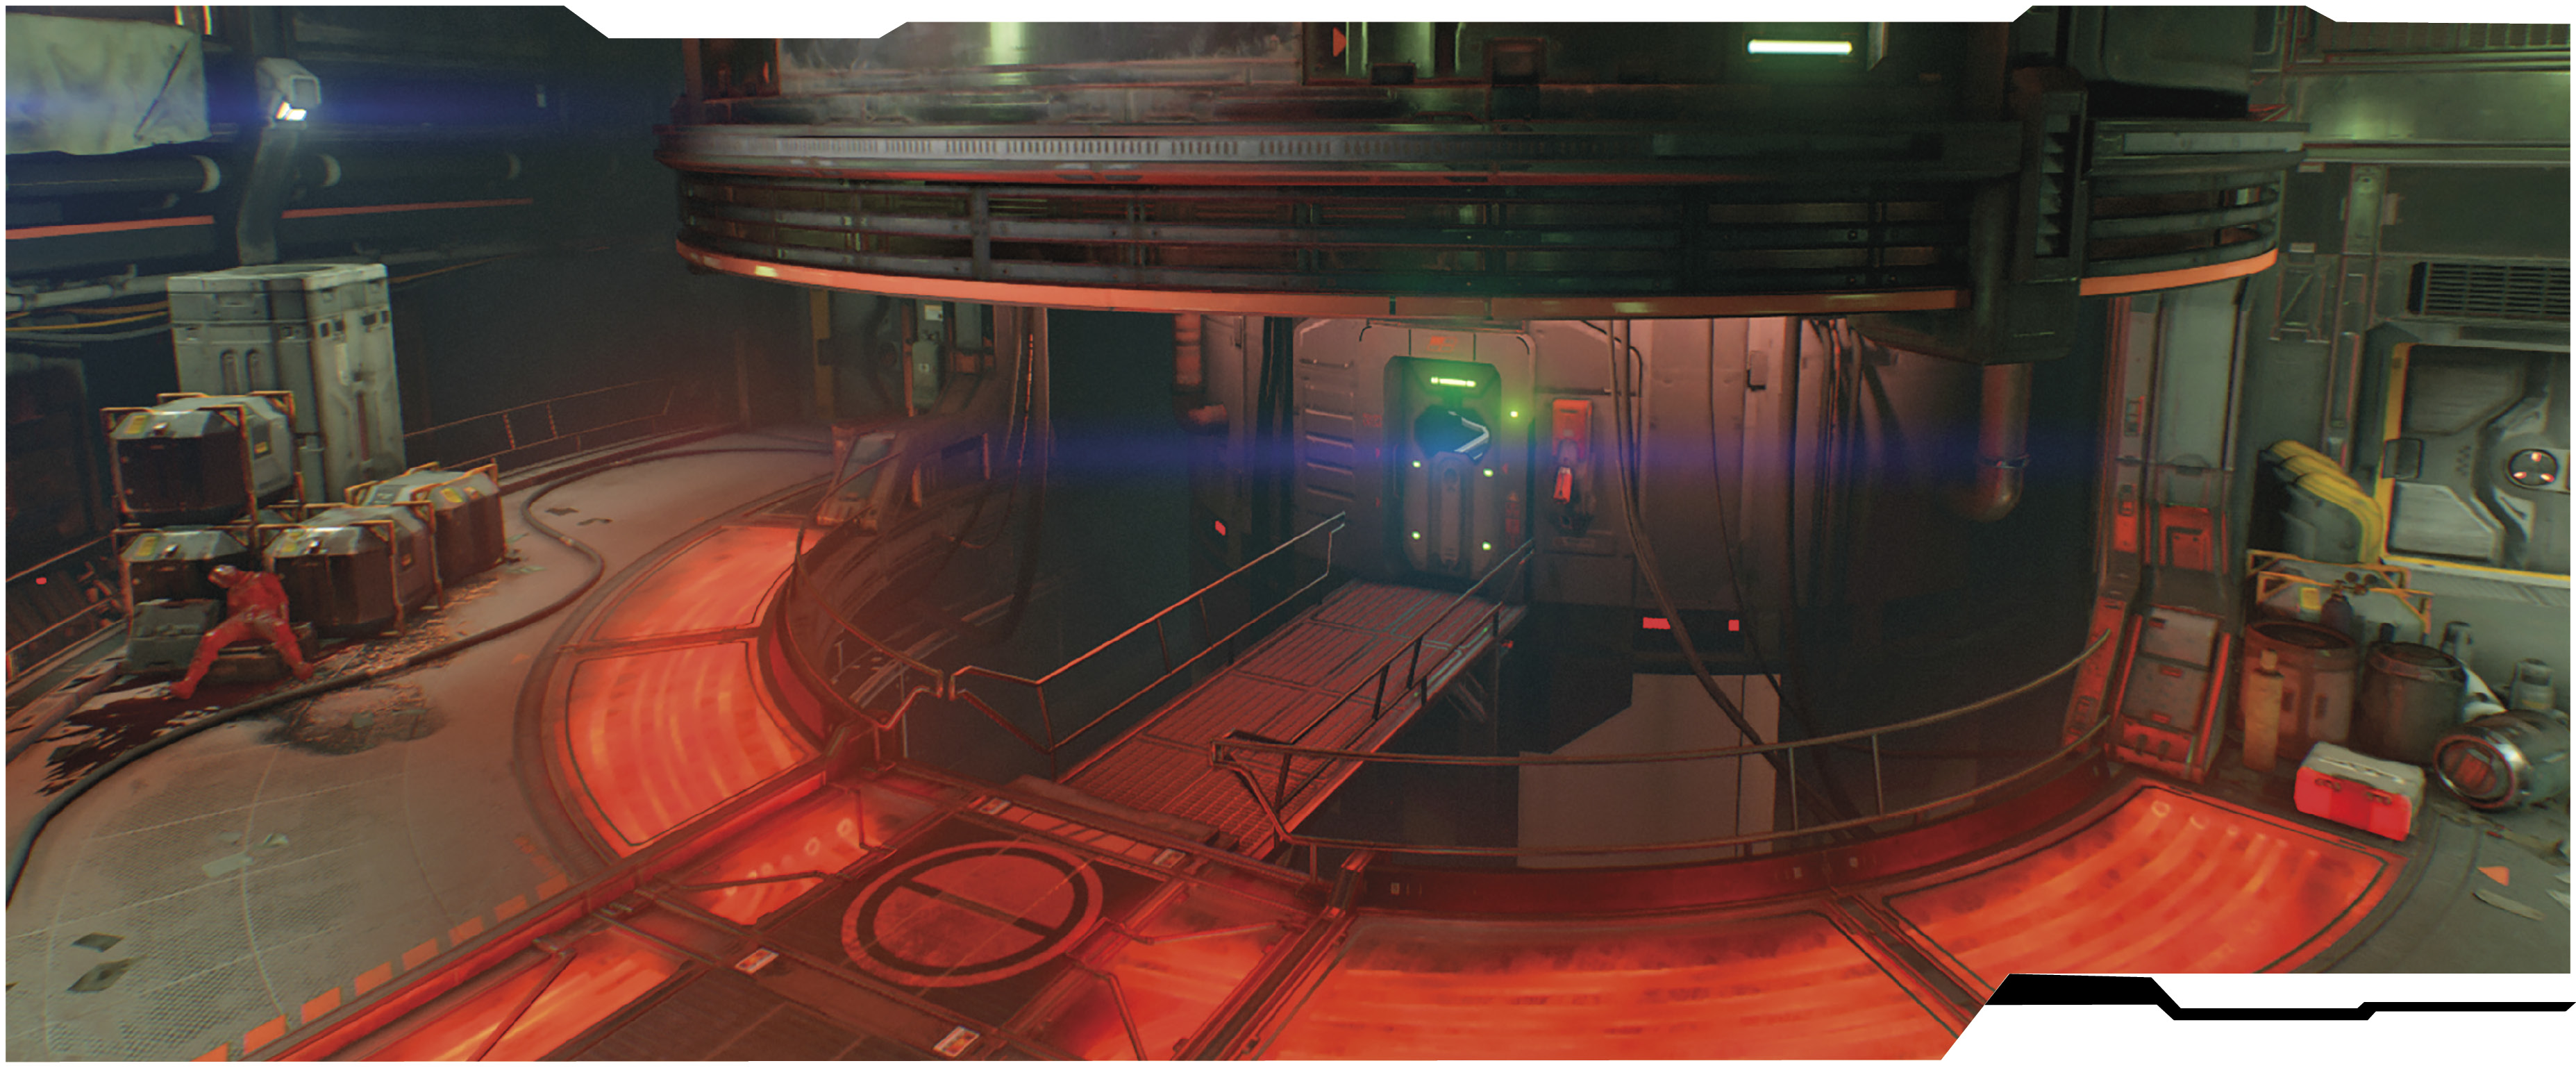
Main Objective Discover the Cause
New Weapons/Equipment Chainsaw, Plasma Rifle, Heavy Assault Rifle
New Monsters Possessed Engineer, Possessed Security
Challenges
| Challenge | Description |
|---|---|
| Two-fer | Kill 2 of The Possessed with one trigger pull from the Shotgun. |
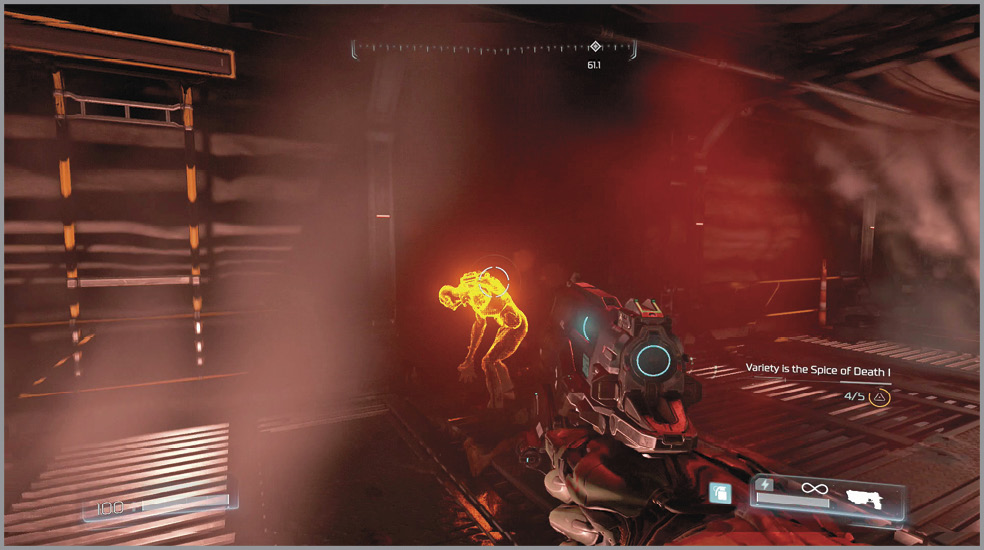
| Variety is the Spice of Death I | Perform 5 different Glory Kills on The Possessed. |
| Quite the Explorer | Find 3 Secrets. |
Collectibles
| Collectible | Unlocks |
|---|---|
| Doomguy | Doom Marine Model |
| Bronzeguy | Heavy Assault Rifle Model |
Classic Map: DOOM - Hangar
Restore Facility Power
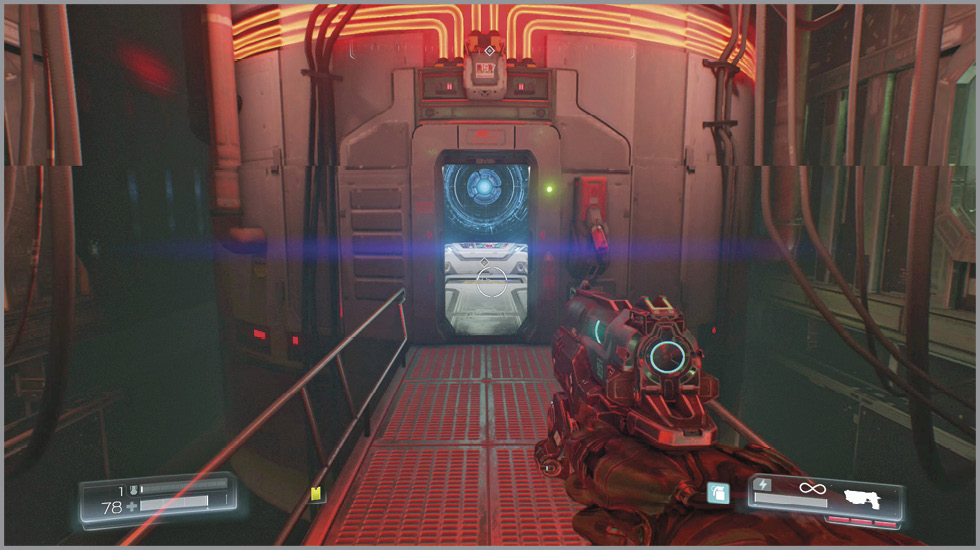
Climb the steps and follow the corridor into a depot. The Possessed wander all around the start of this mission. Take advantage of the situation to earn the first and second Mission Challenges. Pull open the door on the left and continue through the hall to find a control center.
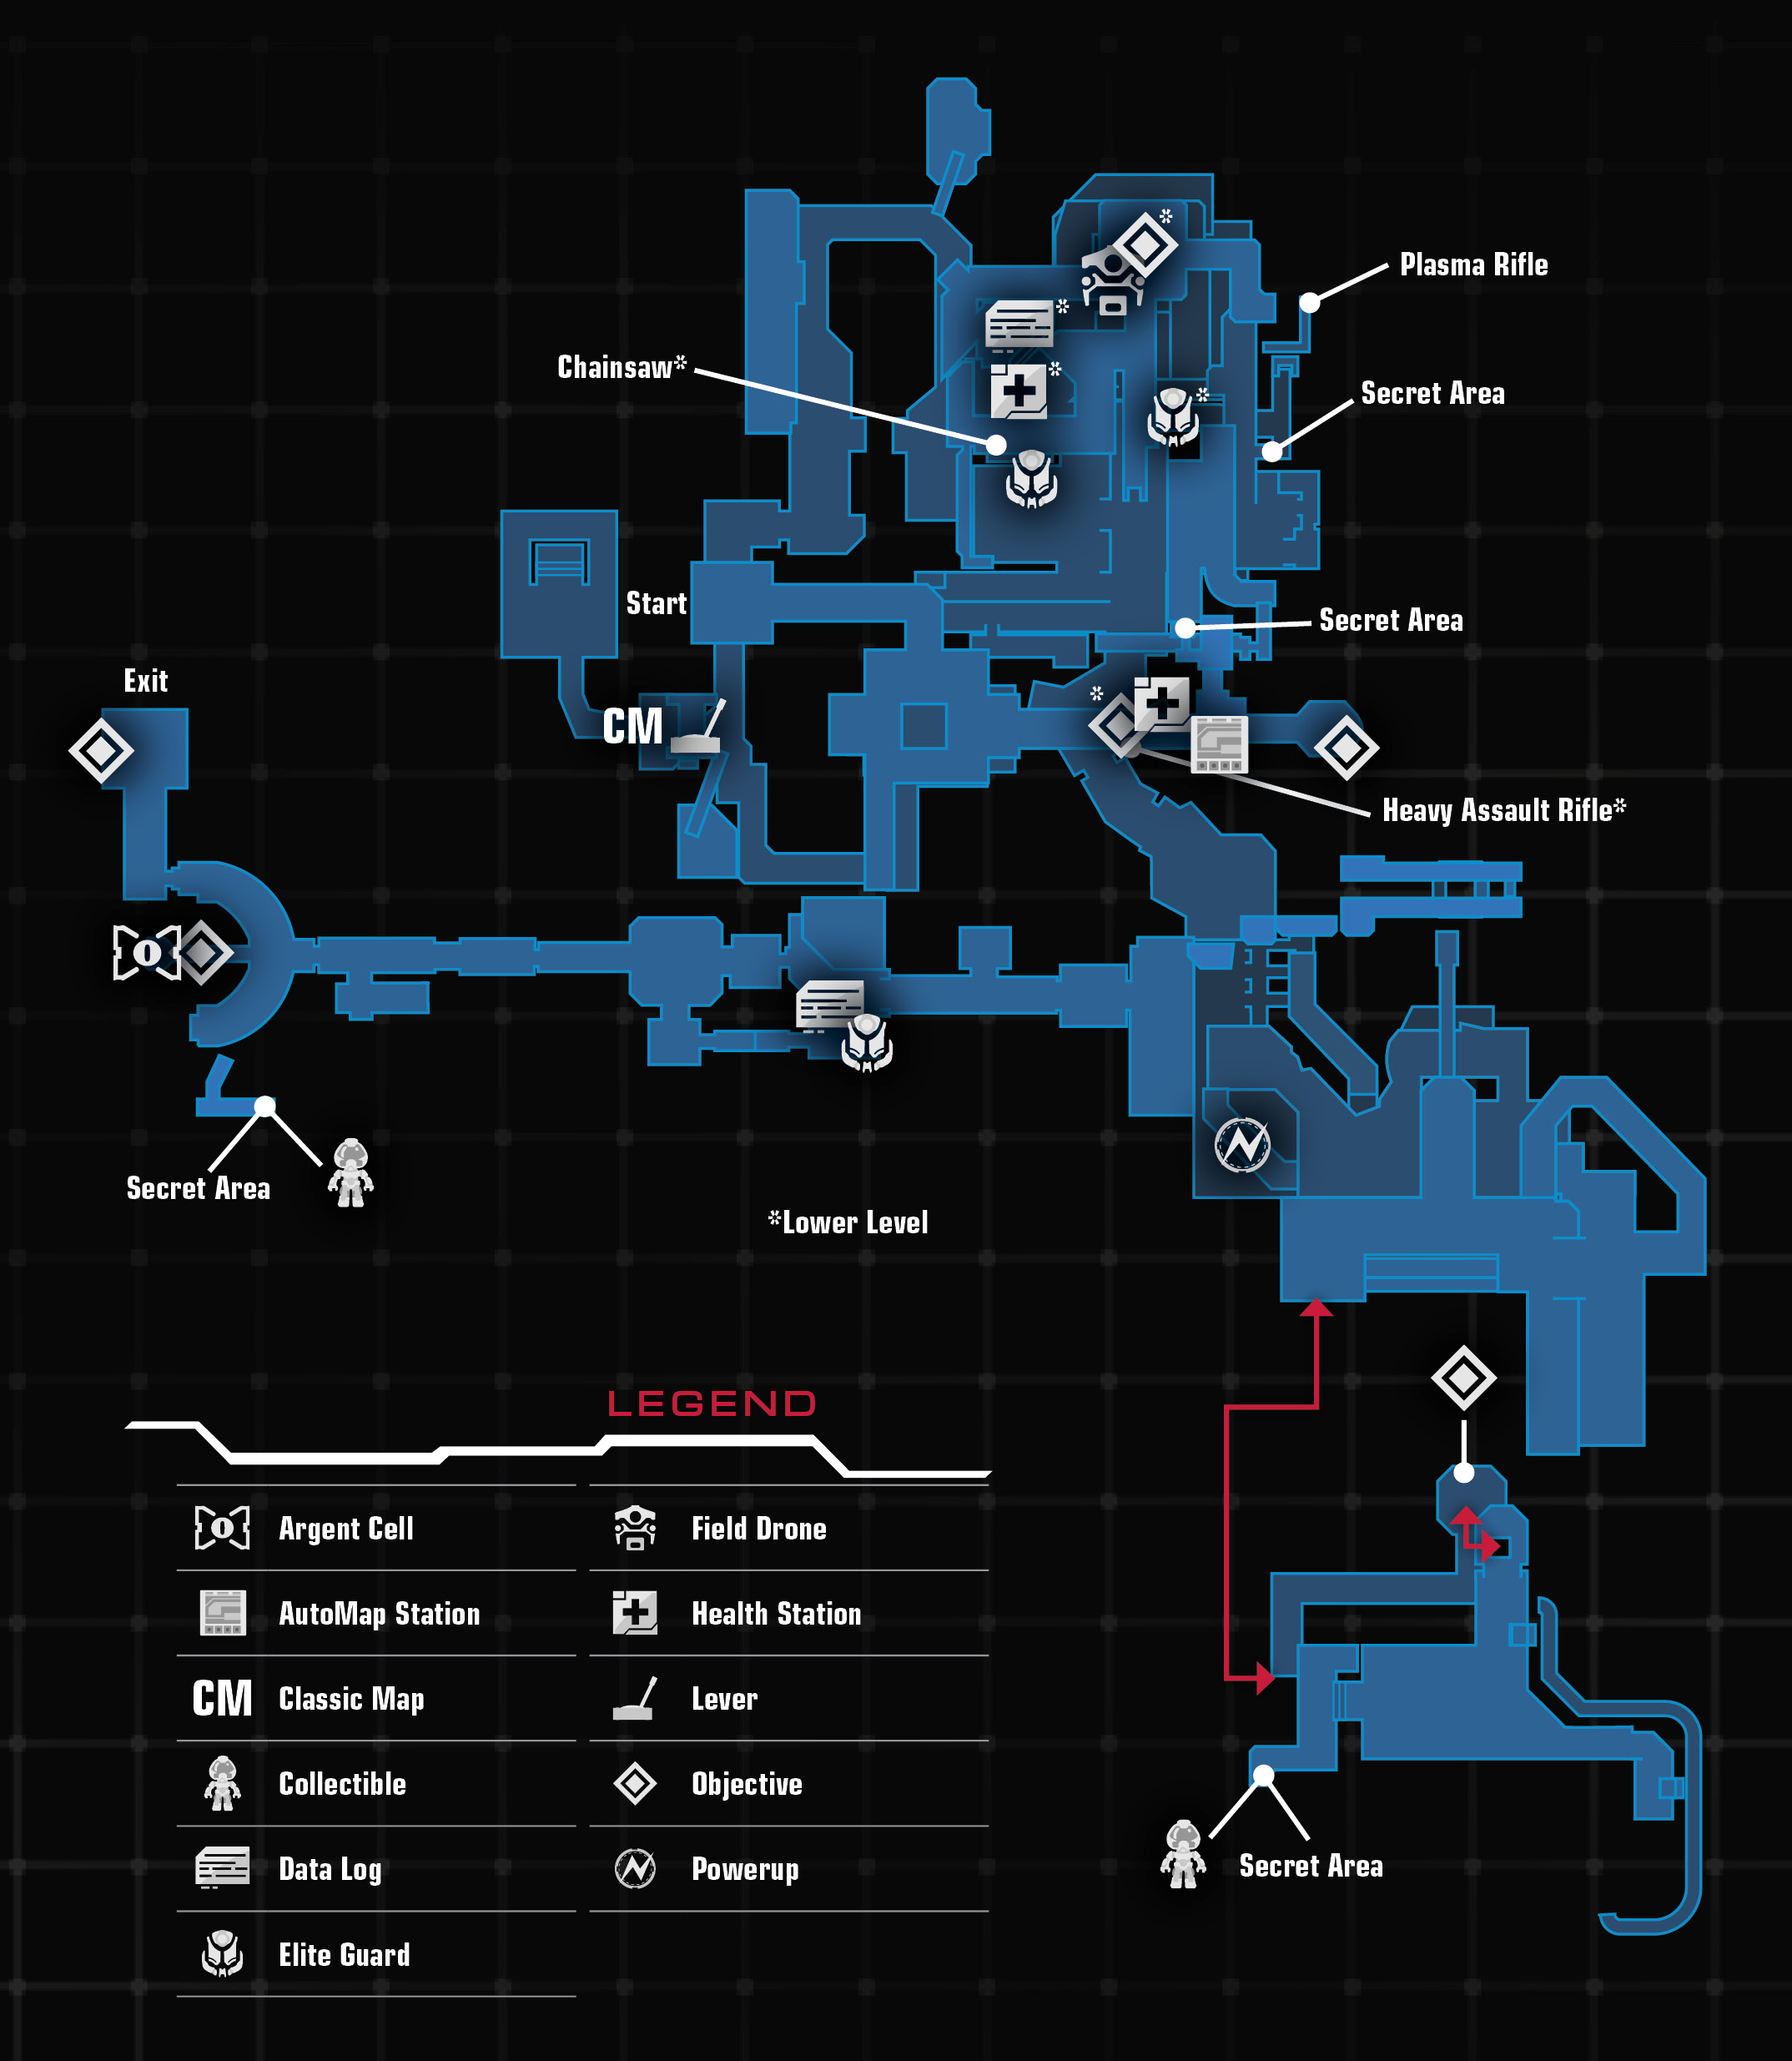
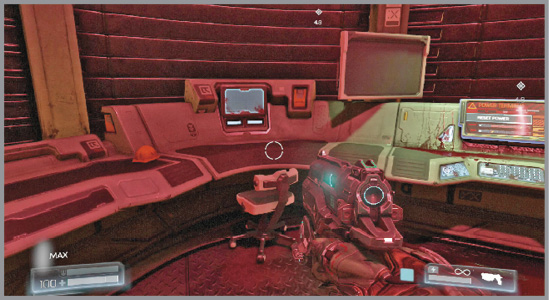
Before interacting with the console, turn around and spot the maintenance access above the hall. Jump to the ledge and follow it to the right to find a secret area and a nice armor boost. Return to the computer and interact with it to reset the power. Unfortunately, a manual release is required to get the satellite aligned.
Gain Satellite Array Access
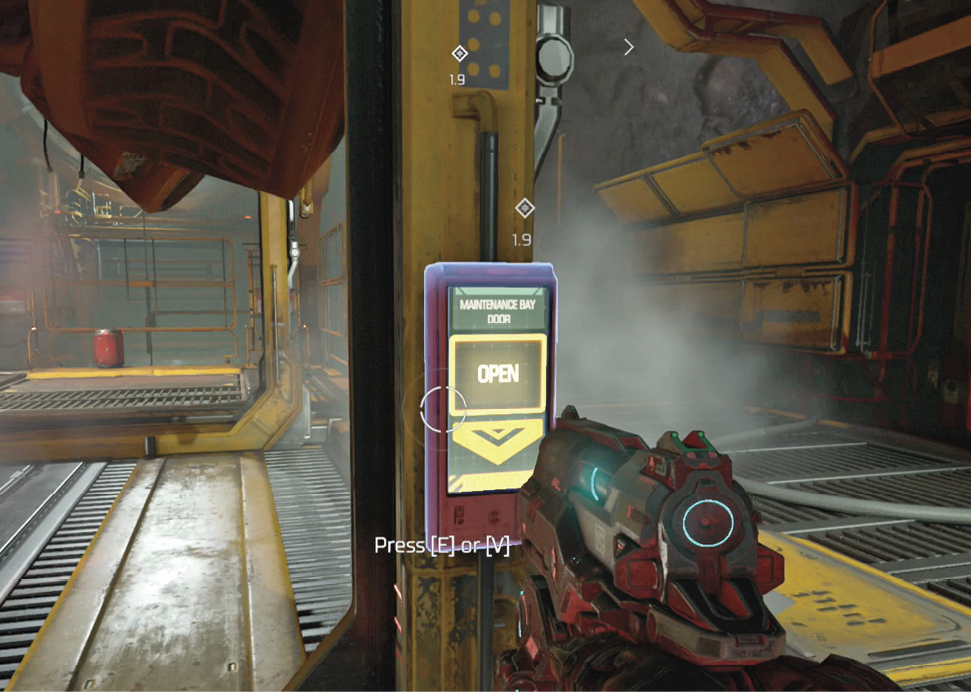
Descend the steps and interact with the AutoMap Station on the left. Return to the main room and approach the Maintenance Bay Door controls on the far leg of the lift. Use it to open the door. Soften up one of The Possessed below and then perform a Glory Kill from above to add to the second challenge.
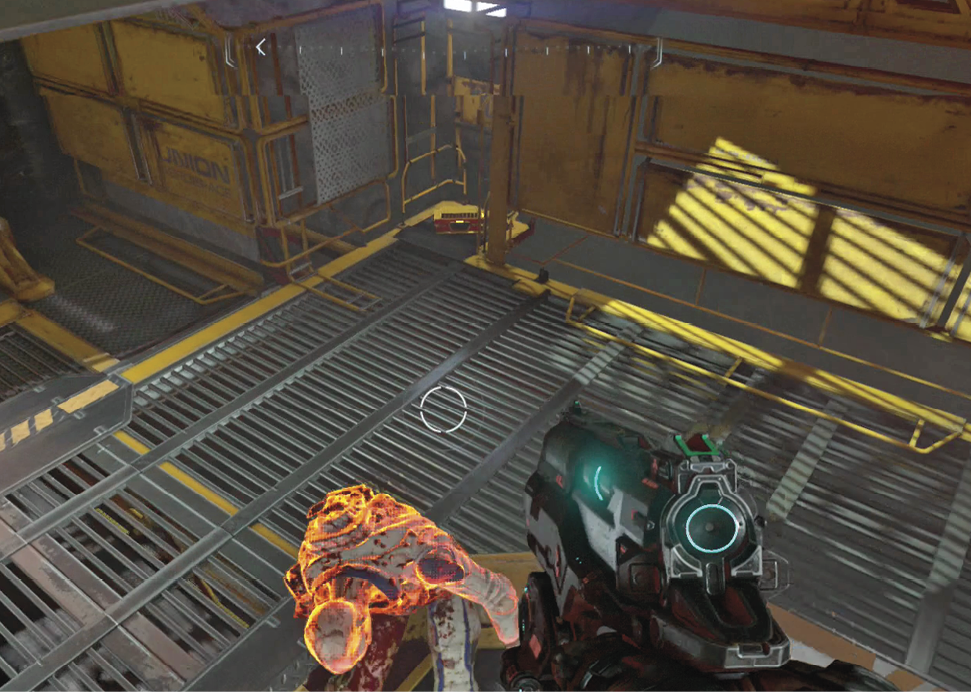
Follow the walkway around the outside of the room, picking off the demons along the way. Continue along the path all the way around and pry open the jammed door. A new monster is introduced inside. Take out the Possessed Engineer first, as it explodes when killed. This can be used to your advantage to weaken and eliminate nearby foes, but the detonation can cause serious damage if it gets too close.
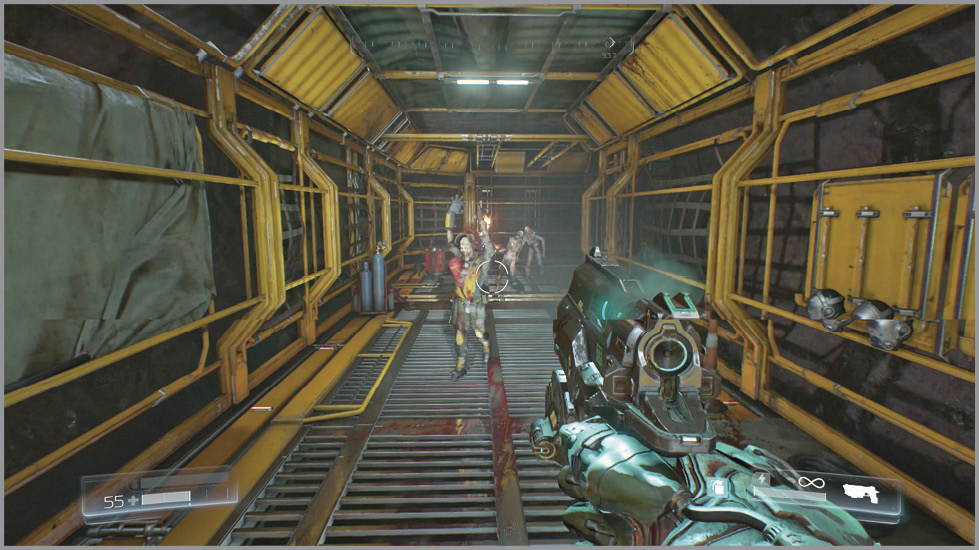
Follow the corridor to a big room that’s chock-full of demons. Pull out your Shotgun and start knocking them out. Monsters attack from both sides of the gap, so be ready to make the jump to the other side. When facing a large group of enemies, always look for ways to break line of sight. There isn’t a mechanic in DOOM to duck behind cover, but putting an object between you and them can make the difference in a battle.
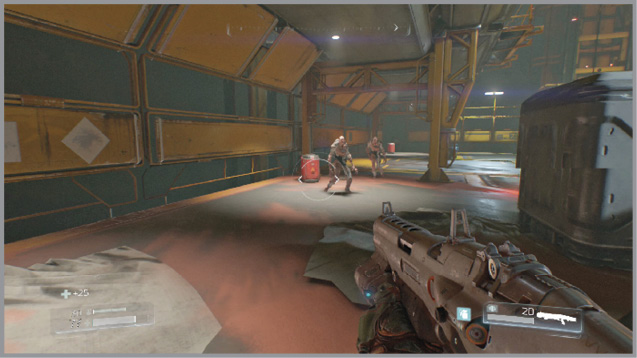
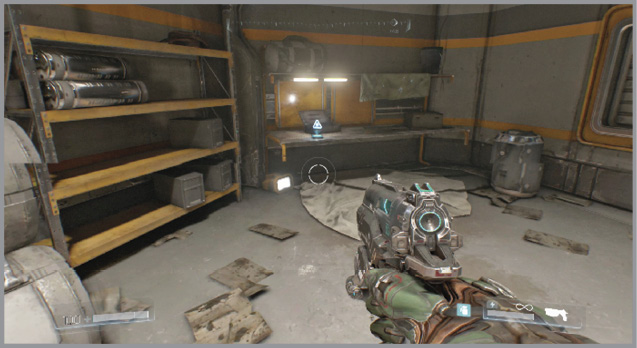
Once the demons have been eliminated, move around to the far side from the entrance and grab the Data Log on the workbench. Look for an accessible console to the left and press the Stop button to halt the elevator on the far wall. Use these to reach the upper platform. Walk out onto the crane and jump over to the ledge on the left. Enter the office to find armor and an alternate route to the locker room. Otherwise, a door near the Data Log is also open.
|
Chainsaw Pull the Chainsaw out of the corpse ahead. This is an extremely valuable melee weapon, taking out any enemy with one swipe. Be conservative, though, as it requires the extremely rare fuel. Use the Health Station if needed, then exit via the far door. |
Find Yellow Access Key
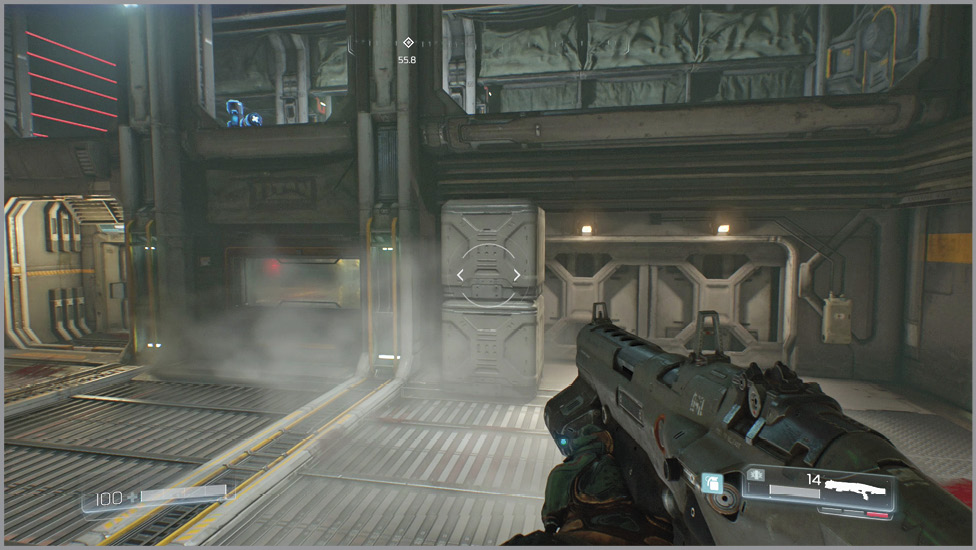
Wipe out the demonic presence in the Cargo Station to cancel the lock down. Approach the Dish Access door at the far end to find out you need yellow access to get through. Interact with the console to begin an echo-recording playback. Climb onto the nearby stack of crates to reach the upper level, watching out for the containers that move from right to left.
Before continuing toward the objective, follow the maintenance access to the right to find armor and fuel. Return to the previous location and drop inside the next room to find the Security Station. Unfortunately, it also requires yellow access.
Destroy the Gore Nest
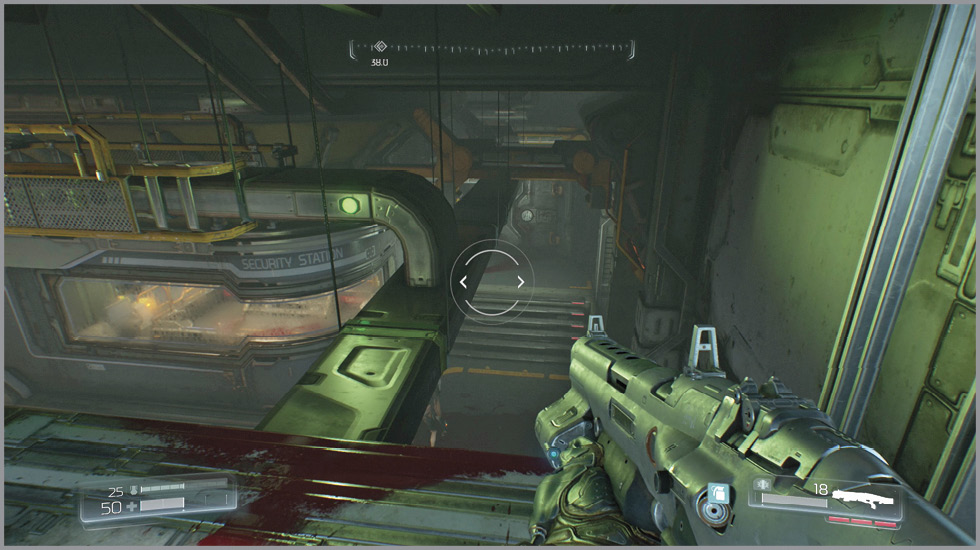
Move down the next hall and open the jammed door to find another Gore Nest. Wipe out the demons, destroy the nest, and then eliminate the usual suspects that show up. Be ready with the Chainsaw if things get tough. Once the room has been cleared, approach the elevator on the bottom level and call it with the console.
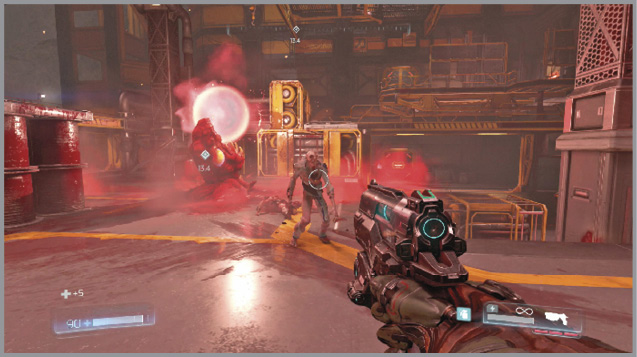
Ride it up and then follow the walkway to find a Field Drone. Next, move down the left hall to find the Yellow Keycard. Enter the maintenance access and eliminate the demons as you continue ahead. Drop through the hatch at the other end to conveniently return to the Cargo Station and the yellow access gate.
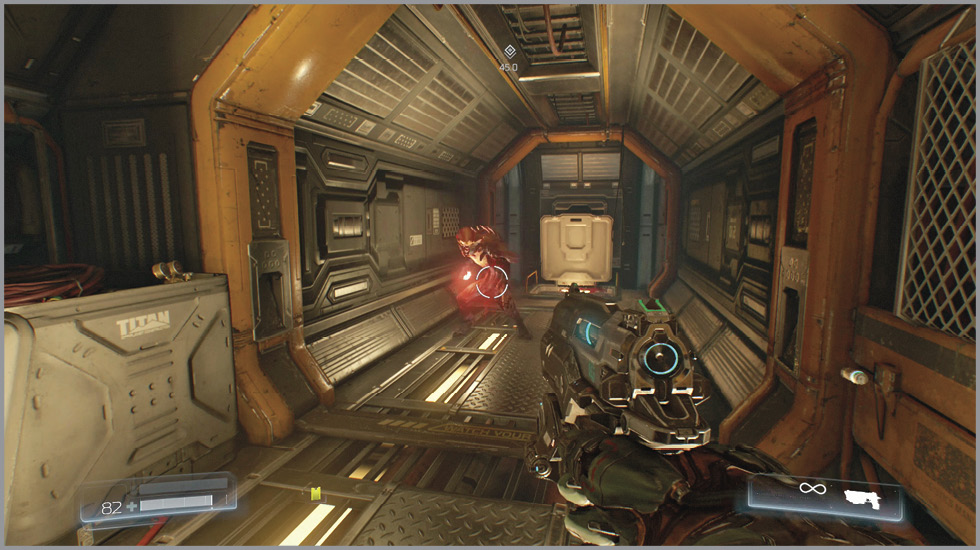
Before opening the gate, climb the crates again and return to the Security Station. Interact with the access control computer to override the area lockdown. This unlocks the gates and hatch that were previously locked. Move toward the Gore Nest location and enter the hatch on the right side of the hallway. Inside, take out The Possessed and Imps before collecting the Praetor Token from the Elite Guard. Before exiting the area, find another open hatch down another corridor. Climb inside to find a Plasma Rifle.
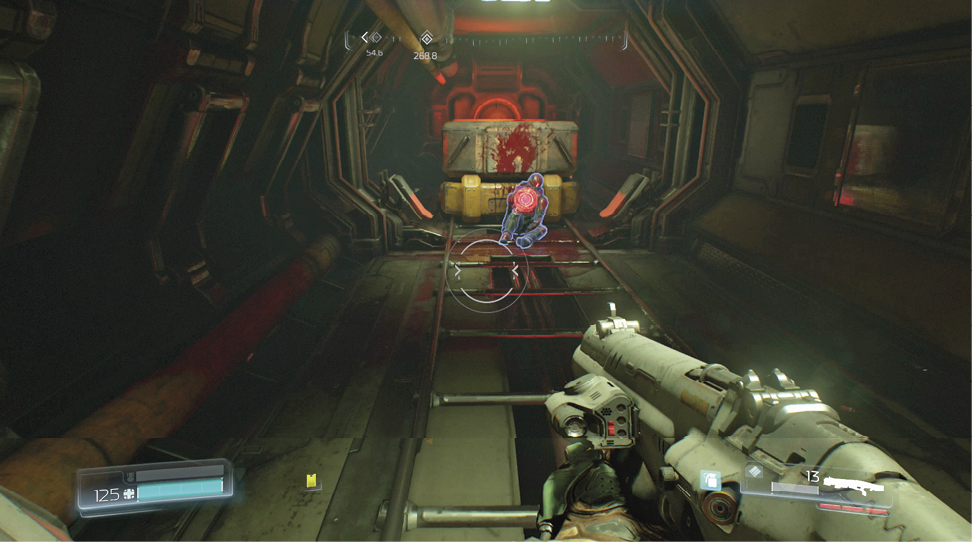
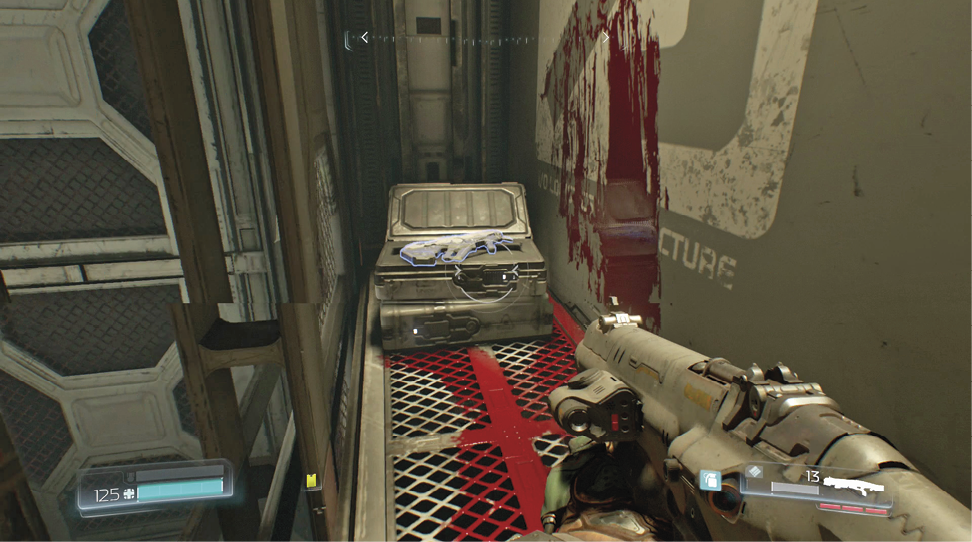
Plasma RifleModifications: Heat Blast, Stun Bomb The Plasma Rifle has a very high rate of fire and leverages plasma projectiles to pick apart enemies. |
Jump across the hatch opening and climb inside the vent shaft. Kick out the cover to reach the Gore Nest room. Take the elevator up to where you found the Yellow Keycard and enter the gate on the right to reach the room above the locker room. Head left, crouch, and enter the shaft in the corner. Follow it until you drop inside a maintenance room. Collect another Praetor Token from the Elite Guard that leans against a forklift.
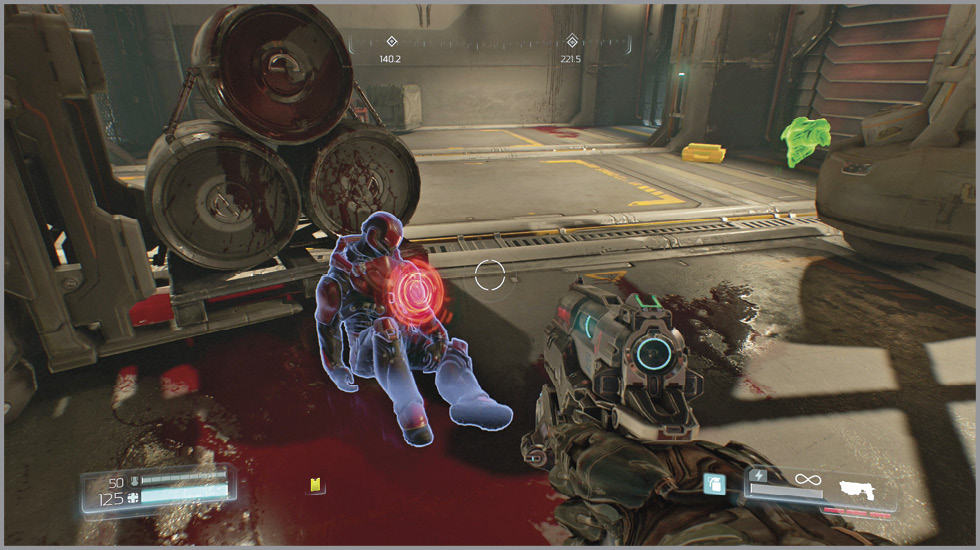
Realign the Resource Ops Satellite
Next, enter the yellow access gate and enter the security room ahead. A corpse still holds a Heavy Assault Rifle. Grab it from his cold hands. Collect the armor, use the Health Station, and then access the Airlock Control on the wall to open the exit. Proceed inside and use another Airlock Control to go outdoors.
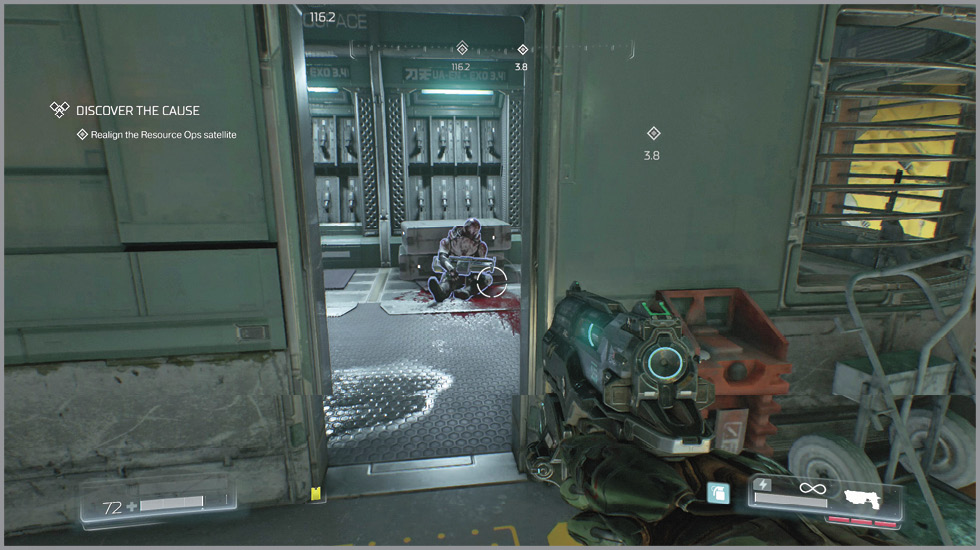
Heavy Assault RifleModifications: Tactical Scope, Micro Missiles With high velocity rounds, the Heavy Assault Rifle is ideal for hitting fast-moving targets. |
Watch out for the Possessed Soldiers who immediately attack. Quickly take them down as you move outside. Follow the path to the right, taking out the demons and collecting the items that litter the sides. Look out for the Berserk Powerup on a metal walkway on the right. Your weapon is removed and you gain the ability to take out any enemy with one punch. Quickly move between the enemies since you don’t have much time before it wears out. Keep an eye out for a new enemy, the Possessed Security, as the ability to punch through its shield is a huge time saver.
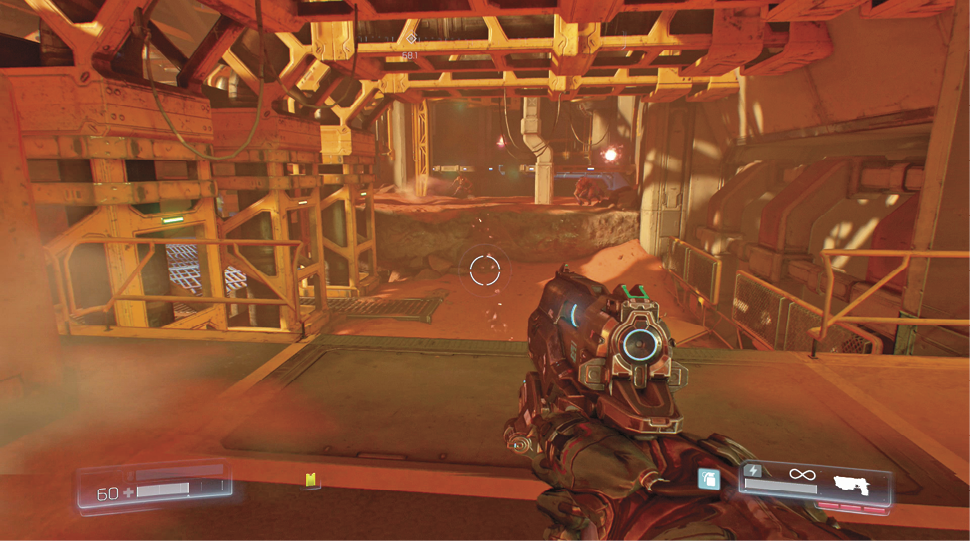
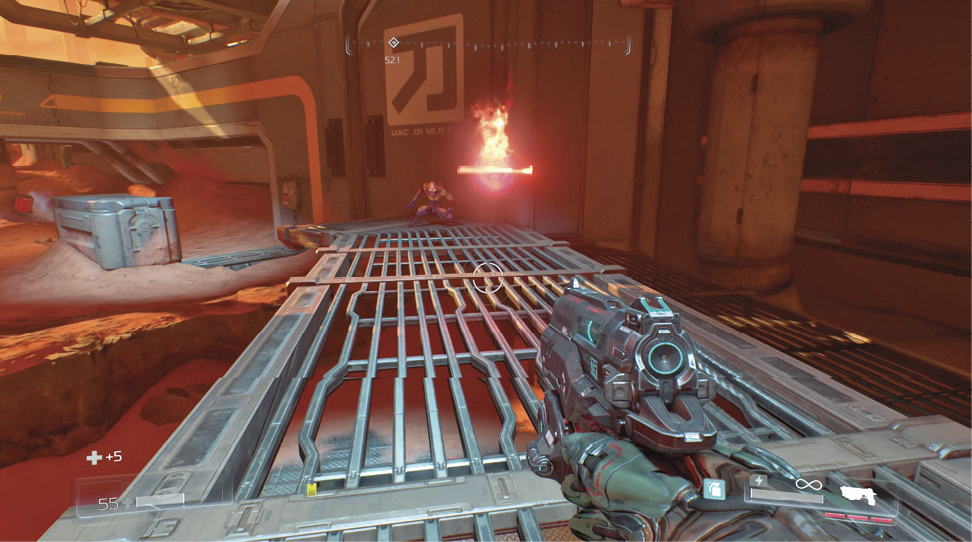
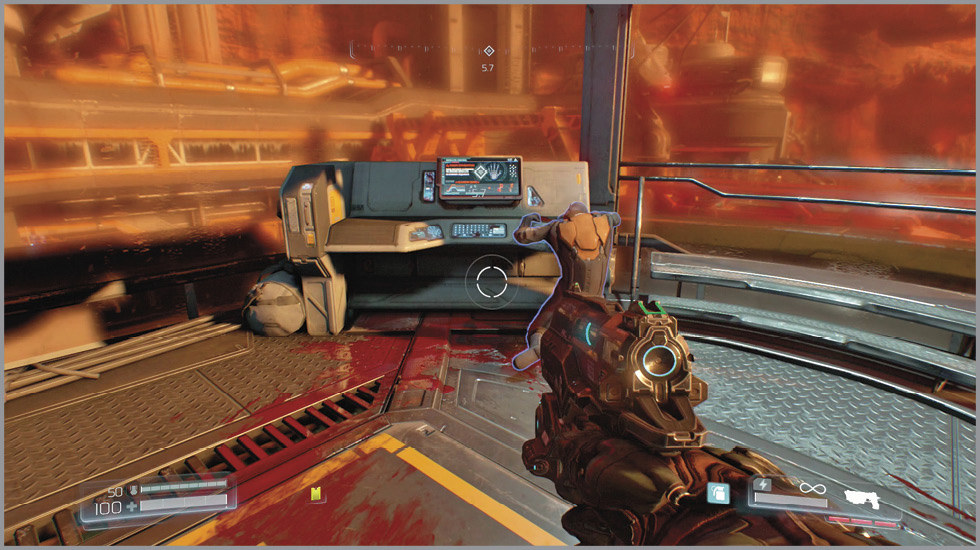
If you get low on health, search the perimeter for health and armor. Once the threat has been taken care of, look for an elevator on the main building. Step inside and ride it up a floor. This leads to a terminal. Interact with the body that leans against the desk to access the computer and realign the satellite dish.
Go to the VEGA Terminal
Ride the elevator back down, move under the terminal that was just used, and hop down to the new walkway. Climb onto the platform ahead, and then jump up two ledges on the right. Follow the red walkway, continuing straight ahead until you can’t go any further. Hop down to the left and approach the VEGA Server Station. Demons burst out with guns blazing, so quickly return fire as you move to one side or the other. Kill the monsters as you move inside.
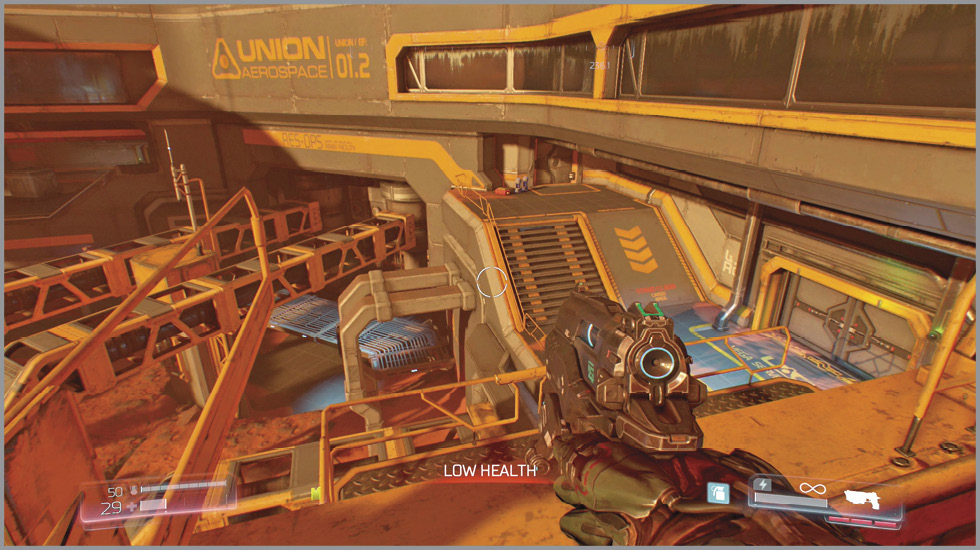
Activate the airlock by using the console and continue inside. Defeat the Imps and The Possessed as you follow the corridor ahead. Grab the Data Log atop a desk on the left, then enter the office on the right. Use the Access Control computer to override the lockdown. Watch out as a Possessed Soldier dives over the terminal.
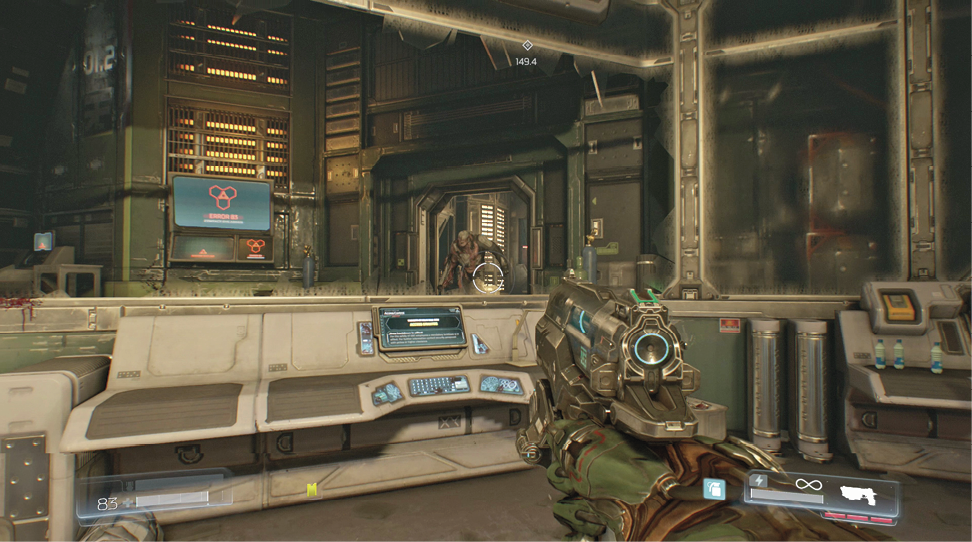
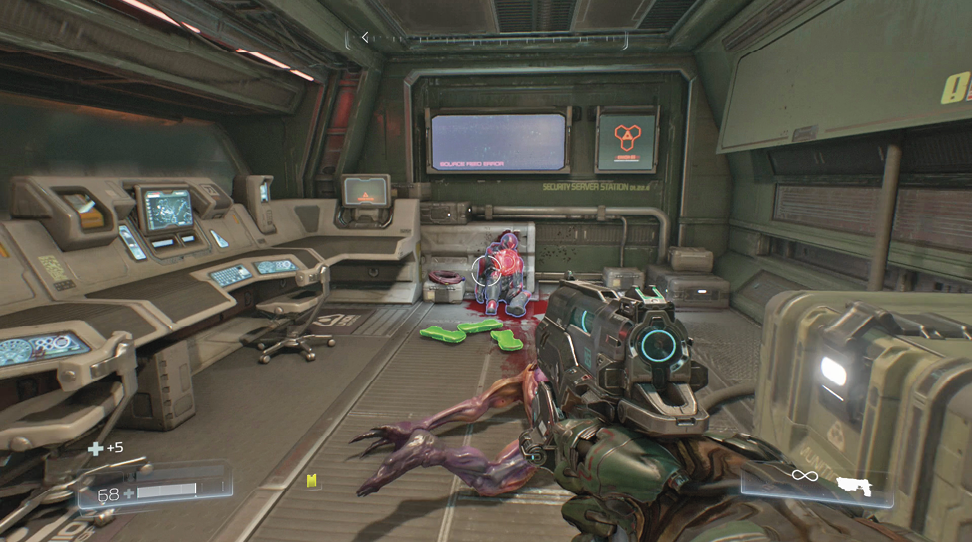
More demons occupy the next corridor, so remain attentive. Turn left and enter the small opening on the left wall. Climb onto the ledge and enter the control room ahead, taking out the monsters that get in your way. An Elite Guard rests against the equipment on the far side of the room. Grab the Praetor Token, open the munitions crate, and pick up the armor before returning to the previous hallway.
Proceed to the Foundry Airlock
Push further into the building as more demons attempt to stop you. Fight your way through until you reach a semi-circular room. Once you’re ready to complete the mission, enter the door ahead, collect the Argent Cell that rises from the floor, and wait for an alarm to sound. Exit the room, turn left, and enter the airlock. Use the console to exit the facility.