Doom Guide Campaign Walkthrough
Kadingir Sanctum
Main Objective Get Back to Mars
New Weapons/Equipment Chaingun
New Monsters Cacodemon, Lost Soul, Baron of Hell
Challenges
| Challenge | Description |
|---|---|
| Dead Man Stalking | Earn 4 Praetor Tokens. |
| Momentum Swing | Kill 10 demons while using powerups. |
| Sweep the Leg | Perform 4 “Leg Sweep” Glory Kills on the Hell Razer (attack right leg). |
Collectibles
Rune Trials
| Trial Name | Objective |
|---|---|
| Rune Trial: Savagery | Kill Imps with the Super Shotgun to allow movement for 4 seconds. Imps may be killed or spared at your discretion. Reach the Altar before the timer expires. |
| Rune Trial: Seek and Destroy | Use the Heavy Assault Rifle to weaken and perform Death from Above Glory Kills on 3 Hell Knights before the timer expires. |
Classic Map: DOOM - Slough of Despair
Find the Exit Portal Marked by the UAC
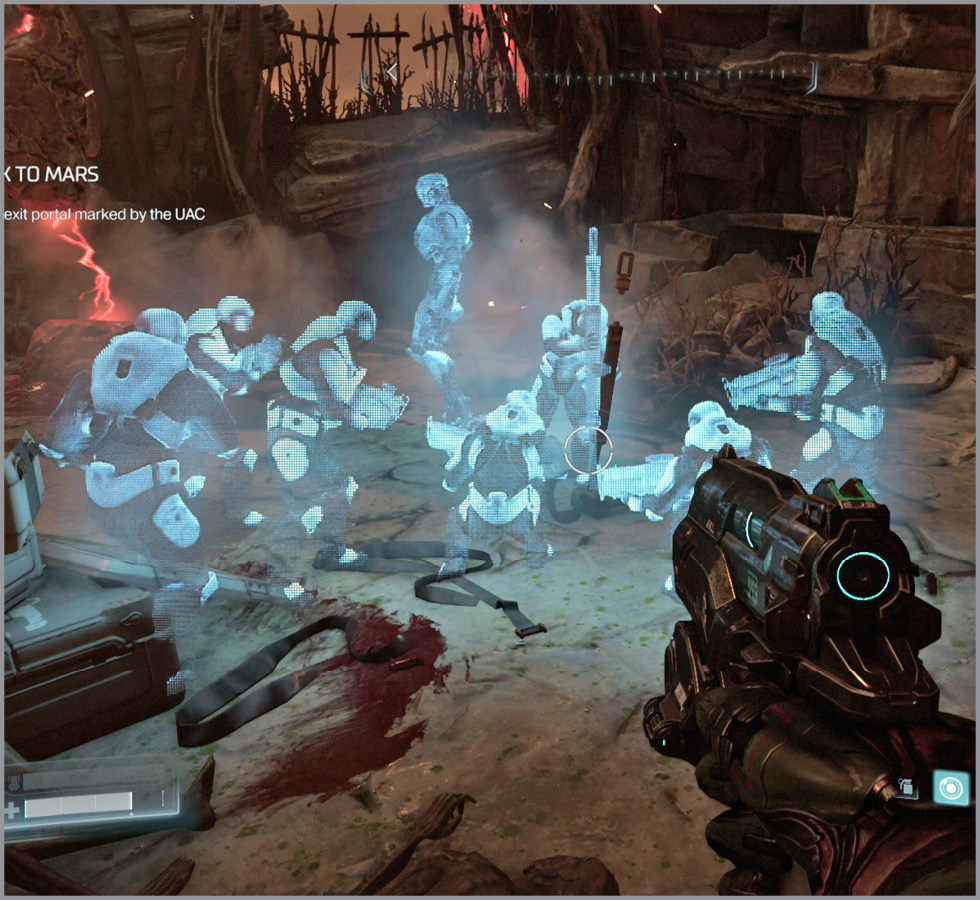
You have been transported to Hell against your will and now must find a way back to Mars to stop the demons from absorbing your world. Follow the trail ahead, use the Skull Switch, and move through the tunnel. An echo recording shows the members of UAC planting a marker. Your goal is to find their exit portal.
Move to the overlook ahead and pick off the Unwilling that roam the surface below. Jump down to the ground and collect the Gauss Cannon that rests on the cases, if you did not find the one hidden in the tower. More demons spawn in to the right, while more wait at the top of the steps. Take care of them as you proceed up to the next area. Be sure to try out the new, powerful Gauss Cannon. At the top of the steps, hop up the rock platforms on the left to find a secret area.
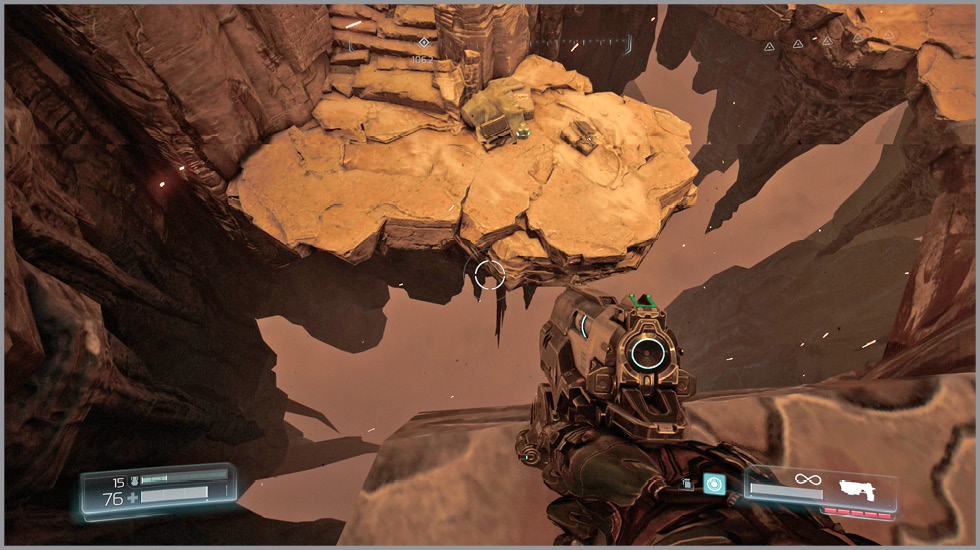
Drop down another level, continuing to clear out any remaining demons. Look over the cliff to the left to spot a couple of Mancubi. Use the Gauss Cannon to weaken them up before following the path behind you down to their location. Pull out the Chainsaw and take one out if your fuel supplies allow. Clear out the remaining demons, using the entire area to avoid being surrounded and break line of sight. The full spectrum of monsters is represented in this fight. Take out the weaker enemies and use Glory Kills to gain extra health pickups.
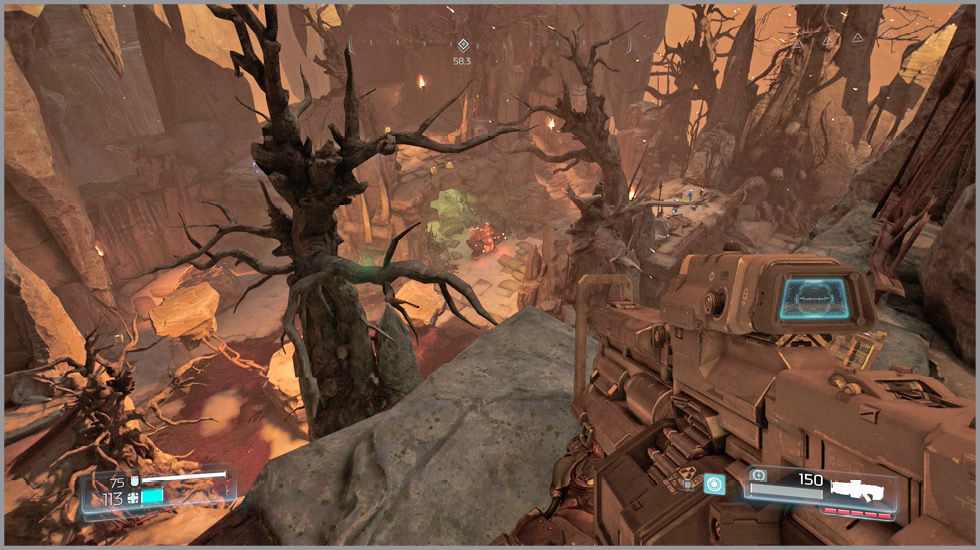
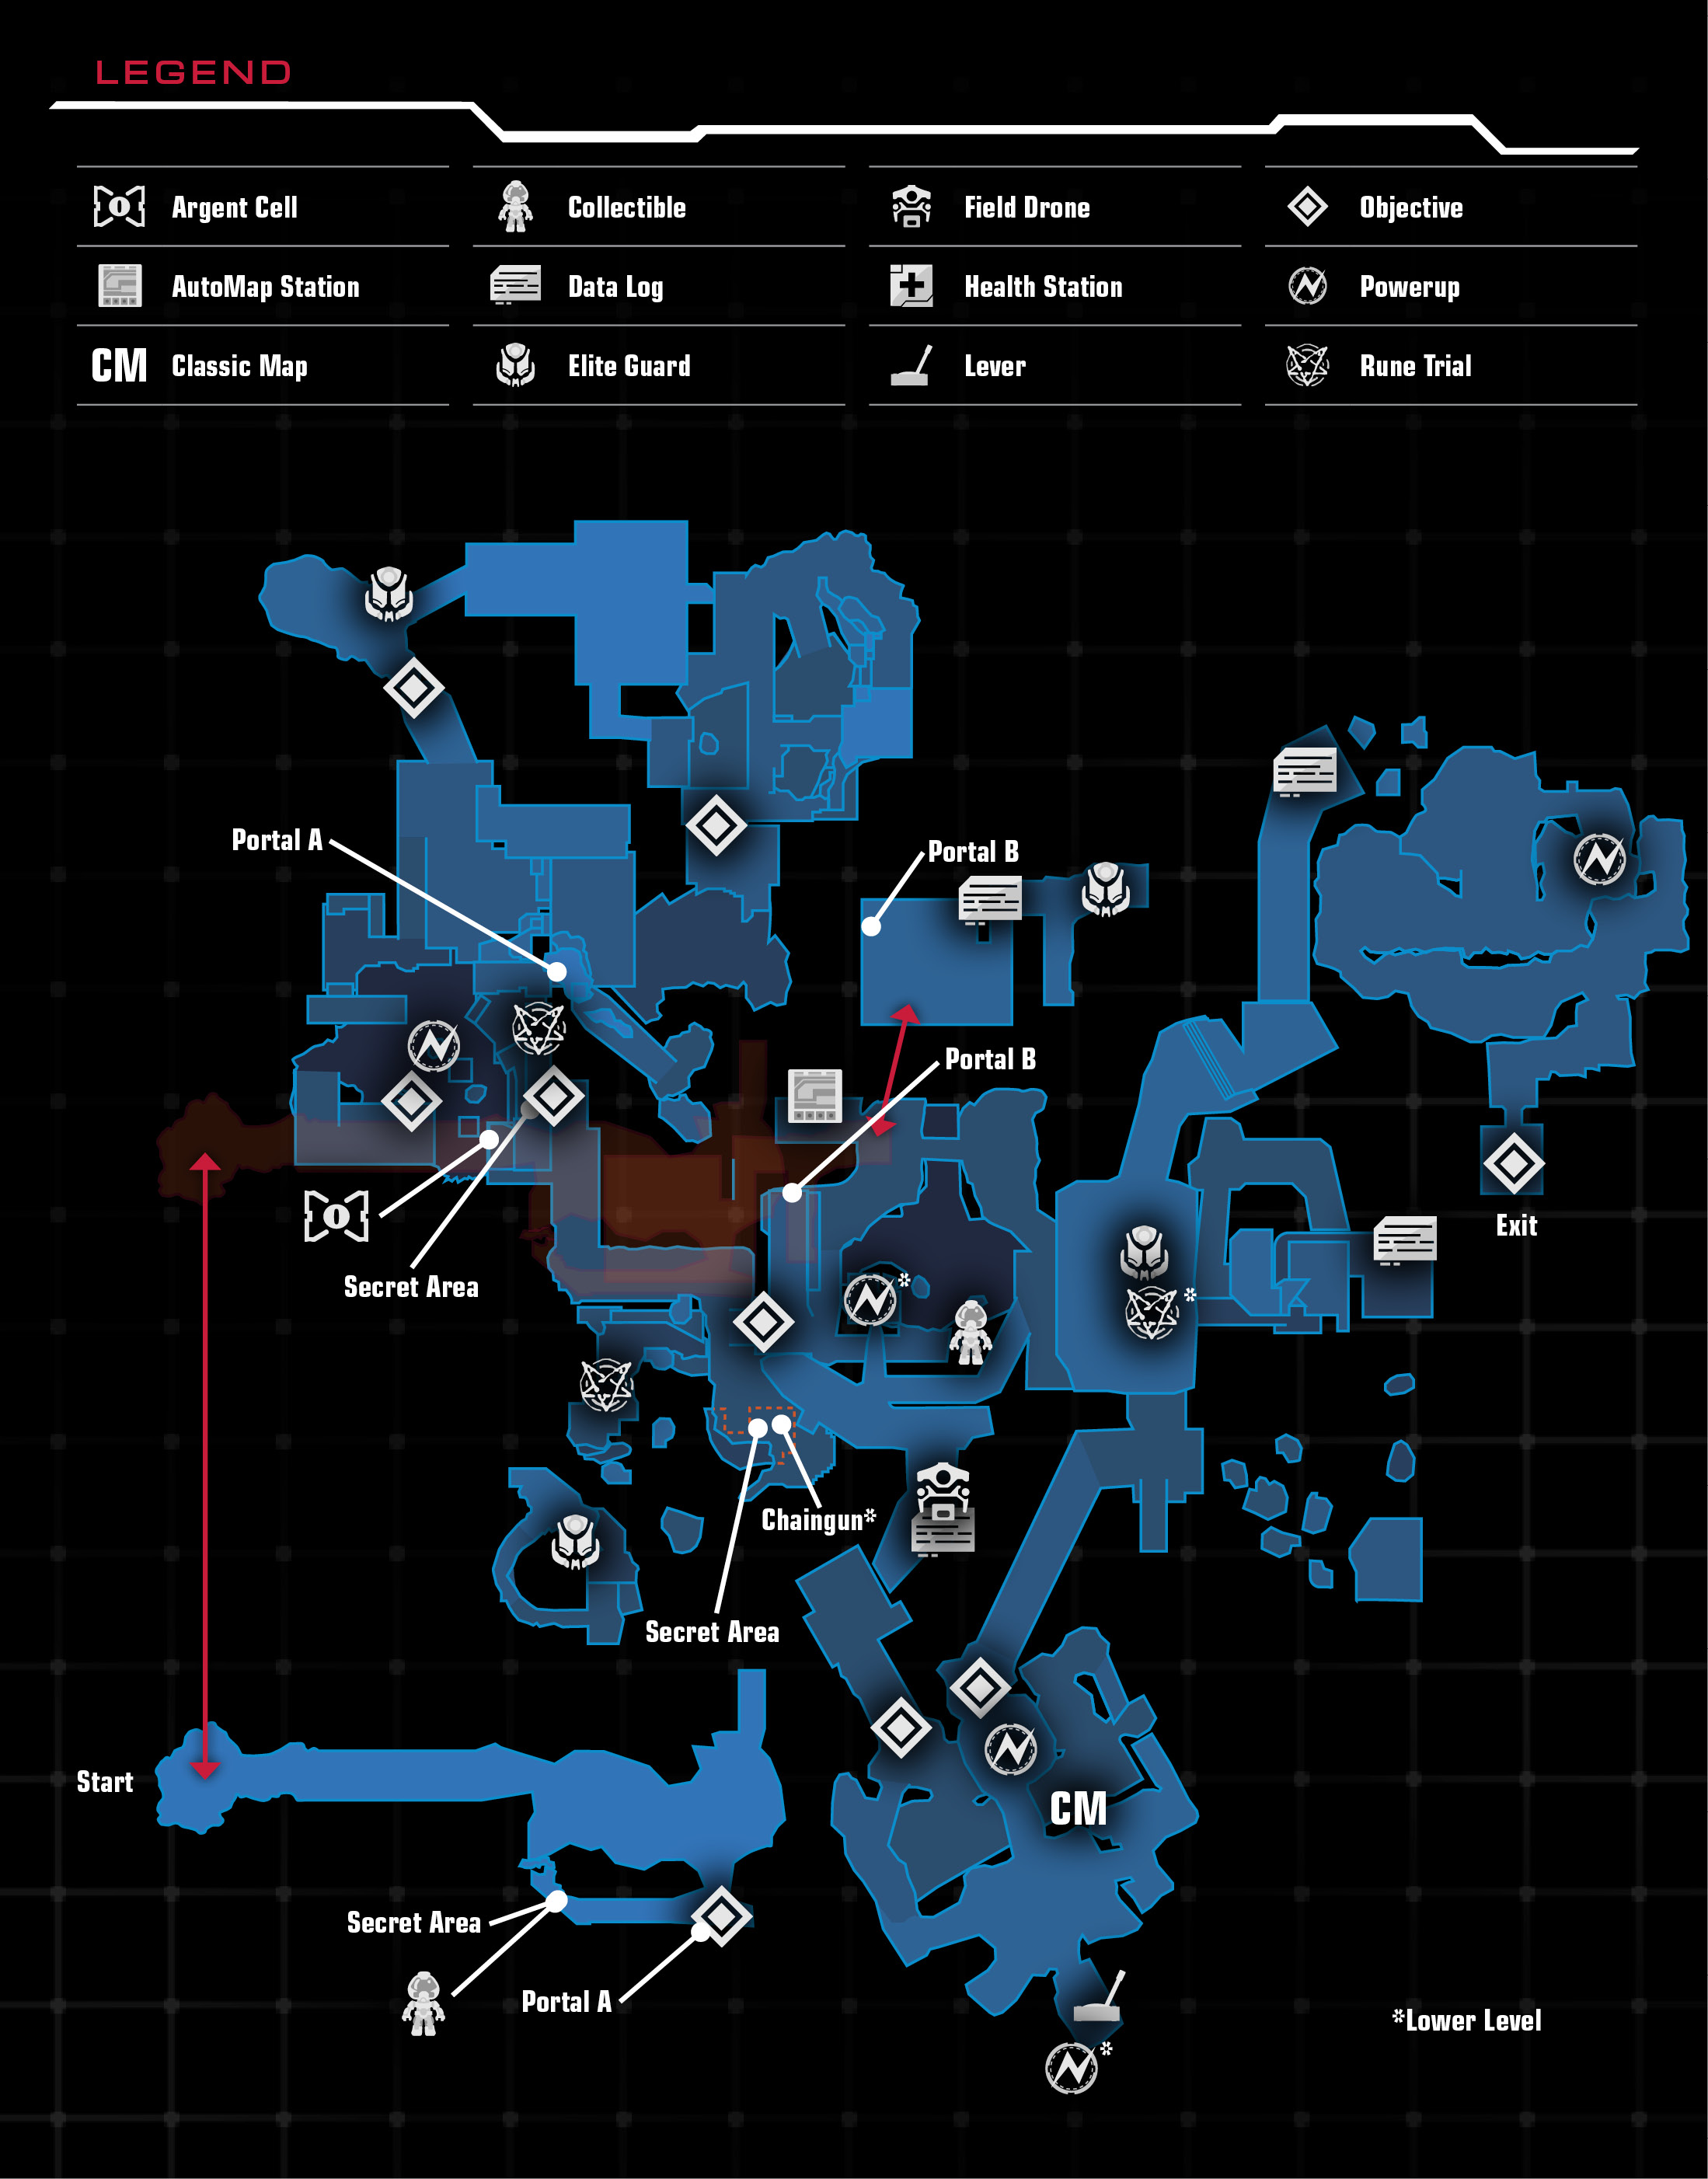
After eliminating the demons, drop to the ground and find a Skull Switch hidden inside a rock pillar. Step inside and interact with it to lower a gate straight ahead. Step inside the small cave and collect the Yellow Skull. Then return up the stairs and use the skull on the yellow access door.
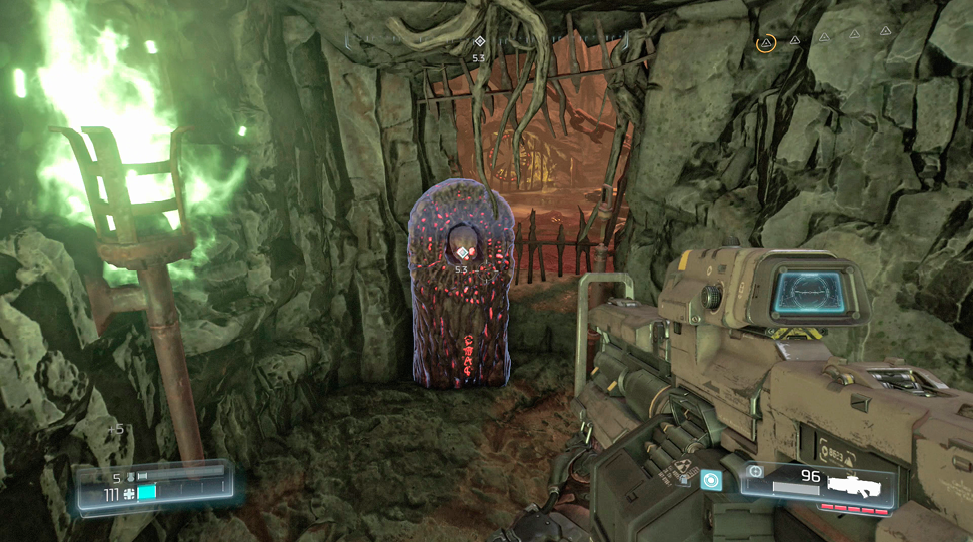
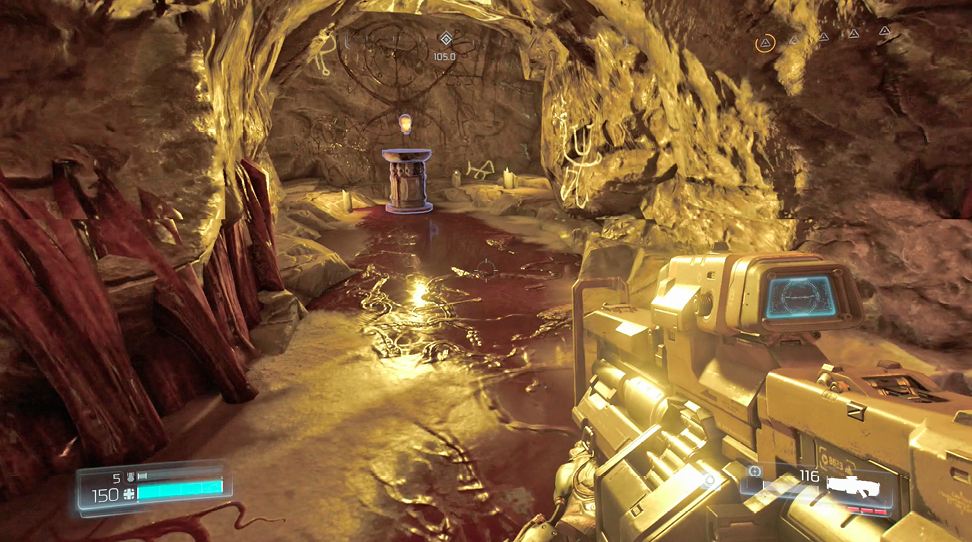
SavageryObjective: Kill Imps with the Super Shotgun to allow movement for 4 seconds. Imps may be killed or spared at your discretion. Reach the Altar before the timer expires.
After collecting the Yellow Skull, look for the stone archway on the ground floor and jump onto the roof. Turn around, double jump up to a small platform and continue up to the ledge ahead. Follow the corridor to the first Trial Stone. Your objective is to reach the Altar, but you can only move after killing an Imp. Each kill nets you four seconds of movement time, so make it count by running throughout. To reach the Altar, you must double jump from the cliff to one of the narrow ledges and then traverse the two ledges until you reach your destination. You must make a few tricky jumps between the ledges, taking out the Imps as you land. Make up as much ground as possible between the demons or it’s a tough target with the shotgun. 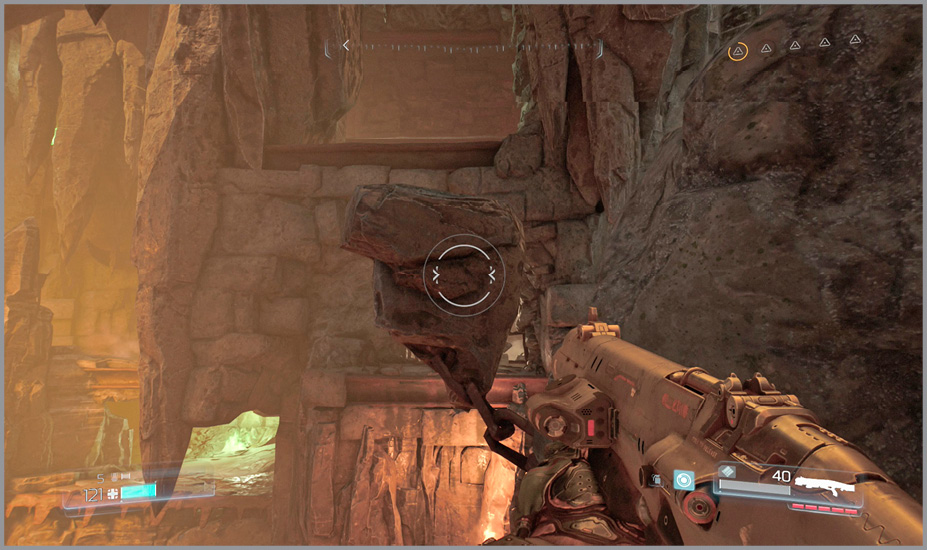 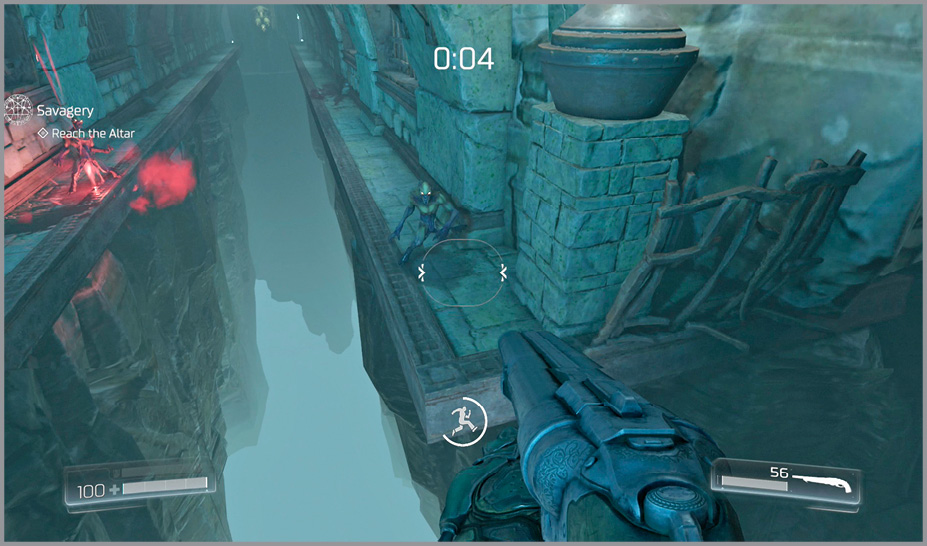 |
Approach the Artifact ahead and interact with it. Turn around and find the Elite Guard on the ground at the intersection. Move up and out of the cave and pick off the Unwilling in the distance. As you continue forward, more demons attack, so dispose of them as they approach. Pull out the HAR and mow down the Summoner when it arrives. Continue to eliminate the Hell Knights and others in the upcoming arena.
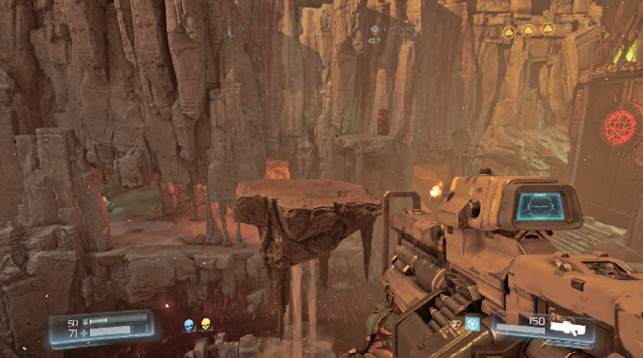
Once the area is safe, collect any remaining ammo, health, and armor, then proceed out the opening at the objective marker. In the next area, floating platforms rise into position, giving you access to the cliff on the far side. Note that the stairs to the right lead back to an already visited area. Double jump over to the closest platform and continue up the highest one. From there, hop over to the cliff and use the Skull Switch to open the gate ahead.
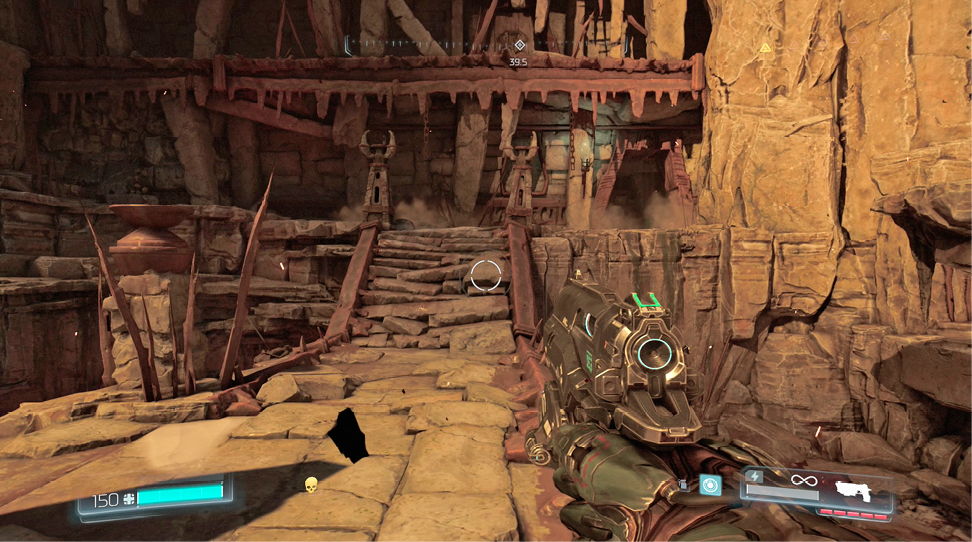
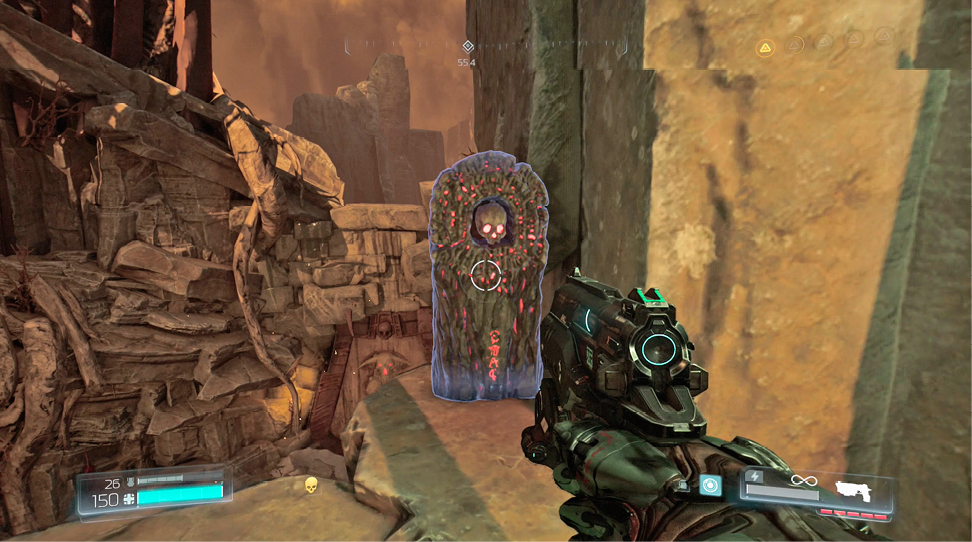
Drop down, enter the new opening, and clear out the demons inside. Once you’re ready to leave the area, step into the green portal to be transported into a cave elsewhere on the map. To the left is the Blue Skull. Grab it and exit through the new opening. This puts you in a familiar location just down from the yellow access door.
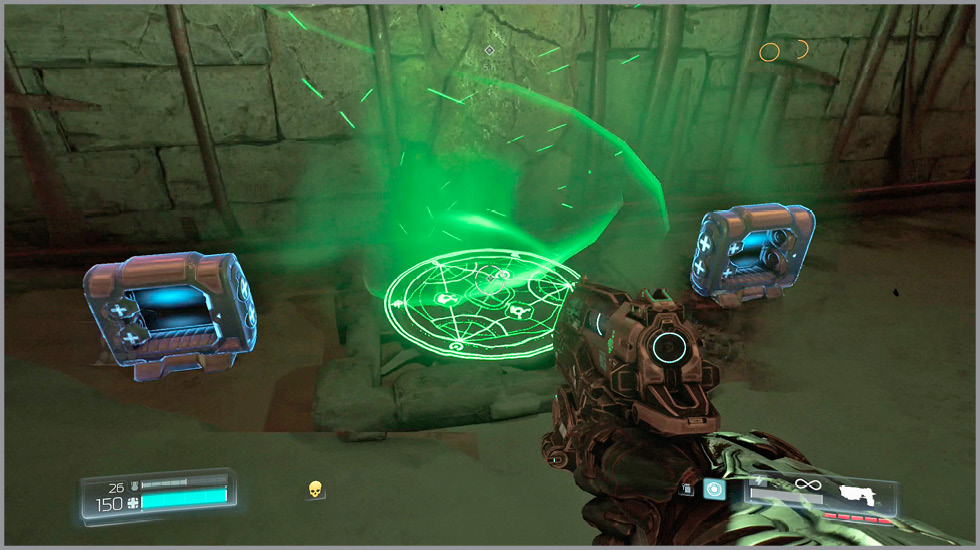
Descend the slope and then head to the right and down the stairs, fighting off the demons that have repopulated the area. As you approach the blue door area, a pair of Cacodemons shows up. Their projectiles can do serious damage, but they are easily avoided by ducking behind cover. They can be tough to finish off since they are often just out of reach of a Glory Kill. Pull out the Rocket Launcher and blow them out of the air. Eliminate the rest of the demons, including a Mancubus and another Cacodemon, then use the Blue Skull on the blue door.
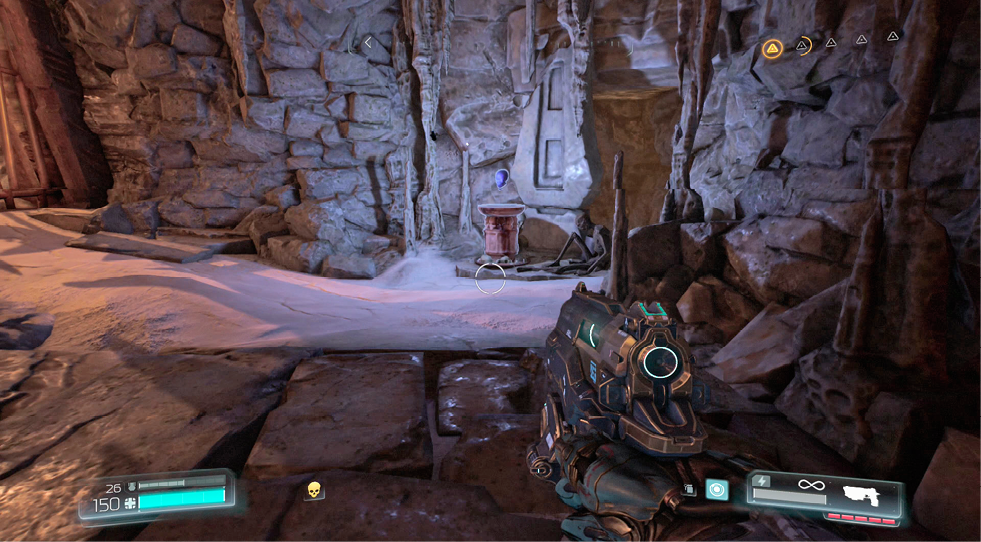
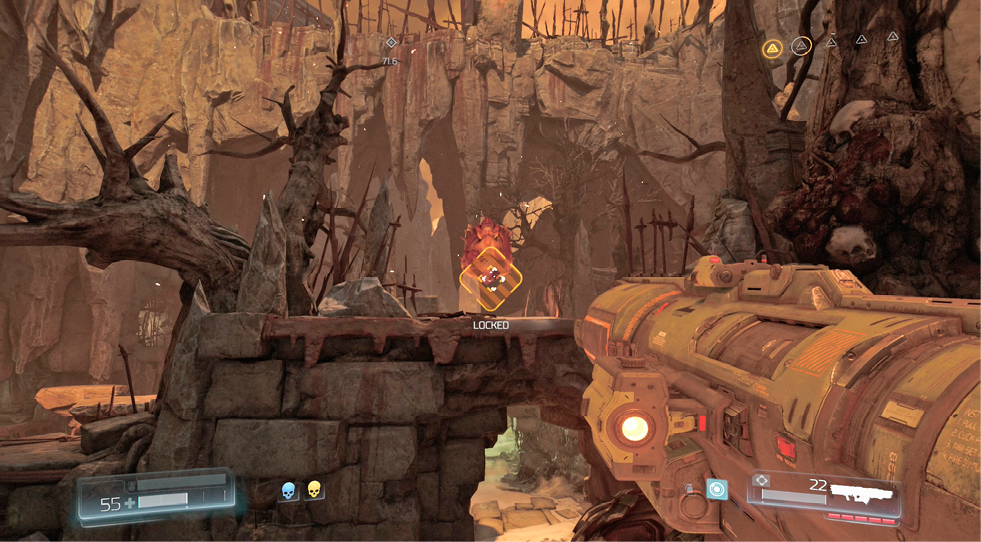
Follow the path around to the right to find an Argent Cell, then return to the main hallway and continue right. Cautiously exit the tunnel as more demons approach your location. Be careful the Mancubus doesn’t pin you inside. This is a great opportunity for a Chainsaw kill as there’s a fuel tank near the Argent Cell. It can also be saved for the upcoming fight.
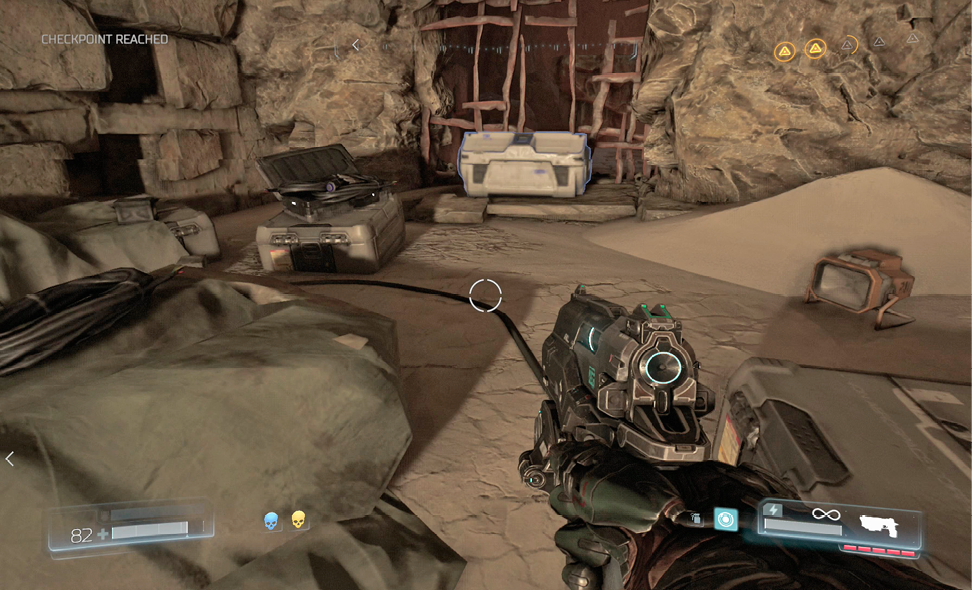
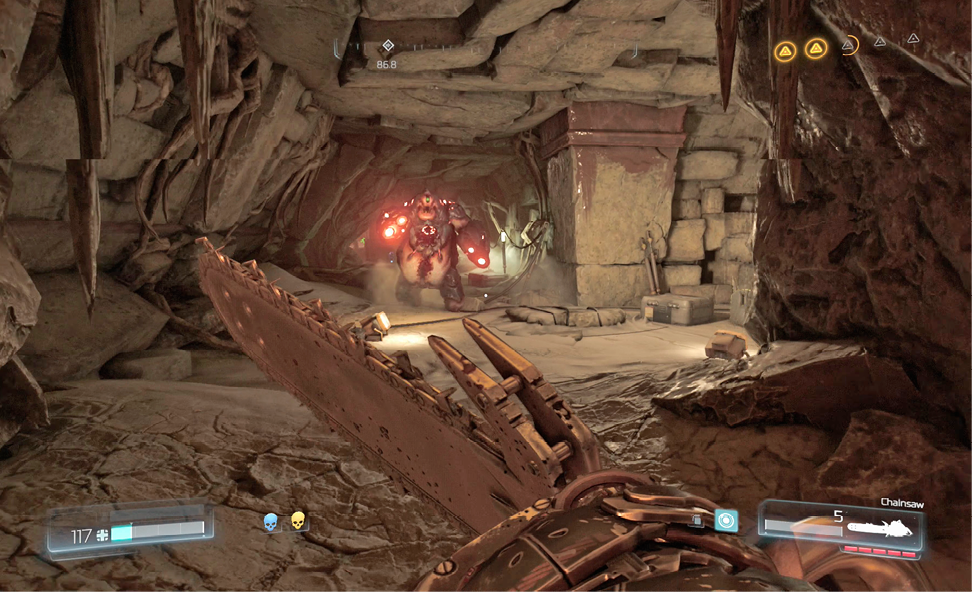
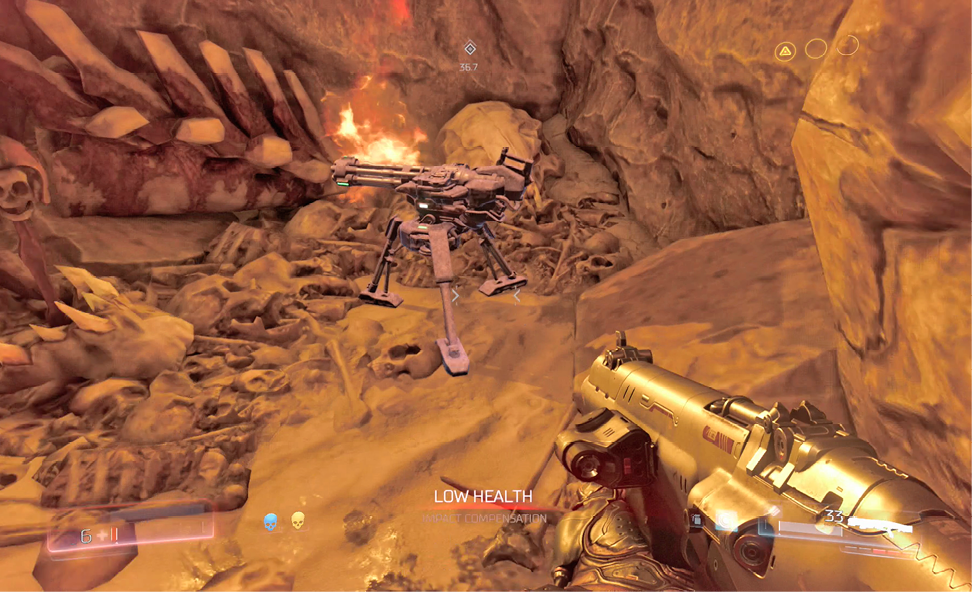
Just outside the cave, survey the area where the next big battle takes place. An Invulnerability powerup rests on the ground to your right. Inside a cave to the left, a Chaingun rests on a tripod, ripe for the picking. This powerful weapon has a high rate of fire, but it does take a little time to get going. The problem is getting down to the powerup quickly enough before being completely surrounded.
ChaingunModifications: Gatling Rotator, Mobile Turret Designed for sustained volleys, the Chaingun deals major damage at a very high rate of fire. |
Move around to the left until the monsters spawn in, then hop down to the right. Grab the Invulnerability and quickly go after the foes. Once it has worn off, escape the action and go after the Chaingun. Be careful as demons may follow you inside the cave. A new monster, the Lost Soul, is presented in this fight. This kamikaze demon flies directly into its target, detonating on impact. The attack is deadly, so dodge to the side when you see one approaching. Stay on the move and finish off the remaining foes.
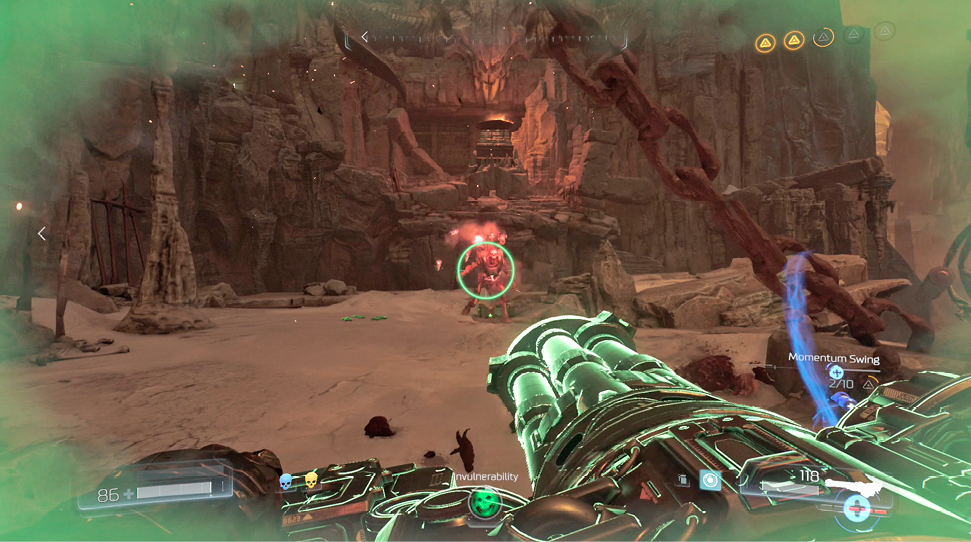
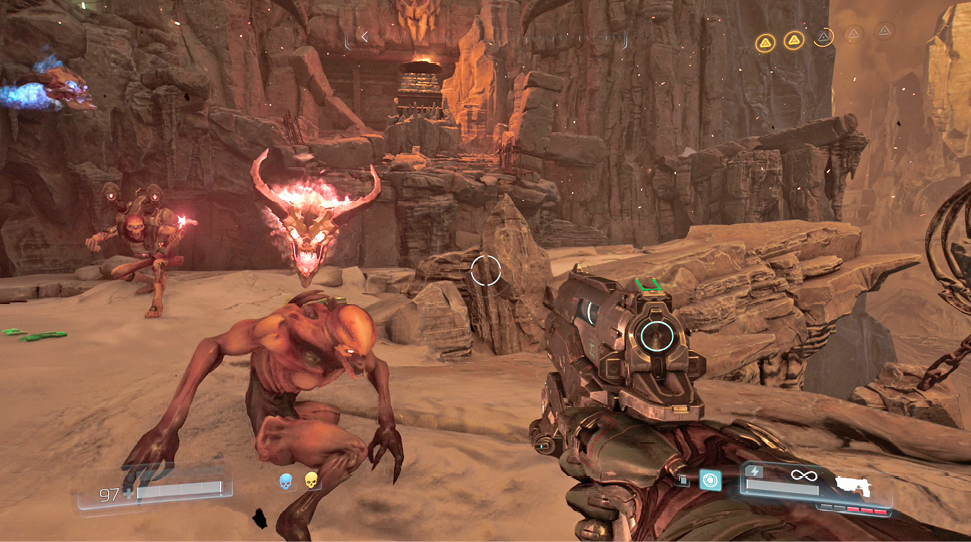
Before heading for the exit, jump onto the central platform and continue down to the ledge ahead. Climb up the left side and follow the trail through the tunnel. Once outside, search the right side to find an Elite Guard. Turn around and spot the series of floating platforms that leads to the far side. Jump across them to find a Skull Switch. Interact with it to open the door below. Drop down and move through the opening.
More demons occupy the large open area ahead. Pick off as many as you can from above before moving into the action. Stay on the move and use the different levels to break the enemies’ lines of sight. A Haste powerup hides inside a corner cave on the lower level. Eventually, a Mancubus emerges from behind the skull door, just across the short bridge. Once the demons have been taken care of, enter that room and activate the AutoMap at the pedestal ahead. Turn around, cross the bridge, and climb up the steps ahead. Turn right and continue up the big staircase to exit the area. There’s a portal that also takes you out of the area, but it is not necessary to collect everything.
Seek and DestroyObjective: Use the Heavy Assault Rifle to weaken and perform Death from Above Glory Kills on 3 Hell Knights before the timer expires.
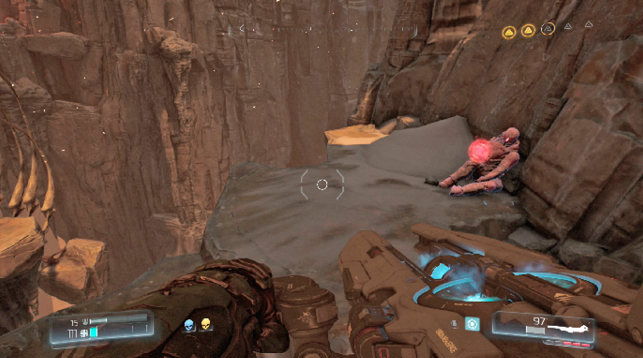
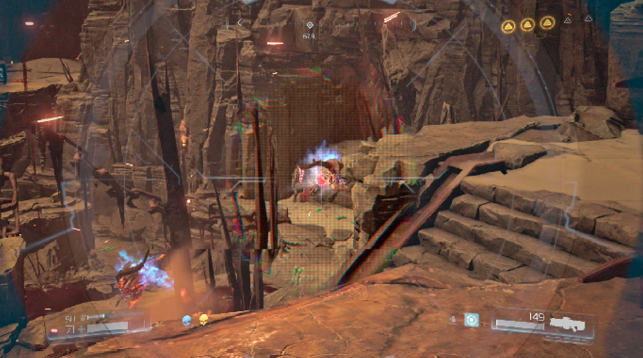
Look for the tall staircase that leads out of the area. Before ascending it, turn left to find the second Trial Stone. The goal in this Rune Trial is to perform Death from Above Glory Kills on three Hell Knights before the timer expires. You are equipped with the Heavy Assault Rifle, so use it to weaken the big guy. Only one spawns in at a time, so no worries about being ganged up on, though weaker enemies do present a small danger. Look for the Hell Knight to spawn in and immediately start firing at the foe. Once it begins to flash, perform a Glory Kill from above. If you’re on the same level as the enemy, double jump into the air and perform the move. 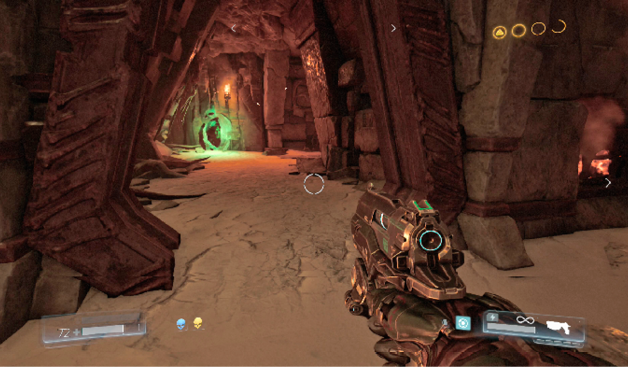 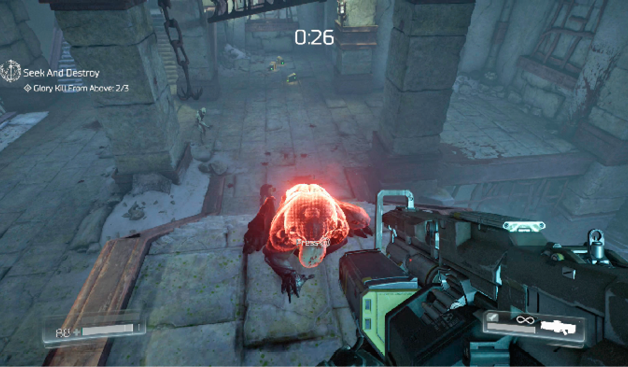 |
At the top of the steps, head straight and look right to find a green jump pad. Hop down next to it, cut through the tunnel, and search to the right to find an Elite Guard. Next, turn around and enter the structure. Grab the Data Log ahead and search further inside for an Artifact.
A portal on the other side of the room leads to the one mentioned earlier, so no need to follow it.
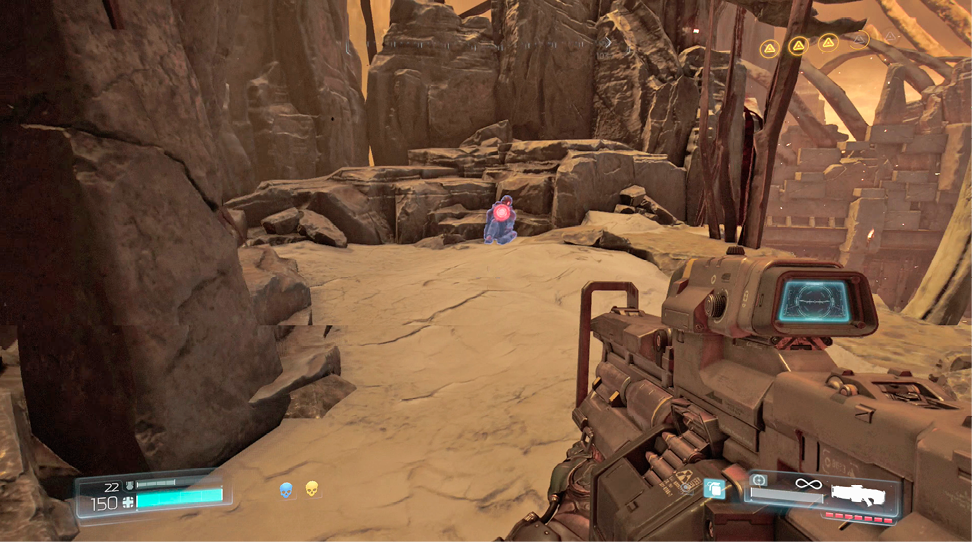
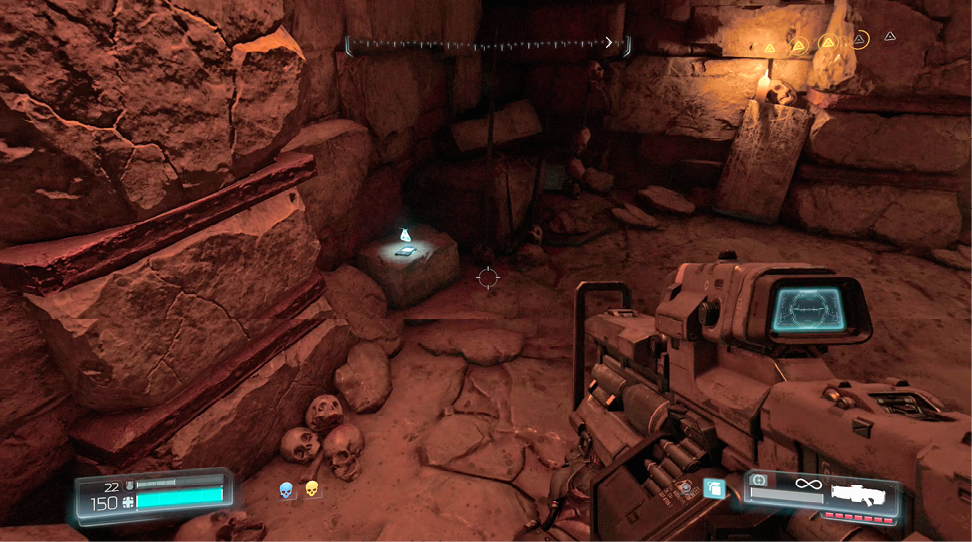
Return to the top of the stairs and continue straight ahead. A Data Log rests atop a case in the far corner next to a Field Drone. Descend the nearby steps and then up more to the left. Another echo recording shows the UAC moving through a gate, so follow right behind.
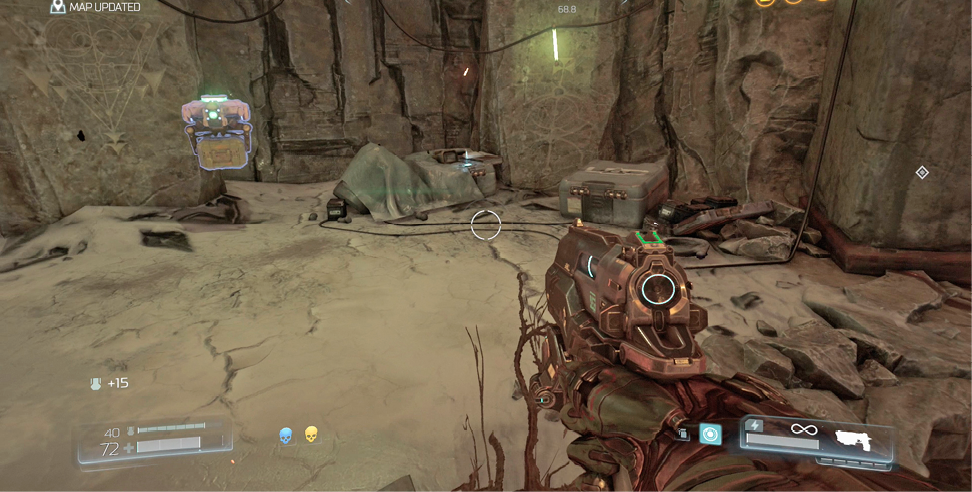
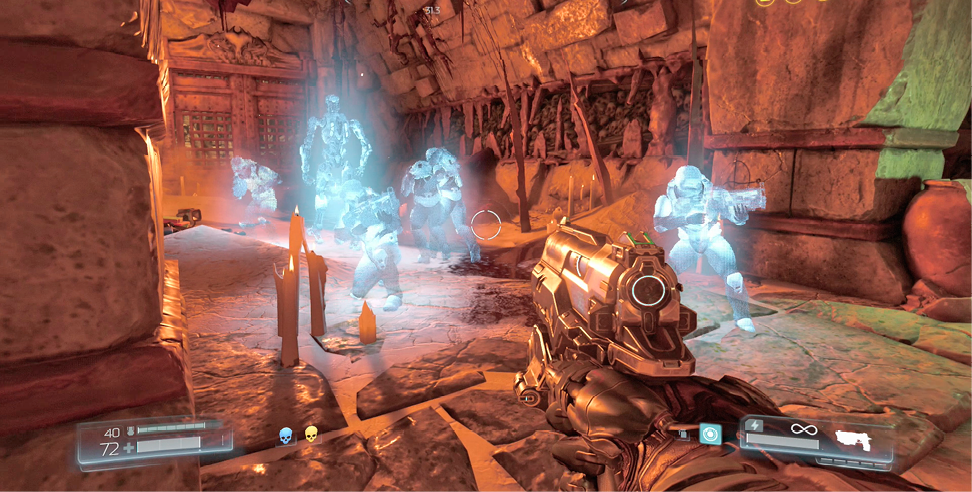
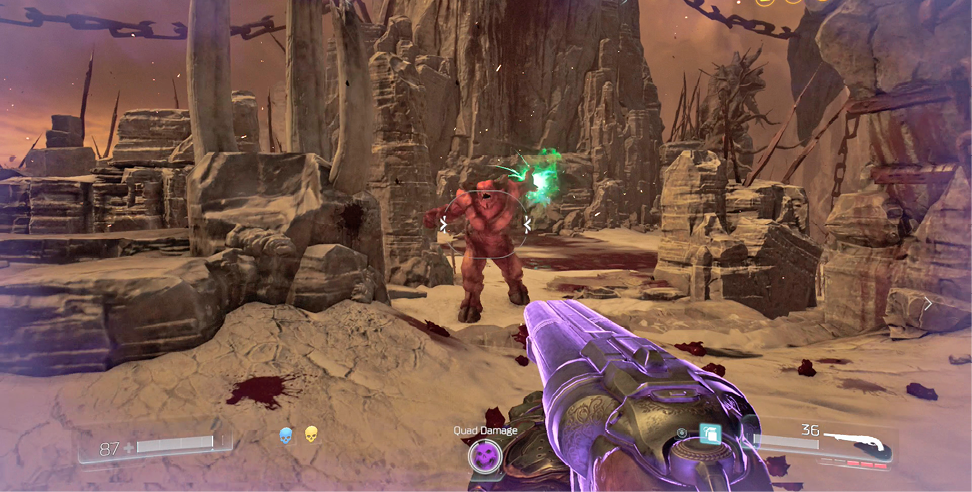
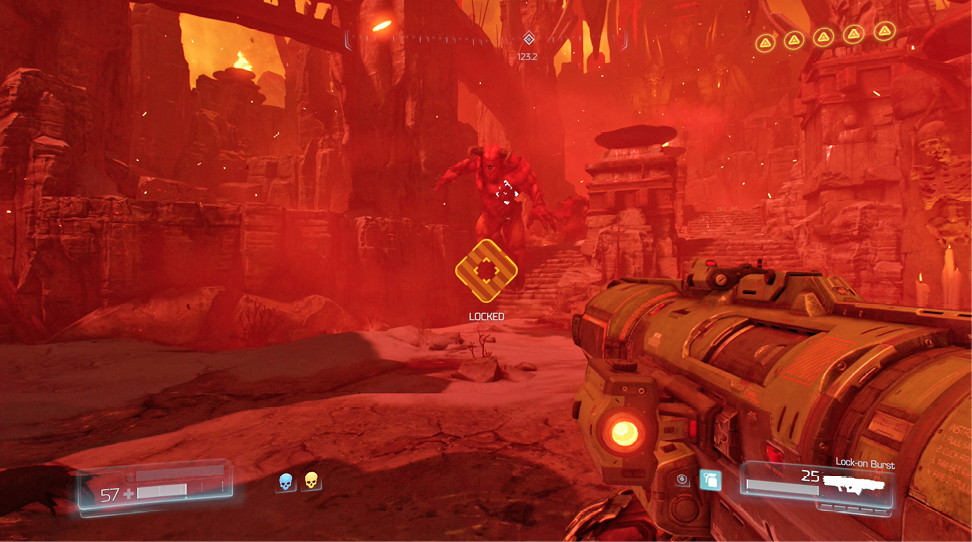
In the next area, follow the path to the right until you find a Baron of Hell fighting several weaker demons. You can let this play out or join the battle. This new monster is a giant that presents a grave danger to the Doom Marine. Stay clear as it charges your way, dodging to the side to avoid its mighty jump attack. It also has a strong projectile attack. Move to the side when it prepares a toss. Pelt the beast with your most powerful weaponry to take it down. More demons spawn into the area, including two more Barons of Hell. Collect the Quad Damage powerup in front of the big door and finish off the remaining foes. This is a good time to pull out the Chainsaw and eliminate one of the behemoths.
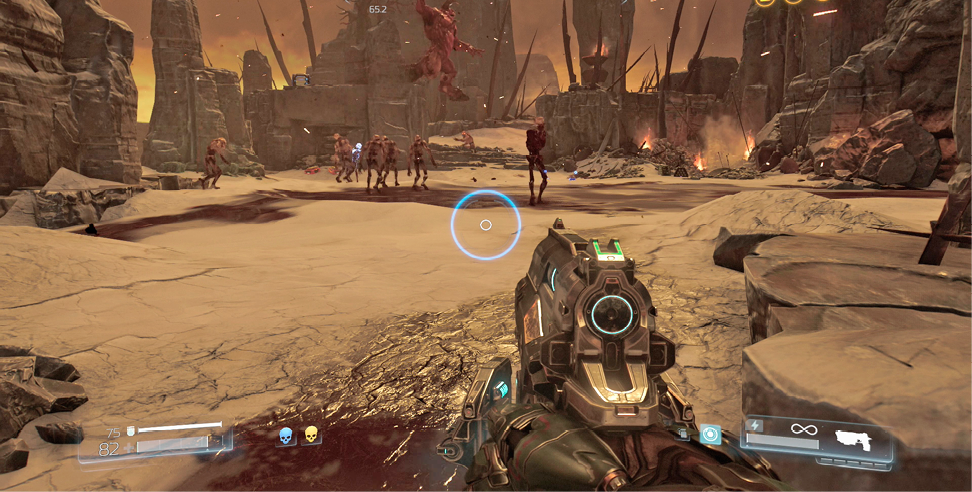
Return to the big door as it opens for you. Descend the hill, killing the demons along the way. Jump out onto the floating platforms ahead, pull out the Gauss Cannon, and eliminate the lone Mancubus. Hop down to its location and kill the Cacodemons and Revenant to the left. Jump over to the steps and grab the Data Log on a small case. As you move up the trail to the left, more demons attack, including another Mancubus.
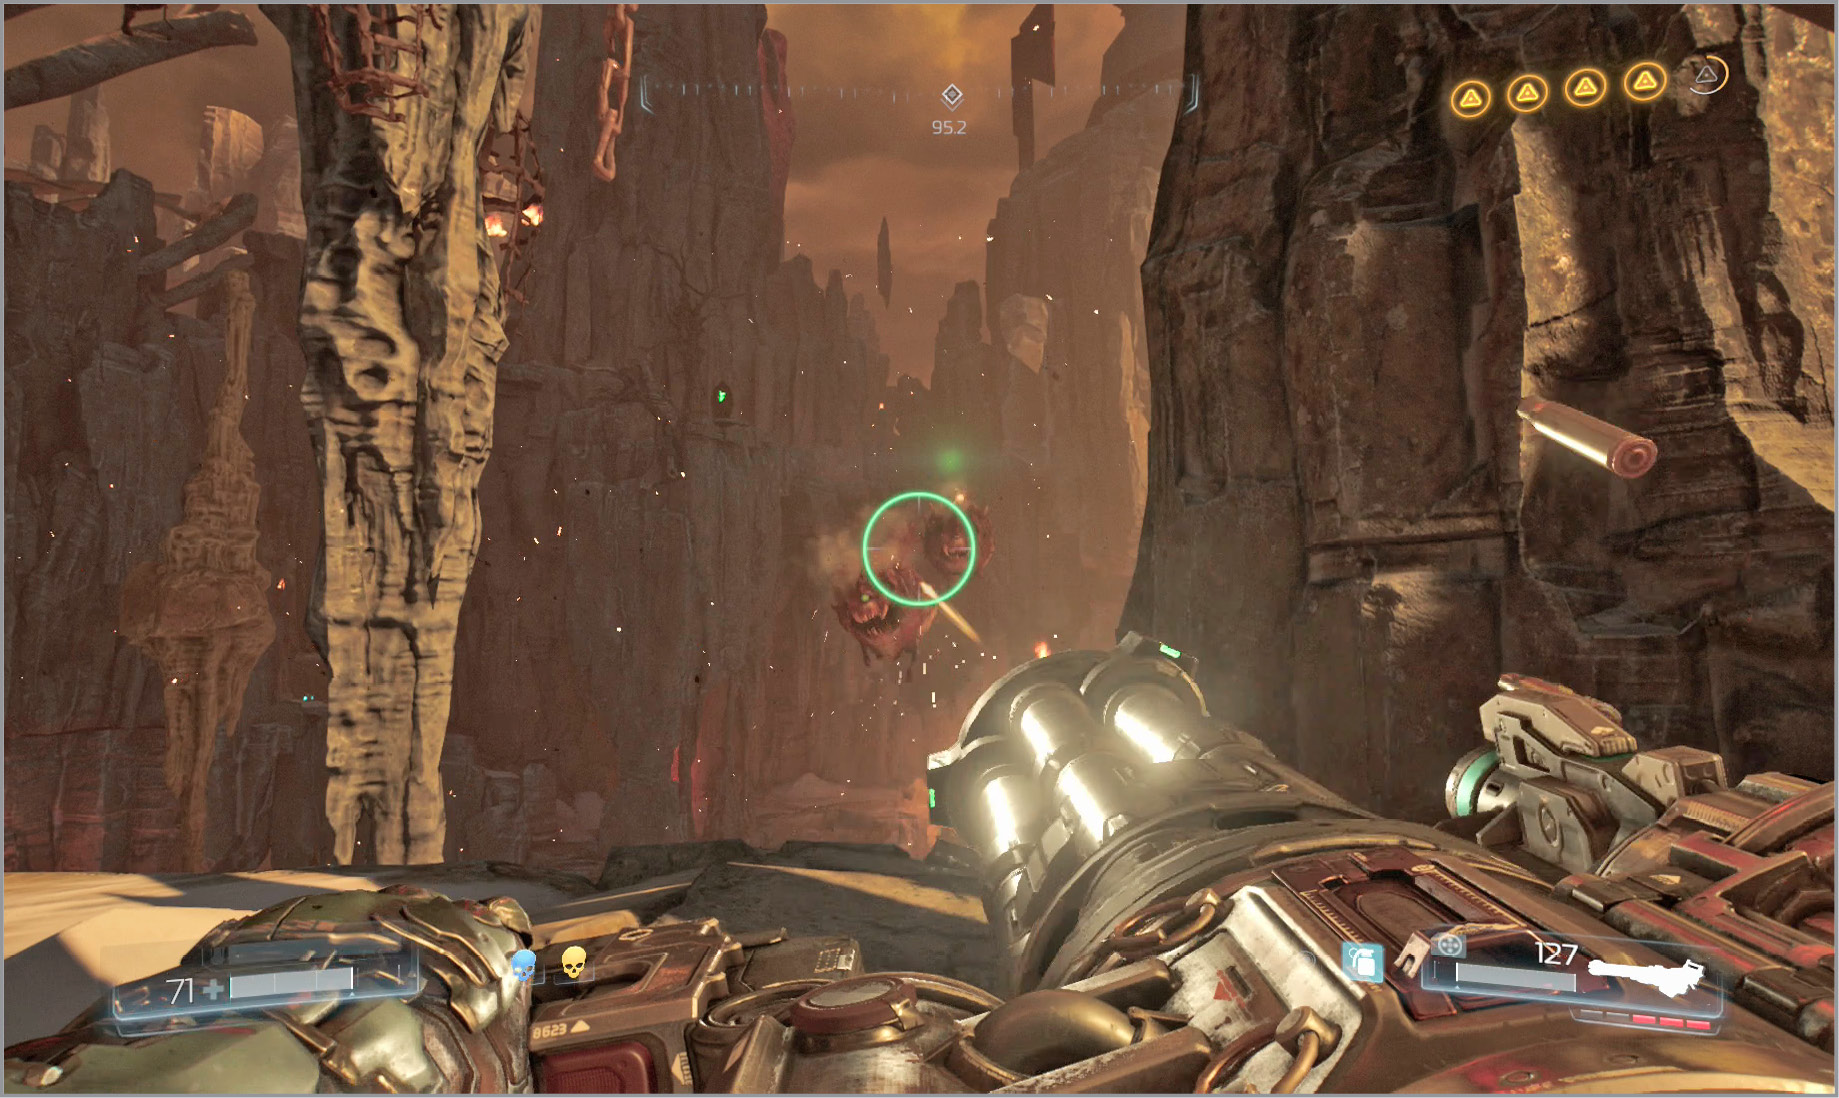
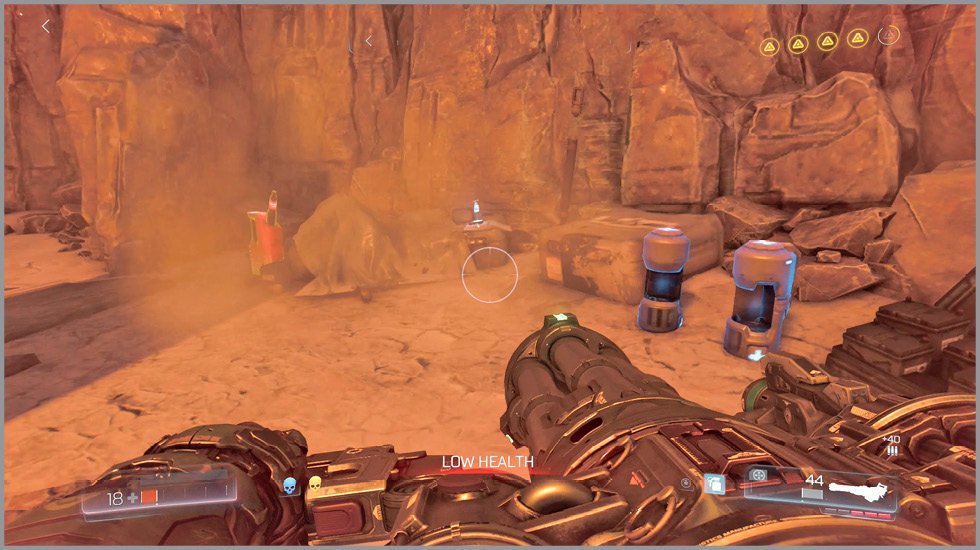
Continue up the path, hop up the right ledge, and climb the long staircase. Follow the trail to the right until you reach an Artifact. Climb up the rock face on the right and then jump over to the left to reach more demons. The final Elite Guard is on the left, so be sure to grab your Praetor Token.
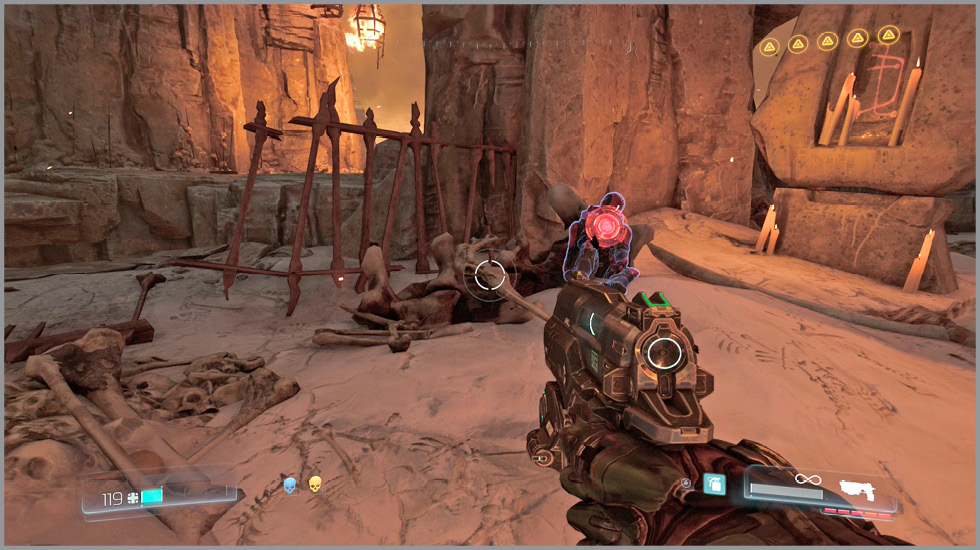
Follow the objective through a building and grab the Data Log just outside the exit. Descend the platforms to the right until you run into more demons. This is a fairly big fight with multiple Barons of Hell. Wait for these large foes to show up and then grab the Quad Damage powerup that floats above a short pillar. Stay on the move as you take out the horde of monsters.
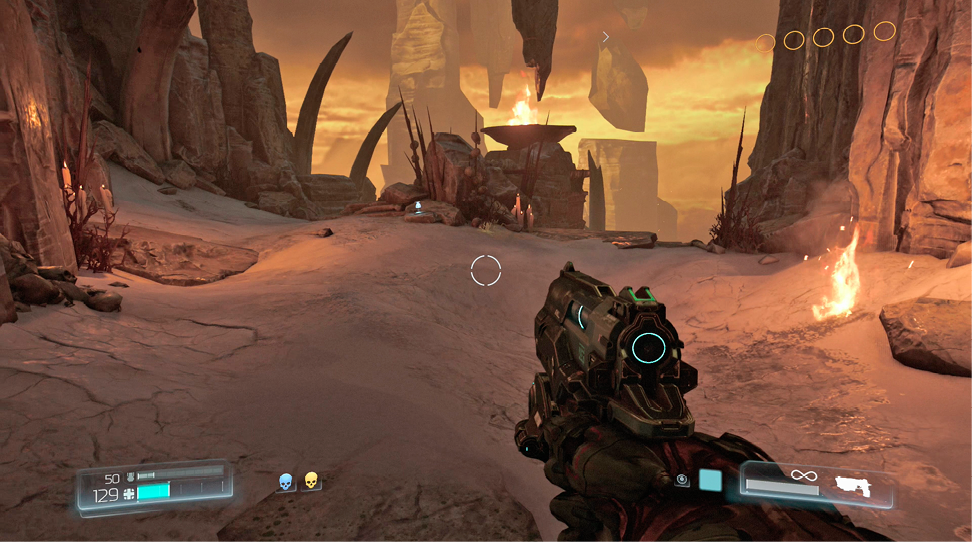
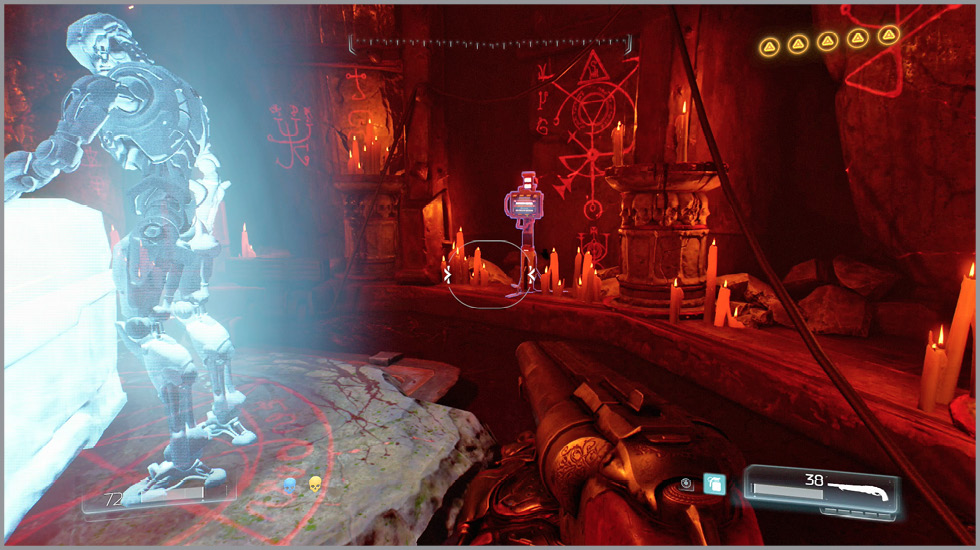
Move toward the objective until you see the green lights left behind by the UAC. Step inside the ritual room ahead for another echo recording. Use the console on the far wall to activate the portal and end the mission.