
Chasm
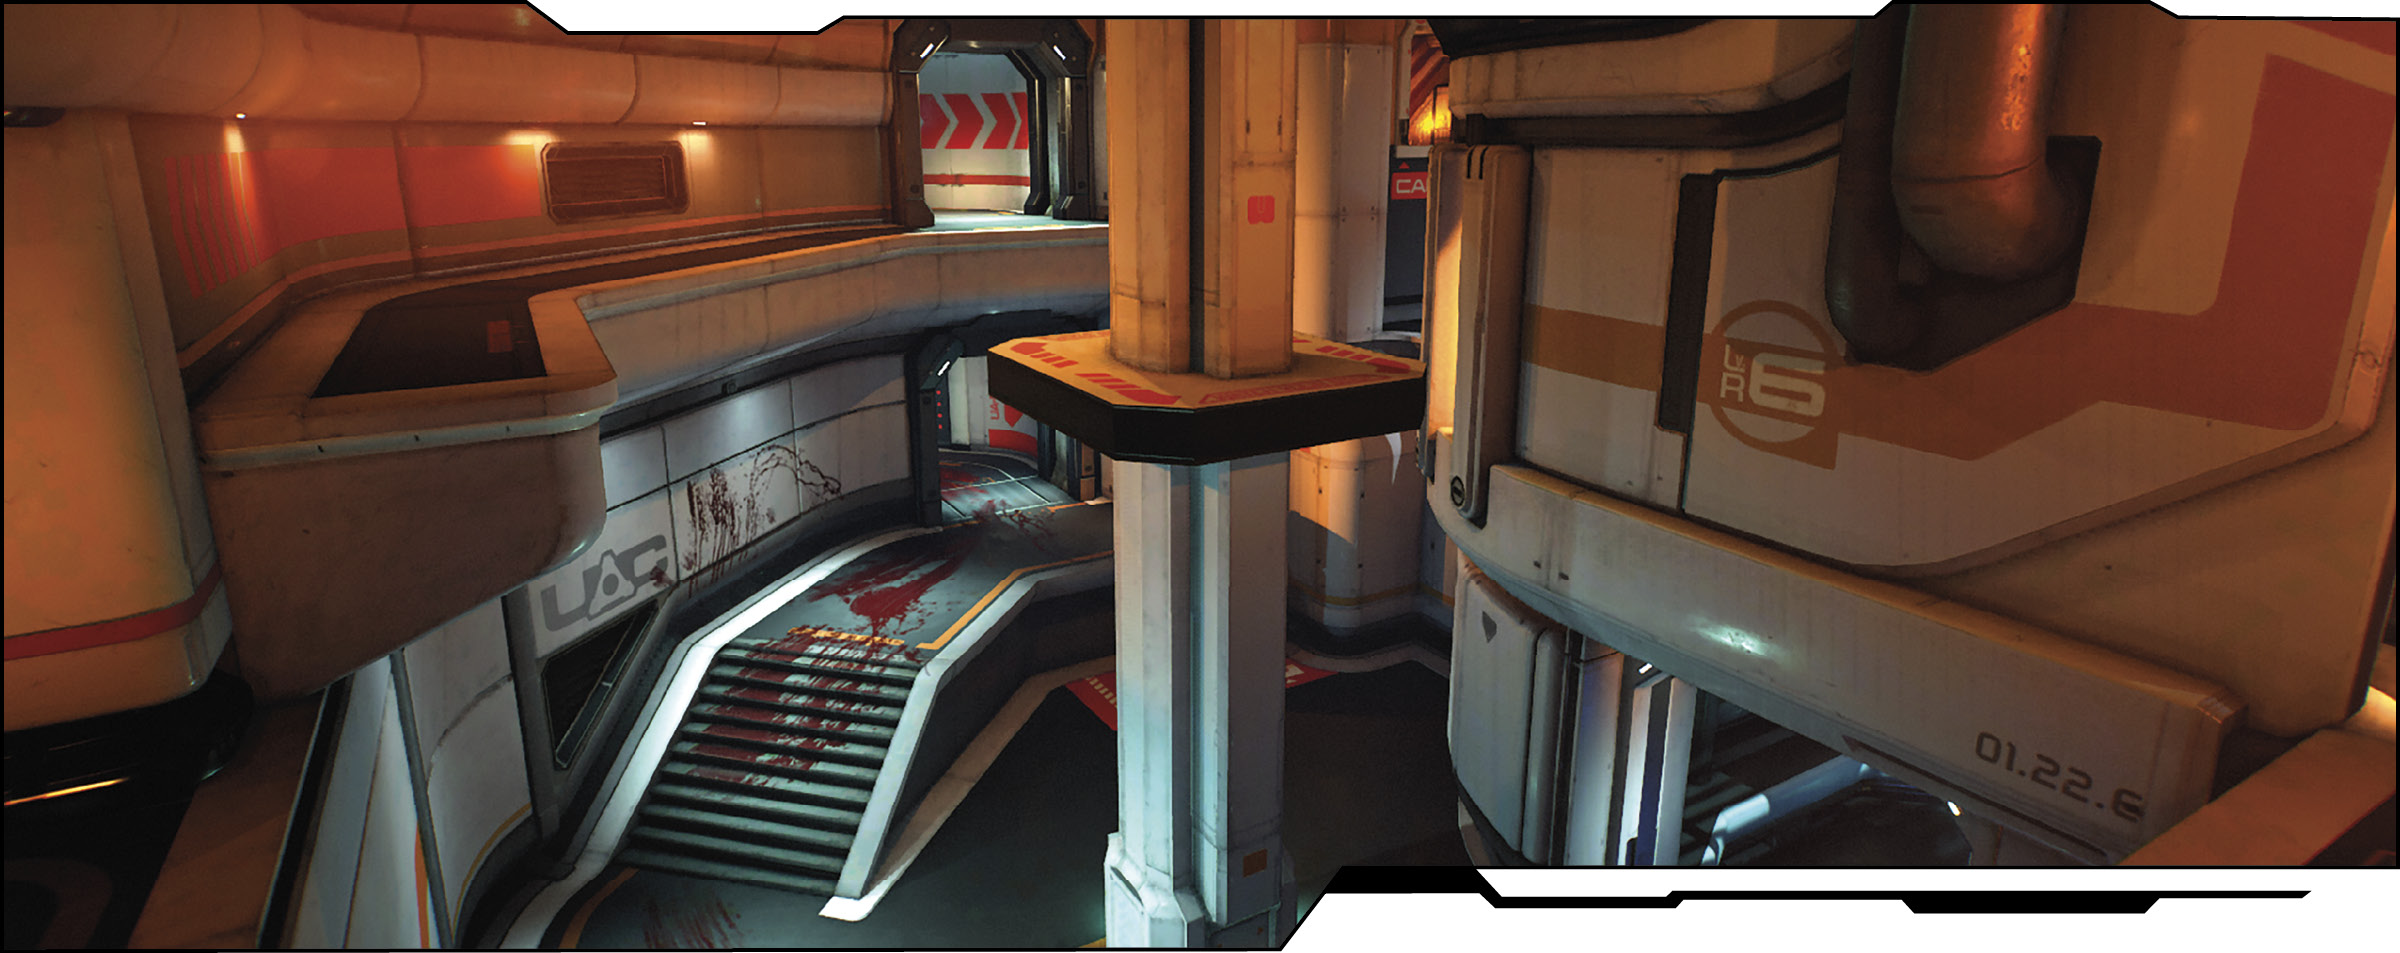
Chasm is arguably the most complicated and sprawling of all of the maps. This multi-level facility consists of numerous twisting corridors, narrow crawlspaces, stairs, and also the namesake canyon it’s known for. The map is conducive for run-and-gun individual gameplay as it can be very difficult to coordinate attacks and even harder to verbally describe your position to teammates when calling for assistance. Many of the rooms are labeled within the map, but the complex geometry is sufficiently disorienting so as to make these labels only marginally helpful.
Location Intel
Power Weapon: Gauss Cannon
Powerups: Invisibility, Regeneration
Suicide Risk: Low
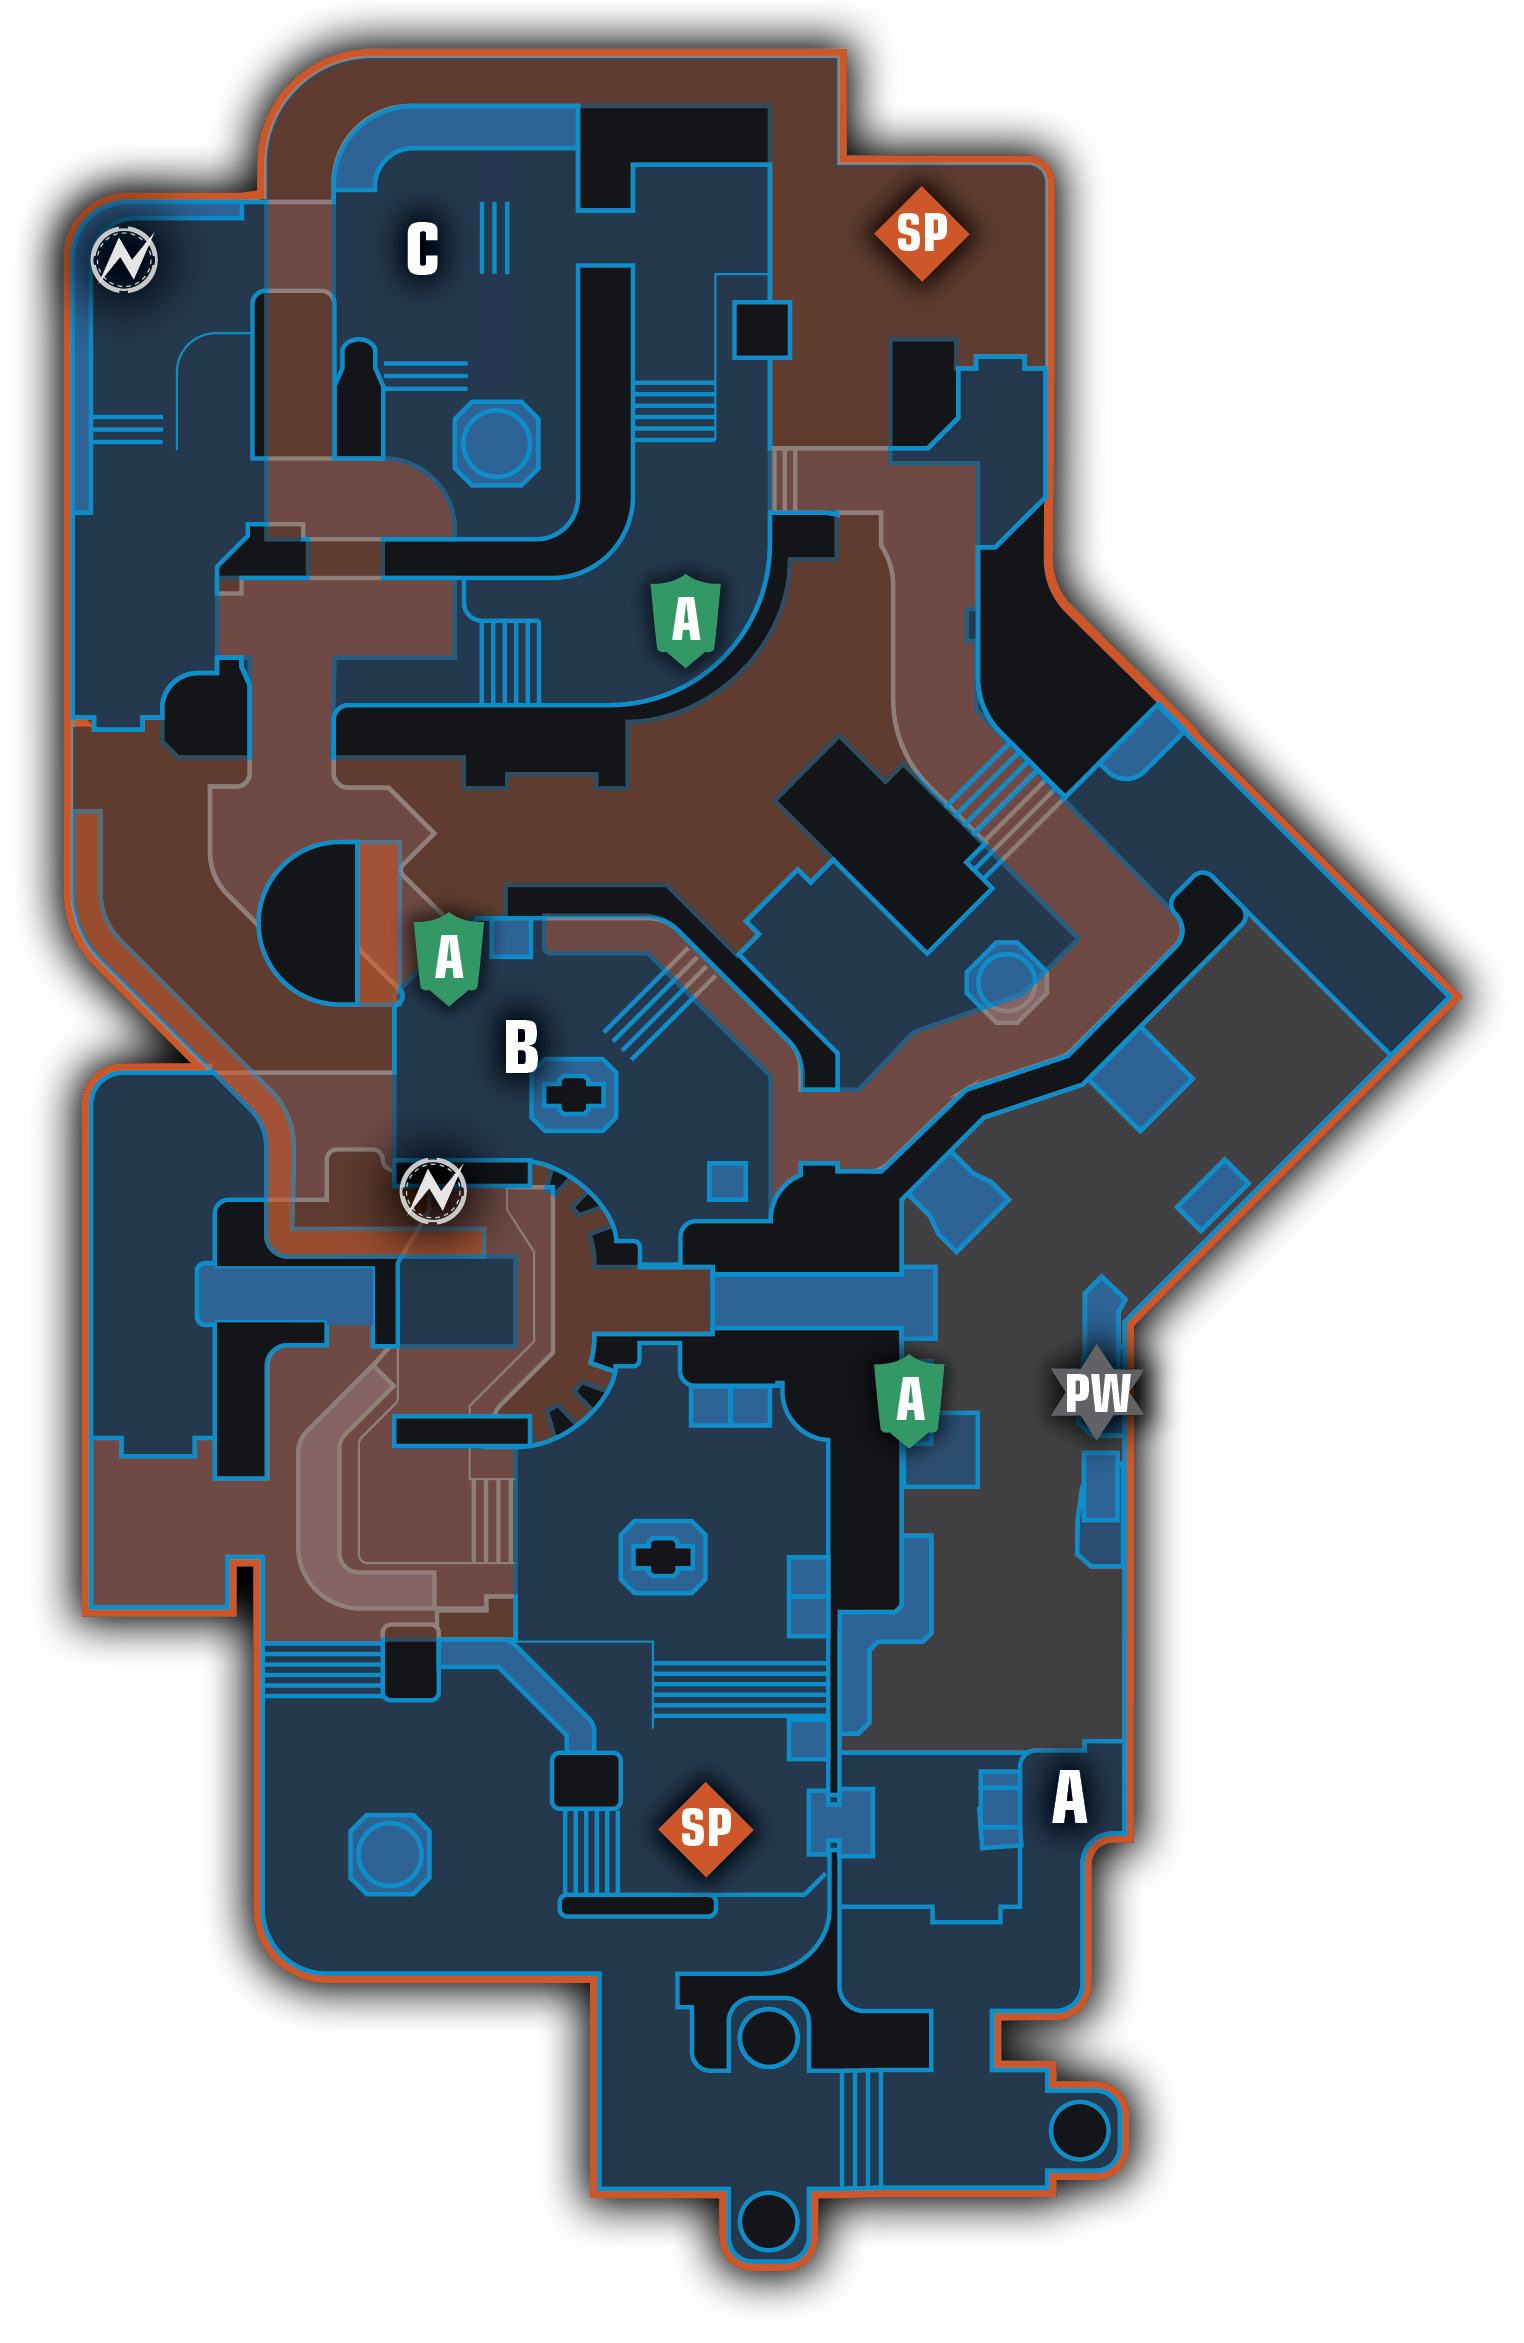
legend
 |
Armor |  |
Portals in |
 |
Domination Capture A |  |
Portals out |
 |
Domination Capture B |  |
Powerup |
 |
Domination Capture C |  |
Power Weapon |
 |
Mega Health |  |
Spawn Point |
Area Recon
Quickly look to the walls near where you spawn to see which room you’re in. One team spawns in a room with a red stripe and “LR 3” on the wall. If this is where you begin, race straight ahead along the upper level and go through corridor “LR2” to where it overlooks the large central room. This is likely where the enemy is going to be by the time you get there, giving you an elevated position from which to shoot. If you begin in the gold-striped room with “LR6” on the wall, you’re going to be tempted to advance toward the enemy in the center of the map—don’t. Instead, sweep around the perimeter through the canyon.
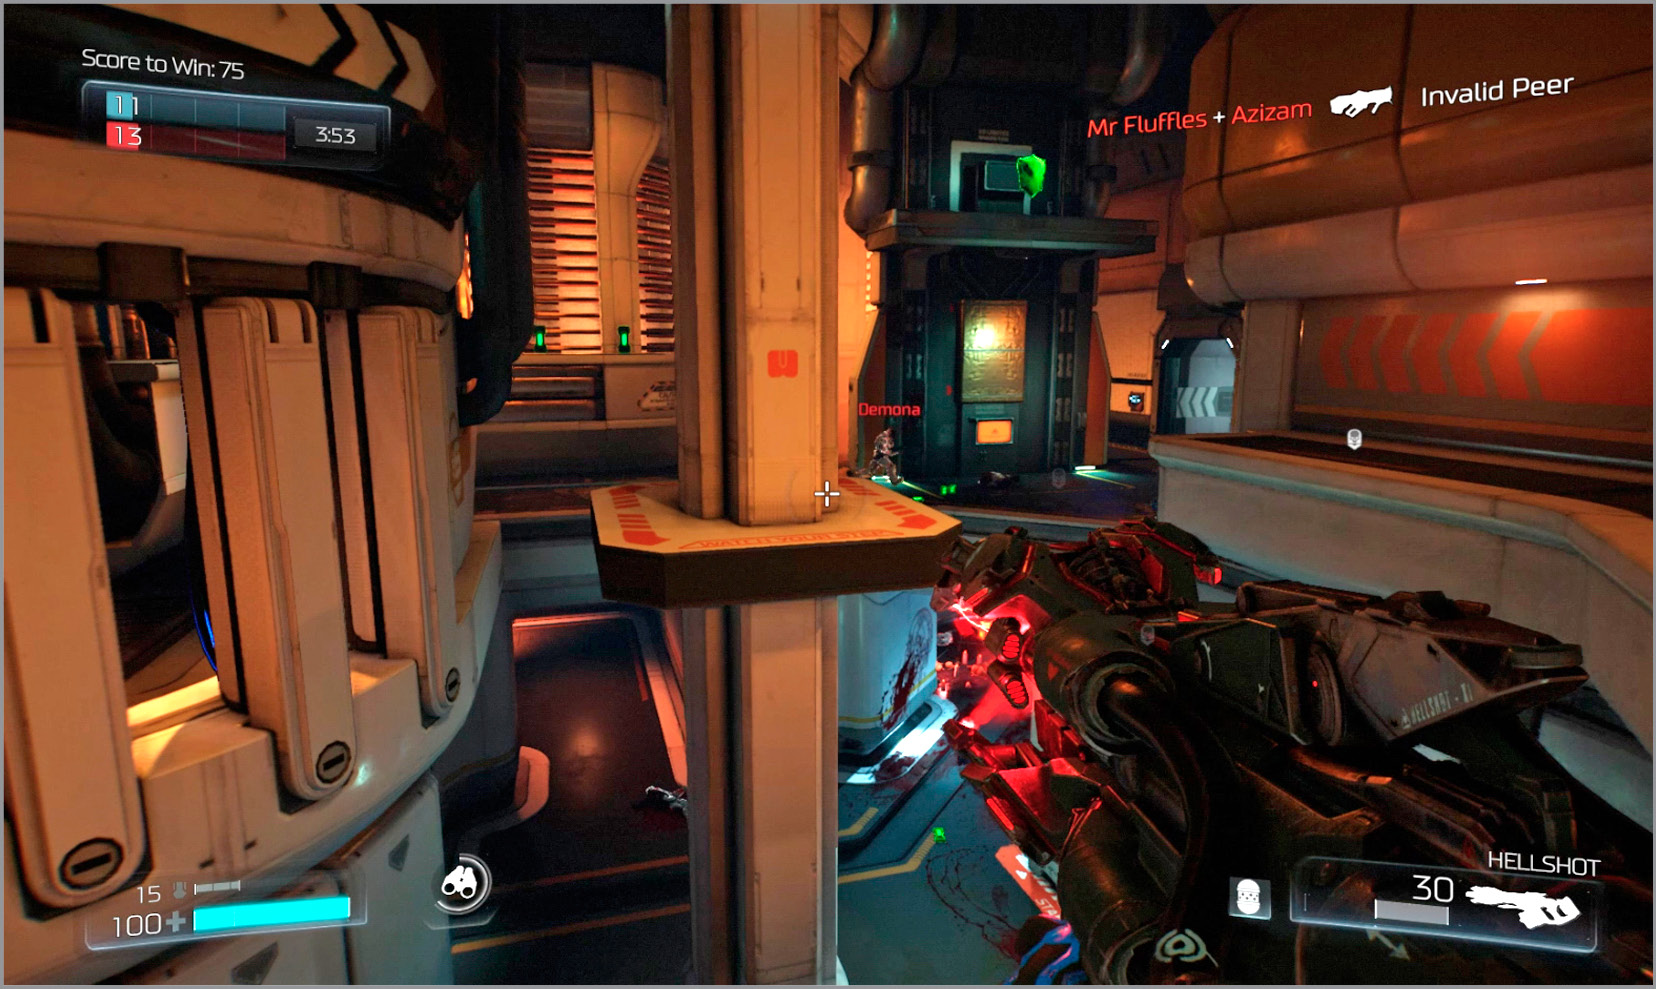
Chasm is defined by rooms with large scientific pieces of equipment and numerous ledges and crates. Keep to the edges of the hallways and leap to the ledges that run along the walls to continuously collect Armor and Health pickups. There are two powerups on this map and three larger Armor pickups, but no Mega Health. The only place on the map that poses an environmental hazard is inside the namesake chasm. Be careful with your jumps here when going for the Gauss Cannon to avoid Suicide. Lastly, stay on the lookout for crawlspaces high in the walls that lead from one room to another (and even out into the canyon area). These tiny passageways are often lined with Health and Armor pickups and can provide a suitable place from which to launch your attack, particularly with the Invisible powerup.
Objective Based Modes
The initial clash between the two teams often takes place in the center of the map with the team that spawns in the red-striped room having an elevated advantage from which to shoot. If your team spawns in this location, take advantage of your good fortune and advance straight ahead to the gold-striped room where the enemy may be lurking. If, on the other hand, you spawn in the gold-striped room, you should instruct your team to ascend quickly via the hallways to the left. Get to the upper level where you can engage the enemy on equal footing and, possibly, by surprise!
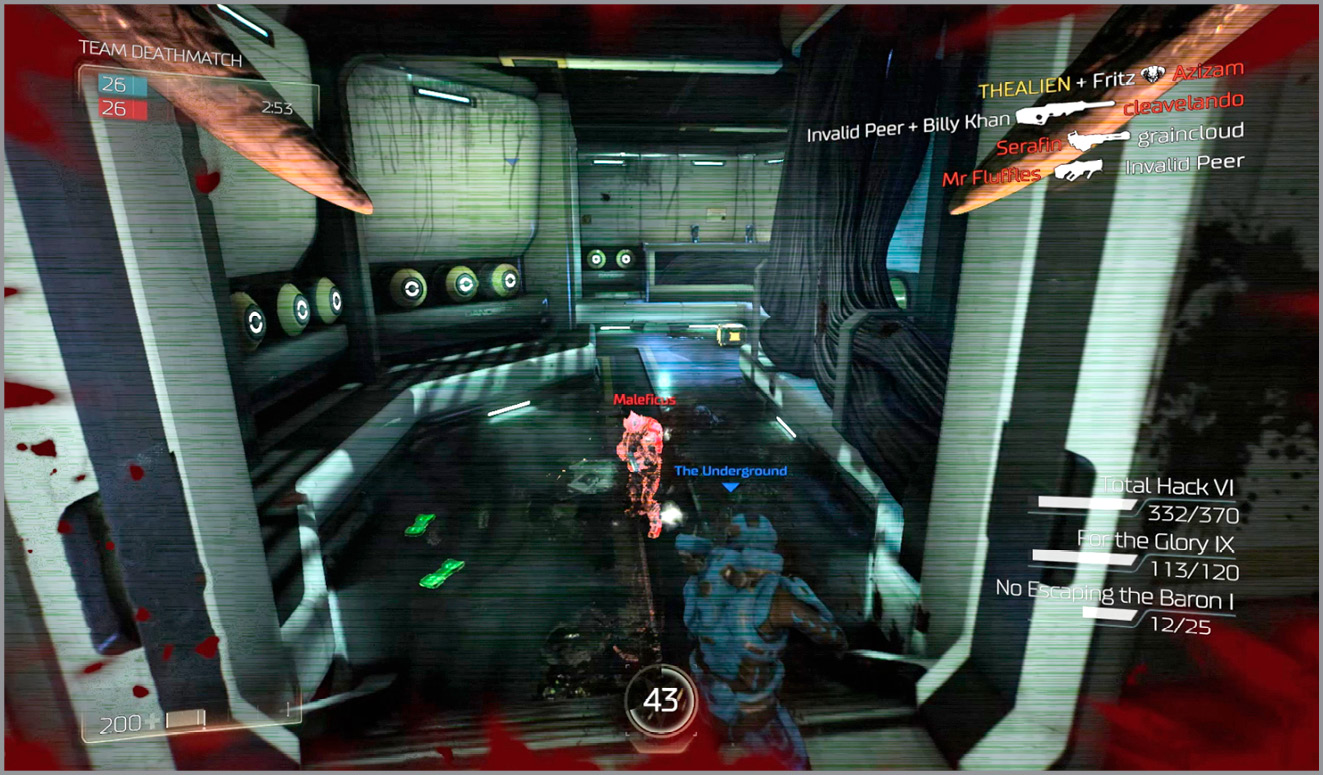
After the initial clash, you’re likely going to be separated from your teammates (especially after a respawn) and it can be very difficult to regroup on this map due to the complex geometry. Chasm is a map that, perhaps more than any other, rewards the team with the best individual players. Extend your life—and your effectiveness—by staying on the move and leaping/running in an erratic pattern from one trail of Health and Armor pickups to the next. Loop the perimeter of the lower level to collect the Invisibility or Regeneration powerup (and the Gauss Cannon, if possible) while trying to stay one step ahead of the enemy. Move to the upper level once in the center of the map, then use Frag Grenades and Tesla Rockets to weaken the enemies you encounter.
Domination
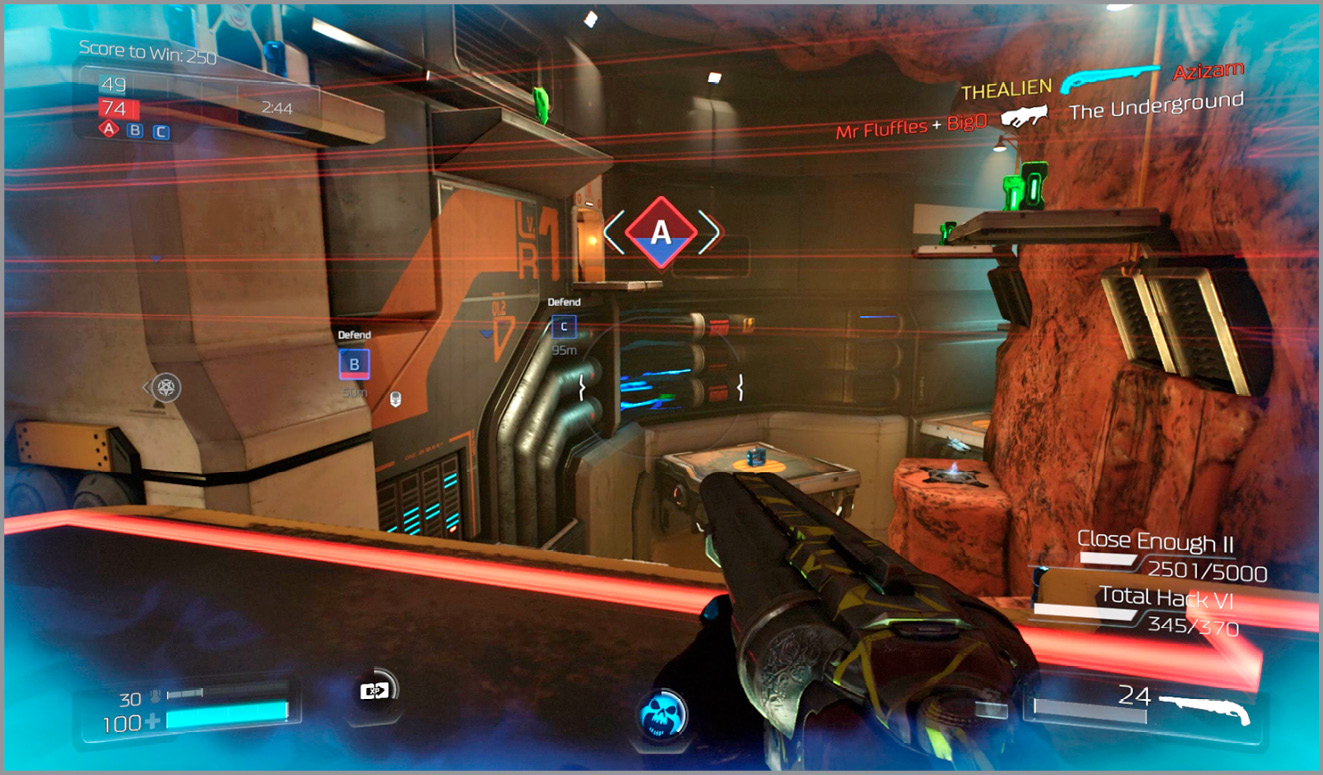
If spawning near Zone C, quickly capture the point with one or two teammates, then continue along the perimeter of the map, keeping to the right, in a counter-clockwise manner and use the jump boost to reach the upper level. This puts you directly above Zone B just in time to contest the central location. The team that spawns near Zone A can secure the nearby Control Point with a single player while sending the rest of the team straight ahead along the lower level to Zone B. Be prepared for an attack from above and use the crates and nearby jump boosts to reach the upper level to defend this point with everything you’ve got. Securing two of the three points at the start of the match can be a distance maker. Later in the match, once the Demon Rune and Gauss Cannon have spawned, do yourself a favor and only go for the Gauss Cannon if you’re sure there are no enemies near Zone A.
Round Based Modes
Much of the battle in Clan Arena and Freeze Tag is going to take place in and around the center of the map, in the room labeled “LR6.” This map is so large that you may well never regroup with your teammates if you go off in a different direction. Instead, stick with the group and try to overwhelm the enemy as soon as the battle begins. Target isolated enemies with rifle fire and use explosives and other weapons that deal splash damage against groups of enemies.
One technique that can work well is to get on the same level of your opponent to flank them. When spawning on the red-striped upper level, advance to the curved hallway with your team, then veer left and descend the stairs to the lower level where you can engage the enemy as they are distracted. Similarly, the team spawning on the lower room should avoid the death-trap that awaits straight ahead and instead move through the canyon to circle the enemy or immediately ascend to the upper level via the jump boosts and crates on the left.