
Doom Guide Multiplayer Arsenal
Overview
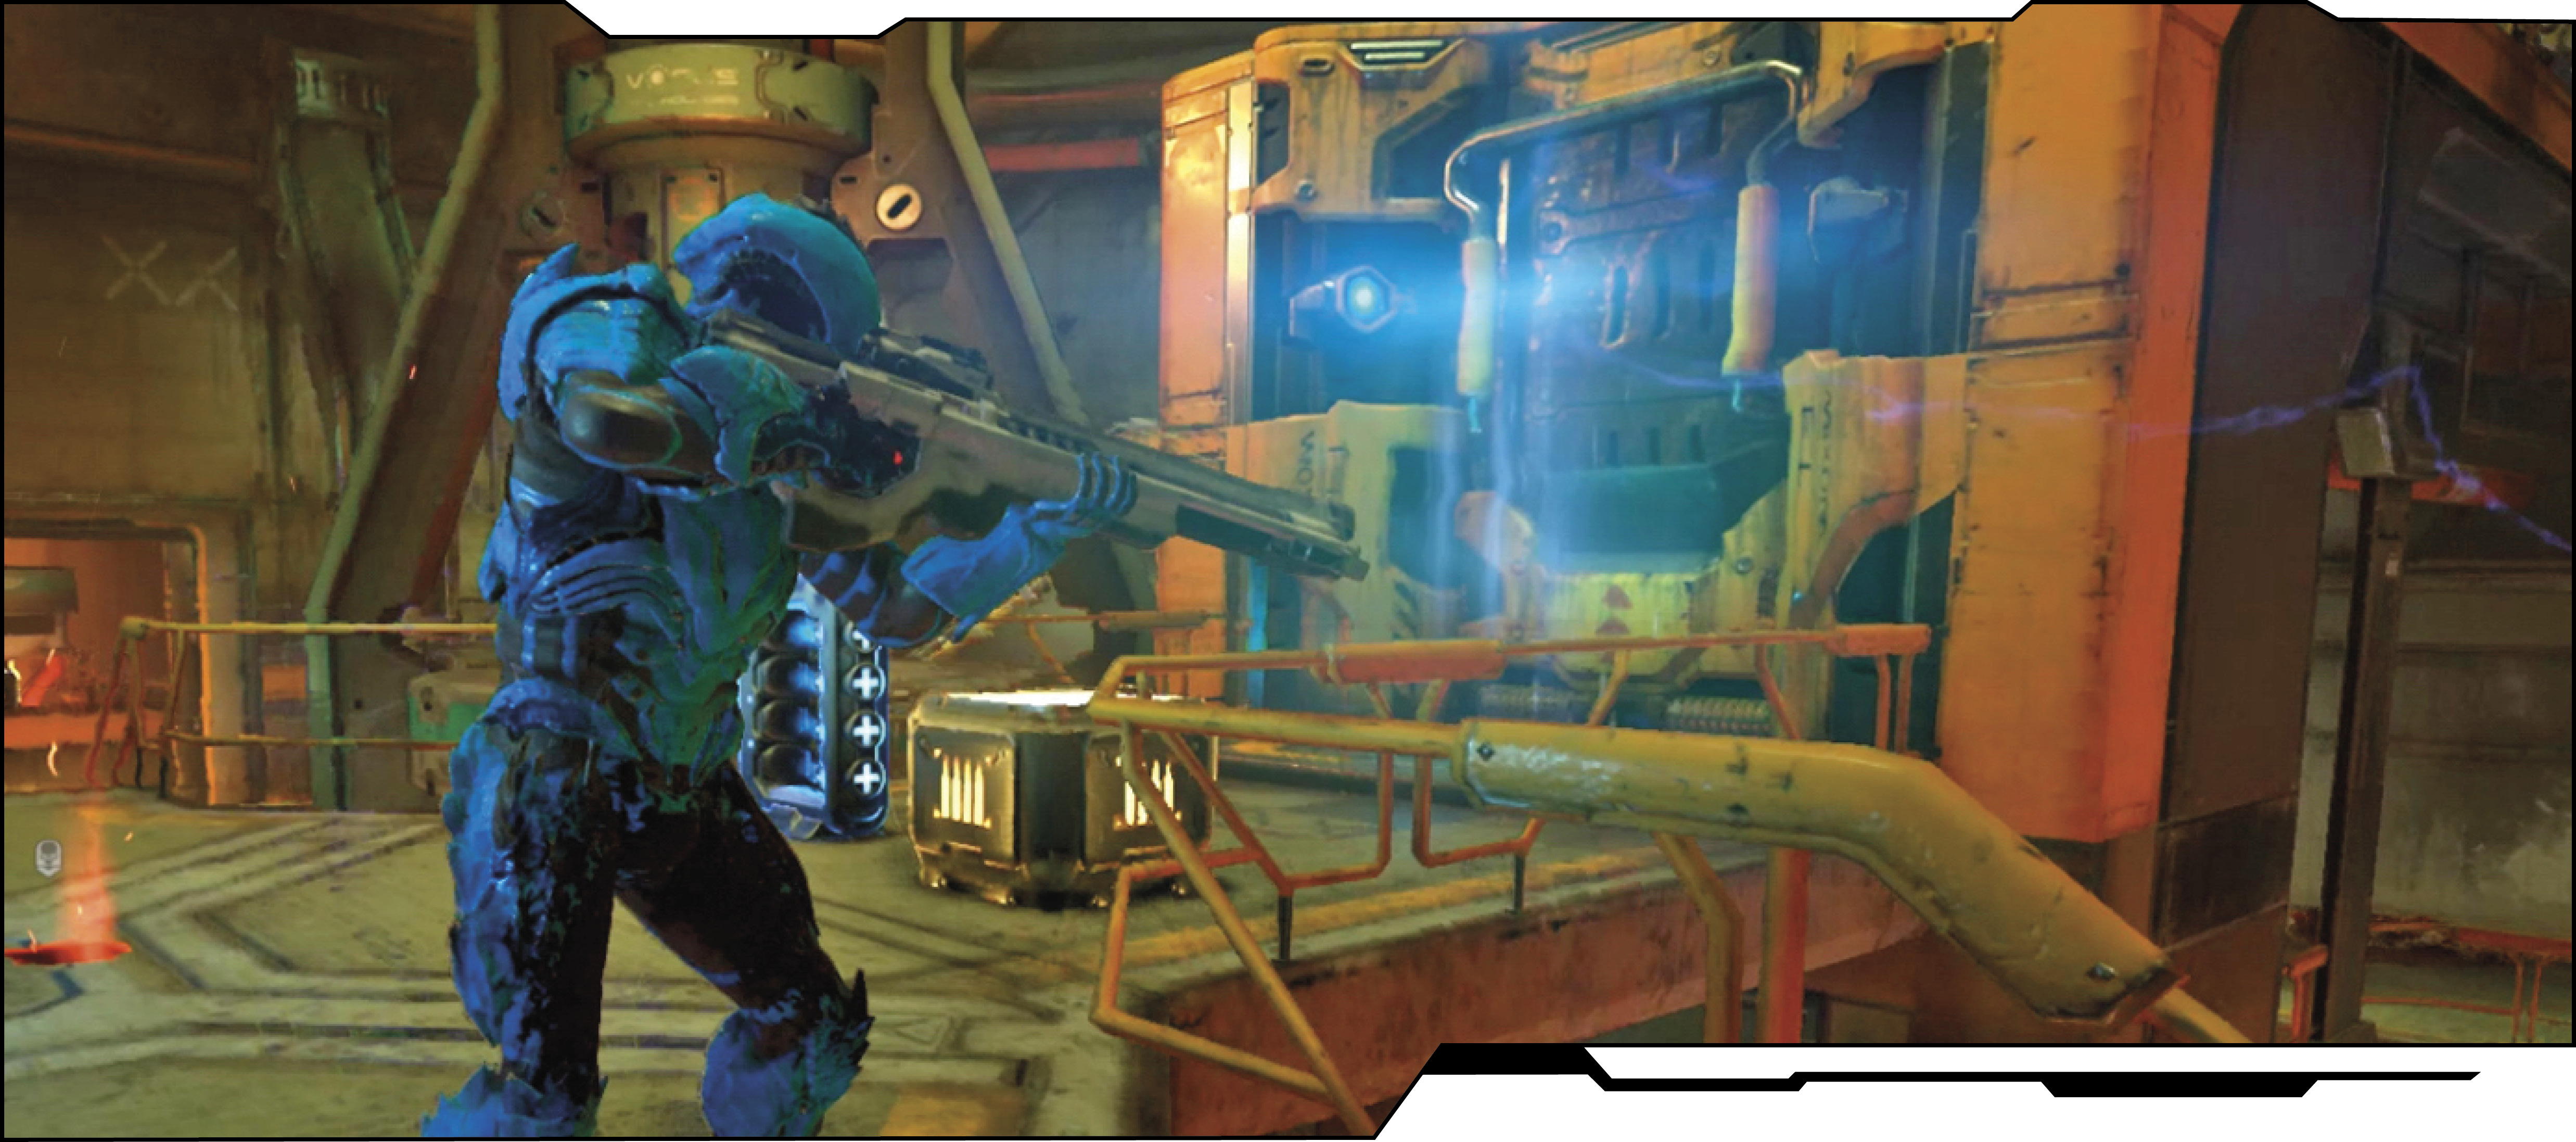
The difference between victory and defeat in multiplayer comes down to four things: skill, teamwork, knowledge of the maps, and mastery of the weapons. This chapter focuses on the latter. Here, you’ll learn everything that you need to know about the 11 standard weapons, the three power weapons found in-map, and the seven pieces of equipment that you can select before heading into battle. Every weapon in the game has its advantages and its drawbacks; they all excel in certain situations and come up short in others. This chapter aims to help you make the best decisions possible when it comes to customizing your loadouts for a given map or scenario.
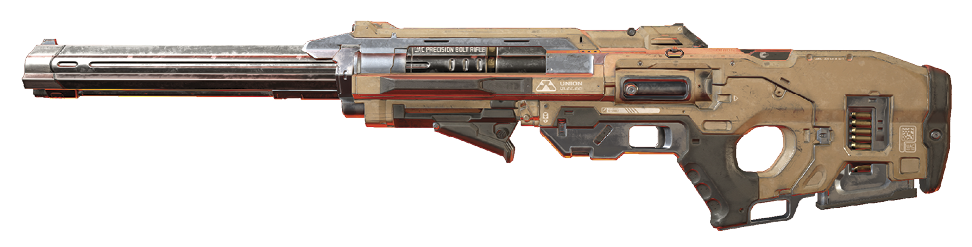
Burst Rifle
Unlocked at Level 3
Primary: A selective-fire battle rifle equipped with a reciprocating barrel assembly and three-round burst mode.
Modifier: Aims down the sights and selects a semi-automatic mode using magnum ammunition.
Burst Rifle: Primary Fire
| DMG | ROF | Splash Radius | Crit DMG | Crit Method |
|---|---|---|---|---|
| 10 | 3.03 | - | 15 | Headshot |
Burst Rifle: Weapon Mod
| DMG | ROF | Splash Radius | Crit DMG | Crit Method |
|---|---|---|---|---|
| 16 | 3.57 | - | 24 | Headshot |
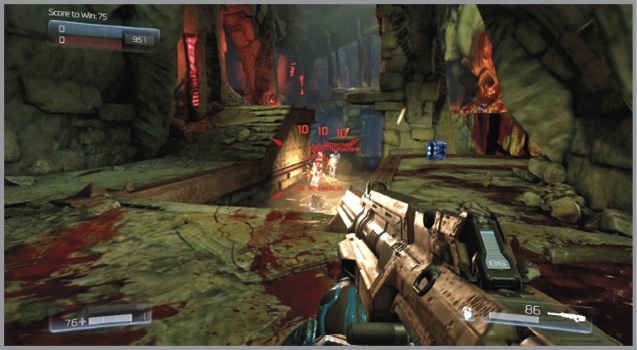
The Burst Rifle fires a high-speed, three-round burst of bullets in a tight spread. Each bullet inflicts 10 DMG, although it will be rare for fewer than two or three of the rounds to hit their mark. This means that each trigger press will inflict up to 30 DMG (45 if Critical Hits). Unfortunately, the Burst Rifle is not fully automatic, and there is a dangerous delay between bursts. Though a fine weapon for finishing off enemies, the Burst Rifle isn’t suitable for taking on a healthy adversary at close or moderate range when alone. The Burst Rifle is best suited for assisting allies in finishing off distracted foes, preferably from a safe distance.
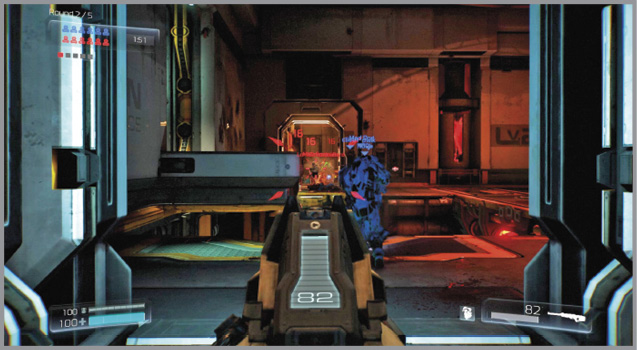
When used, the Weapon Modifier switches the Burst Rifle to a semi-automatic mode. The firing rate is much slower, but this aids in conserving ammo. Using the ironsights also assists with greater accuracy. The magnum ammunition used with the Weapon Modifier inflicts 16 DMG per bullet (24 if Critical Hit). The Weapon Modifier is good to use if you get the drop on an enemy and want to snipe from long range, but the damage that you’ll inflict is unlikely to finish off the opponent.
Consider using the Burst Rifle as a secondary weapon in Objective Based modes to finish off weaker enemies and to engage isolated foes with teammates by your side. Although the Weapon Modifier is nice to use for long-range targets, you are more likely to inflict greater damage while using the weapon’s primary burst fire.
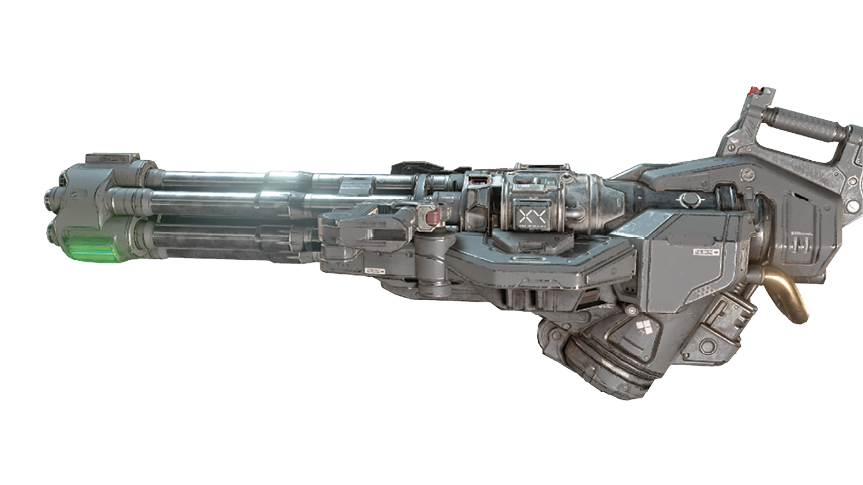
Chaingun
Unlocked at Level 1
Primary: A large drum-fed rotary machine gun with a high rate of fire.
Modifier: Spins up the rotating barrel to maximum speed prior to firing. 1.4 seconds to fully spin up barrels. Movement speed reduced to 83% when spun up.
Chaingun: Primary Fire
| DMG | ROF | Splash Radius | Crit DMG | Crit Method |
|---|---|---|---|---|
| 6 | 10 | - | 9 | Close Range |
Chaingun: Weapon Mod
| DMG | ROF | Splash Radius | Crit DMG | Crit Method |
|---|---|---|---|---|
| - | - | - | - | - |
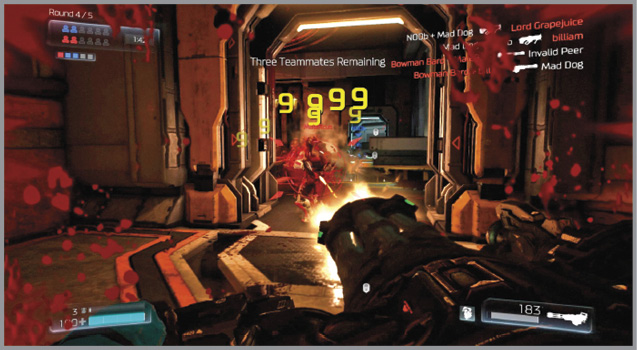
The Chaingun is a powerful weapon that excels at short- to medium-range combat because of its very high rate of fire. Though each bullet inflicts only 6 DMG (9 if Critical Hit), the Chaingun can chew through an enemy’s armor and health in no time at all. Holding the trigger fires in fully automatic mode without the concern of overheating, although it does take a few moments for the rotating barrel to reach top speed. The Chaingun isn’t the most accurate of weapons, with the bullet spread becoming wider at range.
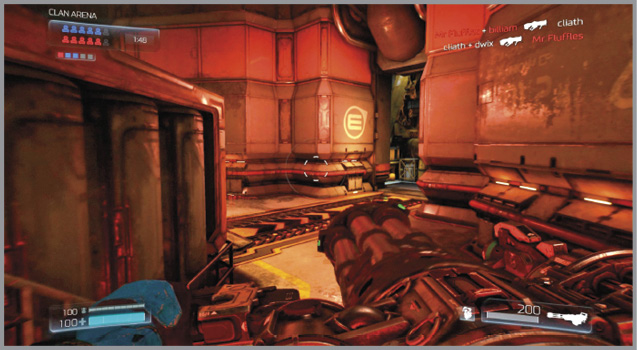
The Chaingun is most effective when it’s operating at top speed. Though the noise of the barrel rotating may alert enemies to your position, you can employ the Weapon Modifier to bring the barrel up to top speed without wasting any ammo. This is particularly useful when you’re defending a position in Domination or attacking the enemy team in Round Based modes. Utilizing the Weapon Modifier does not inflict a movement penalty.
When it comes to using the Chaingun, practice makes perfect. Though there is certainly a “spray and pray” element to using it, there’s also a sweet spot. The key is to stay close enough to your enemies to neutralize their Vortex Rifle or Burst Rifle, but far enough away to stay clear of Super Shotgun range. Aim for the torso, and try to keep the target entirely within the reticle. Most bullets will hit their mark, and some will even score Critical Hits. Resist the urge to aim for the head unless you’re very close, as some of the bullets will likely miss the smaller target.
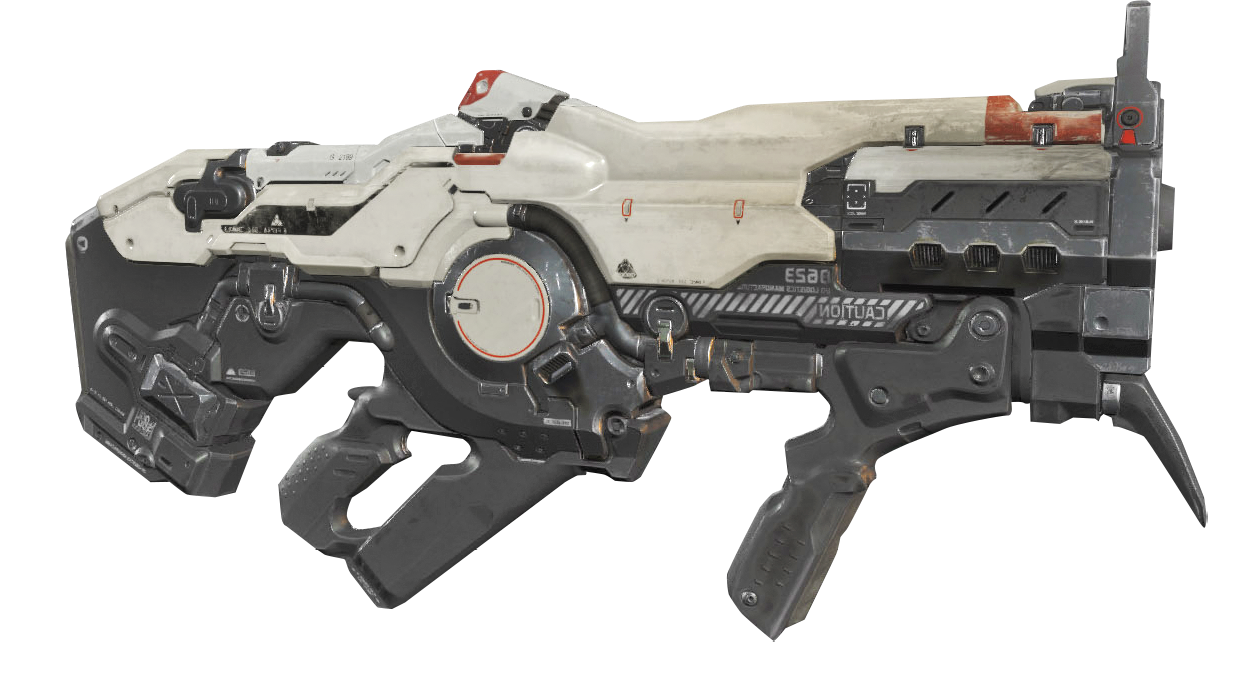
Plasma Rifle
Unlocked at Level 1
Primary: Fully automatic rifle that fires pulses of superheated plasma capable of dealing splash damage.
Modifier: Shoots a plasma orb that detonates, creating a small area of burning plasma. Plasma field deals full self-damage.
Plasma Rifle: Primary Fire
| DMG | ROF | Splash Radius | Crit DMG | Crit Method |
|---|---|---|---|---|
| 6 | 9.09 | 72 | 9 | Consecutive Hits |
Plasma Rifle: Weapon Mod
| DMG | ROF | Splash Radius | Crit DMG | Crit Method |
|---|---|---|---|---|
| 85 / 4 secs | 0.11 | 350 | 20 | Direct Hit |
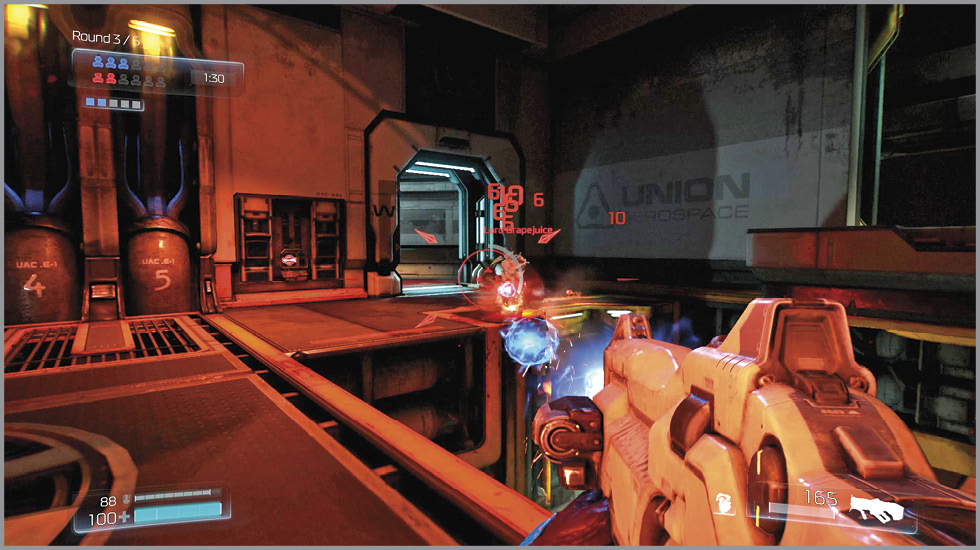
The Plasma Rifle is one of the most versatile weapons in the multiplayer modes, thanks to its rapid rate of fire, above-average accuracy, and the addition of splash damage to its normal fire. A Plasma Rifle inflicts 6 DMG per plasma pulse (9 if Critical Hit) and can be relied on for precision aiming. If you’re head-to-head against an enemy using a Burst Rifle, the Plasma Rifle wins every time.
The Plasma Rifle’s alternate firing method really sets the Plasma Rifle apart. Activate the Weapon Modifier to lob a plasma orb that not only inflicts 15 DMG on contact (20 if Critical Hit), but also lights the ground aflame. Enemies standing upon the burning plasma will suffer an additional 10 DMG repeatedly (nearly every half second) as long as they remain in the affected area. Though it does take 10 seconds for another plasma orb to be ready, the gun is usable in primary mode during that time. The ground will continue to burn for 5 seconds. The circular targeting reticle fills and flashes yellow as the plasma orb recharges. Similarly, the vertical meter visible on the Plasma Rifle indicates when the Weapon Modifier is ready to fire again.
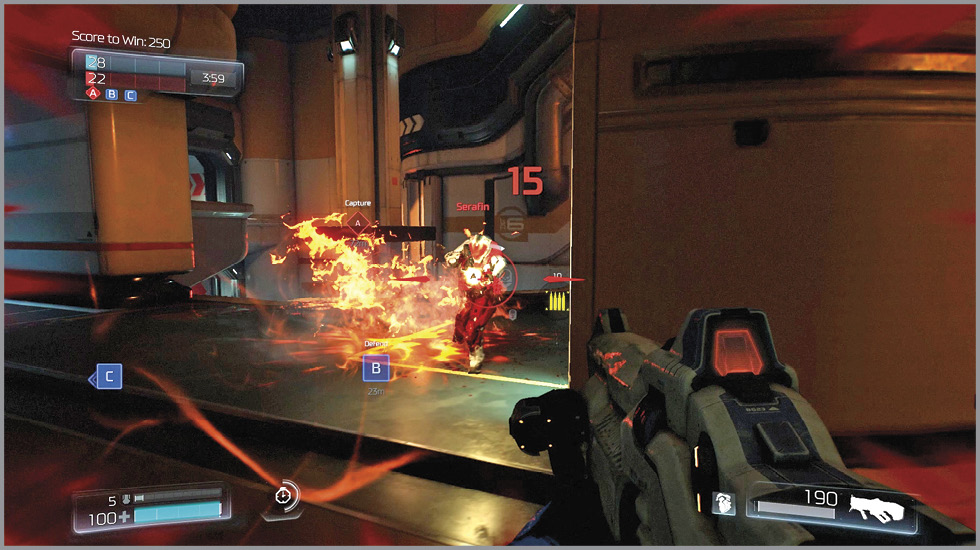
Target an enemy with the plasma orb, then open fire with primary fire to finish him off. The Plasma Rifle is particularly useful in Domination and Warpath, where you can effectively foul an area of the capture point with the burning plasma. It’s also worth firing the gun’s alternate fire when you’re low on health and about to die—this is a great way to collect deaths from beyond the grave. Fire the plasma orb at the ground where an enemy team is congregating, open fire with primary fire, and then fire another plasma orb as soon as it’s available, especially if you have to retreat. Just be careful around the burning plasma because it can damage you, too!
Rocket Launcher
Unlocked at Level 1
Primary: Fires rockets that explode on impact, doing damage over a large area. Deals 80% self-damage.
Modifier: Immediately detonates all live rockets currently in flight.
Rocket Launcher: Primary Fire
| DMG | ROF | Splash Radius | Crit DMG | Crit Method |
|---|---|---|---|---|
| 40 | 1.14 | 164 | 55 | Direct Hit |
Rocket Launcher: Weapon Mod
| DMG | ROF | Splash Radius | Crit DMG | Crit Method |
|---|---|---|---|---|
| 40 | - | 138 | - | - |
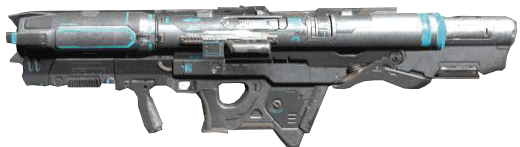
A direct hit from a single rocket is considered a Critical Hit and inflicts 55 DMG to the targeted enemy while inflicting splash damage to those nearby. The Rocket Launcher is an excellent weapon for engaging multiple adversaries or for finishing off a weakened foe—you can inflict from 10 to40 DMG without actually hitting the enemy directly. The Rocket Launcher can fire only one rocket at a time; you cannot fire a second rocket until the one in flight has already detonated.
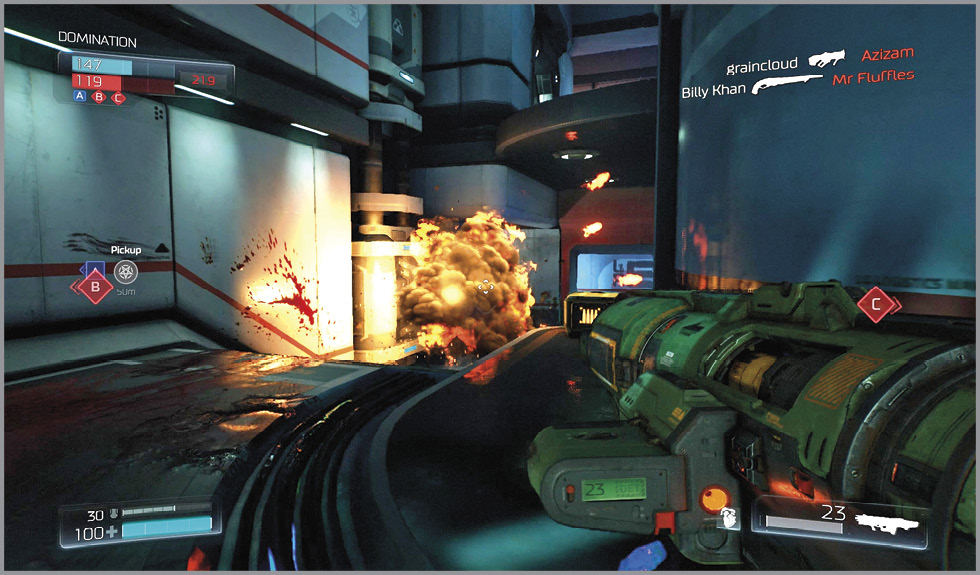
The Weapon Modifier for the Rocket Launcher detonates the rocket currently in flight. This is useful for several reasons. For starters, enemies don’t often stand still while you fire the rockets at them. Use the Weapon Modifier to detonate the rocket you fire as it passes the foe moving out of the way, and you might just score some splash damage. Secondly, you can use the modifier to detonate rockets as fast as you fire them to effectively speed up the rate of fire. This is useful if you’re firing at nearby opponents (but not too close!) and want to canvas an area in splash damage.
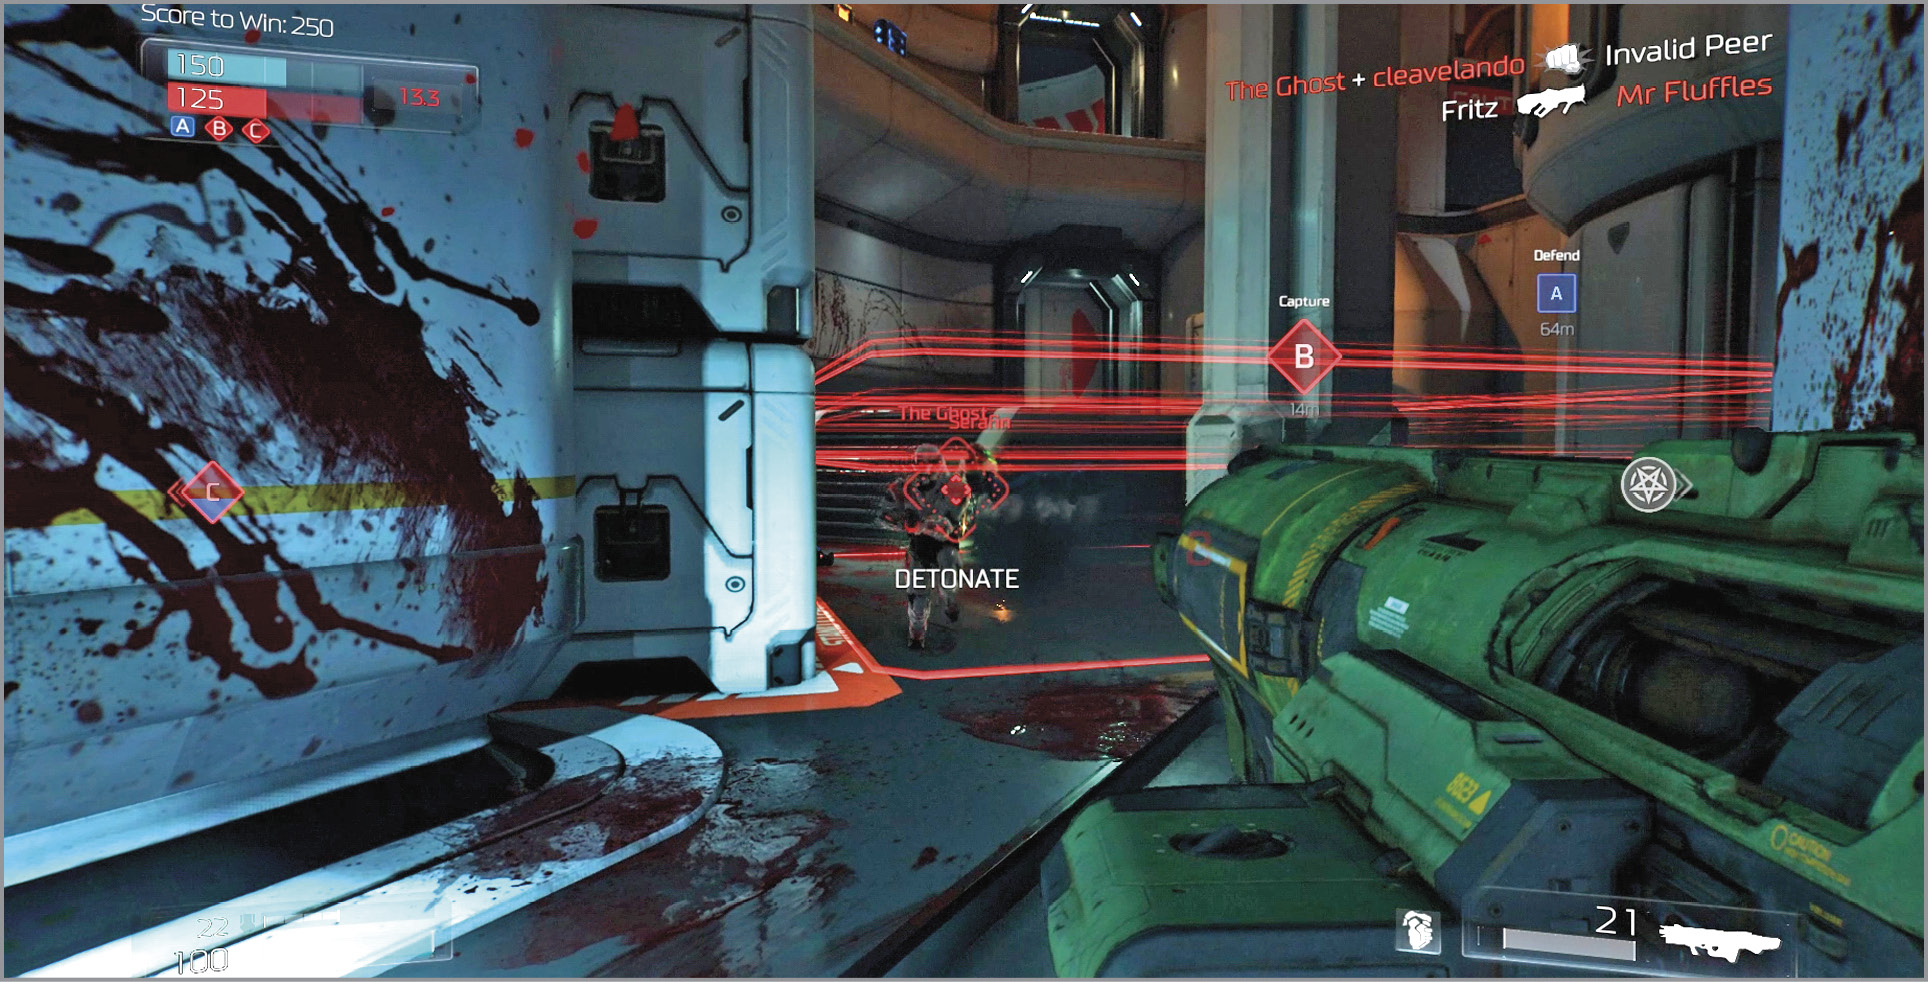
The Rocket Launcher is a potent weapon in Objective Based and Round Based modes, especially at the initial confrontation when both teams are at full strength. Try to flank around the battle and hit the other team from the side. It’s best to aim low when using the Rocket Launcher so you can use the ground to your advantage and inflict splash damage. Fortunately, you can use the Weapon Modifier to detonate any errant shots without having to wait for them to fly across the map and into another surface. The Rocket Launcher is very effective at all ranges but is dangerous at very close range. Remember that the splash damage can also injure you unless you’re equipped with the Blast Shield III Hack Module.
Super Shotgun
Unlocked at Level 1
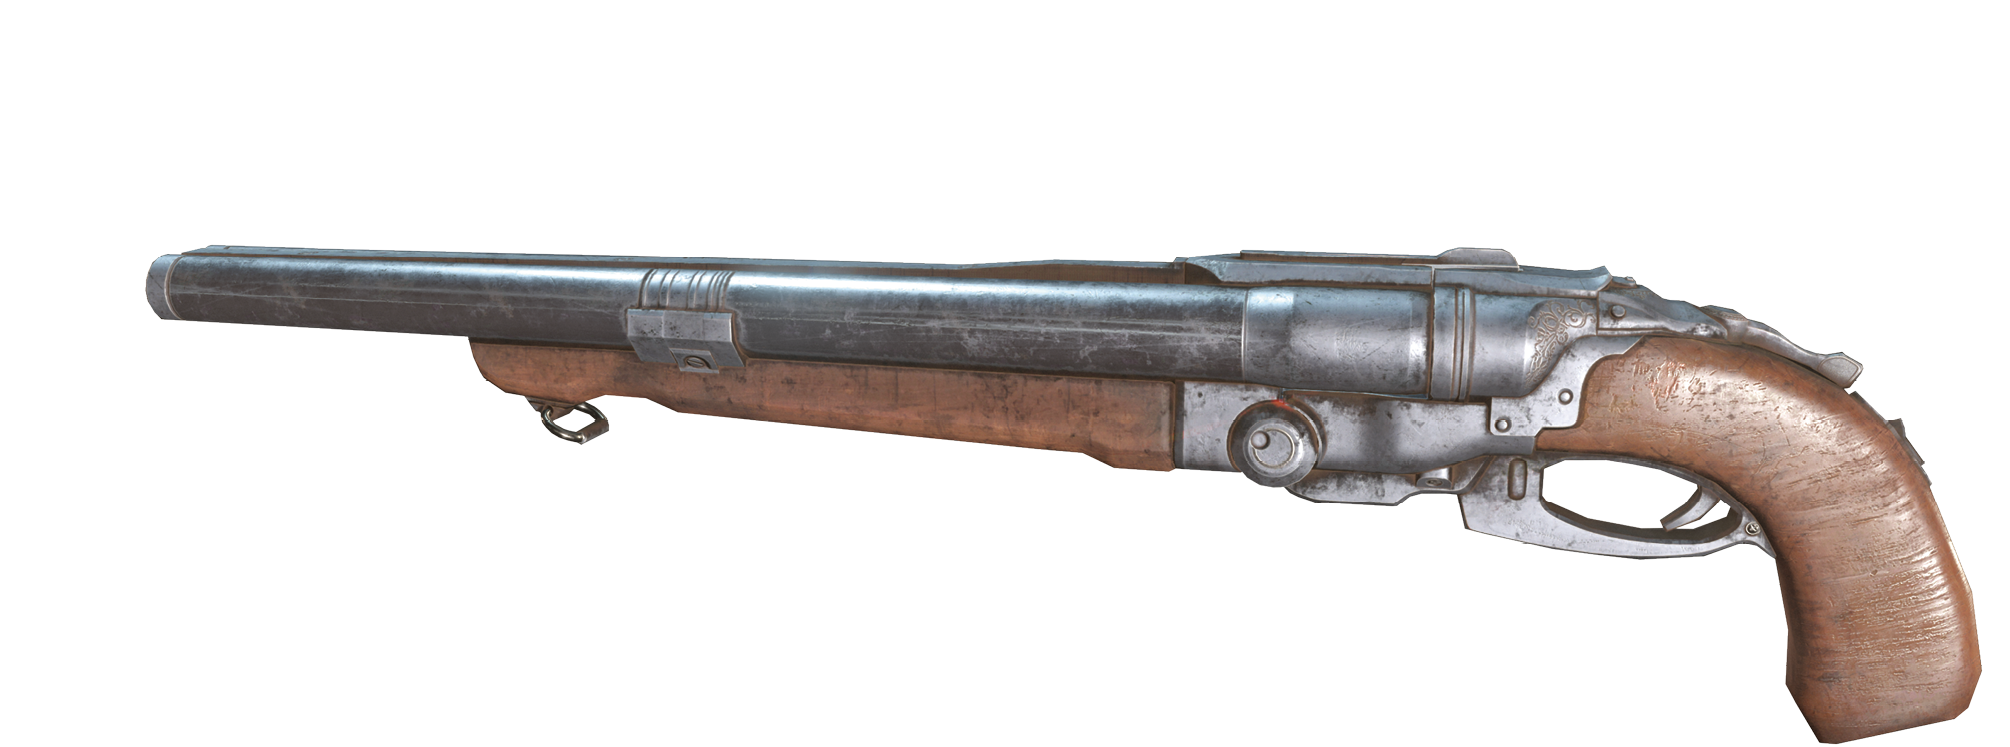
Primary: A break-action double-barrel shotgun that fires a wide spread of buckshot. Each shot consumes 2 ammo.
Modifier: Constricts the variable choke system retrofit into each barrel for a tighter spread pattern.
Super Shotgun: Primary Fire
| DMG | ROF | Splash Radius | Crit DMG | Crit Method |
|---|---|---|---|---|
| 80 | 0.68 | - | - | High Damage |
Super Shotgun: Weapon Mod
| DMG | ROF | Splash Radius | Crit DMG | Crit Method |
|---|---|---|---|---|
| - | - | - | - | - |
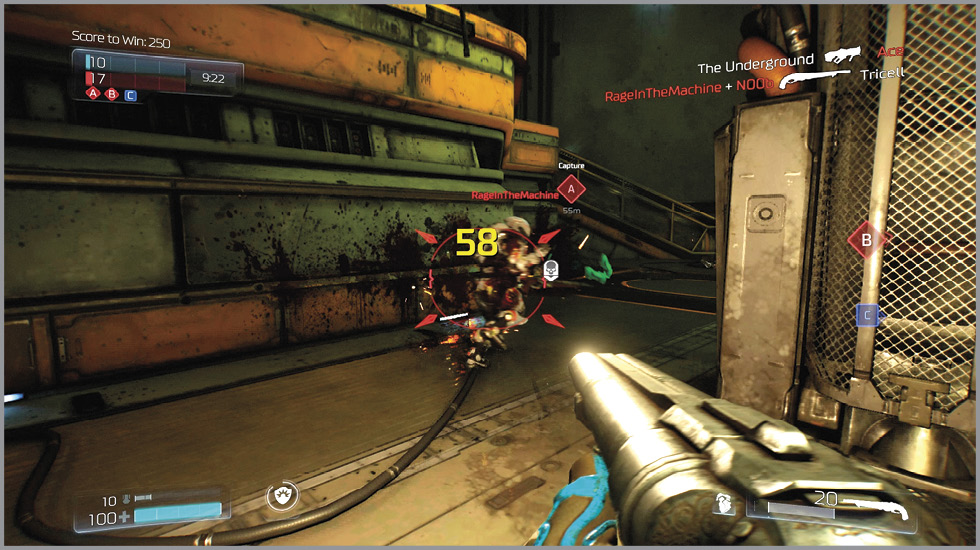
The Super Shotgun can inflict heavy damage on close-range enemies. Since the spread of the buckshot widens with distance, shots fired at medium-range foes will deal only partial damage as a result of some of the buckshot missing the target. A close-range shot aimed at an adversary’s body can inflict up to 80 DMG on Critical Hits. Of course, the drawback to using the Super Shotgun is that it has a very slow rate of fire. Enemies glowing under the effects of full armor or who clearly have full health (visible with the Vital Signs Hack Module) should be kept at distance.
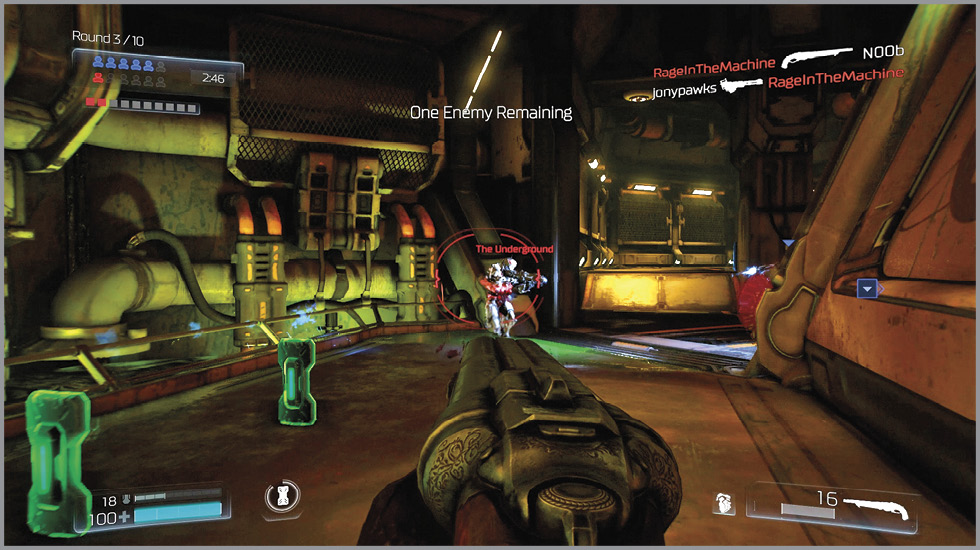
The Weapon Modifier for the Super Shotgun tightens the spread of the buckshot. Enable the Weapon Modifier, and watch as the target reticle tightens partially. Shots fired with this enabled don’t automatically inflict more damage, but more of the individual pieces of buckshot will likely hit their mark. It is those individual pieces of buckshot that inflict the damage: the more that hit the enemy, the greater damage you deal. A grazing shot will inflict as little as 7 DMG. However, everything comes at a cost, and using the Weapon Modifier both narrows your field of vision and slows your movement speed.
You should not view the Super Shotgun as a primary weapon. Under no circumstances should you run around the map with the Super Shotgun in hand, hoping to blast away enemies at close range. This is a recipe for disaster because any foe with full health (especially one armed with a Chaingun, Plasma Rifle, or Burst Rifle) can keep you at arm’s length and rip you to shreds before you get your second shot off. Instead, engage from afar with a longer-range weapon, and close the gap on the enemy. Switch to the Super Shotgun to finish him off! The Super Shotgun is also effective when contesting Control Points in Domination and Warpath, especially if your teammates have already softened the opponents up with a Rocket Launcher or the plasma pools of a Plasma Rifle. A Frag Grenade also works well with the Super Shotgun.
Vortex Rifle
Unlocked at Level 1
Primary: A precision long-range energy weapon with a magnified optic.
Modifier: Increases the magnification and charges to full power output. One second to fully charge. Max range of 4096 units.
Vortex Rifle: Primary Fire
| DMG | ROF | Splash Radius | Crit DMG | Crit Method |
|---|---|---|---|---|
| 30 | 1 | - | 45 | Headshot |
Vortex Rifle: Weapon Mod
| DMG | ROF | Splash Radius | Crit DMG | Crit Method |
|---|---|---|---|---|
| 84 | 1 | - | 126 | Headshot |
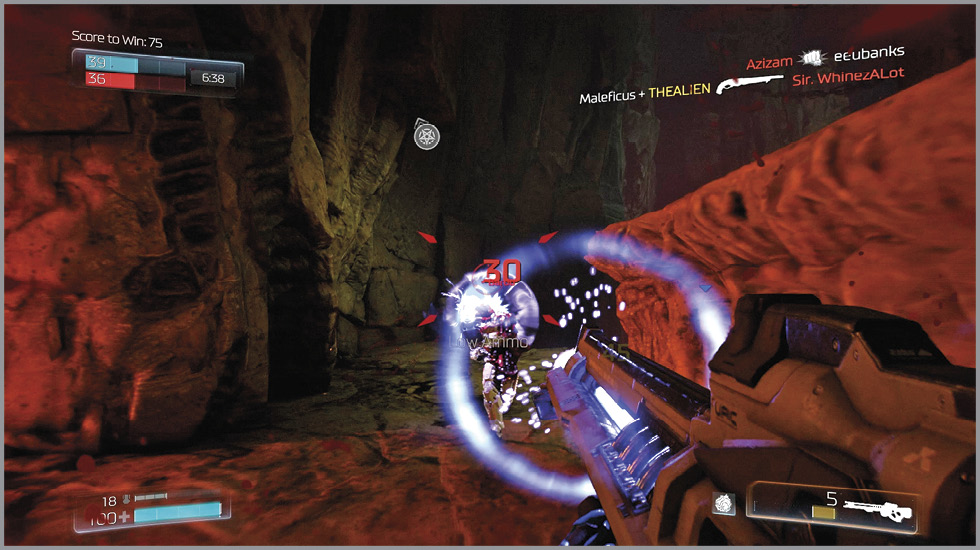
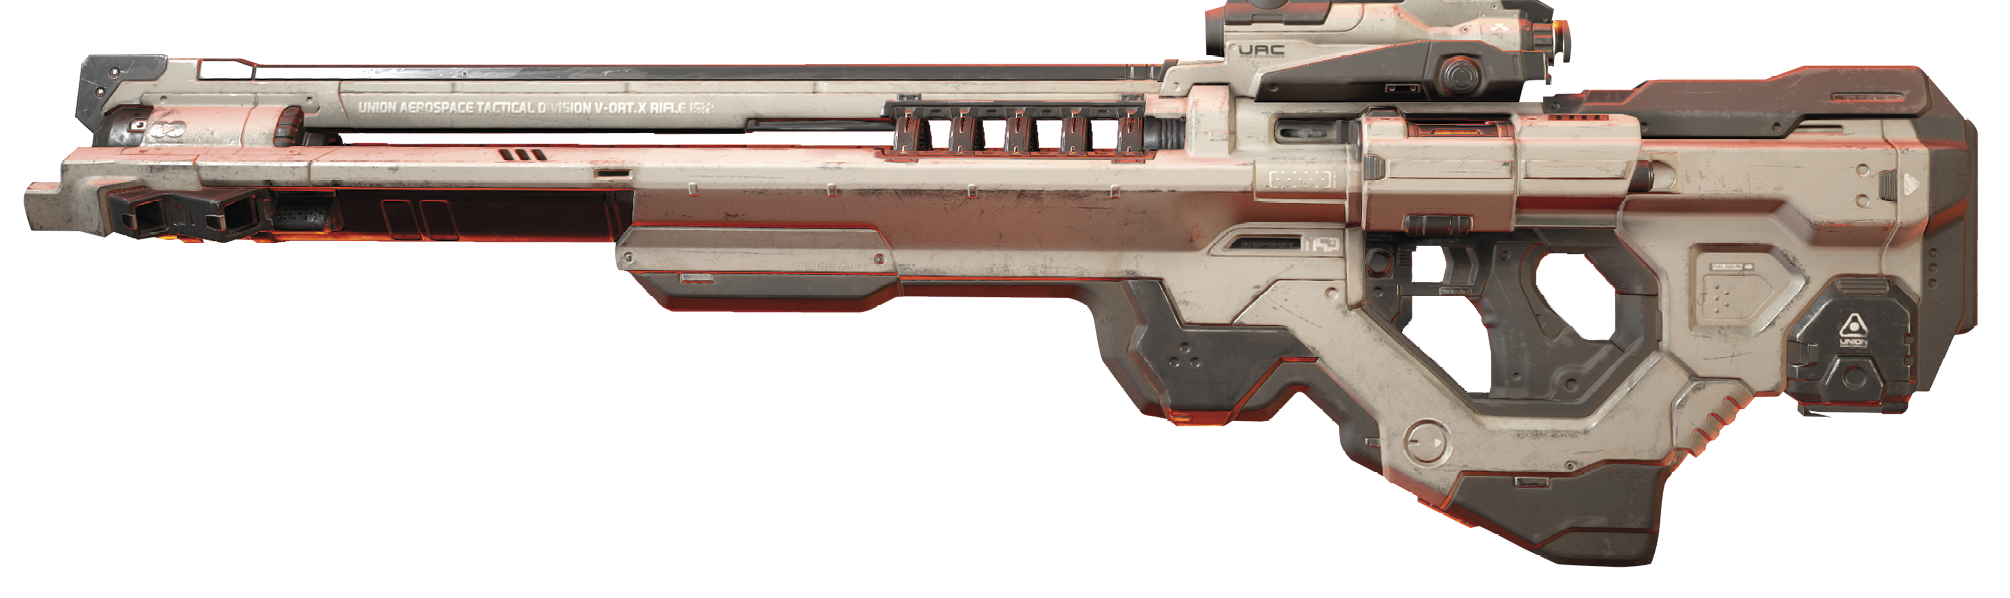
The Vortex Rifle is an excellent sniping weapon, capable of precise shots from considerable distance. It features a scope that reveals the shooter’s location with a laser that extends out from the rifle. An unmodified shot inflicts 30 DMG (45 DMG on Critical Hits) and can be fired with only a slight delay between shots. The Vortex Rifle is best used against long-range enemies that are carrying imprecise weaponry or weapons that are best suited for close-range combat. Though the Vortex Rifle is one of the best sniper rifles available, DOOM is not a game conducive for camping out and sniping enemies. Maps like Excavation provide ample opportunity to get up high and target distant, distracted enemies, but you will be exposed. Take your shot, and immediately relocate! If your skills don’t allow for sniping on the run, use the Alarm Hack Module (or Threat Sensor), and seek out areas where you’re at least covered from two or three sides.
Enabling the Weapon Modifier with the Vortex Rifle amplifies the magnification, effectively giving you a terrific scope. The enhanced optics definitely help, but the Weapon Modifier’s main benefit is the increased damage. Continue enabling the Weapon Modifier to charge the Vortex Rifle’s energy to full power for an attack that can inflict 84 DMG (126 on Critical Hits). Best of all, you need not fully charge the weapon until the reticle flashes yellow to gain a damage boost. Partially charged shots inflict a minimum of 39 DMG.
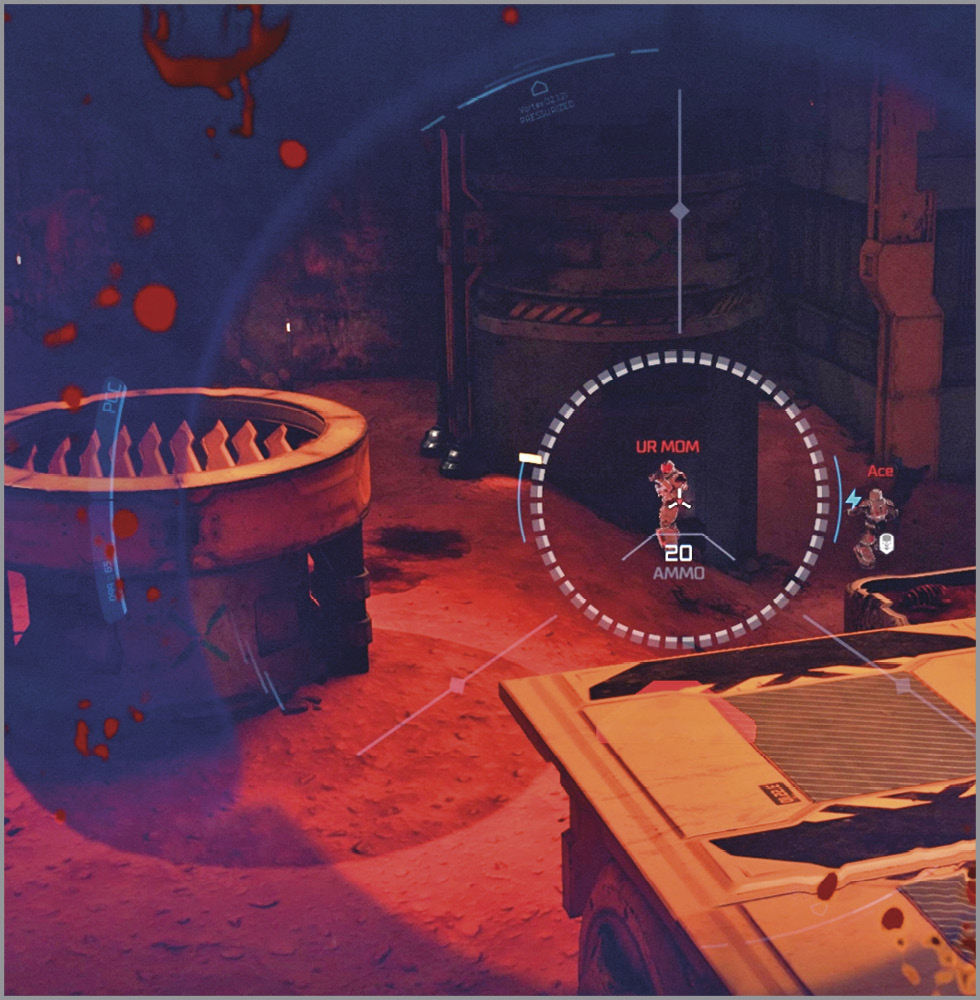
The Vortex Rifle is a great weapon to use both when you’re hanging back from teammates picking off a distracted opponent or when you’re one-on-one in Clan Arena or Freeze Tag. Keep your distance, charge up your shot, and go for the headshot! Consider pairing this weapon with a Super Shotgun, Combat Shotgun, or something with a very high rate of fire, such as the Plasma Rifle. The Vortex Rifle is particularly useful on Excavation. Grab the Quad Damage powerup, charge up the rifle, and go for a Critical Hit to deliver 378 DMG! Talk about a demon slayer!
Heavy Assault Rifle
Unlocked at Level 1
Primary: Fully automatic assault rifle with a digital scope.
Modifier: Enables the digital scope for extended range combat. Movement speed reduced to 75% when using scope.
Heavy Assault Rifle: Primary Fire
| DMG | ROF | Splash Radius | Crit DMG | Crit Method |
|---|---|---|---|---|
| 9 | 7.35 | - | 13 | Headshot |
Heavy Assault Rifle: Weapon Mod
| DMG | ROF | Splash Radius | Crit DMG | Crit Method |
|---|---|---|---|---|
| - | - | - | - | - |
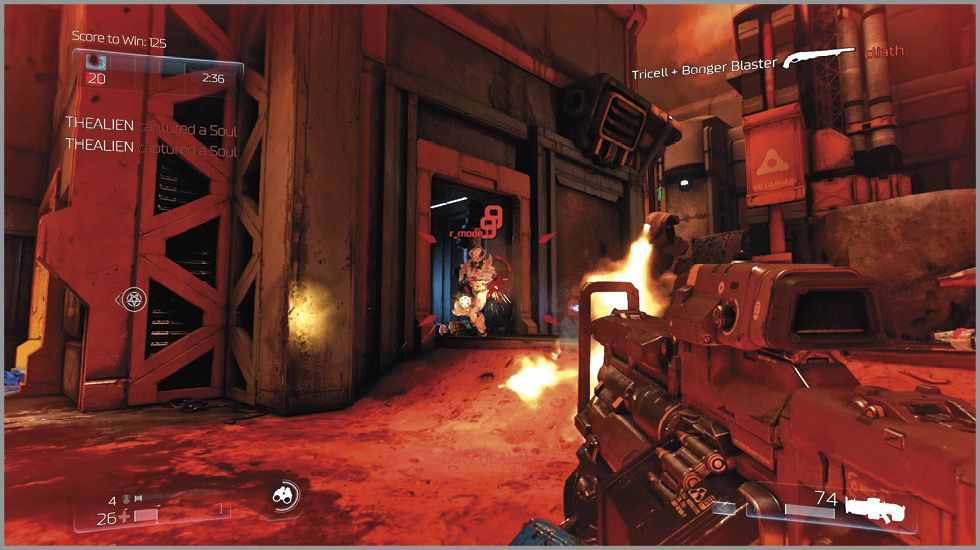
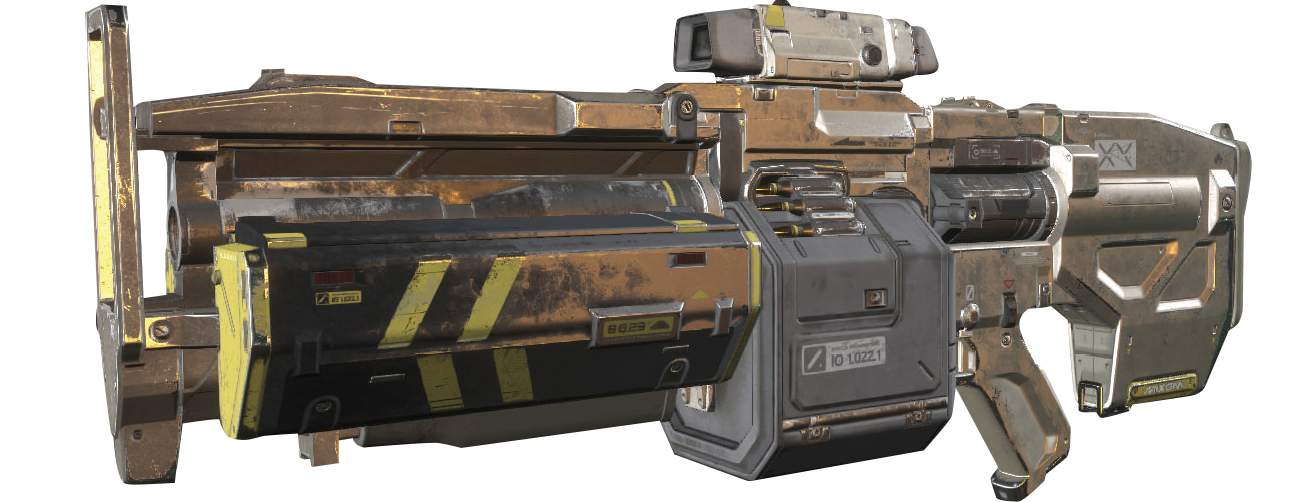
The Heavy Assault Rifle fires a barrage of precision-aimed bullets at a fast rate of fire. Unfortunately, each bullet inflicts only 9 DMG (13 on Critical Hits). This means that you’ll need to engage your enemy in a drawn-out fight in order to finish him off with just this weapon. Nevertheless, the Heavy Assault Rifle is an adequate all-around weapon, provided you shoot from the hip, aim for the head, and stay on the move at all times. Circle-strafe, jump, and sidestep back and forth to avoid incoming attacks while peppering your adversary. This is the only way to bring down a healthy foe with just the Heavy Assault Rifle.
The Heavy Assault Rifle’s Weapon Modifier is a digital scope that narrows your field of vision, zooms in on the distance, and allows for greater accuracy over long range. The weapon’s projectiles will not inflict greater damage, but you’ll be able to more accurately target your enemy from afar. This is useful when assisting a distant teammate or trying to provide support to a contested Control Point. Enabling the Weapon Modifier in medium- or close-range situations is not recommended.
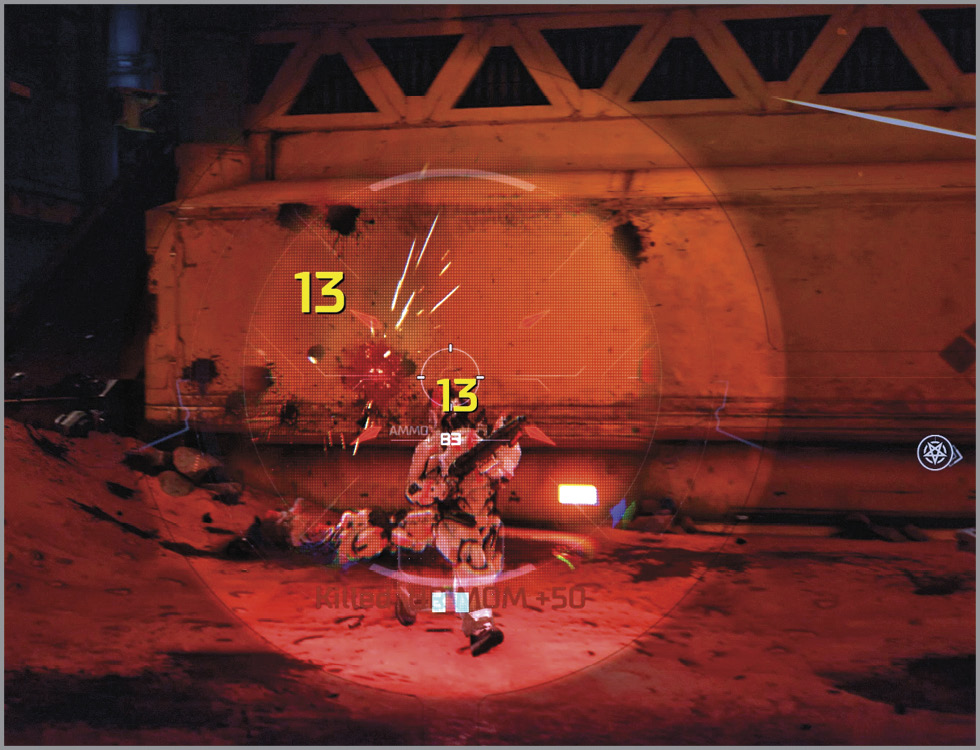
The Heavy Assault Rifle can be an adequate primary weapon, but it’s more useful as a secondary weapon that you can use to finish off weakened enemies. Consider pairing it with a Rocket Launcher or Vortex Rifle. Similarly, the Heavy Assault Rifle works well with the Siphon Grenade and Tesla Rocket. Use these other weapons while you move into a medium distance with the Heavy Assault Rifle. Remember that despite the Heavy Assault Rifle’s high rate of fire and accuracy, it doesn’t have quite the potency of several other weapons at close range. Use it on the run, and pick your shots—and your enemies—carefully.
Hellshot
Unlocked at Level 6
Primary: An advanced semi-automatic Argent Energy weapon.
Modifier: Fires an incendiary round that burns targets on impact.
Hellshot: Primary Fire
| DMG | ROF | Splash Radius | Crit DMG | Crit Method |
|---|---|---|---|---|
| 20 | 2.86 | - | 35 | Headshot |
Hellshot: Weapon Mod
| DMG | ROF | Splash Radius | Crit DMG | Crit Method |
|---|---|---|---|---|
| 48 / 4 secs | 0.2 | - | - | - |
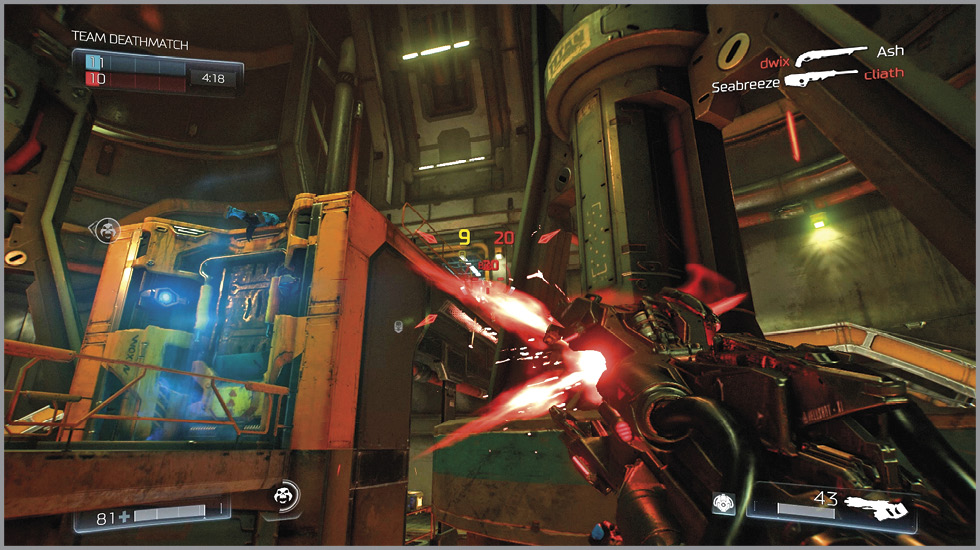
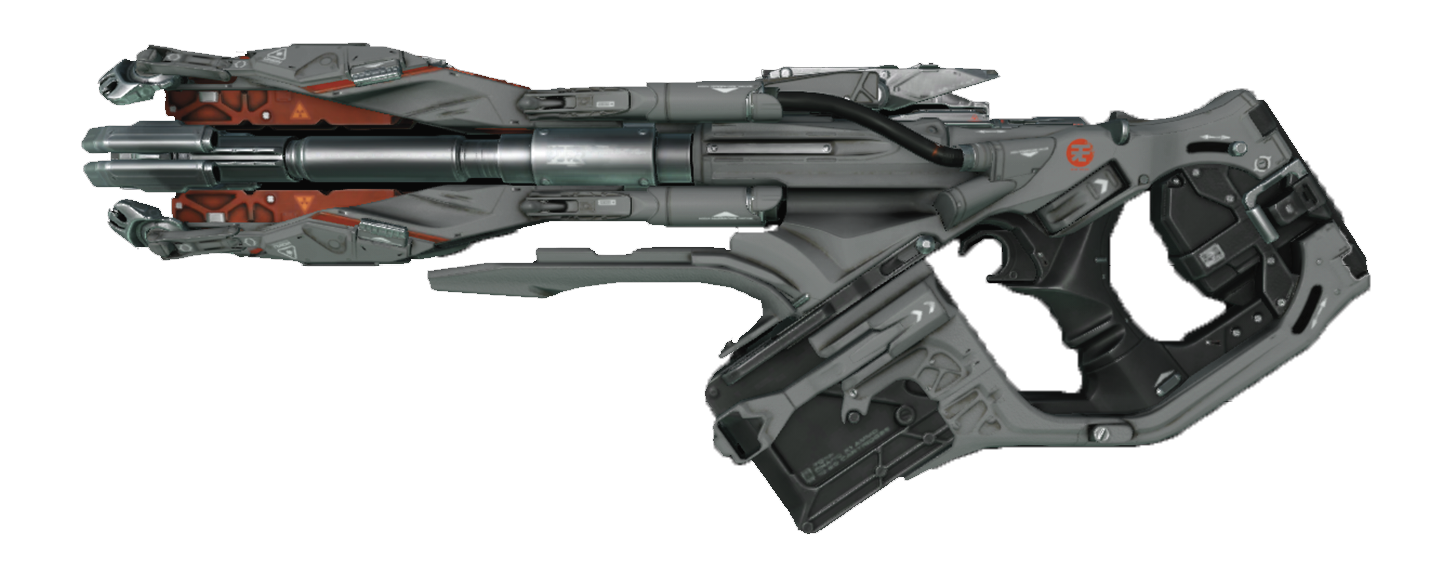
The Hellshot is an excellent all-purpose weapon that inflicts 20 DMG per shot (35 on Critical Hits) and has above-average precision. The Hellshot’s one downside is its relatively slow rate of fire—on par with the Vortex Rifle—but you can overcome this with strategic use of its Weapon Modifier.
Activating the Weapon Modifier with the Hellshot fires an incendiary projectile that continues to burn the struck target. The enemy will suffer burn damage while you pepper him with primary Hellshot fire or even another weapon. The Weapon Modifier inflicts a total of 48 DMG over time and takes 5.5 seconds to recharge. Hit the foe with the incendiary round, then open fire with the semi-automatic primary fire while the Weapon Modifier recharges.
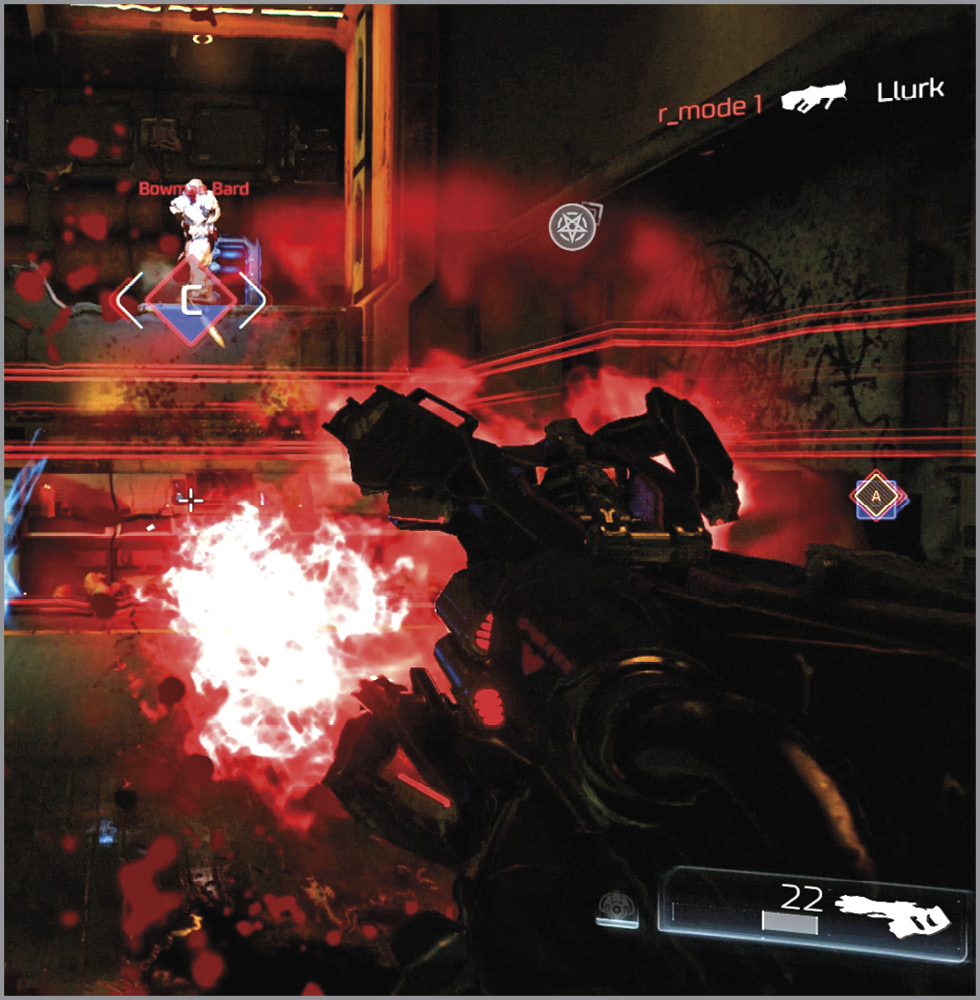
The Hellshot’s primary fire is accurate at medium to long range. The Weapon Modifier’s incendiary round is fired in a slight arc (not as dramatic as the Combat Shotgun) and is best used against short- to medium-range enemies, given its slower velocity. The Hellshot doesn’t deliver splash damage, so make sure that you are accurate with all attacks. Set an adversary on fire and circle-strafe around him while he burns, either switching to a Super Shotgun or using the Hellshot itself to finish him off. You can use the Hellshot as a primary or secondary weapon; it’s recommended to match it with a Plasma Rifle or Super Shotgun for close-quarters situations.
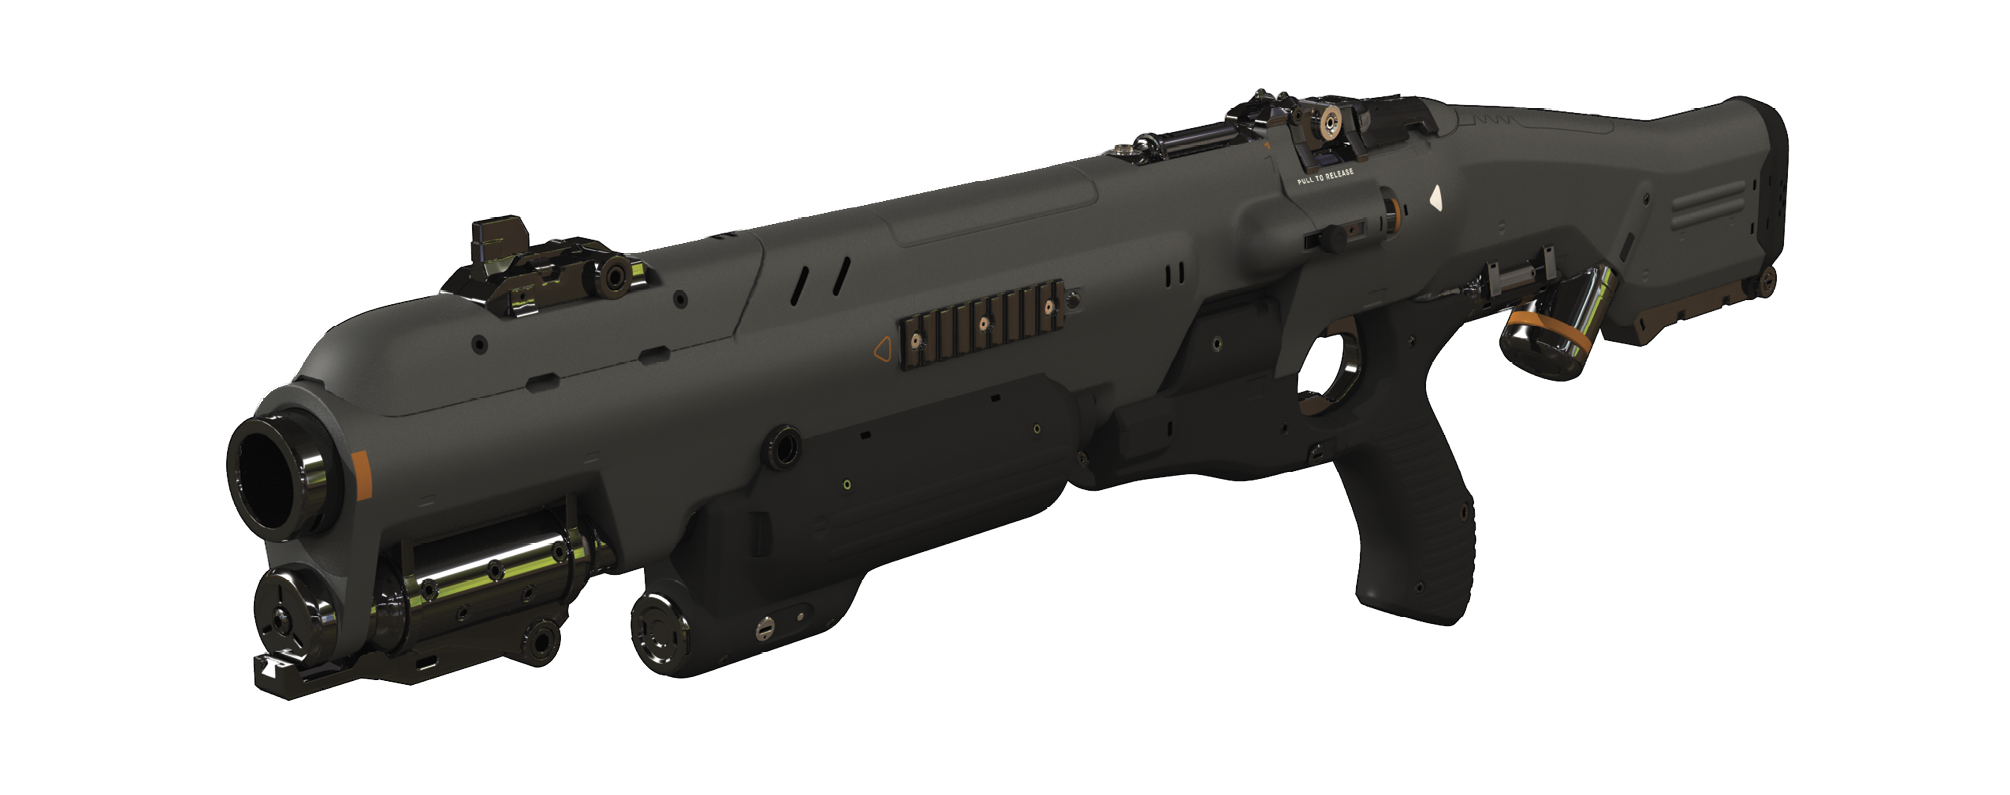
Combat Shotgun
Unlocked at Level 11
Primary: A pump-action shotgun with a tight spread of buckshot.
Modifier: Loads the shotgun with lethal high-explosive mortar shells. Takes 0.5 seconds to ready a mortar shell.
Combat Shotgun: Primary Fire
| DMG | ROF | Splash Radius | Crit DMG | Crit Method |
|---|---|---|---|---|
| 45 | 1.18 | - | - | High Damage |
Combat Shotgun: Weapon Mod
| DMG | ROF | Splash Radius | Crit DMG | Crit Method |
|---|---|---|---|---|
| 40 | 0.5 | 220 | 50 | Direct Hit |
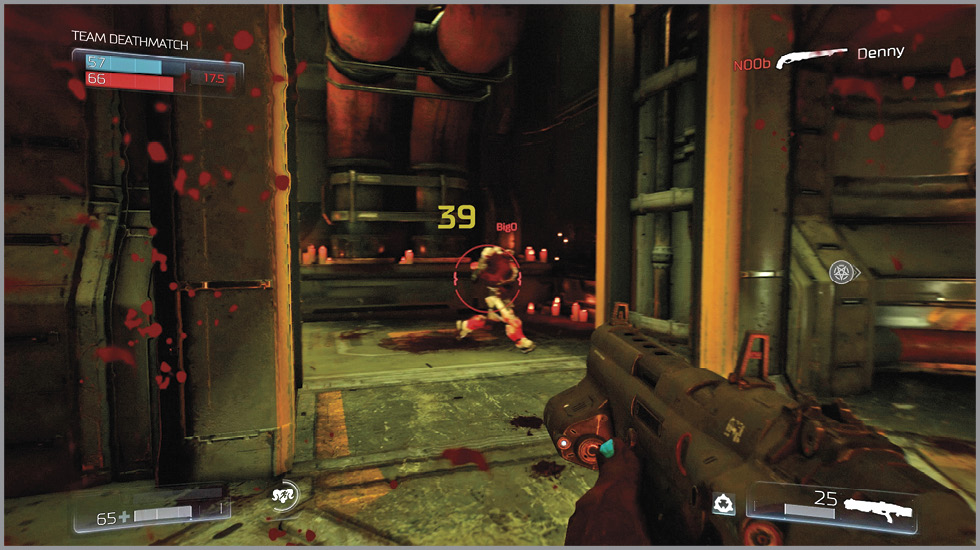
The Combat Shotgun can’t inflict as much damage as the Super Shotgun per squeeze of the trigger, but its higher rate of fire and tighter spread make it a bit more versatile. As with the other shotgun, the damage dealt depends entirely on how much of the buckshot hits its mark, and how much of it hits the enemy’s head for a Critical Hit. It’s possible to inflict as much as 44 DMG per squeeze of the trigger. The Combat Shotgun is an effective weapon for close-range combat because it can be fired at approximately one shot per second.
Enabling the Weapon Modifier loads the Combat Shotgun with a mortar shell. The reticle will change and flash white when ready to fire. The mortar shell doesn’t have quite the range of a plasma orb or the Hellshot’s incendiary round, but it can inflict up to 50 DMG on direct hits. It also inflicts splash damage within a tight radius. You can fire the mortar shell approximately every 1.5 seconds, so you will suffer a slight time penalty trying to rely on the weapon’s alternate fire.
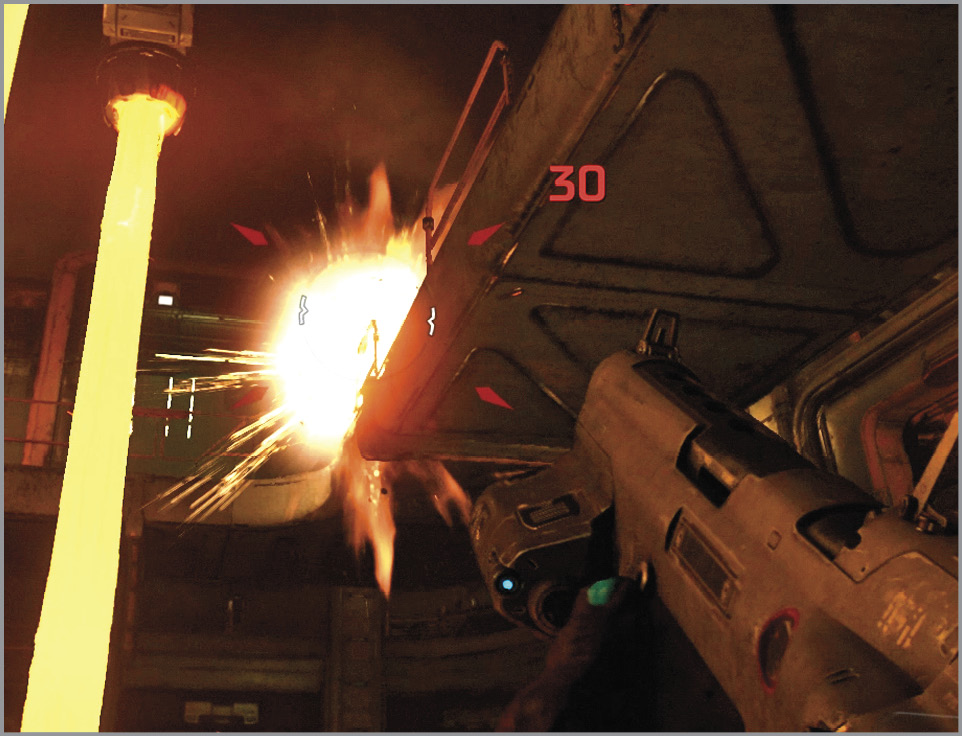
The Combat Shotgun is a very good secondary weapon to have equipped for those times when the combat moves to close quarters. While it’s okay to fire a mortar shell down upon distant enemies from an elevated position, it’s best to use the standard fire mode when engaging foes directly. Strafe, jump, and move erratically while pumping the Combat Shotgun’s buckshot into the upper torso of your target. This is a good weapon to pair with the Vortex Rifle, Rocket Launcher, or Static Rifle, as it ensures that you are covered in any situation.
Lightning Gun
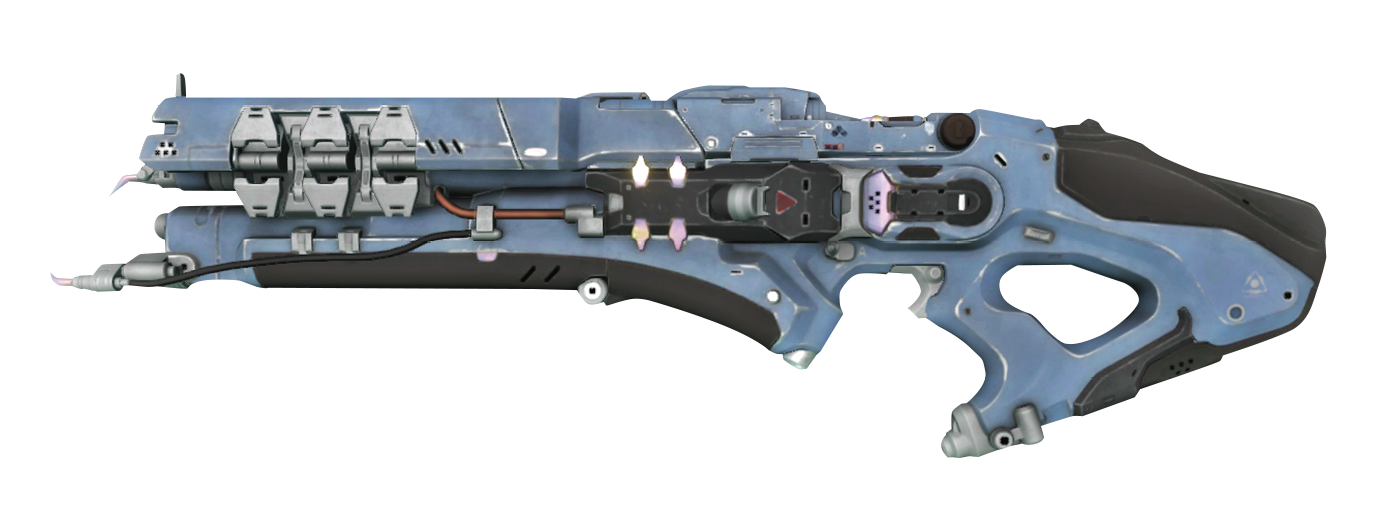
Unlocked at Level 14
Primary: Short-range energy weapon that fires a constant stream of electricity.
Modifier: Creates an electrified field upon hitting a surface that can damage multiple targets. Consumes 2 ammo with each shot.
Lightning Gun: Primary Fire
| DMG | ROF | Splash Radius | Crit DMG | Crit Method |
|---|---|---|---|---|
| 8 | 10 | - | 10 | Consecutive Hits |
Lightning Gun: Weapon Mod
| DMG | ROF | Splash Radius | Crit DMG | Crit Method |
|---|---|---|---|---|
| 5 | 10 | 150 | 7 | Consecutive Hits |
The Lightning Gun fires a continual stream of energy that delivers small amounts of damage in constant rapid doses. The Lightning Gun’s primary attack inflicts 8 DMG every split second (10 DMG on Critical Hits) for as long as you manage to keep the electricity stream aimed at the enemy. The Lightning Gun has above-average accuracy and can be used from short to medium distances without difficulty. Keep the trigger pulled, and watch the damage pile up.
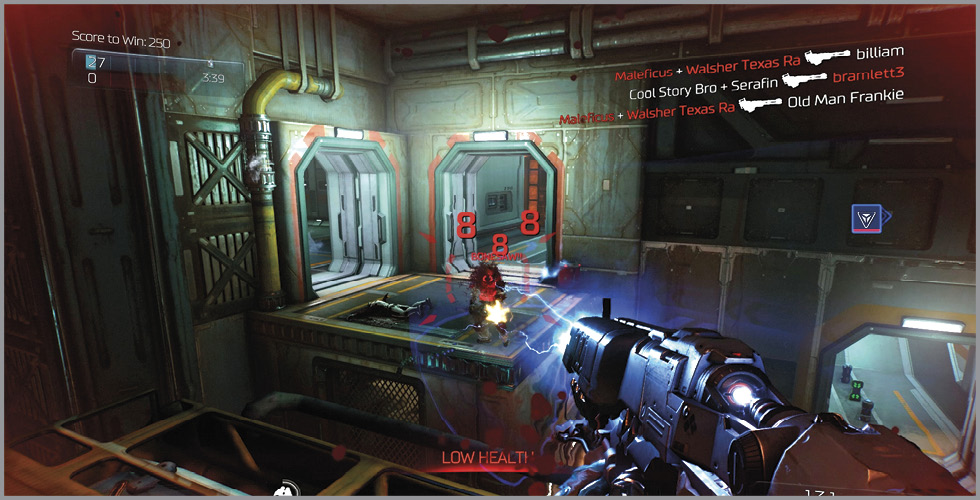
The Lightning Gun’s alternate fire creates an electric field that electrifies surfaces and inflicts damage to all enemies within a small radius. The Weapon Modifier takes no time to charge, consumes the same amount of ammunition as the primary fire mode, and can be used to deliver smaller increments of damage (2 to 7 DMG, depending on the enemy’s proximity to where the gun is being aimed).
The Weapon Modifier is best employed when you’re offering support fire against a number of opponents or when you are on the run (or at a longer range) and can’t be as accurate. One of the best uses for the Lightning Gun’s Weapon Modifier is to shoot at the floor and electrocute adversaries hiding behind cover and around corners. This is a great way for you to stay clear of their attacks while still damaging them.
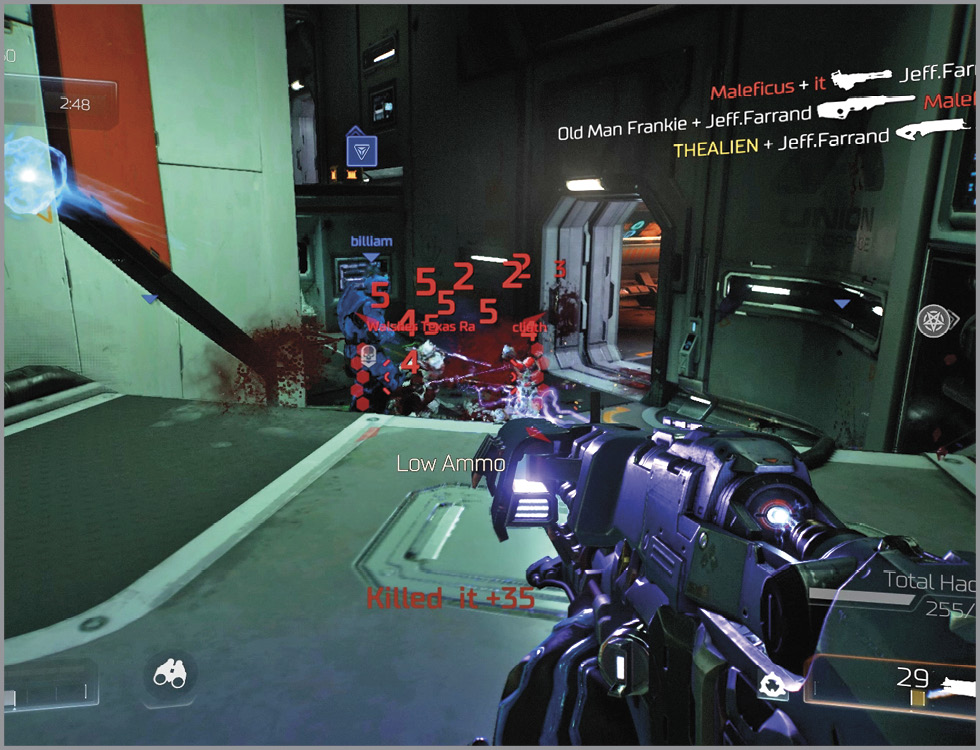
The Lightning Gun inflicts death through a thousand paper cuts. Though each jolt of damage is minor, the rate of fire is extremely fast. Whether you’re aiming at the floor near a group of enemies or keeping the primary stream aimed squarely at a single target, the Lightning Gun can bring down all but the healthiest and most armor-clad foes in no time at all. The Lightning Gun is, in some ways, a more precise Chaingun that has the capability of inflicting steady splash damage when the Weapon Modifier is enabled. It’s a fine weapon that makes your climb to Level 14 all the more worthwhile. If the Lightning Gun has any drawbacks, it’s that it’s impossible to use without everyone in the area being able to trace the electricity to its source. There will be no doubt where you are when using this weapon, so sniping is out of the question.
Static Rifle
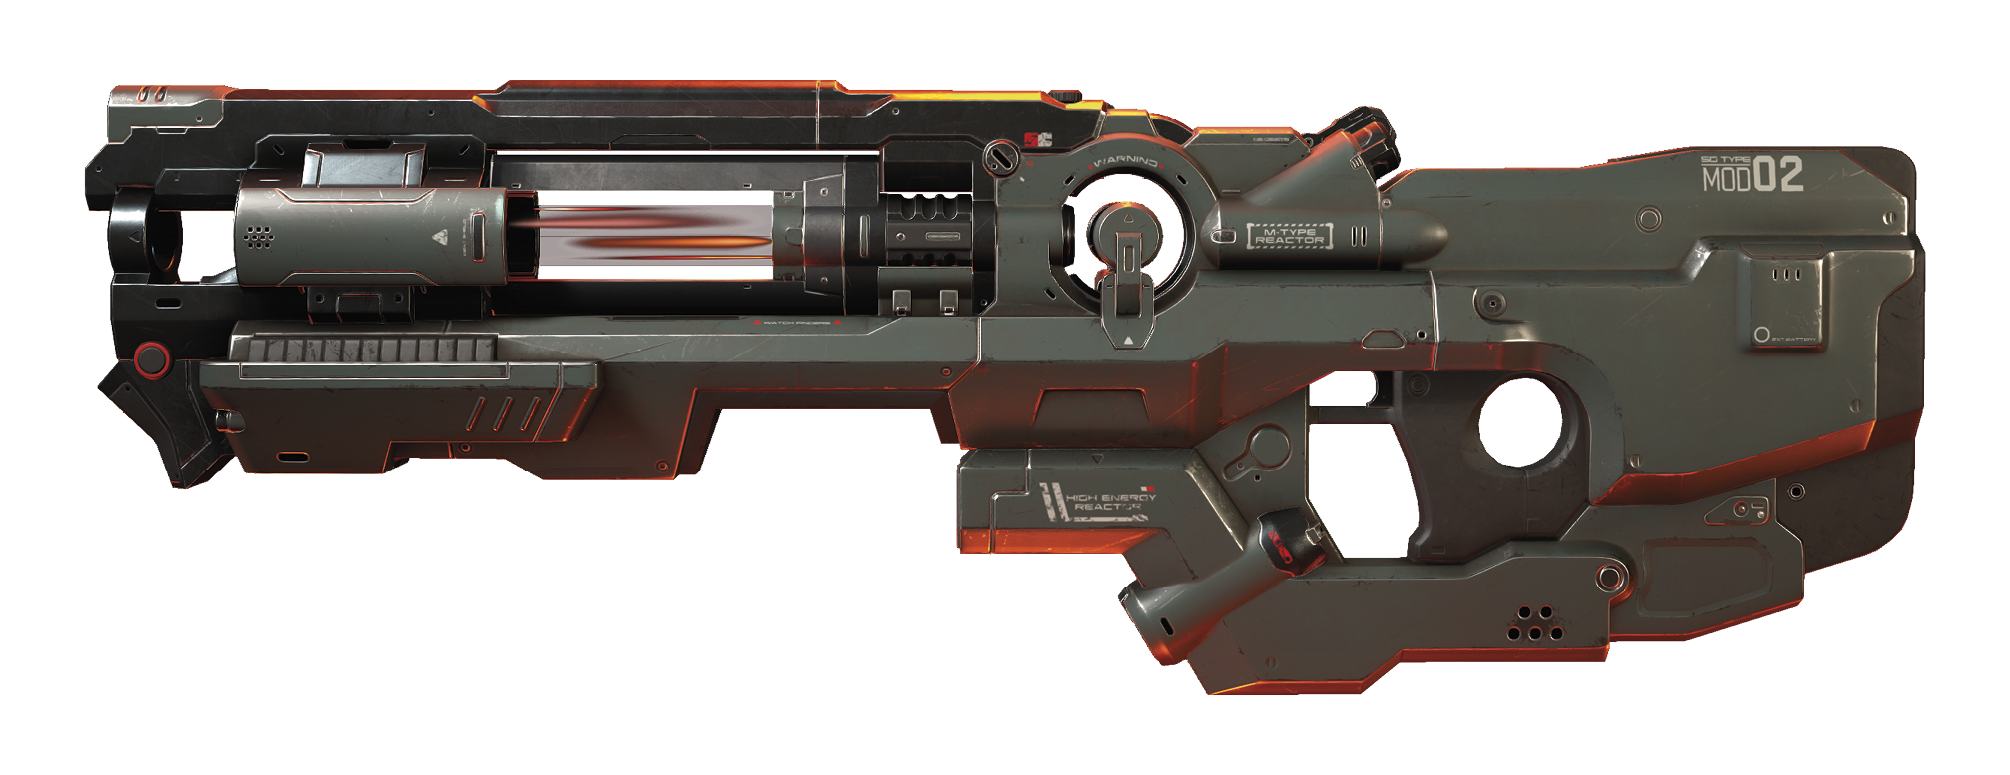
Unlocked at Level 16
Primary: A precision weapon that gains power when in constant motion and drains while idle. Takes 3.6 seconds to fully charge.
Modifier: Zooms the weapon for better precision at long range.
Static Rifle: Primary Fire
| DMG | ROF | Splash Radius | Crit DMG | Crit Method |
|---|---|---|---|---|
| 20-60 | 1.18 | - | 26-79 | Headshot |
Static Rifle: Weapon Mod
| DMG | ROF | Splash Radius | Crit DMG | Crit Method |
|---|---|---|---|---|
| - | - | - | - |
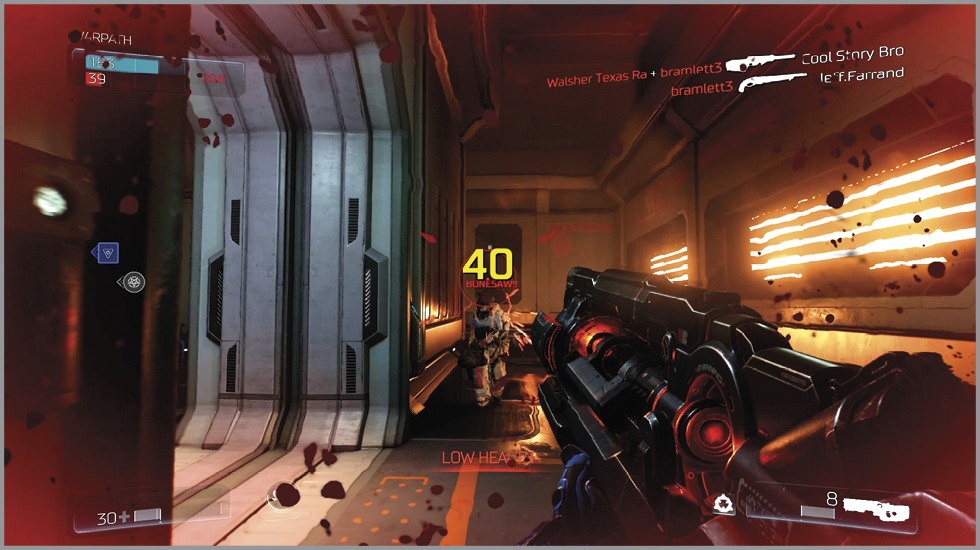
The Static Rifle is a precision long-range rifle that inflicts varying amounts of damage based on the level of charge when the trigger is pulled. Both in primary fire mode and when the Weapon Modifier is enabled, the weapon continues to charge while you are in motion. Even if you are just moving side to side, the weapon will charge, and the circular display on the reticle will fill. Shooting an enemy while stationary inflicts 20 DMG (26 on Critical Hits), whereas hitting an adversary with a fully charged shot inflicts 60 DMG (79 on Critical Hits). The weapon can be fired with a partial charge and will deal an amount of damage proportional to the level of charge. The Static Rifle requires 4 seconds of continuous movement to charge.
The Weapon Modifier zooms the weapon in for more precise long-distance targeting. Unfortunately, this drastically slows your movement speed and narrows your field of vision considerably. While advantageous for sniping, the Weapon Modifier does not increase the damage dealt. And since you must still be moving to charge the weapon and deal greater damage, this tends to negate any advantages of concealed sniping that may be conducive with the Vortex Rifle. Enable the Weapon Modifier when your enemy’s position is known and you are within a safe distance and/or can move slightly back and forth while waiting for him to round a corner or step out from behind cover. Consider using the Manhunt Hack Module for this purpose.
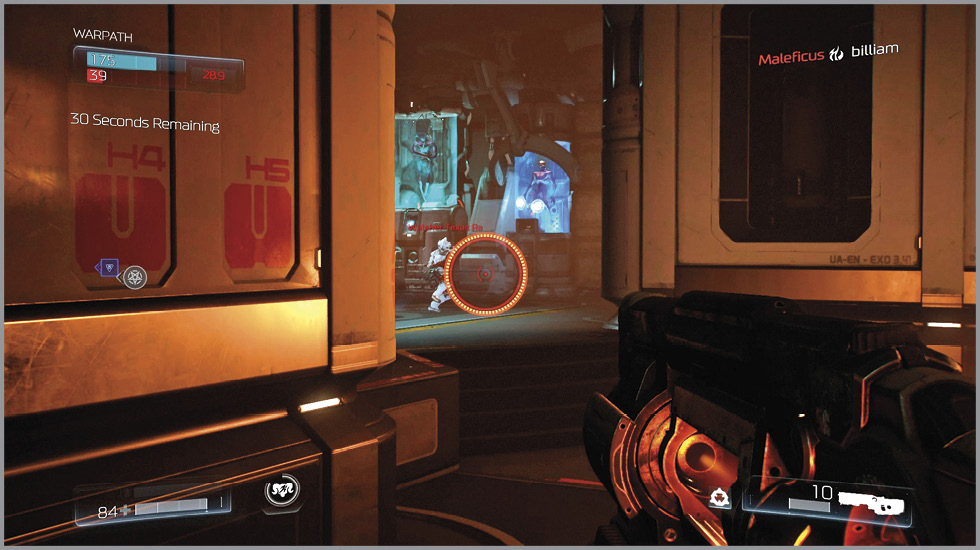
The Static Rifle is perfect for those who have the gameplay skill to accurately fire a precision weapon while on the move. The weapon need not be fully charged (or even partially charged) to fire at a rate of once every second. However, it’s best to stay on the move, look for cover and health and ammo pickups while charging the Static Rifle, then turn and inflict heavy damage. Standing your ground while slowly doling out minimum damage with an uncharged Static Rifle is guaranteed to get you gunned down. Pick your shots, keep the weapon charged, and finish off weakened foes. Another worthwhile tactic is to combine the Static Rifle with the Super Shotgun or Combat Shotgun. Inflict heavy damage with the Static Rifle, then switch to a shotgun to finish off your foe. Note that the Static Rifle only begins to charge after equipping it; it will not be fully charged if you switch to it while on the move.