Doom Guide Campaign Walkthrough
Boss Fight: Cyberdemon
The Cyberdemon is extremely formidable with its high-powered weaponry and quick attacks. Learn its moves and hit it with all of your best armaments to stand a chance of survival.
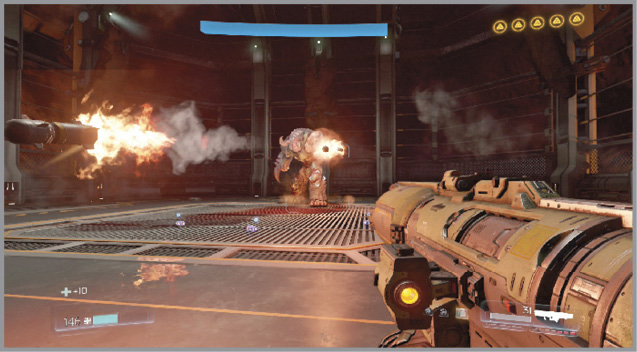
Rocket Launcher - When it pulls out its rocket launcher, it fires a series of rockets at a high rate of fire. Move from side to side to avoid the projectiles.
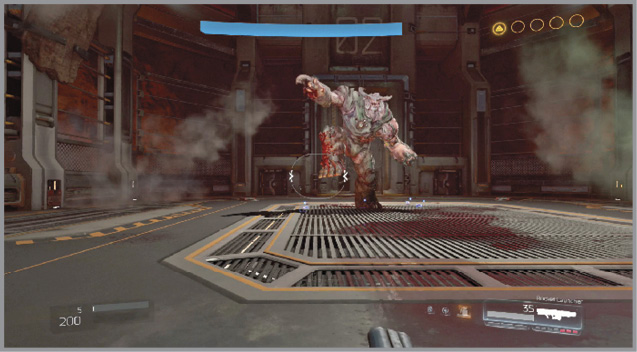
Melee - If you get close to the boss, it swipes or stomps. Quickly step back out of range.
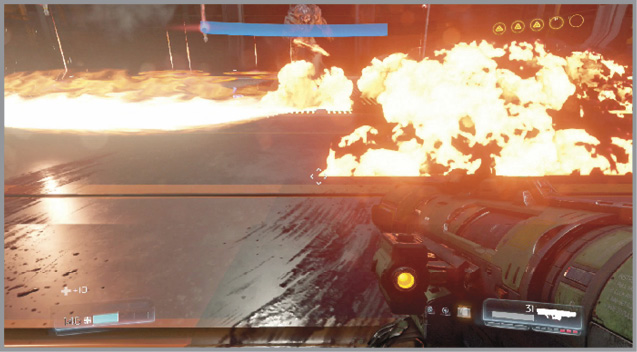
Scythe - Watch out when he swipes from a distance, sending a scythe in your direction. Be ready to jump over the fire to avoid damage.
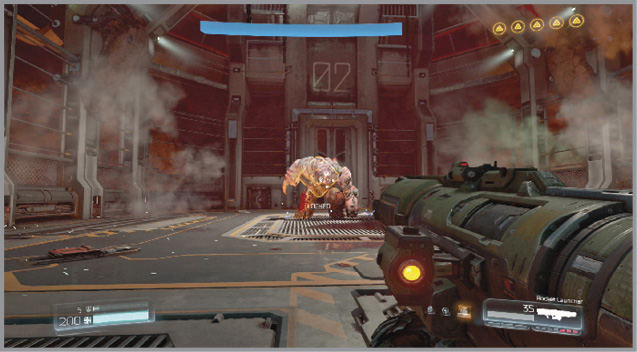
Charge - The Cyberdemon dips down a bit before charging, following it up with a ground pound. Look out for this motion and dodge to the side.
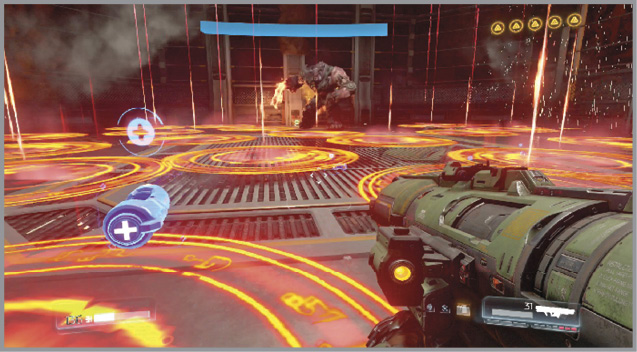
Missile Rain - When the behemoth throws its arms to the side and hunches over, it launches a massive missile attack that sends several explosive projectiles into the air. Circles appear on the floor showing their target locations. Move back until you can find a gap between them.
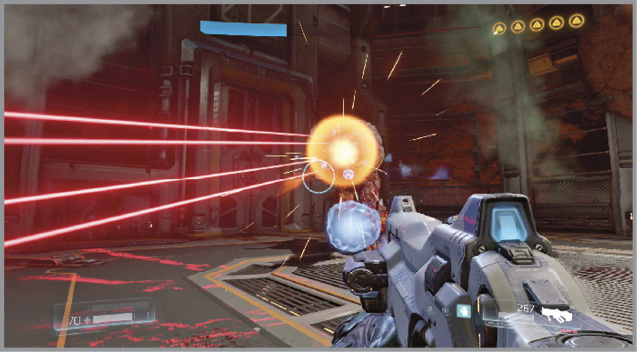
Energy Weapon - After taking about half damage, the boss pulls out a powerful energy weapon. As the Cyberdemon charges it up, a beam appears. Quickly move to the side to avoid taking damage. Note that the beam leads you until it changes color. This is accompanied by an audio cue. When this happens, immediately move in the opposite direction.
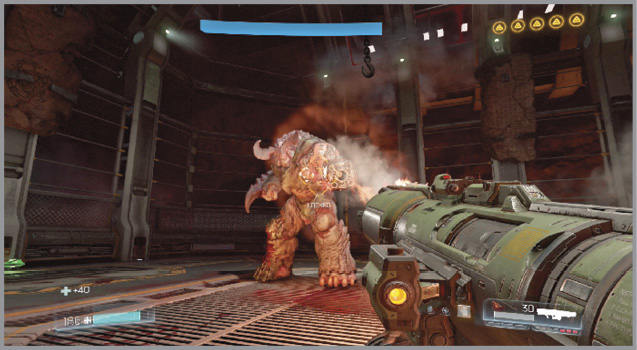
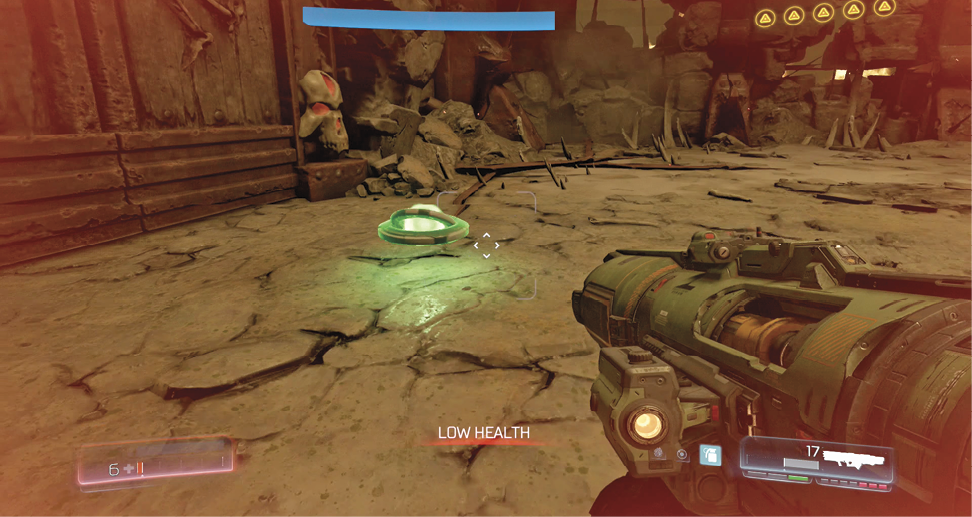
Pull out a high-damage weapon, such as the Gauss Cannon or Rocket Launcher, and hit it whenever possible. Occasionally resources are dropped, so grab them when you get the chance.
Hit it with the BFG to stagger it quickly following that up with your best weapons while each hit causes double damage. Health and ammo pickups drop from the beast as you attack, so collect them when possible to keep your supplies topped off. Equipping the Vacuum Rune allows you to grab the resources from a safe distance.
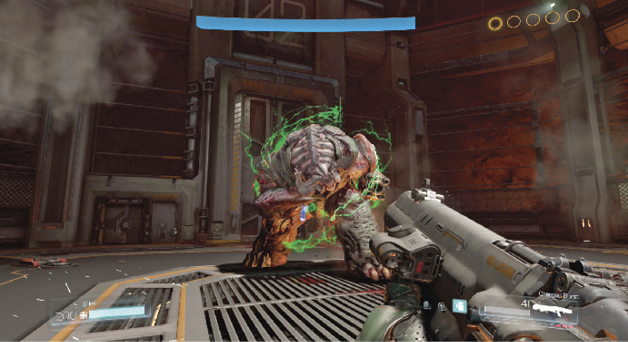
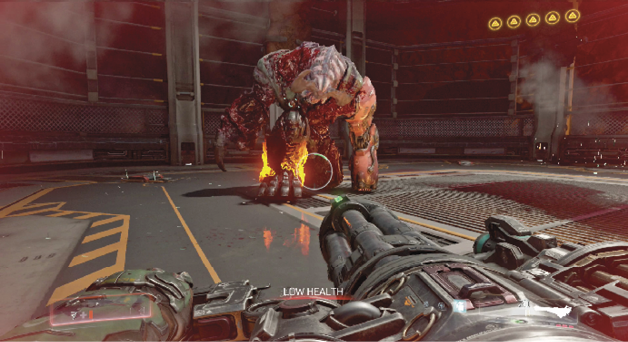
Stay on the move and keep a close eye on the boss, as its assaults can come pretty quickly. Saving Throw is an obvious Rune choice, while In-Flight Mobility is handy for dodging attacks. Continue to attack the beast until it falls to its knee. Perform a Glory Kill on its leg to finish it off.
Part 2
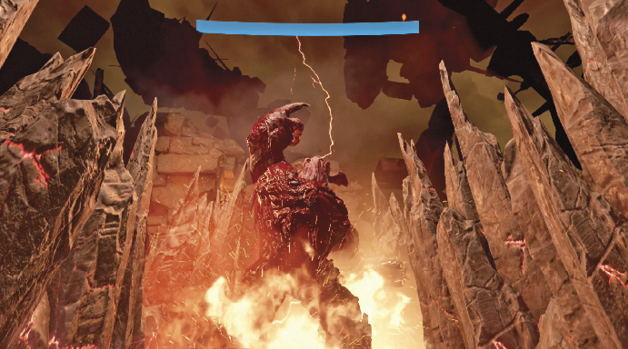
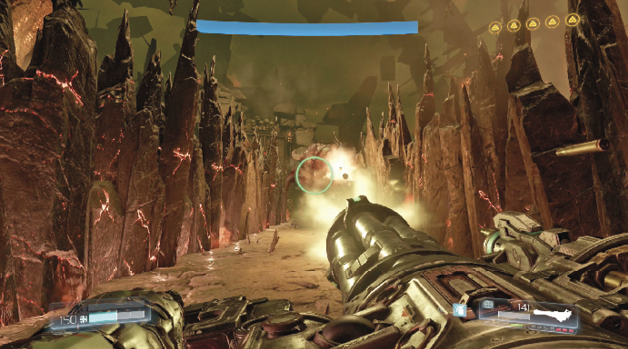
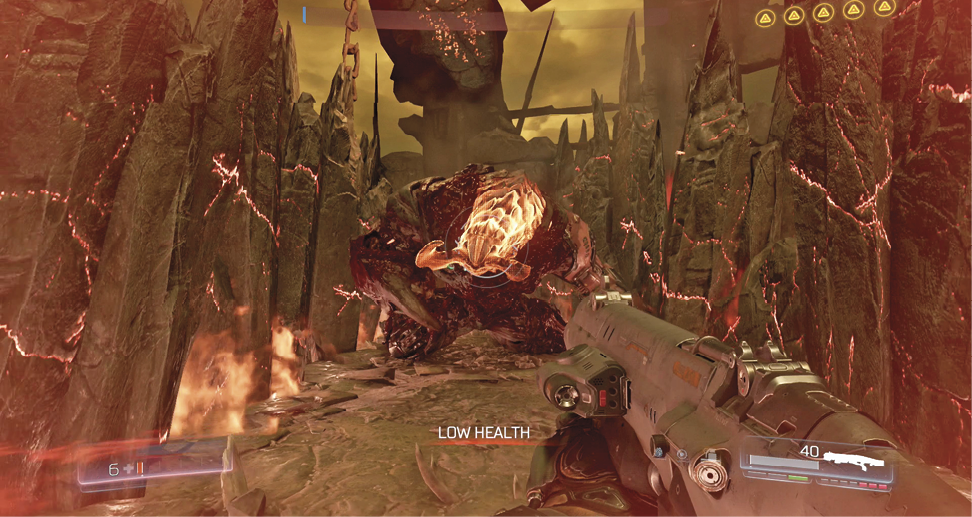
At this point, you are transported to Hell as the boss gets back on its feet. Here it mixes things up a bit with a couple new attacks, more devastating than before
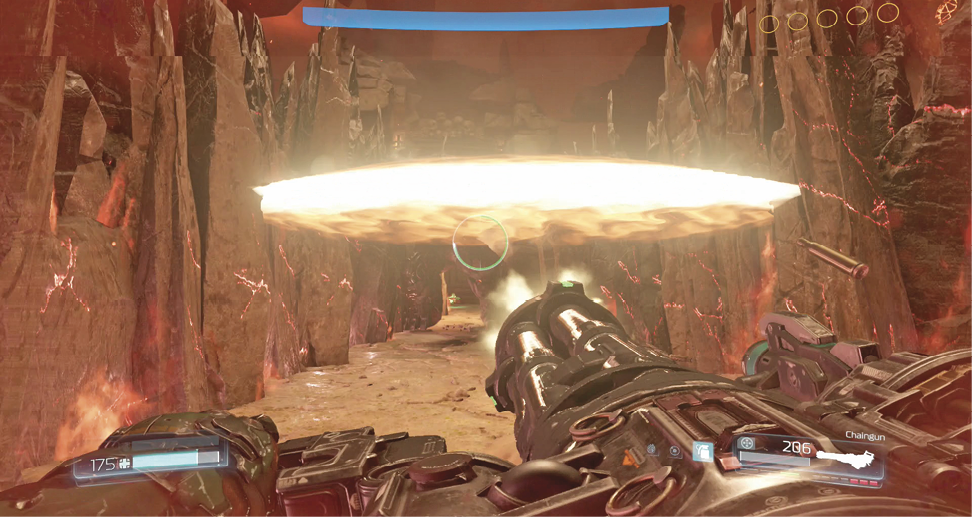
It has the ability to trap you in between two rows of rock shards. You know this move is incoming when it slams its fist into the ground. This keeps you from moving too much to each side, as it fires its rocket launcher or tosses scythes your way. Use short quick movements to each side to avoid the rockets. The scythe in Stage 2 always comes high/low/high. Press the Crouch button while jumping to drop much quicker. Note the further away you are when this move hits, the easier it is to dodge the attacks.
It still has its energy weapon, charge, flame wave, and missile attacks, so stay on alert. Use the BFG to stagger the boss, keeping an eye out for ammo to appear around the outside of the area. Continue to hit it with everything you’ve got until the Cyberdemon falls. Again perform a Glory Kill to finish it off—this time for good. Exit via the doorway and step into the portal to complete the mission.