
Doom Guide Campaign Walkthrough
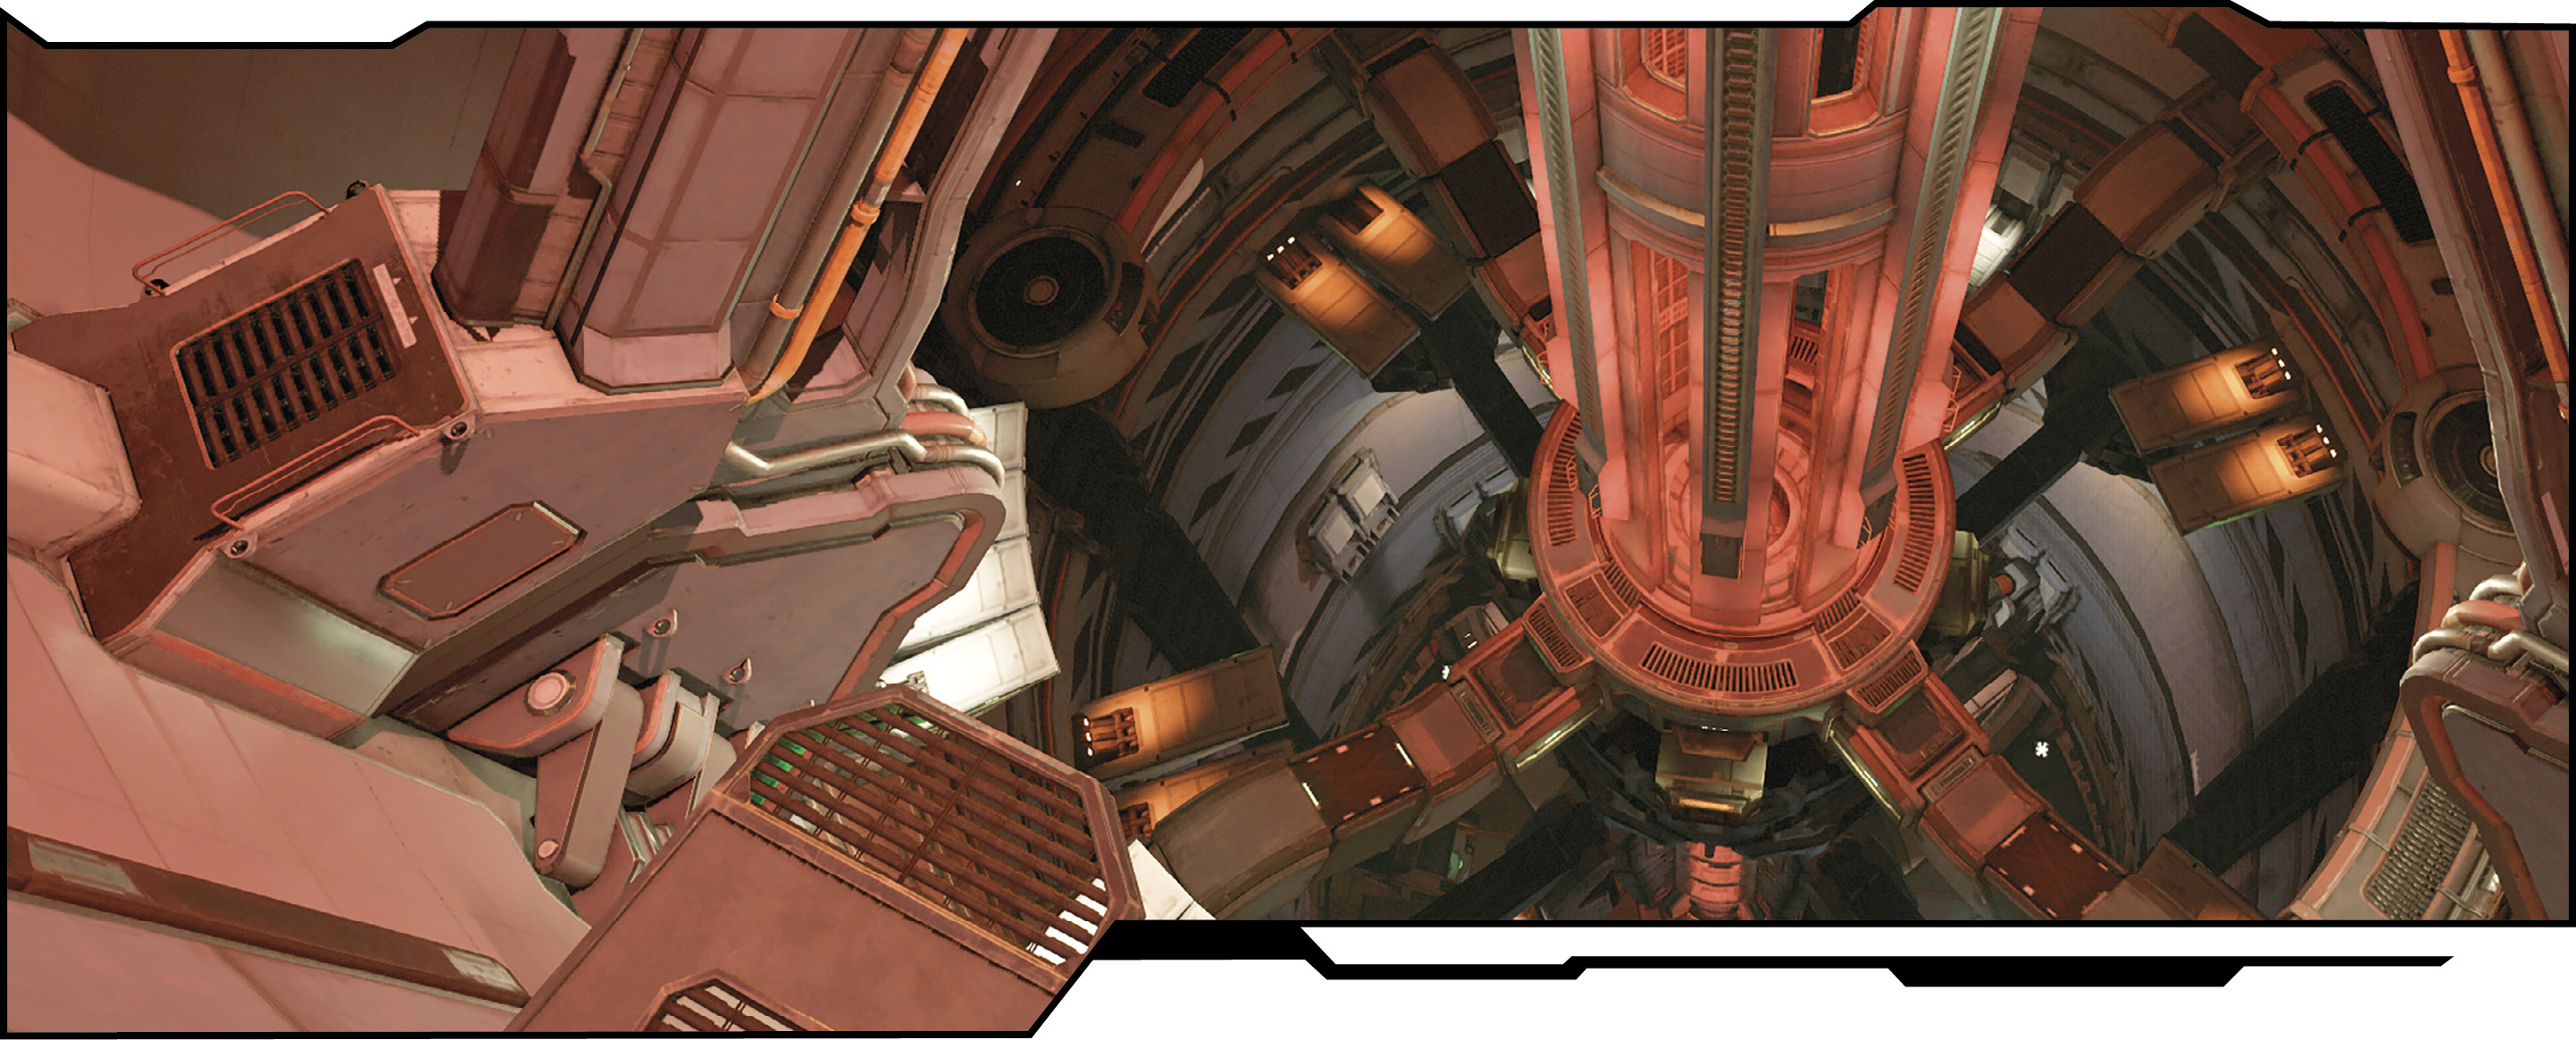
Argent Energy Tower
Main Objective Kill Olivia Pierce
New Weapons/Equipment Jump Boots, Gauss Cannon, Hologram
New Monsters Revenant, Mancubus
Challenges
| Challenge | Description |
|---|---|
| Chiropractor | Perform 4 Neck or Jaw Breaker Glory Kills on the Imp (attack from behind). |
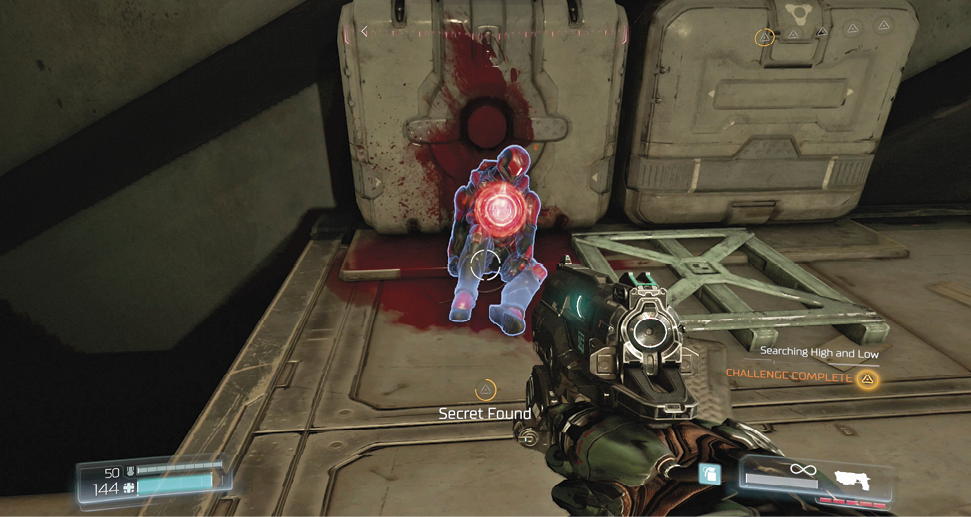
| Searching High and Low | Find 3 Secrets. |
| Overkiller | Kill 15 demons using Quad Damage. |
Collectibles
| Collectible | Unlocks |
|---|---|
| Orangeguy | UAC Pistol Model |
| Purpleguy | Summoner Model |
Rune Trials
| Trial Name | Objective |
|---|---|
| Rune Trial: Ammo Boost | Use the Super Shotgun to eliminate 30 Unwilling before the timer expires. |
| Rune Trial: Equipment Power | Armed with the Combat Shotgun eliminate 10 Unwilling with explosive barrel damage before the timer expires. |
Classic Map: DOOM - Halls of the Damned
Obtain Thrust Boots
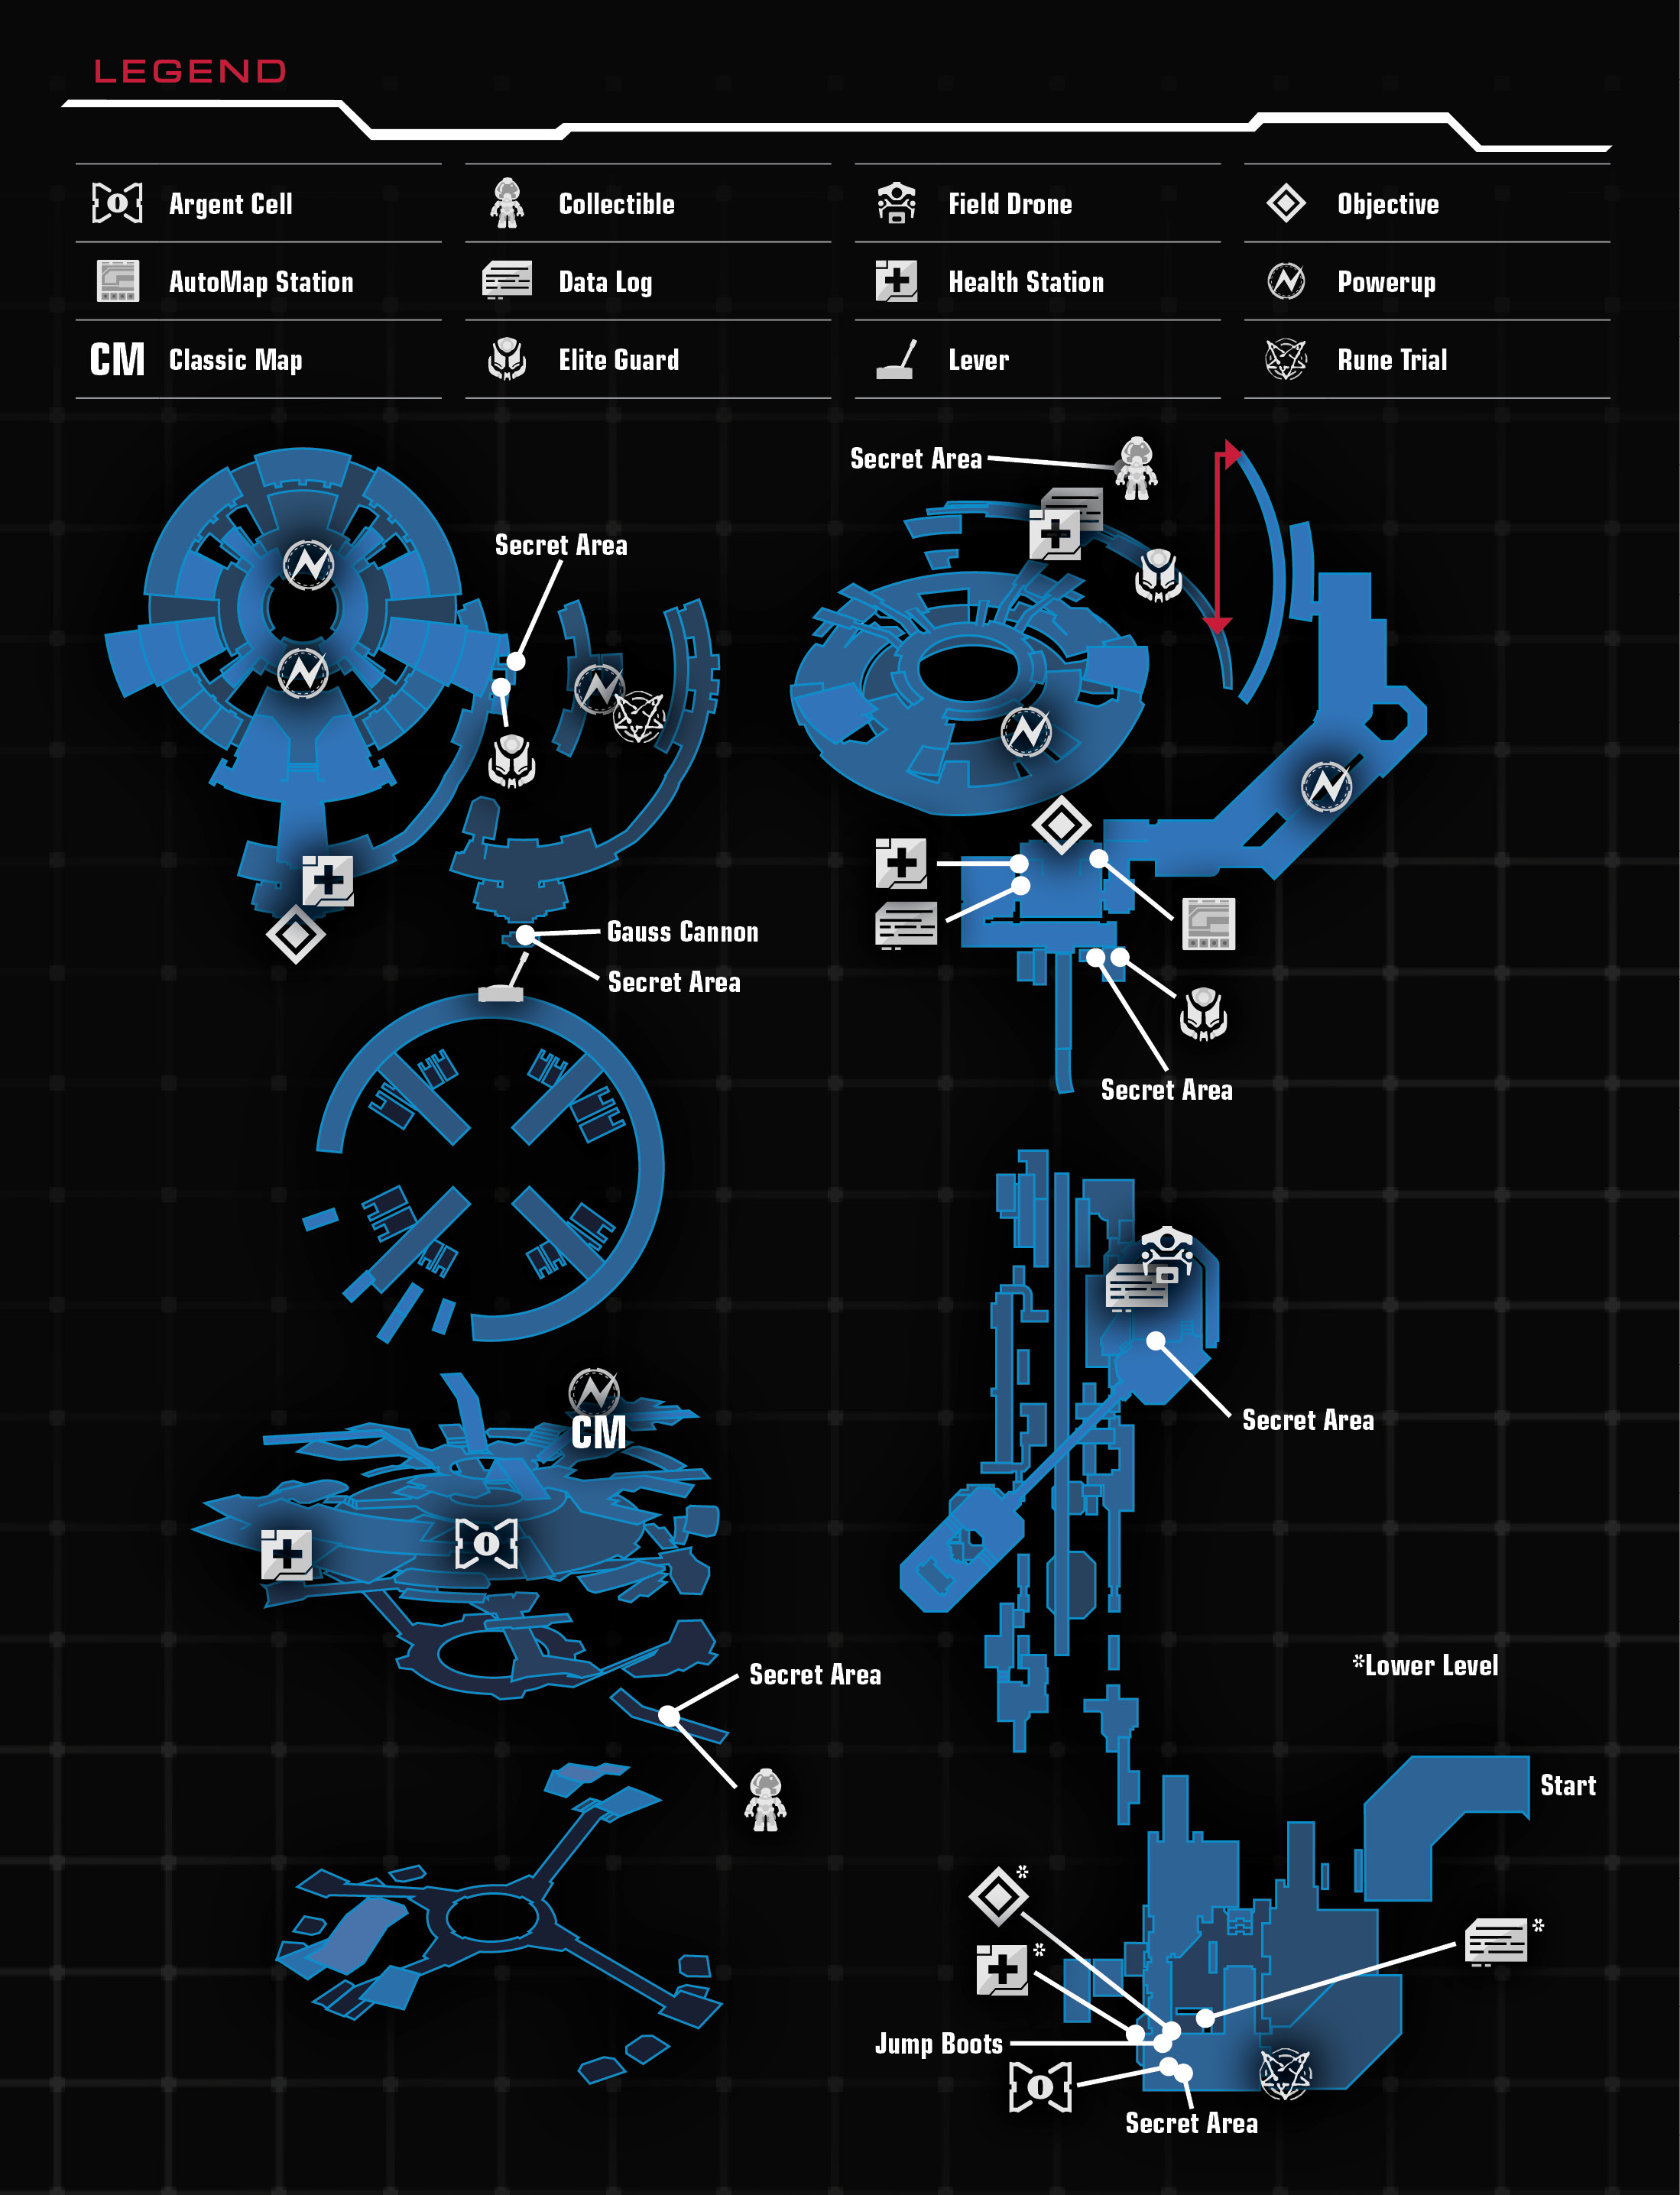
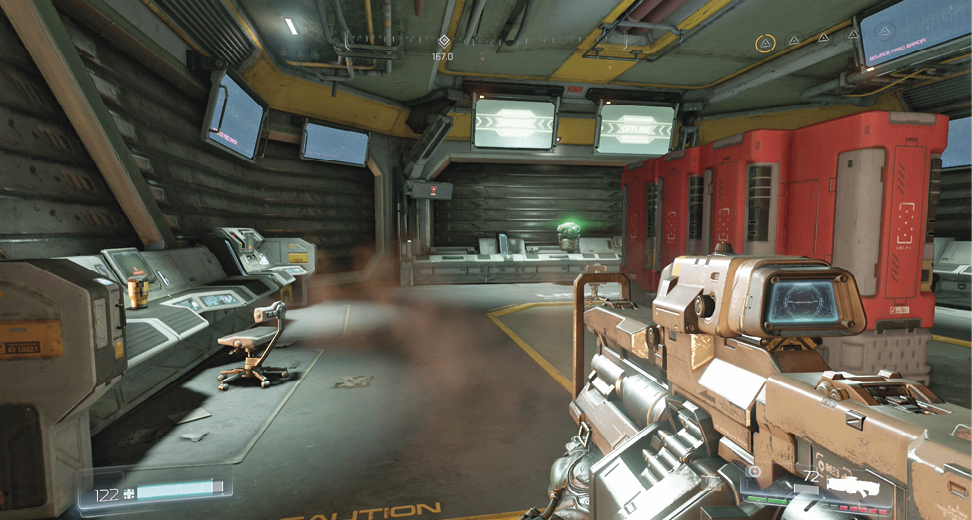
Jump down from the starting platform and enter the loading dock below. Demons infest the interior, so be ready for a fight. Look out for a new monster, Revenant, as it fires rockets from its Multiple Launch Rocket Battery. With the ability to take to the air, it can be tough to draw a bead on this enemy. Use a high rate-of-fire gun, such as the HAR or Plasma Rifle, to bring it down. Once the monsters have been dealt with, enter the locker room, located on the lower level in the far corner. Grab the Jump Boots from the shelf and the Data Log next to the vending machines. Exit the room and try out your new equipment, taking some time to get used to them. This mission does a good job of fully testing the ability.
Delta V Jump-bootsThe Jump Boots are extremely valuable as you proceed through the campaign, especially when ascending the tower later in this mission. There’s no need to equip the item; simply press the Jump button in mid-air to perform a double jump. With good timing, you can jump impressive heights and distances. |
Ammo BoostOBJECTIVE: Use the Super Shotgun to eliminate 30 Unwilling before the timer expires.
After collecting the Jump Boots, return to the loading dock entrance, turn around, and jump up to the next level. Turn left and drop into the room on the left to find a Trial Stone. The goal is to simply kill 30 Unwilling before the timer runs out. Avoid getting surrounded as you quickly plow through the demons. 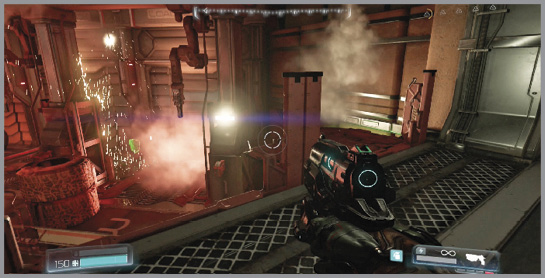 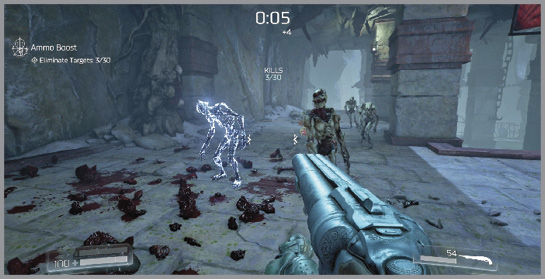 |
Cross the Bridge
From the entrance to the loading docks, jump up to the right ledge, then up to a higher level on the right, and then drop onto Loading Dock 06 below. Turn left and use the narrow ledges on the right to reach a small platform atop a pipe. Move to the back of the room and drop down to a maintenance access on your left. Just ahead, grab the Argent Cell before returning to the loading dock.
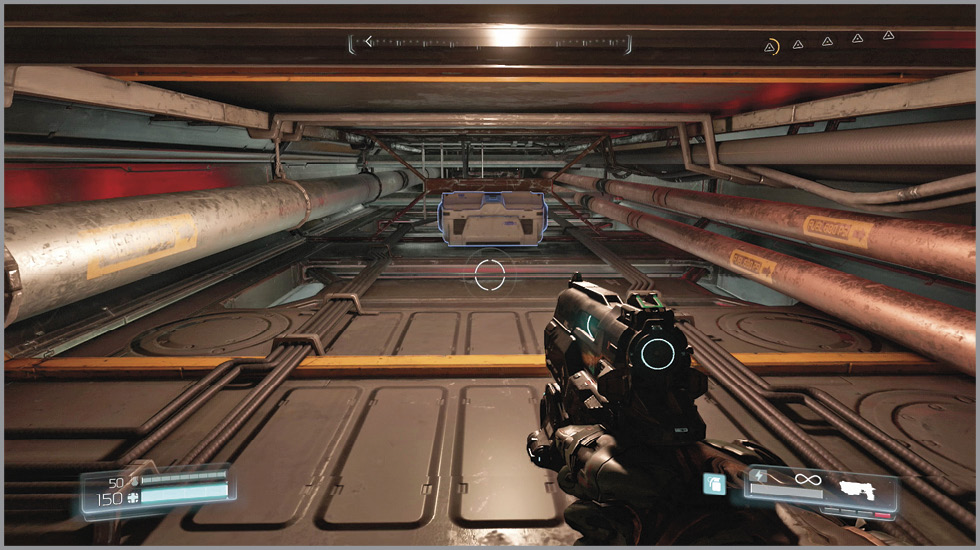
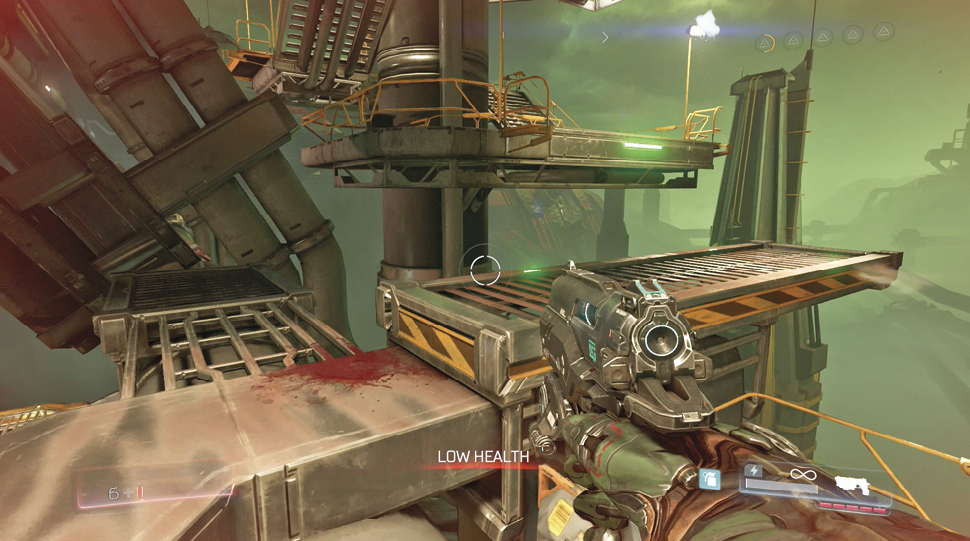
Head outside, climb onto the crates ahead, and get ready for some platforming fun. Jump over to the pipeline and make your way to the right. A series of long jumps is required to make it across. To make things worse, Imps launch projectiles your way. A well placed, charged shot from the Pistol takes each one out. The Tactical Scope modification on the HAR helps if you’re having trouble hitting them.
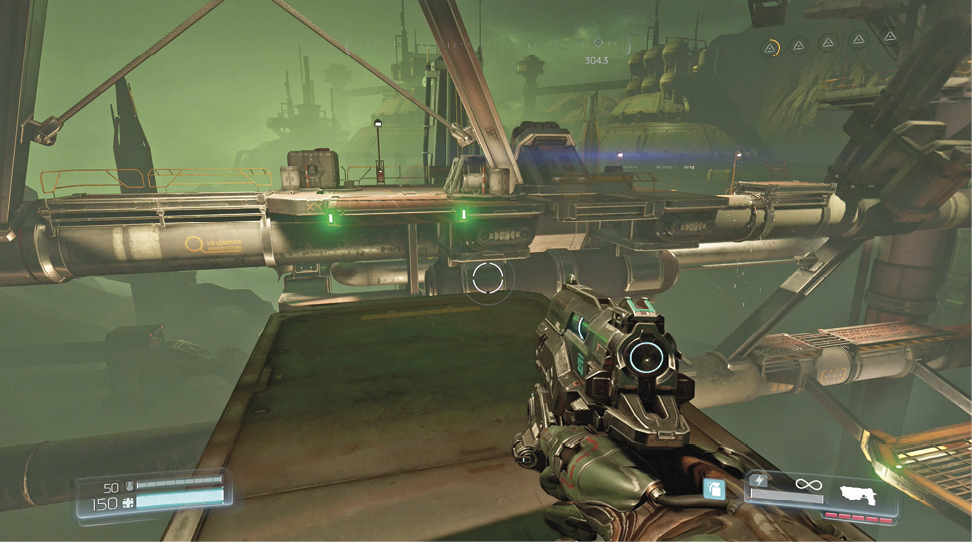
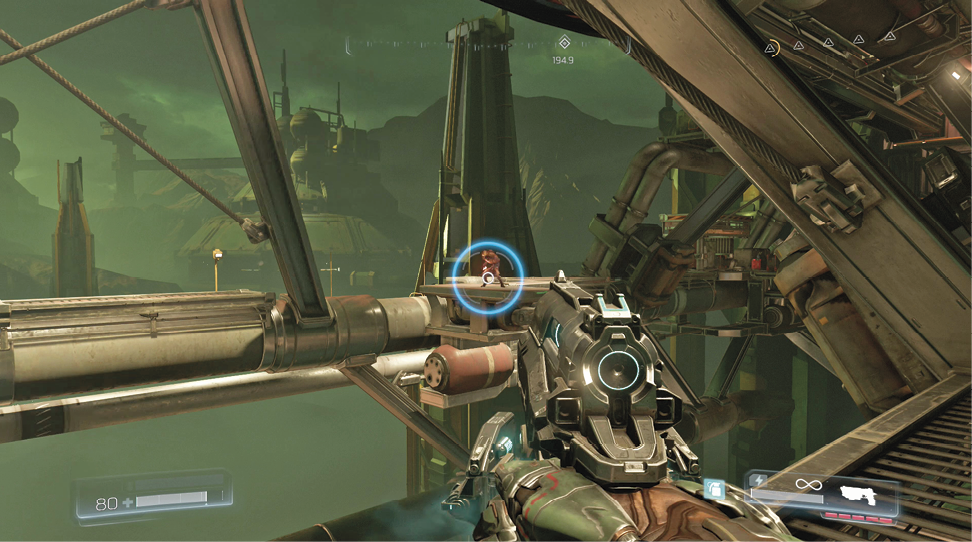
The bridge consists of parallel pipes with numerous platforms built on top. Following these ledges toward the tower gets you there, but a few times along the way, you must jump to the other side. Look around for the next accessible platform as you make your way across. Eventually, you reach an impasse as the pipeline has been severed. You must access the upper level of the bridge to reach your destination.
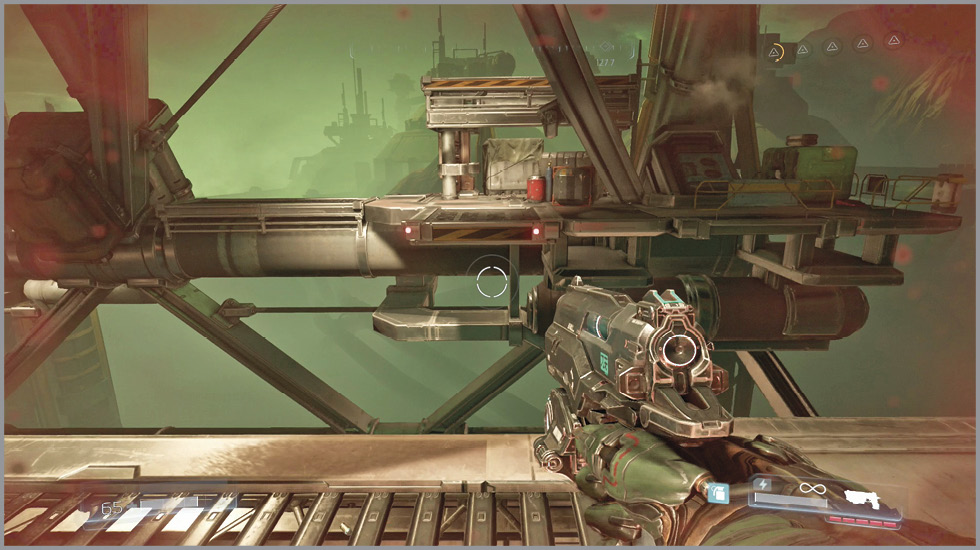
Make your way to the left side and find the ledges and stairs that lead to up to a small building above. Be cautious as you climb inside—demons inhabit the interior. Take them out, wary of a Possessed Engineer that hides at the top of the steps. The monsters get steadily tougher as you cross a short walkway into a control room. Before entering the second area, pick off as many as you can from outside.
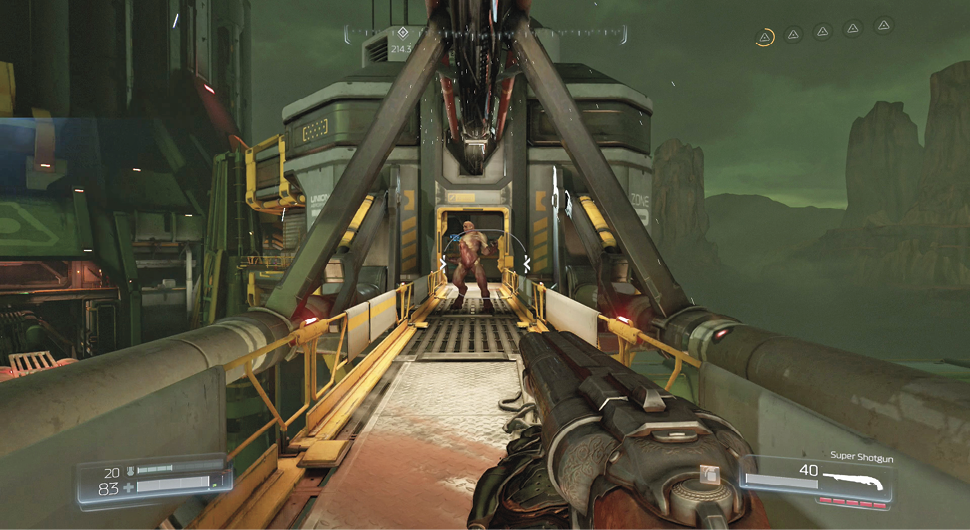
Once the threat has been dispersed, climb the steps and collect the Data Log on the left and the Field Drone ahead. Exit back out to the walkway and drop down to the pathway below. Head toward the tower, double jump across the gap, and approach the building. Before climbing onto the platform, look down to the right to spot an Elite Guard. Drop down, collect the Praetor Token, and return to the tower by utilizing the equipment and ledges behind you.
Scale the Tower
After spotting Olivia inside, follow the footpath left and pull the door open. The elevator is inaccessible, so you must scale the tower; good thing you found the Jump Boots. Before continuing, grab the Data Log and Super Shotgun, still with its previous handler, on the left side of the room. Then access the AutoMap Station just to the right of the elevator. Pry open the Core door and move inside to find a horde of demons.
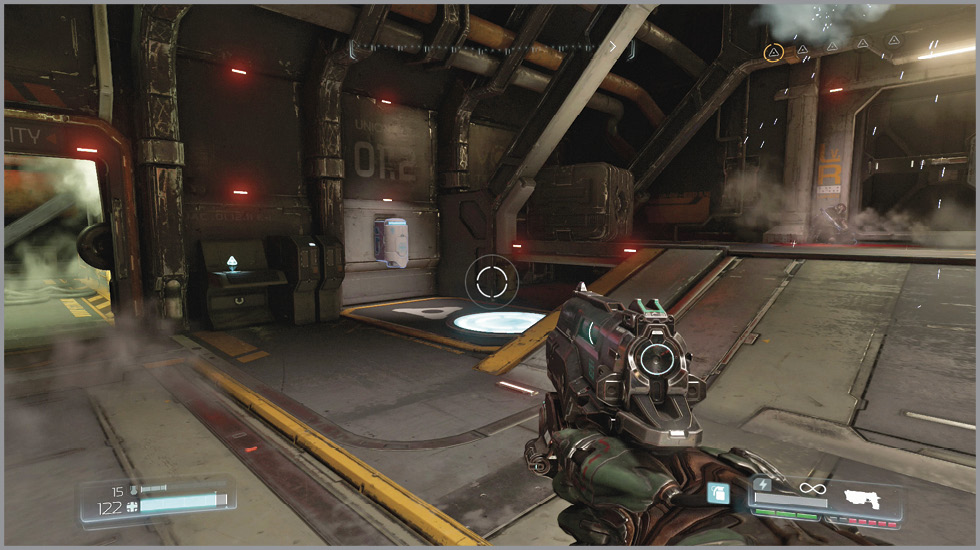
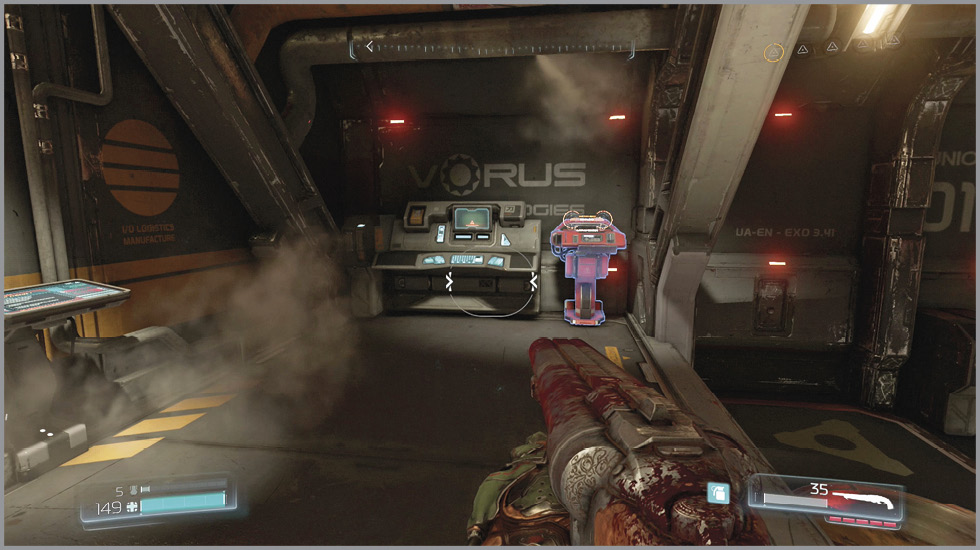
As you continue down this corridor, the monsters tend to get tougher. Pick them off from afar when possible, but stay on the move so that you don’t succumb to their attacks. Use the weaker enemies, such as The Possessed, to collect health pickups when running low. There’s a Quad Damage powerup on a platform in the middle of this area. Grab it when you can to make quick work of the enemies. With the area safe from demons, enter the maintenance door at the far end.
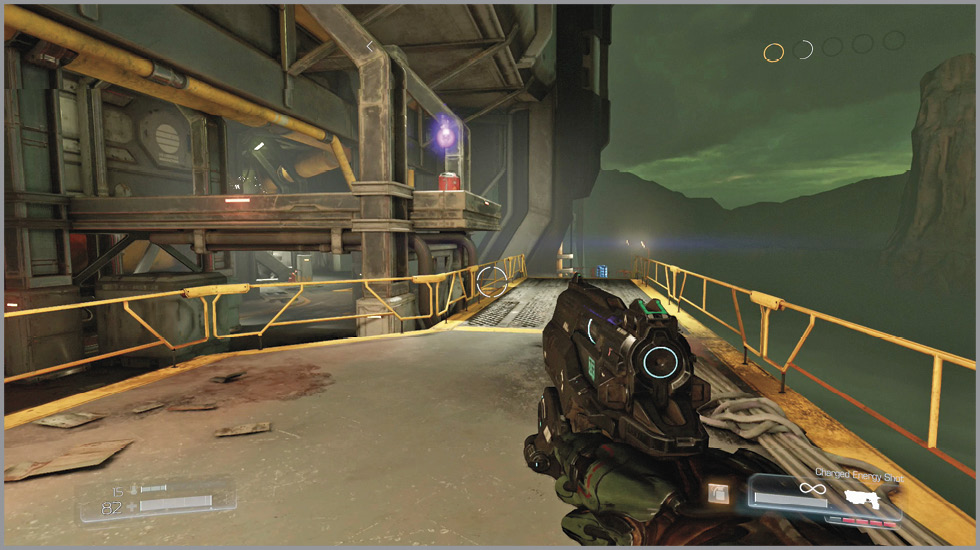
Cargo containers move through this area on multiple levels. Getting hit by them causes damage and can potentially pin you to a wall. Hop the rail and go right, staying between the containers. Jump to the ledge on the right when possible. Hop down to the ground, head right, and climb onto the left platform. An immediate left finds the next Elite Guard. Turn around and collect a Data Log on a small desk ahead. A Health Station is also available.
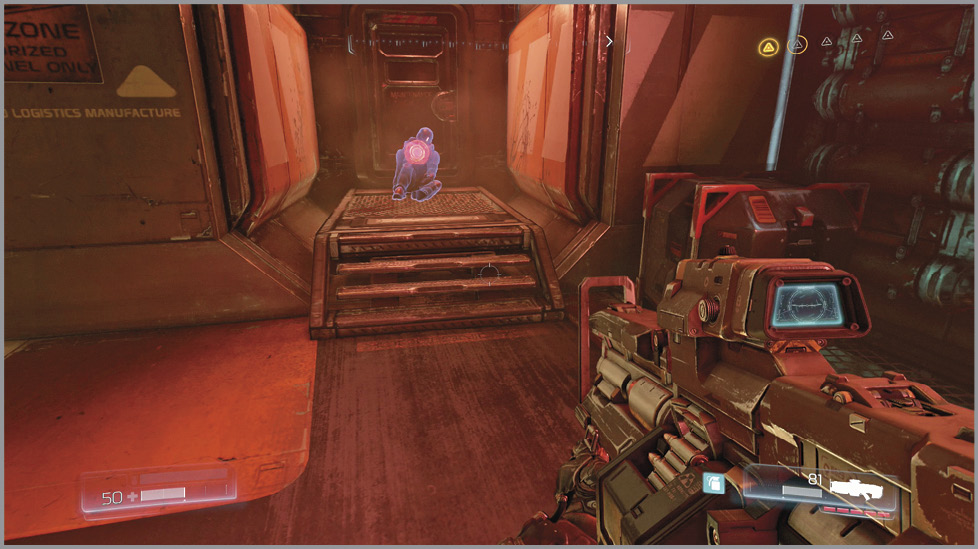
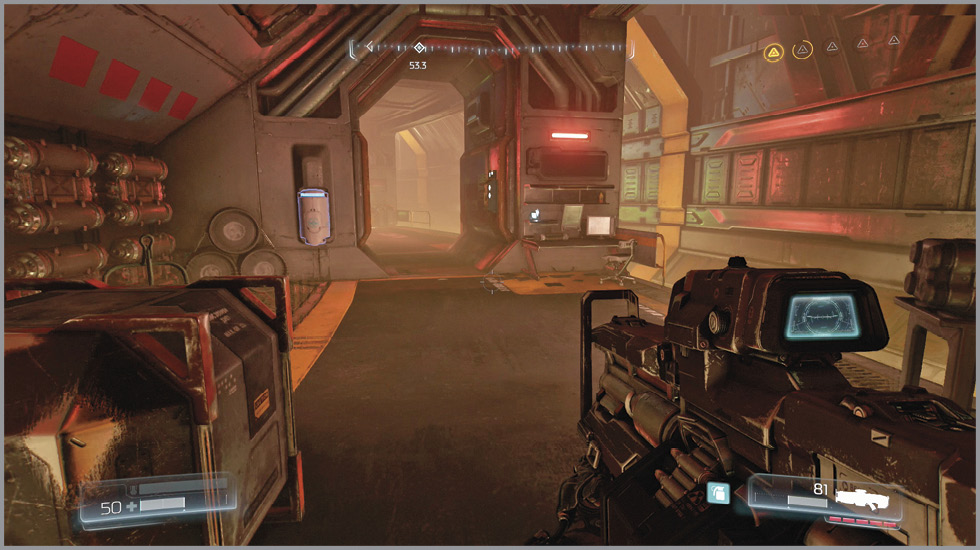
Continue down the pathway, enter the room on the left, and then drop into the hatch. Lift the next door to reach the interior of the tower. A Mancubus appears ahead. These guys are big and strong, requiring a whole lot of firepower to defeat. As you fight the foul creature, more demons pop into the arena, including a second Mancubus. If you have 5 fuel available, use the Chainsaw to quickly eliminate one of these guys. A Quad Damage powerup is available on the far side of the room, near the second Mancubus. Grab it early to help in the endeavor. As usual, keep moving and look for pickups scattered around the room.
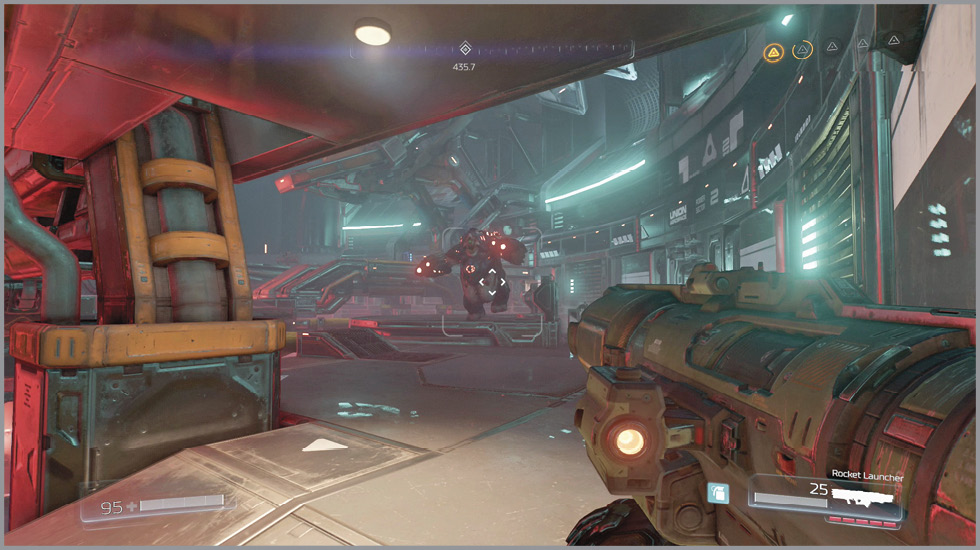
Once the demons have been taken care of, it’s time to start scaling the tower. Three functioning elevators are available to get you started, each noted with an objective marker. Climb onto one and press the button to ride it up.
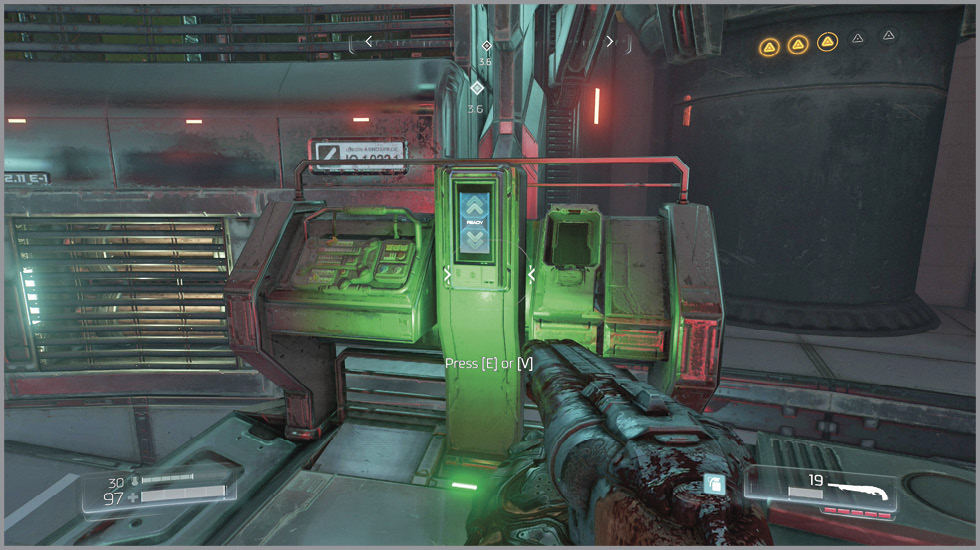
Jump over to the yellow moving platform and ride it up to the small green platforms. Hop across them to a perpendicular walkway. Follow it up to the central area.
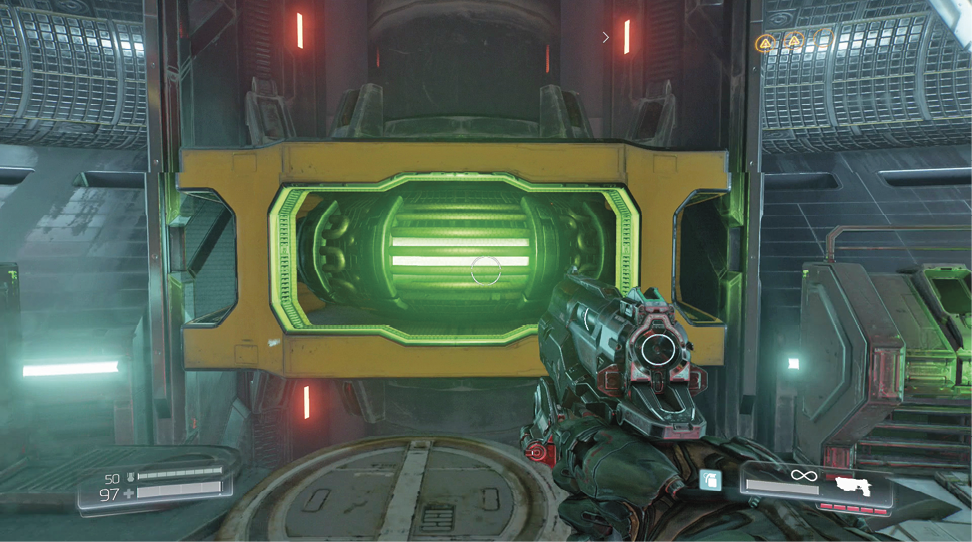
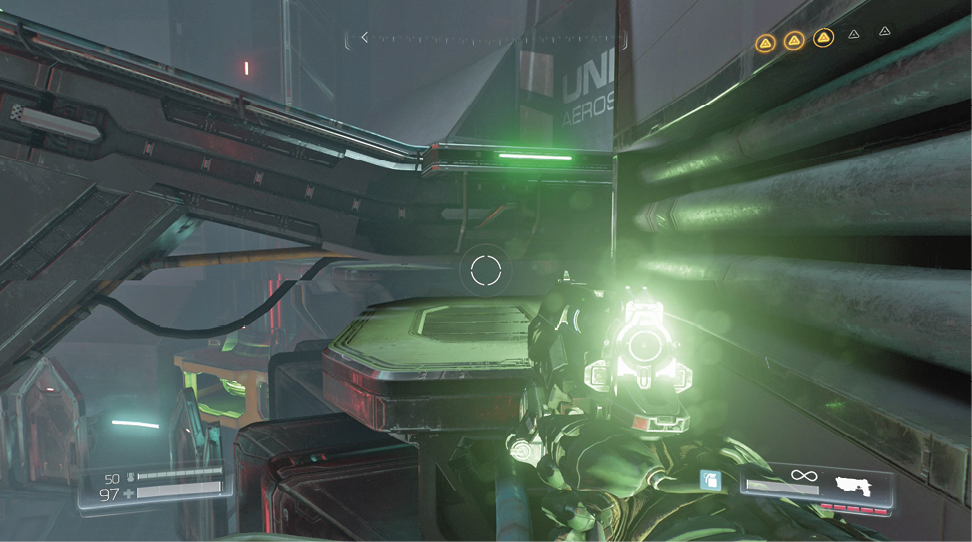
Follow the path left or right up another incline that returns to the outer wall. Jump up a couple of ledges, walk out toward the center, and make a long double jump to reach the central platform.
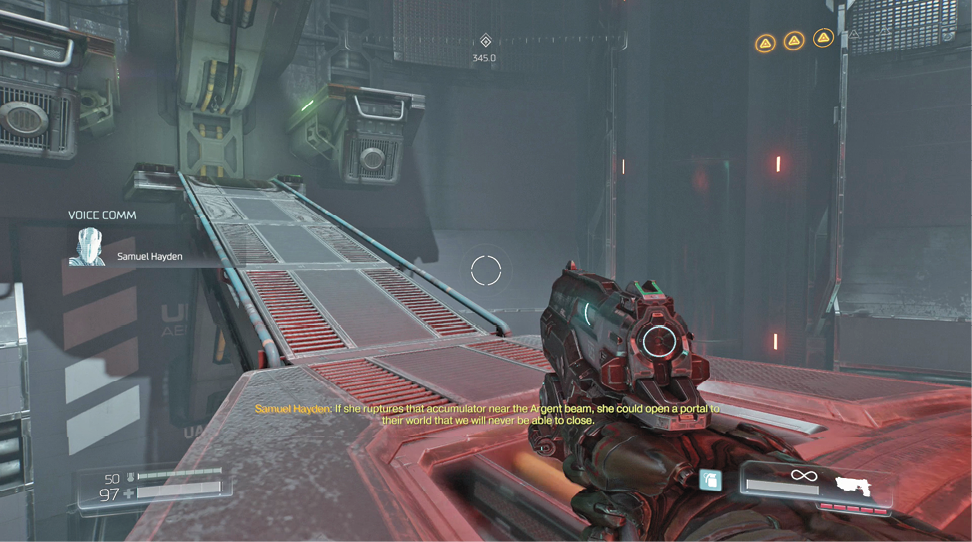
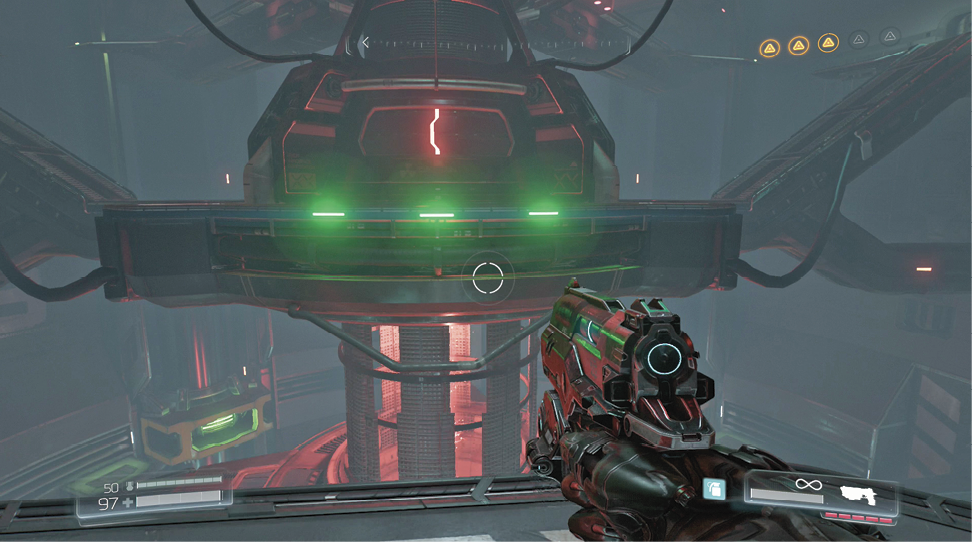
Move up the left or right incline and return to the outer wall. Jump either way to the next platform and follow the walkway back to the central area.
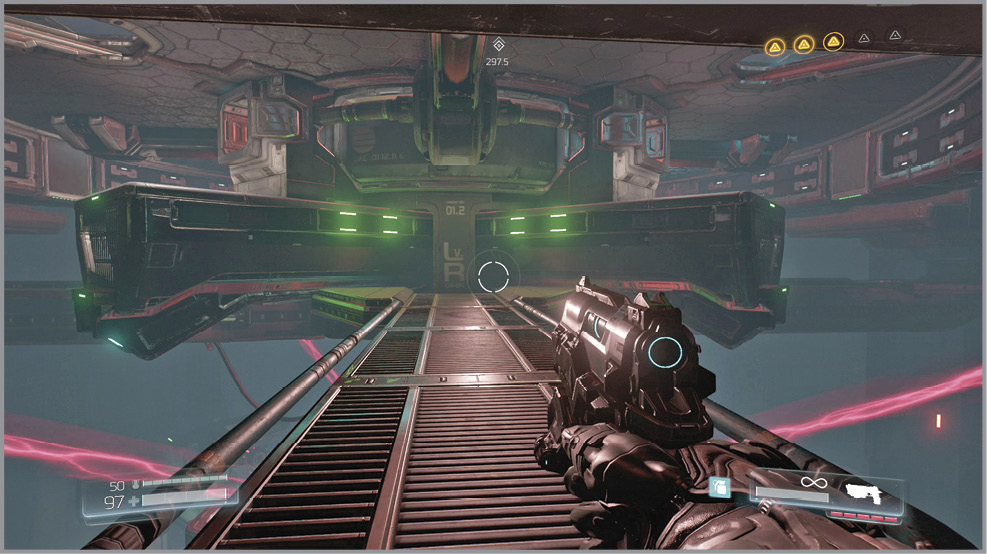
Climb onto the ledge on either side and turn back to the outside. Your goal is to climb into the hole above, but watch out for the moving machinery that juts out toward the center. Wait for it to retract and immediately jump over to it. From there, quickly climb into the opening and step out to the flooring before it moves again.
Scale the Tower Part 2
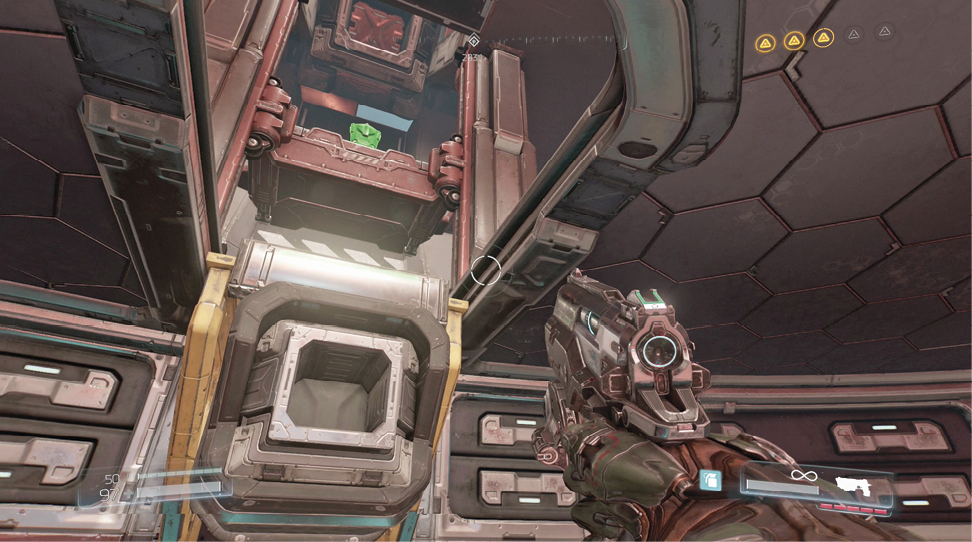
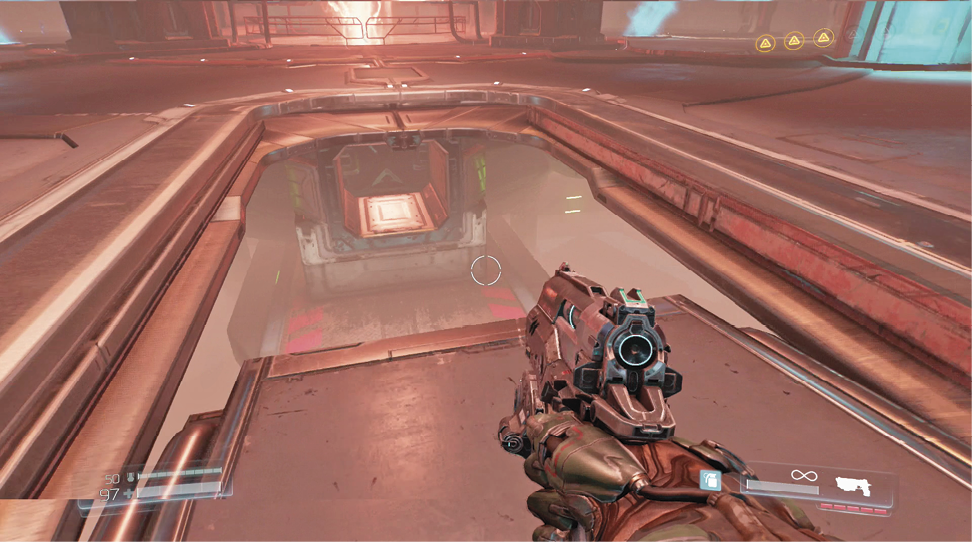
Quickly dispose of the demons that occupy the next floor. Jump pads scattered throughout this area provide a boost up to the next level. Use them to collect assets hidden on upper platforms, including an Invulnerability powerup. Use the map to find its exact location.
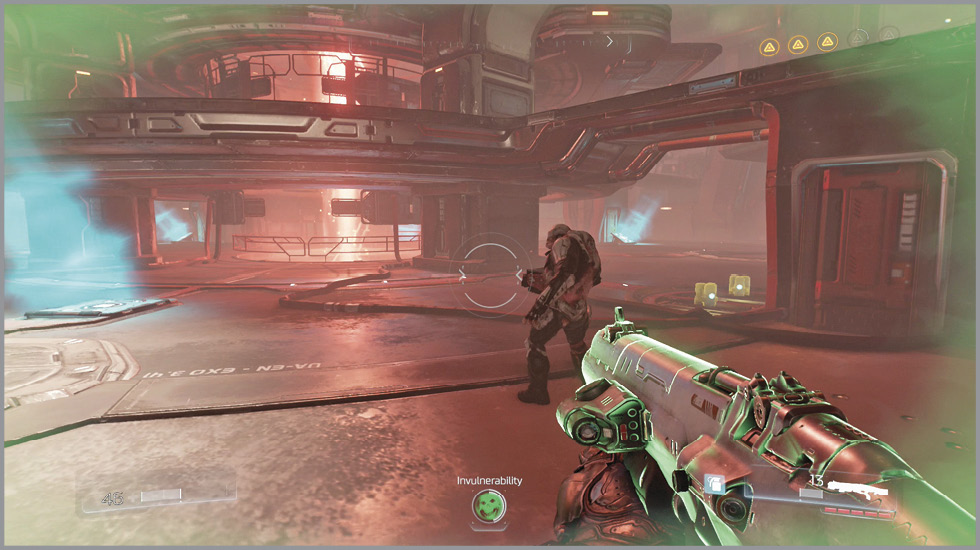
With the demons taken care of, use the jump pads to reach the platforms above and spot the 4-C designation on the outside wall. Jump onto the platform to the right of the drone and enter the control room.
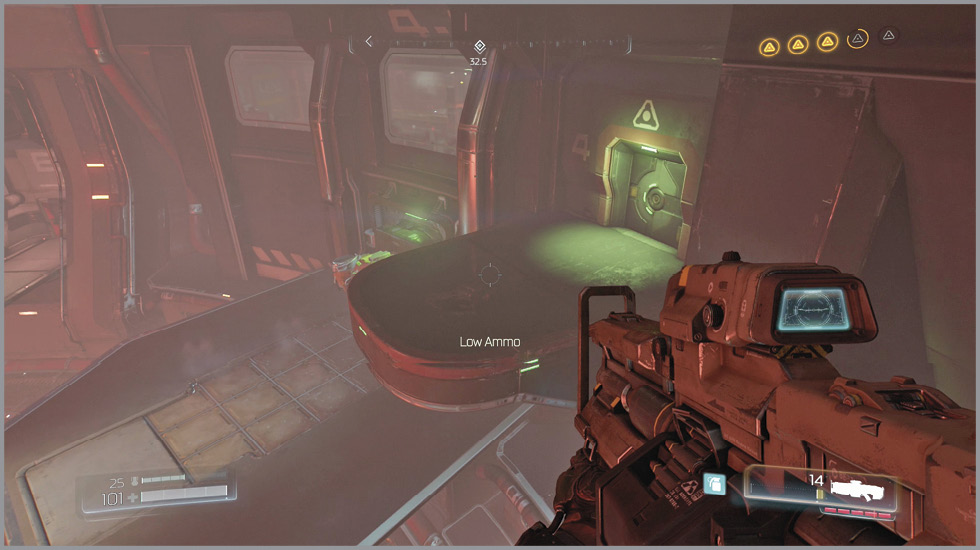
Inside, interact with the Argent Drone Station against the window. Search the far end of the room to find an Argent Cell and use the Health Station before exiting the room.
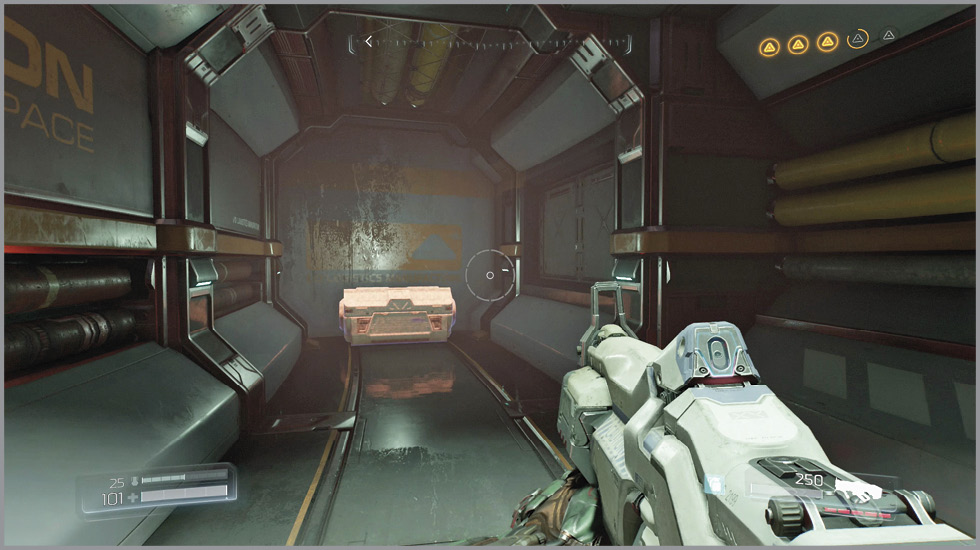
Hop onto one of the two argent drones and ride it all the way up before jumping over to a small platform against the wall. Hop across more platforms to the left or right, watching out for the moving floor above. Once it has stopped, climb onto it.
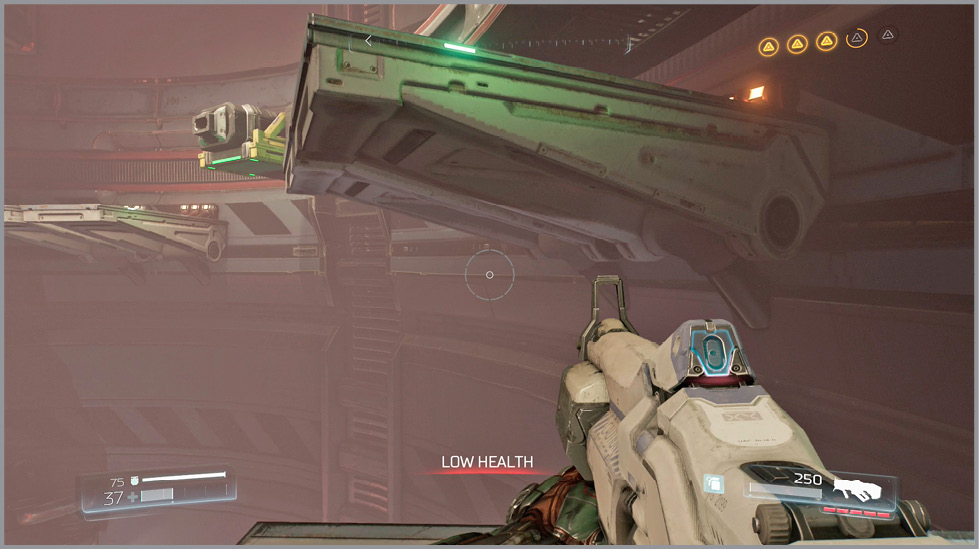
When it comes to a stop, moving parts jut out from the floor—making a connection to the center platform. As soon as it makes an appearance, take the opportunity to reach the center, being sure to hop off to the left or right before it retracts.
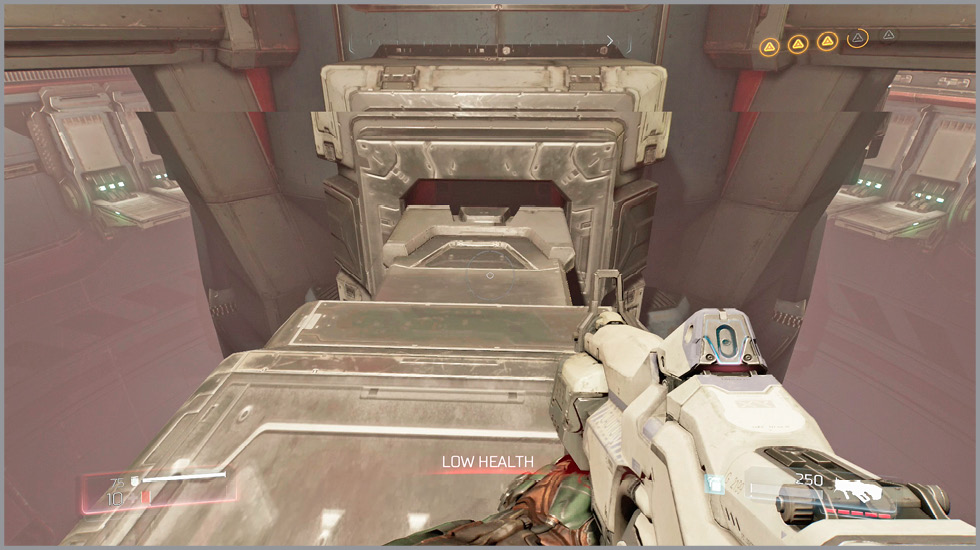
Travel around the middle until you spot a reachable ledge on the outside wall before walking out the nearby path. Jump up to the platform, climb onto the crate ahead, and continue up to the walkway. Quickly move out of the circle portion. A mechanism above you moves up and down. At the bottom, it fires electricity and damages anyone within this circle. Watch your step as you move around the perimeter of the room, being mindful of not only the electrical danger but also the Imps that harass you along the way.
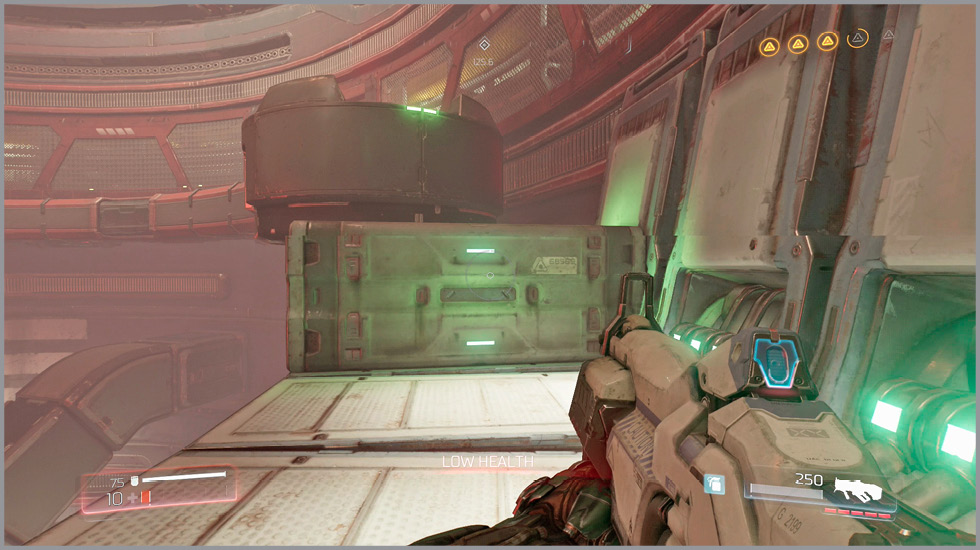
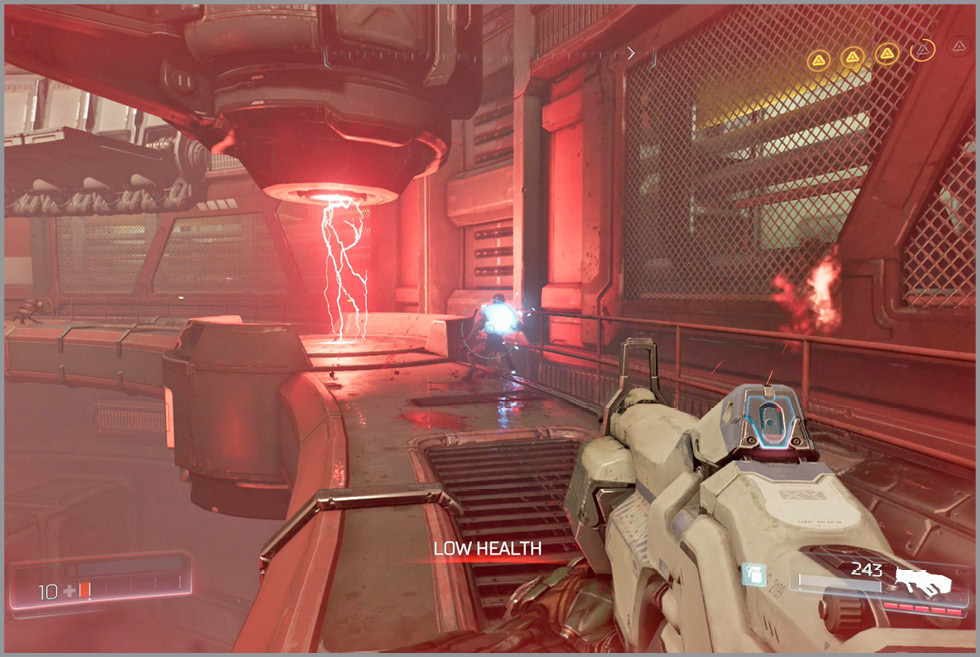
At the other end of the pathway, jump across two more platforms onto the moving mechanism as it comes to a stop. Let it take you up to the top, then turn around and hop over to a jammed door. Pry it open and step inside.
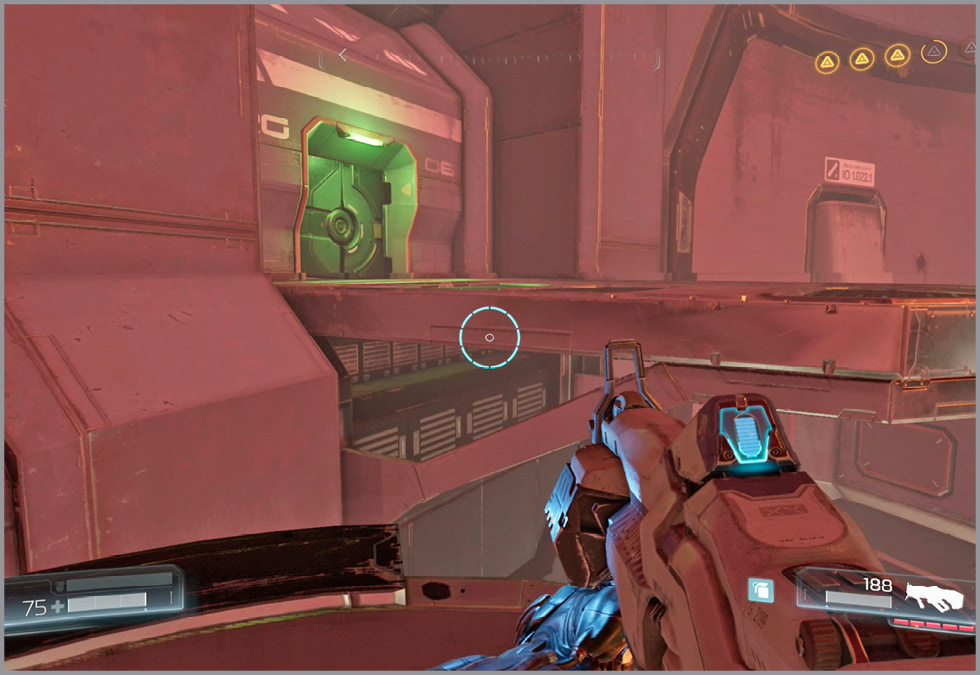
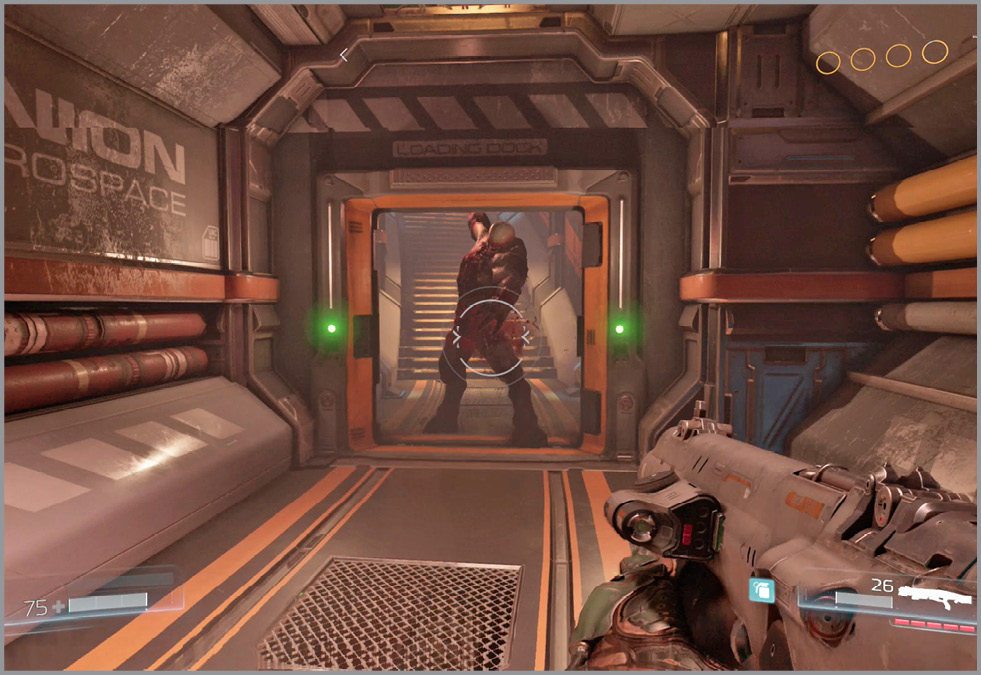
Wipe out the demons inside the next room, using the pillars to break line of sight with the enemies. Once the area is clear, exit through the far door, ready to jump back as a Hell Knight immediately attacks. Proceed up the steps and wipe out more demons as you move through the narrow corridor.
Equipment Power
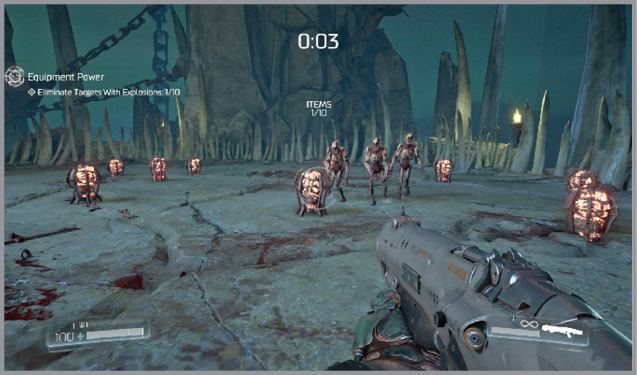
OBJECTIVE: Armed with the Combat Shotgun, eliminate 10 Unwilling with explosive barrel damage before the timer expires.
After clearing out the demon presence in the narrow corridor, proceed to the far end and turn left. Climb through the window above the 6-1 notation and continue left across the platform to reach the Trial Stone. The objective here is to take out 10 Unwilling by detonating the explosive barrels. Always stay a safe distance from the Unwilling. They can easily take you out; plus, you lose the trial if you are caught in a blast. The key is getting multiple hits with the explosions; the bonus received for each kill is a huge help. Quickly take out the explosives, staying on the move to avoid running into one of the monsters. Often, a detonation only weakens nearby demons, so be sure to get it with the next barrel.
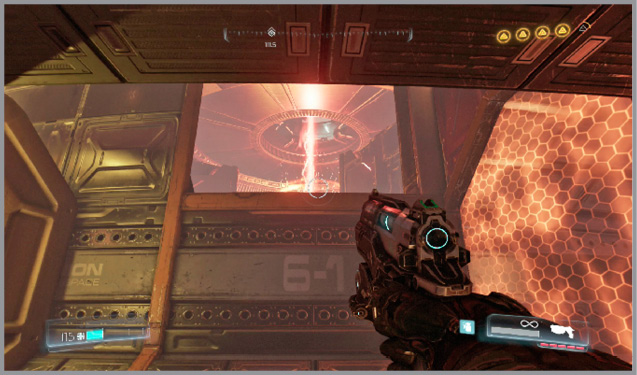
At the end of the corridor, wait for the cargo container to pass by and jump into the windows ahead. Turn around and continue to the upper level. Go right and slip through an opening on the left. Climb onto the ledge to the left or right, turn around, and hop over to the platform to find another Elite Guard. Continue to the loading dock and run up the stairs to the left.
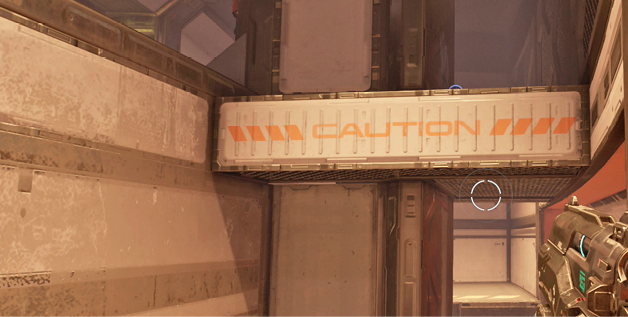
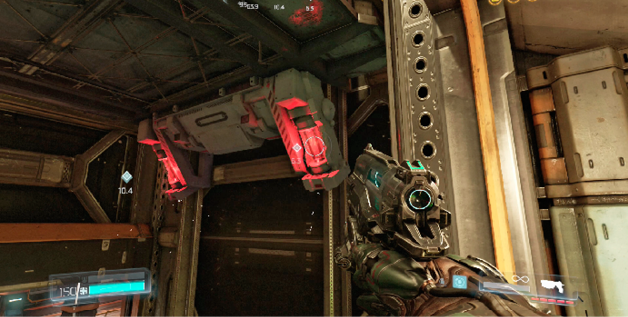
In the next room, move passed the elevator and grab the Hologram on the table against the far wall. Top off at the Health Station and then approach the elevator shaft. Look down to spot a ledge well below. Hop down and use the double jump to access it. Grab the Gauss Cannon and then use the console to open the doors behind you. Return to the upper floor and then jump across the elevator shaft to another small ledge. Turn around, equip the Pistol, and shoot the four flickering lights on the bottom of the elevator car to cause it to fall out of the way.
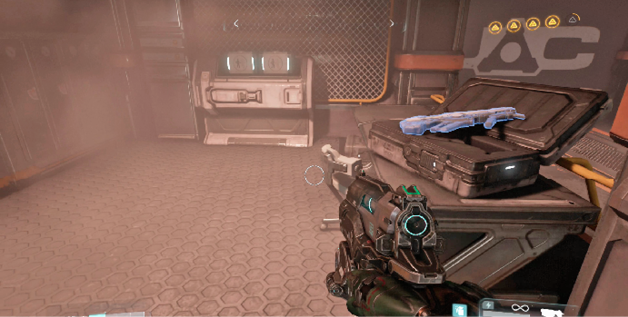
HologramBy deploying a Hologram, the enemies’ attention is directed to the fake Doom Marine while you gain the opportunity to get a better angle on a target. Use this to your advantage to escape hairy situations and get behind or above a tough demon. |
Gauss CannonModifications: Precision Bolt, Siege Mode While it has high damage potential, the concentrated beam of the Gauss Cannon demands accuracy from the user. |
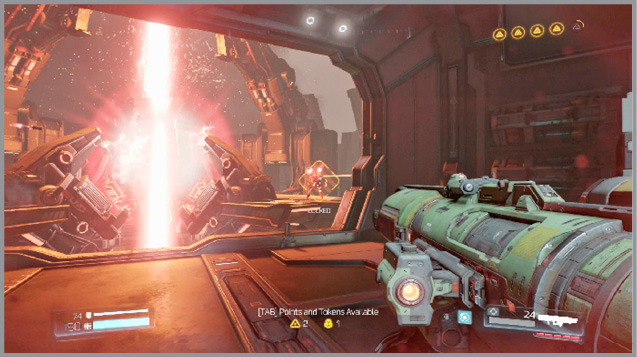
Double jump up to the next floor, move to the door ahead, and pull it open. Unfortunately, you are too late to stop Olivia, as she successfully escapes. A horde of demons has been left behind and they are eager to stop you from joining her. It isn’t necessary to defeat all of the monsters. After the Facility Voice announces a category 4 dimensional event, you are transported to Hell. Though, if you have not maximized your Combat Rating or you have not achieved the Overkiller challenge, it’s worth your time to kill as many enemies as possible. Grab the Quad Damage powerup to improve your odds of survival.