
Helix
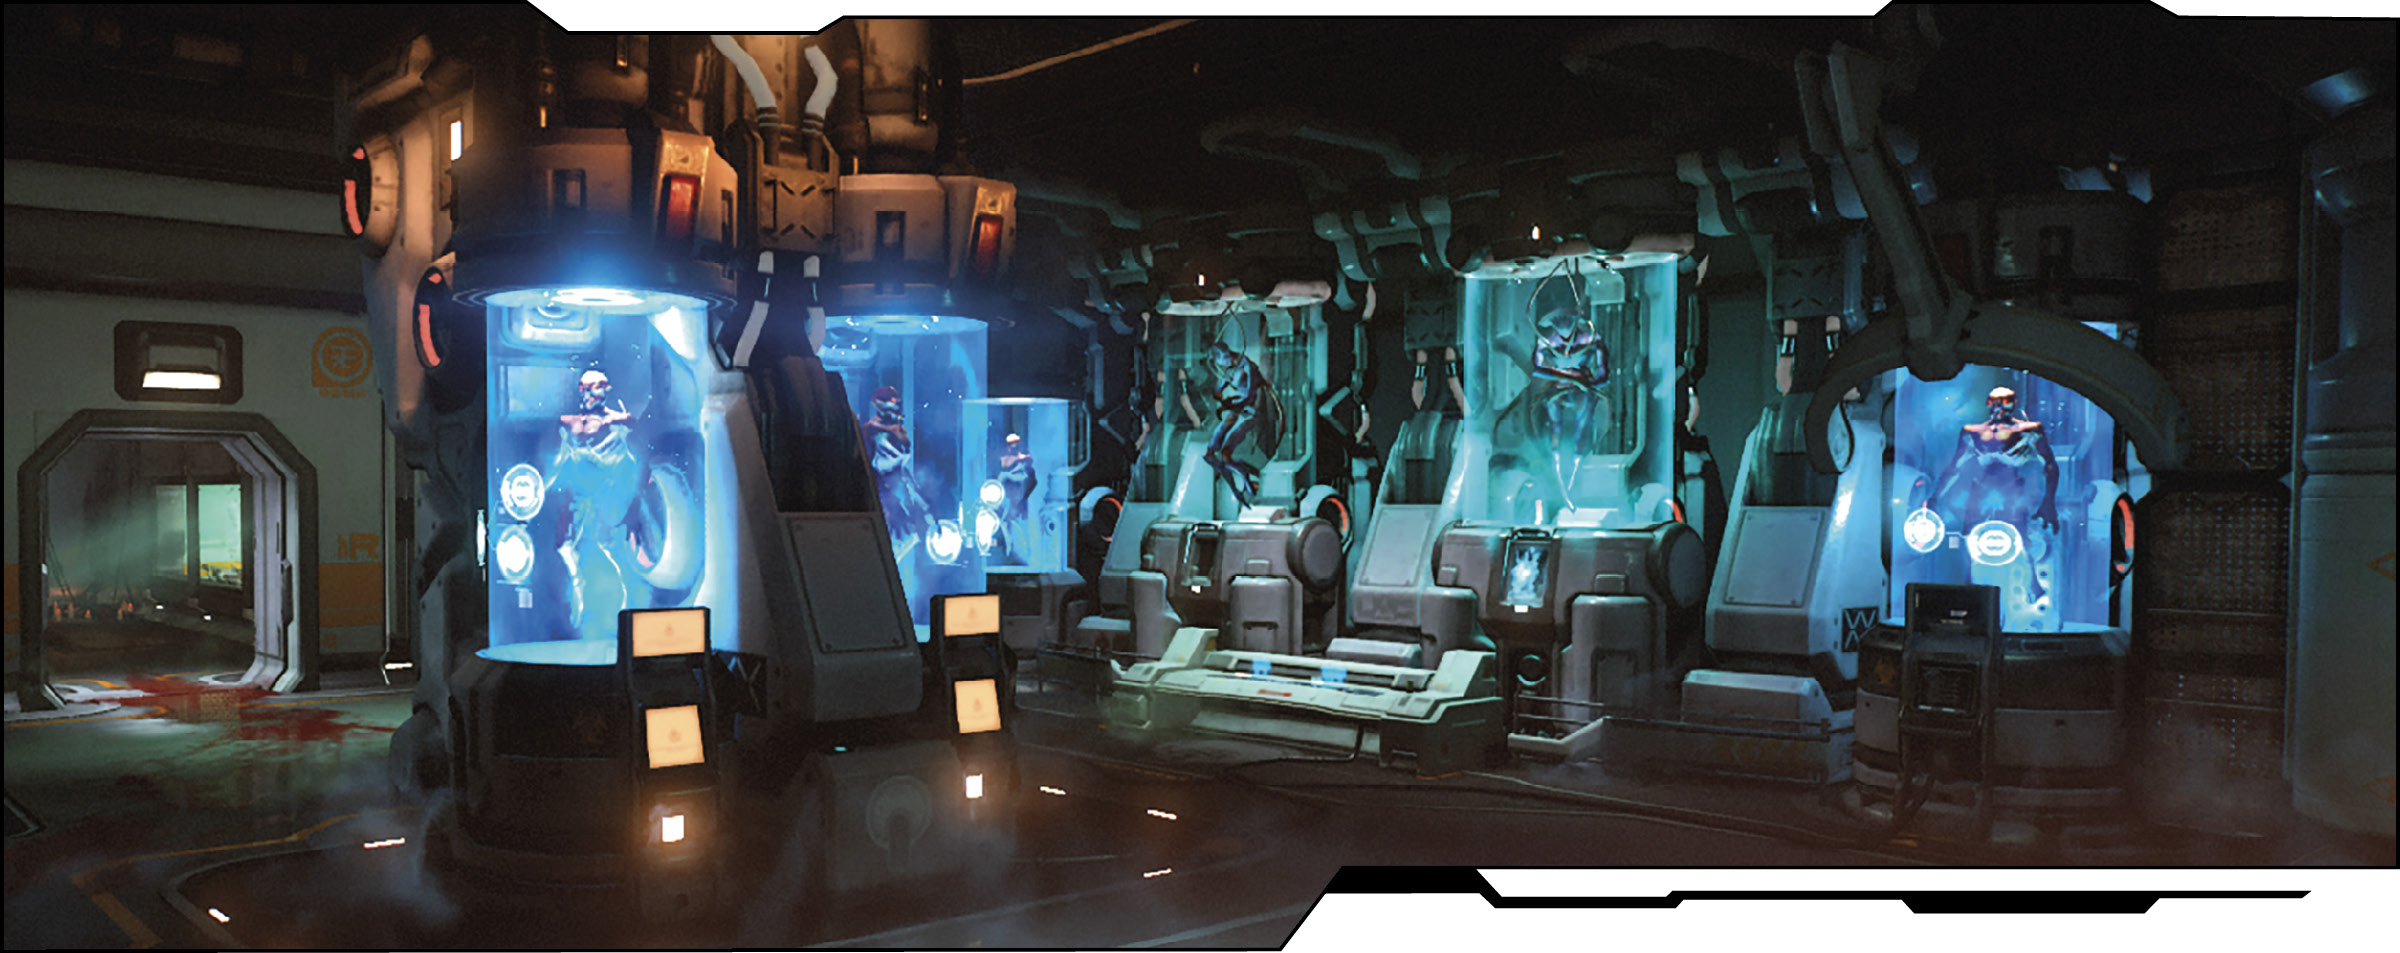
Helix is a scientific facility comprised of multiple specimen observation rooms where all manner of demons and oddities are kept in stasis tanks of various colors. This is an intimate map that forms a circle of sorts with several larger hub rooms in the center, making it possible to get anywhere quickly. Life is cheap at Helix where you’re never more than a few steps from the business end of an enemy’s weapon.
Location Intel
Power Weapon: Chainsaw
Powerup: Quad Damage
Suicide Risk: Low
legend
 |
Armor |  |
Portals in |
 |
Domination Capture A |  |
Portals out |
 |
Domination Capture B |  |
Powerup |
 |
Domination Capture C |  |
Power Weapon |
 |
Mega Health |  |
Spawn Point |
Area Recon
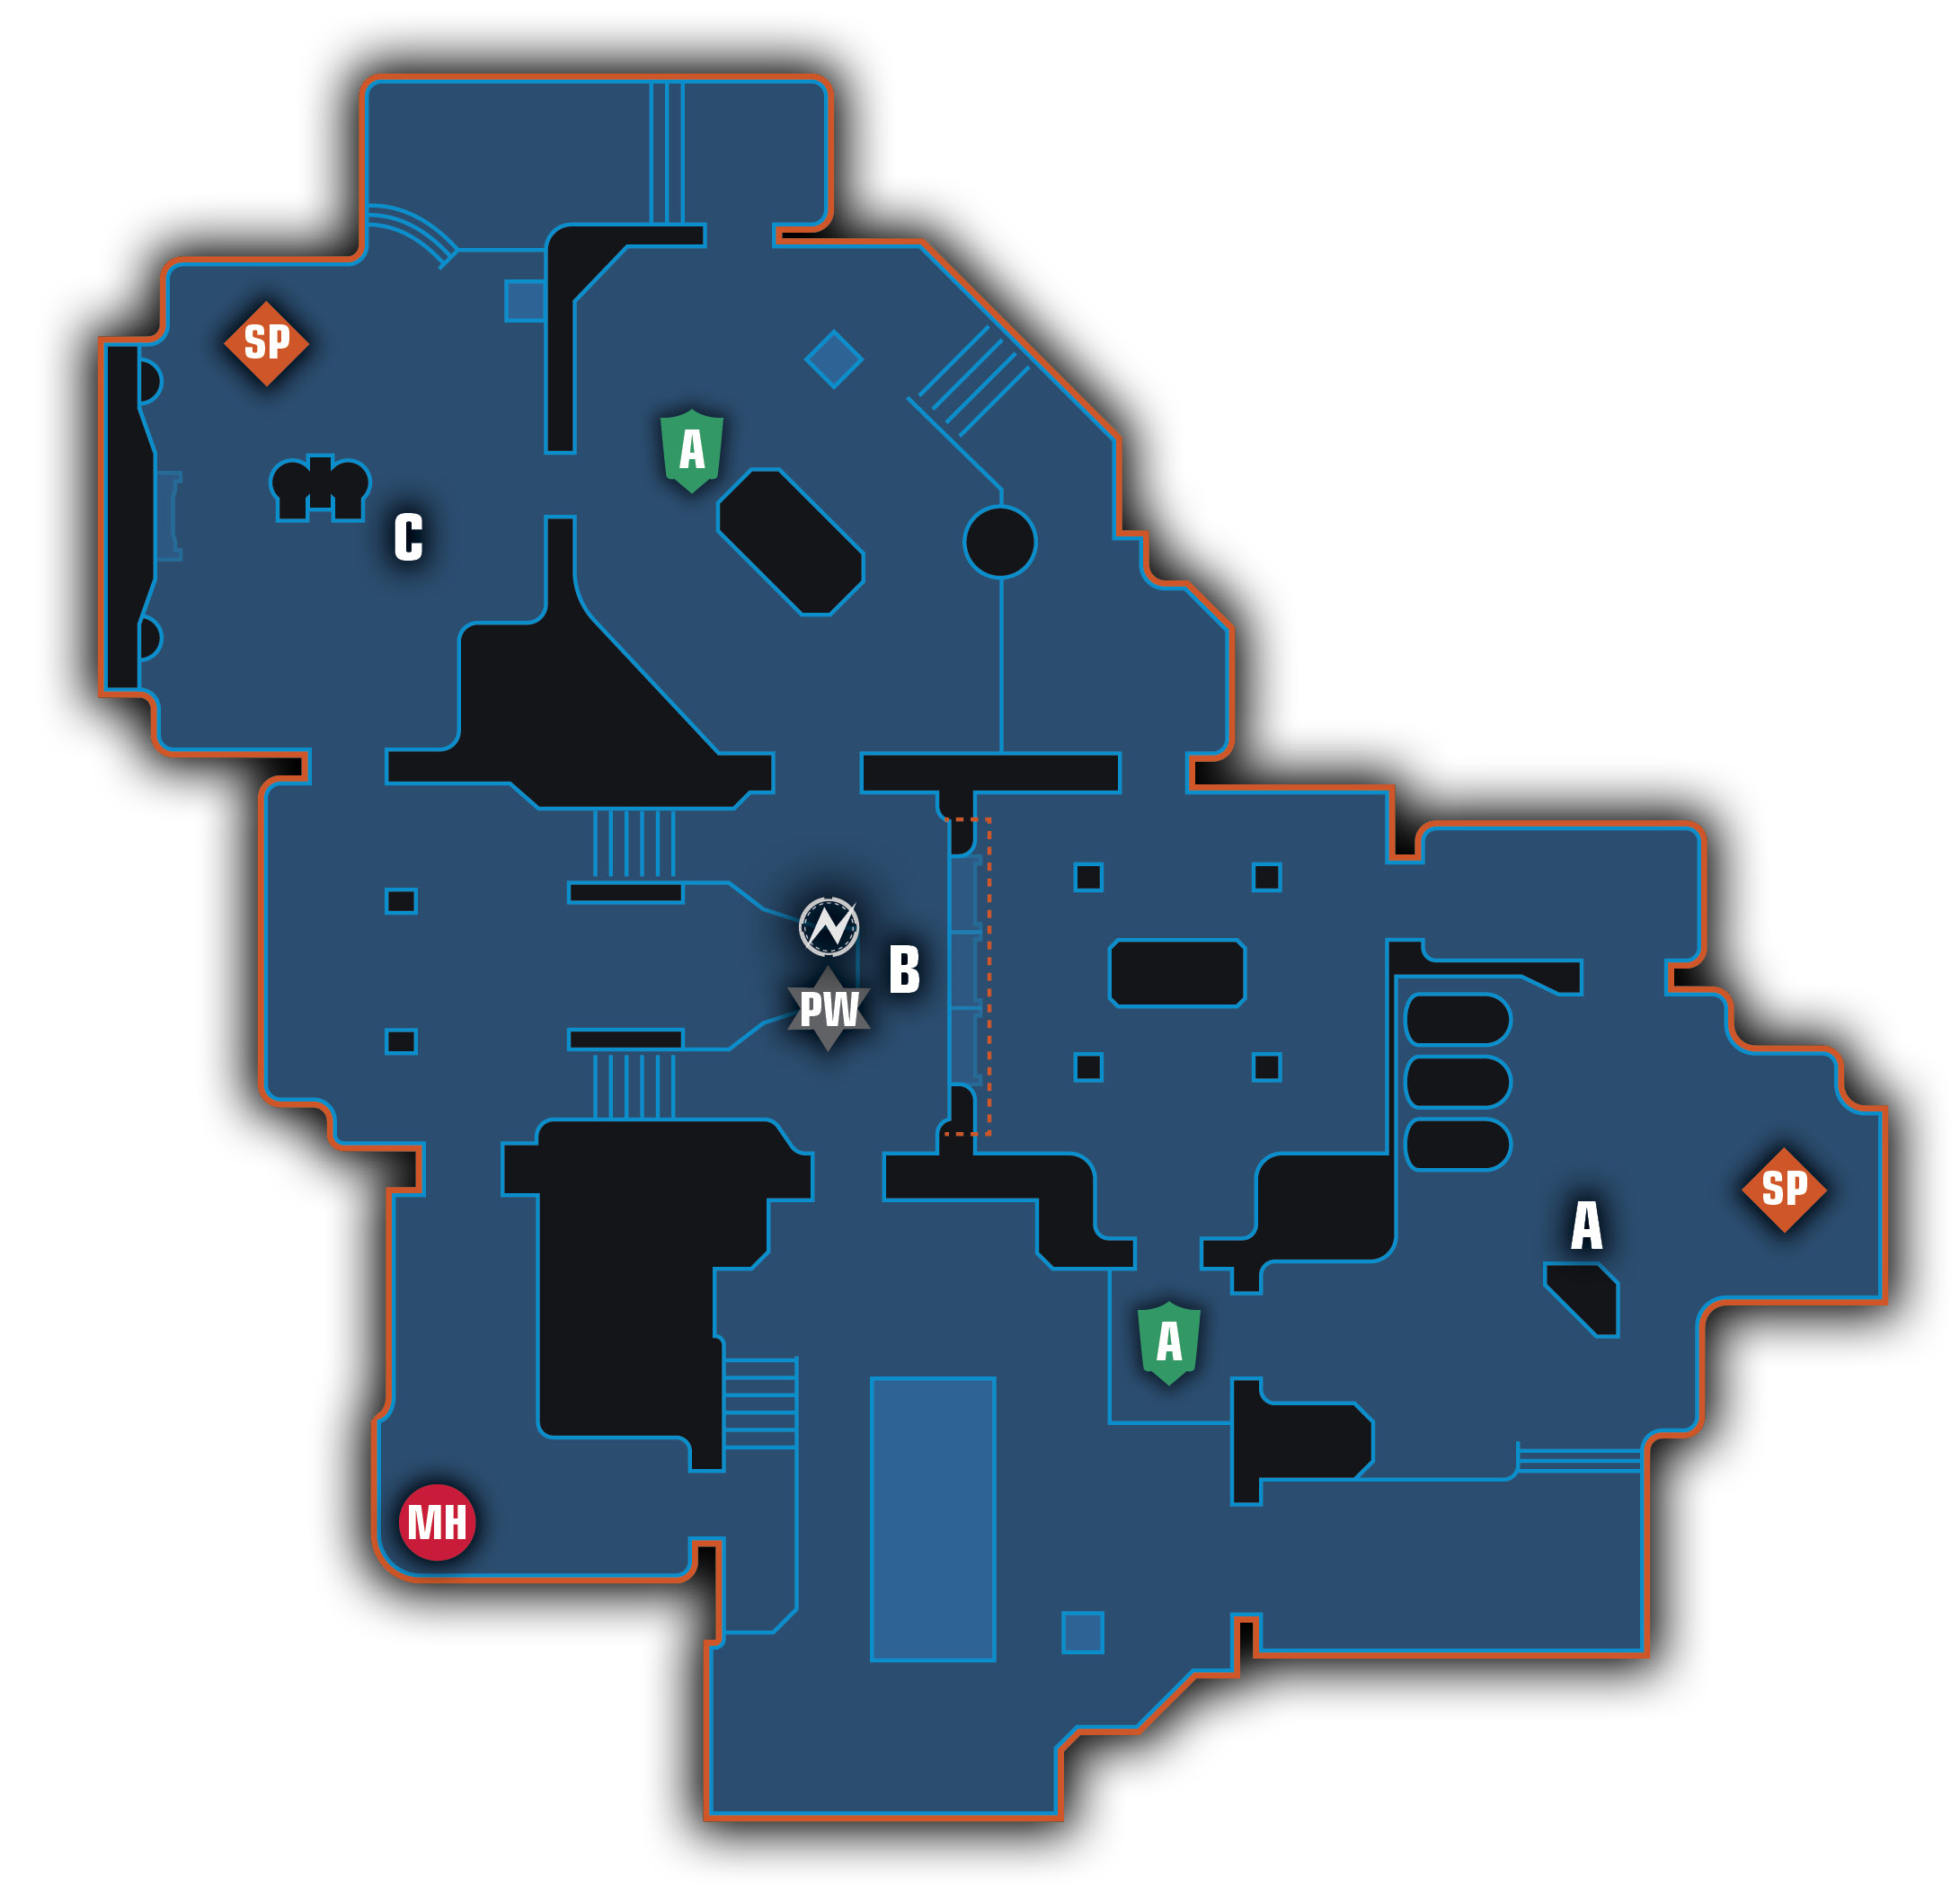
Familiarize yourself with the various rooms and learn a short code for describing them to your teammates to better coordinate attacks and calls for help. Teams spawn on opposite sides of the map, one in a room with blue-glowing stasis tanks and another with tanks illuminated in red light. The two largest rooms in the center of the map contain green-lit specimens and a larger testing room where a massive demon is being held in a device with a red laser. To the east of this is the delivery room where a large vehicle is parked. Hallways and staircases connect these rooms. You can leap through the observation windows between the room with the green-lit tanks and experiment room. It’s also possible to run beneath the truck or atop it, though you’re not advised to do the latter.
There are few special pickups on this smaller map and what truly sets it apart from others is that the Quad Damage powerup and Chainsaw spawn in the same place randomly. You may reach the experiment room and find a Quad Damage powerup or you may find the Chainsaw. Lastly, watch out for environmental damage from the red explosive canisters and laser.
Objective Based Modes
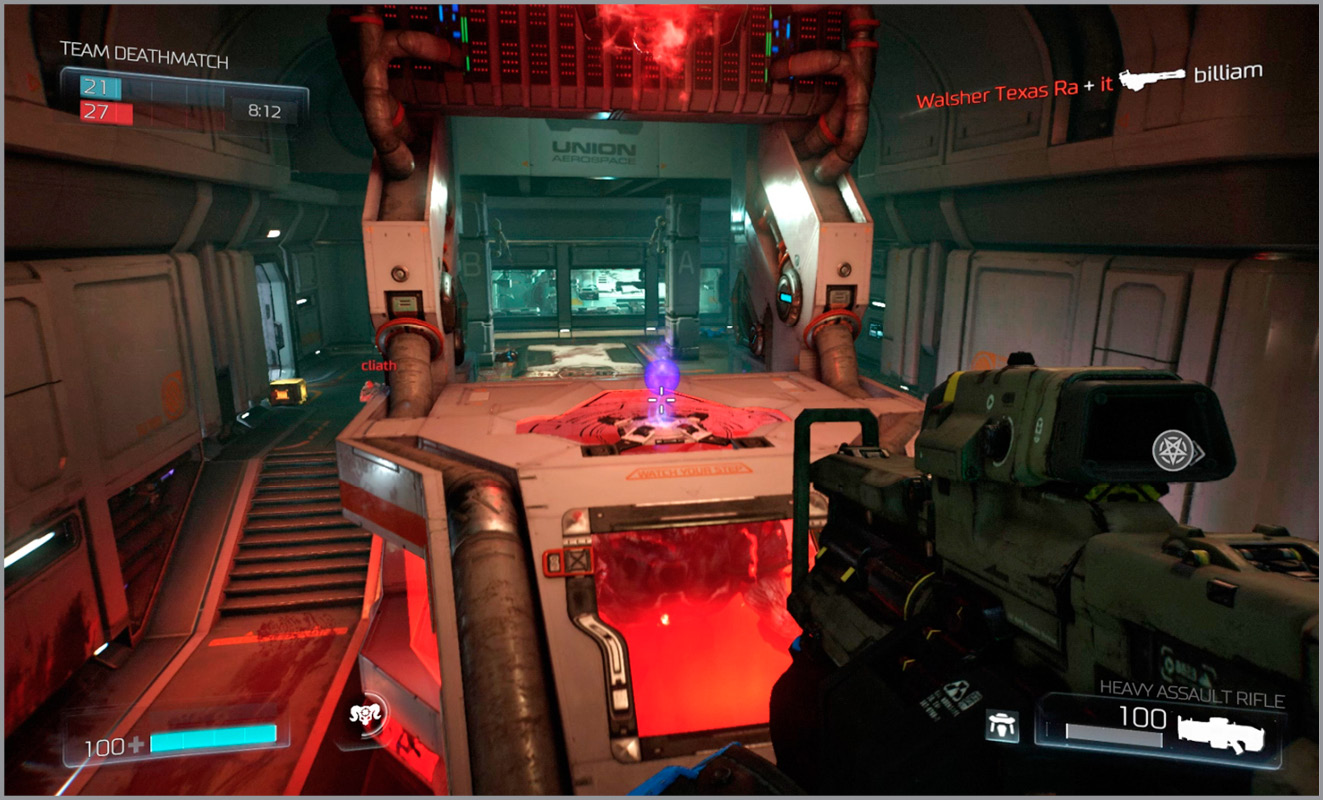
Soul Harvest and Team Deathmatch games often go quickly on Helix as the bodies can pile up here faster than most other maps. The initial clash usually takes place in the room with the green-lit sample tanks, but also on the upper walkway of the room to the north of it. Those spawning in the blue-lit room should consider flanking around to the room where the powerup is and shooting through the observation windows. Players spawning in the room with the red-lit stasis tanks should angle to the left and circle around through the room with the truck to catch the enemy by surprise from behind.
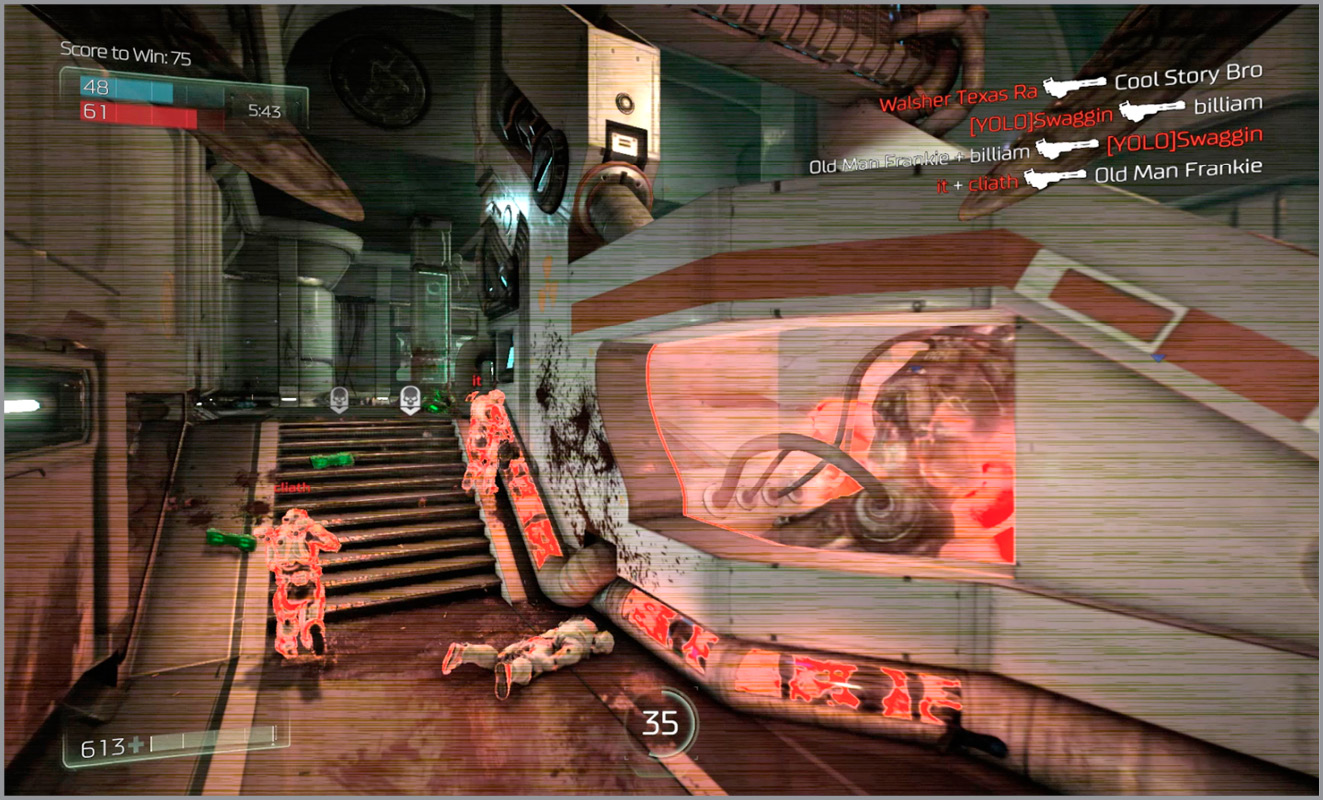
No matter how the beginning of the match goes, the action likely centers around the room with the truck and the one where the powerup spawns. Use the crates and various pieces of equipment for cover as best you can and look to make hit-and-run attacks from around corners. Target the explosive canisters whenever an enemy is nearby, especially if one happens to respawn behind him. There are very few places in this map where someone can’t sneak up behind you, so stay on the move and choose your Hack Module selections wisely.
Domination
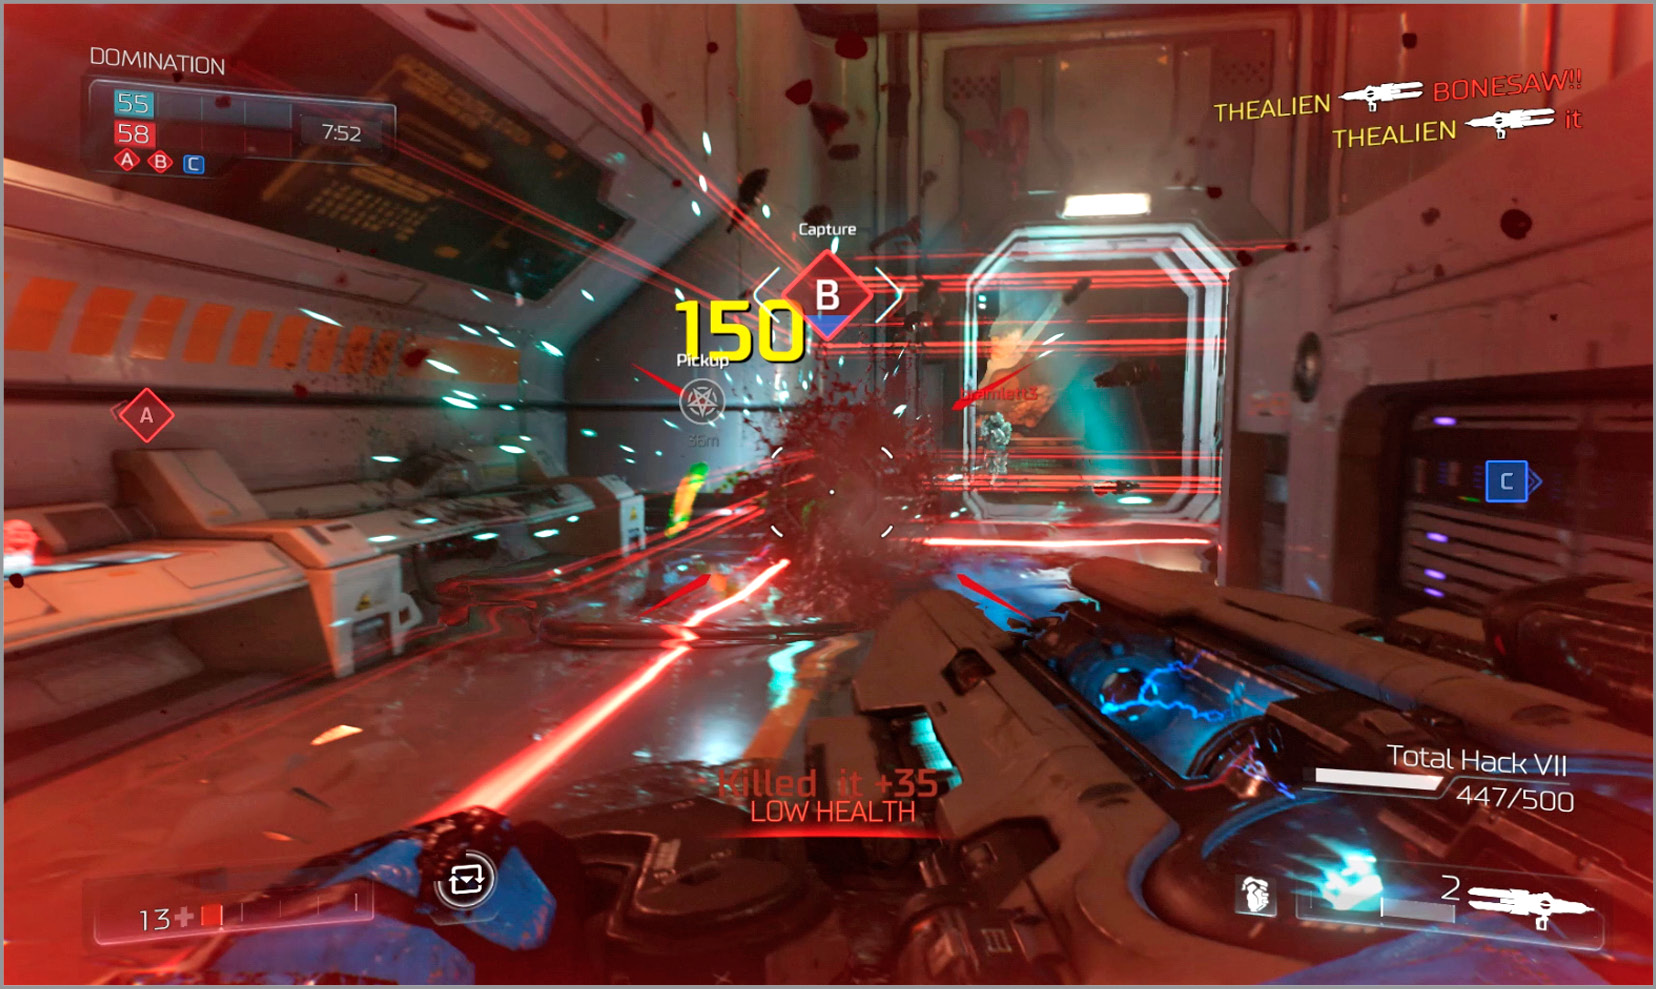
Zone B is extraordinarily difficult to maintain control of on Helix, so you may want to consider focusing your efforts on Zones A and C. Though they are further apart and lack the nearby powerup spawn, they are easier to control thanks to their locations being further away from the center of the map. Nevertheless, when making a move on Zone B, try to attack it from both sides simultaneously. Collect the Armor near the truck and in the room between Zones C and B, then converge on the Control Point. It also really helps to pay attention to the clock on this map since the lone powerup spawns right next to Zone B. You don’t want to show up late for it if you can avoid it. Since every second you can contest a Control Point is valuable to your team’s success, arrive with Armor and stay alive. It takes less time to gather up some pickups than it does to become fodder that has to constantly wait to respawn.
Round Based Modes
There aren’t many tricks to perform on Helix when it comes to Clan Arena and Freeze Tag. Weapon choice matters, as does Hack Module, but it’s going to come down to how well you can avoid damage and your team’s ability to quickly whittle down the enemy’s attackers. Much of the action is going to center around the room with the green tanks. Rocket Launchers, Frag Grenades, Siphon Grenades, and Plasma Rifles can quickly injure an entire enemy team if they stick too close together.
Hit the opposition hard with a concerted splash-damage attack, then fall back and finish them off as they funnel through the door. Clan Arena players won’t have any Armor pickups to collect, but Freeze Tag players will—and there’s one right near each spawn. Continue to use the Plasma Rifle’s alternate attack to foul doorways and trap the enemy where they can take damage over time.