
World of Warcraft: Warlords of Draenor Signature Series Strategy Guide Introduction
The User Interface
Using Your Mouse
The mouse pointer is your primary tool for learning about the game world. Take a moment to move your mouse pointer (which normally appears as a gloved hand) and hover over different people and objects. Your mouse cursor changes dynamically when you pass it over different people, monsters, and objects. Let your mouse do some of the exploration for you. Highlighting things ahead of time lets you avoid fights with monsters that are too powerful to defeat.
Cursor Symbols
|
Symbol |
What This Means |
|---|---|
 |
Acts as a basic pointer |
 |
Characters who can give you quests |
 |
Characters with whom you can speak |
 |
Trainers who can teach you new skills |
 |
Creatures you can attack |
 |
Vendors or loot from corpses |
 |
Vendors who can repair your gear |
 |
Guards who can offer directions |
 |
Items or objects that you can open or operate (important for quests) |
 |
Items which act as a Mail Box (you can send or receive in-game mail) |
The Game Interface
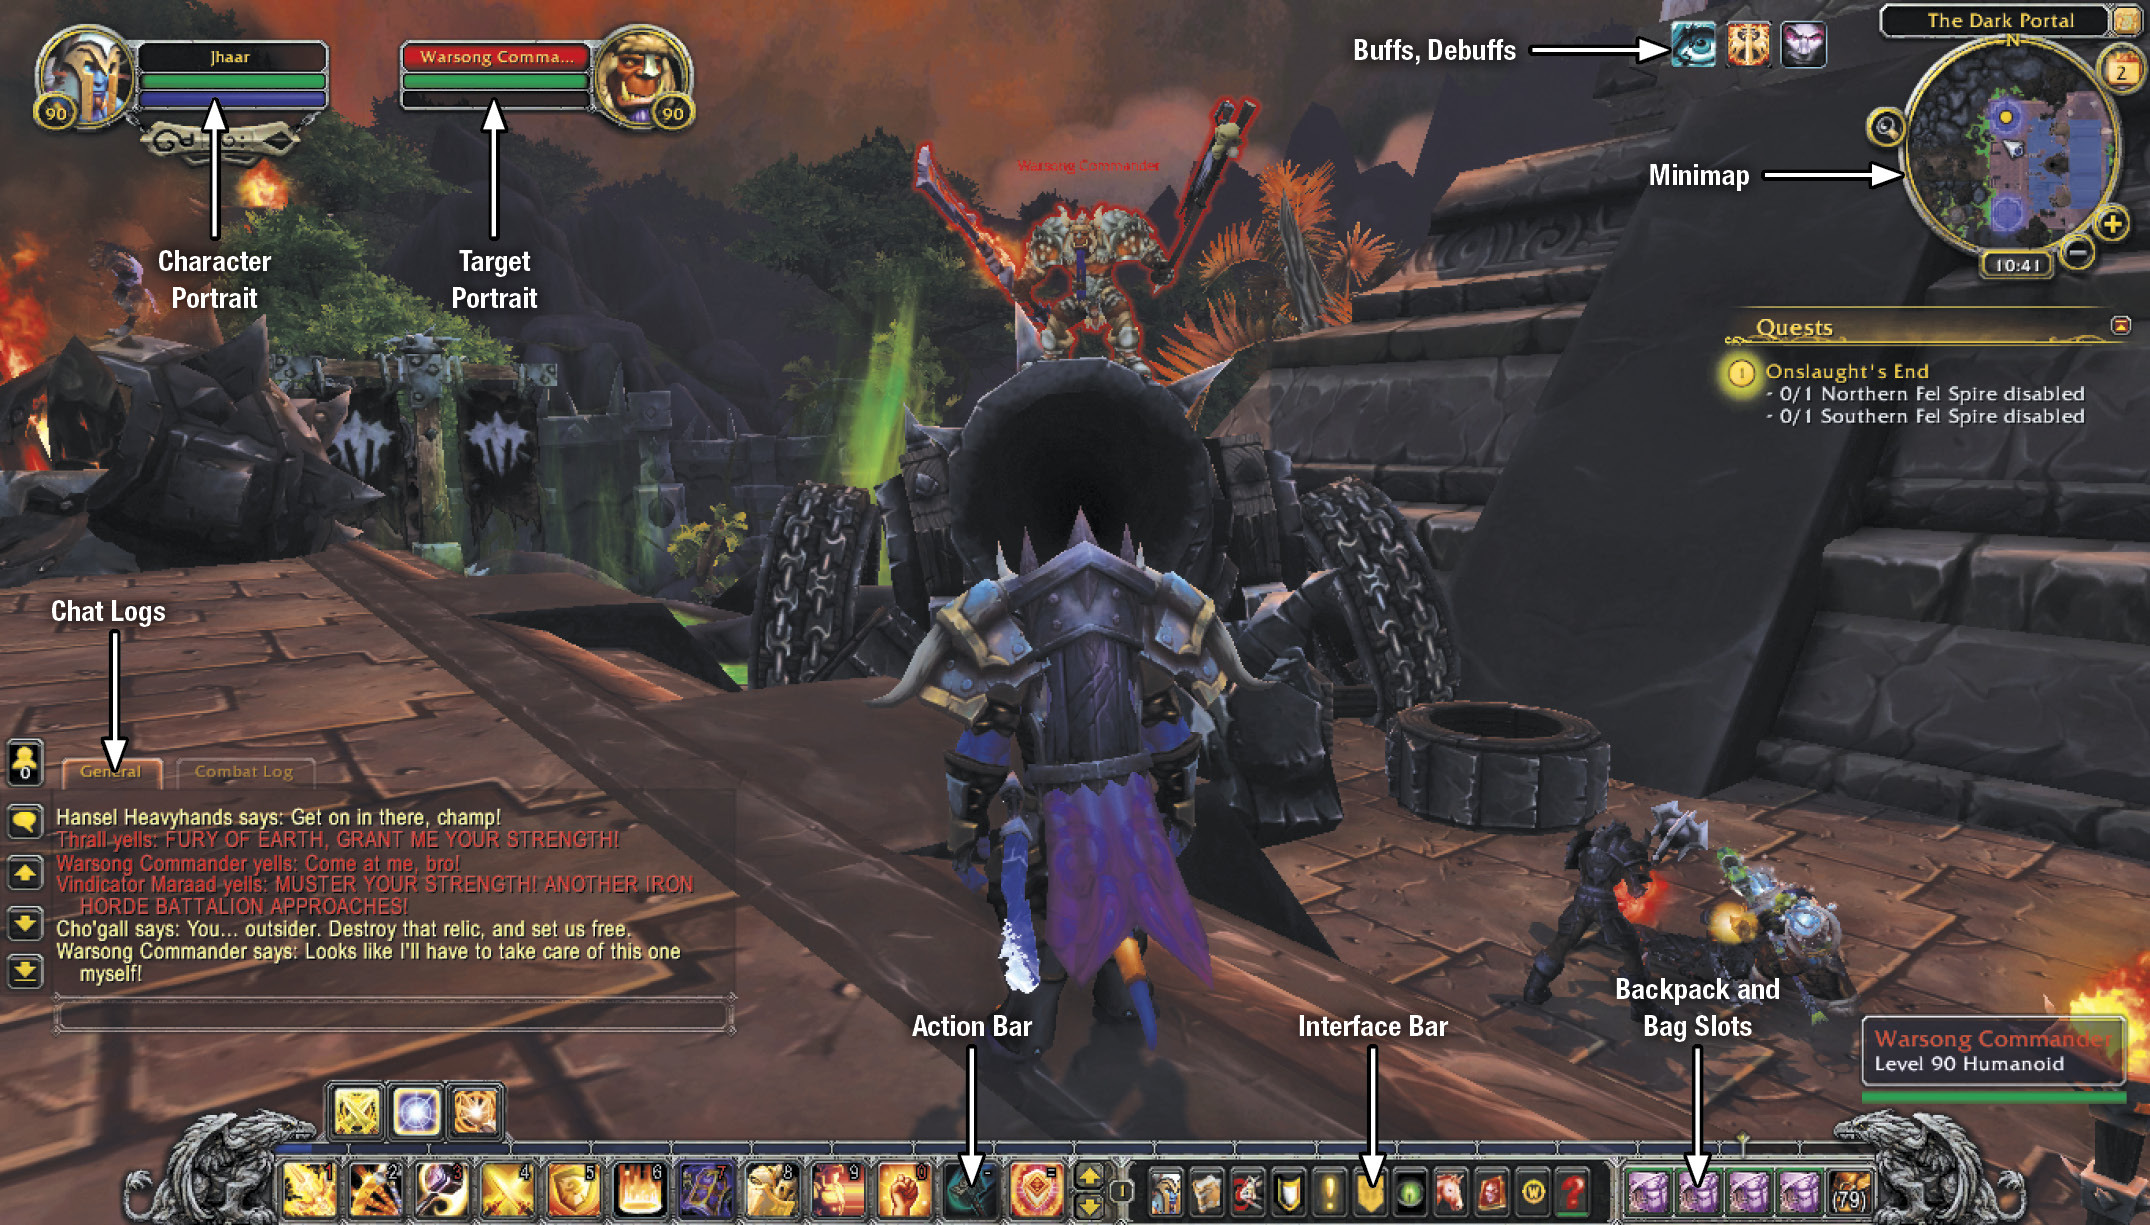
The game interface is everything you use to interact with the game, including your Action Bars, chat windows, and the minimap. Press Alt and Z together, then wait a second and press them again. Everything that briefly vanished from your screen is considered part of the game interface.
You can also mouse over parts of your game interface. The information from these tooltips is invaluable as you gain levels and learn more abilities.
Buffs and Debuffs
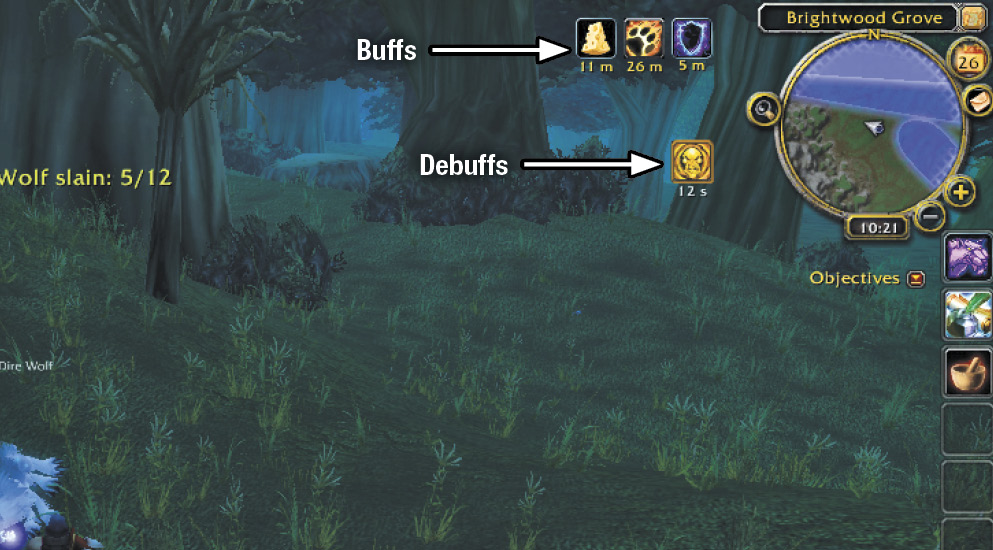
Any positive or negative effects currently in place are indicated near your minimap. These effects show up as icons. Buffs (the positive effects) are usually cast by your character or their group members. Debuffs (the negative effects) are usually cast by enemies you are fighting. If you mouse over a buff or debuff, you are given details about its effects and duration. When a buff or debuff is about to expire, the icon begins to blink.
The most important piece of information to learn about a debuff is its type (the most common are Poison, Disease, Magic, and Curse) because many classes eventually gain abilities that allow you to remove the debuff instantly.
Character Portrait
The character portrait shows your character’s face, name, level, life bar, and a second bar which varies with the character’s class.
Life Bar
All character classes have a green health bar. If your health reaches zero, your character dies. When you’re out of combat, your health gradually returns to its maximum value. Having an ally use a healing spell on you (using a healing spell on yourself works as well), or eating in-game food replenishes your character’s health much faster.
Second Bar
The color of your second bar and what it represents are determined by your class. The same bars are used by all characters, enemies, monsters, and animals in the game.
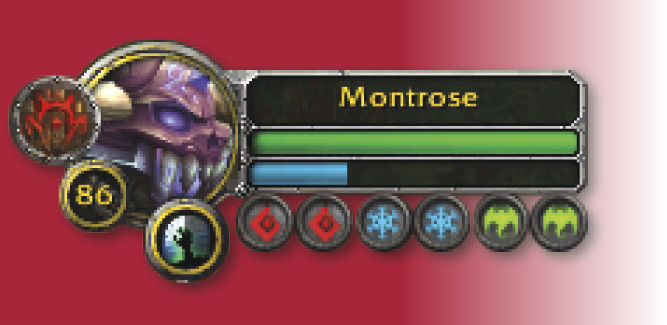
Death Knights build a resource called Runic Power by activating strikes and Runes to punish their enemies. The majority of their abilities are fueled by a combination of Runes and Runic Power.
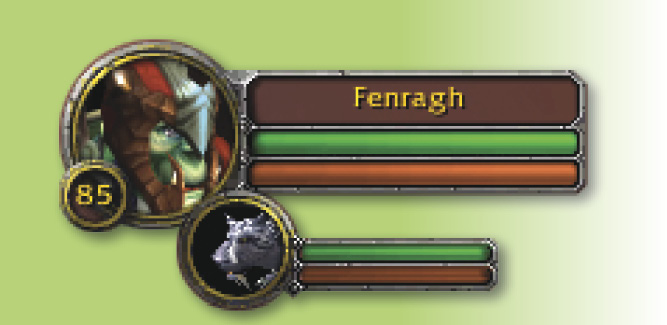
Hunters and their pets have a brown focus bar that fuels special attacks. Focus regenerates over time or with the use of abilities like Steady Shot or Cobra Shot.
Mages, Priests, and Shamans all have a blue mana bar, which fuels their spells. While mana regenerates slowly over time, the quicker way to replenish your mana is to sit and drink different types of water when you’re out of combat.
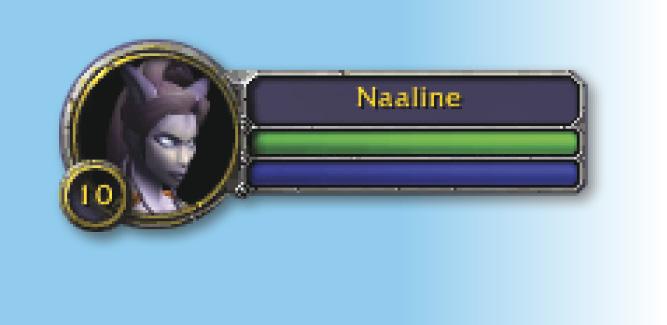
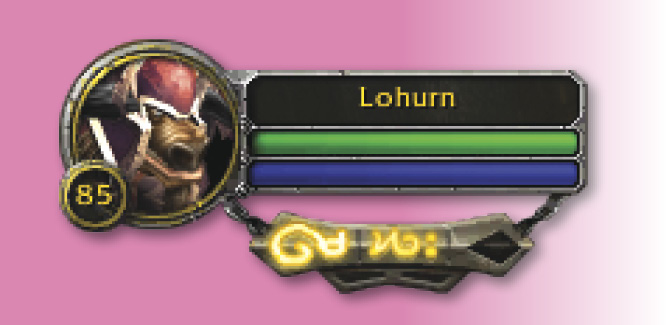
Paladins primarily use mana to fuel many of their spells; however, they also use the Holy Power resource to bolster their abilities and trigger special actions.
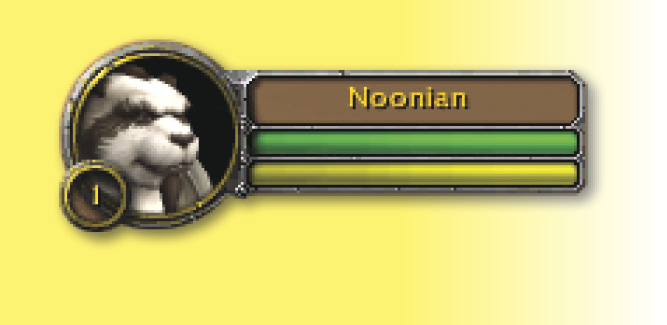
Rogues have a yellow energy bar that is consumed as the Rogue uses special combat abilities. Lost energy regenerates over time.
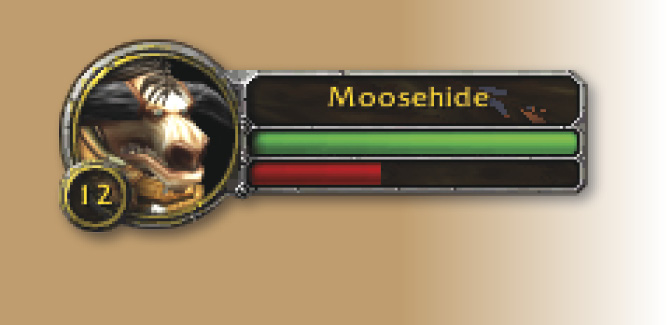
Warriors have a red rage bar, which increases as they take and deal damage. Warriors use accumulated rage to unleash their special abilities.
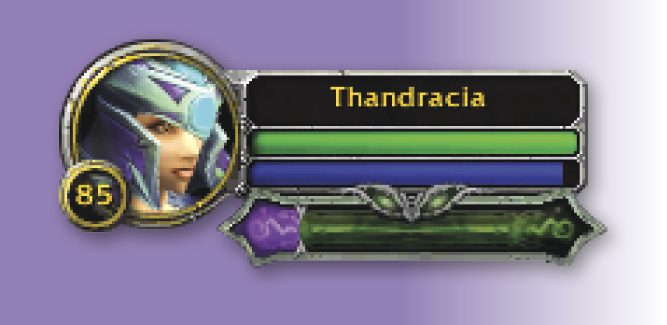
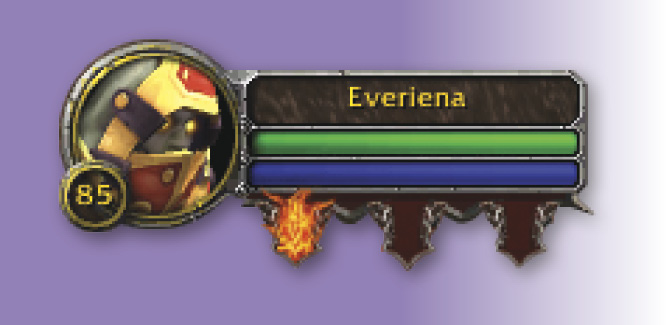
Warlocks also have the typical blue mana bar, but depending on their specialization, they also develop other resources to fuel the dark powers unleashed on their enemies.
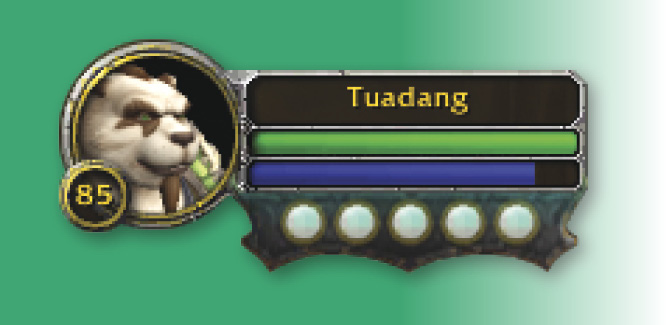
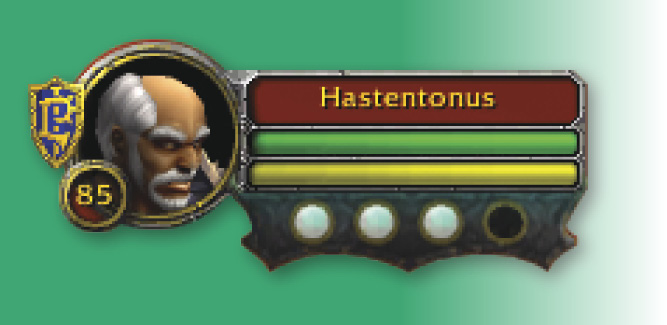
Monks use either energy or mana, depending on their specialization; however, they also build chi as they perform their mystical arts. Chi allows the Monk to augment special abilities as their life energy flows.
Druids
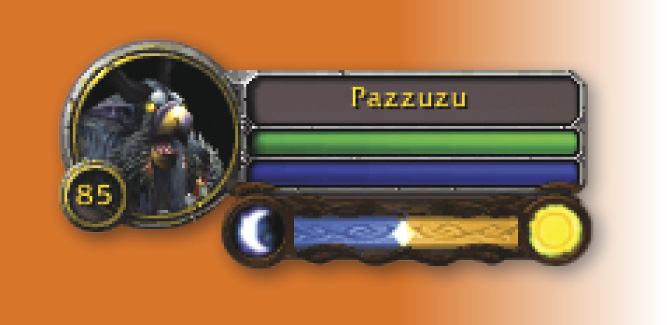
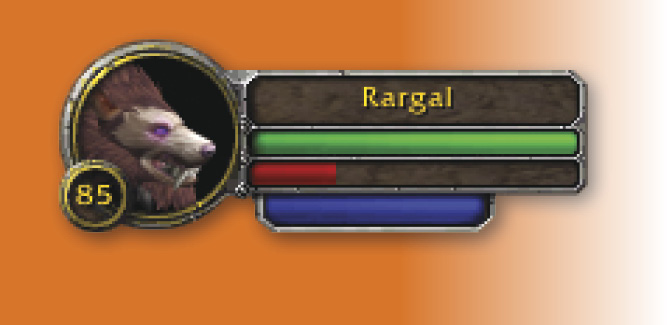
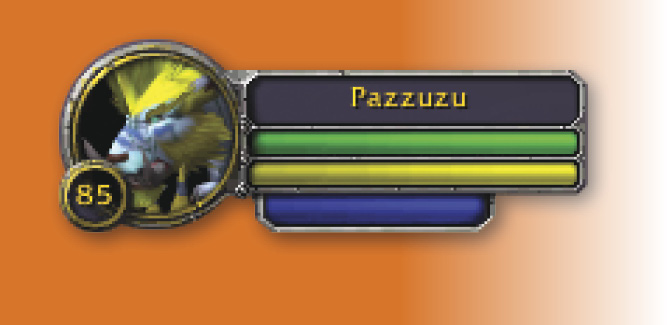
Druids start with a mana bar, but use different bars as they acquire animal forms starting at level 6. In Bear or Dire Bear form, Druids use a rage bar. In Cat form, Druids use an energy bar.
Minimap Buttons
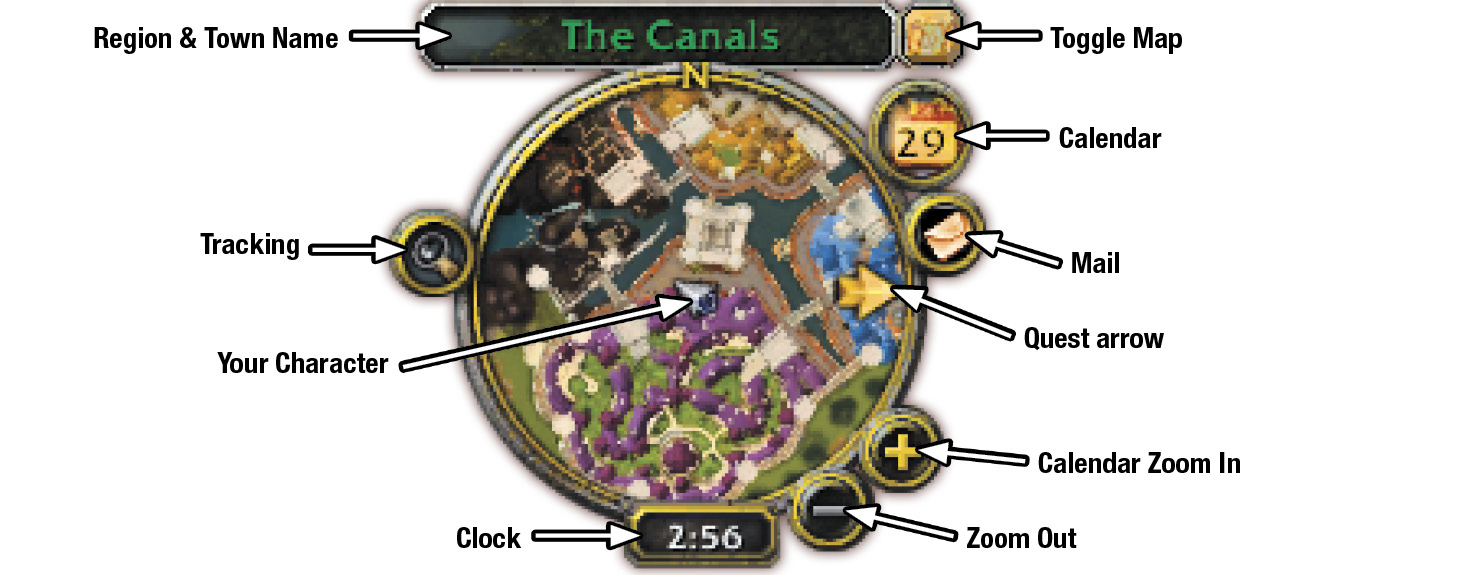
Tracking
The smaller circle on the top-left is a menu that allows you to track different things. Click on the circle to get a drop-down menu of all the things your character can track. If you click on something specific to track, such as Food & Drink, any nearby vendors selling Food & Drink appear on your minimap.
Toggle Map
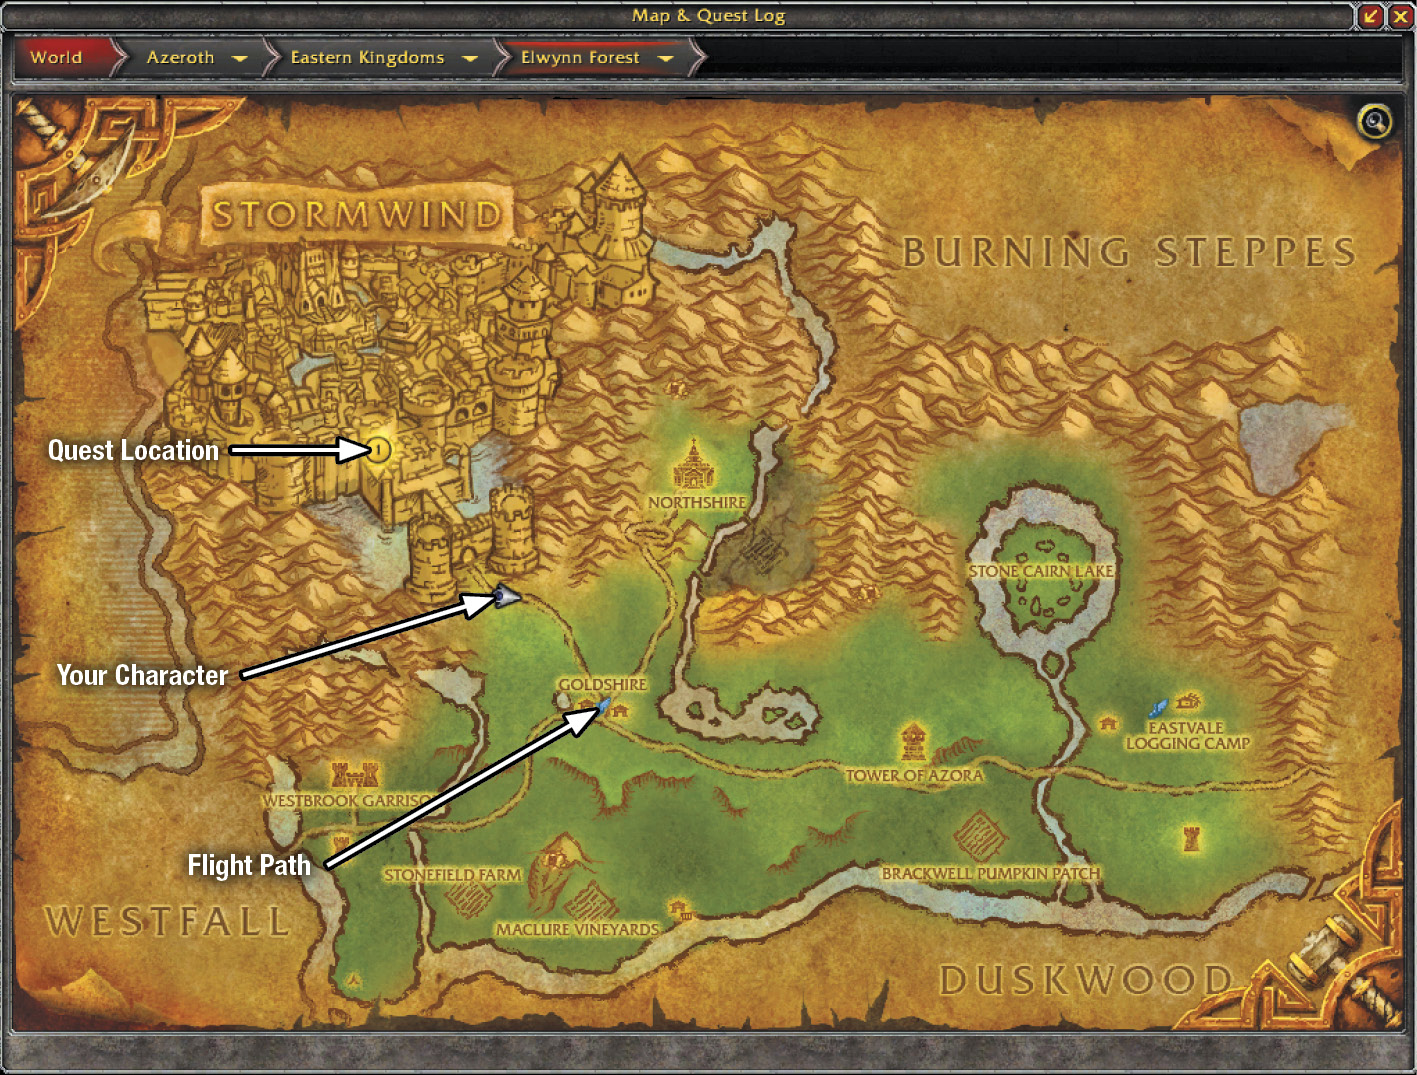
This button opens a map of your current region, and it also displays active quests in the region. Locations you’ve found appear on the map; undiscovered locations remain obscured until you find them. You can also press the letter “m” to bring this up at any time.
Under Attack?
More on Maps
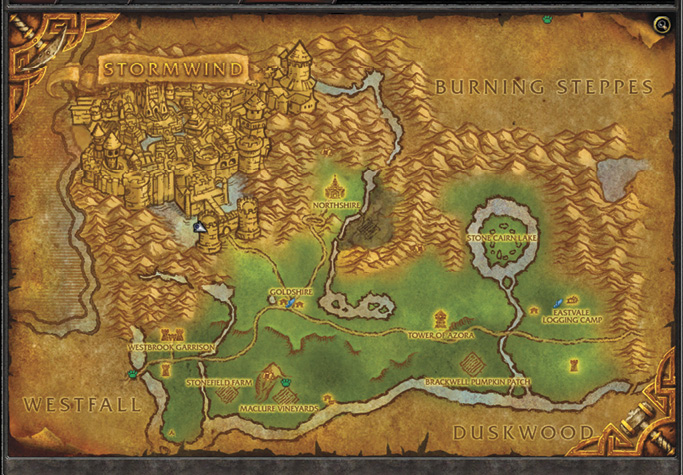
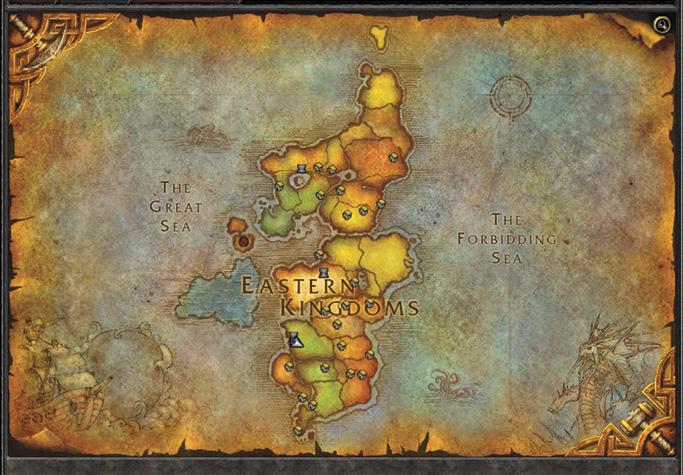
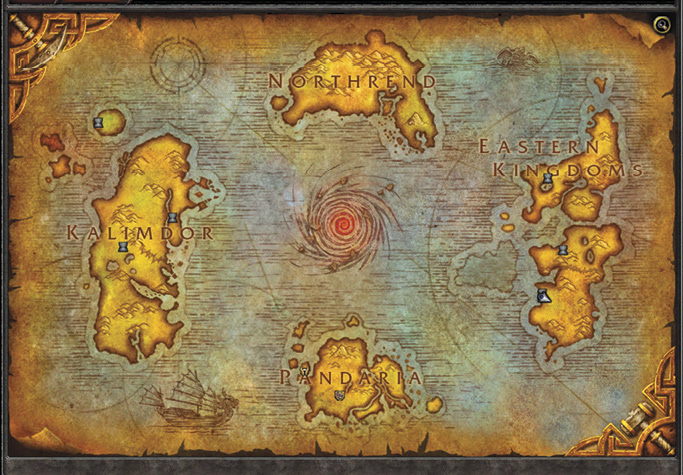
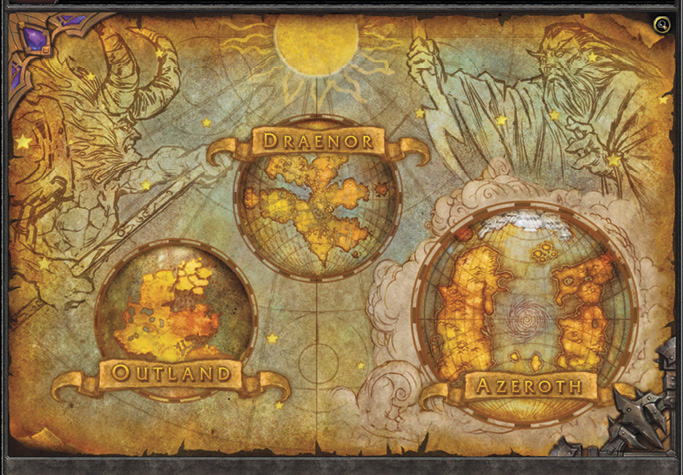
One right-click on your region map opens a map of the continent. Clicking the World Map button on the minimap does the same. A second right-click opens the continent-wide map. A third right-click opens the map of the entire world. Left-click on parts of the world map to zoom in to that area.
Chat Logs
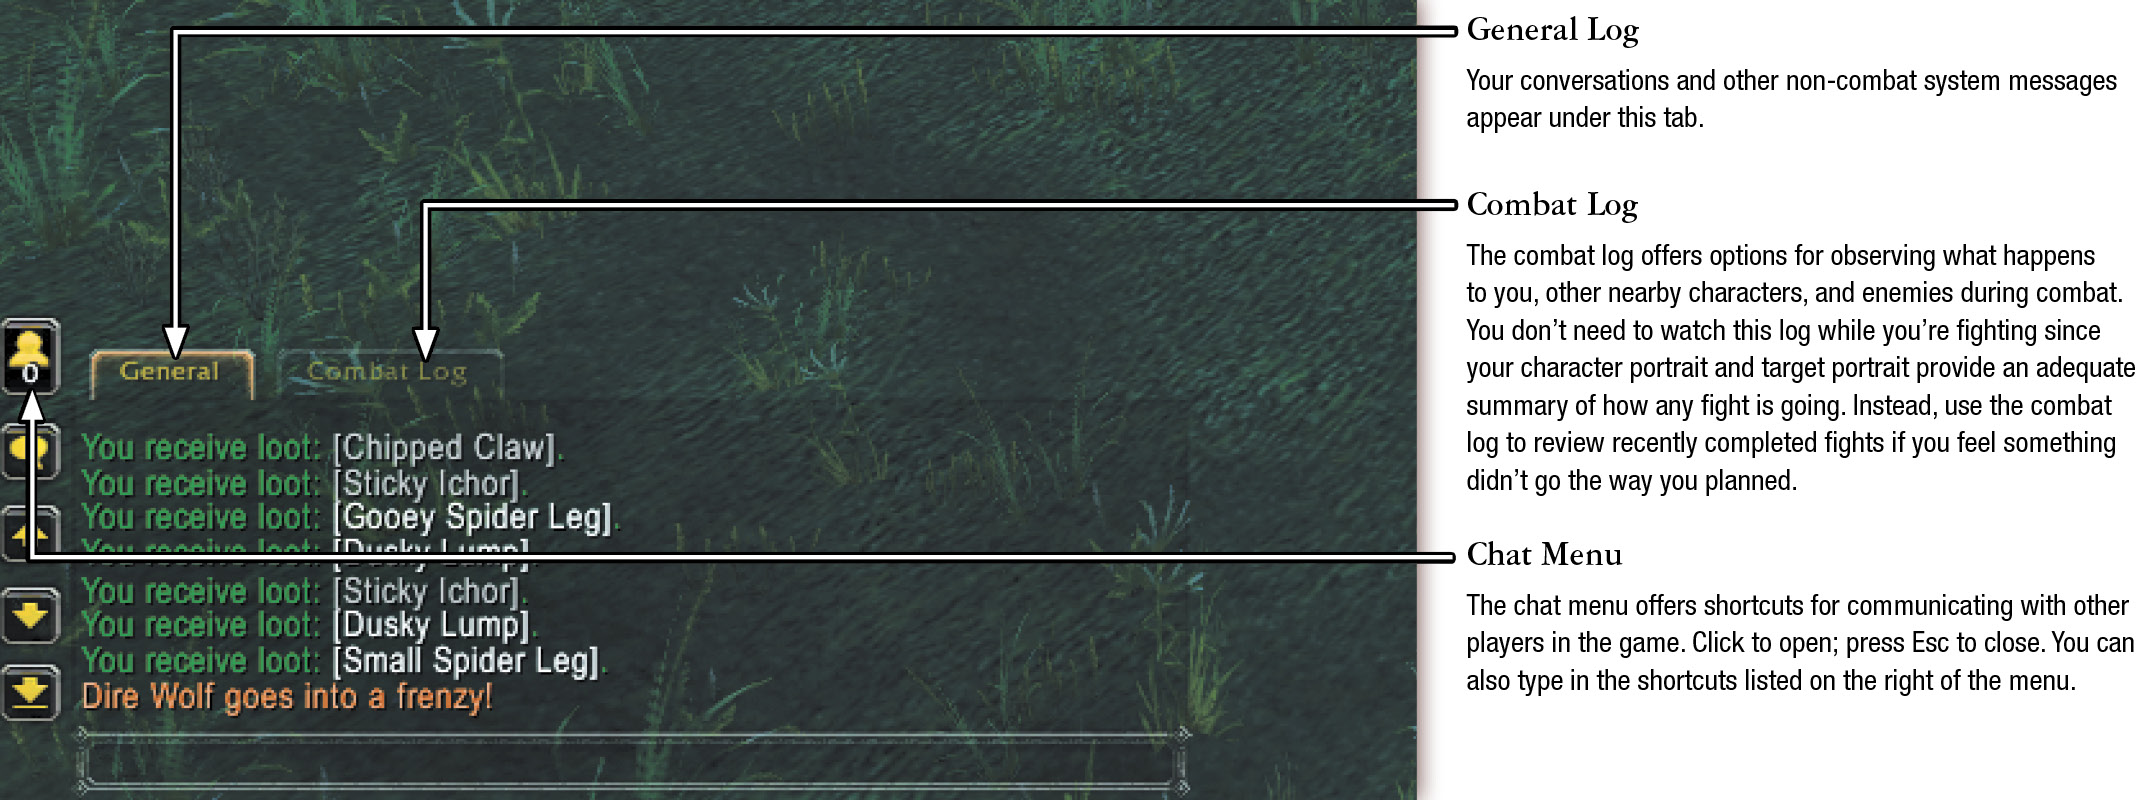
If you mouse over the chat log area, the chat tabs appear. By default, the general log is visible. This displays announcements and the General and Local Defense channels for your region.
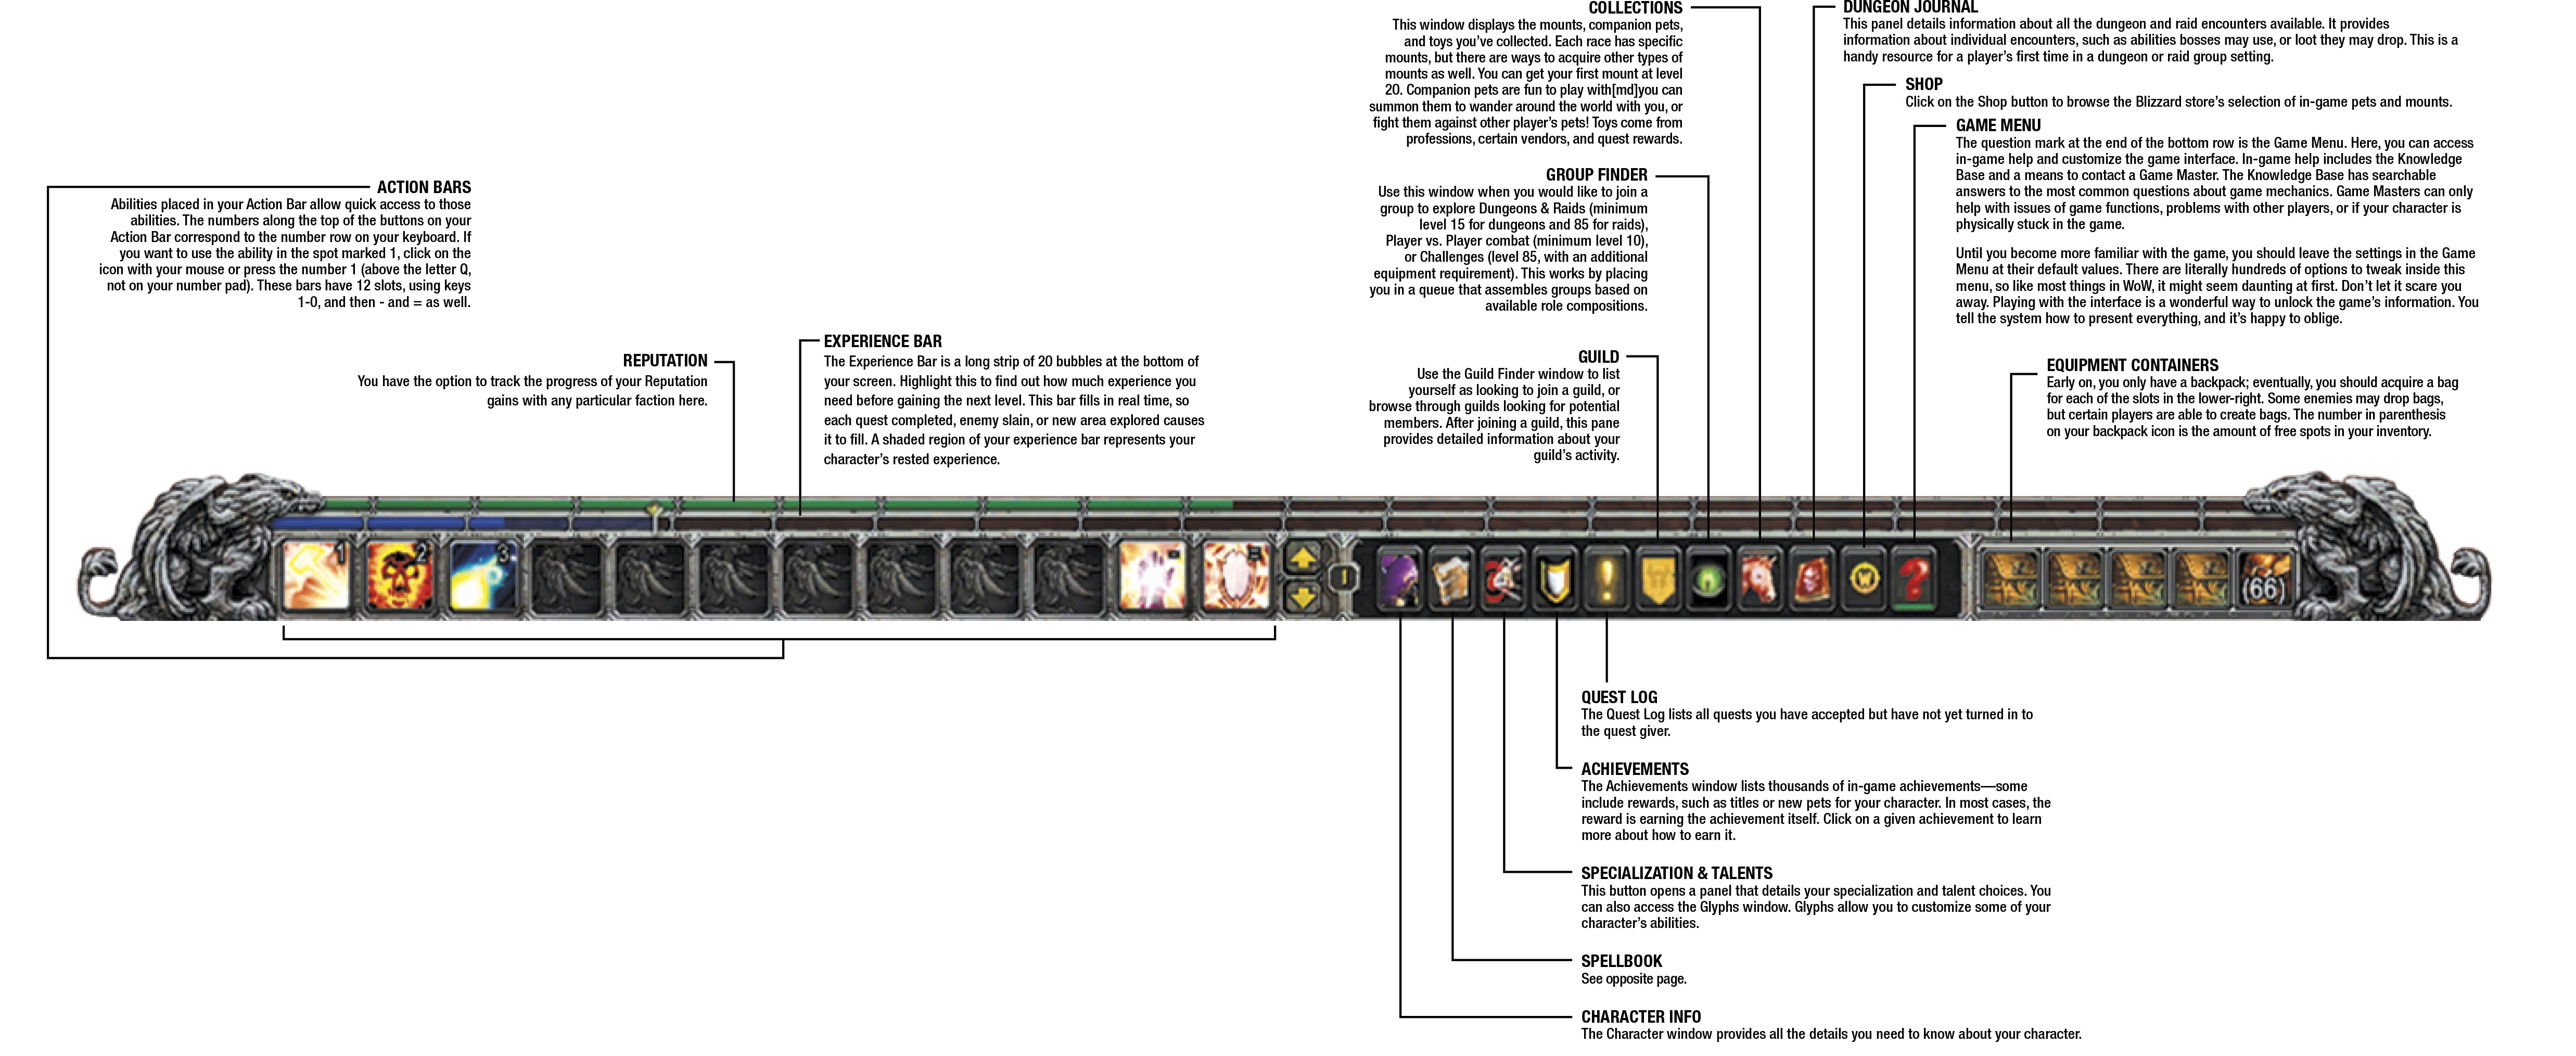
Interface Bar
Opening and Closing Windows
To open a window, click on the button associated with that window or use the shortcut key. Hover over a button and look for the letter in parenthesis to find out its shortcut key. Press the same button or key to close a window that was previously opened.
You can have multiple windows open at once, and if you want to close everything at the same time, just hit Esc.
Rested
Spellbook & Abilities
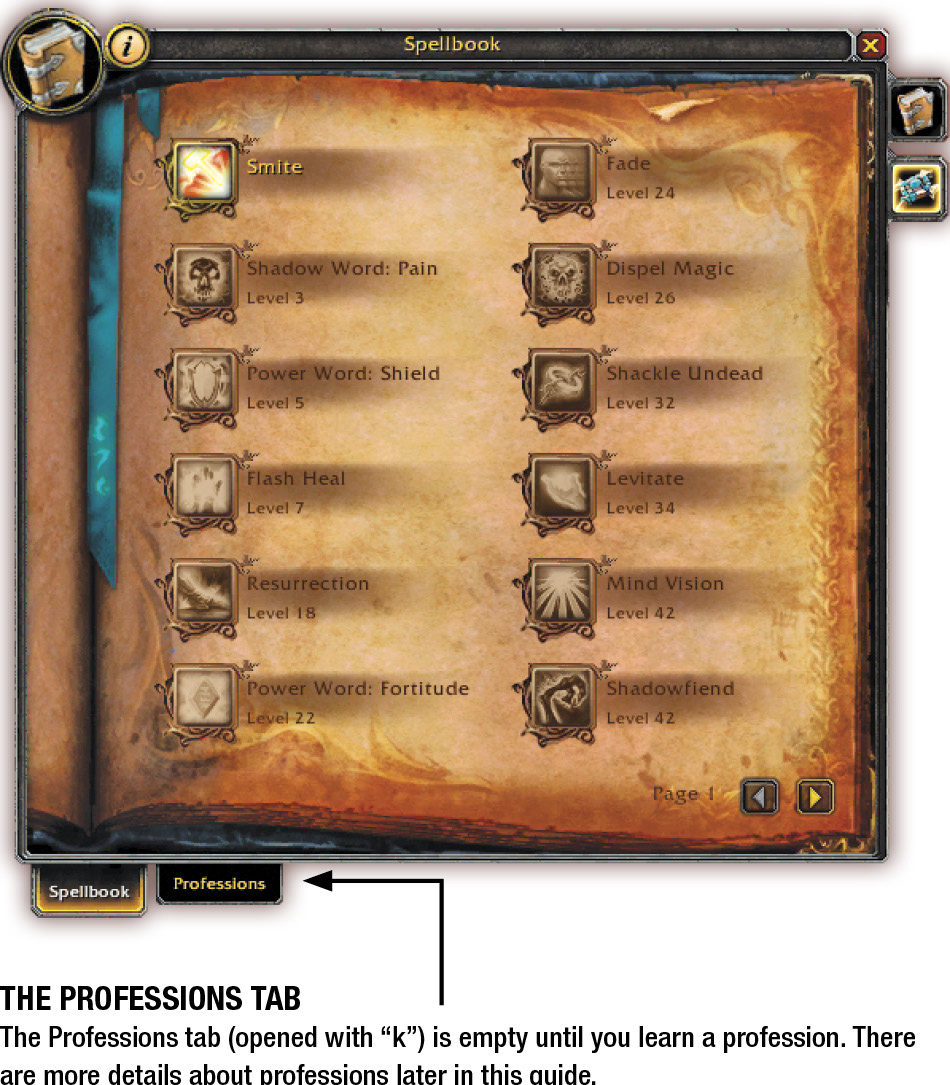
Your Spellbook (opened with “p”) lists all the spells and abilities that your character has acquired, along with ones that will be available as your character gains levels. The Spellbook has various tabs that organize your spells by type. When you start the game, all your character’s active spells are already in your Action Bar. When characters reach level 10 and can select a specialization, the icons for each specialization appear on the Spellbook.
A Few Words About In-Game Money
Copper coins are indicated with  or C.
or C.
Silver coins are indicated with  or S.
or S.
Gold coins are indicated with  or G.
or G.
100 copper = 1 silver
100 silver = 1 gold
Character Information
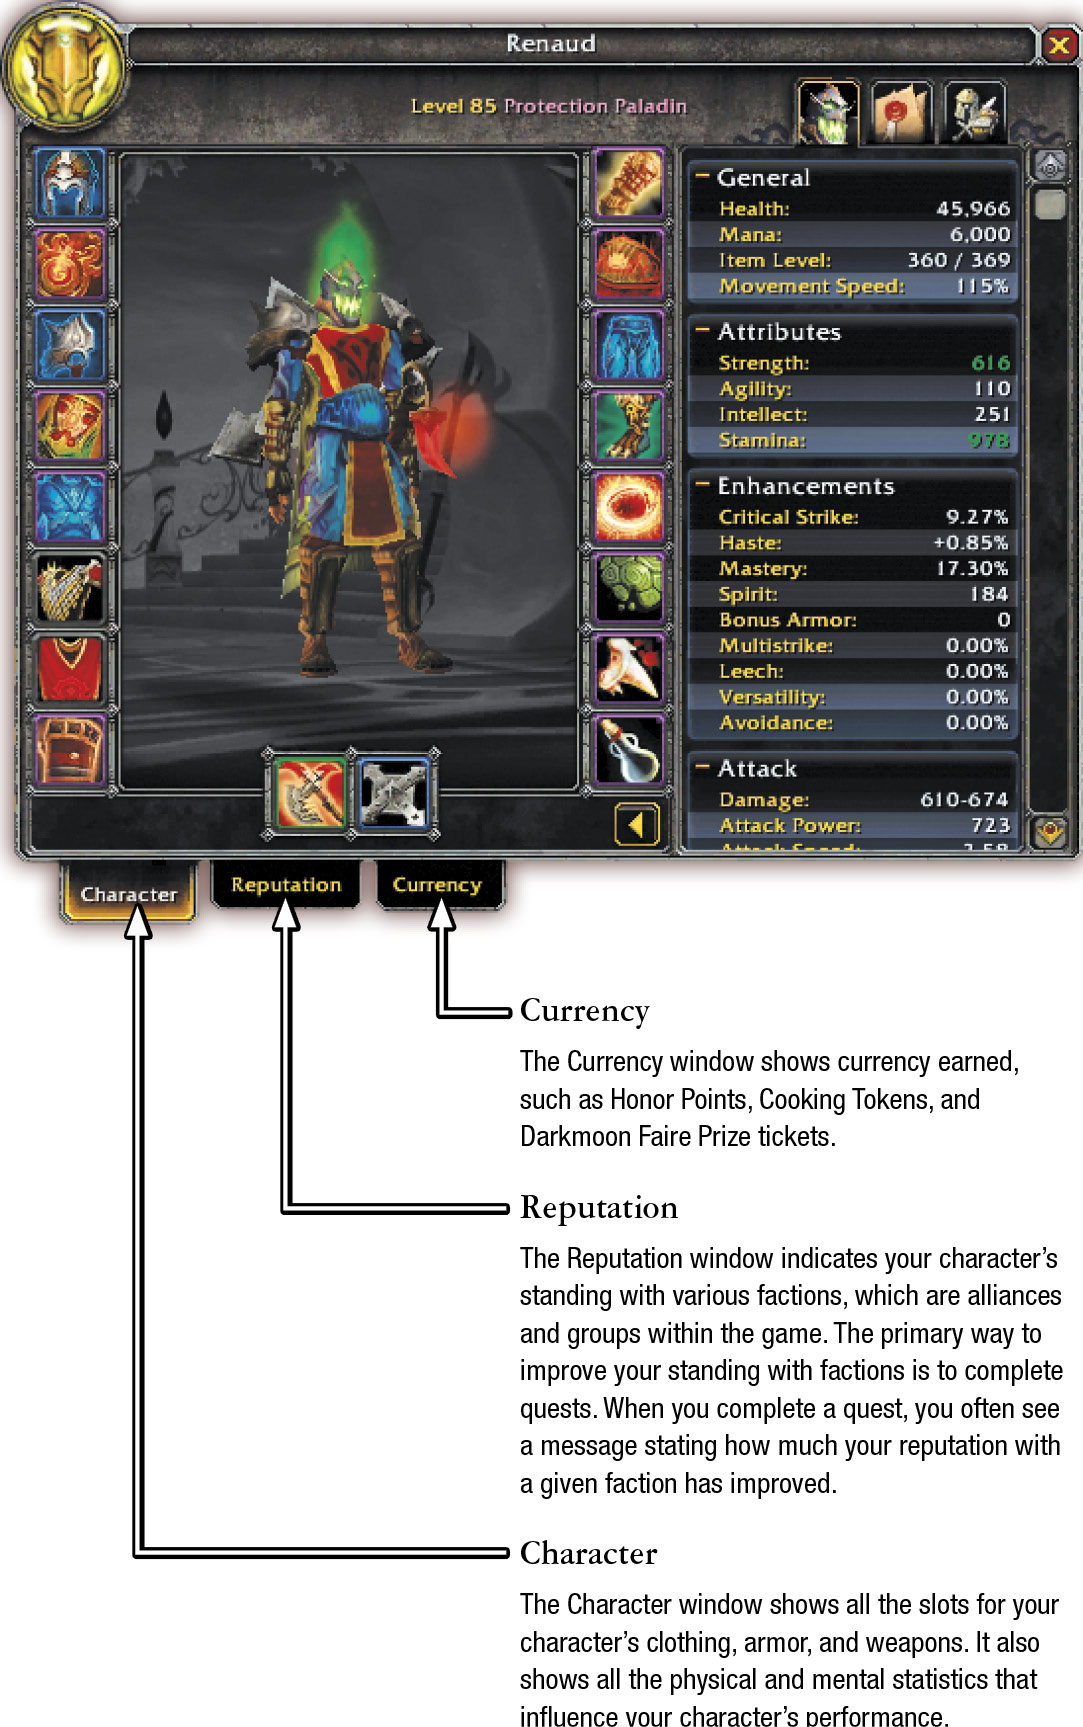
The Character window has two tabs initially: Character and Reputation. A third tab, Currency, appears after your character earns one of the types of currency tracked in game. Some classes, notably Warlocks and Hunters, have a Pets tab that provides important information about their active pet.
Click the yellow arrow in the bottom-right corner of your character window to display detailed information about your character. It’s amazing how much there is to take in at first. Luckily, you don’t need to understand all of it yet. Your character has what they need to kick monsters around. What each stat does and what you need to maximize isn’t important until you earn more levels.
However, some people are curious right off the bat. If you want to understand more, here’s a head’s up about some of your character’s basic stats.
Statistic Definitions
|
Category |
How This Affects Your Character |
|---|---|
| Health | How much damage you can take before dying |
| Resource | Your character’s resource (energy, mana, rage, etc.) |
| Item Level | Item Level |
| Movement Speed | Displays your character’s travel speeds |
| Strength | Raises Attack Power (for some classes) |
| Agility | Raises Attack Power (for some classes) |
| Intellect | Raises mana and spell damage (if applicable) |
| Stamina | Increases health |
| Critical Strike | Improves your odds of extra effective attacks or healing |
| Haste | Influences Attack and Casting Speed |
| Mastery | Improves talent bonuses |
| Spirit | Controls mana regeneration |
| Bonus Armor | Reduces physical damage (requires Tank specializations) |
| Multistrike | Grants a chance for bonus damage or healing |
| Leech | Restores a portion of your damage and healing done as health to you |
| Versatility | Versatility increases your damage, healing, and absorbs, and reduces the damage you take |
| Avoidance | Reduces the damage taken by area-of-effect abilities |