
World of Warcraft: Warlords of Draenor Signature Series Strategy Guide Introduction
Player Vs. Enemy Combat
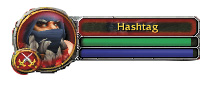
Explore the area around your character and drag your mouse cursor over the different creatures. Look near the screen’s bottom-right corner for a small information box to appear. Enemies appear in red text (not green like a friendly NPC, or yellow like a neutral one). Some neutral targets can be attacked, but they won’t fight until you go after them. Enemies are aggressive; they go after you if you get too close! Be ready to defend yourself.
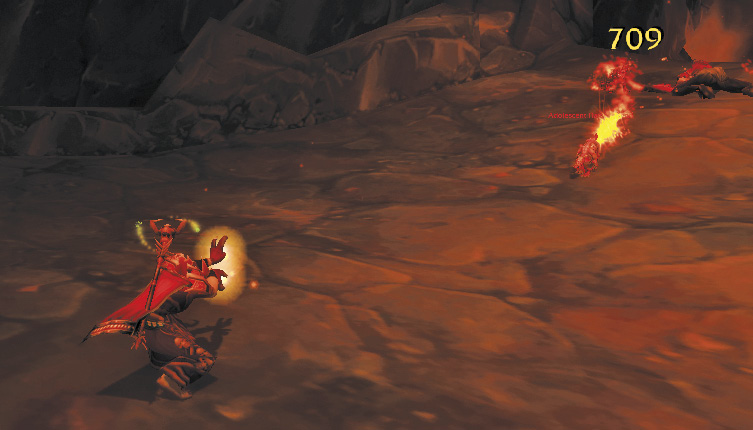
When you choose to fight a creature, your character is considered “in combat.” In combat means you are actively targeting, or the target of, an enemy. It’s easy to tell when you’re in combat, as your character portrait flashes red and your level numbers change to crossed swords. Being in combat means you are unable to perform some actions, such as eating and drinking.
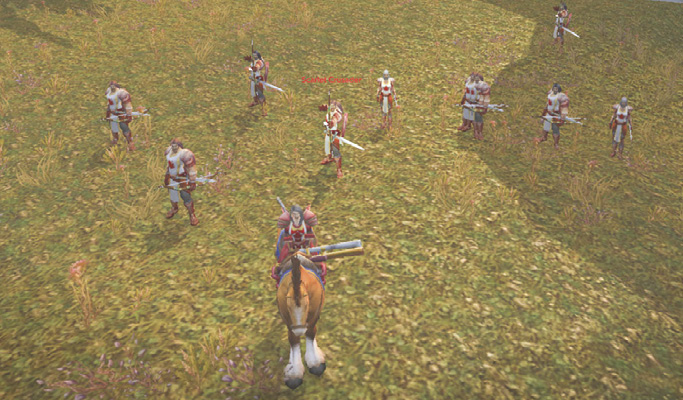
A Different Way to Choose a Target
Abilities and Spells
It’s fun to watch a fight unfold, but you must pay attention to more than the action in front of you. During combat, watch for opportunities to use spells or abilities that might trigger at one time or another. Gauge your health and your resources well to know when to unload on a target, when to give up and run, and how it’s all going to develop.
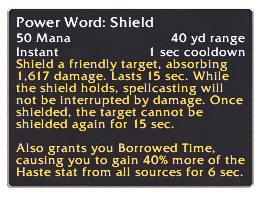
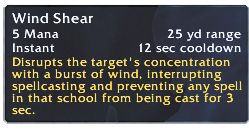
Each character begins with a handful of abilities that vary with the class and race selected. These initial abilities appear on your Action Bar, so they are easy to access. Highlight the icons on the Action Bar (or in your spellbook) with your mouse. This opens a tooltip that provides more information about the ability. Read the panel to discover more about any of your abilities.
Passive Abilities
Get used to your abilities by using them, even if you’re unsure of their value at first. Don’t be skittish and worry about whether you’re doing things perfectly. Try out things and see how they feel and what they accomplish. The following helps you understand the information provided in the tooltips and what it means to you and your character.
Ability Terms
If you’re not sure what an ability does or when to use it, the following terms may help. The same terms also apply to abilities that are used during a battle.
|
Common Term |
Definition |
|---|---|
| Aggro/Threat | Refers to managing an enemy’s attention, either increasing or reducing a monster’s attention toward a character (only applies to groups or heroes with pets). |
| Resist/Resistance | These effects make it harder for certain spells and abilities to fully damage their target. |
| Immune/Immunity | These effects provide full immunity to a given damage type. |
| Fear | These abilities cause a target to run around chaotically; the effect may not break even if the victim takes damage. |
| Daze | These abilities slow victims, making them wander aimlessly for a brief time. |
| Stun | An ability that prevents the target from taking any action. |
| Root/Snare | Abilities that immobilize the victim; though the target cannot move, they can still fight or use abilities. |
| Interrupt | An ability that stops an enemy spell from completing. |
| Area of Effect (AoE) | Something that has an effect over a wider area, influencing multiple targets within that zone of effect. |
| Curse/Disease/Poison | Debuffs that damage a target in certain ways; these can often be Dispelled or otherwise removed. |
| Damage over Time (DoT) | An ability that inflicts an amount of health damage for a certain number of seconds. |
| Heal | Abilities that restore lost health. |
| Heal over Time (HoT) | These abilities restore health every tick (duration between ticks is defined by the ability). |
| Aspects | Buffs that enhance players or groups for an extended period of time. |
| Polymorph | Changes targets into helpless animals for a long time. This effect breaks if the target takes damage. |
| Sap | Knocks out a target for a long time. This breaks if the target takes damage. |
| Shield | The ability absorbs damage, preventing the target from losing health as quickly in a fight. |
More About Daze
Knowing how abilities work can help you put together a plan of defense when facing enemies. For example, if you have some sort of stun or interrupt, you can keep an enemy from hitting you with a powerful spell or healing itself.
Action Bars
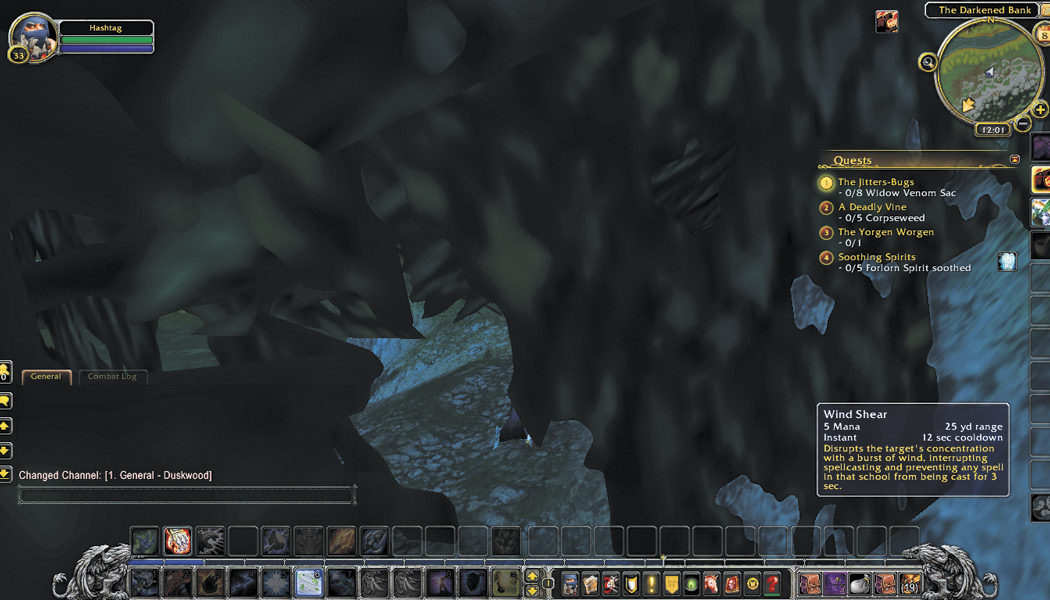
Your Action Bar appears at the bottom of the screen. Your Action Bars are the most efficient way to access your character’s spells and abilities. At low levels, you won’t have many abilities here, but that will change as you get further into the game.
All players have six Action Bars. You can shuffle through your Action Bars in two ways: first, press and hold the Shift key, then press any number between 1 and 6; second, click on the up and down arrows to the right of the button marked with the equals sign (=). The number in the small circle next to the arrows tells you which Action Bar is currently active.
Be logical about the way you set up your Action Bars. It makes a huge difference in your combat effectiveness. It’s a bad sign if you find that you must switch Actions Bars often in a regular fight. By the same token, you don’t want to shift between numbers too dramatically. This is easier to show with an example or two.
Clicking Versus Typing
People with a good Action Bar setup are much faster on the draw. They are using an ability every 1.5 seconds (that’s normally the cap on how quickly you can use your abilities). If your character is auto-attacking while you fish around for something to do, that’s bad!
Don’t be upset with yourself if this takes time to learn. Instead, attempt to find a setup that makes sense to you. As your speed improves, congratulate yourself and think about how much deadlier your character is becoming.
More Information About Abilities
Casting Time
Every spell or attack has a casting time; this tells you how much time your character needs to make the attack. Instant abilities happen as soon as you press the appropriate button. Timed castings can take several seconds, leaving your caster exposed for the entire process. Characters that are casting spells cannot move to defend themselves. They stop making any auto-attacks, and they can’t use other spells.
Some enemies (including other characters) have abilities to stop spellcasters if used with the proper timing. In addition, damage can set a caster back, forcing them to take more time to perform their spell.
Channeled spells take time as well, but they’re a different breed. These start to take effect quickly, but the spellcaster must maintain the magic for its effects to continue. As with timed spells, these effects can be interrupted. Damage doesn’t set them back; instead, it sets channeled spells forward, causing them to end prematurely.
Casters often find ways to earn time for themselves to cast spells. They slow enemies, force them to run away, or otherwise make it hard to engage in melee combat while they are busy.
Cooldowns
The Action Bar tooltips also indicate the cooldown times of your various spells and abilities. Cooldown is the amount of time you must wait to use an ability again. Once an ability is used, the Action Bar shortcut darkens that action until it’s ready to be used again. This graphic representation is important because it illustrates what you can do at any given moment.
Cooldowns are represented visually on your Action Bar icons as a clockwise-moving line that travels like a stop watch. When you can’t cast a spell due to a cooldown, the game tells you, “That spell isn’t ready yet.”
There is also a global cooldown that is triggered when most abilities are used. The global cooldown lasts 1.5 seconds (1 second if you’re a Rogue, Death Knight, Windwalker Monk, or Feral Druid). When you use an ability, watch almost every other slot darken as well. Anything that isn’t on the global cooldown is able to be used even when you’ve just finished a different action. These unlinked spells and abilities are often potent, reactive abilities that get you out of trouble without having to wait.
Some abilities have a shared cooldown beyond the global one. For example, Shaman Shocks trigger each other’s cooldowns, so you can’t blast someone with a different Shock every second and a half.
Categories of Abilities
All character classes have numerous types of abilities that fall into different categories. It’s almost impossible to know the exact effect of everything in the game. However, knowing the category of an ability and looking for key words in the text will provide clues as to how best to use that ability.
Schools of Magic
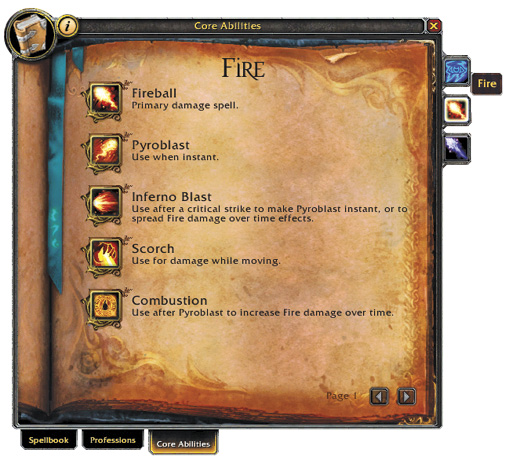
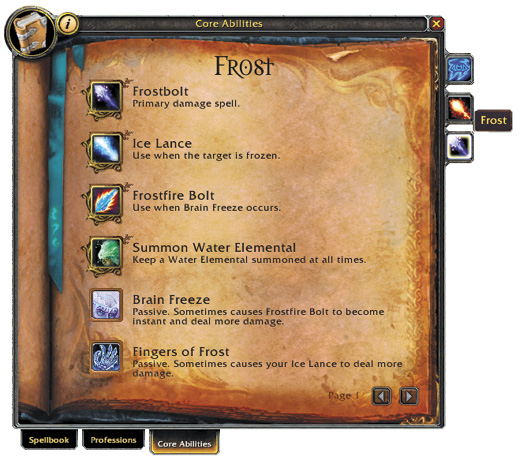
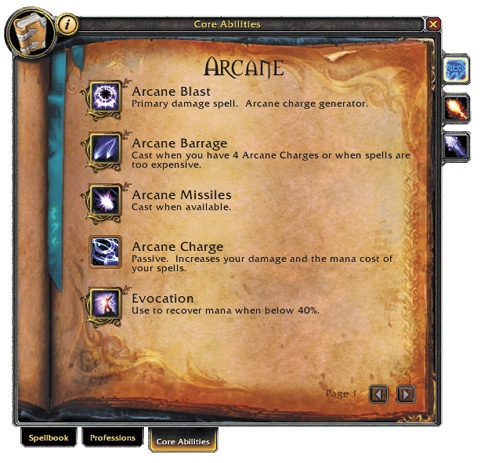
The schools of magic are Arcane, Fire, Frost, Holy, Nature, and Shadow. Some abilities that aren’t spells also inflict one of these types of damage. Different enemies are immune or highly resistant to different types of damage. No single school of magic is inherently more powerful than the others.
Most classes who can use spells have access to two or three schools of magic. However, until you gain access to specializations at level 10, all schools of magic are essentially equal.
Buffs and Debuffs
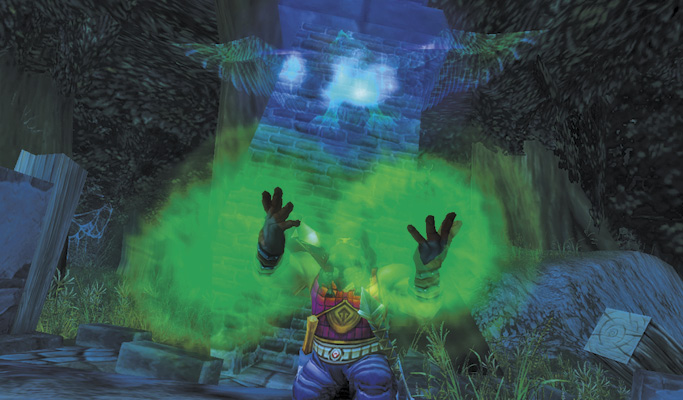
During combat, buffs and debuffs appear near your minimap. These are also shown underneath your character portrait if you highlight yourself.
Most classes have some sort of buff that they can cast on themselves, a weapon, or their group. You should cast those before combat begins and keep them going whenever possible. The cost of buffs is almost always trivial compared with the benefits they add.
During combat, you can be hit with debuffs from your enemies. Most debuffs have a short lifespan, and you may need to wait them out. Other debuffs can be countered by the right spell or item.
Many classes inflict their own debuffs on enemies. You might even be able to strip off buffs from enemies too, so these effects go both ways.
If you’re buffing group members, realize that you don’t need to click on individual people ahead of time. Cast the buff on one character in your party and everyone in your party should get it at the same time.
Fighting Adds
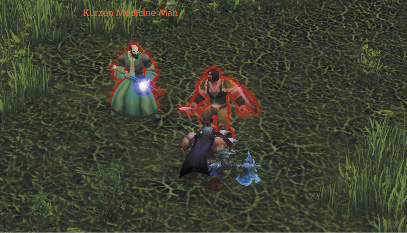
An “add” is an additional enemy that unexpectedly joins your fight. During the course of battle, there’s always a chance for adds to appear and complicate the fight. These additional enemies generally join battle for one of two reasons. First, some enemies try to run away when their health is nearly depleted. This is problematic because the enemy can run out of your attack range and possibly bring back friends. In other cases, you may be fighting too close to an enemy’s patrol path. If the enemy spots you, even if you’re already engaged in combat, it will join the fight.
There is a third and much rarer instance of adds joining the fight. Some powerful enemies have henchmen that may not join the fight immediately. Instead, the main enemy may wait until some portion of health is gone before calling in reinforcements. That’s why it pays to always stay alert in combat!
Pull monsters away from their buddies if you’re worried about adds. This is a safer way of fighting, but it takes more time. When you’re confident of victory, don’t bother doing this.
There are many ways to pull monsters. For a melee character, hit the monster, step back, hit them again, and repeat. You won’t miss auto-attacks by being on the run (as long as you’re facing your target), and your abilities are often usable on the fly as well.
For ranged characters, this is easier to do in one shot. Cast a spell at long range to start the fight. Next, run like the wind until you’re in the place where you’d like to fight them. Turn back around and resume casting.
Keep in mind that if you try to pull a monster too far, they’ll “tether” back to their starting point.
Running Away
Sometimes the writing is on the wall, and it says that you’re doomed. Perhaps another enemy joined the fight when you were already badly hurt. Maybe a monster was a tad more dangerous than you realized. Whatever the case, go ahead and run! If you’re by yourself, there is no shame in this. When you’re with others, let them know that you’re fleeing so that they don’t die in your stead.
Some classes are much better at this than others. If you get out of melee range, the monster can’t pound on your back during your flight. Also, monsters won’t have a chance to daze you! Getting dazed slows your character, giving monsters even more time to attack before they tether and return home.
Thus, use anything in your repertoire to stun a target or root them in place before starting to flee. Freeze them, hamstring the suckers, use fear effects. Do something. Anything!
Once in motion, watch the area ahead (don’t look back at the thing slavering behind you). Try to avoid other targets during your flight; otherwise, you’re just making things worse for yourself.
Finally, try not to run through other people when evacuating. Pulling monsters through another person is called “training.” Nobody likes getting hit with a train, especially if they get killed or end up fighting creatures that aren’t worth experience because you tapped them.
Eating and Drinking
Between battles, you may need to replenish your health or mana. Eating food replenishes your green health bar. Drinking beverages replenishes your mana bar (if you have one). Both health and mana regenerate naturally, but eating and drinking restore your character much faster.
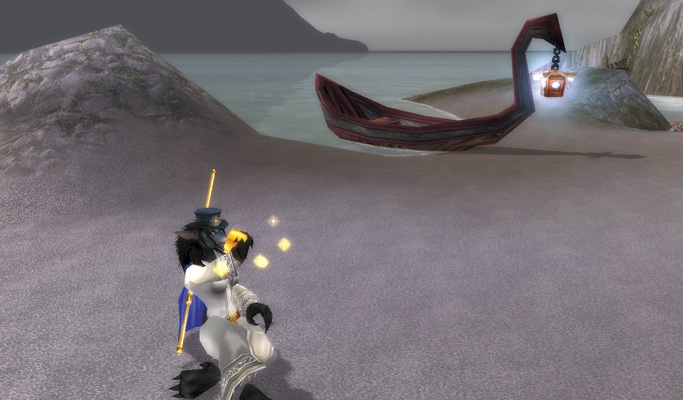
The regeneration rates for both of these resources have risen recently, and there is less downtime than before. You can move between most fights with little delay.
Right-click on any food or drink that you want to use. Note that these items (and any other usable item) can be dragged onto the bar at the bottom of the screen. This makes the items more available in the future, lowering the time spent looking through your bags.
Well Fed Bonus
Some food and drink provides a “Well Fed” buff if you consume them over an extended (and uninterrupted) time. Low-level food that conveys the Well Fed buff lasts for 15 minutes, while high-level food buffs last for 60 minutes. Well Fed bonuses affect one or more of your character’s stats, such as Stamina, Strength, or Hit. To see if a food provides a bonus, and to discover its benefit, place your mouse pointer over the food’s icon until a tooltip appears.
Dying
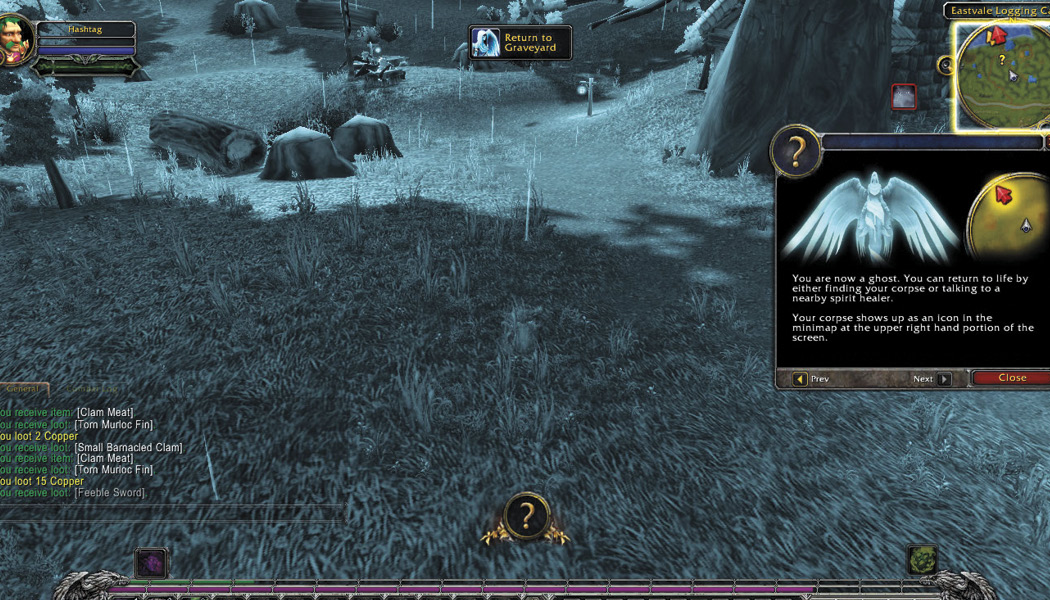
This won’t be on your list of things to do, but at some point your character’s health bar will reach zero, and they will die. It might happen because you forgot to refresh your health bar between battles; you were attacked by multiple enemies simultaneously; or you attacked an enemy who was too tough for you.
It happens. Everybody dies. Sometimes more than once. Over and over again. The only penalty to dying is that your current armor suffers a 10% durability loss. Durability is essentially the health of your gear. When you take damage, die, or resurrect at the Spirit Healer, your gear slowly loses durability.
When you die, the Release Spirit box appears over your corpse. When you click this button, your character turns into spirit form and is transported to a graveyard with a Spirit Healer.
To reunite your spirit with your body, run back to your corpse, or ask the Spirit Healer to resurrect your body at its location. If you Accept resurrection, a 25% durability loss in your armor is suffered. At later levels, you also suffer resurrection sickness. Resurrection sickness depletes your character’s stats, making it nearly impossible to do anything in the game until the sickness disappears. When the debuff icon for resurrection sickness fades away, your stats return to normal.
Most of the time, you simply retrieve your corpse by running back to the location where you died. A new arrow appears on your minimap that indicates the exact location of your corpse. The second arrow that appears is to guide you back to the Spirit Healer. Fortunately, ghosts run faster than living characters.
When you reach the general location of your corpse, the option to “Resurrect Now?” is offered. There is a generous area for resurrecting, so that you can avoid any nearby enemies. You must retrieve your body from a safe place because characters resurrect with only 50% of health and mana bars. Eat and drink quickly to restore your health and mana.