
Mario Kart 7 (3DS) Guide Special Cup Rainbow Road
Time Trial

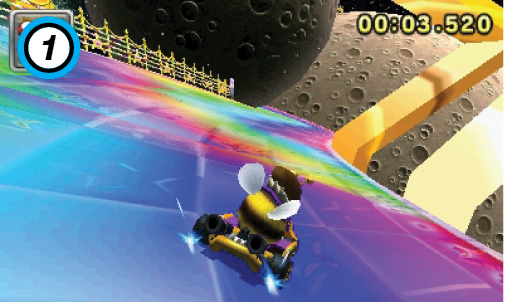
To earn a fast completion time, you’ll have to make the most of every turn. The track’s first curve has a fence along its outside edge, but you won’t find many more along this course. As you drift through each curve, try to stay near the track’s center. You won’t always be able to do so, but the effort should help you maintain control of your kart.
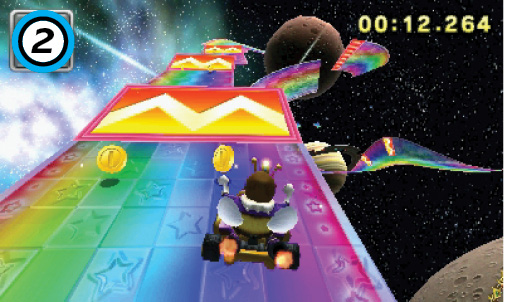
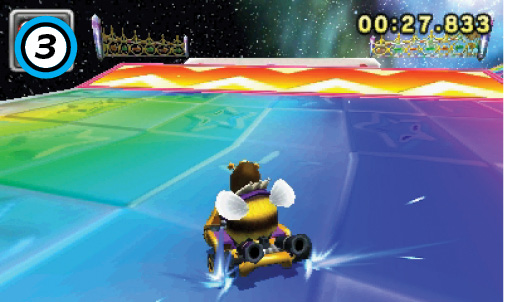
After the first dash panel, the track is broken into short segments. As you approach each dash panel, carefully aim your kart toward the next segment. Try to collect at least one of the coins from each segment, but focus on landing clean jumps. Remember to hop from the edge of each dash panel. When the track loops to the right, drift into the curve. Hold the drift through the entire loop as you drop down along the remaining segments.
Just after the loop, the track curves back to the left. Use a drift to stay near the path’s center, but straighten yourself out before you reach the next dash panel. Hop into the jump, then hop again when you bounce off the platform. If you hit the dash panel head-on, you should land safely on the next strip of track. Make a hard drift through the turn, then Super Mini-Turbo into the straightaway. Stay near the path’s center to collect a few more coins on your way to section 2.
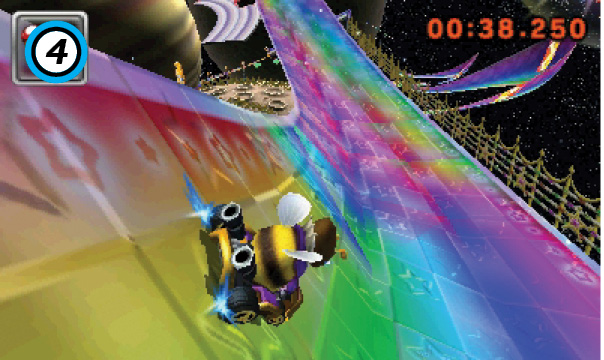
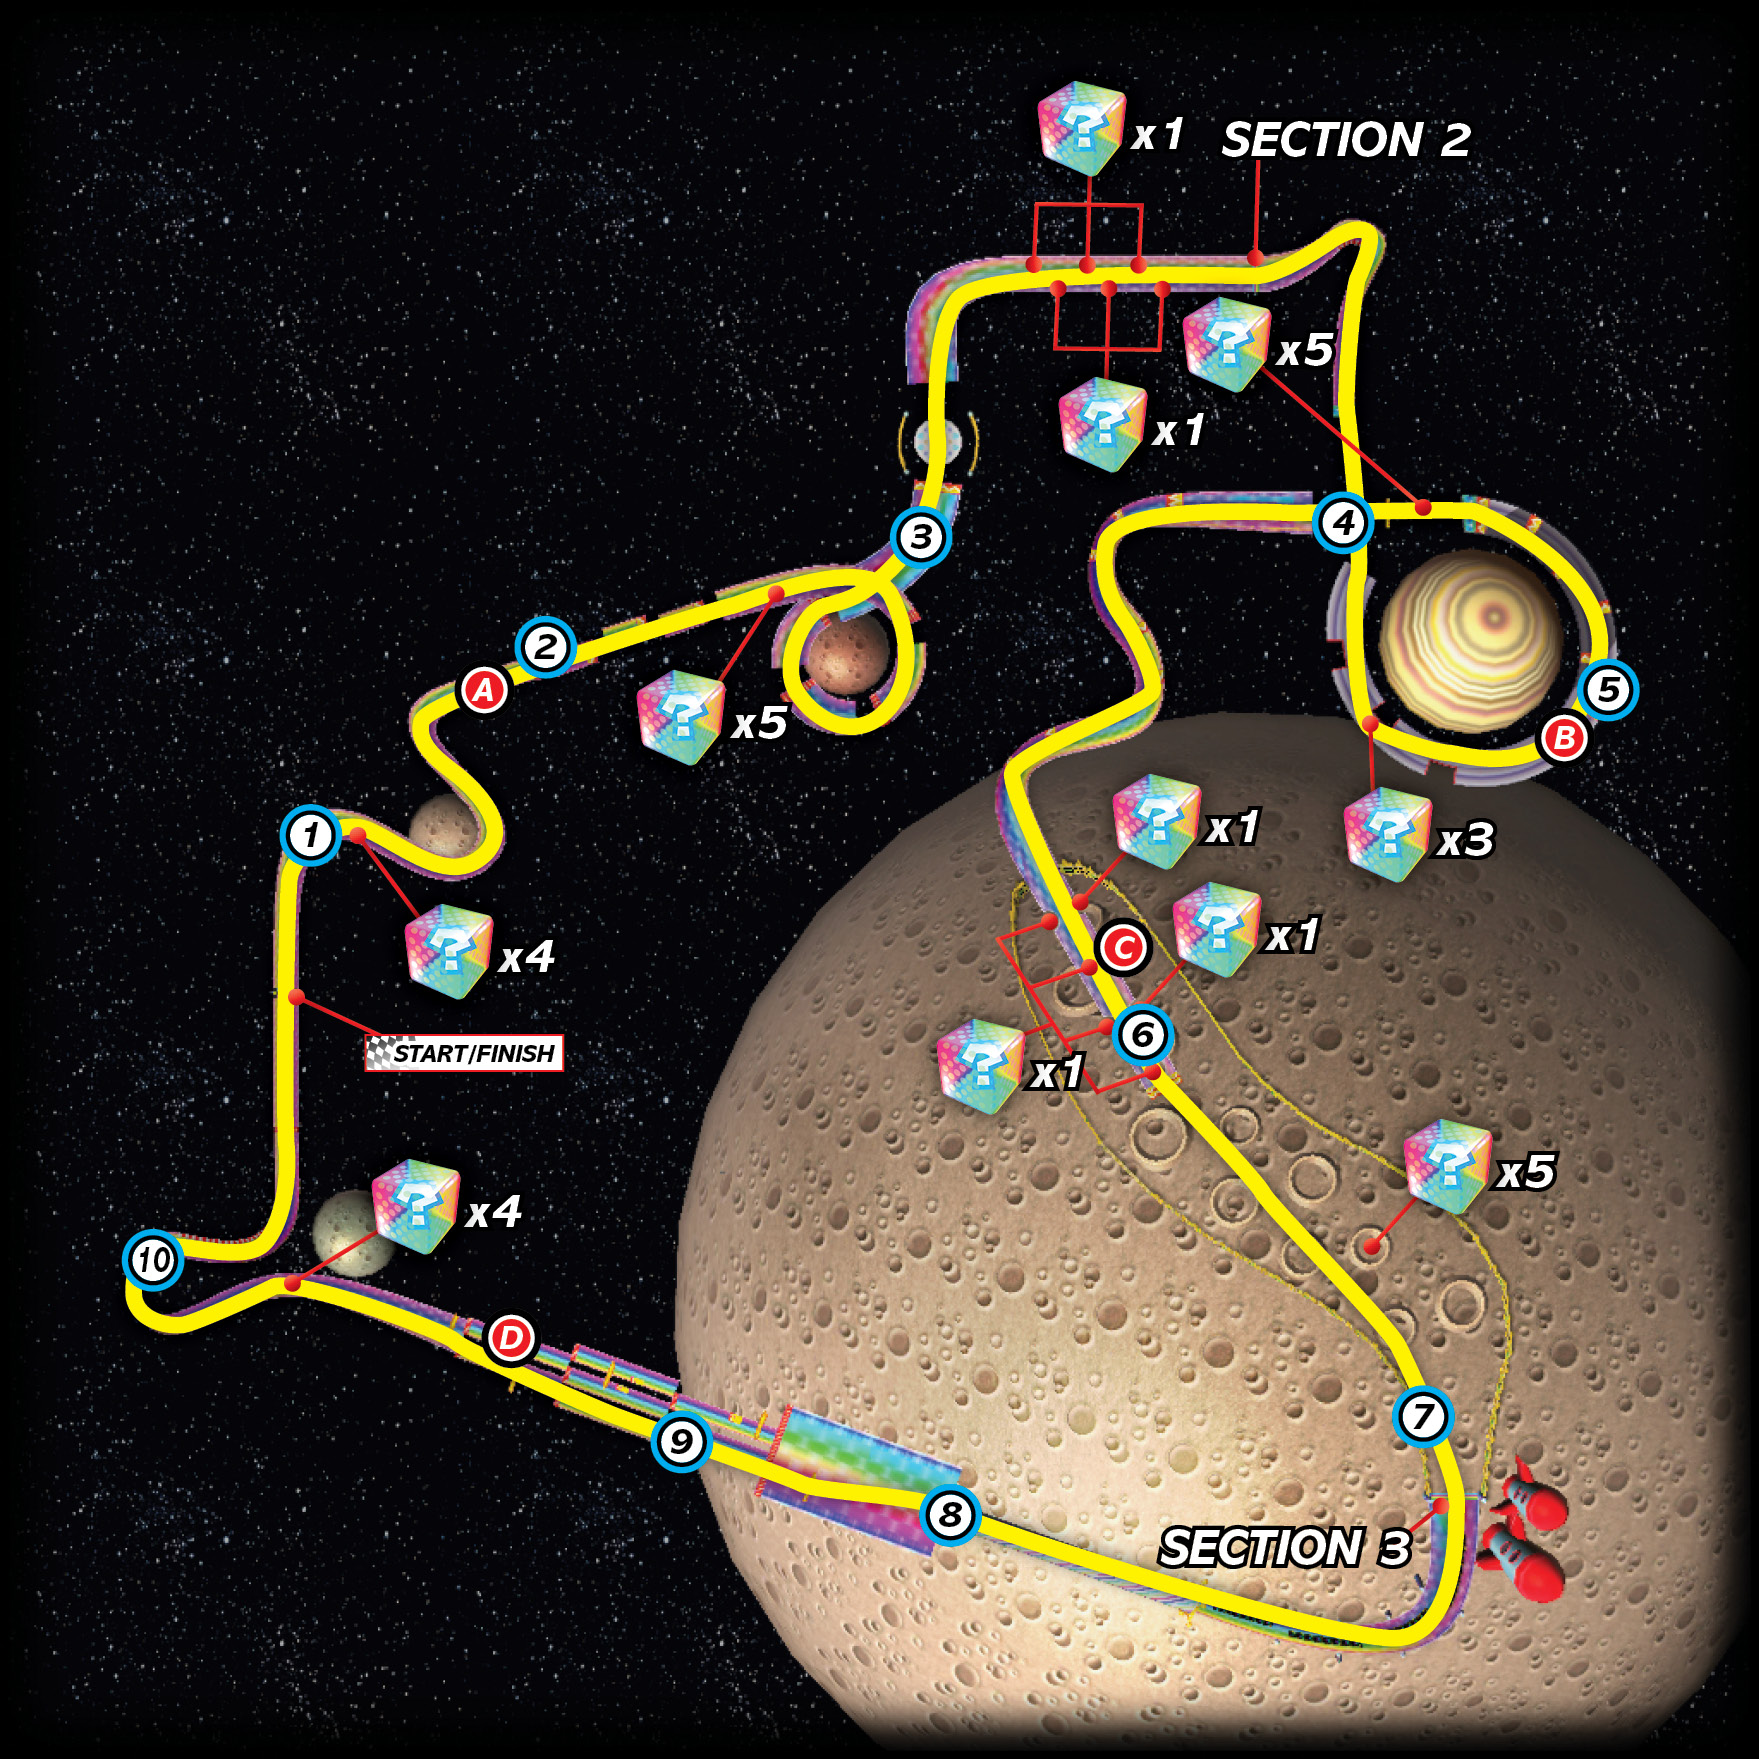
Section 2 starts with a very sharp banked turn. Make a hard drift to the right, and try to stay near the curve’s inside edge. As you exit the curve, your kart should slide onto the banked section. Steer hard to the left and release the drift. Try to use the Super Mini-Turbo to ease your way down from the banked section. If your kart slides down too quickly, you’re likely to slam into the fence on your right.
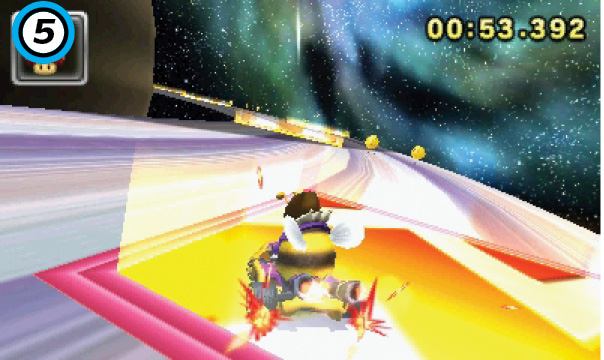
Hop from the glide panel at the track’s end, then glide down to the planetary ring. After you land, drift through the curve. Try to hold the drift along the entire ring, but mind the gaps on either side of you. When you reach the dash panels, stay near the path’s center to pass over each of them. When you spot the glide panel, straighten your kart and release the drift to perform a Super Mini-Turbo. Hop from the glide panel, then glide through the golden ring for an extra burst of speed.
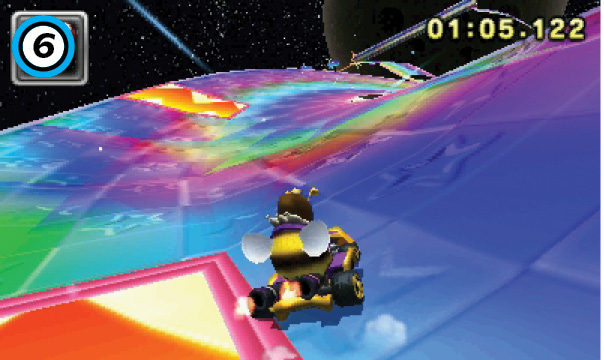
Glide down to the banked turns, then carefully drift through each of them. Stay near the track’s center, and try to pass over the edge of each dash panel. When you reach the straightaway, the track begins to ripple. As each wave passes under you, hop up to gain a jump boost. Avoid the holes along the path, then drop down from the end of the track.
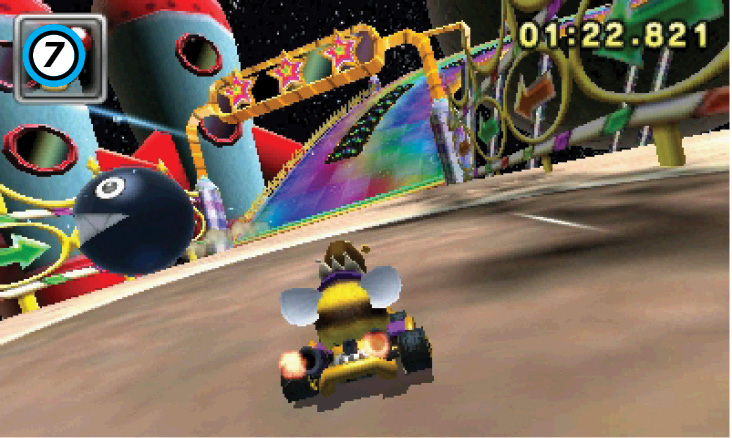
Even with the bouncing Chomps, the end of section 2 is one of Rainbow Road’s safest areas. Jump boost off of each crater in your path, and consider using a Mushroom on your way into section 3. Drive along the dash panels near the track’s center, then head into the spinning tube.
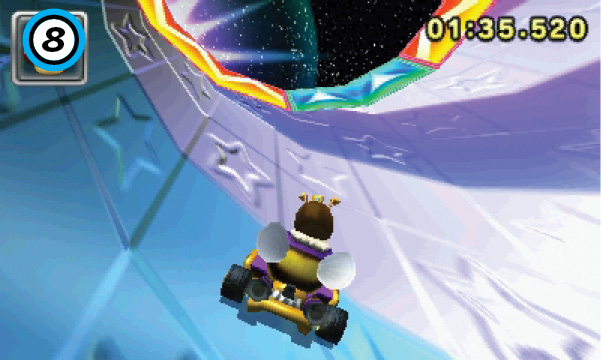
As you drive along the tube, take advantage of any dash panels that move into your path. Pay close attention to the dash panels lining the exit. As you approach, veer onto the nearest glide panel to deploy your glider.
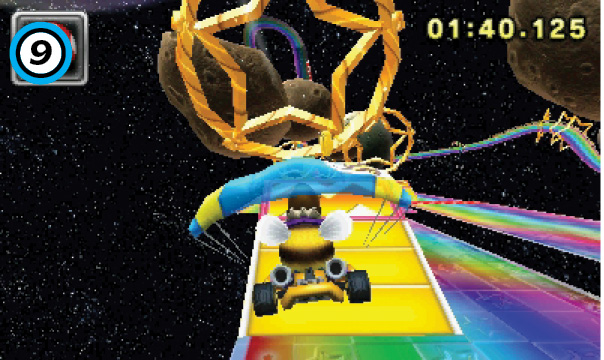
As you exit the tube, veer to the left and pass through the golden ring. Touch down on the ramp ahead of you, then use the dash panels to speed under the asteroids. The track narrows shortly after each ramp, so aim your jumps accordingly.
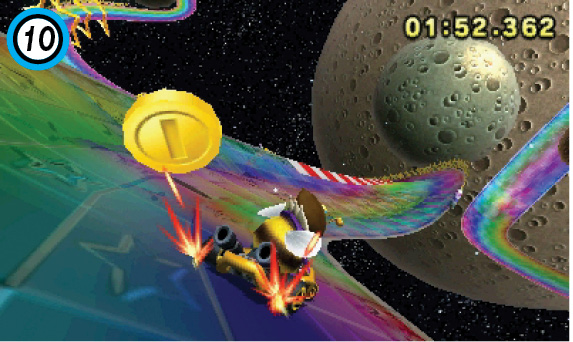
The final stretch contains one of the course’s most dangerous curves. If you still have a Mushroom, use it to boost up the steep incline. Drift through the coins in the track’s center, then Super Mini-Turbo out of the turn. The last curve’s outside edge is protected by a fence, so try not to hit it as you start your next drift. Release the drift as you come out of the turn, then Super Mini-Turbo toward the finish line.
Alternate Tactics
If section 3 is giving you trouble, consider extending your glide as long as possible. Cut across the track to hit every golden ring; the extra speed should keep you in the air until you reach the final stretch.