
Mario Kart 7 (3DS) Guide Special Cup Bowsers Castle
Time Trial
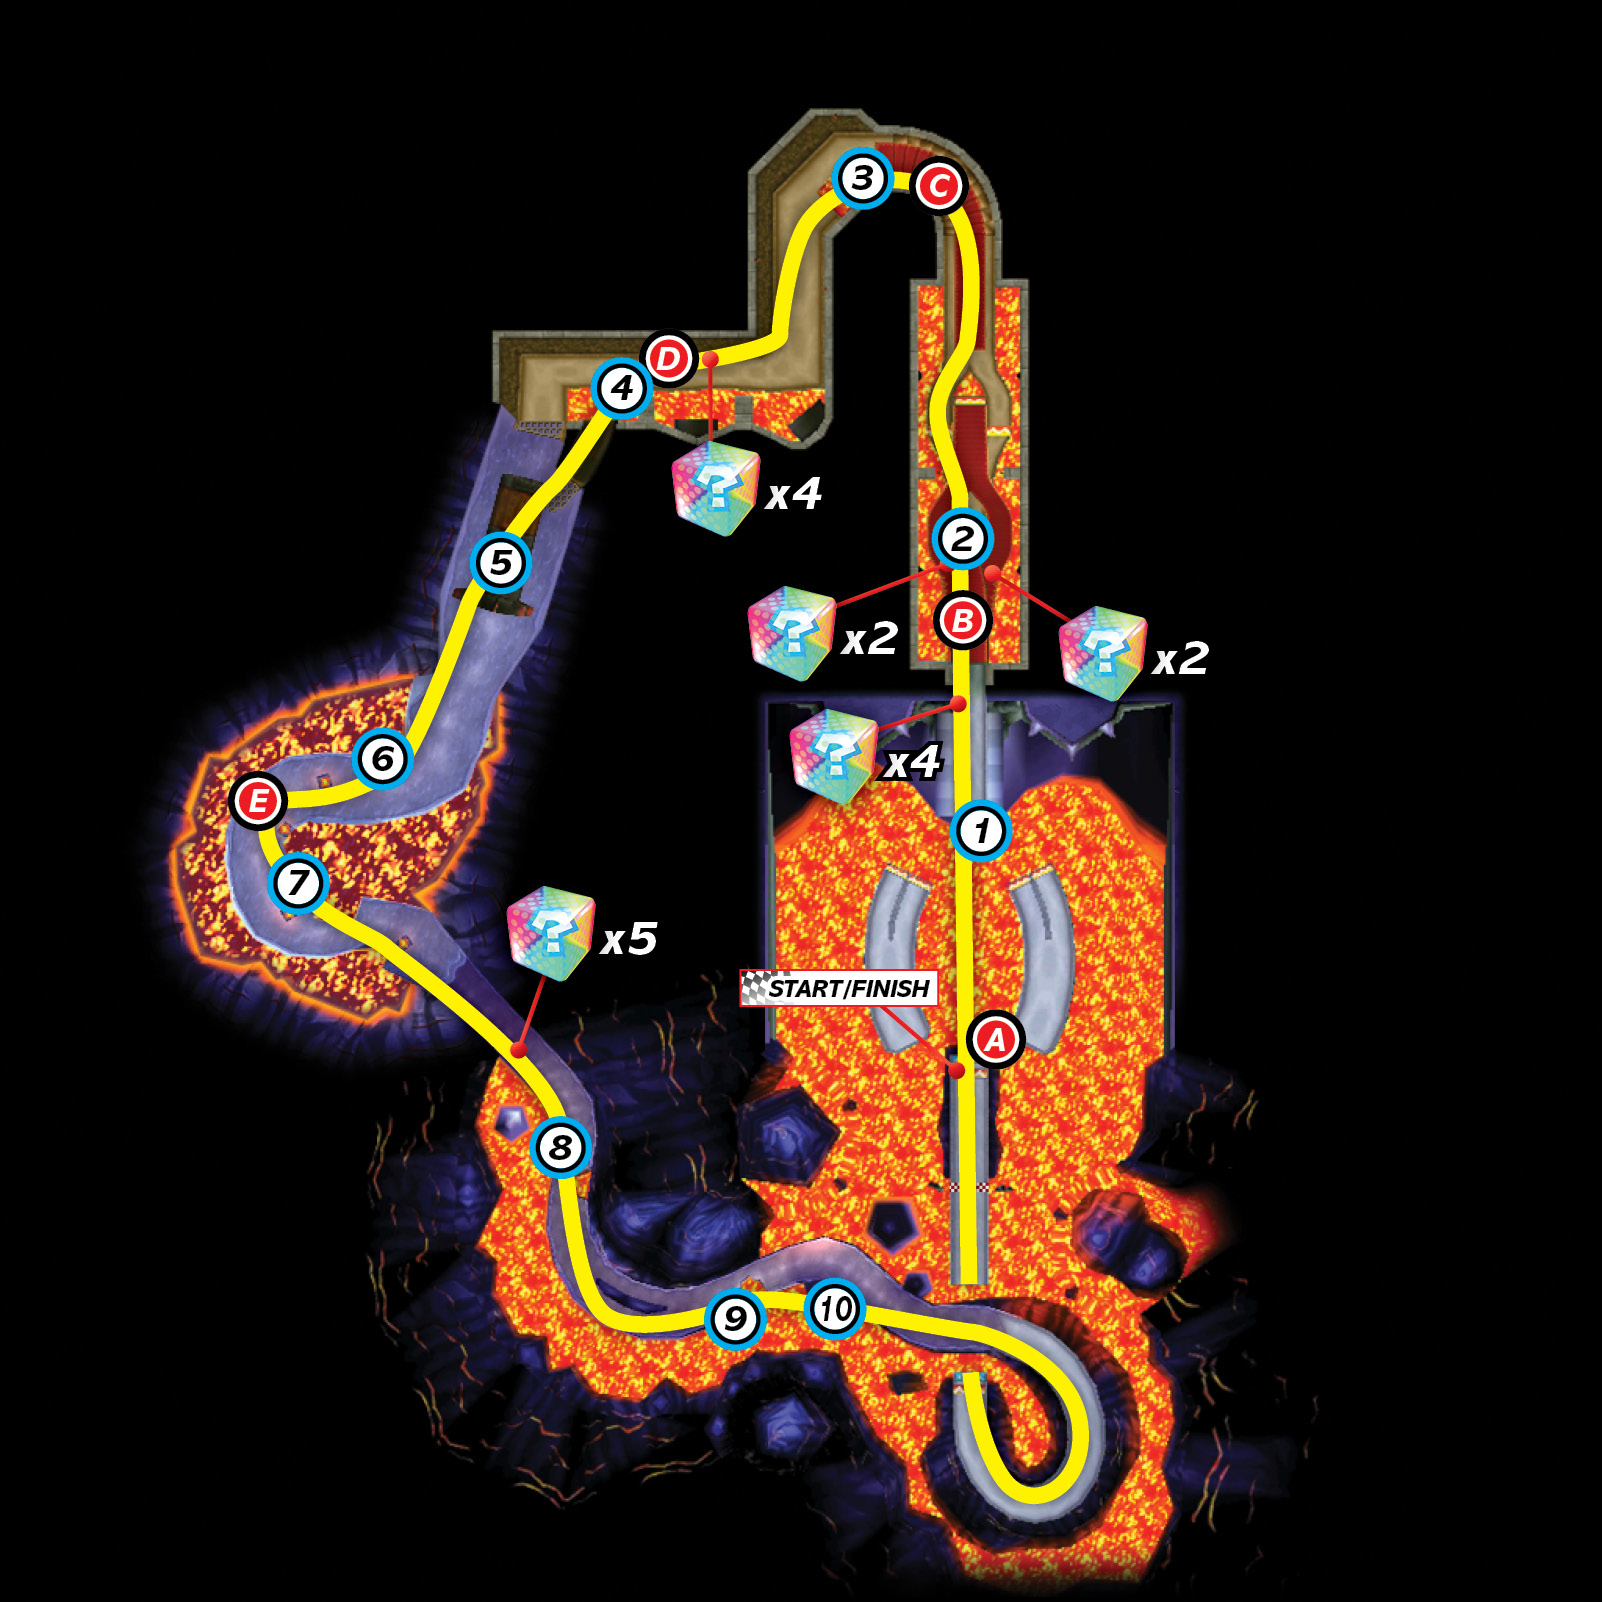
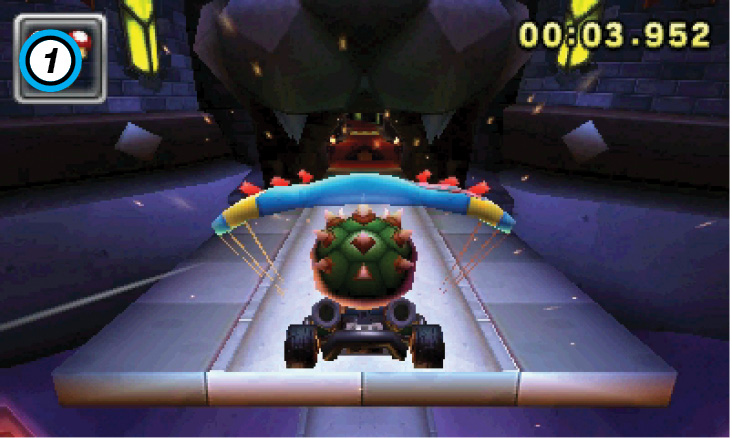
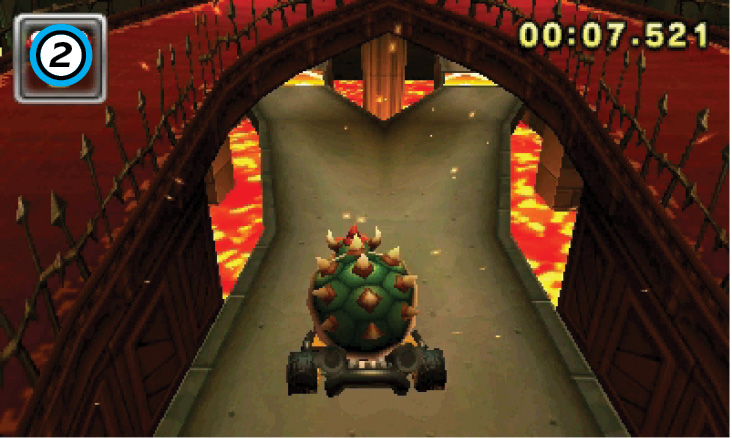
There’s a glide panel at the start of the lap. Hop into the jump for an extra burst of speed, then glide straight for the castle entrance. Touch down on the upper level, then follow the path inside.
The track splits on the lower level; veer toward either path as you drop through the hole. Take care to stay on the track as you drive over the dash panel! When the boost wears off, make a hard drift to the left and follow the spiral staircase around the curve. Try to stay near the wall on your left until you reach the top of the stairs.
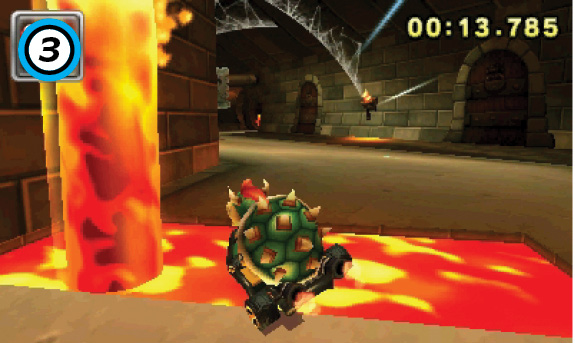
As you turn the corner, hold the drift to line your kart up with the ramp near the left wall. There are two lava plumes that erupt just past the ramp. The one nearest the wall should appear as you approach, so veer slightly to the right before you release your drift. Drive across the ramp, and hop into the jump for an additional boost when you land. Dodge around the first Thwomp, then make a hard drift through the right turn.
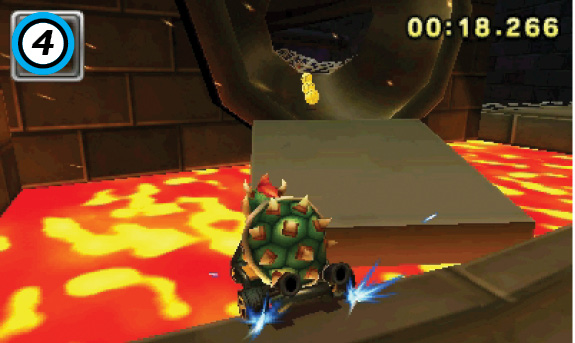
The second Thwomp is at the hall’s end. Stay near the path’s center as you approach the Thwomp, and look for the ramp coming up on your left. Drift onto the ramp, then Mini-Turbo through the coins in front of you.
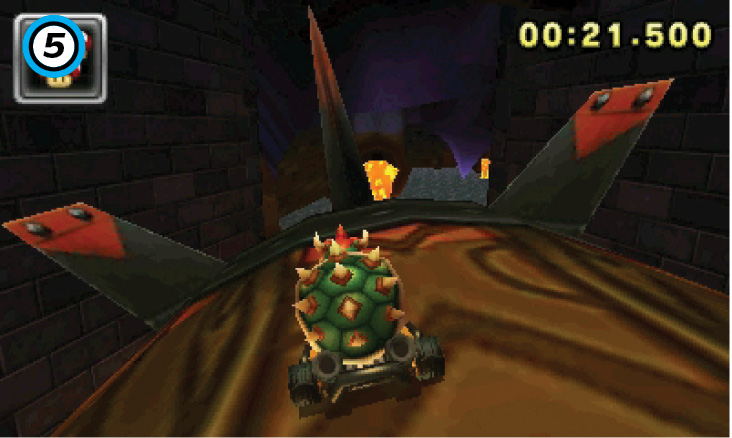
After you exit the tunnel, hop onto the large paddle wheel. The paddle wheel is spinning, so adjust your angle to avoid falling off. Drive through one of the gaps between the paddles and drop into the water.
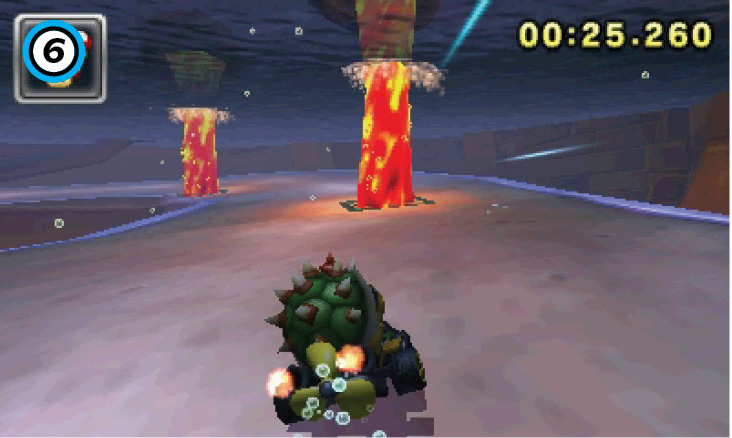
The path curves to the right just after you land, so start your drift immediately. Aim for the gap between the first two lava streams, then release the drift to Mini-Turbo toward it. As you pass the lava stream on your right, initiate a drift to the left.
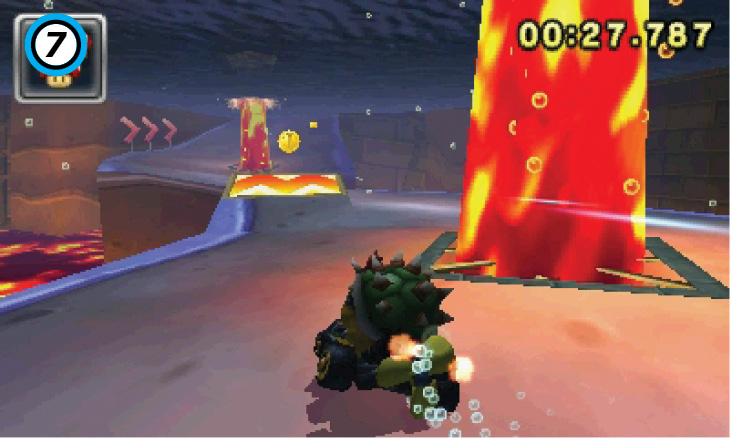
Drift around the second lava stream and move toward the curve’s inside edge. Line your kart up with the dash panel ahead of you. Try to grab the coin at the ramp’s top, but make sure you’re lined up for a proper jump. You want to pass just to the right of the last lava stream—you don’t have much room to land, so a proper approach is crucial. Remember to hop into the jump!
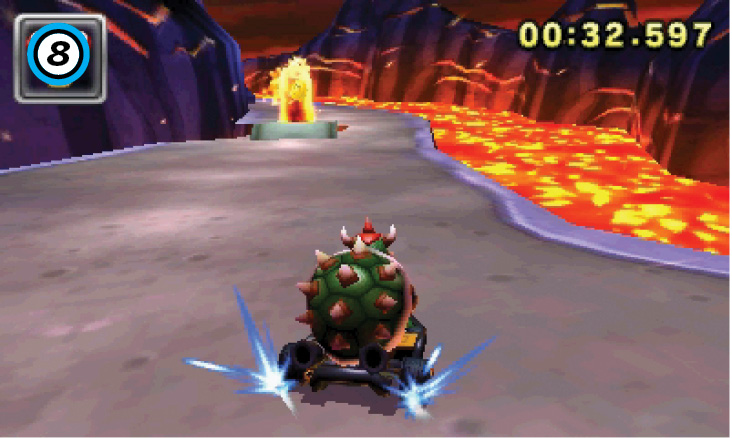
Follow the path out of the water, and look for the small ramp coming up on the left. The nearby lava plume might prevent you from collecting the coin, but you can safely perform a jump boost if you stay near the ramp’s edge. When you land, stay near the track’s right edge and drift through the curve.
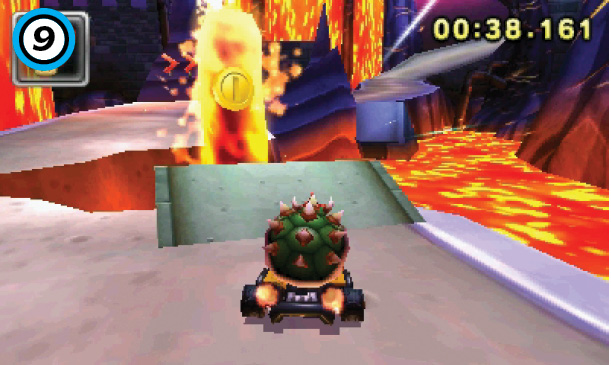
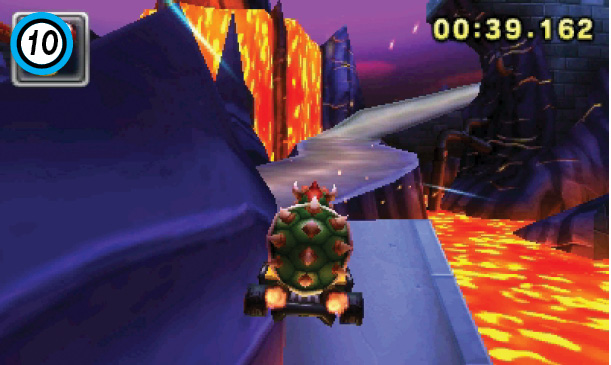
The upcoming shortcut is risky, but it’s well worth taking! As you come out of the curve, move to the path’s center, then veer back to the right. There’s a ramp just ahead of you and another ramp across the lava. Line your kart up with both ramps, then use a Mushroom to boost between the ramps and back up to the track. Hop from the top of each ramp to help ensure you clear both gaps. When you land on the track, make a hard drift to the right to avoid falling off. Follow the path around the curve and across the glide panel, then glide through the end of the lap.
Tactics for Laps 2 and 3
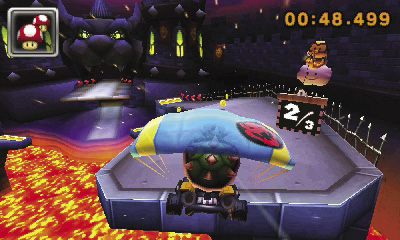
After you complete the first lap, glide over to one of the platforms on either side of the track. Grab the coins from the platform, then use one of the dash panels to jump to the castle entrance. On lap 3, collect the coins from the other platform.
Use the same basic tactics, but adjust your racing line to avoid the Thwomps and lava plumes as needed.