Batman: Arkham Knight Guide Story Mode
Chapter 8: Crippled by Fear
The Chapter at a GlanceOBJECTIVES
NEW AR CHALLENGES None AVAILABLE SIDE MISSIONS Riddler’s Revenge |
 Collect the Remote Electrical Charge
 Track the SWAT Radio Signal
 Destroy the Arkham Knight’s Excavator
 Confront and Apprehend Scarecrow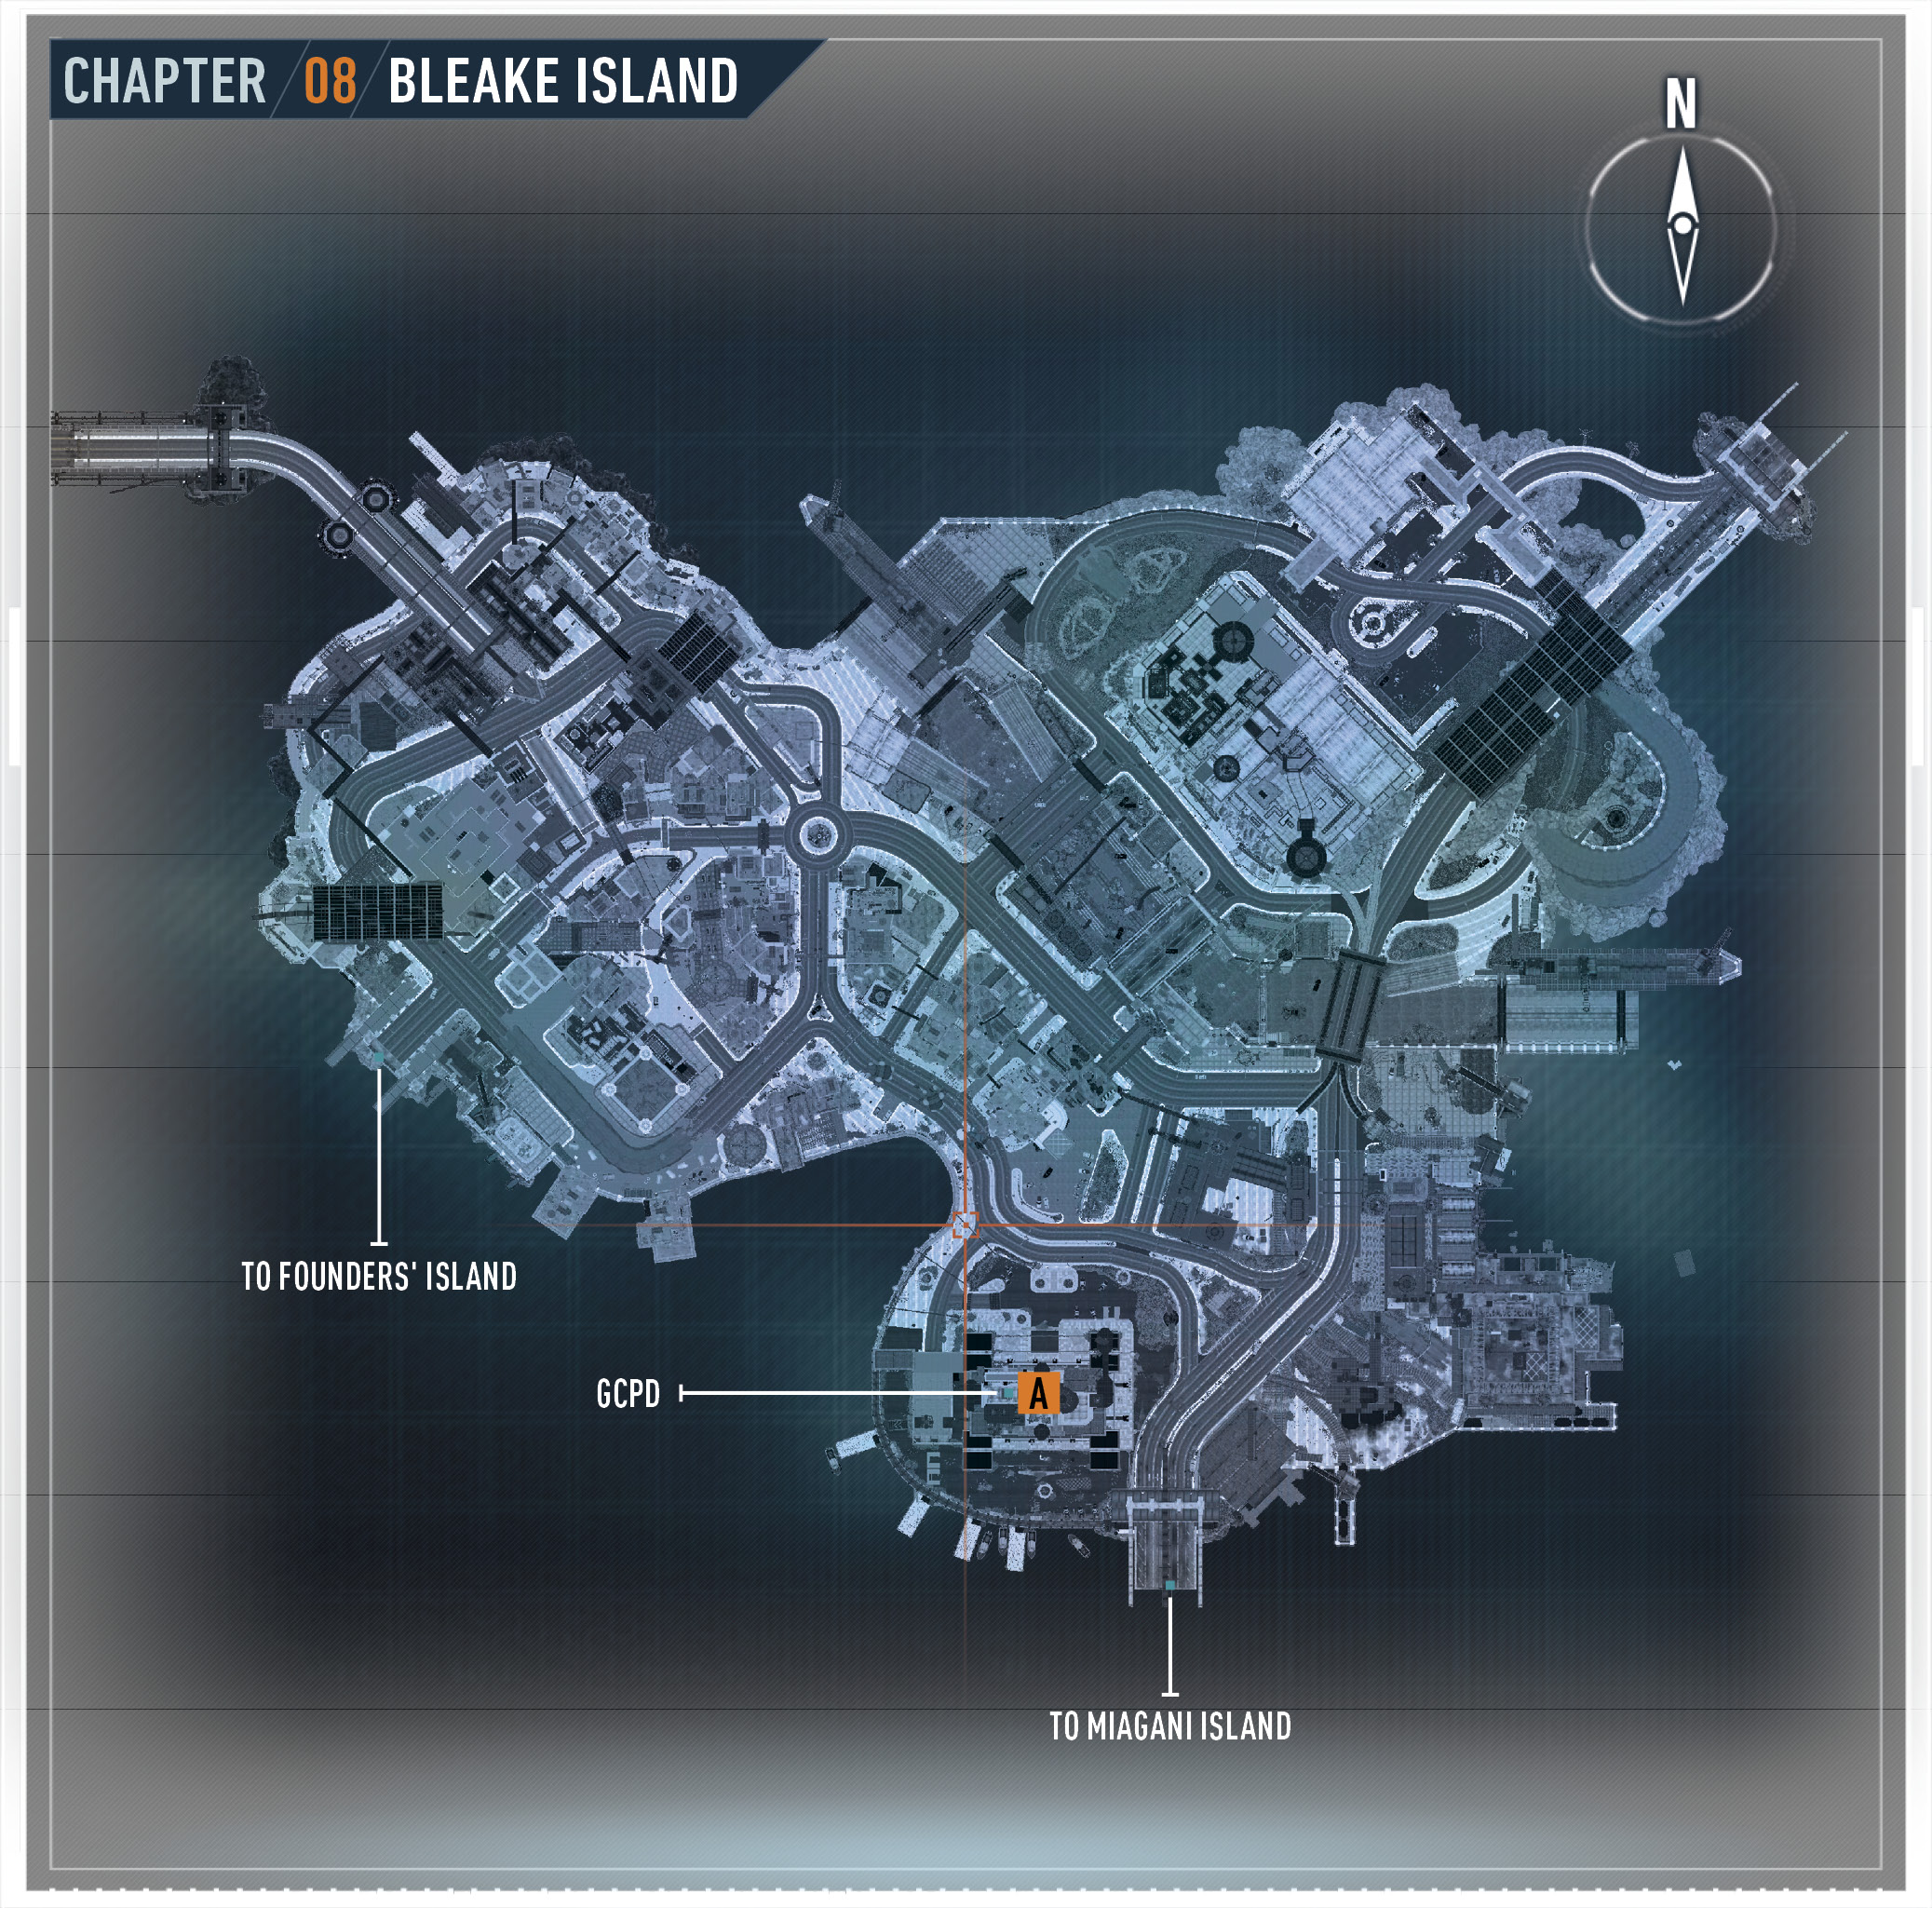
 Collect the Remote Electrical Charge from the GCPD Evidence Room
Before leaving the GCPD, enter the Evidence Room and find the Remote Electrical Charge prototype all the way in the back of the Archive section. It may be useful at your next destination, since it seems to be without power at the moment.
Remote Electrical ChargeThe Remote Electrical Charge can be quickfired during combat to shock enemies, stopping them in their tracks. It can also be used to activate or deactivate generators and other electrical equipment. This comes in handy in and out of combat. 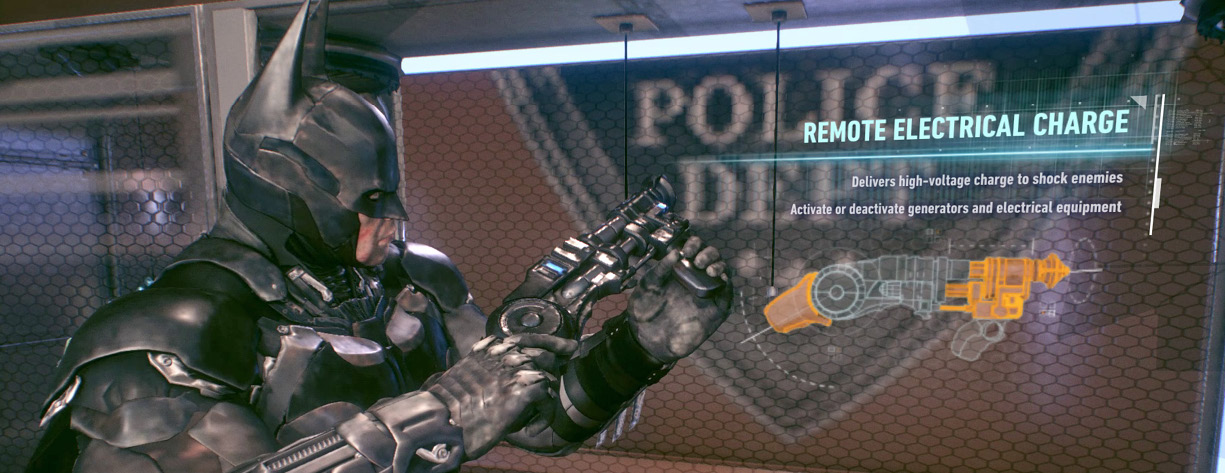 |
 Track the SWAT Radio Signal to Locate Commissioner Gordon
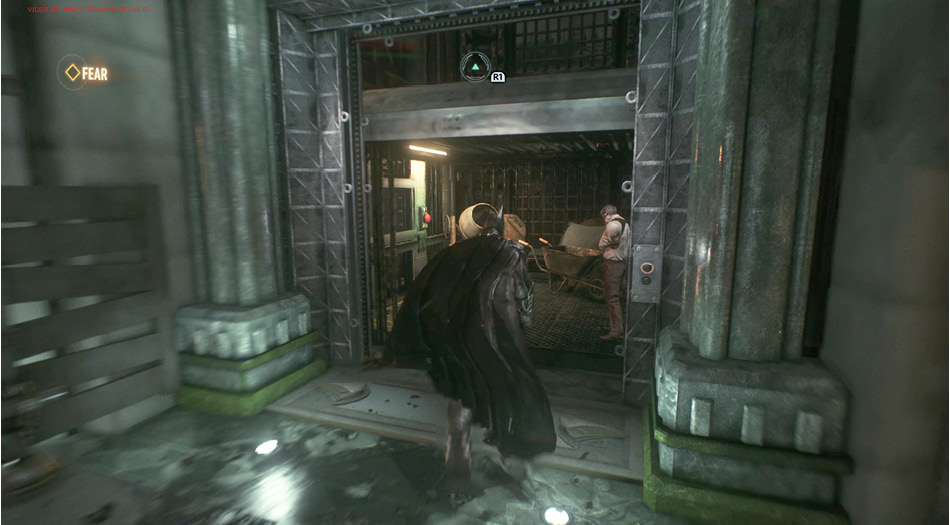
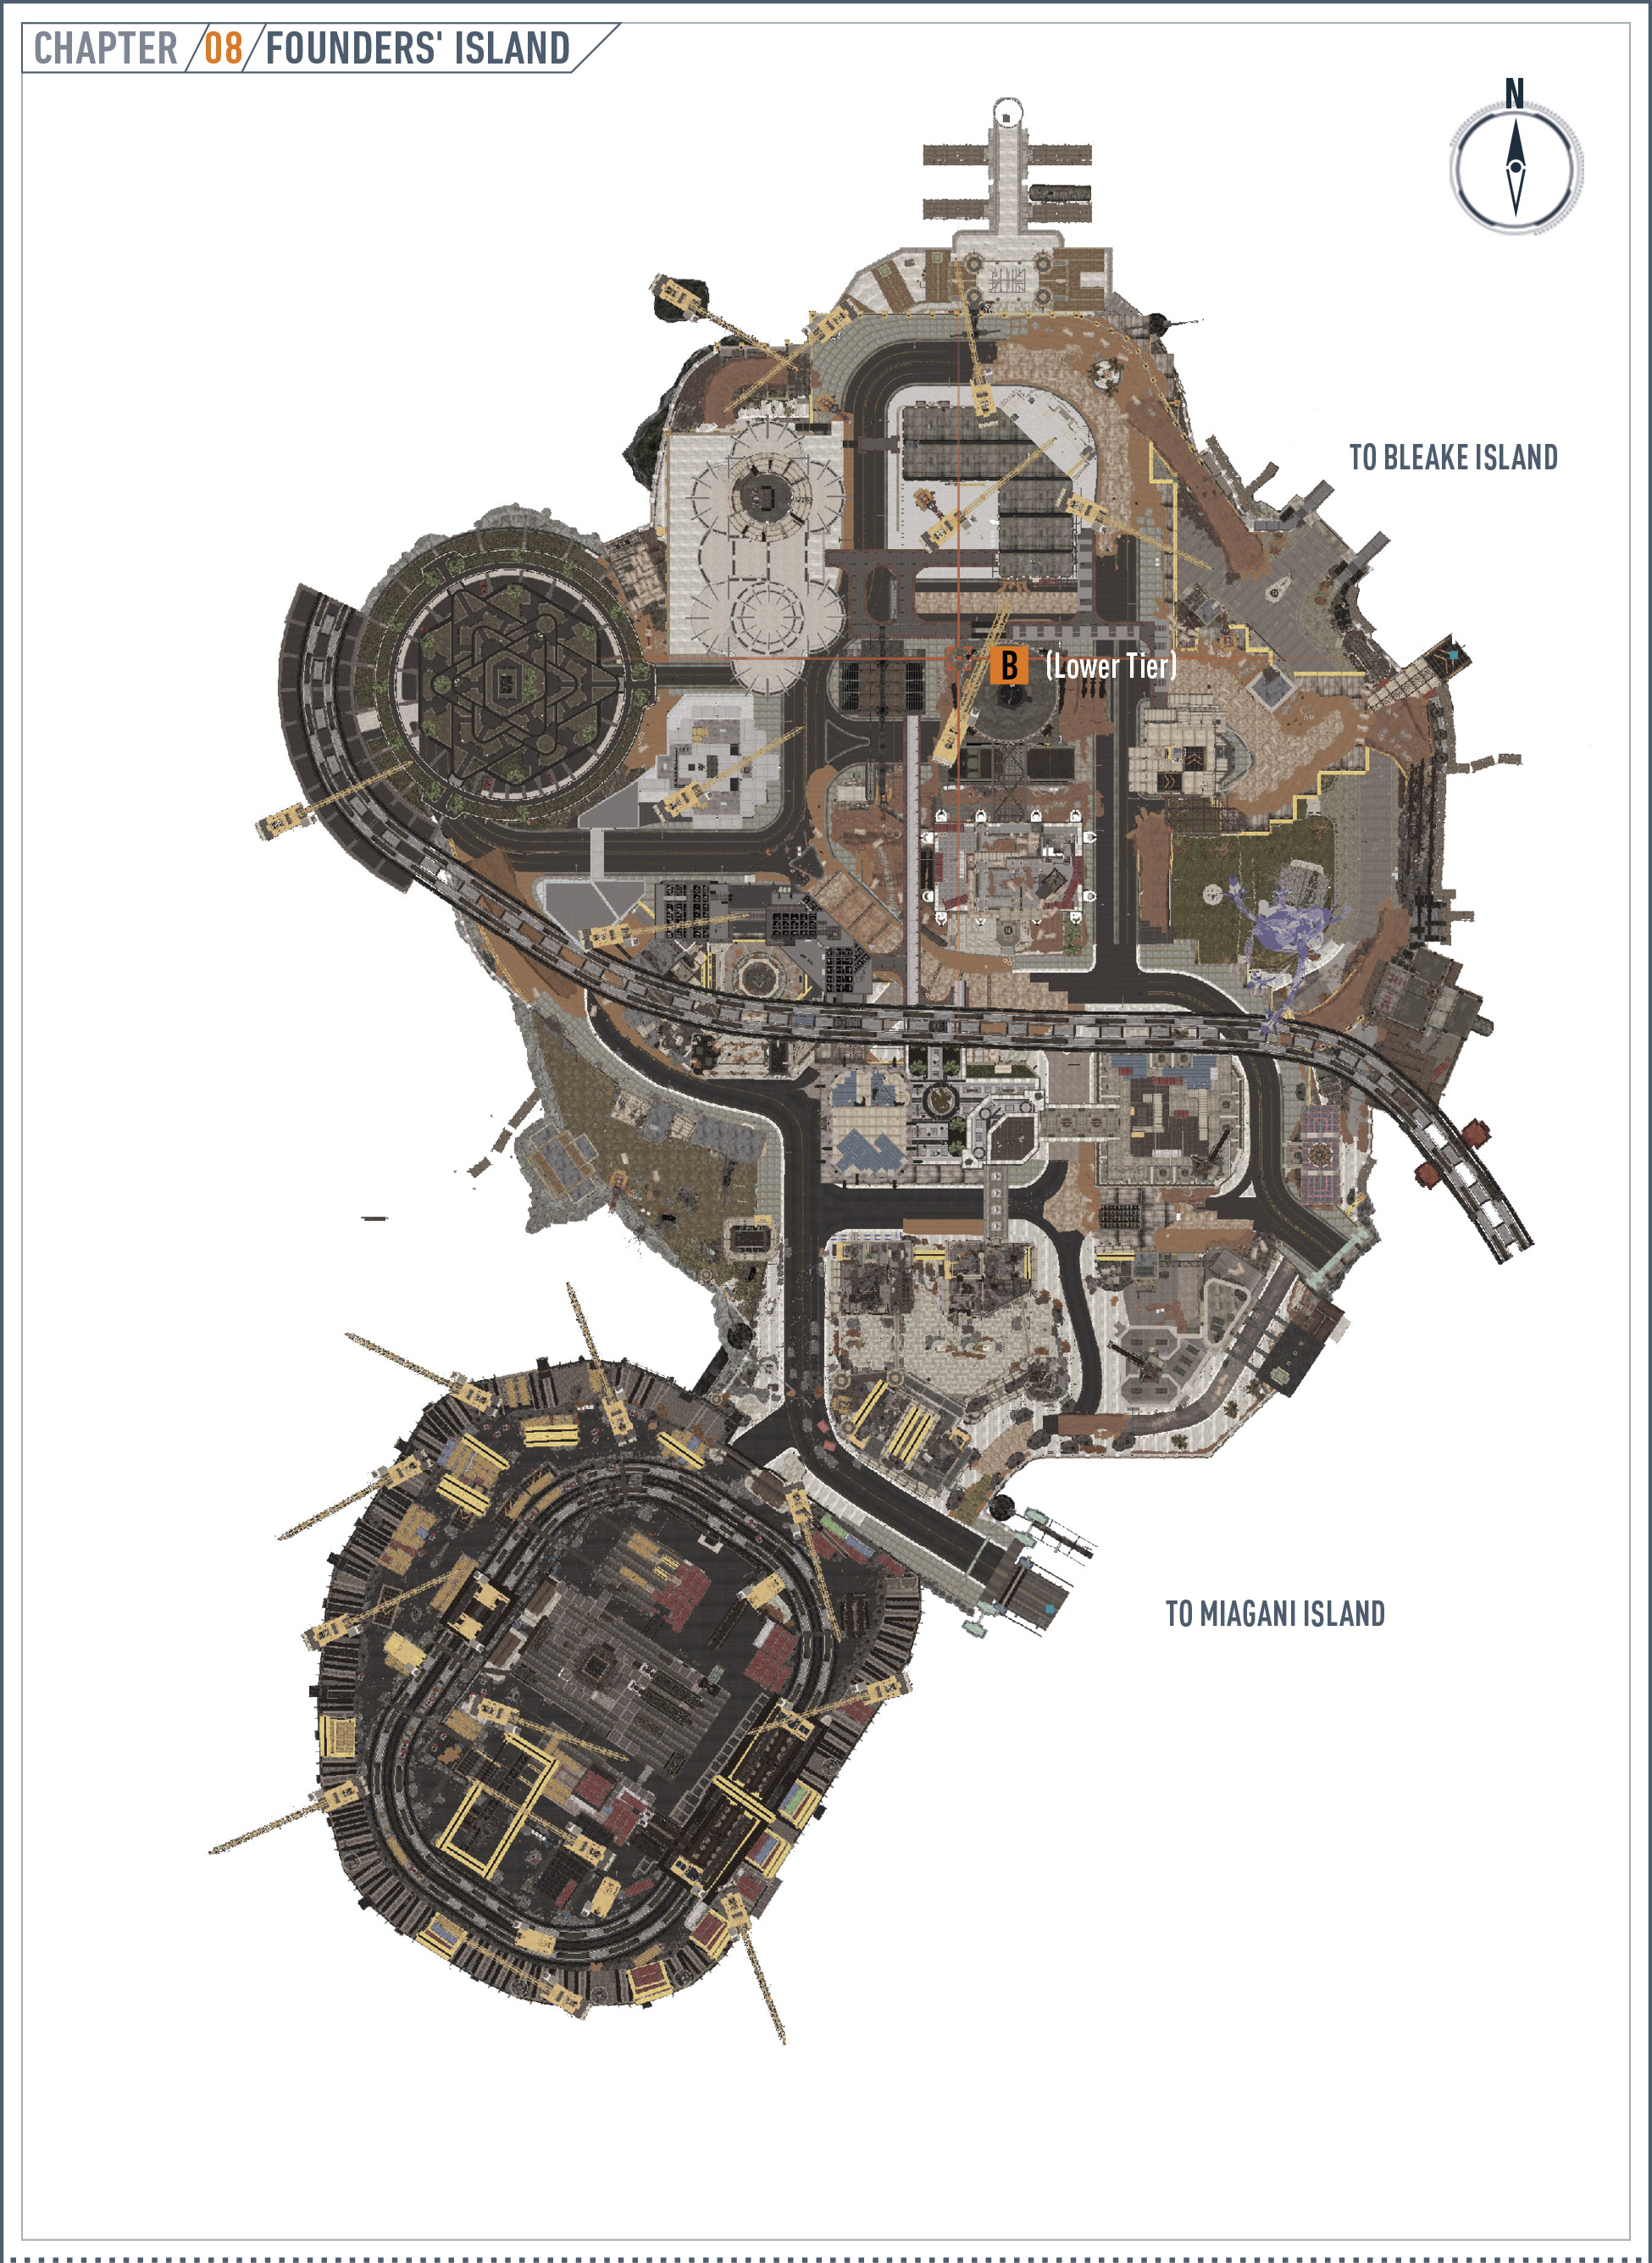
Exit the GCPD and drive to The Ryker Heights district of Founders’ Island. Use the access next to the Queen Industries building to reach the lower tier and approach the north side of Killinger’s Department Stores. Drop into the manhole to reach a maintenance hallway.
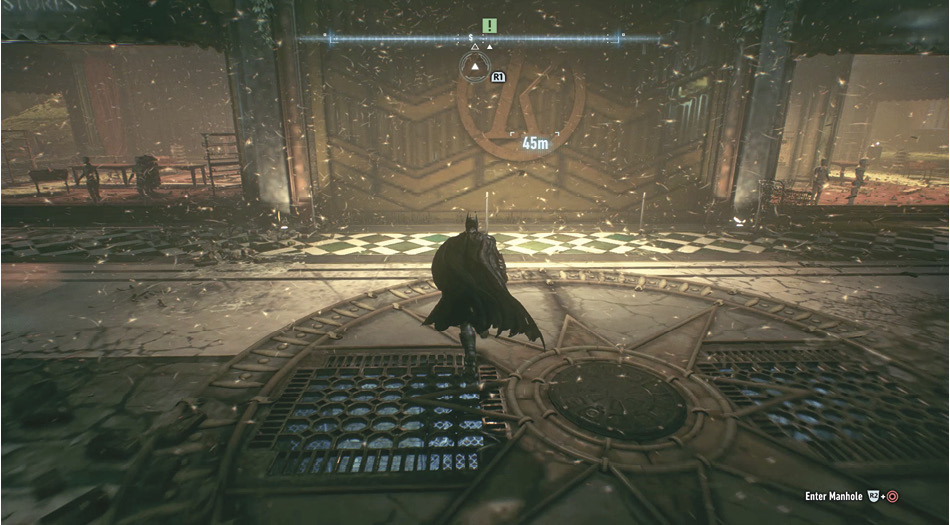
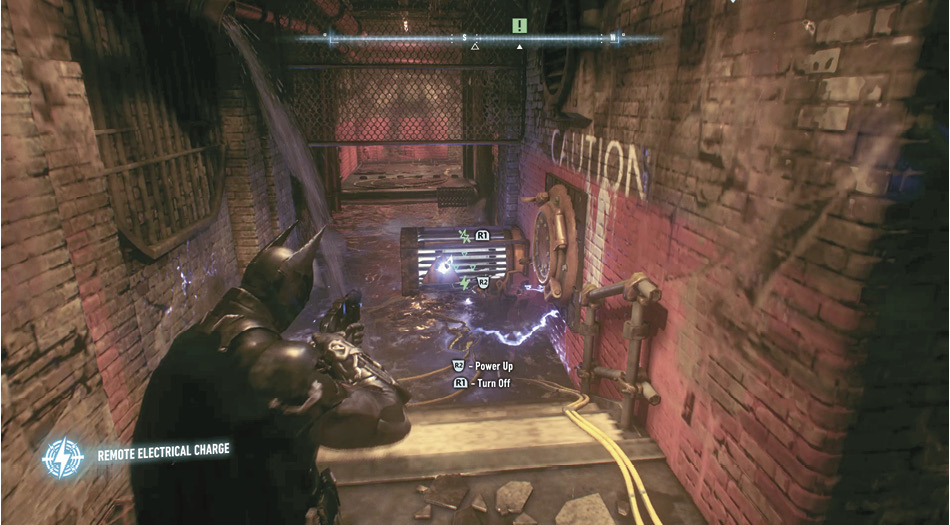
Around the corner, a generator rests in water, making the path too dangerous to cross. Select the Remote Electrical Charge, aim at the equipment, and turn it off. Cross to the water, turn around, and turn the generator back on. Grapple into the venting at the end of the corridor.
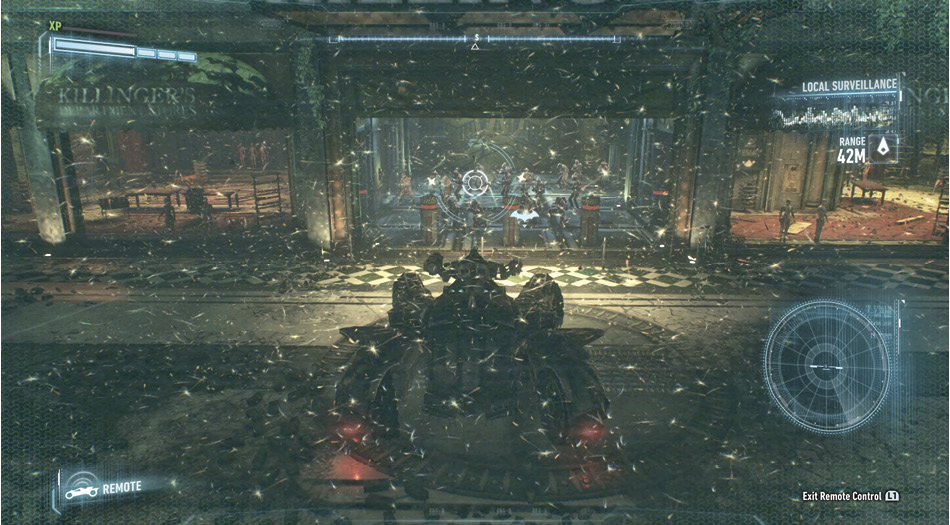
Batman arrives below a big group of armed soldiers, just in time to watch Gordon being taken away. There are too many foes to take on directly. Instead, pull out the Voice Synthesizer and turn around. Order an enemy to push the button on the east wall. This opens the shutter on the north side, revealing the Batmobile. Take control of the vehicle and take down the pack of hostiles. Exit the floor grate.
Access to the Hideout
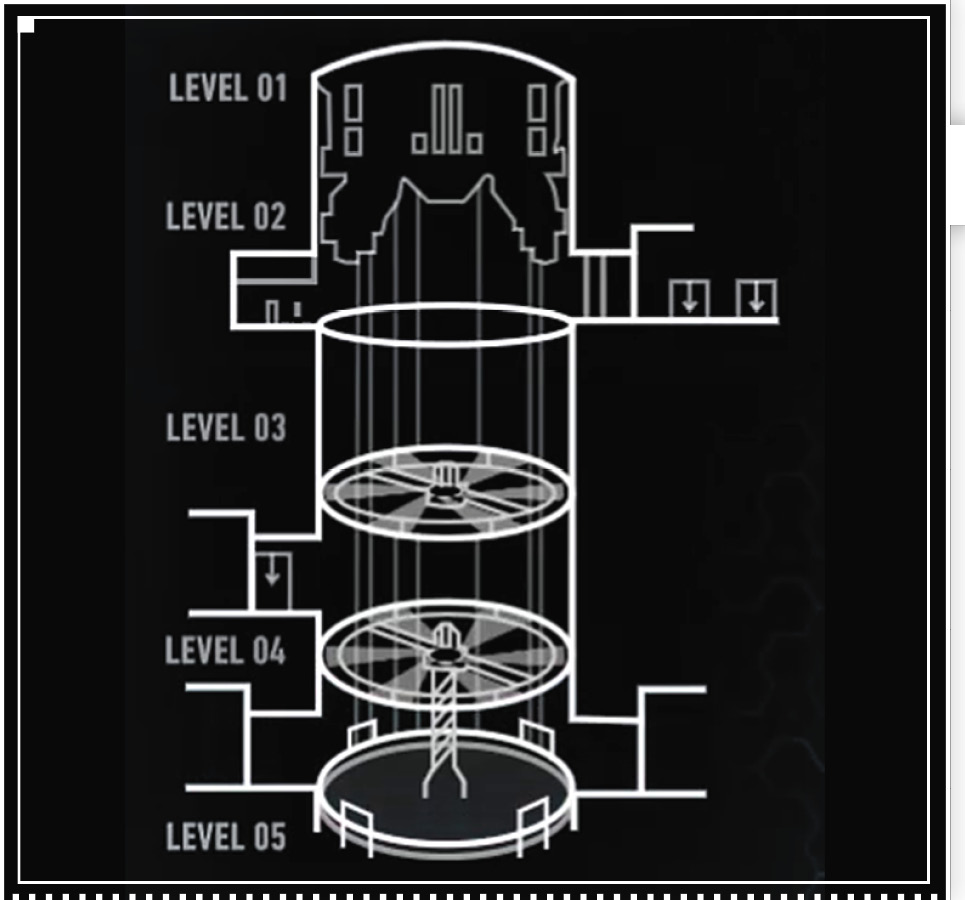
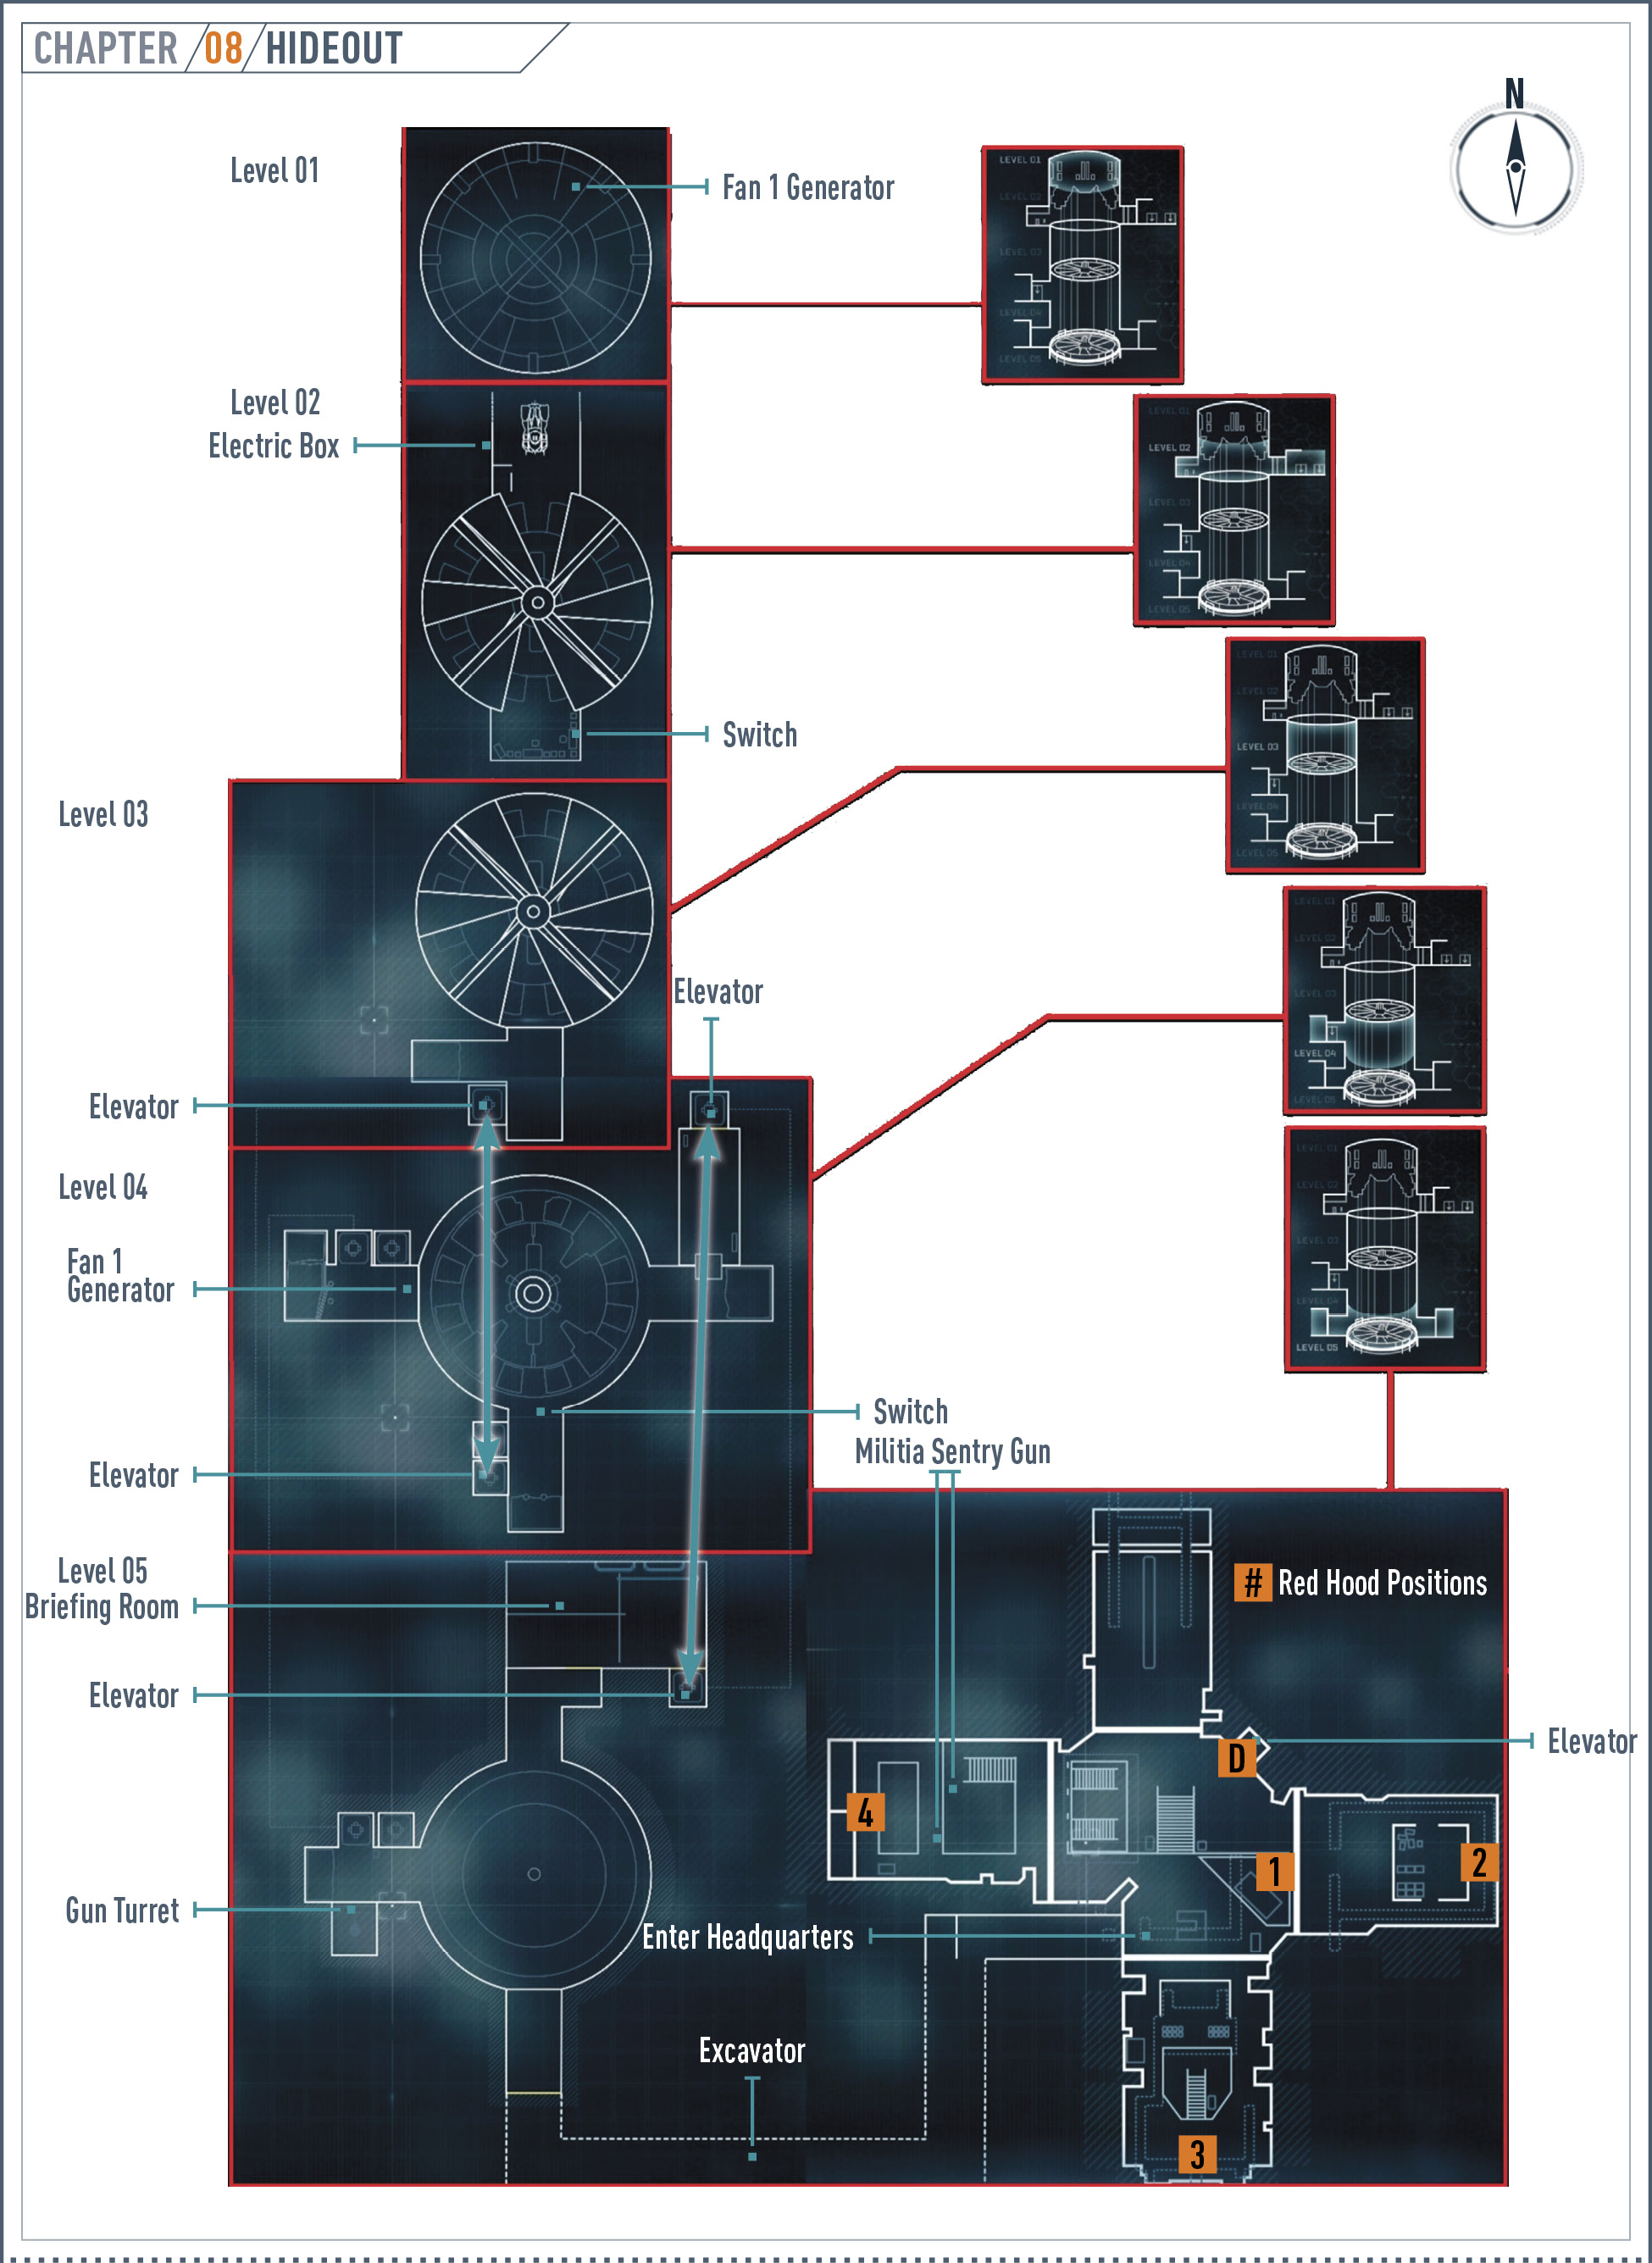
Enter Killinger’s lobby and interact with the electric panel in the far corner to open the nearby gate. This gives access to the hideout, which descends five levels underground. You start out at level 02, but the bottom floor (Level 05) is the goal. This is where Commissioner Gordon has been taken. Two fans block direct access, so they need to be shut down. First, take control of the Batmobile and fire the Heavy Cannon at the weak wall below the 02. Switch back to Batman and enter the new hole in the wall. Throw the switch on the left wall to lower the bollards, giving access to the hideout for your vehicle.
Lower Car and Reach Level 01
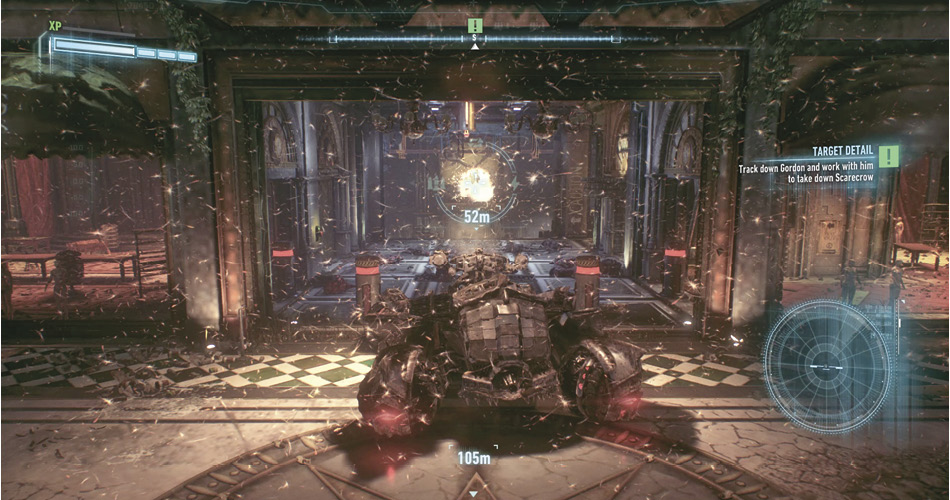
Move the Batmobile inside and fire the Power Winch at the Winch Access Point that hangs from the lobby ceiling. Turn around, drive backwards into the hideout, and lower the vehicle to the 03 on the wall—staying clear of the fan blades. Fire a cannon shot at the weak wall straight above, leave the car hanging, and grapple into the opening.
Shut Down Fan 1
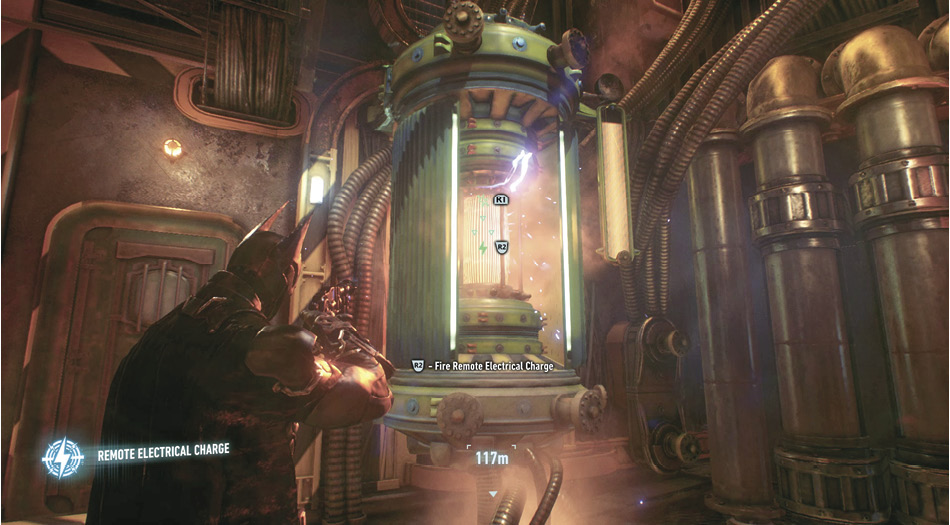
Pull out the Remote Electrical Charge, aim at the generator just right of the door, and fire several times in between the protective shield. It speeds up with every shot, so you must be quick. This overloads the machine and powers down the first fan.
Lower Car Below First Fan
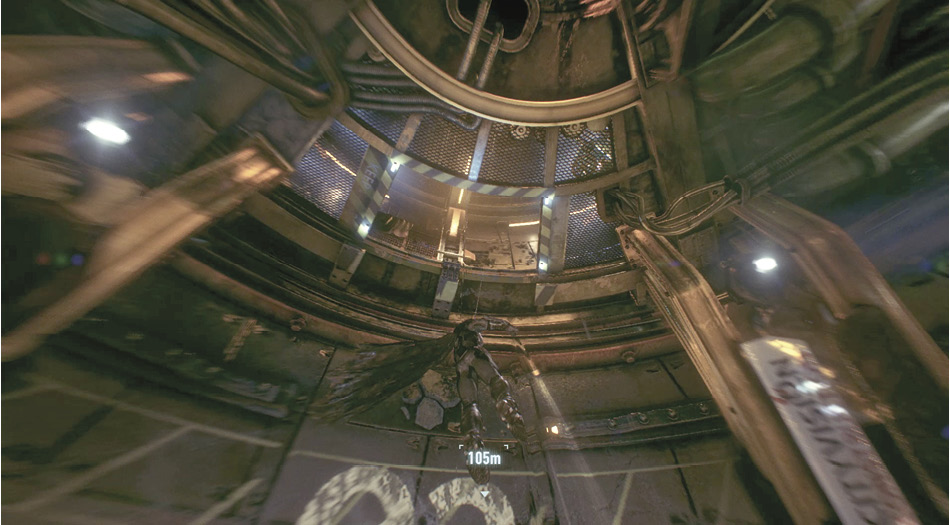
Drop through the hole and glide to the girder that runs across the structure. Pull out the Batmobile Remote and lower the car below the stopped fan to level 04. Aim across the structure at another weakened wall and take it out with the cannon. Use the Riot Suppressor on the soldiers who show up before switching to Batman.
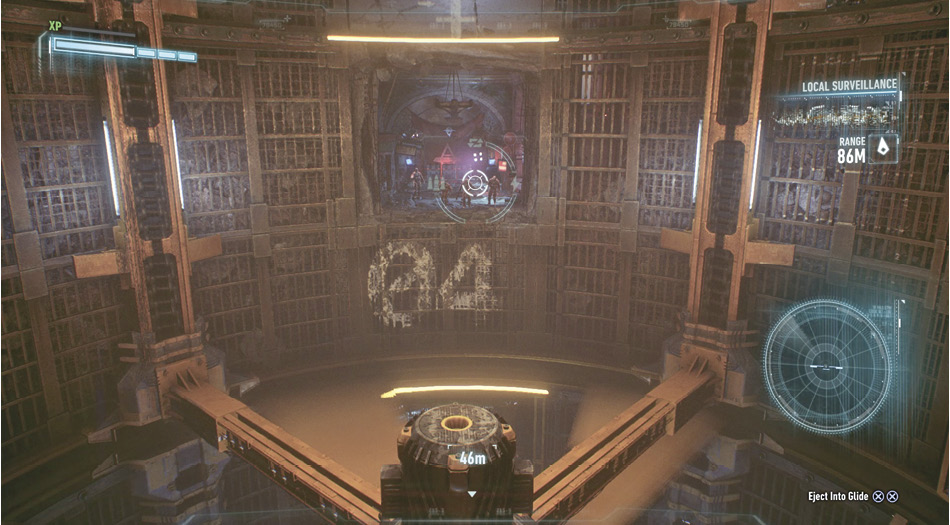
Grapple to Level 03
Glide down to the stopped fan and swing into the new opening or enter the Batmobile and eject boost to glide over the gap. Look right and grapple up to the ledge, which overlooks an elevator. Drop into the cage, equip the Remote Electrical Charge, and lower it to the bottom.
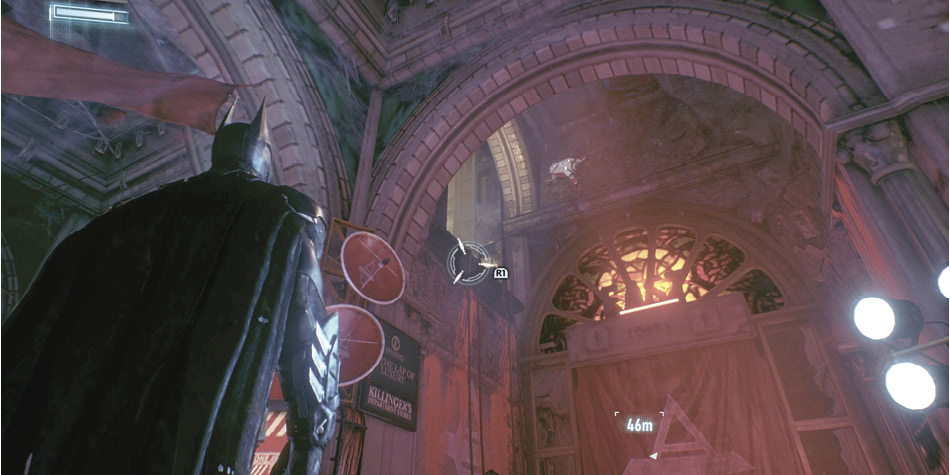
Access Level 04
Spray Explosive Gel on the weakened wall and detonate it. Two soldiers with Stun Sticks wait inside the next room. Quickfire an Electrical Charge at both of them and quickly take them down. Throw the switch on the far wall and proceed through the gate. This puts Batman under the second fan.
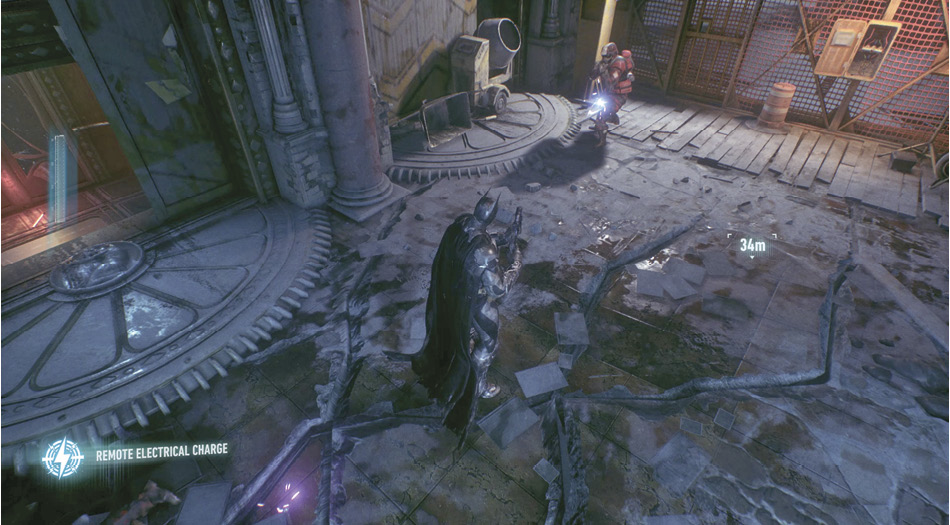
Access Level 05
Enter the right corridor, grapple onto the left ledge, and observe the hostiles in the next room. Pull out the Remote Electrical Charge, aim at the Industrial Motor on the right shelf, and toggle it on to fry the four soldiers. Flip the switch on the left wall, step inside the elevator, and use the REC to ride it down to level 05.
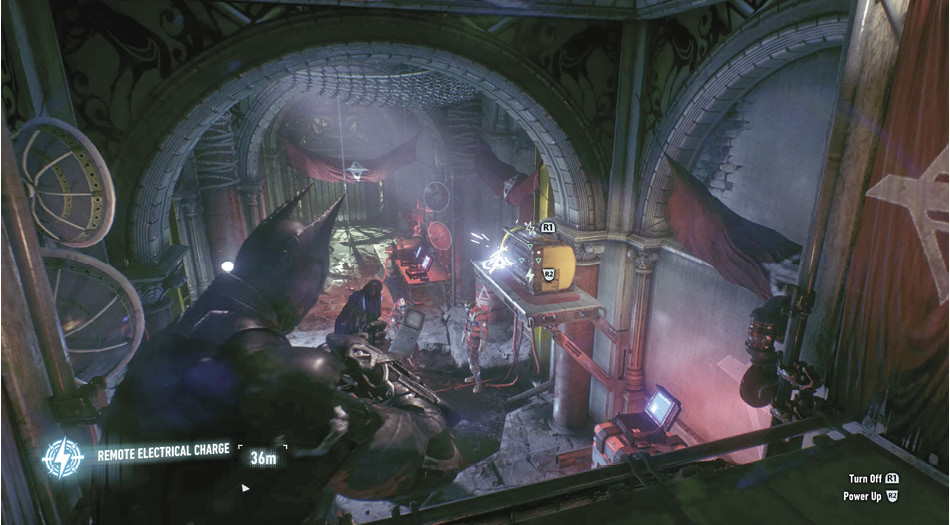
Defeat the Militia Soldiers
Climb onto the right shelf and raise the elevator out of the way. Drop down to the now accessible vent and pry off the cover. Inside the briefing room, a pack of 20 unarmed hostiles gets instruction on how to defeat the Dark Knight from their leader, who is wearing a bomb. Follow the beams to the back of the room and drop behind the screen. Start the brawl by disarming the explosive vest. Make the two medics a priority as you eliminate the group of soldiers.
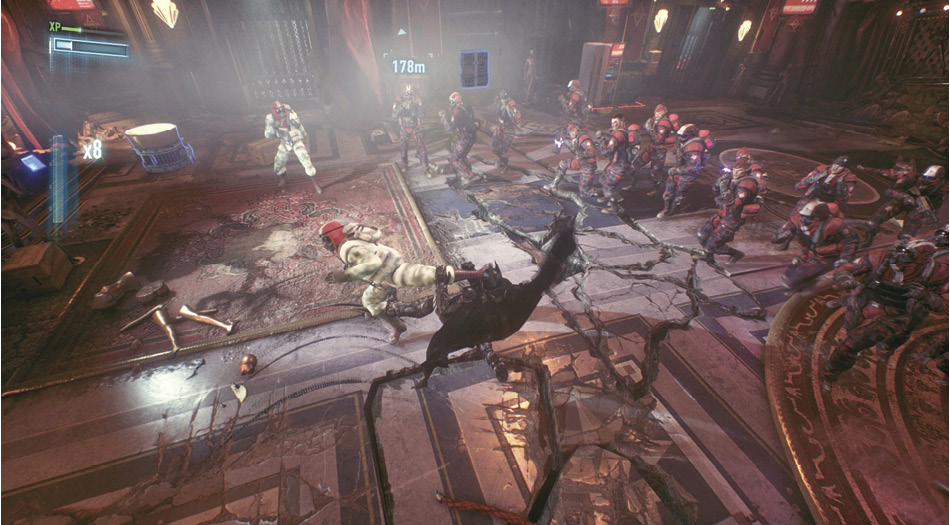
Return to Level 04 and Shut Down Fan 2
Interact with the yellow box to open the exit and follow the corridor back to the main shaft, below a big drill and the Batmobile. Drop to the bottom and enter the corridor on the right. Before moving too far in, blind the Gun Turret in the far corner. Quickly move in to the shaft across from the automated gun and grapple up to level 04. Just as before, fire the Remote Electrical Charge at the generator several times to shut down the second fan.
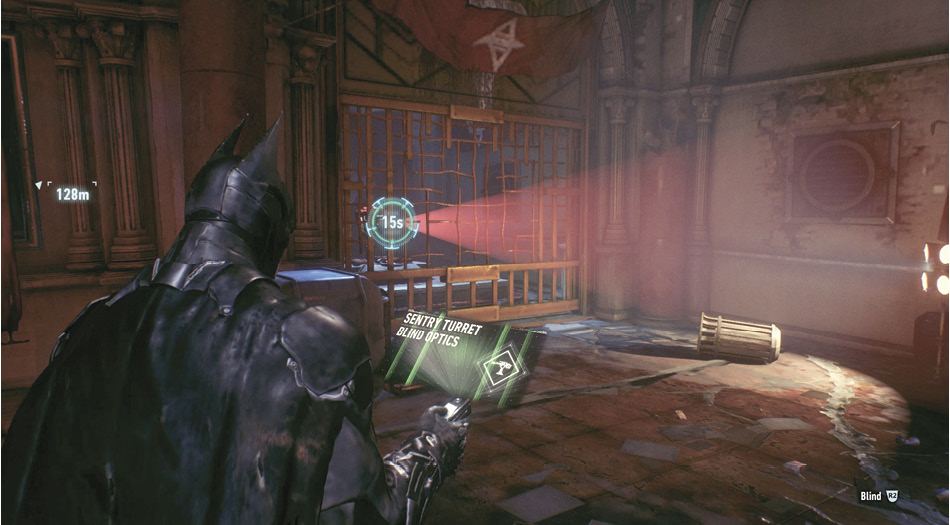
Lower Batmobile and Drill
Batman must be rescued from the sentry gun before proceeding. Switch to the Batmobile Remote and lower the vehicle onto the drill, disconnecting from above. Fire the Power Winch at one of the anchor points on the side wall and back up to the left—causing the drill to rotate clockwise, lowering the platform all the way to the bottom of the shaft. Move into the opening and destroy the sentry gun with the Heavy Cannon or Vulcan Gun. Take control of Batman, drop down a level, and hop into the car. Reattach to an anchor point, but this time, back up right of center. This causes the drill to rise. Stop at the weakened wall and destroy it with another blast from the cannon.
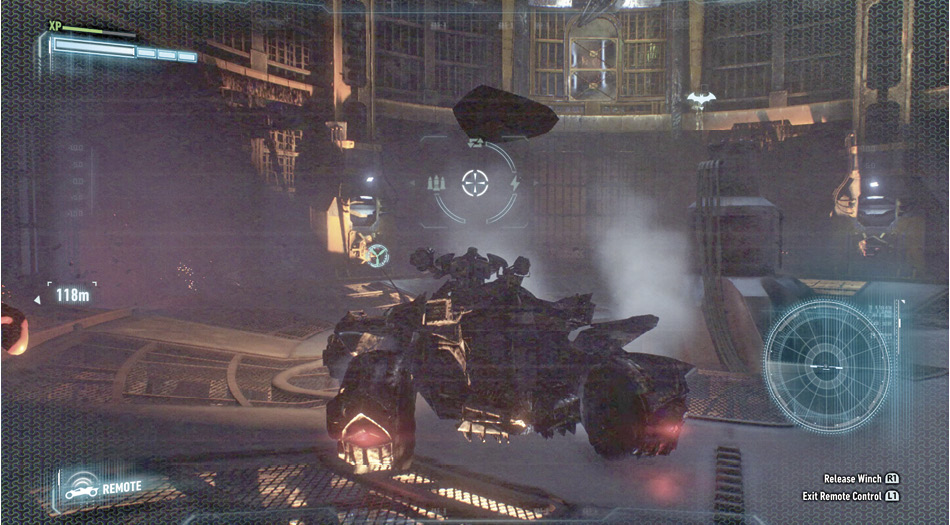
Drive Batmobile Into Hideout
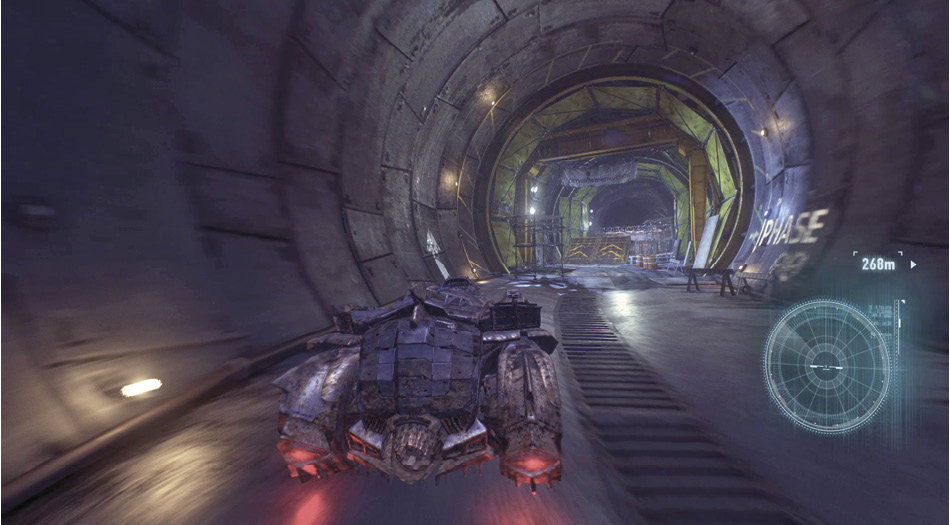
Drive into the new opening, being careful to avoid the mining explosives that have been placed around the sides of the tunnel. Interact with the control box on the right wall and drive the Batmobile inside. Weave right, left, and then up and over the obstacles. Boost at the ramp around the corner to clear another barricade. The Arkham Knight pulls in behind Batman in a huge Excavator.
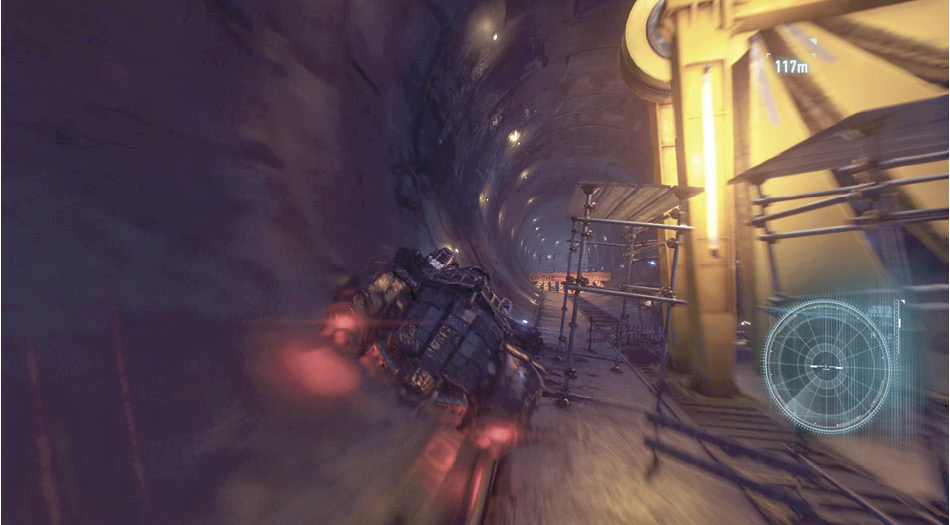
 Destroy the Arkham Knight’s Excavator
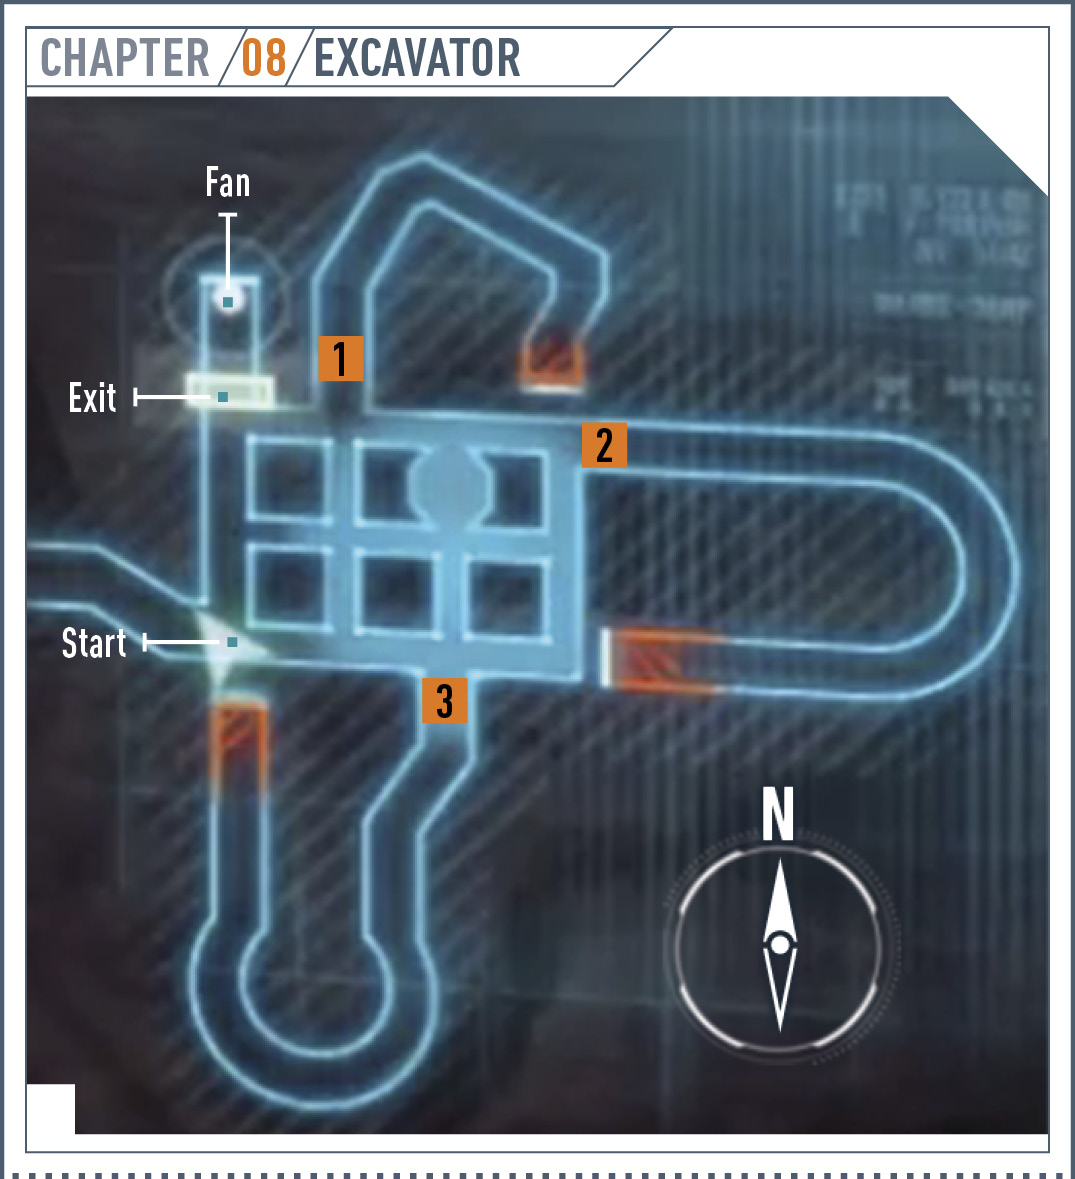
There is obviously no taking on this huge mining equipment head to head. Take note of its health that shows up in the upper-right corner of the HUD. Spin around and speed away from the monstrosity, riding up the side of the tunnel to avoid the obstacle. Lead the Excavator into the mining explosives ahead to knock off 25% of its health. It can only withstand three more hits. Conveniently there are three tunnels that have been rigged with the explosives. Lead the Excavator through each one to take away another 25% health. All three lead back into the original area.
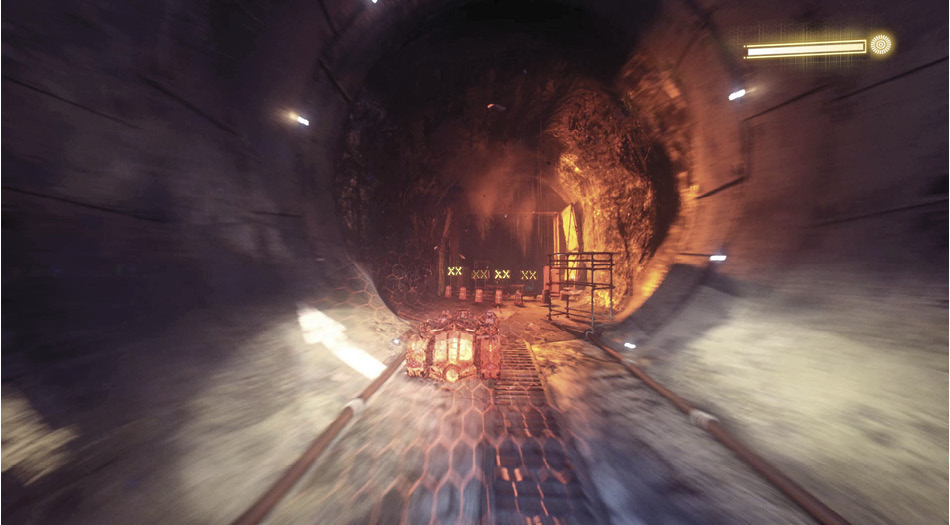
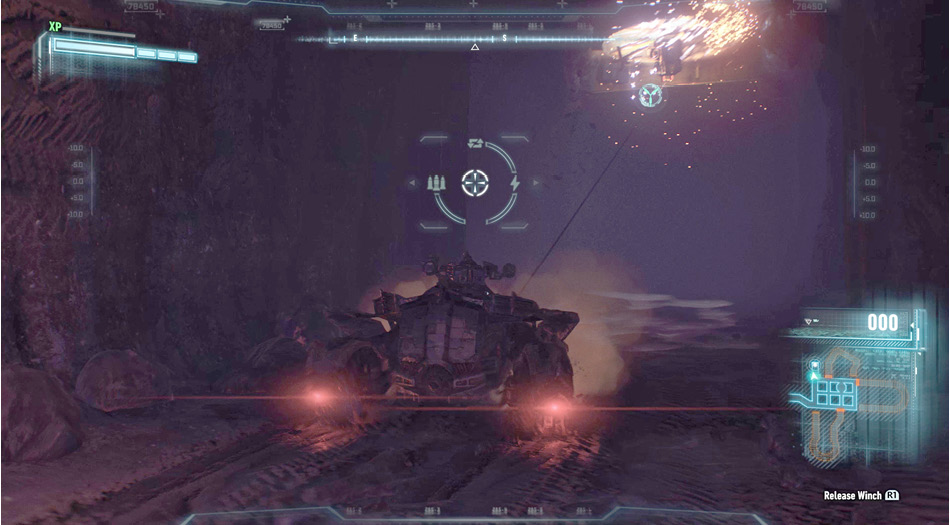
If the Batmobile is taken out while facing the Excavator, the player does not lose progress against the boss. Once its health is reduced to zero, exit out the northwest corner. Fire the Power Winch at the fan above and pull it down. Quickly exit the Batmobile before it is destroyed.
Grapple to the ledge above, run down the corridor, and climb into the flooring. An armed soldier, two medics, and eight combat experts hold James Gordon captive just above. Start the fight with a Fear Multi-Takedown. Watch out for incoming combat experts while eliminating the group, then attempt to release the Commissioner from the chair.
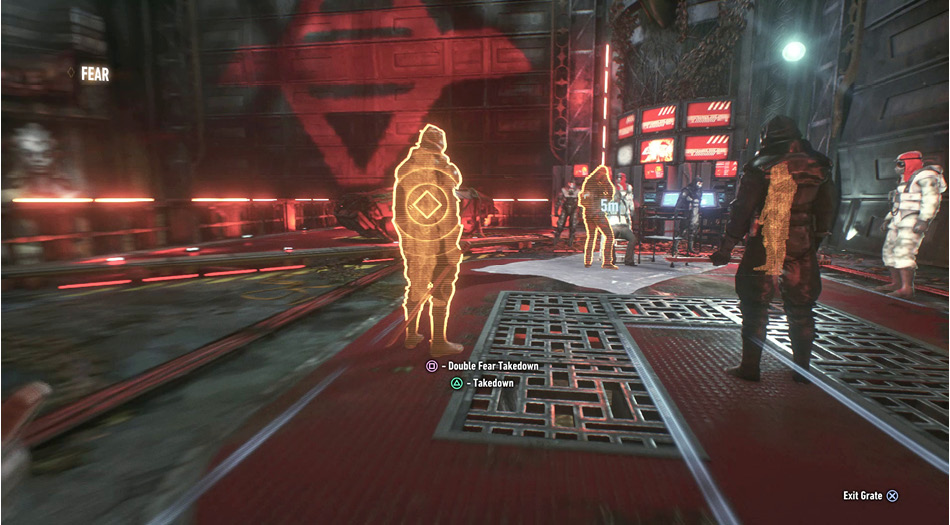
Red Hood Predator Room 1
Red Hood takes a sniper position on the perch above and his health bar appears in the corner of the HUD. Red lines show his current field of vision. Avoid this area or it is game over! Stealthily, move between cover until you can get under his position and grapple to him to take away a chunk of his health.
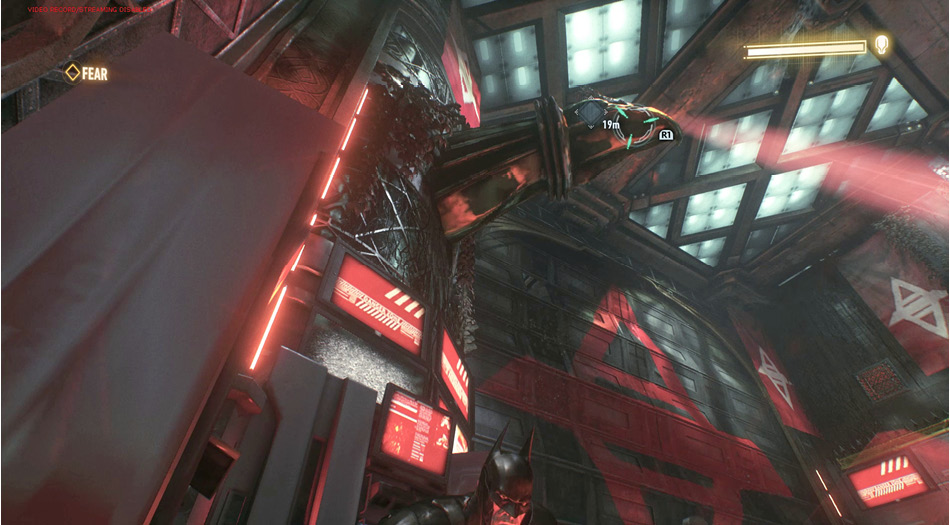
Red Hood Predator Room 2
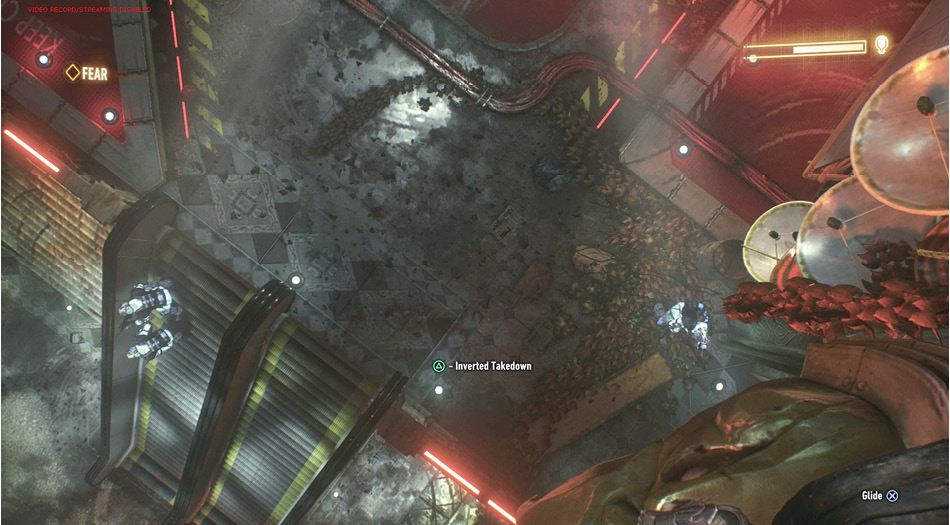
The villain changes positions as a new room is opened up. Five armed soldiers patrol the floor as Red Hood scans from a vantage point at the other end. One enemy has a special device such as a Detective Mode detector or Boa Sentry Drone. There are floor grates around the entire room, allowing for Silent Takedowns from below. Use the sizeable area to eliminate the soldiers and then use the floor grates to move underneath the boss. Grapple through the glass to his post to damage him some more. He releases a harmful gas. Batman has 27 seconds to swing through the opening on the far wall or the predator room must be replayed.
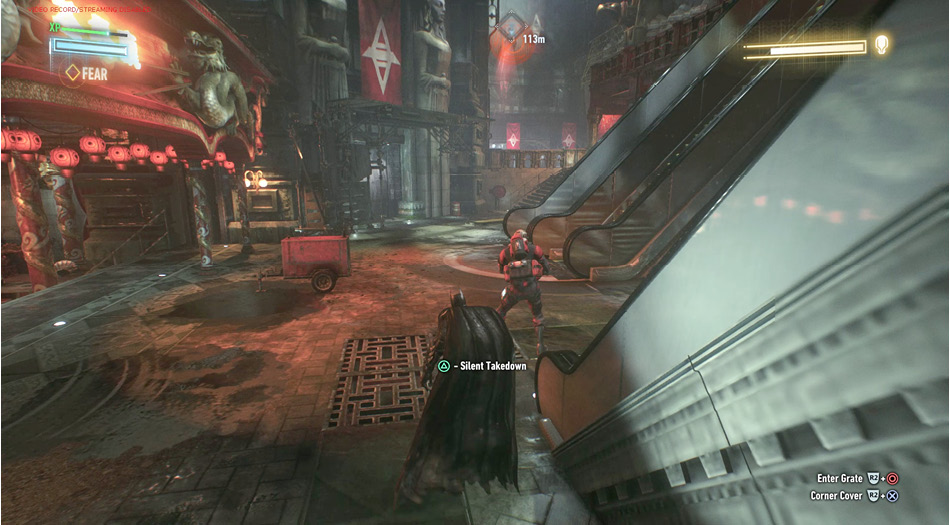
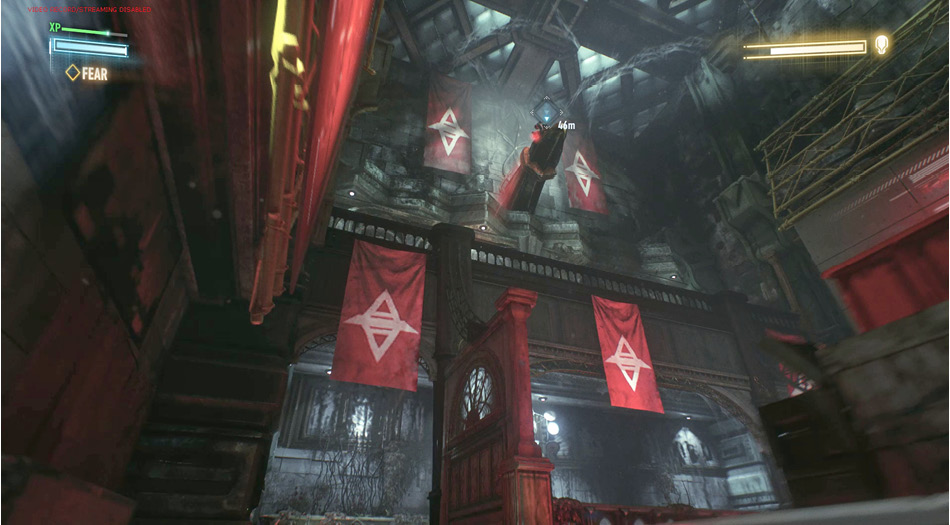
Red Hood Predator Room 3
Red Hood moves to a new perch in the adjacent room with six hostiles patrolling the area. This time, the boss controls the Boa Sentry Drone. Work your way around the room, eliminating the soldiers before moving toward the villain. Avoid his detection while positioning yourself directly underneath him. Grapple to his vantage point to take his health down even further. Gas is released again, giving you another 27 seconds to get through the small window.
Red Hood Predator Room 4
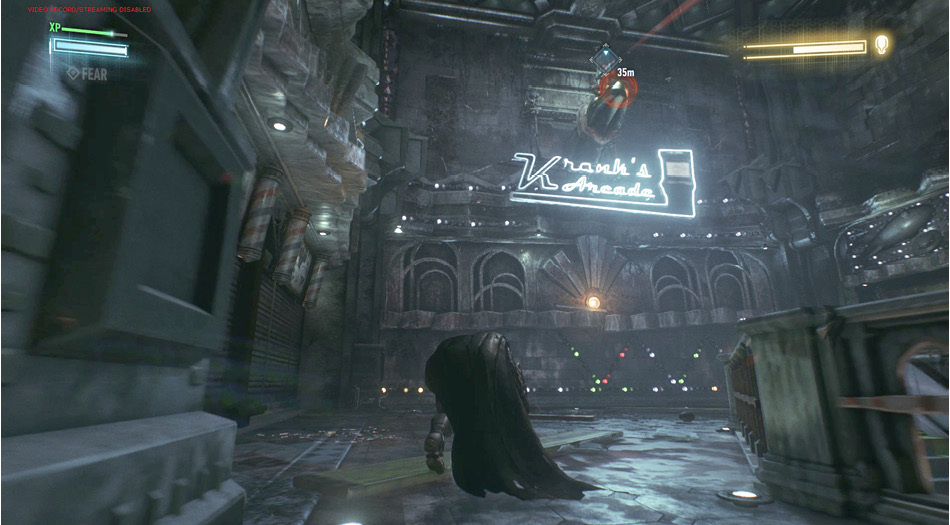
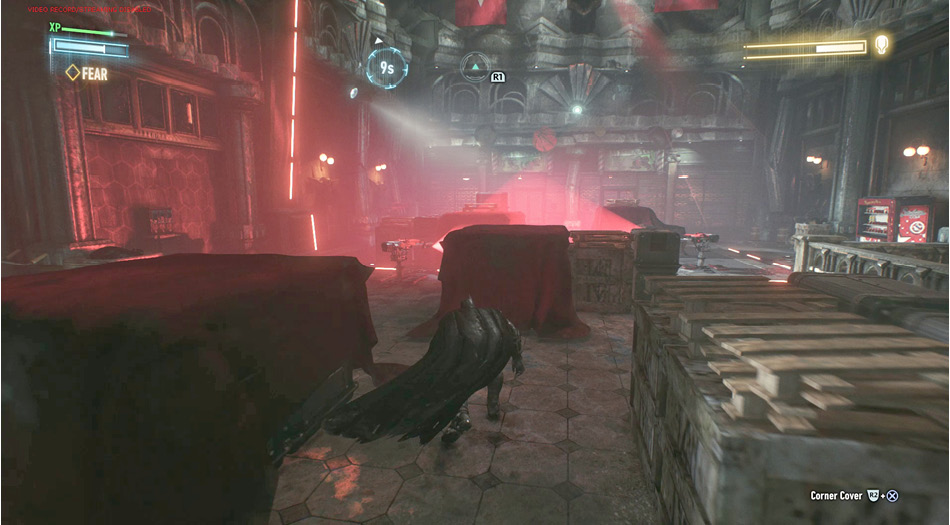
Another shutter rises, revealing a new wing as Red Hood takes position at the other end. Again, he controls a Boa Sentry Drone while two Sentry Guns survey the area below. This time, there are no extra soldiers. The drone and automated guns can be blinded with the Remote Hacking Device, but only one at a time. Use the crates in the middle of the room as cover from one gun while moving past the other when it looks the other way. Quickly get underneath the boss and grapple once more to finish him off.
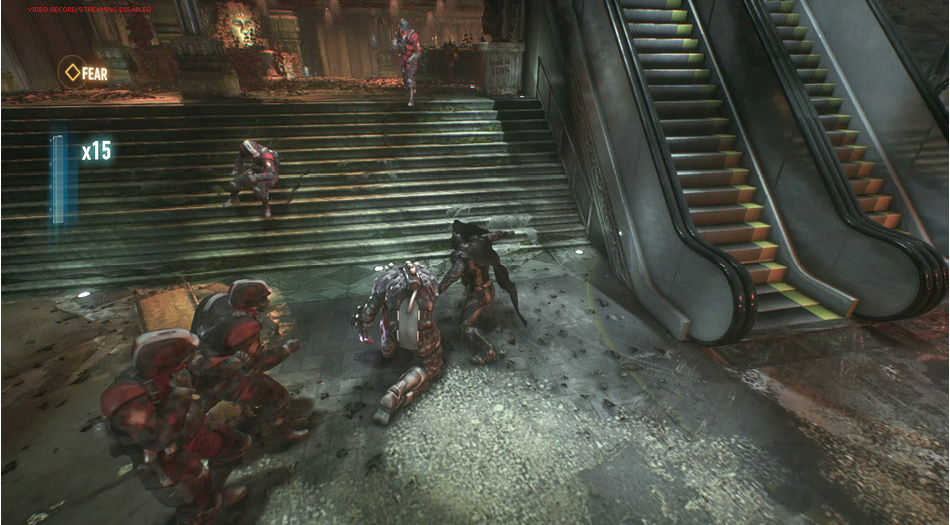
Free Commissioner Gordon, but he gets knocked out as attempt to board the elevator. Take out the four soldiers and brute.
 Confront and Apprehend Scarecrow
Join Gordon in the elevator and push the button to ride it to the top, where Scarecrow must be confronted.