Batman: Arkham Knight Guide Story Mode
Chapter 4: Prey That No Longer Fears You
The Chapter at a GlanceOBJECTIVES
NEW AR CHALLENGES None AVAILABLE SIDE MISSIONS Riddler’s Revenge |
 Track Down Scarecrow in Airships
 Destroy the Weapon Turrets on the Second Airship
 Pursue Scarecrow Across to the Second Airship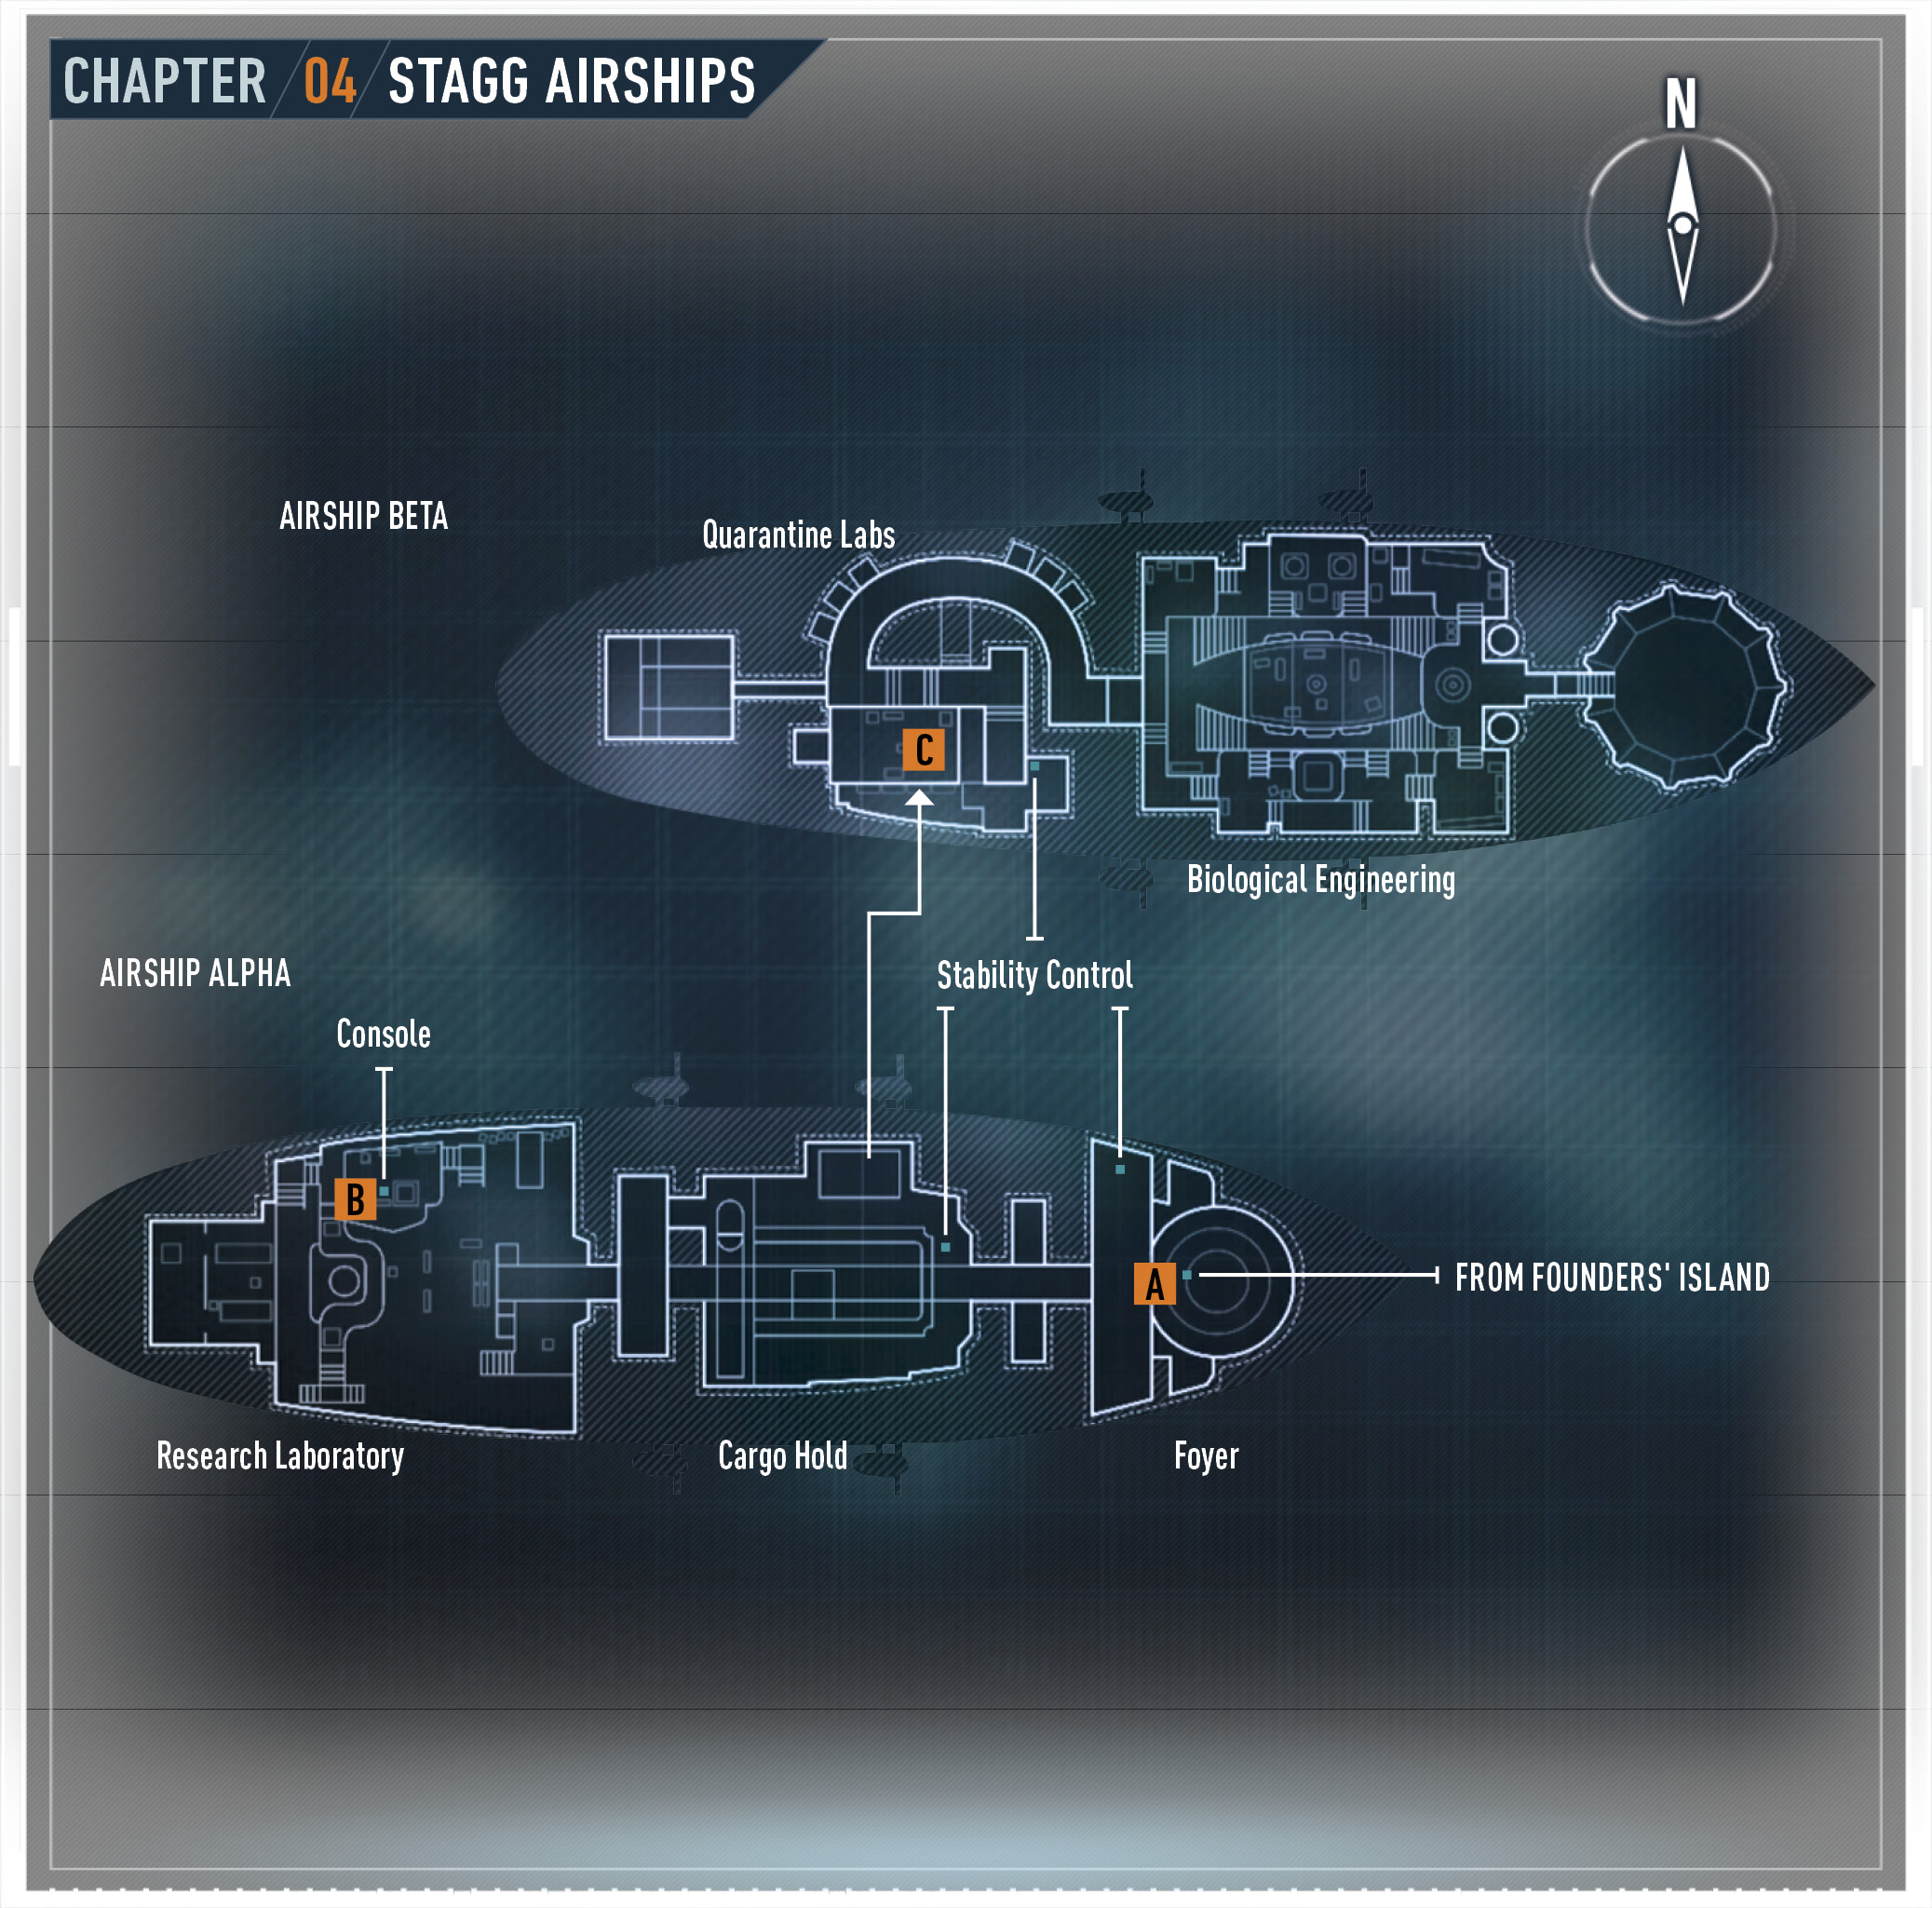

Track Down Scarecrow in the Stagg Enterprises Airships
Hop onto the north railing to spot the airships ahead. The nearest one, Alpha, is accessible through a service hatch on top. Glide down, pull out the Remote Hacking Device, and aim it at the security console inside, located just south of the entrance. Start the hack and enter BIOCHEMISTRY as the passcode using the move and look controls. Descend into the zeppelin to reach the foyer.
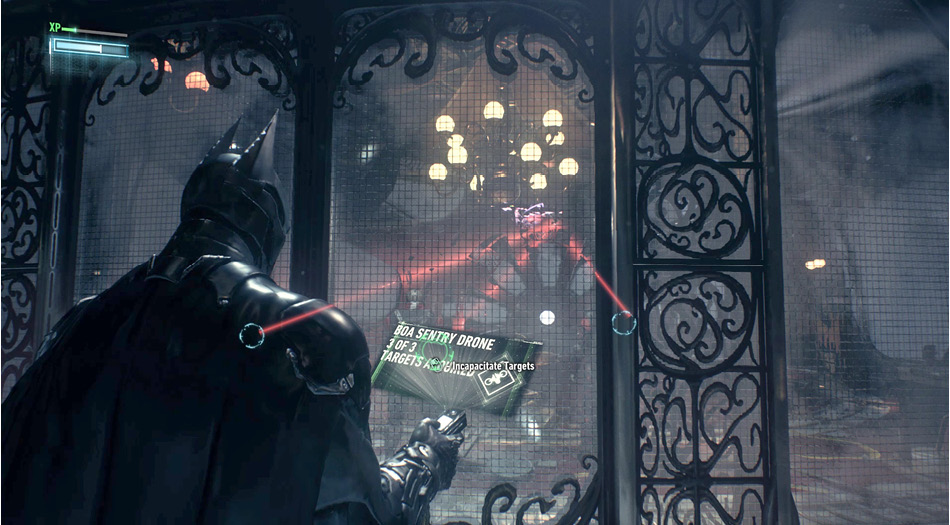
Three armed guards, including a Boa Sentry Drone operator, can be seen below. Rip the vent cover off the nearby wall, enter the next room, and drop through the grate to land on the same level as the hostiles. Aim the Remote Hacking Device at the drone operator and download the control codes. Next, press the Strike button to incapacitate all three targets. Take advantage of this feature of the hacking device when a drone is present in a predator situation.
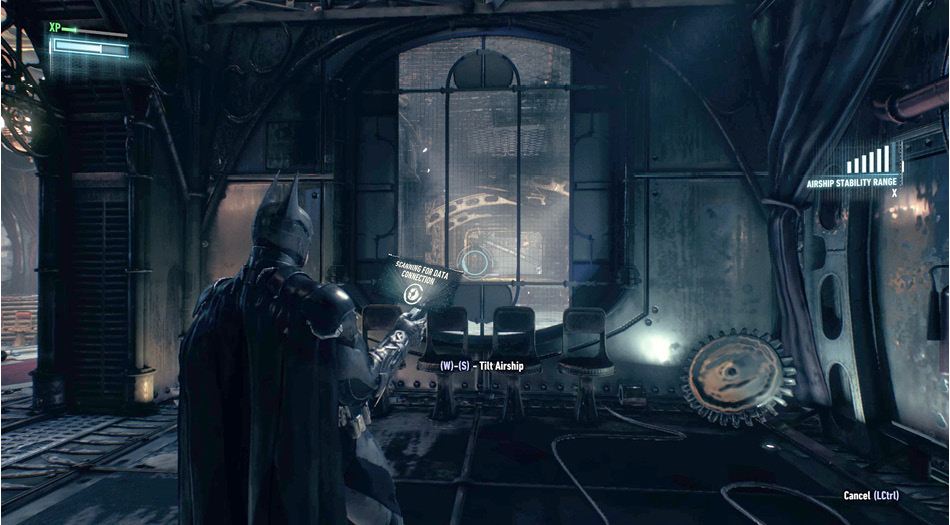
Step to the left to find another security access panel beyond the glass wall. Enter PROTEINS as the password to open the door. Proceed through the opening and enter the small room to the left. Access the computer to override the airship stability controls. This gives Batman the ability to tilt the ship, though only within range of this terminal. The graphic on the right side of the HUD shows whether this feature can be used. Press the Call Batmobile button to access the stability controls. At that point, the move controls rotate the zeppelin, moving obstacles that are not secured—such as the crate that blocks the trap door in the previous room. Move the crate and drop down through the trap door. Climb down the ladder to reach the storage area below.
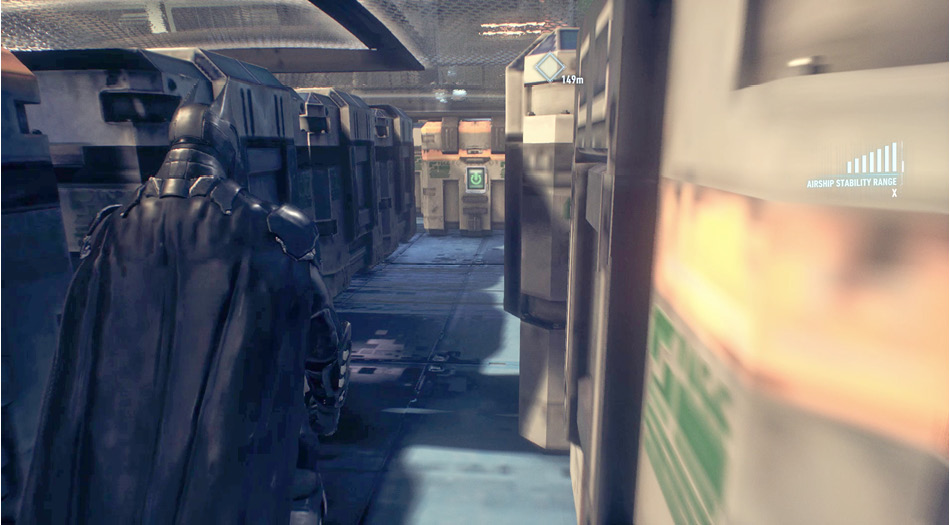
Tilt the airship to the left to clear the containment boxes out of the way. Drop down and move to the opposite side of the room. Turn to face three more crates in the center of the room. Some of these boxes have magnetic locks that can be toggled with the stability controls active and the Remote Hacking Device equipped. The lock turns green and now the crate can be moved. Use the stability controls to tilt the ship and slide the crate to the right. Use the hacking device to lock the box in place by once more targeting the lock. Tilt the ship to the left to clear the exit.
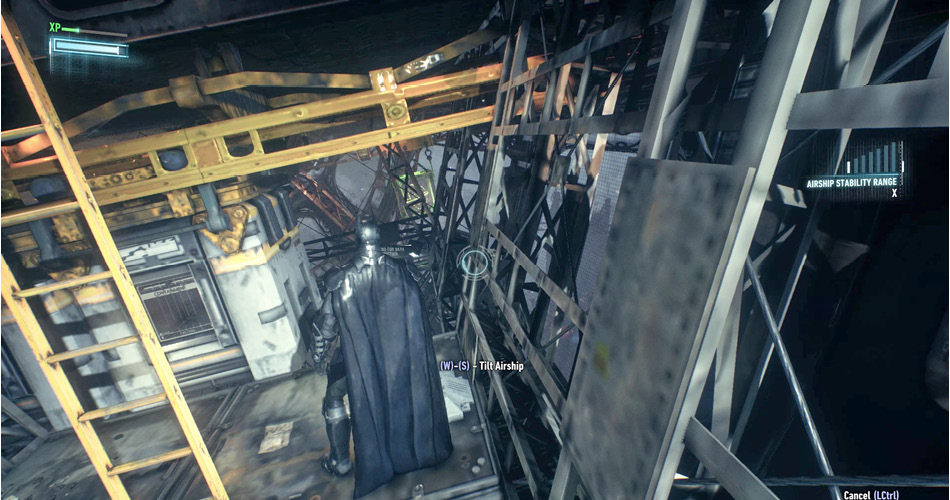
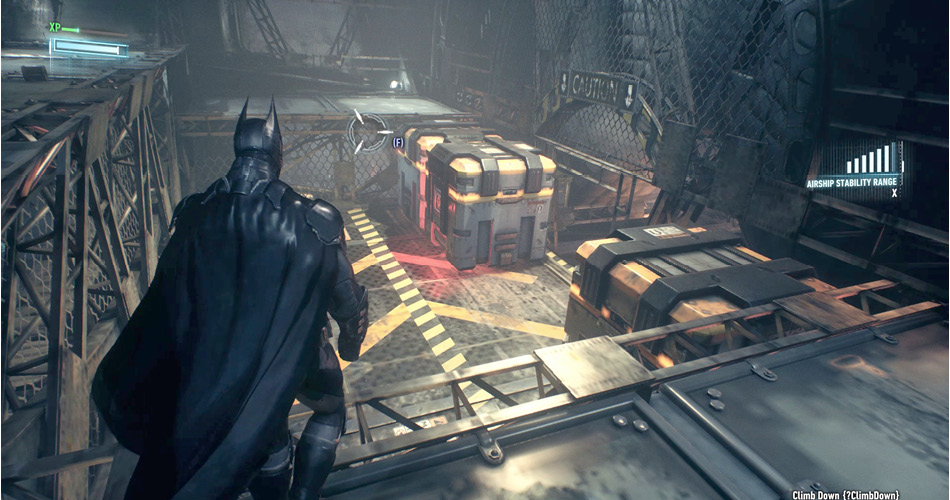
Proceed to the end of the next corridor and grapple through the hatch above as a dual bladed brute narrowly misses getting a piece of the vigilante. Avoid his blade attack, stun him, and take him down with a Beat Down. Use the Remote Hacking Device to open the gate, entering ELEMENTS as the password.
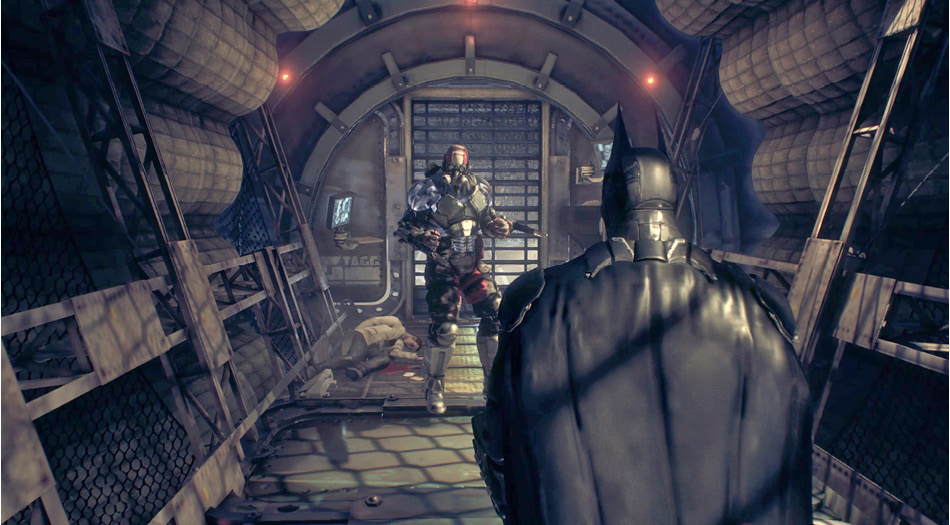
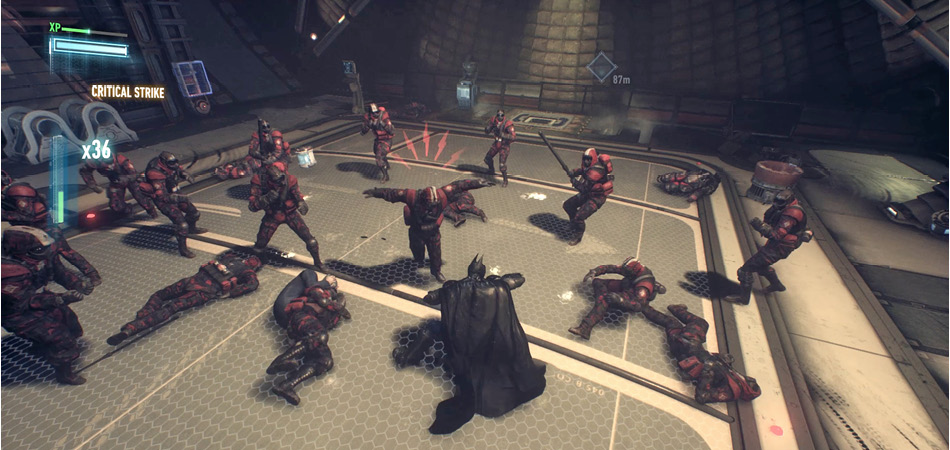
Twenty-six unarmed hostiles, including a brute, mill about in the cargo hold below. They have captured Simon Stagg and are currently interrogating him. Start the fight with a Glide Kick and continue to combo between the soldiers. Watch out for the brute and his blade attack. Performing an Environment Takedown on him makes this guy much easier to deal with—though you do miss out on the added combo count from the Beat Down. Charge attacks are easy to miss if you're not paying attention. Quick toss a Batarang to knock him down. With the pack out of the way, talk to Stagg before he's taken away to the second airship.
Hack the security panel next to the exit with the Remote Hacking Device and enter NUCLEICACIDS as the password. This provides access to the second airship, but gun turrets keep you inside the first. Batman must find a way to disable the weapons before proceeding across.
 Destroy the Weapon Turrets on the Second Airship
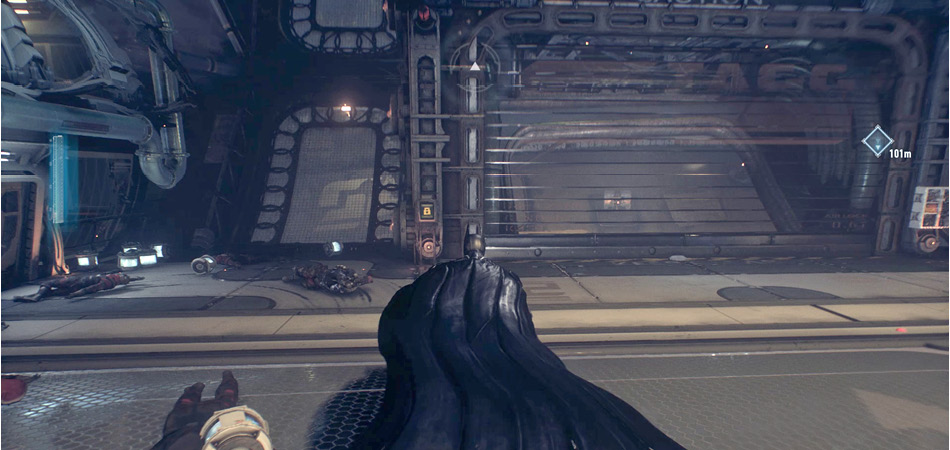
Use the computer at the end of the cargo hold to override the airship stability controls. Drop into the nearby hatch, where containment boxes block the path ahead. Activate stability control, tilt the ship to the right, and lock the first container on the right. Shift them back to the left and sneak through on the right.
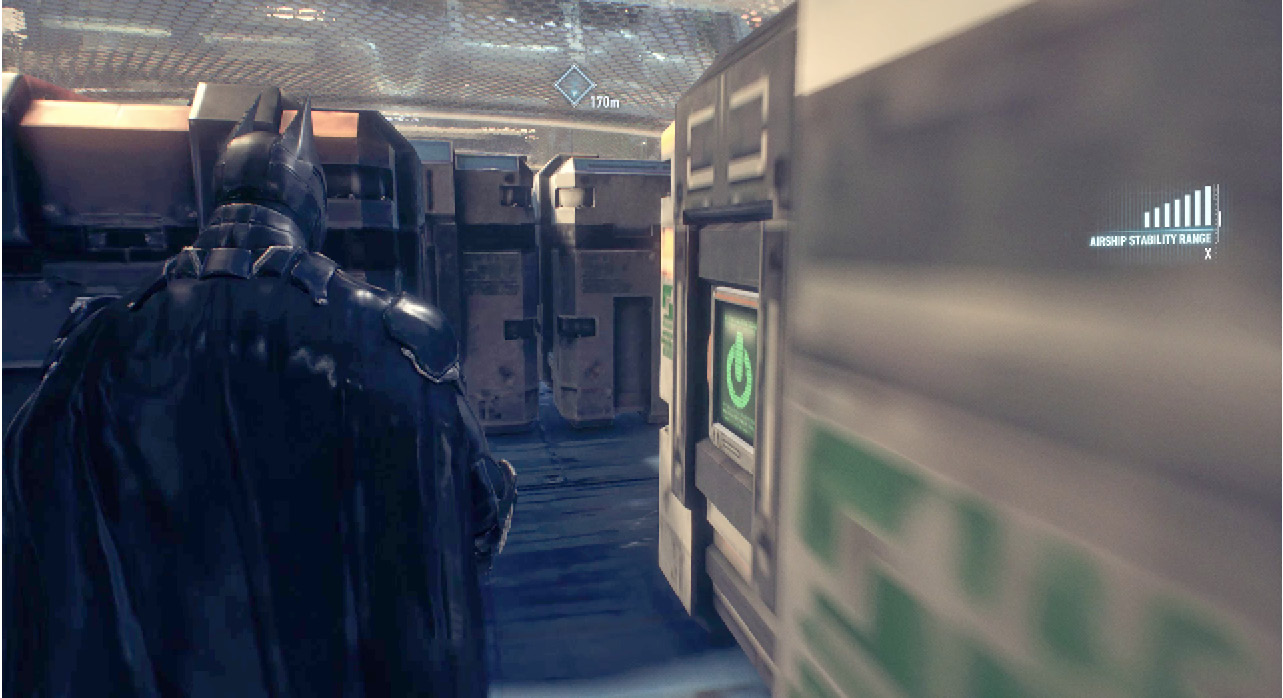
Release the container that blocks the path, then tilt all the way to the left and lock it on the other side along with the next crate. Shift the containers back to create a corridor. Move forward three boxes, shift left, and exit out the other side. Climb through the grate above and continue up the steps.
Use the Remote Hacking Device on the panel at the other end of the hall and enter CARBOHYDRATE to access the elevator shaft. Grapple through the hatch above and approach the next corner. To the left, entering LIPIDS into the security console opens up an exit back to the Cargo Hold. Go right toward the Research Laboratory, grapple into the venting above, and follow it onto a vantage point inside the lab.
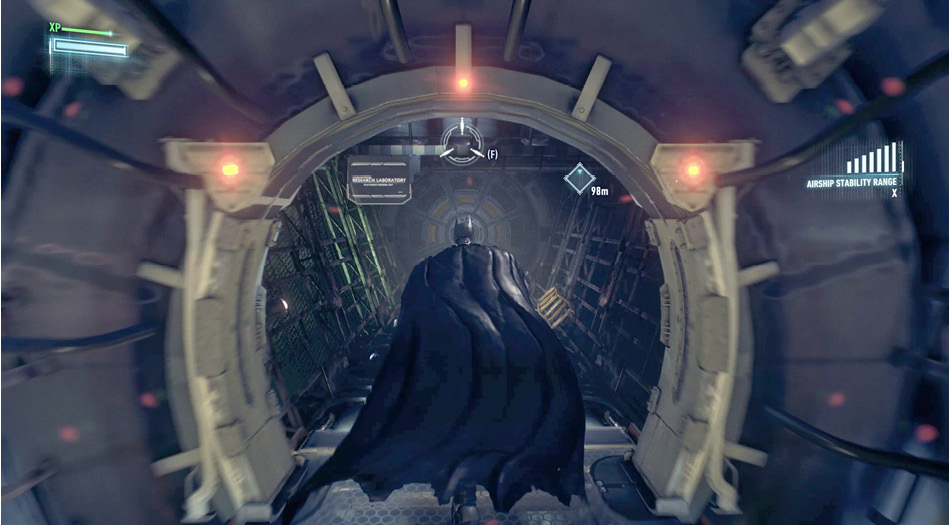
Eight armed hostiles litter the spacious room, including a Boa Sentry Drone operator, a Medic, and a soldier with a Detective Mode detector. The next objective is at the computer on the right, but you must dispose of the thugs before you can access it. Easily eliminate the two men on the right by dropping behind them from the beam above. Perform Silent Takedowns on them before retreating back to a vantage point. From there, the options are numerous. Focus on getting rid of the Medic next. Vents on the side of the room lead down to the floor grates, giving Batman an easy escape if spotted.
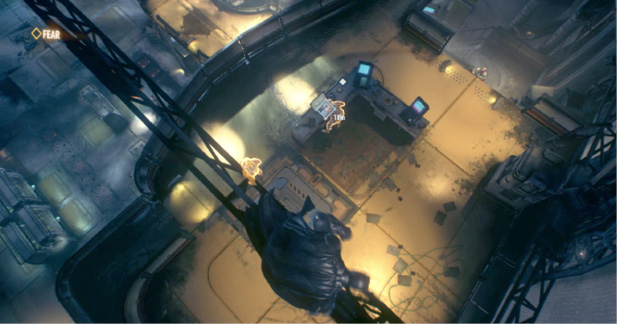
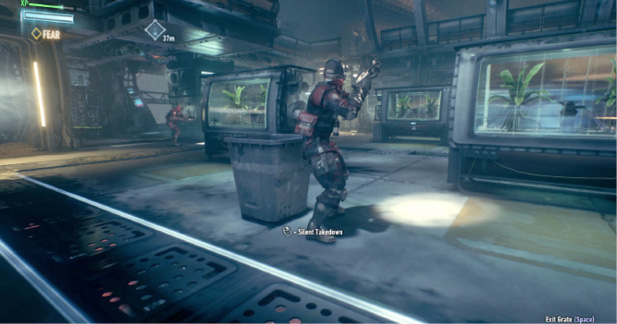
With the laboratory clear, use the console to reveal that Stagg’s fingerprints are required to shut down the turrets. In the same manner used at the Clock Tower to find out who took Oracle, CCTV feeds of Simon Stagg fleeing from danger are available to reconstruct his prints.
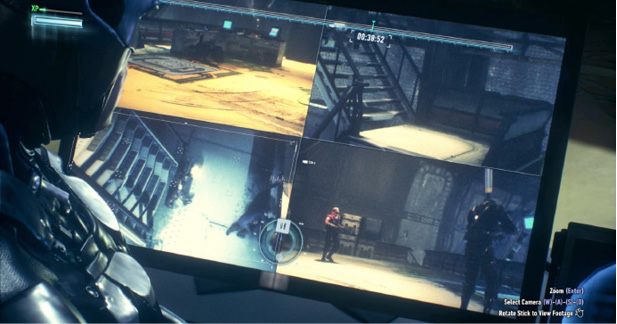
Scrub through the video until Simon touches the floor or railing with his hand. Scan that section of the image to see if prints are present. Watch for Stagg to steady himself on the railing, look near the exit, and on the floor. The fourth location is on the floor after he is thrown down the stairs. Next, find all four locations and use Detective Mode to scan the prints. This allows Batman to reconfigure a full handprint.
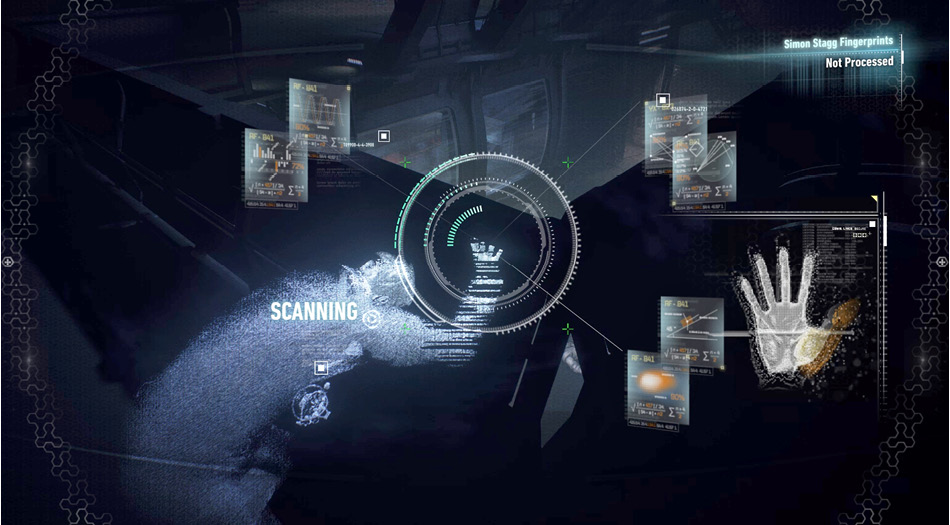
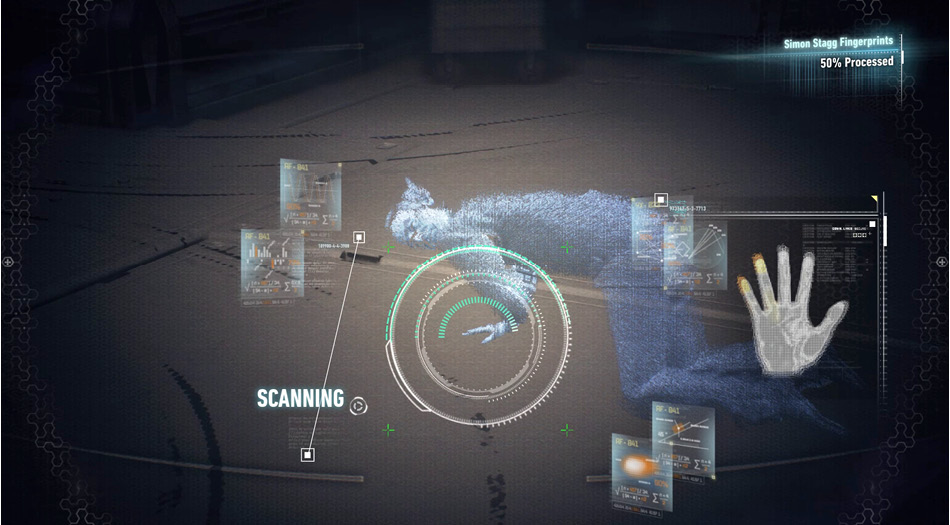
Use the console with Stagg’s handprint to gain control of the turrets on airship Alpha. Batman destroys the guns on the second ship, allowing for the pursuit of Scarecrow.
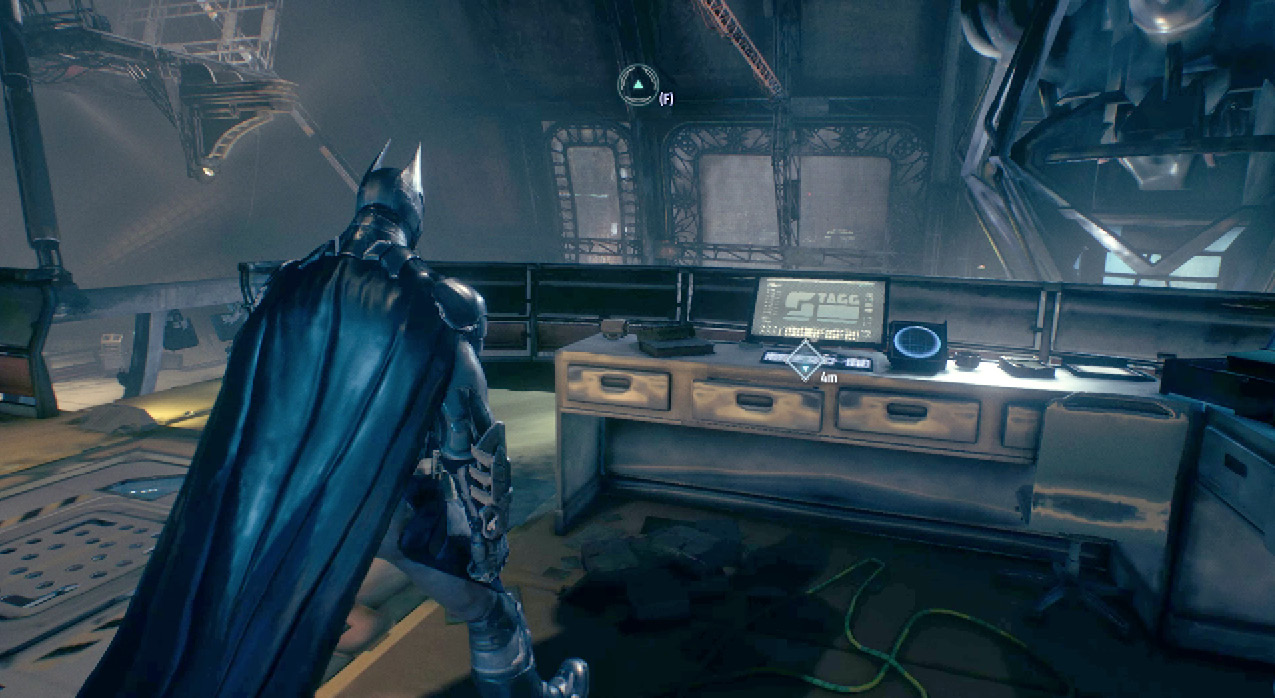
 Pursue Scarecrow Across to the Second Airship
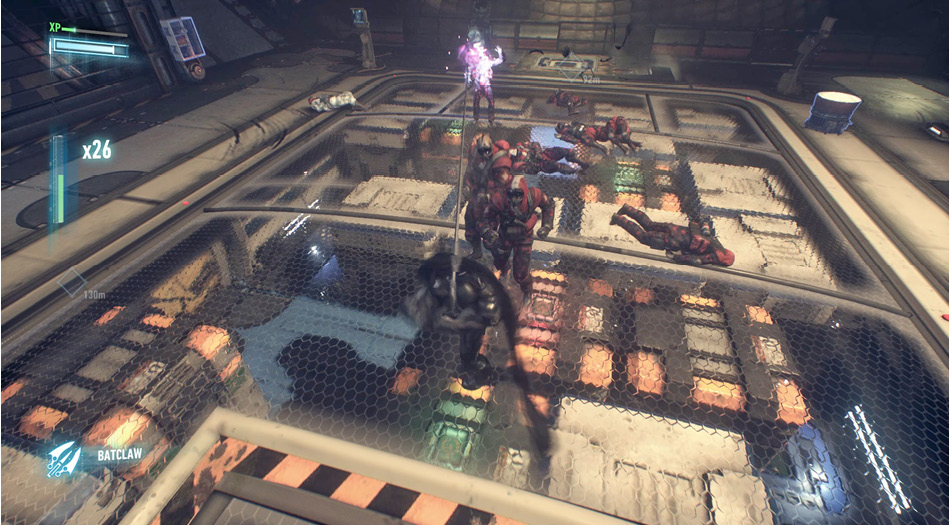
Exit the Research Laboratory through the venting or biometric gate on the east side of the room and return to the Cargo Hold. Ten soldiers have reoccupied the room, including two Medics. Upon entry, a Medic shows off a new ability with his stun gun. When fired at another combatant, the second guy’s suit temporarily holds the electric charge. Batman is unable to attack the target straight on. Quickfire the Batclaw at the charged enemy to dissipate the electricity, making him safe to strike. Clear out the hostiles.
After the fight, Lucius Fox offers up a second upgrade for the Batmobile. This time, choose between the upgrade not chosen before and an EMP for the vehicle.
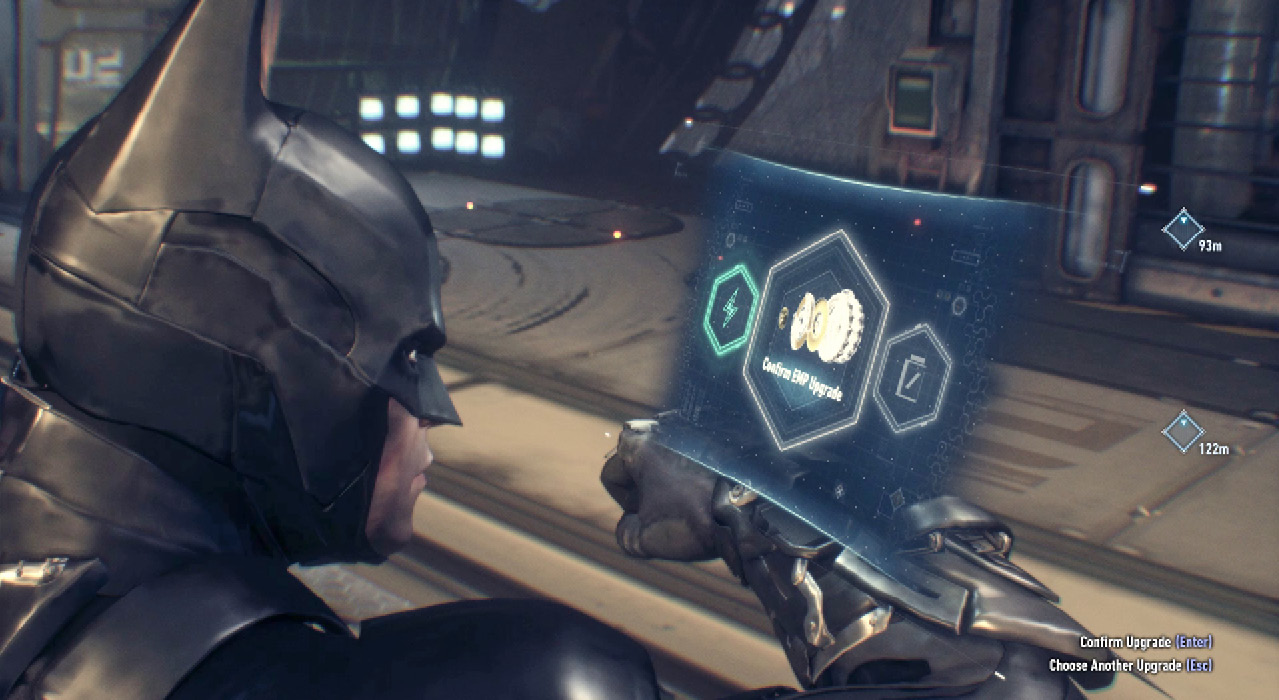
■ EMP – An electromagnetic pulse is designed to temporarily scramble drone weapon targeting and divert incoming missiles. Successive blasts also temporarily immobilize enemies in the immediate vicinity. Don’t worry, the Batmobile is immune.
Enter NUCLEICACIDS into the security console to open up the gate. Just inside the second airship, eight unarmed enemies await Batman’s arrival. Glide Kick through the window to knock an unaware hostile down. Continue the combo, keeping an eye out for blade attacks from the combat experts. Once the room is clear, spray Explosive Gel on the weak wall on the east side and detonate it.
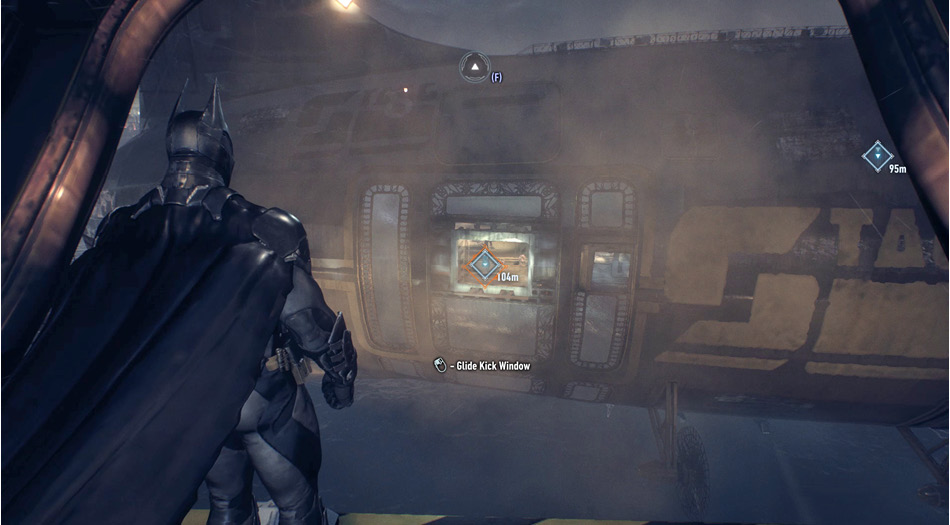
Around to the left, another console provides stability controls on the west side of airship Beta. Turn to the left to spot a containment box inside the glass corridor. Tilt the ship right to dislodge the crate and then move it the other way so that it crashes through the two panes of glass and exits the zeppelin.
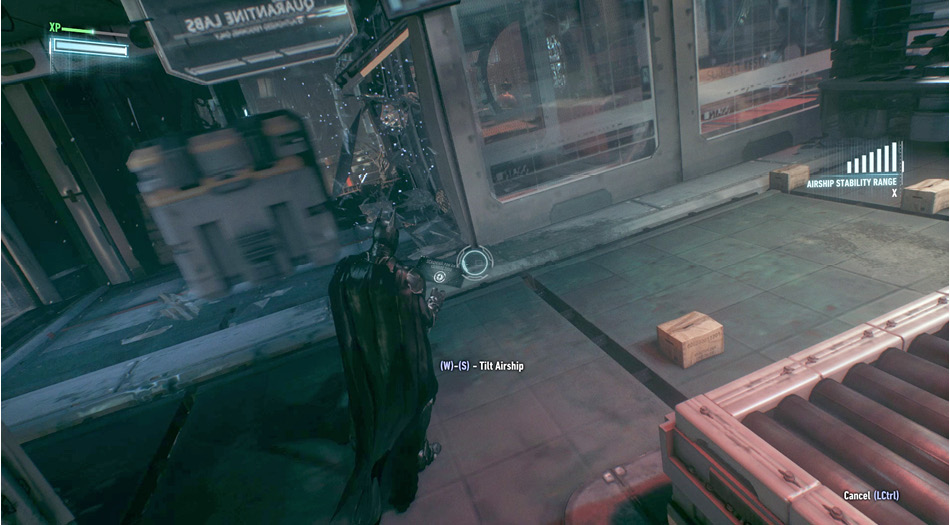
Continue through the newly opened hallway and follow the path to the left and then right to Quarantine Labs. Accessing the computers affords more insight into Stagg’s involvement. At the other end of the corridor, continue through the door to Biological Engineering.
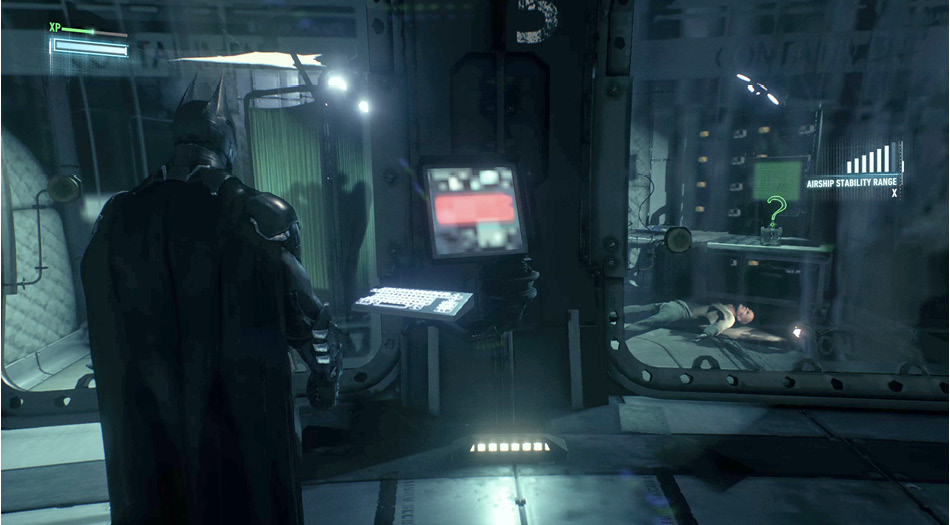
Ten hostiles, highlighted by a minigunner, are scattered throughout this large, multilevel room. Steer clear of the big guy while picking everyone else off with Silent Takedowns. If detected, escape into the floor or to a perch above. Stay on the move until the enemy loses the vigilante. If you remain stationary for too long, a soldier will pick you off. Take advantage of the multiple floors, rooms, and corners to sneak up on the thugs. Disrupting three guns helps improve the odds.
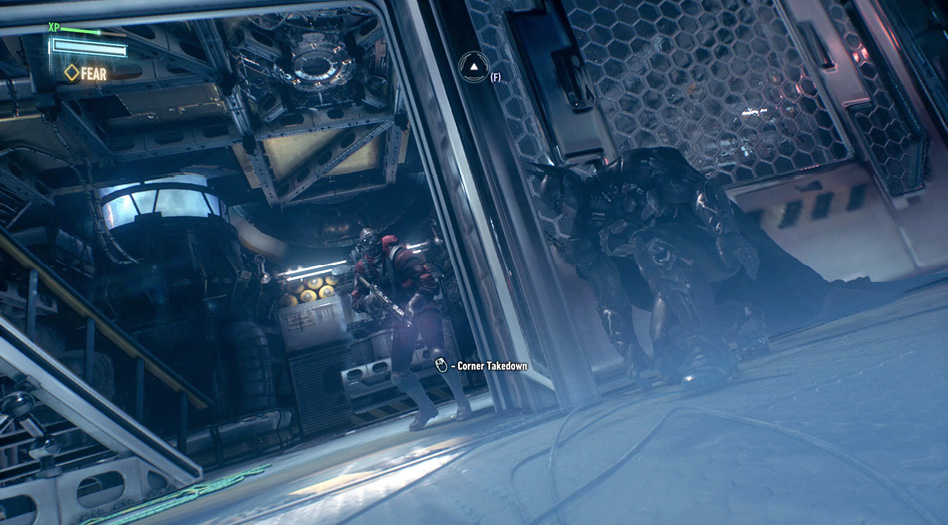
With the guards out of the way, talk to Stagg before proceeding through the biometric gate on the east side. Approach one of the “Scarecrows” ahead and perform a takedown, only to be taken down instead. Once Batman recovers, eliminate the small group of unarmed soldiers before striking the boss. Scarecrow manages to escape the vigilante as he blows a piece of the airship clean off the end.