Batman: Arkham Knight Guide Story Mode
Chapter 2: Patience is a Virtue
The Chapter at a GlanceOBJECTIVES
NEW AR CHALLENGES None AVAILABLE SIDE MISSIONS None |
 Rendezvous with Gordon
 Rescue the Missing ACE Chemicals Workers
 Use the Access Terminal
 Scan the ACE Chemicals Plant
 Escort the ACE Chemicals Worker to Gordon
 Rescue the Remaining ACE Chemicals Workers
 Escort the ACE Chemicals Worker to Gordon
 Stop Scarecrow from Blowing Up ACE Chemicals
 Escape ACE Chemicals
 Rendezvous with Gordon at the ACE Chemicals Plant
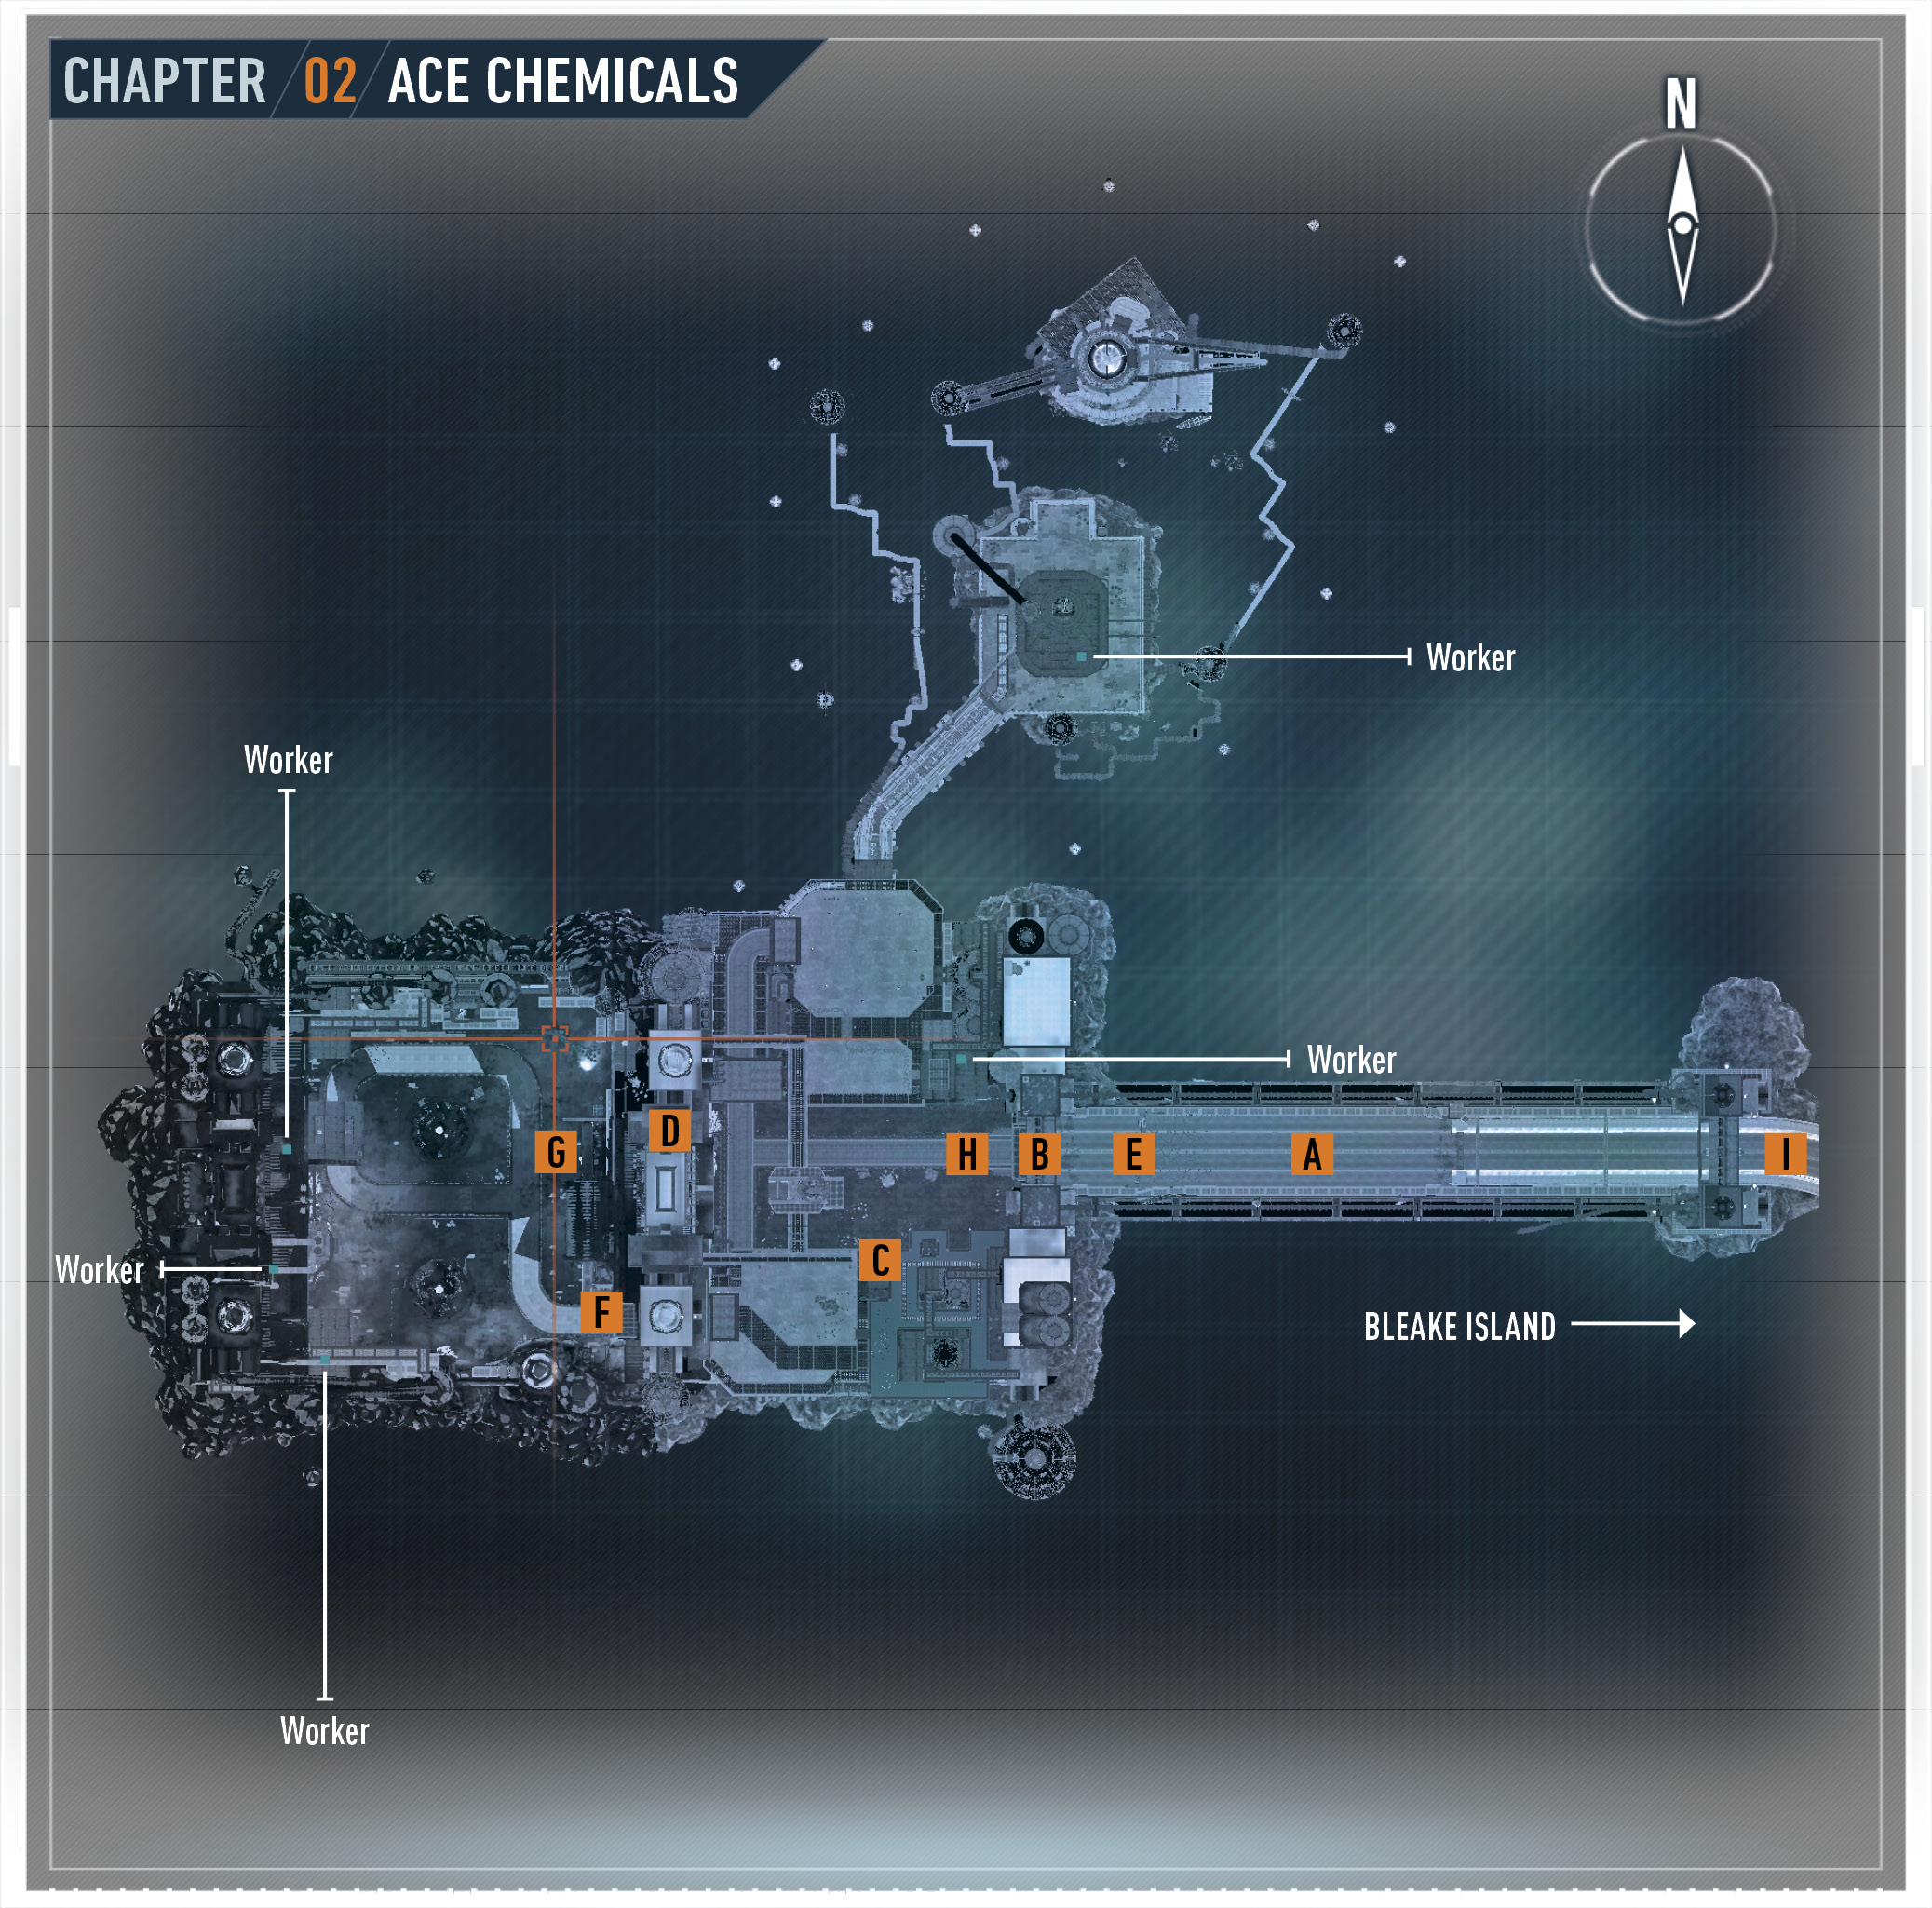
Located on the northwest corner of Bleake Island, a bridge leads out to the ACE Chemicals plant. Commissioner Gordon awaits Batman’s arrival along with a group of officers. A skeleton crew of workers remains inside.
 Rescue the Missing ACE Chemicals Workers to Get Information on Scarecrow
After a brief confrontation with the Arkham Knight, grapple to the top of the gate ahead, where Batman checks in with Oracle.
 Use the Access Terminal to Retrieve the Workers’ Personal ID Frequencies
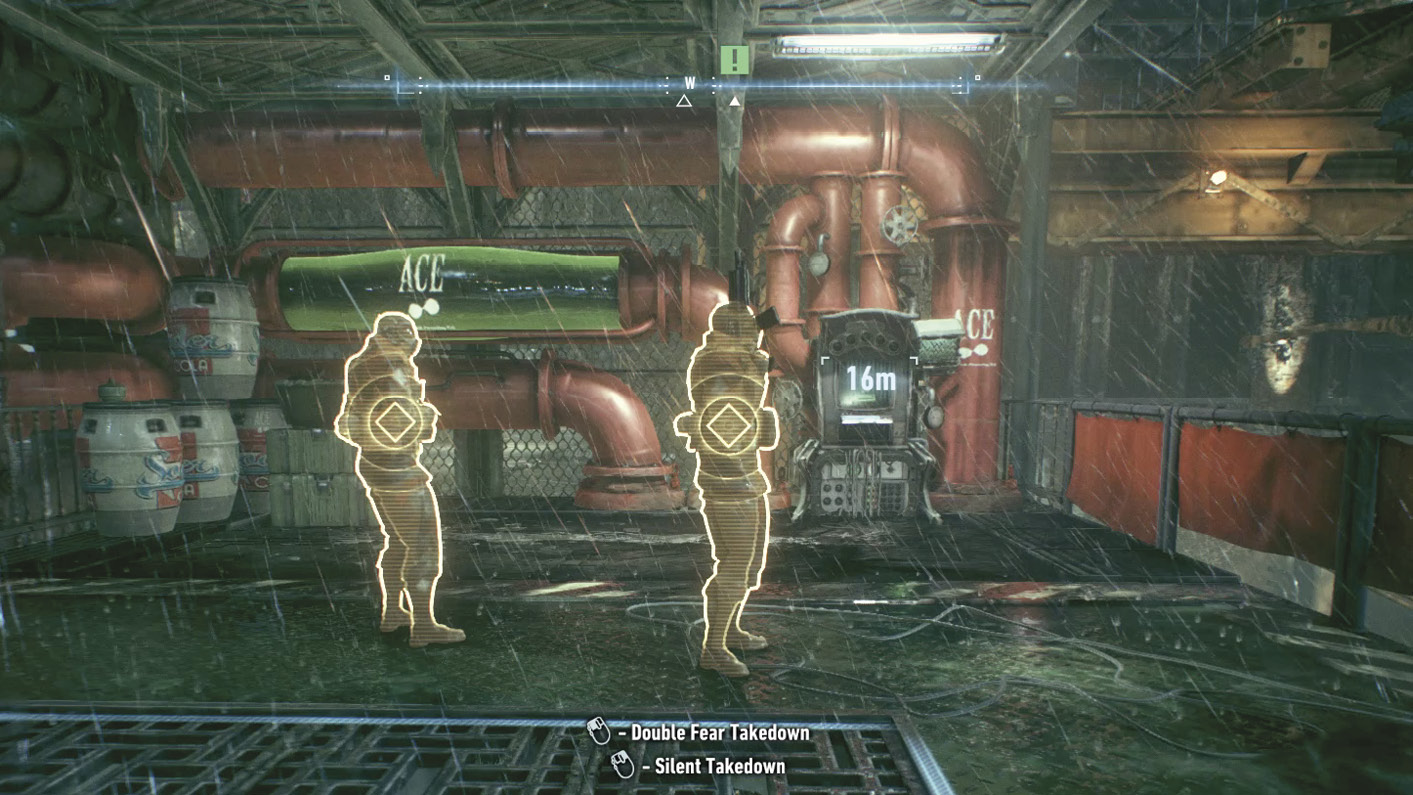
A nearby terminal should allow Batman to retrieve personal ID frequencies of the workers, which would allow them to be tracked. Activate Detective Mode and survey the situation below. Five armed soldiers guard the area, so stealth is in order. The hostiles are spread out, so getting behind each one for a Silent Takedown is relatively simple. Take out the left two first, followed by the right guy who wanders. Drop into the floor grate, approach the terminal, and eliminate the final two with one takedown. Use the computer to obtain the ID codes for the five personnel.
 Scan the ACE Chemicals Plant to Pinpoint the Location of the Missing Workers
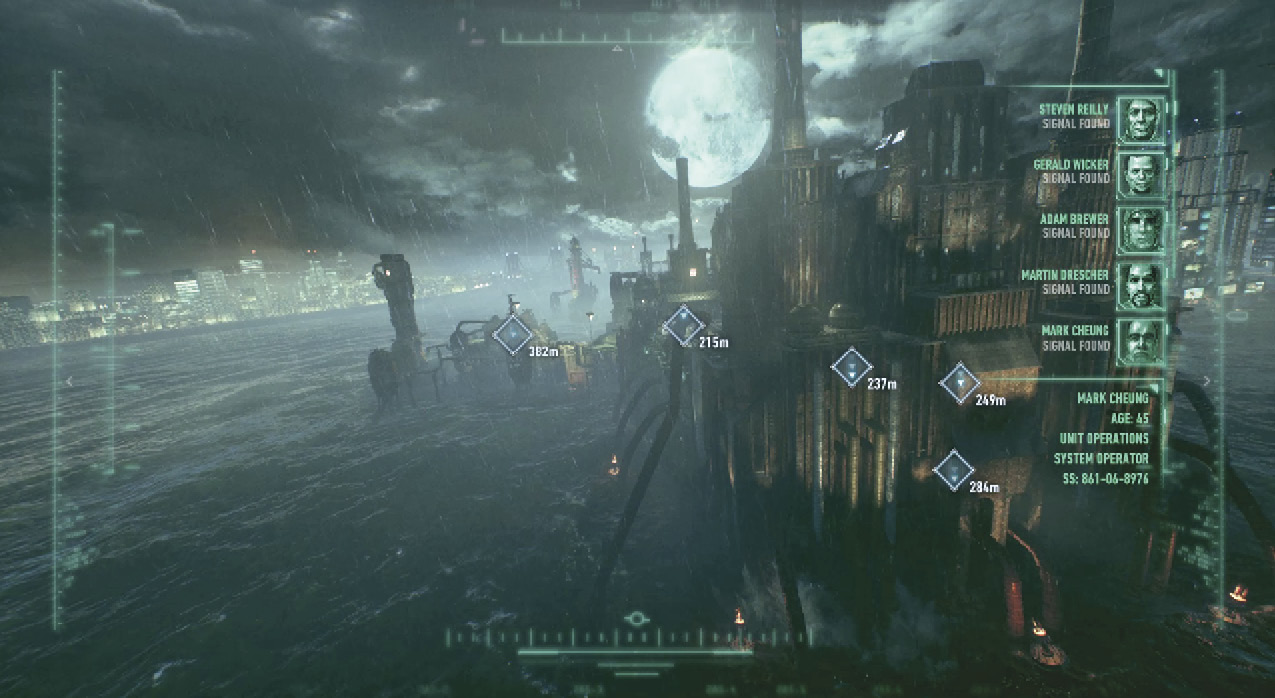
A high Vantage Point is required to scan the plant. Grapple and climb to the very top of the main building ahead, above the ACE Chemicals sign. Once deployed, the BatScanner slowly circles around the facility. Move the target around until a signal is displayed. Hold the Run button to analyze it and reveal a worker’s location. Continue this process until you’ve found all five.
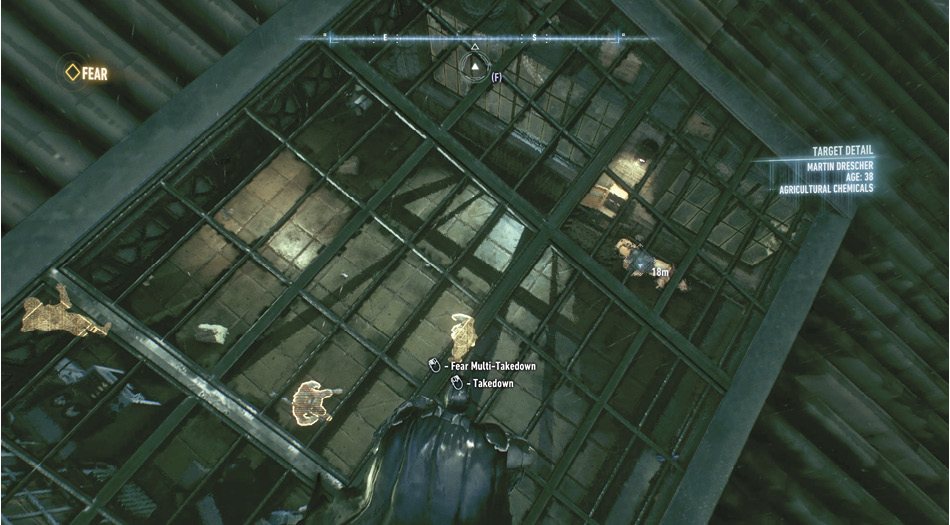
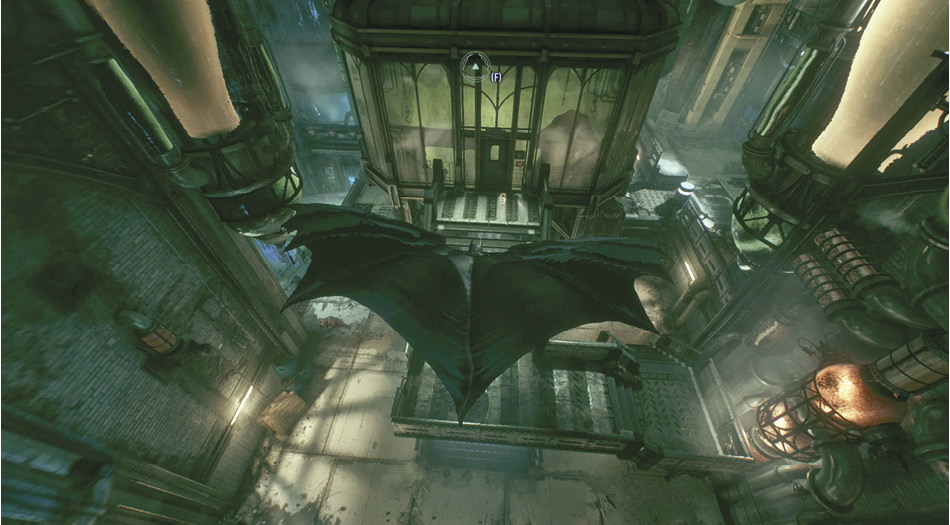
Glide down to the roof (or glide-kick into the roof when the diamond symbol is present) of the small building next to the front gate. Use a Fear Multi-Takedown on one of the hostiles below and continue the combo until all five guys are unconscious. Unfortunately, the hostage has been killed. Step over to the gate release that hangs between two windows and throw the switch to open the main gates.
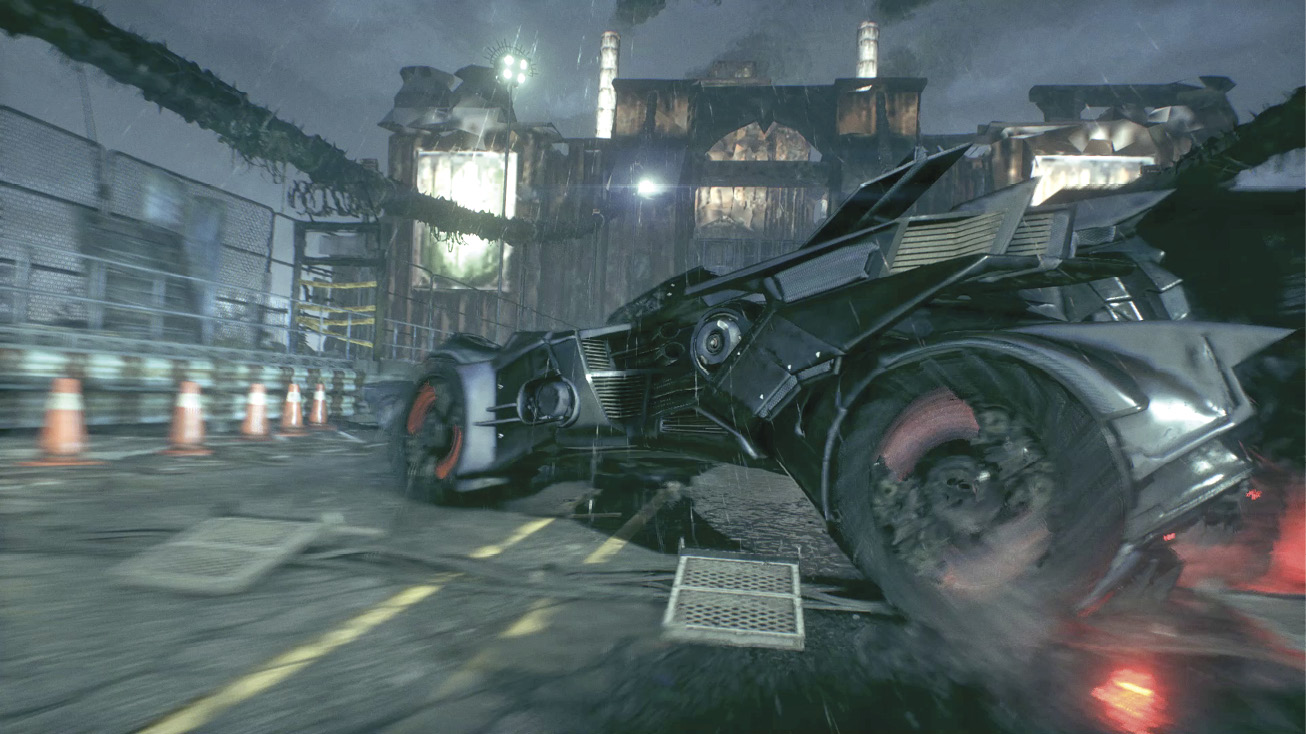
Select the Batmobile Remote, fire the Power Winch at the anchor point ahead, and pull the road back to create a ramp. Hit the Afterburner and jump through the gate, where three Rattler Drones and a Diamondback Drone await. Take care of them with the Heavy Cannon, avoiding incoming attacks with the Dodge Thrusters.
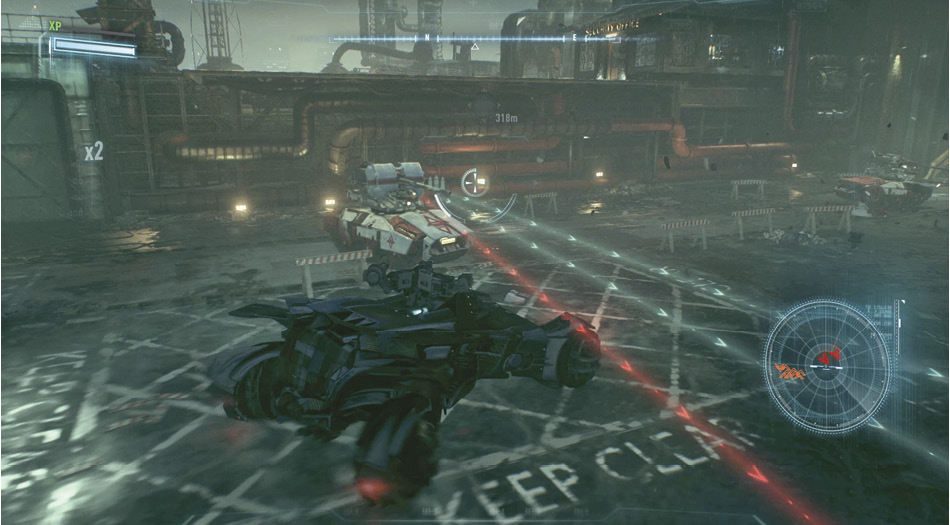
 These tanks are heavily armored, but still manageable with the Batmobile’s 60mm Heavy Cannon. Two or three direct hits take one down. The Diamondback fires a spread of three rockets at a time, requiring Batman to be ready with the Dodge Thrusters. |
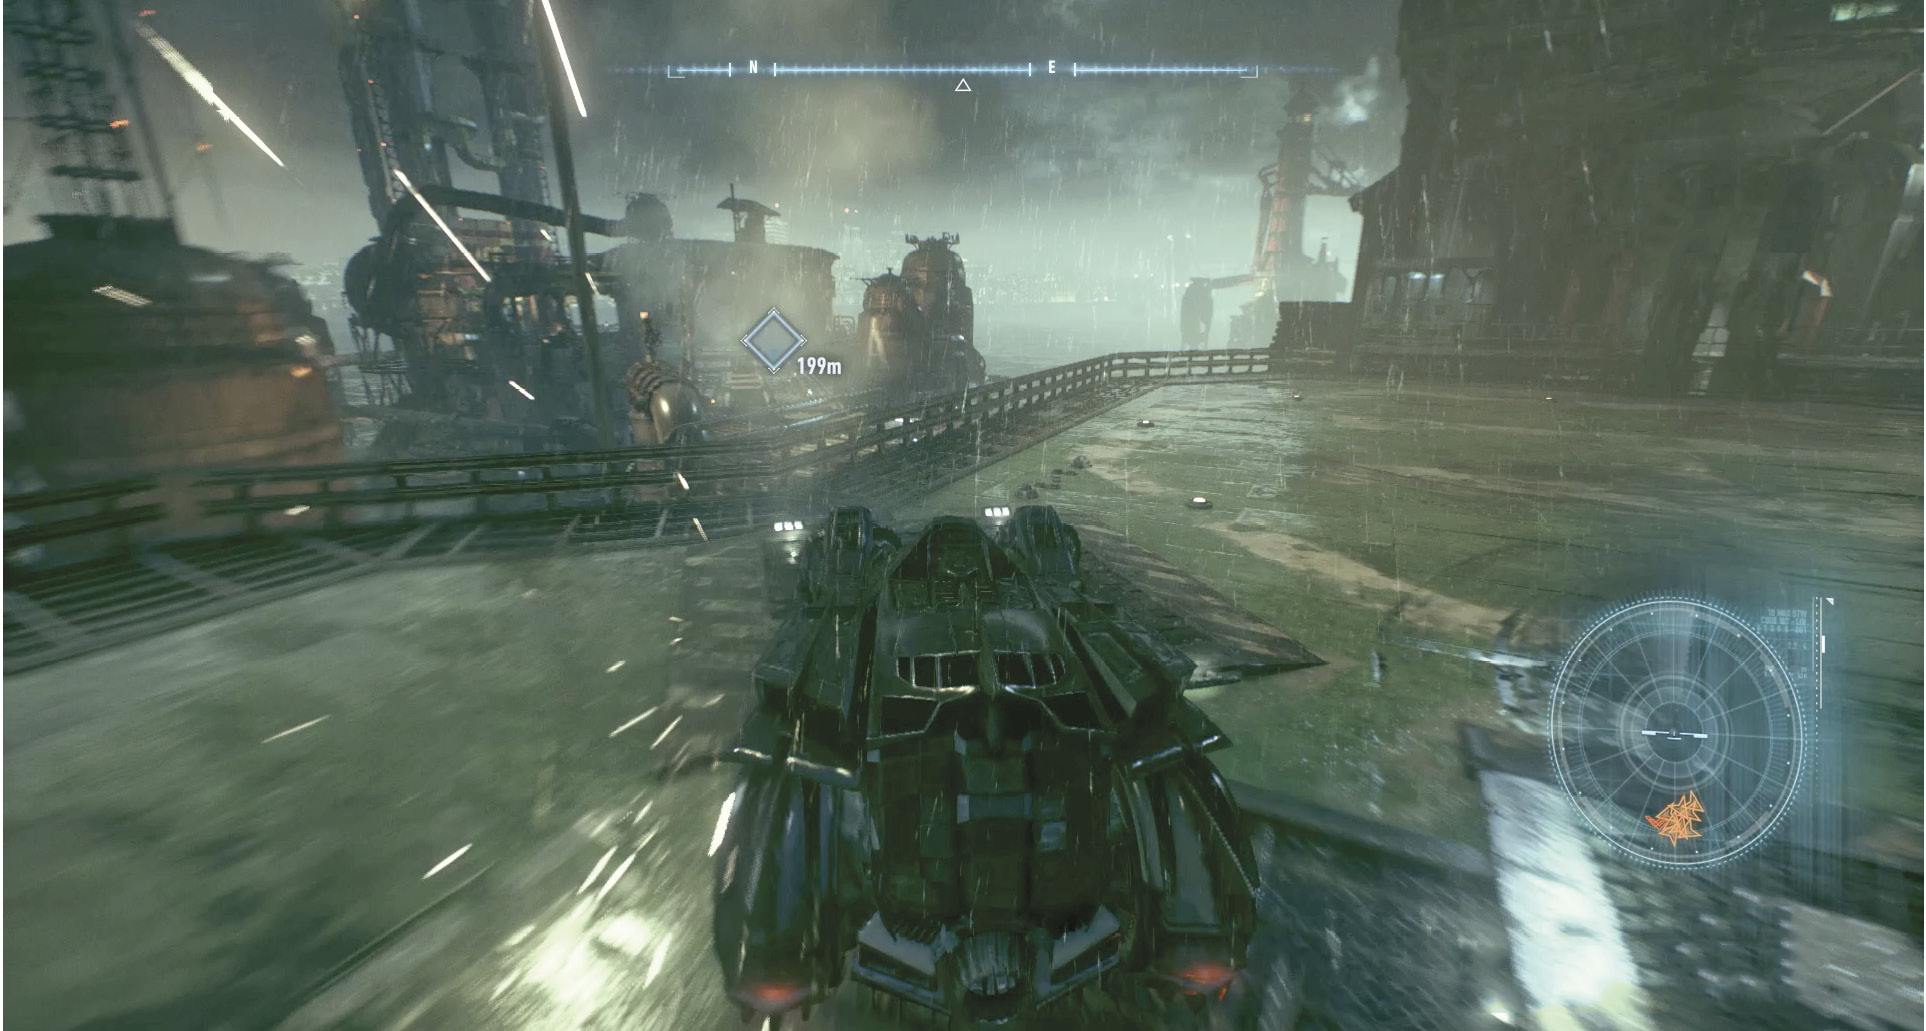
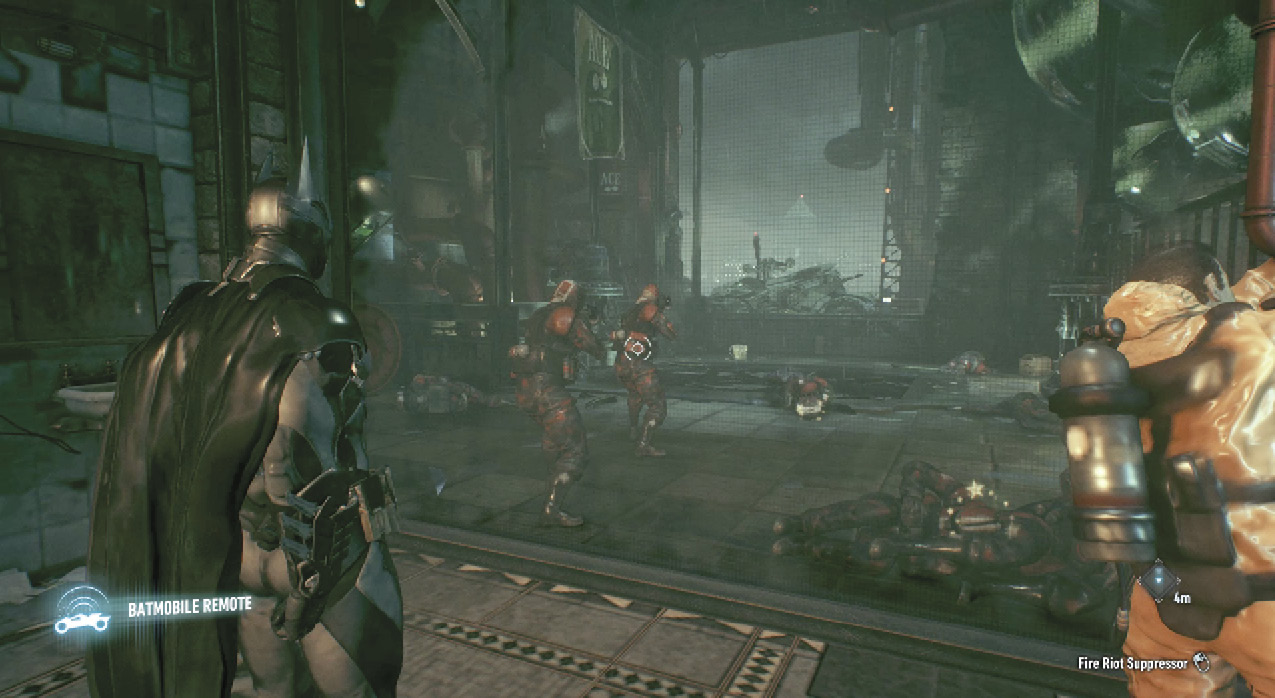
Approach another anchor point next to the main building. Use the Power Winch to open the gate follow the path up a level, and spot the worker to the northeast. Drive the Batmobile through the railing, pipes, and barricades to the circular structure. Knock out the three soldiers and continue around to the backside. Take down the wall with the Power Winch and eliminate the hostiles inside. Enter a door in the far-right corner to reach a chained up hostage.
The Arkham Knight shows up with a handful of soldiers, confident that they have Batman right where they want him. Select the Batmobile Remote and knock down all of the hostiles as the boss grapples away. With the guns knocked out of their hands, take them all down with some melee attacks.
 Escort the ACE Chemicals Worker to Gordon on the Bridge
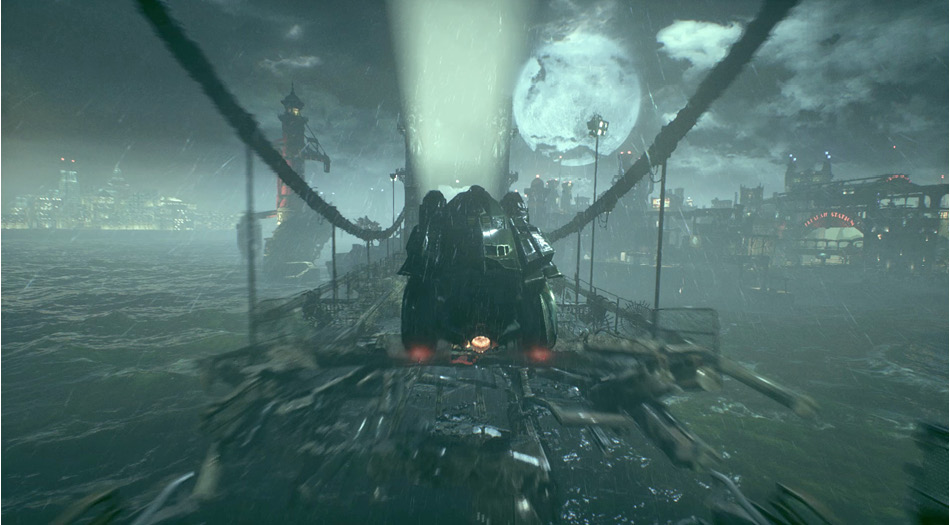
Free the hostage, hop into the Batmobile, and take the worker to Gordon just outside the main gate.
 Rescue the Remaining ACE Chemicals Workers to Get Information on Scarecrow
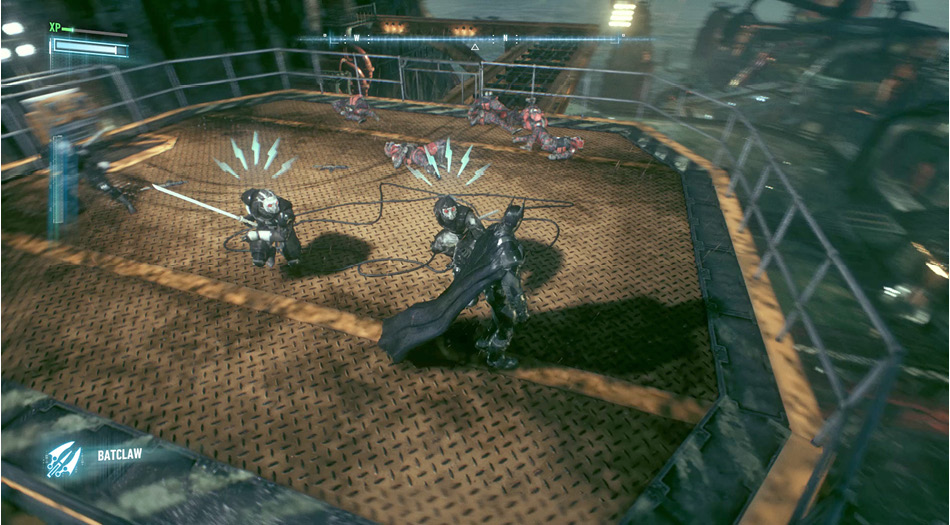
Head back into the facility, drive up the ramp, and exit the vehicle. Grapple up to the crane platform above, where six hostiles hang out. Make the two armed-thugs a priority while taking them all down. Four combat experts take their place. Counter their acrobatic sword attacks and finish them off before accessing the crane controls.
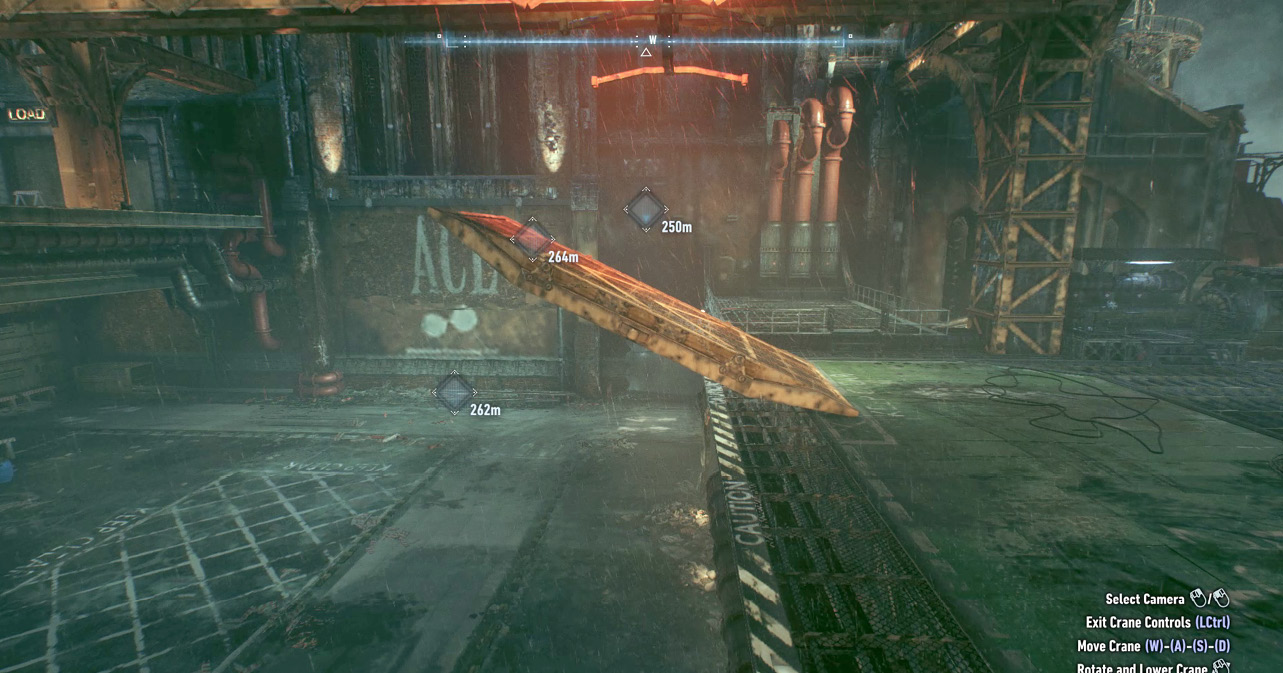
The controls are listed in the lower-right corner of the screen. The crane can be moved, rotated, and lowered. Move the ramp toward the Batmobile and set it down on the edge of the upper level. Select the Batmobile Remote and jump the gap with the help of the Afterburner. Turn right and drive toward the Loading Dock.
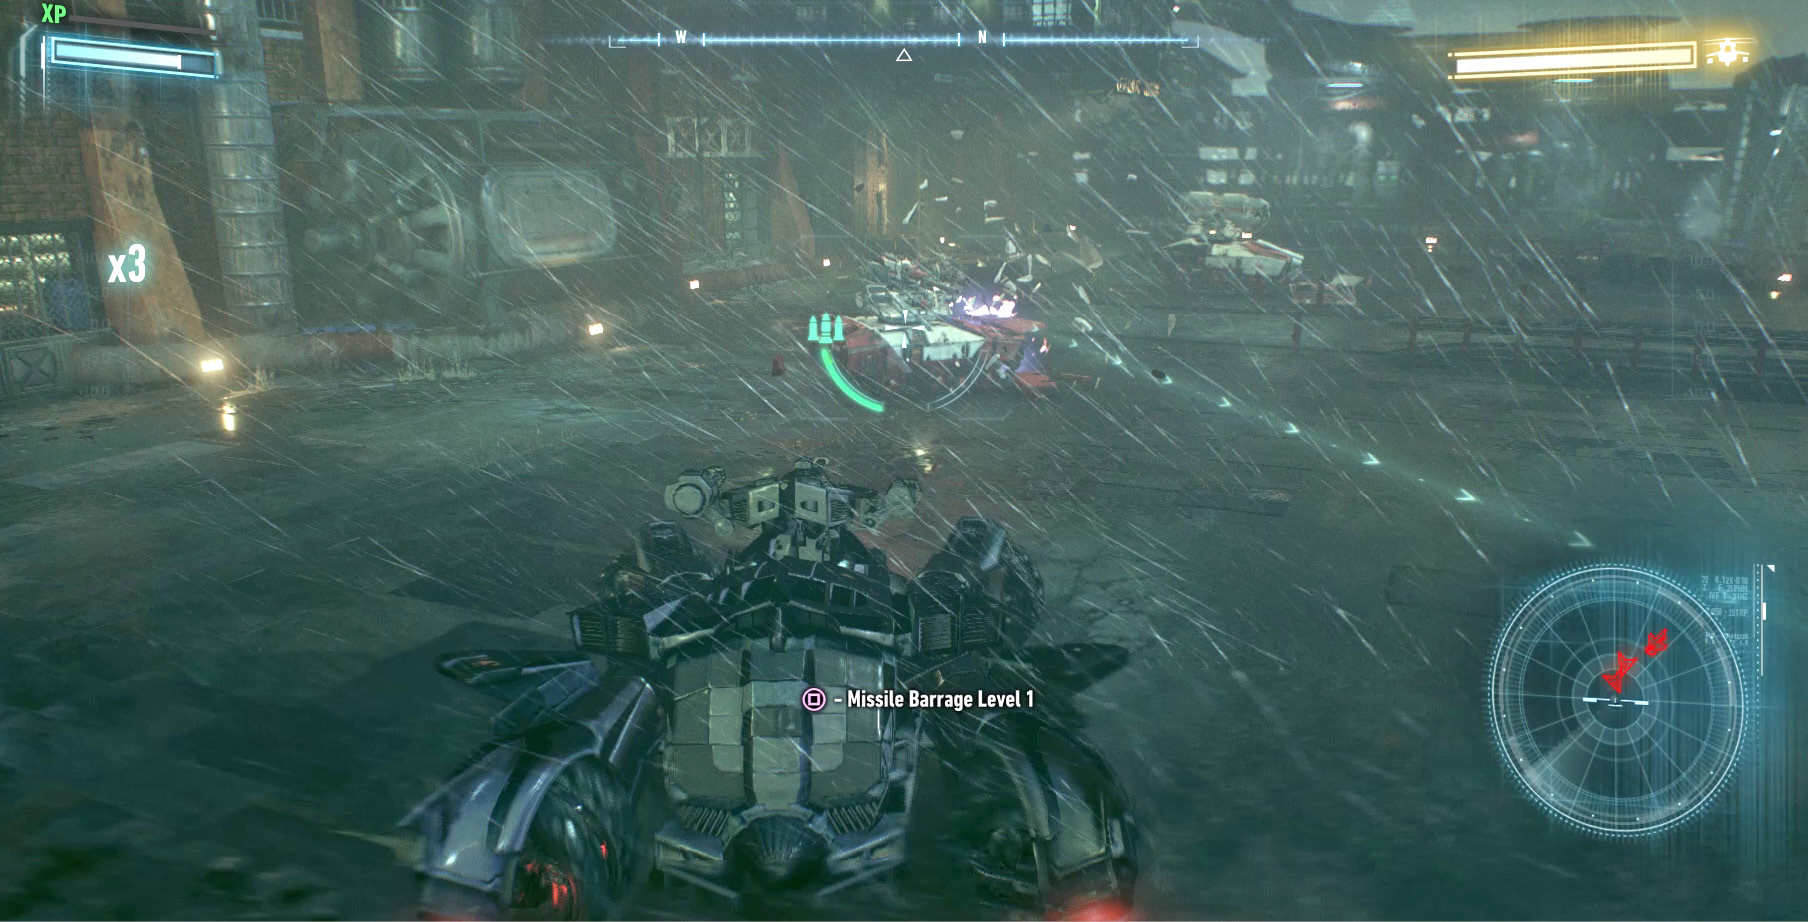
Six Rattlers and two Diamondback Drones block the path. Concentrate on the stronger two first, as their triple shot is tougher to avoid. Deploy the Missile Barrage when available and eliminate the tanks with the Heavy Cannon.
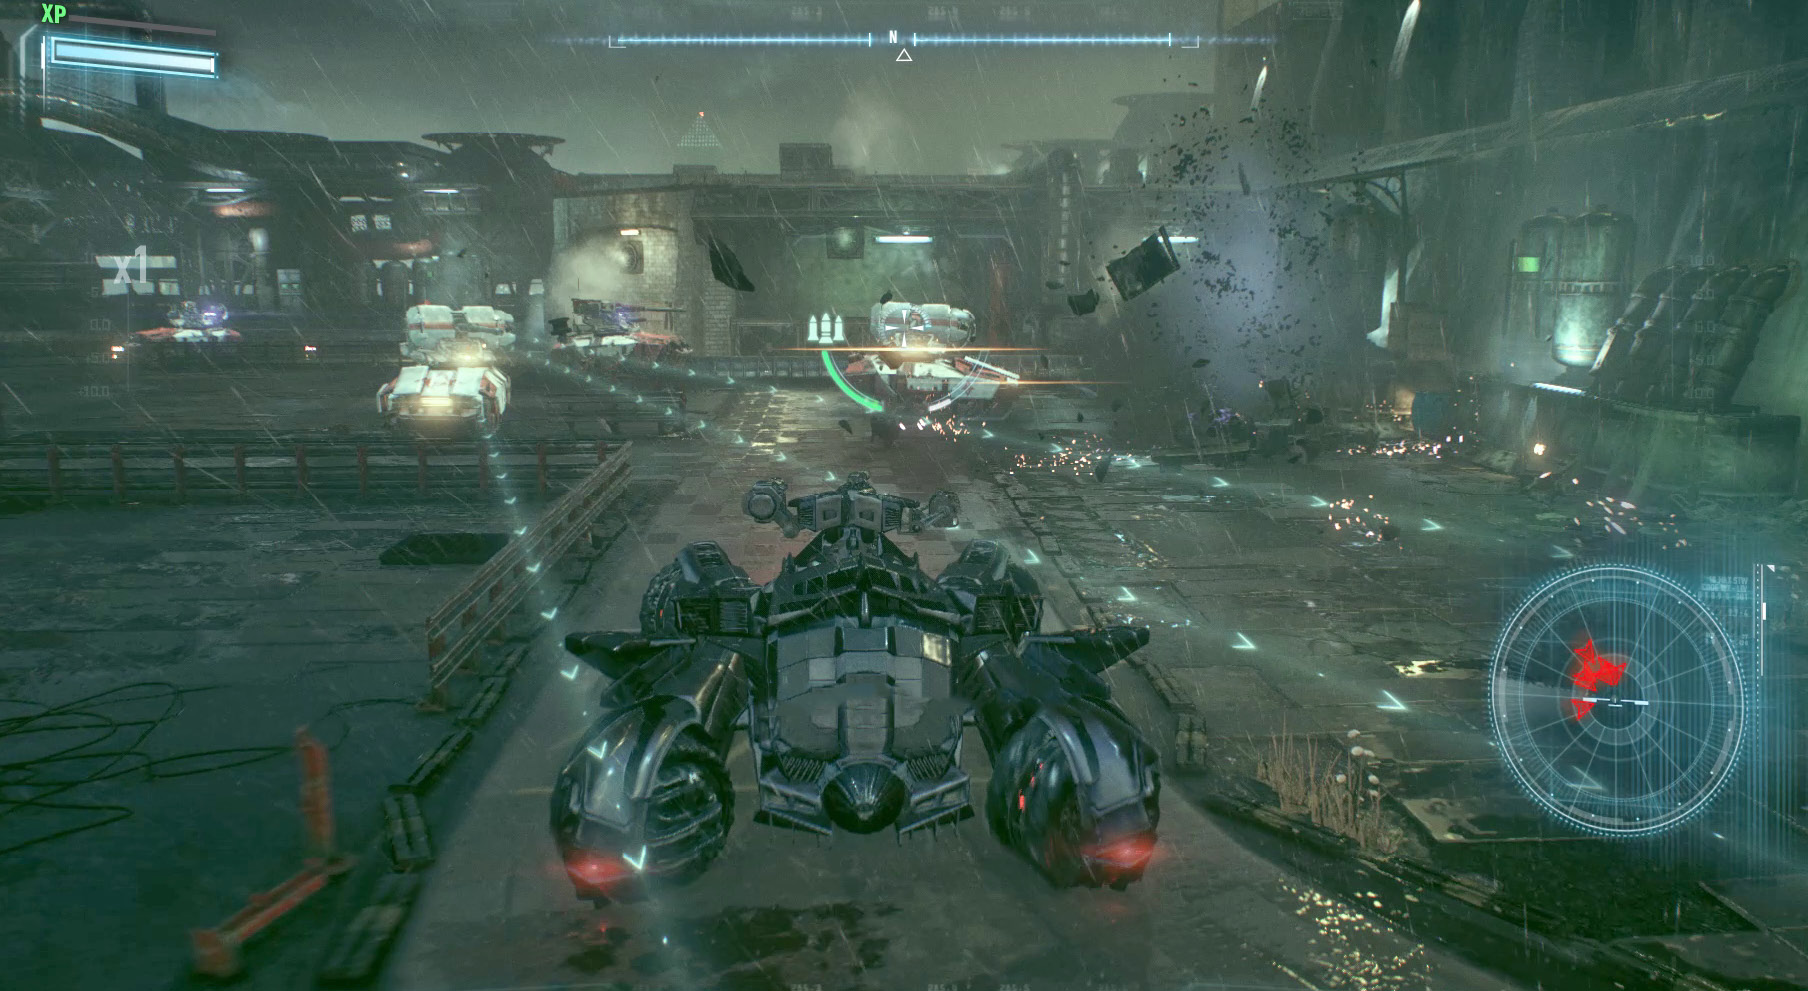
Face toward the Loading Dock at the back of the area. With a diamond target on the window above, eject from the Batmobile to perform a Glide Kick through the glass. Five soldiers and a Medic are housed inside. Defeat the group, select the Explosive Gel, and spray it onto the weak wall in the back of the room. A gas leak blocks your way. Use the Batmobile remote and winch the exposed pipe below the Loading Dock to stop the leak. Once the way is clear you find another deceased worker.
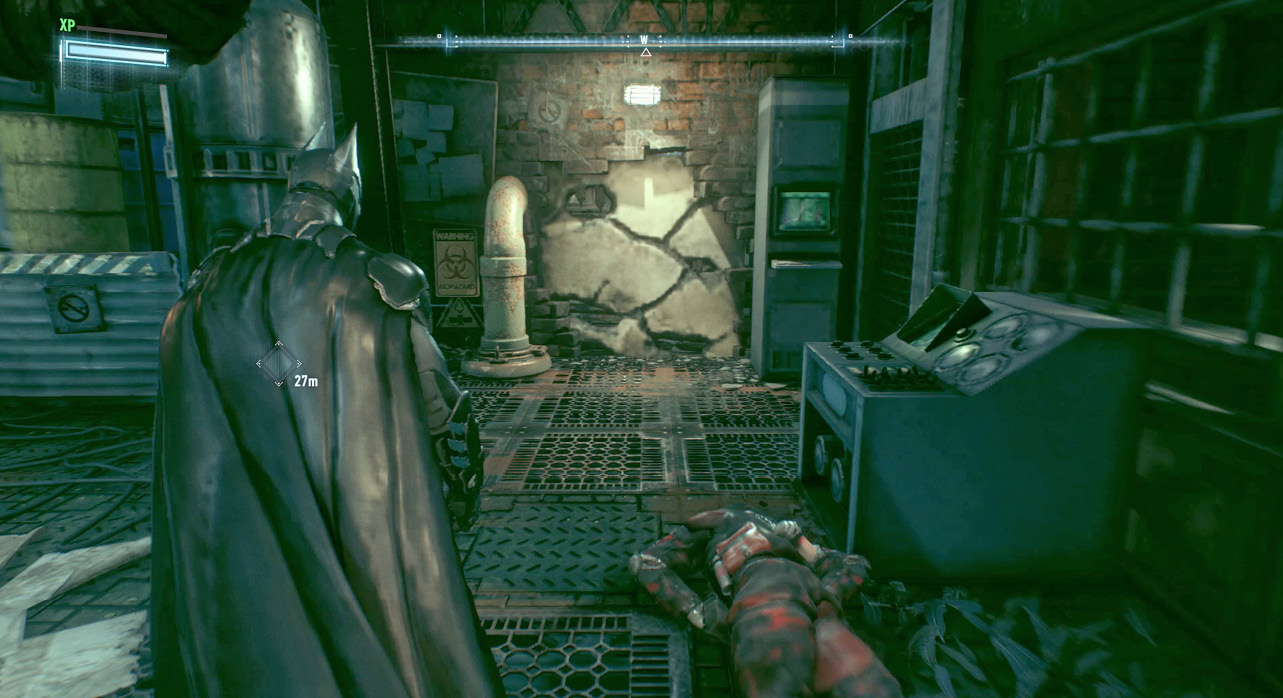
A weak section of the floor ahead can be destroyed, allowing access to the lower floor. Gas leaks block the path to the next worker. Place Explosive Gel on the wall in the back of the room and detonate it to reveal a pipe. Pull the cover off the electric panel on the front wall to raise the adjacent shutter. This gives line of sight to the Batmobile. Switch to the Batmobile, fire the Power Winch at the exposed pipe, and pull it apart to stop the leaks. Duck under the opening ahead to find a third dead worker.
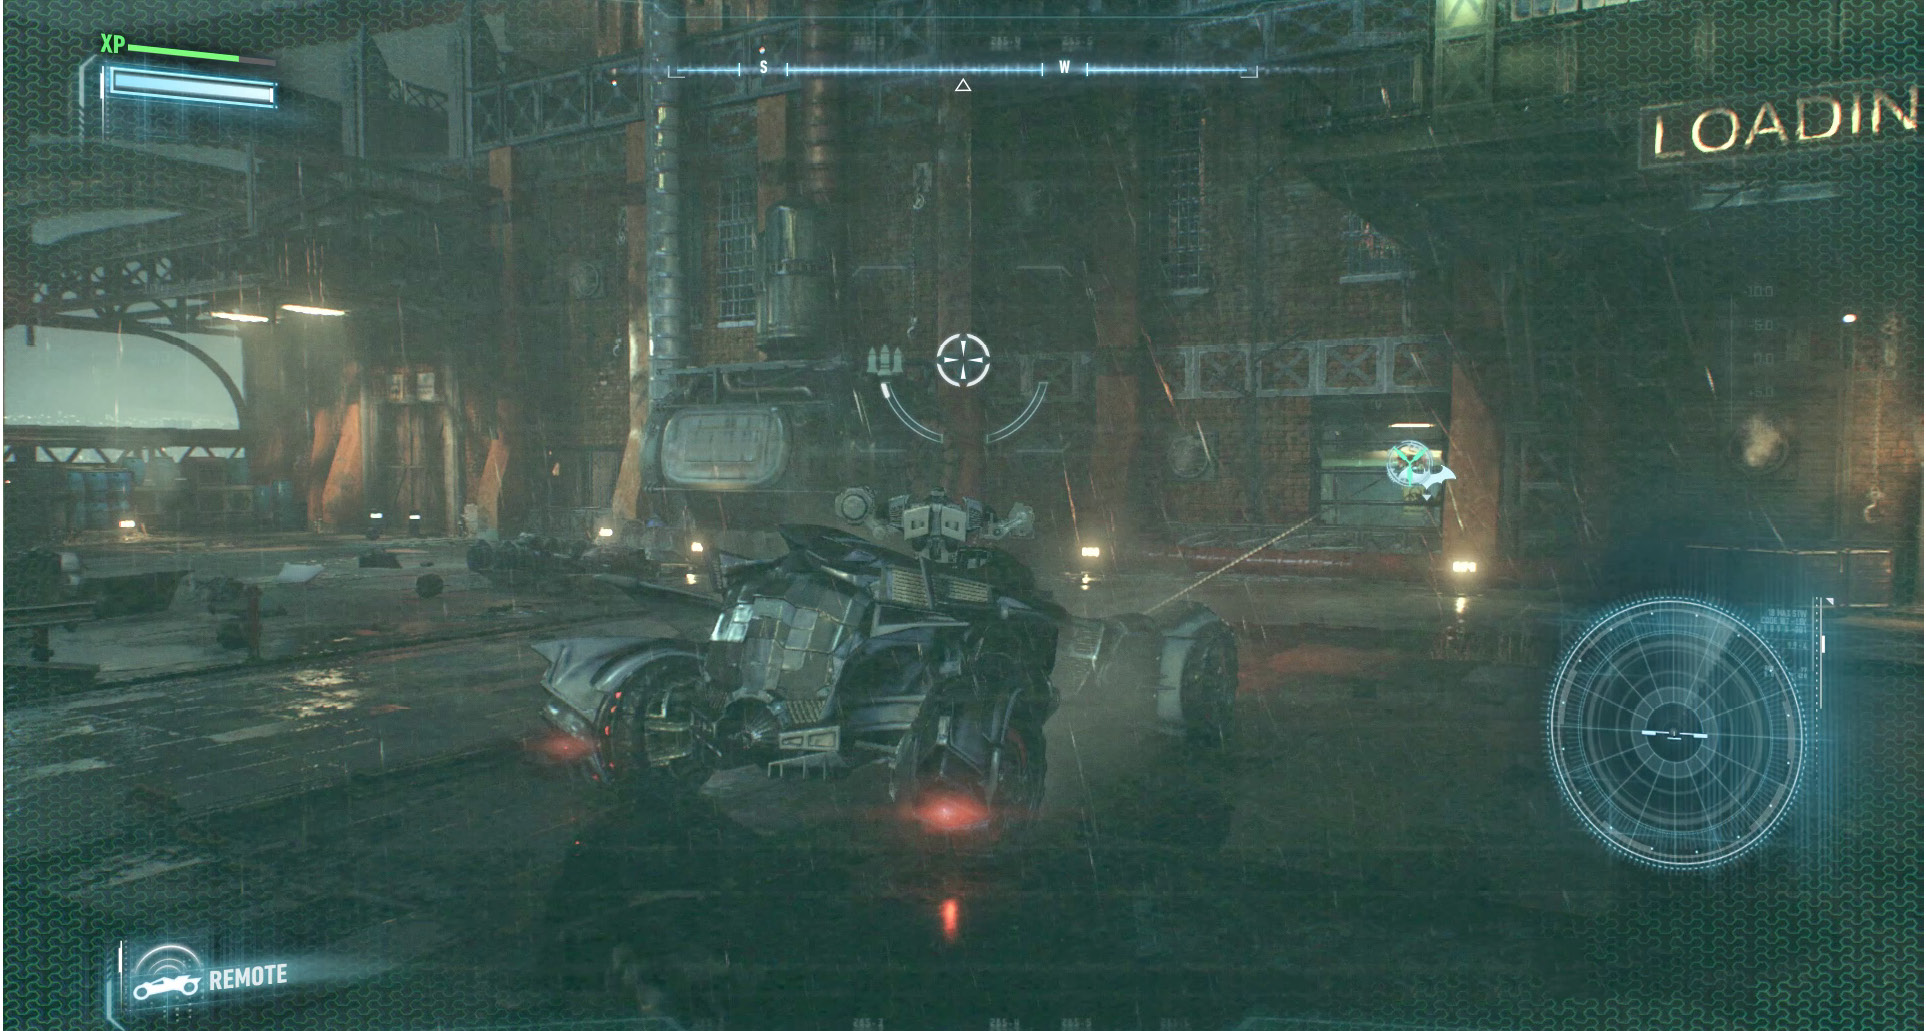
Continue forward and pull the cover off the box on the left wall. This opens a gate to the outside. Select the Batmobile Remote and drive the vehicle to the opening, where bollards restrict admission. Take down the weak wall inside with the Heavy Cannon and then fire the Power Winch. Move backward until an elevator appears ahead and reaches its highest point. Leave the winch attached and climb inside the elevator. Take control of the vehicle and push forward to lower Batman.
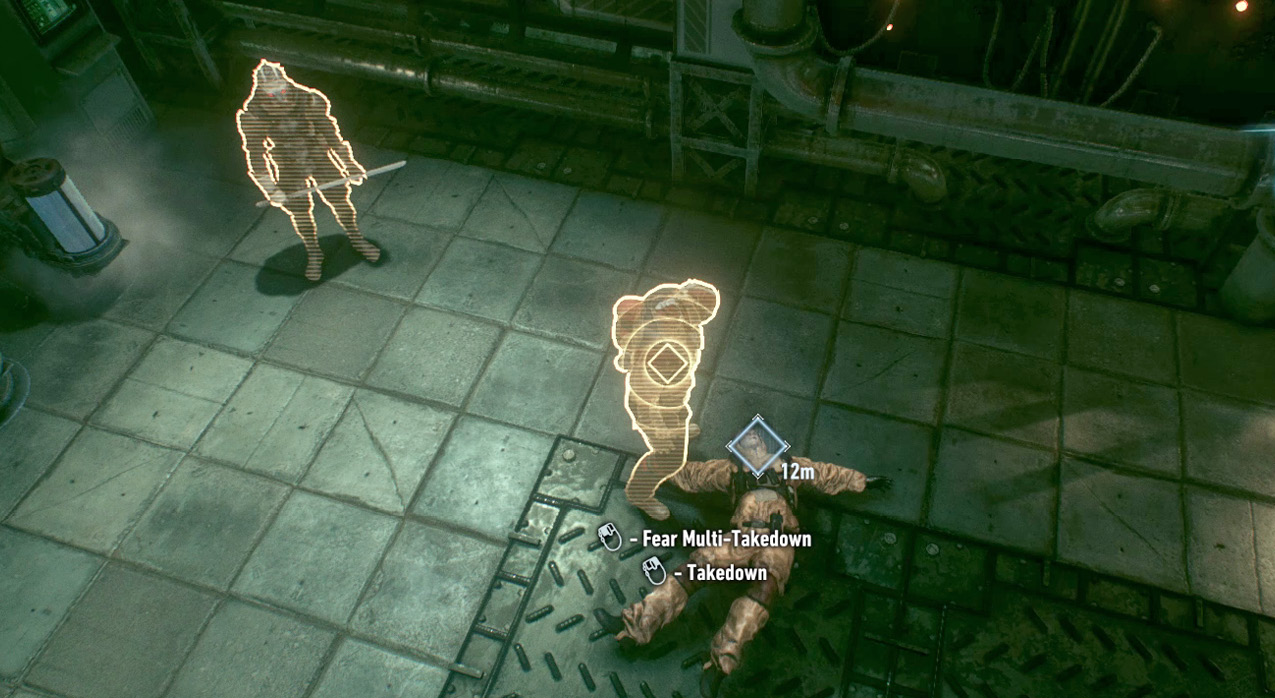
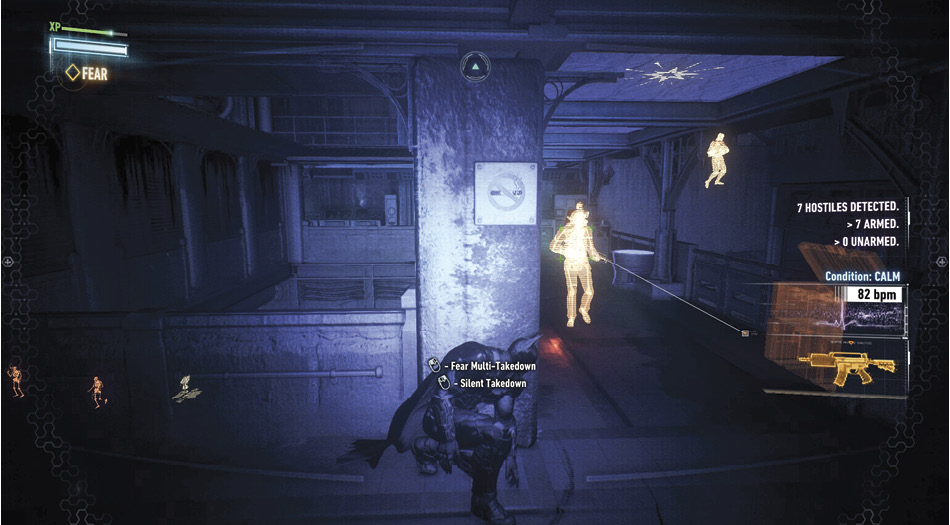
Just ahead you can see the final hostage, along with 11 hostiles. Move around to the right and grapple into a small opening in the ceiling. Crouch and move through the short access until you reach a big fan. Pull the vent cover off the left wall and crawl inside for a better view of the enemy. Six soldiers join three combat experts and a medic. Line up for a Fear Multi-Takedown and drop in on the thugs. Take down the entire crew and then talk to the worker.
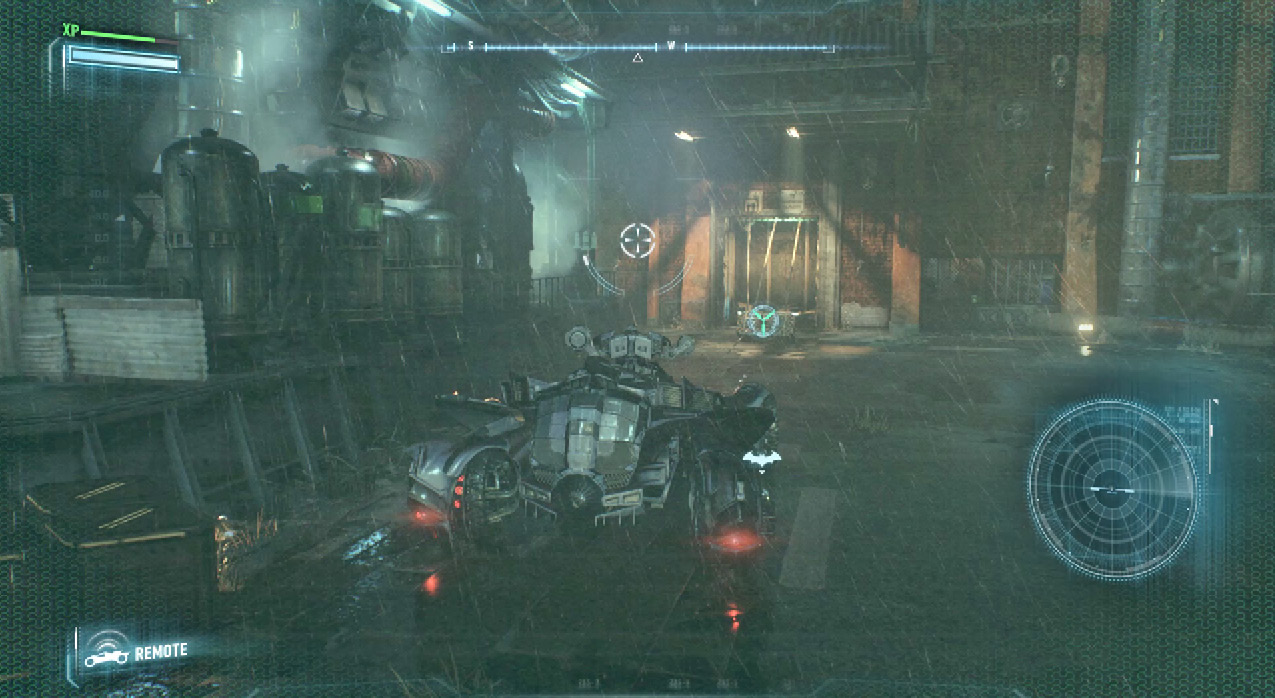
Return to the elevator, take control of the Batmobile, and pull all the way back to free the hostage. As Batman hops in to the car, three Rattler Drones, two Diamondbacks, and a Gunship show up. Avoid the barrage of attacks while picking off the tanks. With the ground drones out of the way, release the Missile Barrage at the chopper and focus the Vulcan Gun on it. Stay on the move as it deploys numerous projectiles your way. Continue to deplete its health, indicated by the bar in the upper-right corner of the HUD.
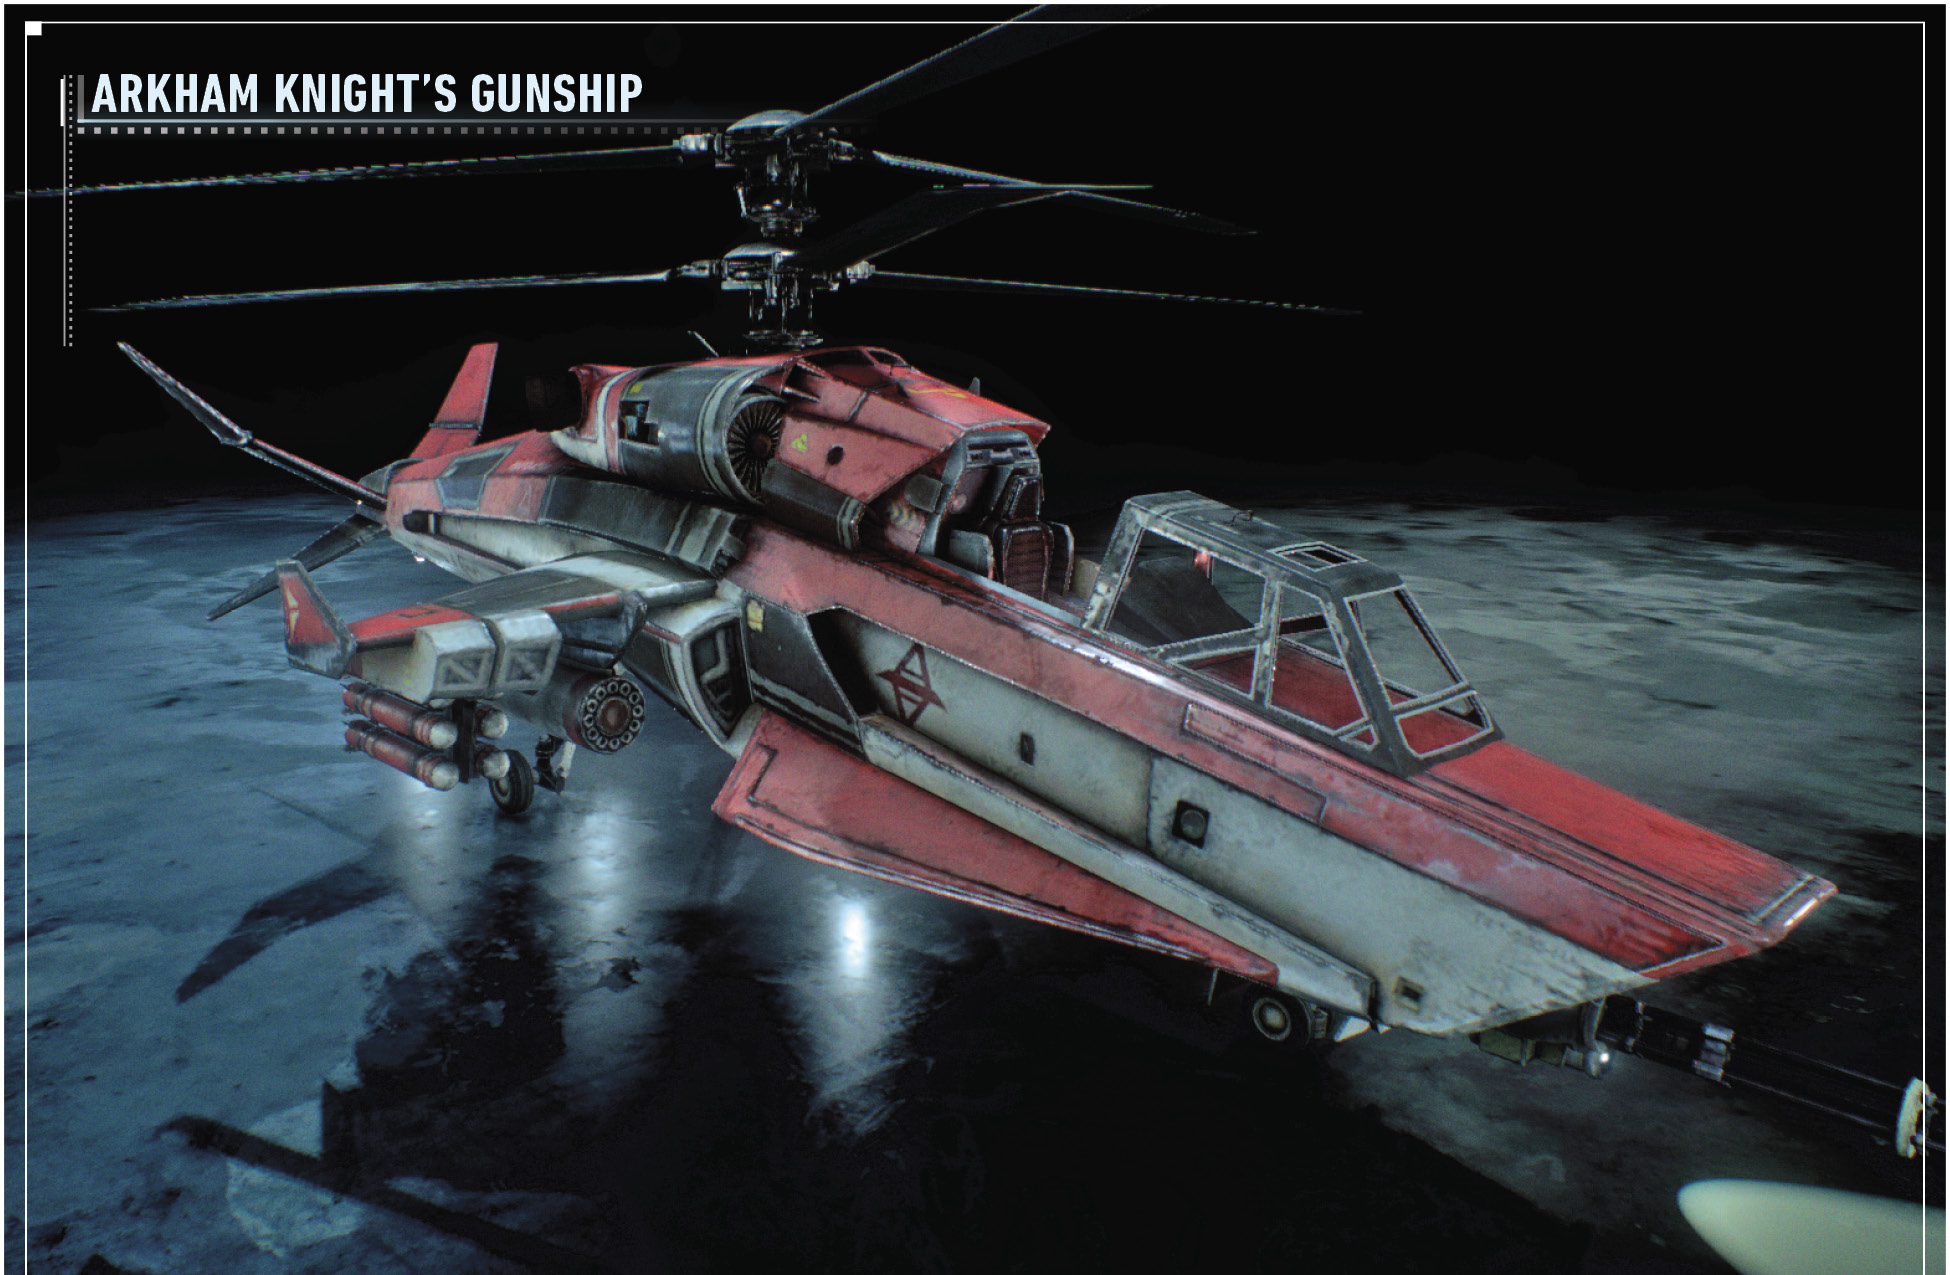 The Gunship is an unmanned chopper with three deadly attacks: guided missiles, a cluster attack, and a single rocket. The latter is a quick shot that displays a circle on the ground at the point of impact. A red indicator means that the Batmobile is within range of the blast. Dodge away to avoid taking damage. As the fight goes along, more rockets are fired in quick succession, so do not let your guarddown. Watch out for the big clusters of rockets as they are launched across the width of the area. Stay on the move, using the Dodge Thrusters to escape an imminent strike. A beep indicates an incoming guided missile. Quickly target these projectiles as they are released from the ship and knock them out of the air with the Vulcan Gun. 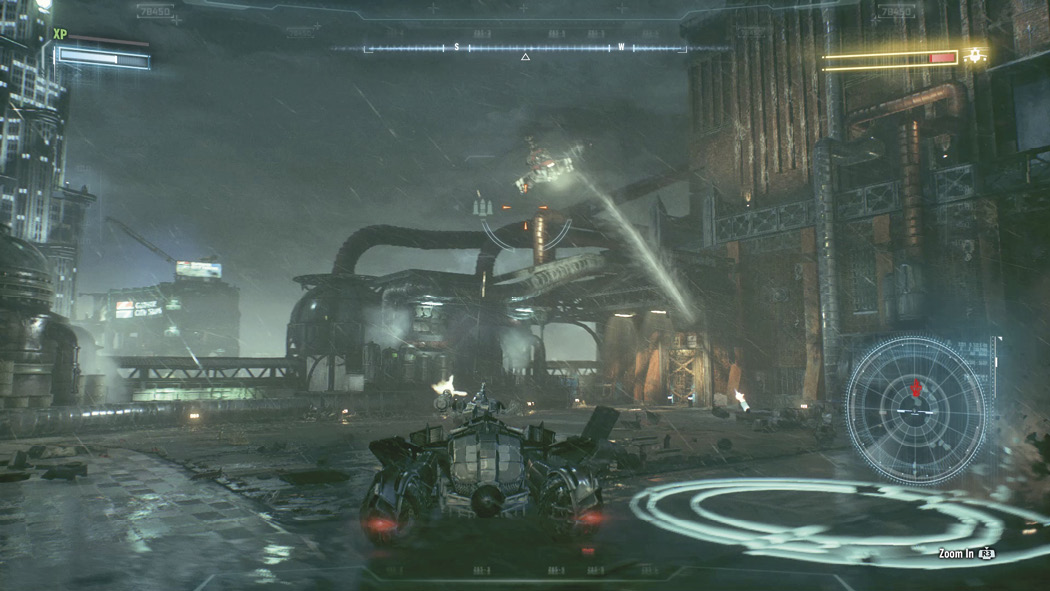 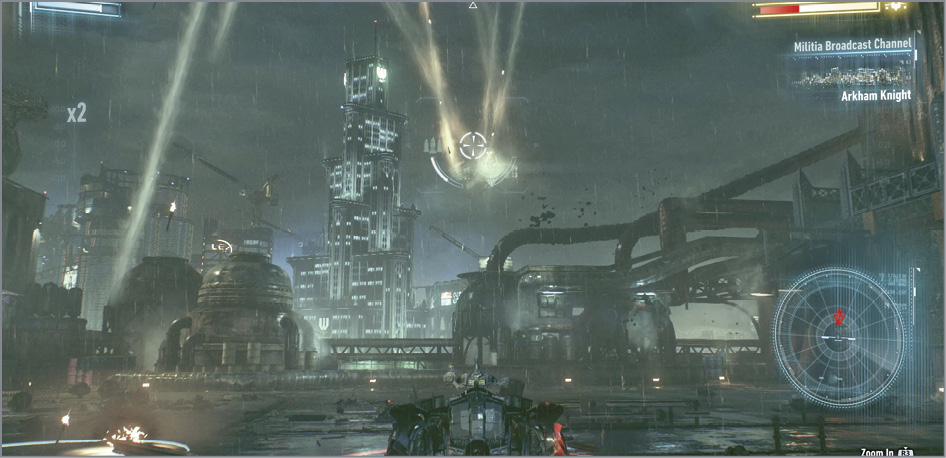 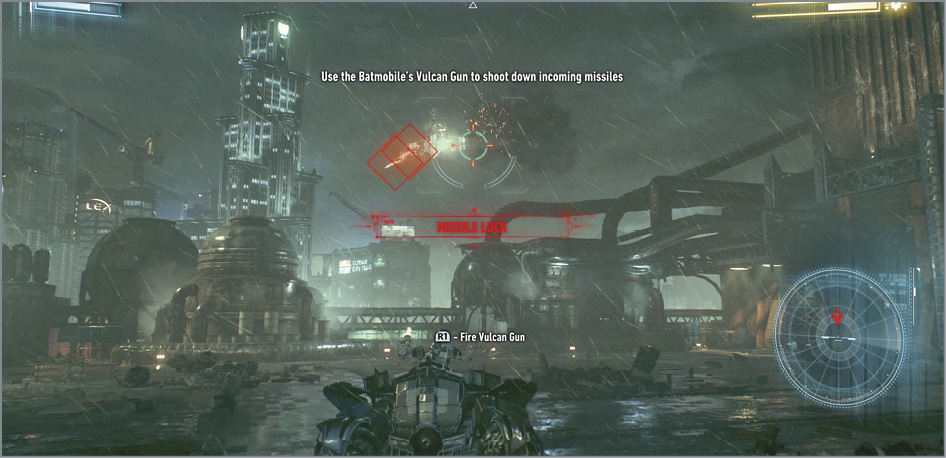 |
 Escort the ACE Chemicals Worker to Gordon on the Bridge
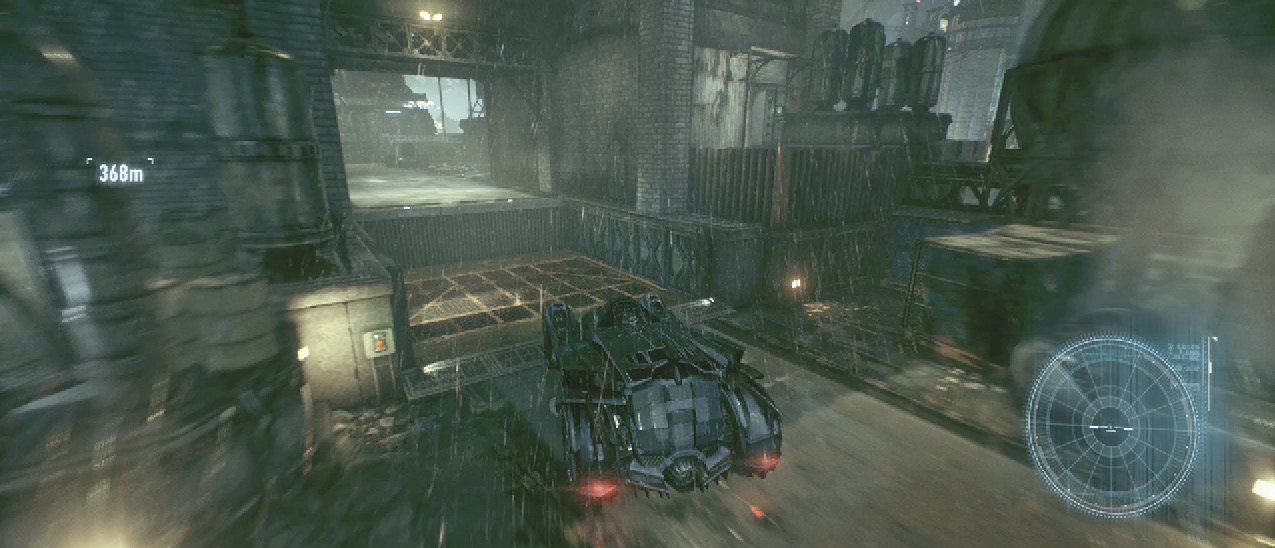
After downing the Gunship, look to the east to find the exit blocked and a switch on the nearby wall, which raises and lowers the adjacent platform. Drive onto this platform, exit the Batmobile, and push the button. Hop back into the vehicle and deliver the survivor to Commissioner Gordon just outside the main gate.
 Stop Scarecrow from Blowing Up ACE Chemicals
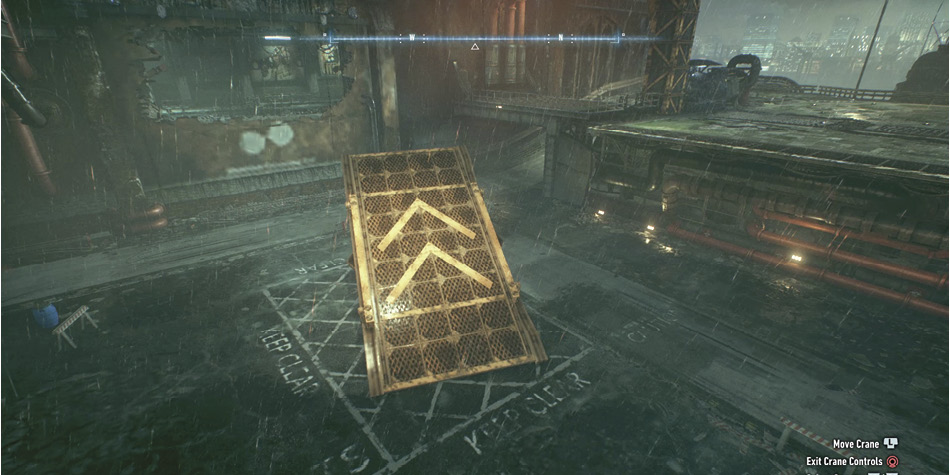
With the survivors safe and sound, it's time to go after Scarecrow, who readies his bomb deep inside the plant. Back in the facility, valuable information from Oracle gives Batman an idea on how to get inside. Fire the Heavy Cannon at the cursor on the building ahead. Be sure the car is outside the “Keep Clear” area, eject into the air, and grapple to the crane platform. Take control of the machine and position the ramp inside the rectangle so that it faces the new hole in the wall. Use it to launch the Batmobile into the plant.
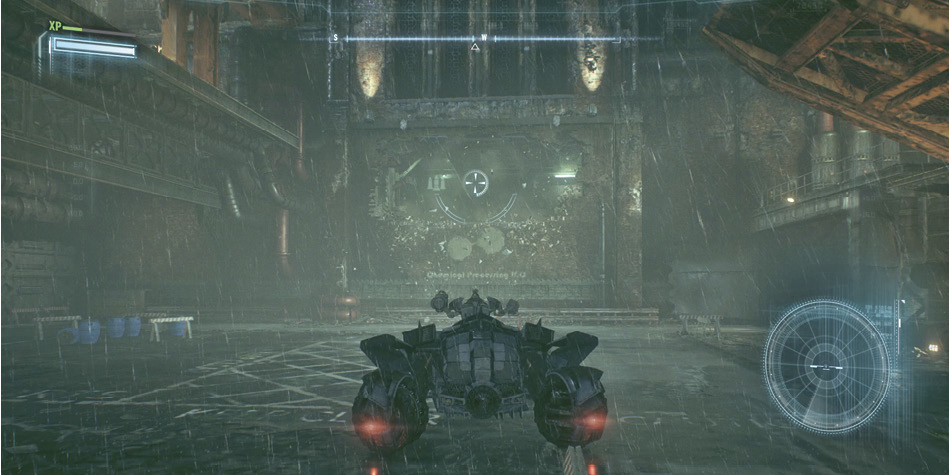
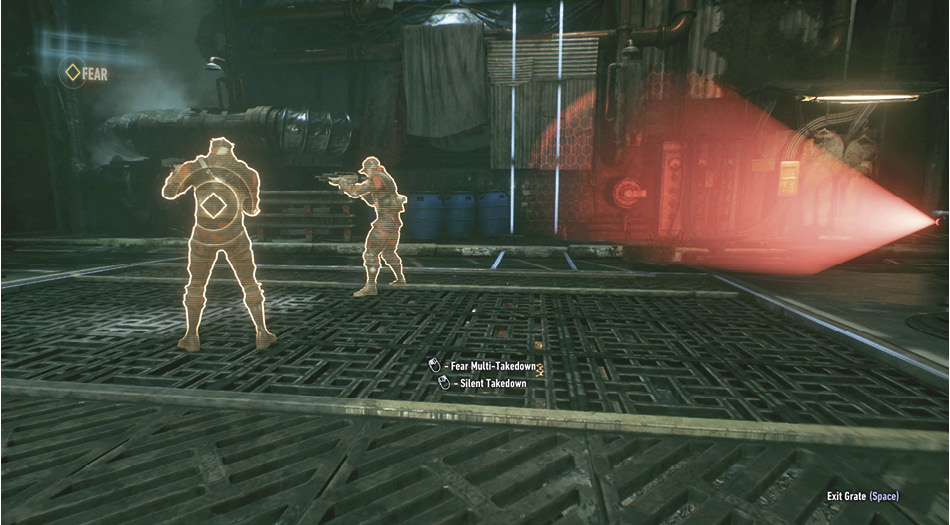
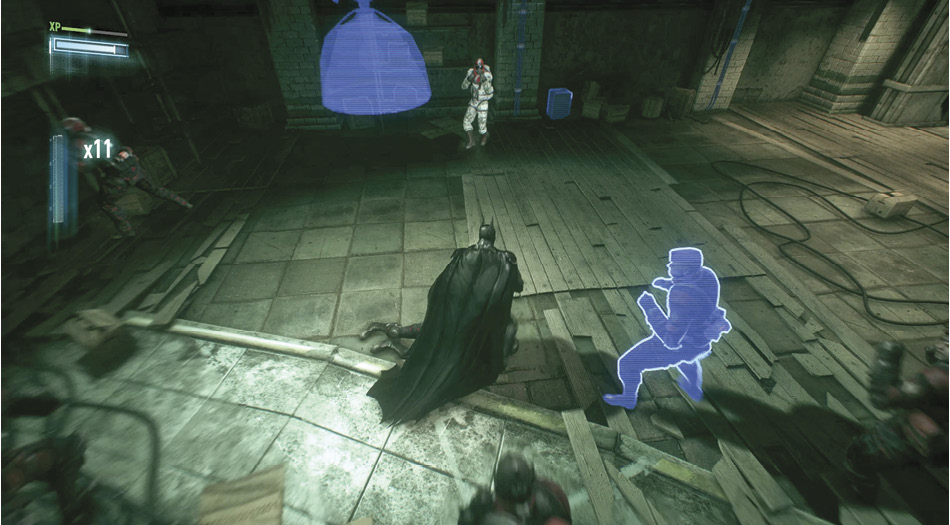
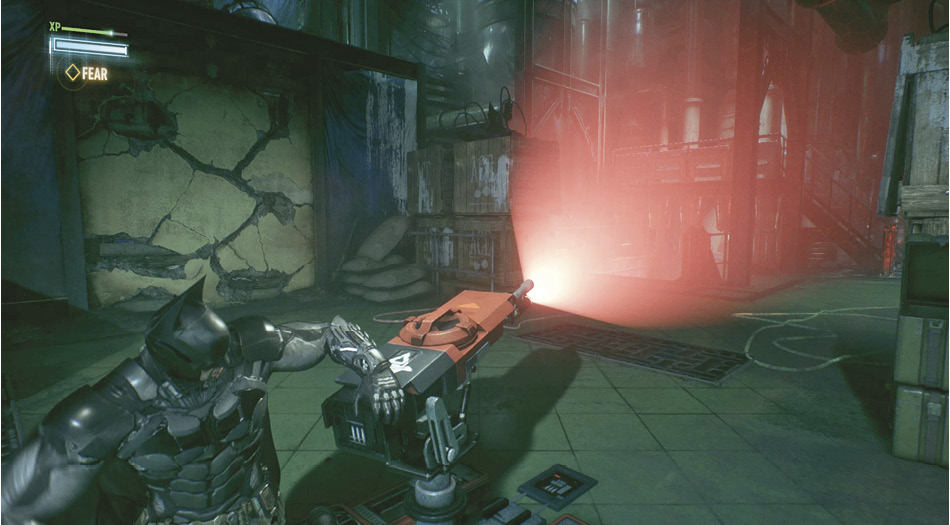
Drive around the corner and destroy the two Diamondback Drones at the bottom of the hill. Eject from the car, and grapple to the ledge above the gate. On the other side, two soldiers and a Militia Sentry Gun mean certain death if taken on directly. Instead, swing into one of the vents on the side to get into the floor. Once the turret swings away from the soldiers, perform a Fear Multi-Takedown on them, and drop back into the floor grate. With the gun pointing away, get in close and destroy it. Find the emergency gate release on the nearby wall and use it to open the gates.
Call the Batmobile and move further inside, where another gate blocks progress. Twenty unarmed hostiles, including two Medics, occupy the area on the other side. Lamps, electric boxes, and fans provide several opportunities for Environment Takedowns. Focus attention on the healers first as the group is disposed of with melee attacks, counters, and takedowns. Return to the gate, pull the cover off the gate release, and hop into the automobile once available.
Spikes above the next gate do not allow for the grapnel, so eject from the cockpit and glide over them. Inside the mixing chamber, you can see Scarecrow in the central room with eight armed soldiers spread around the outside. A few Sentry Guns also guard the area.
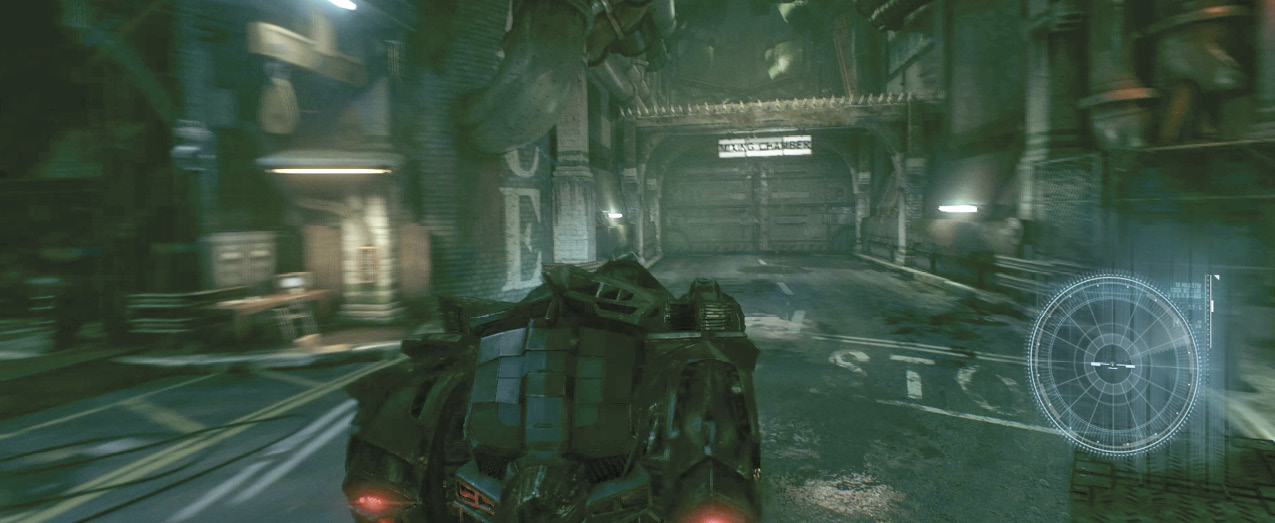
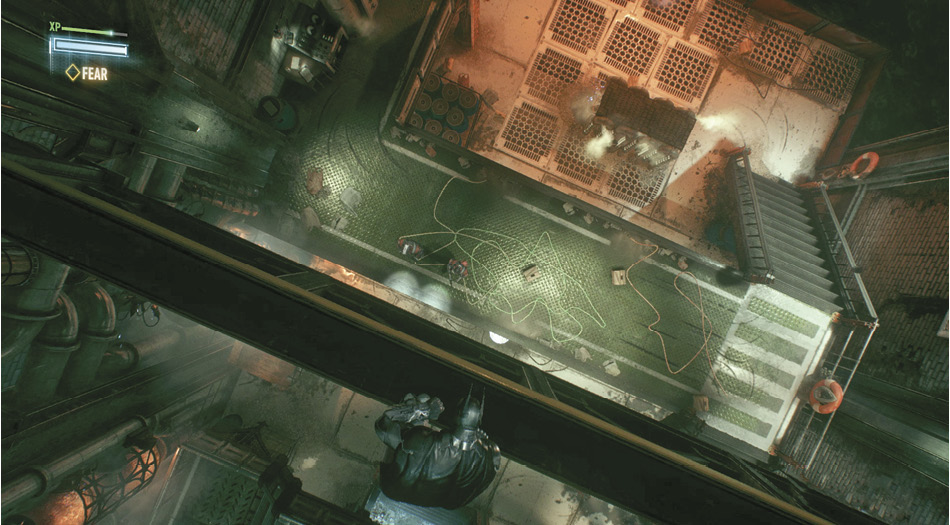
You must take care of the eight hostiles before going after the boss. Beams offer Vantage Points through much of the area. Just below the starting point, two Sentry Guns guard the gate. The right wing is mostly closed in with glass ceilings, allowing for takedowns from above, though the noise does make others aware of your location. Take cover at the corners for Silent Takedowns on unsuspecting foes. Move away from your victims as other soldiers discover them.
On the opposite side of the chamber, a beam runs above two stationary hostiles. Eliminate them with a silent, double takedown. A Fear-Multi Takedown can be used on them, but quickly leave the area as the noise attracts attention. The remaining wing is guarded by a single Sentry Gun, which is easily accessed from the floor gate. Use the wall vents to move between the upper and lower levels.
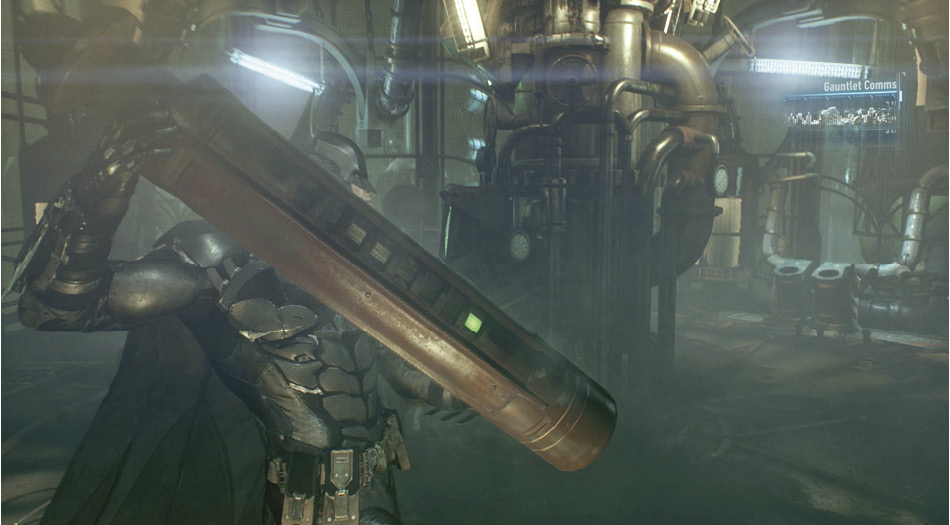
Once the soldiers have been taken care of, enter the central chamber through the door on the backside to confront Scarecrow. Approach the Chamber Control Terminal in the middle of the room and use it to prepare the neutralizing agent. Four canisters of the agent appear to the right. Collect one, slowly pulling back on the move controls, since it is extremely volatile. Moving too quickly causes it to explode, ending the game. On the other side of the chamber, two pairs of receptacles are ready for deployment of the agent. Carefully move over to one and insert the canister, lightly pressing forward to avoid an explosion. Do this with all four containers to reduce the blast radius.
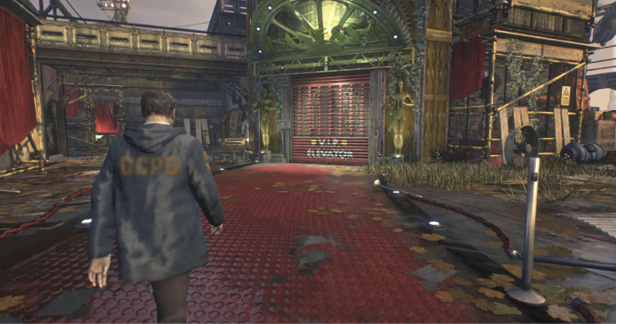
During a flashback, the player controls Commissioner Gordon as he is dropped off at the Panessa Studios landing pad. Walk into the VIP elevator ahead and press the button to ride it down to the hideout. Talk to the four prisoners to find out what's going on there.
 Escape ACE Chemicals
Select the Batmobile Remote, fire the Power Winch at the anchor point ahead, and pull down the side of the chamber. Enter the car and drive out of the plant onto the bridge as the facility collapses.