Meet Commissioner Gordon by the Bat-Signal on the GCPD Rooftop
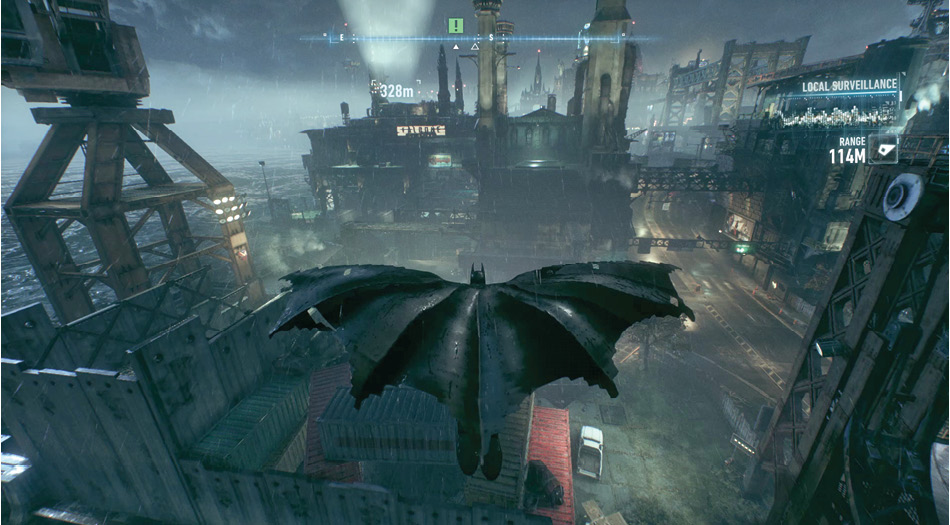
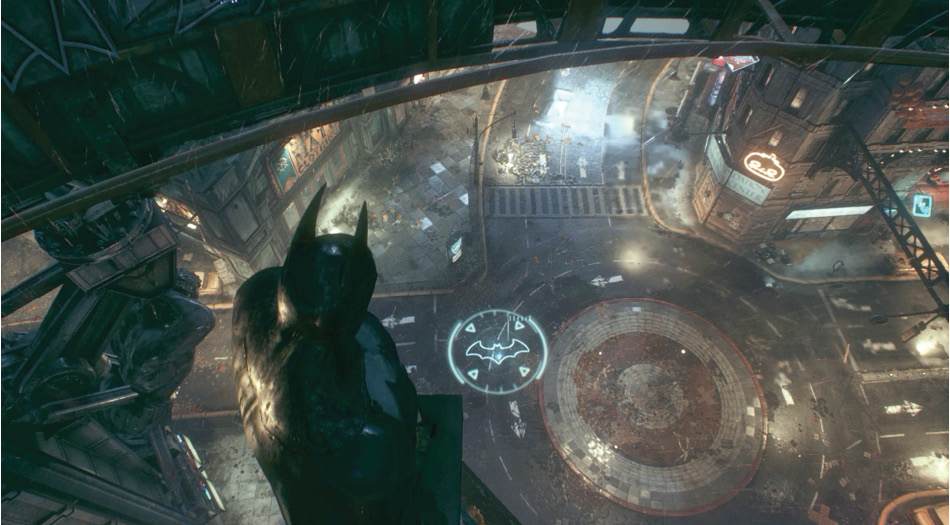
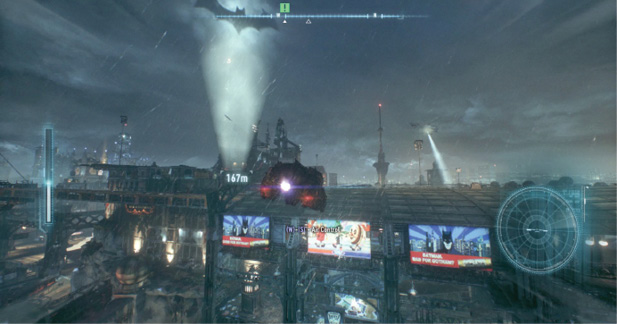
Fearing Scarecrow’s toxin, all remaining civilians are bused off the three islands as criminals take over the area. There is one man with the ability to save Gotham City from this imminent threat. Perched on a tower in central Bleake Island, Batman spots the Bat-Signal in the distance. This indicates the location of the first objective, meet up with Commissioner Gordon.
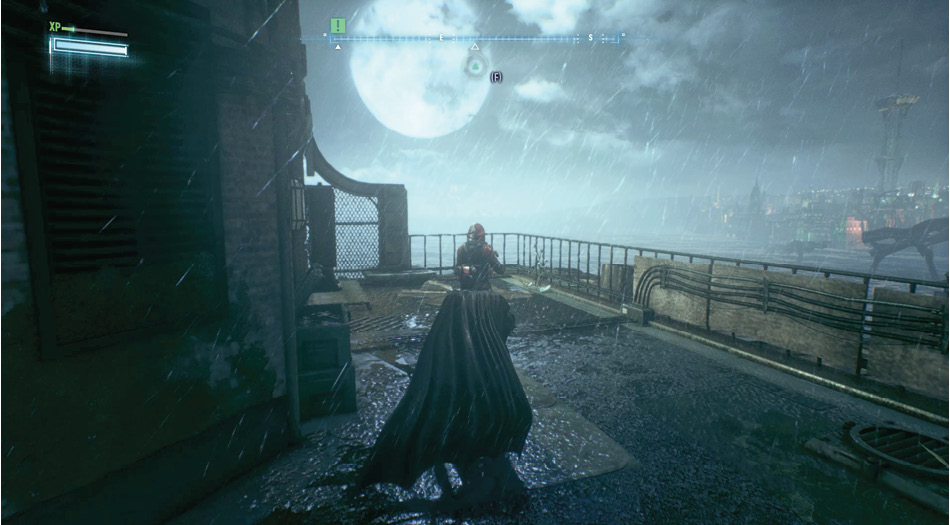
Jump off the tower and glide toward the objective. Land on the platform next to Gordon as he finishes up with a phone call. After learning about a suspicious military vehicle speeding through the city and a missing patrol car, Batman disappears over the railing.
Rescue the Missing Police Officer
With help from ally, Oracle, the location of the missing squad car is marked with a waypoint. Jump off the pole and glide along the street to the northwest. Land or grapple onto a good vantage point as Batman nears the objective. From there, observe the thugs who surround the downed policeman at the traffic circle.
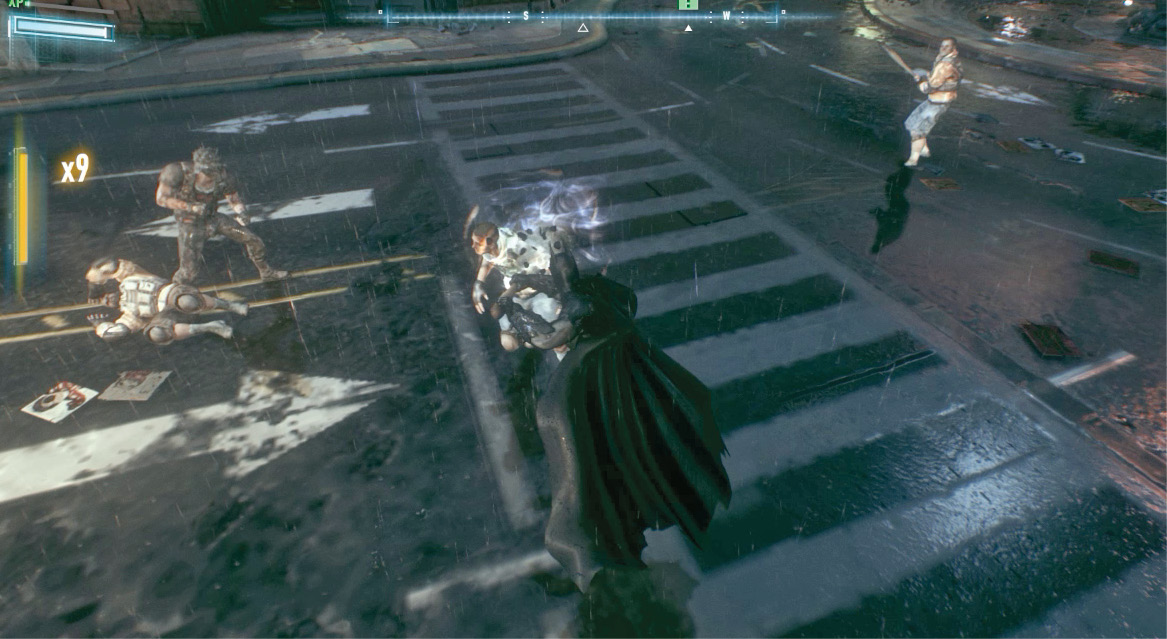
Target one of the baddies and perform a Glide Kick to start the brawl. Take out the group with one fluid combo and a mix of moves and gadgets to maximize the XP earned. This experience translates to WayneTech Upgrade Points, which in turn can be spent on upgrades at the WayneTech tab in the menu.
Once you’ve taken care of the thugs, approach Officer Kevern, lying in the middle of the circle, and help him up. Batman uses his grapnel to narrowly escape an incoming SUV. When prompted to do so, target the street below and press the given button to call for the Batmobile. Batman automatically dives into the driver’s seat.
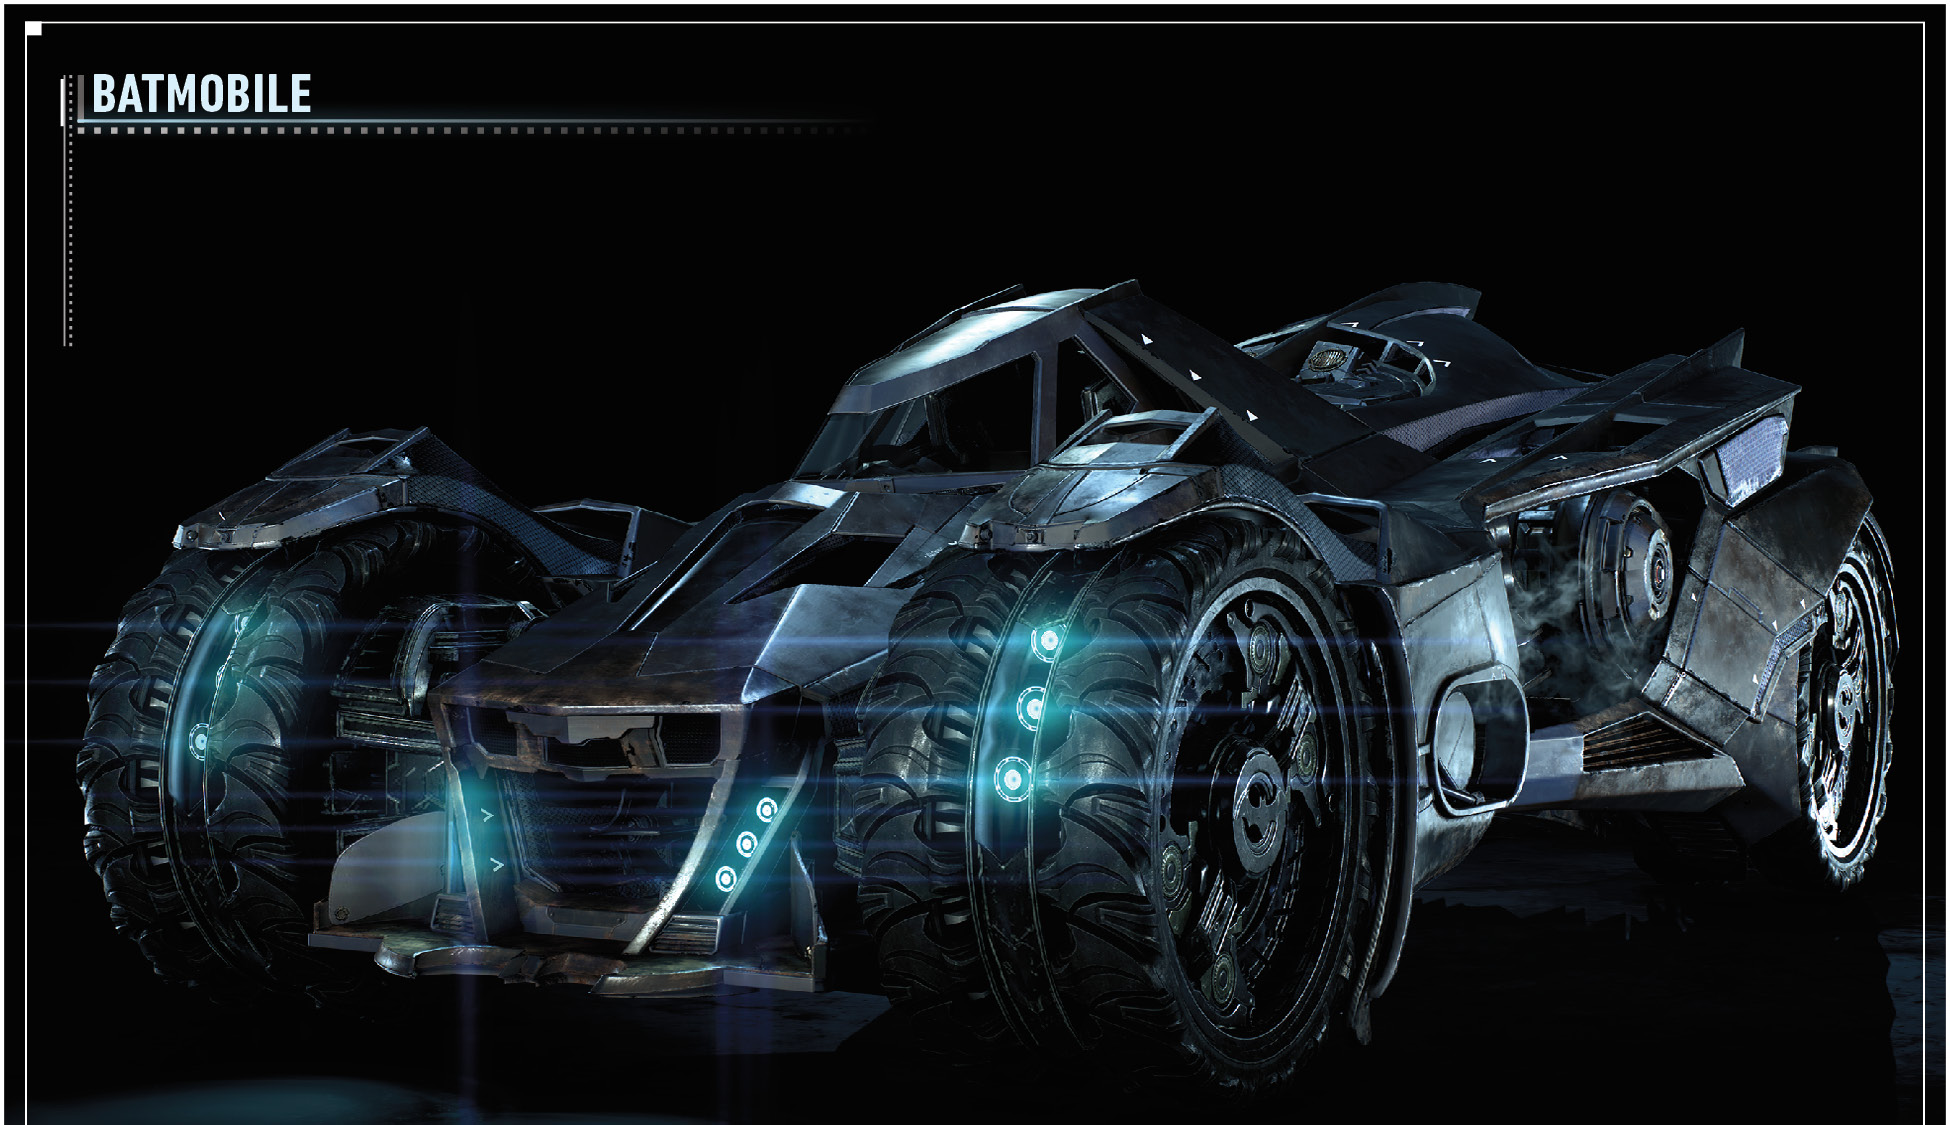
The Batmobile is Batman’s primary mode of transportation around the three islands. At first, it is used in Pursuit Mode, which allows for racing around the city, immobilizing vehicles, and launching high into the air. Battle Mode becomes relevant a little later in the chapter as tanks are deployed against the Dark Knight.
Enemies can be non-lethally run down while driving, but no XP is earned for this maneuver. It is possible to target a thug on the street and press a button to launch into an attack. Once available, you can trigger a Batmobile Assisted Takedown during a fight that fires a shot at a targeted foe.
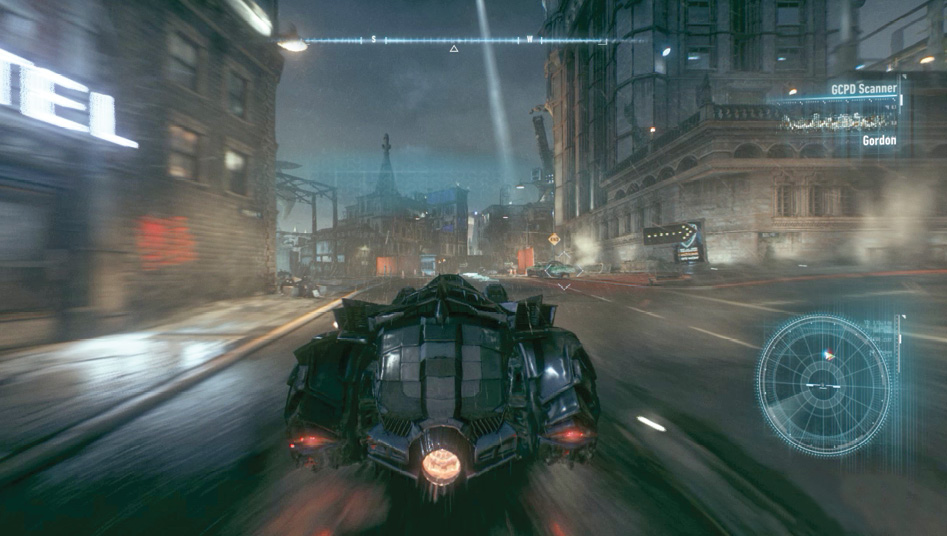
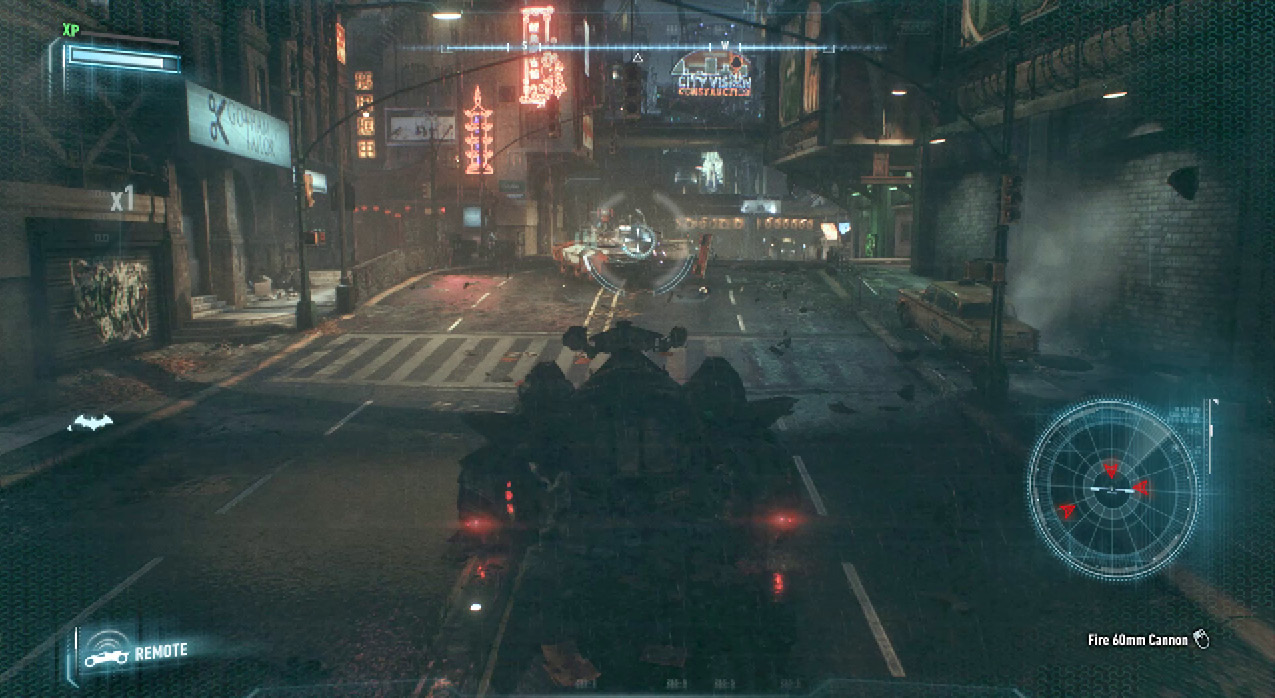
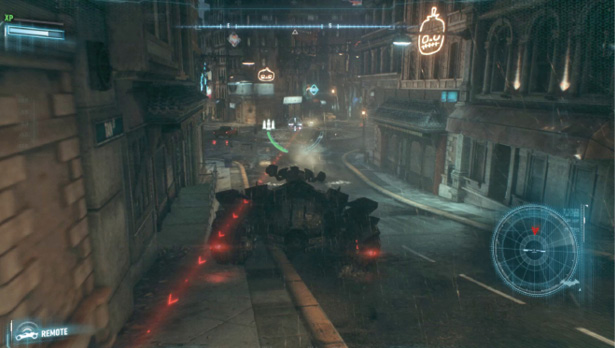
Radar appears in the lower-right corner of the HUD when inside the Batmobile. This becomes extremely valuable when fighting in Battle Mode as enemy vehicles show up as red triangular icons. Knowing where they are at all times goes a long way toward defeating them.
On the consoles, the Left Trigger is used to initiate Battle Mode, while the Square/X button brakes and reverses. This may take time to get used to, but it becomes more natural with practice. Try the BatmobileAR Challenges as they become available to improve skill with this incredibly powerful vehicle. Not only are your abilities tested during the Story, but a few side missions require proficiency in Pursuit and Battle Modes.
Interrogate the Driver of the Military Vehicle for Information on Scarecrow
Immediately hold down the accelerator and take off after the military vehicle as it drives south and then southwest. A squad car is already in pursuit, though that does not last long as Gordon attempts to call it off. Once the target vehicle is within shot, a circle appears around it. This shrinks inside a diamond on the back. Quickly fire the Immobilizer. A shot fired as the car rounds a corner may end up missing. Hit it three times in all to cause the SUV to crash.
Militia SUVs carry soldiers of Arkham Knight’s militia. They can be taken down with the Batmobile in Pursuit Mode. Fire the Immobilizer until the vehiclecrashes.
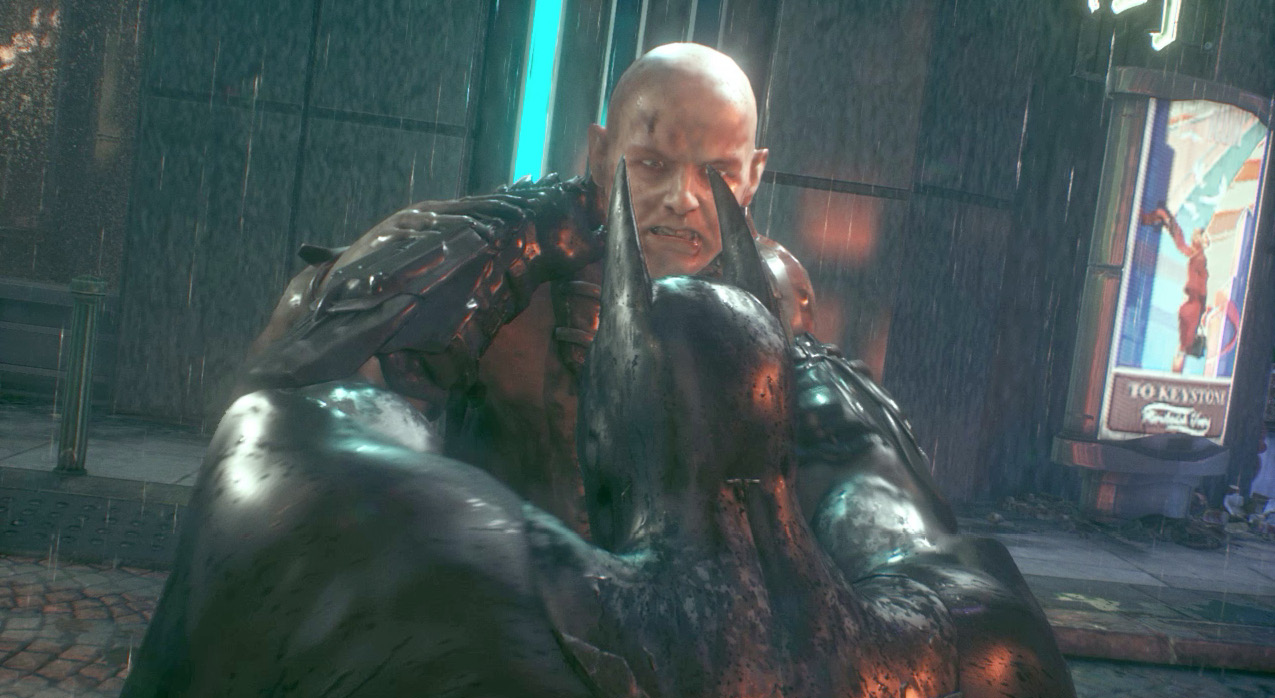
Approach the driver as he feebly attempts to crawl away from the burning vehicle. Press the Counter button to interrogate him and obtain a sample of the toxin. Batman runs an analysis on the substance and tasks Oracle to find out more about it.
Investigate Scarecrow’s Safe House
In the meantime, Scarecrow’s safe house in Chinatown is marked on the HUD and map. Grapple and climb onto the rooftop of the penthouse. A glass portion of the ceiling reveals a small group of thugs who stand guard. Target one and perform a takedown to get another fight started. Take care of the rest of the enemies before moving toward the window ahead.
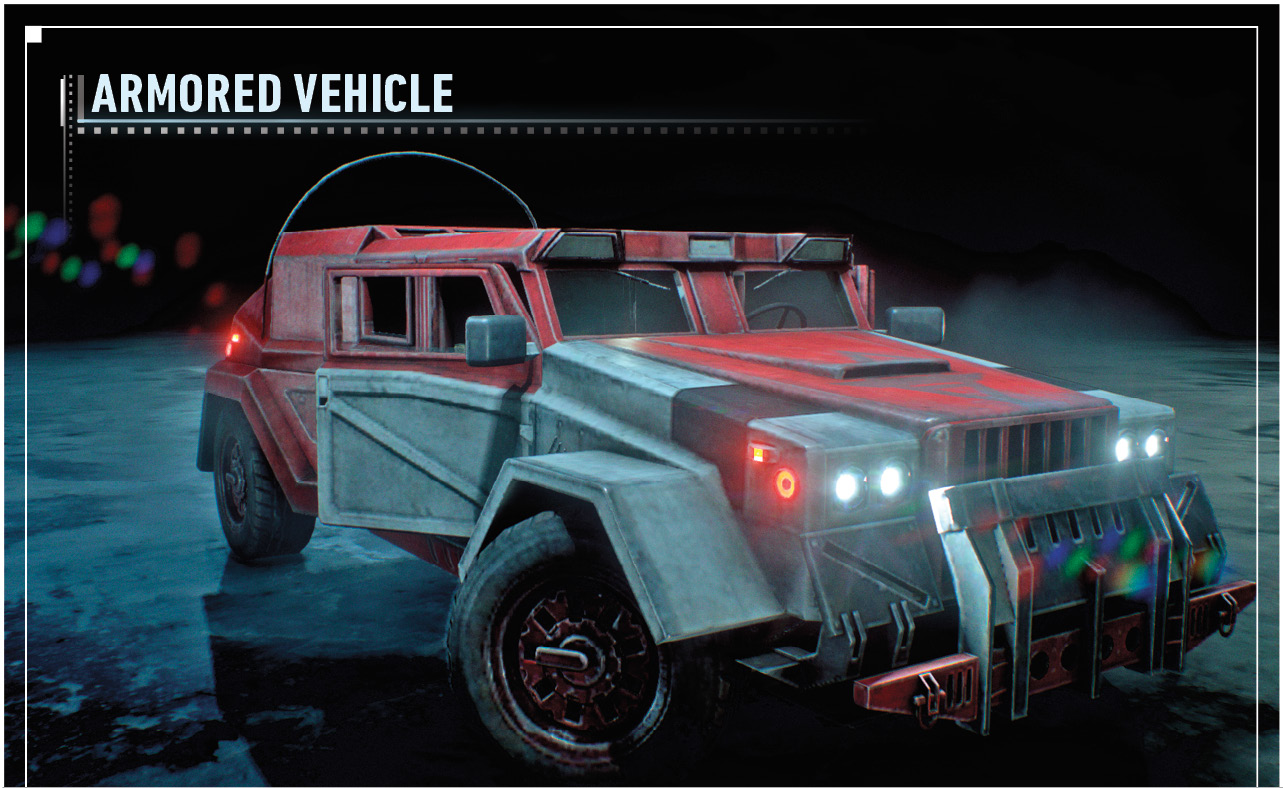
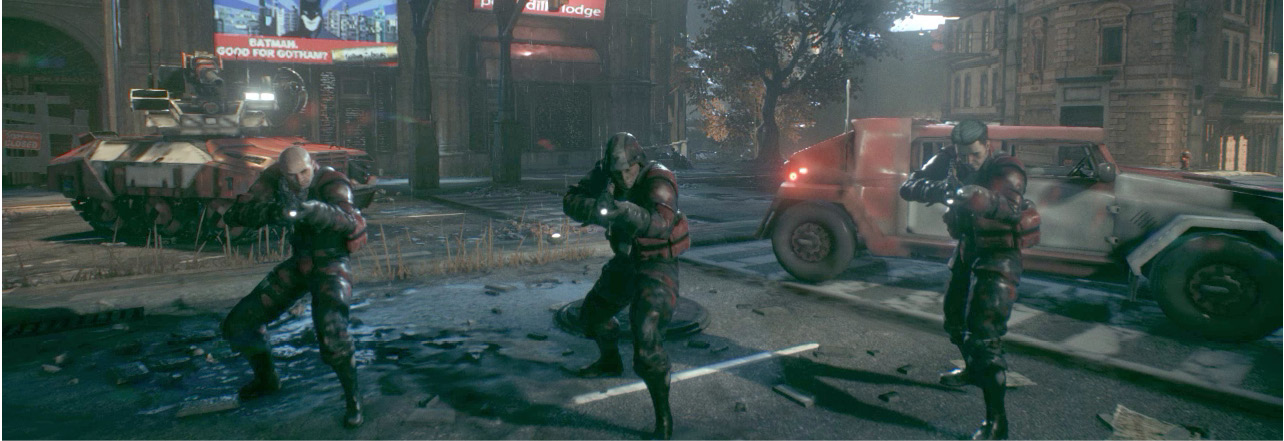
After apprehending Poison Ivy, a Rattler Drone and Armored Vehicle pull up on the street. When prompted to do so, select the Batmobile Remote from the gadget wheel. This automatically takes care of the drone, as well as the three soldiers.
Switch to Battle Mode as more Rattler Drones enter Chinatown. Six drones surround the Batmobile’s location. Fire the Heavy Cannon to take each one out while using the Dodge Thrusters to avoid their shots. This fight serves as a good primer to Battle Mode as the enemy does not gang up too much. Once the Rattlers have been eliminated, drive into the rectangular marker on the street, where Poison Ivy is loaded into the back of the Batmobile.
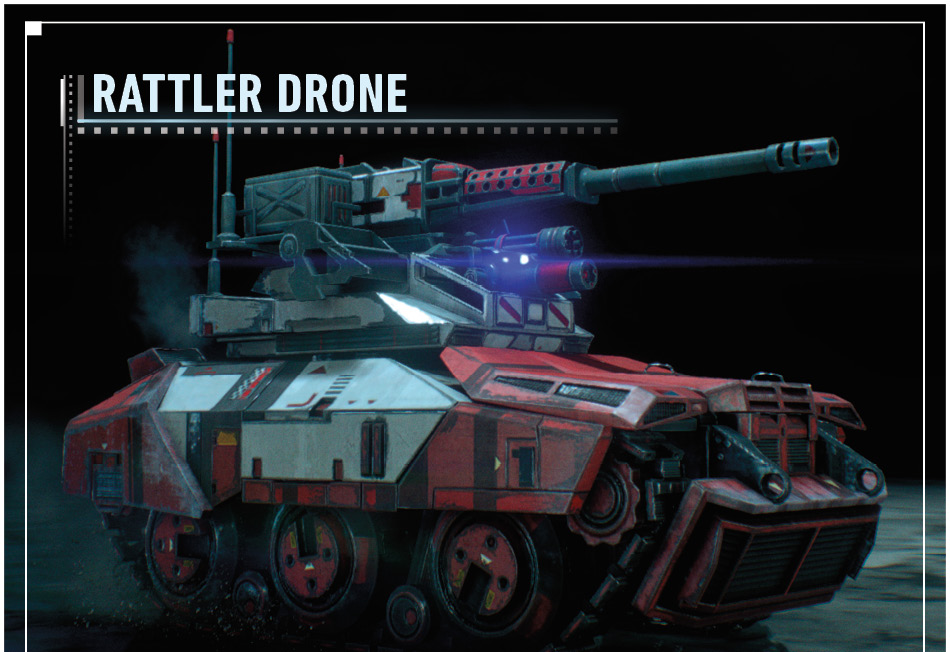
The Rattler Drone is the weakest of the militia tanks. It fires a missile with plenty of warning. A line indicates an incoming shot with arrows pointing in the direction of the shot. Follow the tracer to the start to find the drone. This line turns red when the Batmobile is targeted. Dodge to the side to avoid getting hit. A well-placed shot from the Heavy Cannon just under the Rattler’s gun barrel can take the vehicle out in one shot. Use these guys to build up your combo and enable special attacks such as the missile barrage.
A variety of vehicles is added to the militia as the story continues, making for much tougher fights—especially within the AR Challenges and side missions.
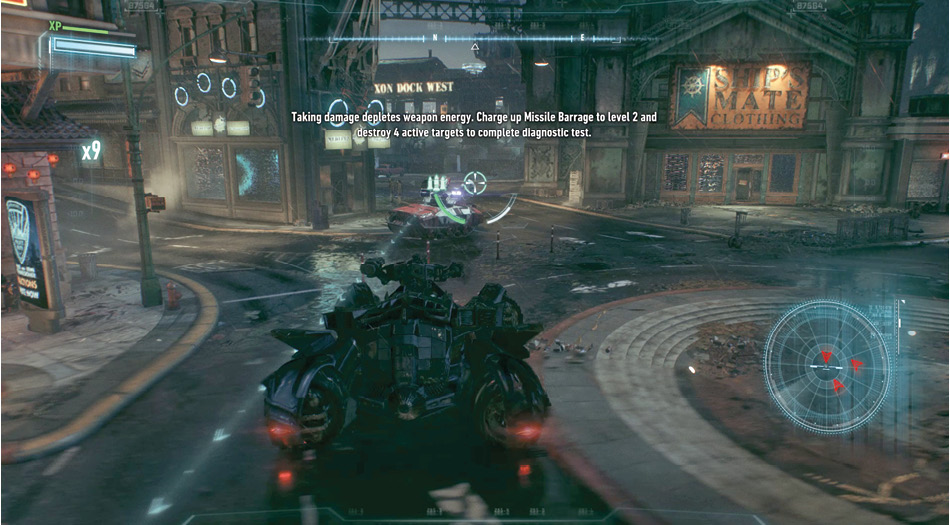
Destroy the passive Rattler Drones to charge the Secondary Weapon energy, which is represented by the two meters surrounding the reticle. Once the left is full and turns green, press the Missile Barrage button to launch a single rocket at your target. Charge the Secondary Weapon energy to level 2 this time by filling up both meters. Press the button four times to launch Missile Barrage Level 2 or four guided rockets. Next, the Rattler Drones fire at the Batmobile. Taking damage depletes the weapon energy, so dodge to the side to avoid incoming shots while again charging the Missile Barrage to level 2. Release the attack to destroy 4 active targets and complete the challenge.
Run Battle Mode Weapon Energy System Diagnostics
Before delivering your prisoner to GCPD, drive southeast to the next waypoint. Drive into the hologram of a wheel, which represents the AR Challenge. This challenge demonstrates how to use the Missile Barrage in Battle Mode.
Destroy the Squadron of Drone Tanks Occupying Panessa Studios
On the way to GCPD, a call comes in from Gordon about a group of drones attacking Gotham. Stop by Panessa Studios to find 12 Rattler Drones. Activate Battle Mode and start picking them off from a distance. Avoid getting surrounded and dodge the enemy rockets while building up your combo. Release Missile Barrage Level 2 once available and finish off the squadron.
Ivy to the GCPD Lockup
Now Batman is free to drive to GCPD on the south side of the island and enter through the Prisoner Detention entrance on the right side. Continue down the path and park at the dead end.
With Poison Ivy locked up, find Commissioner Gordon at the maximum-security desk. He has Aaron Cash fill Batman in on three incidents, which begin the first three Most Wanted side missions. You can investigate these anytime Batman is between objectives, earning WayneTech Upgrade Points upon completion. Select your next objective, either a side mission or main story, and exit GCPD.
Meet Oracle at the Clock Tower to help locate Scarecrow
Drive back outside and continue north and west to the Clock Tower. Grapple to the top of the building and find the secret entrance, given away by the waypoint. Drop inside and activate Detective Mode. This reveals a Retinal Scan Unit hidden inside a bust on the bookshelf. Use the sculpture and then the computer that appears to meet up with Oracle.
Use Panessa Studios Antenna to Pinpoint Scarecrow’s Location
Glide or drive to Panessa Studios on the northeast side of the island and grapple to the rooftop. Find the panel on a back wall along the lower section. Attach a remote access device, though it appears you must bypass the damaged generator to power it up.
Collect the Power Winch for the Batmobile
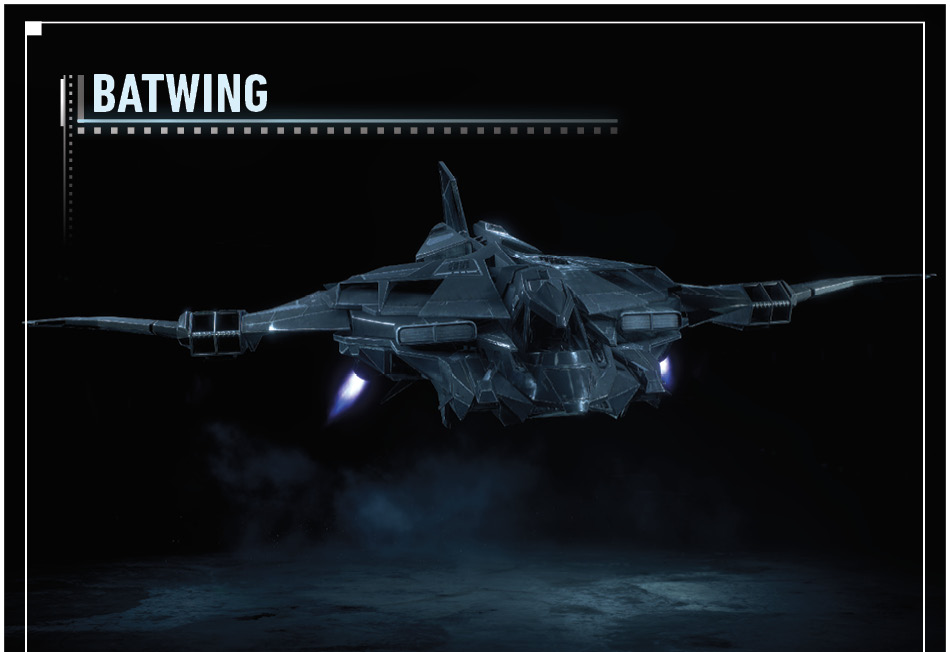
An attachment for the Batmobile is currently in development at Wayne Enterprises, which can provide the necessary power as well as pull the vehicle onto the rooftop—perfect for this situation. Fortunately, it is ready for deployment and Lucius Fox sends the Power Winch to the island. Glide to the dirt road next to the lighthouse, call the Batmobile, and drive into the marker. The Batwing delivers the device directly to the automobile.
When Batman needs an upgrade delivered to his current location, the Batwing provides the service with precision and speed. It can even install an item directly onto the Batmobile.
Power Up the Panessa Studios Antenna with the Batmobile Power Winch
The objective is simple enough; use the Power Winch to power up the antenna, though getting there requires a bit more effort.
Power Winch
The Power Winch provides a couple of important abilities for the Batmobile. It pulls down obstacles and moves heavy obstructions, as well as delivers a high-powered AC electrical energy supply. With a sturdy enough anchor point, the device also allows the vehicle to scale vertical walls.
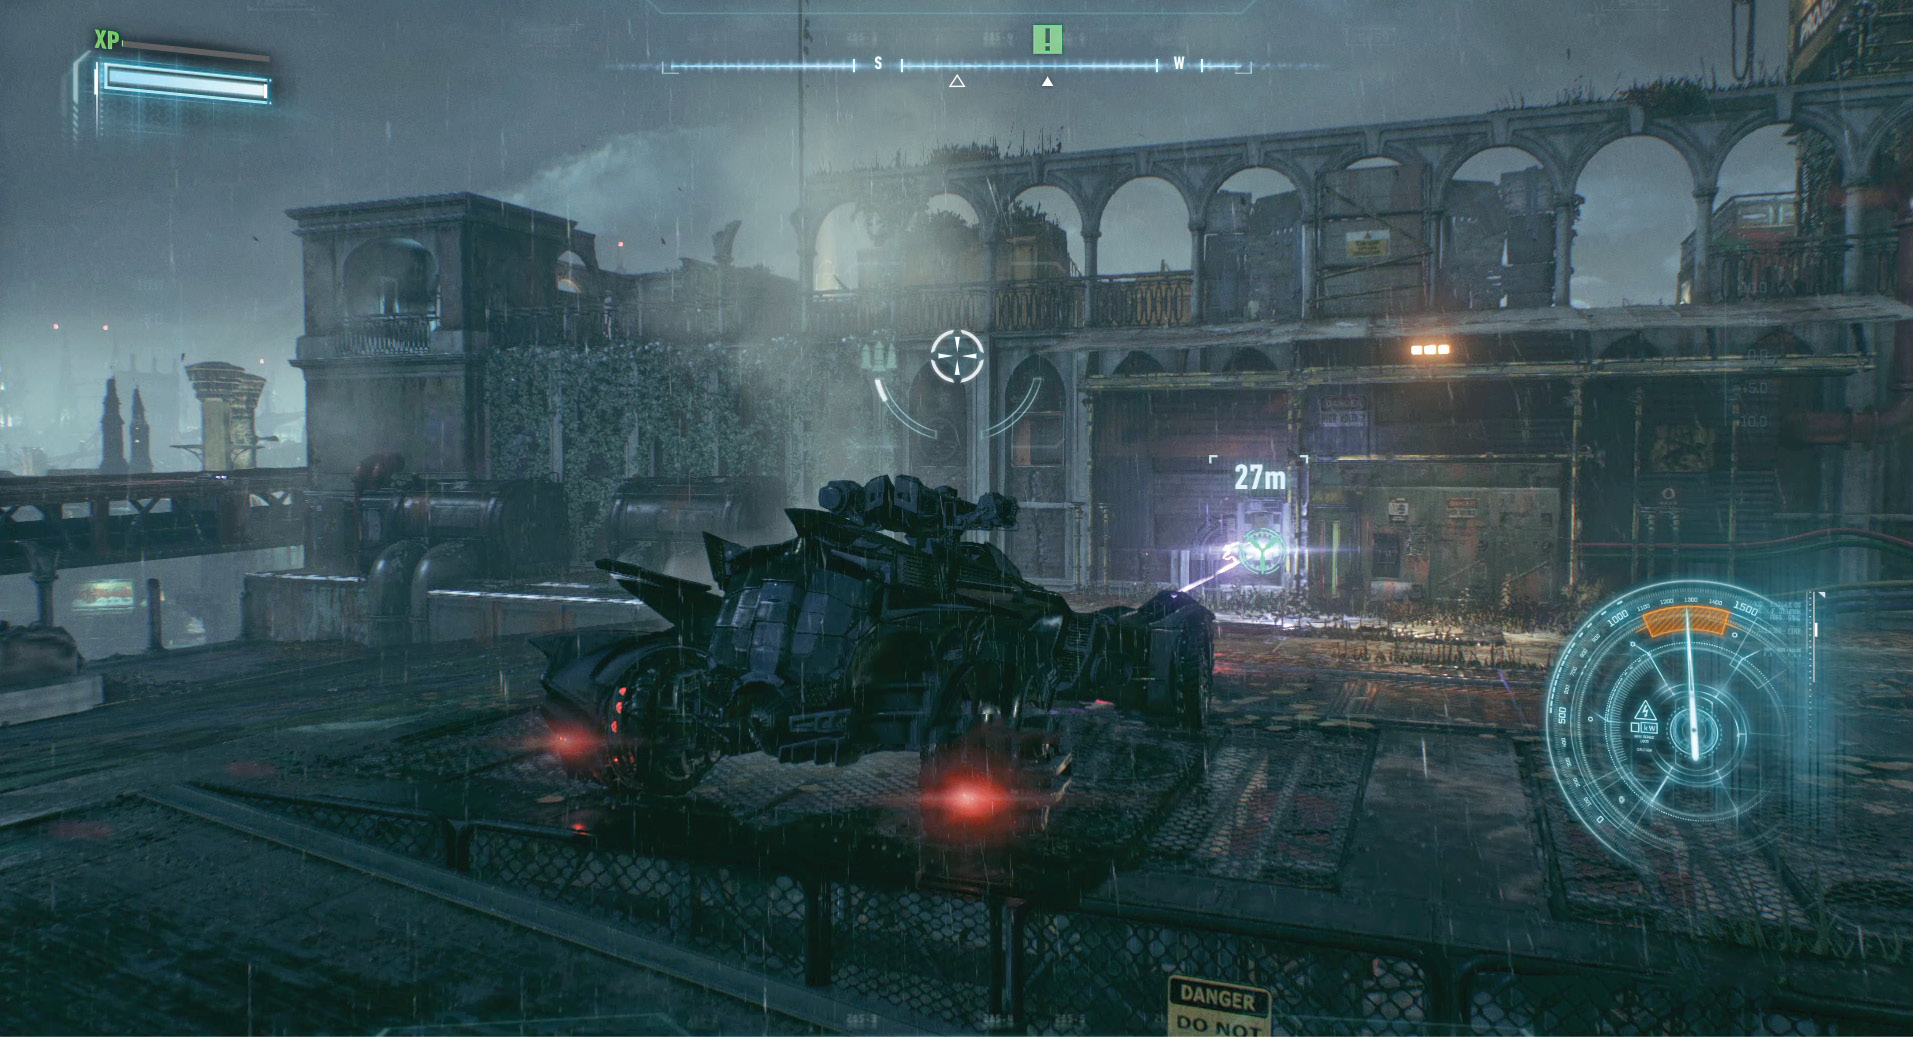
Facing an anchor point or electrical panel, enable Battle Mode and press the Vulcan Gun button to attach. Moving backward pulls the obstruction down or out of the way. To deliver electrical energy, lightly pull the Heavy Cannon trigger, keeping the needle in the orange until power has been provided.
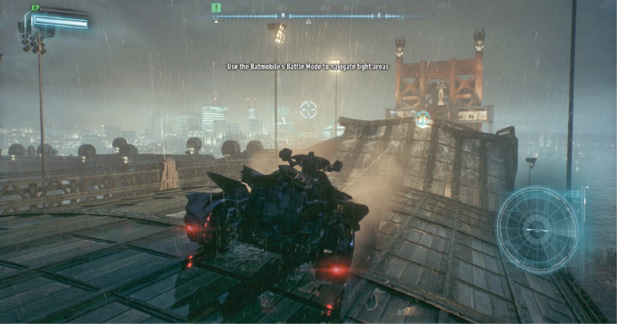
Fire the Power Winch at the anchor point ahead and pull back to bring the Urbarail Station sign down. With access to the station’s roof, hold the Afterburner down and jump the gap. Pressing up and down allows for a little air control when airborne.
Turn to the right, attach to another point ahead, and pull back to provide a ramp. Jump onto the corner roof.
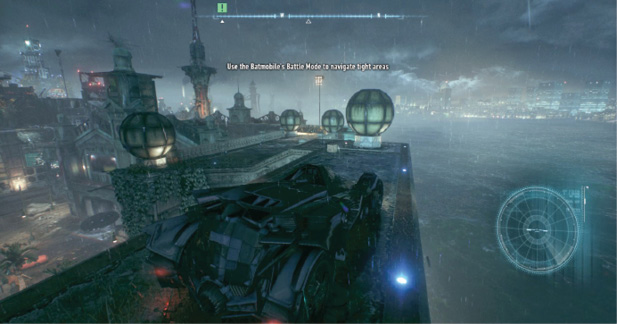
Turn left and carefully follow the narrow path, being careful not to drop off the roof. There is no need to avoid the ornamental globes as you can easily drive through them.
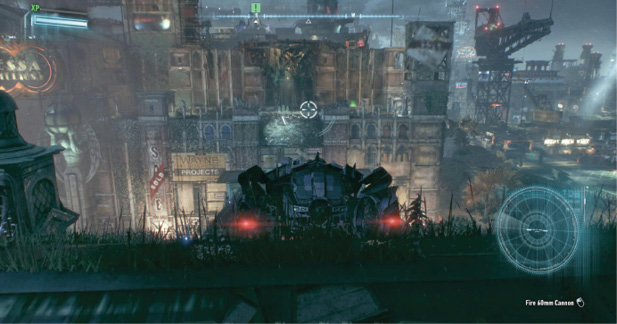
Follow the roof around to the left until an anchor point on the far building is within reach. Fire the Power Winch to attach and drive off the building.
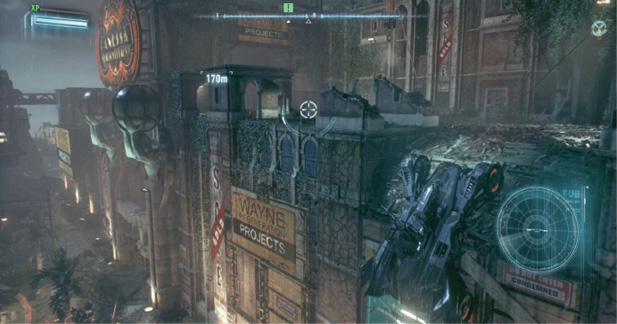
While suspended, push forward to drive up the wall until safely onto Panessa Studios. Detach the winch and drive to the left until you reach the objective.
Fire the Power Winch and slowly rev the engine, keeping the needle inside the orange. This provides the necessary electricity and powers the antenna.
Use the Antenna at the Falcone Shipping Yard to Locate Scarecrow
With the Batmobile busy powering the Panessa Studios antenna, grapple and glide to the Falcone Shipping Yard. Access to the antenna is housed inside a small room atop the building. Detective Mode reveals five hostiles inside, all armed. Grapple onto the vantage point above their position and then swing over to another perch to survey the environment.
Select the Batarang from the gadget select and toss a projectile at the door to lure two enemies out of the building. Let them split up, glide behind the nearest one, and drop him with a silent takedown. Crouch, quietly move behind the second guy, and eliminate him in the same manner.
That leaves three guys inside the room. Move over to the waypoint on the other side of the roof and access the Batpod to receive a new and improved Batsuit.
Batsuit V8.03
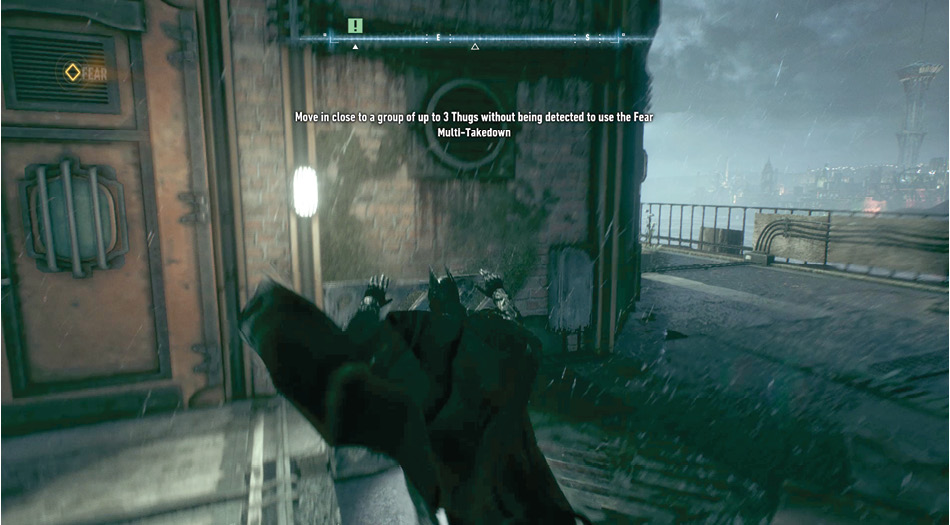
A new and improved suit, Batsuit V8.03, gives Batman the ability to move faster and hit harder than ever before. Counter-attacks become more effective with Counter Throws. Multiple unaware targets can be neutralized quickly with the Fear Multi-Takedown. Gain increased height with access to an ejection mechanism on the Batmobile. The Grapnel Boost MK II upgrade allows for significantly higher and faster launches following a grapple.
Now it's time to dispose of the last three thugs inside the building. Enter the floor grate and move underneath the hostiles until one is highlighted. Perform a Fear Multi-Takedown on him and continue the attack against the other two. Help the hostage onto his feet, approach the panel on the wall, and attach the uplink.
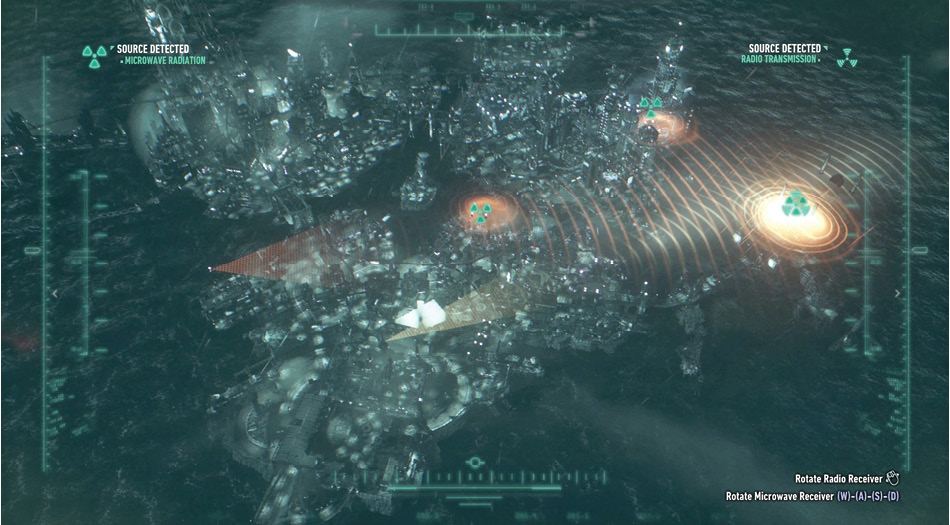
Move outside and wait for the Batarang to set up high in the air with a good view of the city. As the Microwave and Radio Receivers come online, their signals can be rotated with the movement and look controls, respectively. As microwave radiation and radio transmissions are detected, they are marked on the map. Point them both to Ace Chemicals, on the far right, to determine exactly where Scarecrow is producing the fear toxin.

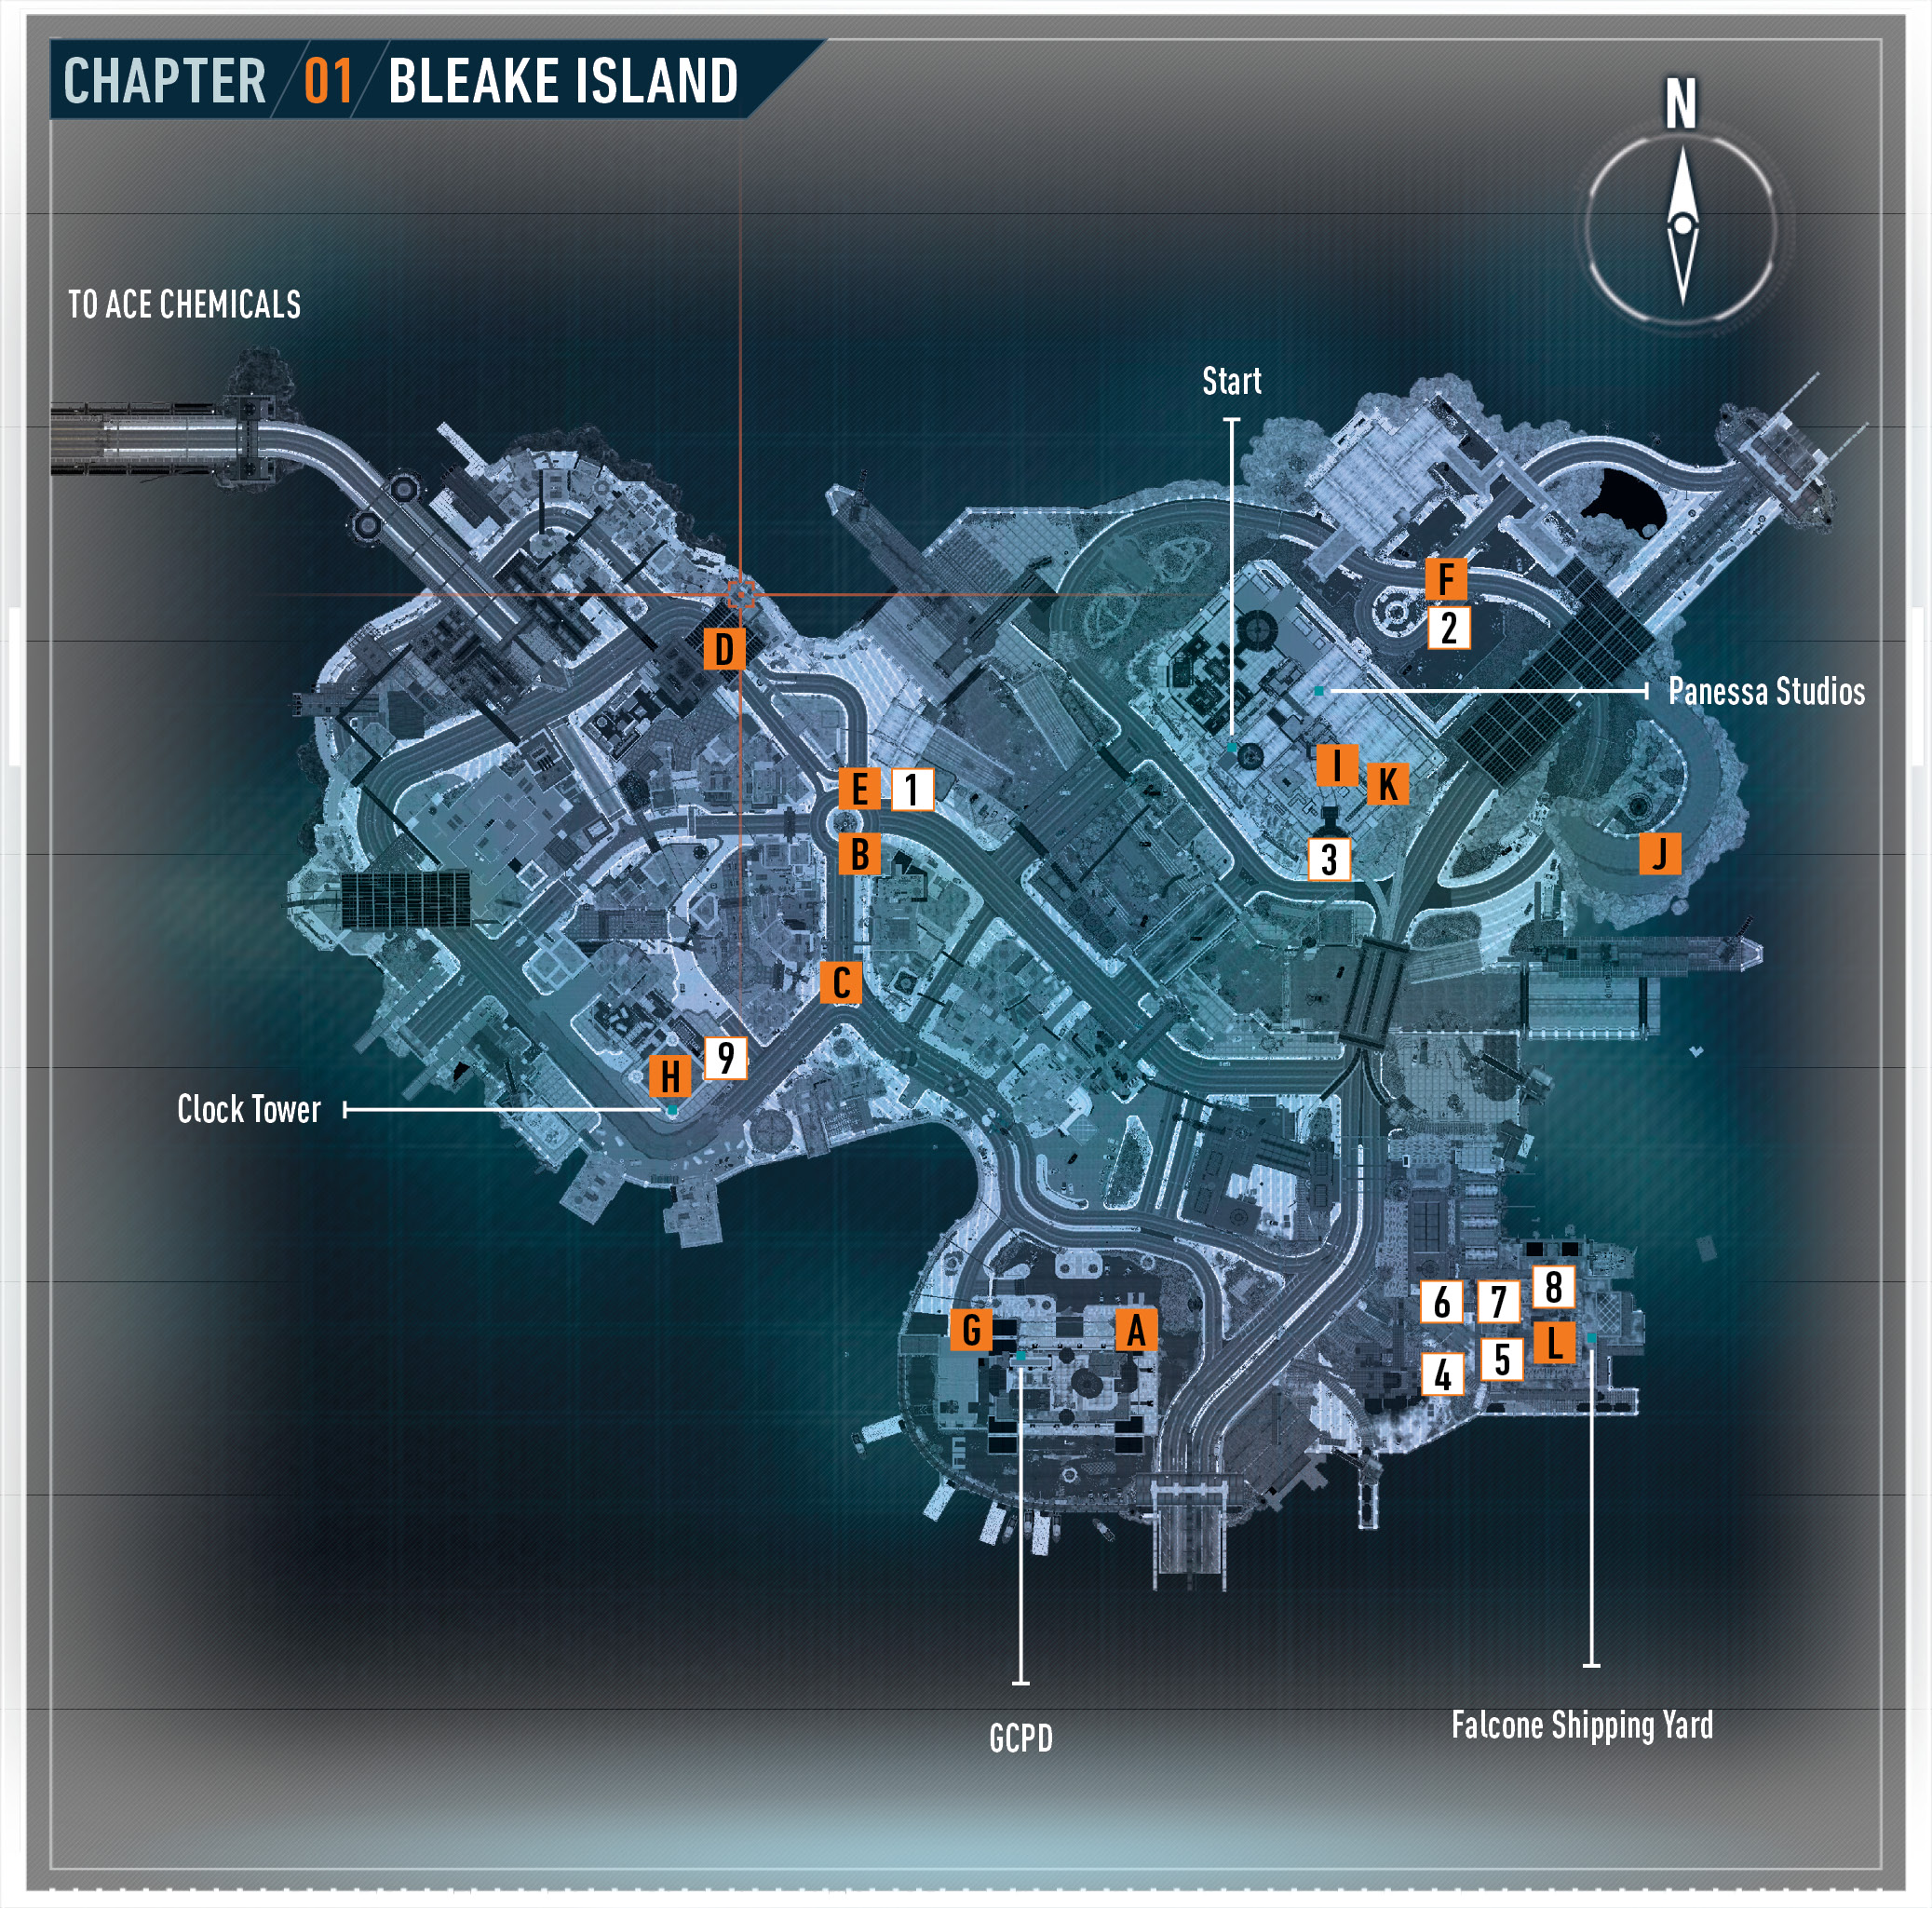
 Meet Commissioner Gordon
 Rescue the Missing Police Officer
 Interrogate the Driver of the Military Vehicle
 Investigate Scarecrow’s Safe House
 Run Battle Mode Weapon Energy System Diagnostics
 Destroy the Squadron of Drone Tanks
 Take Ivy to the GCPD Lockup
 Meet Oracle at the Clock Tower
 Use Panessa Studios Antenna
 Collect the Power Winch for
  Power Up the Panessa Studios Antenna
 Use the Antenna at the Falcone Shipping Yard
 Weapon Energy Diagnostics
 One Man Army
 Combo Master
 Summon, Eject & Glide
 Fear Multi-Takedown
 Grapnel Boost MK II
 Throw Counter
 Predator Fundamentals
 Road Rage
 Meet Commissioner Gordon by the Bat-Signal on the GCPD Rooftop

 Rescue the Missing Police Officer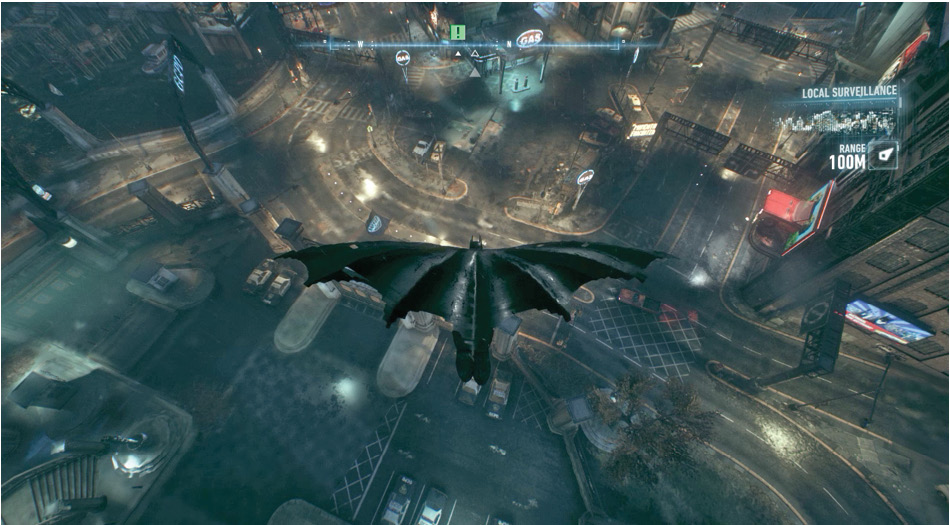
 Interrogate the Driver of the Military Vehicle for Information on Scarecrow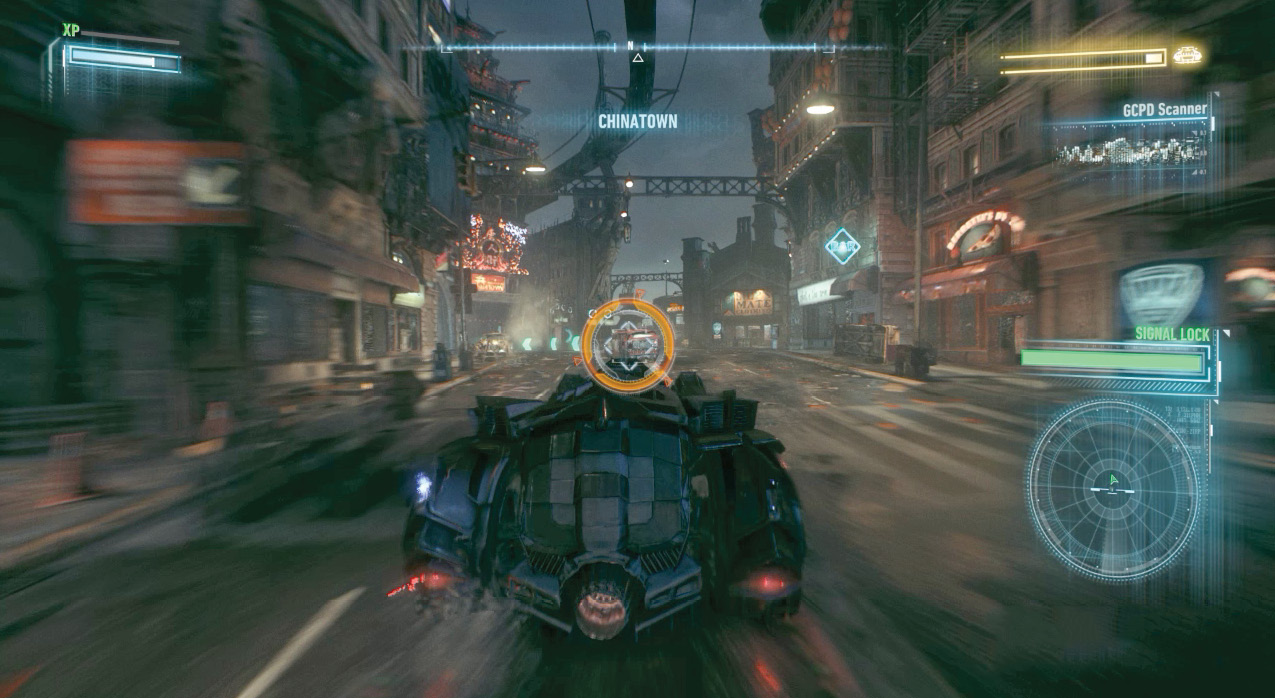
 Investigate Scarecrow’s Safe House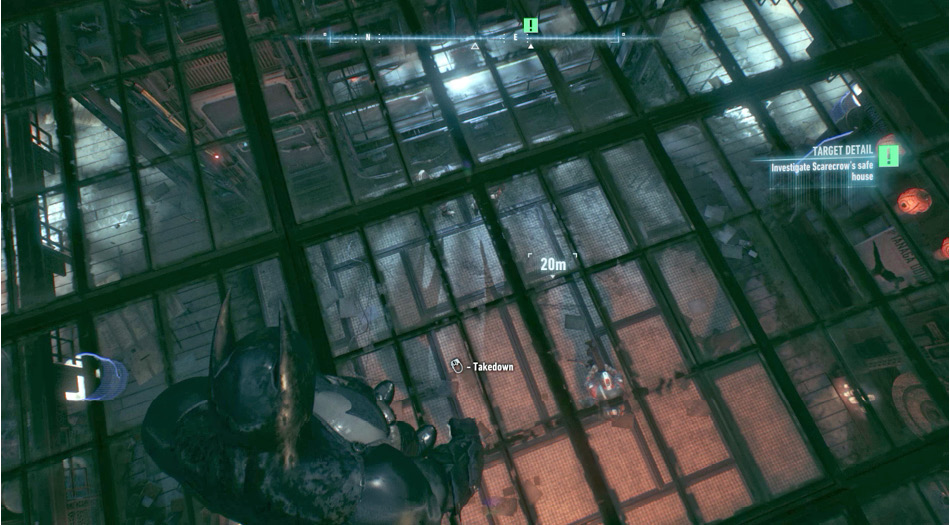
 Run Battle Mode Weapon Energy System Diagnostics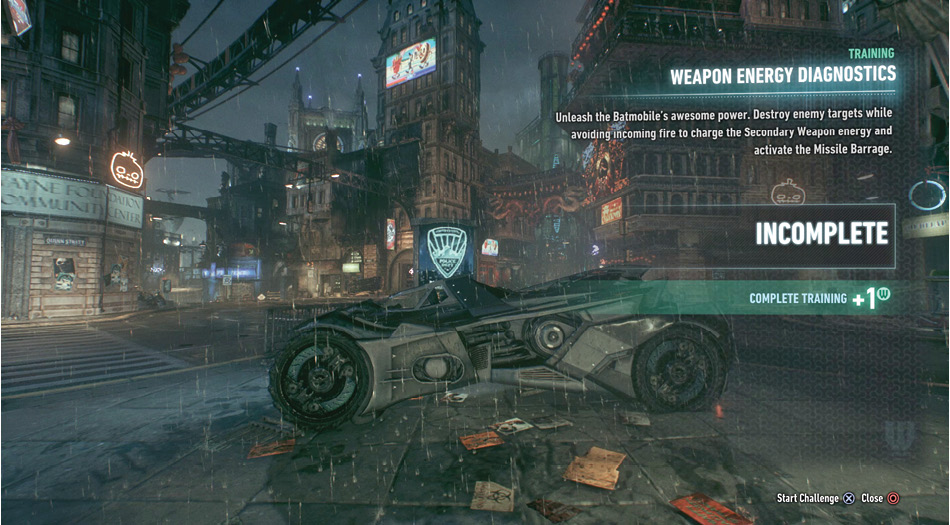
 Destroy the Squadron of Drone Tanks Occupying Panessa Studios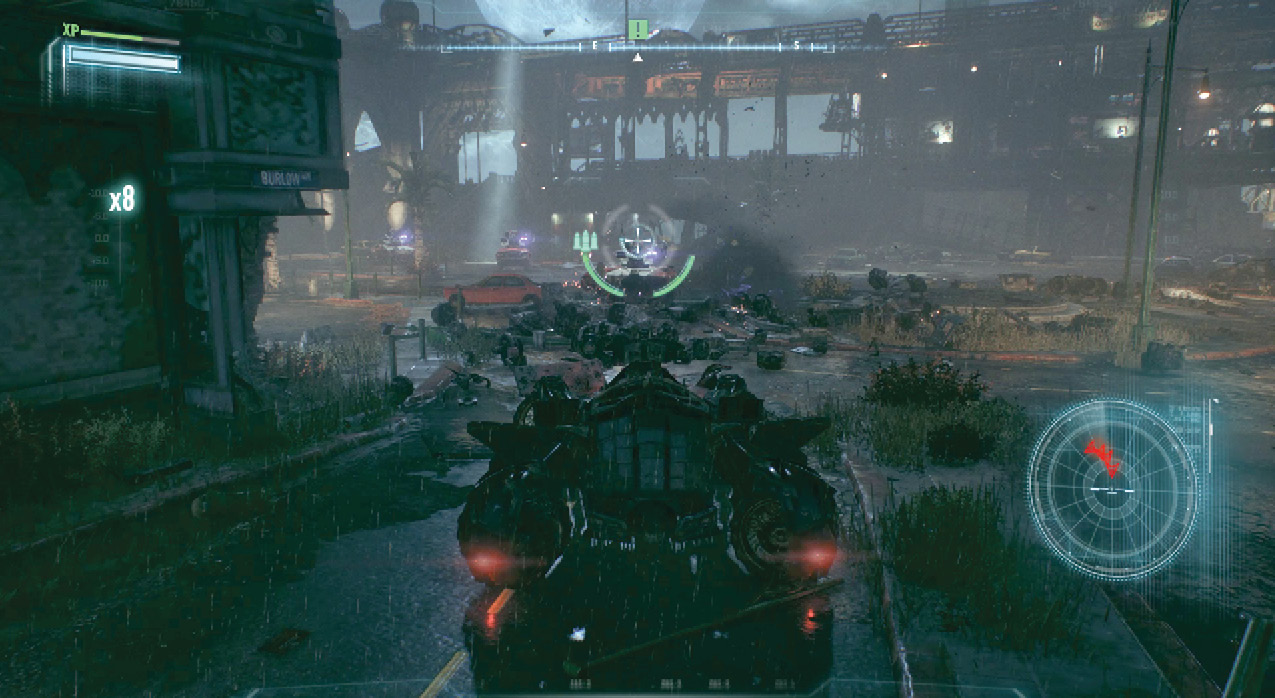
 Ivy to the GCPD Lockup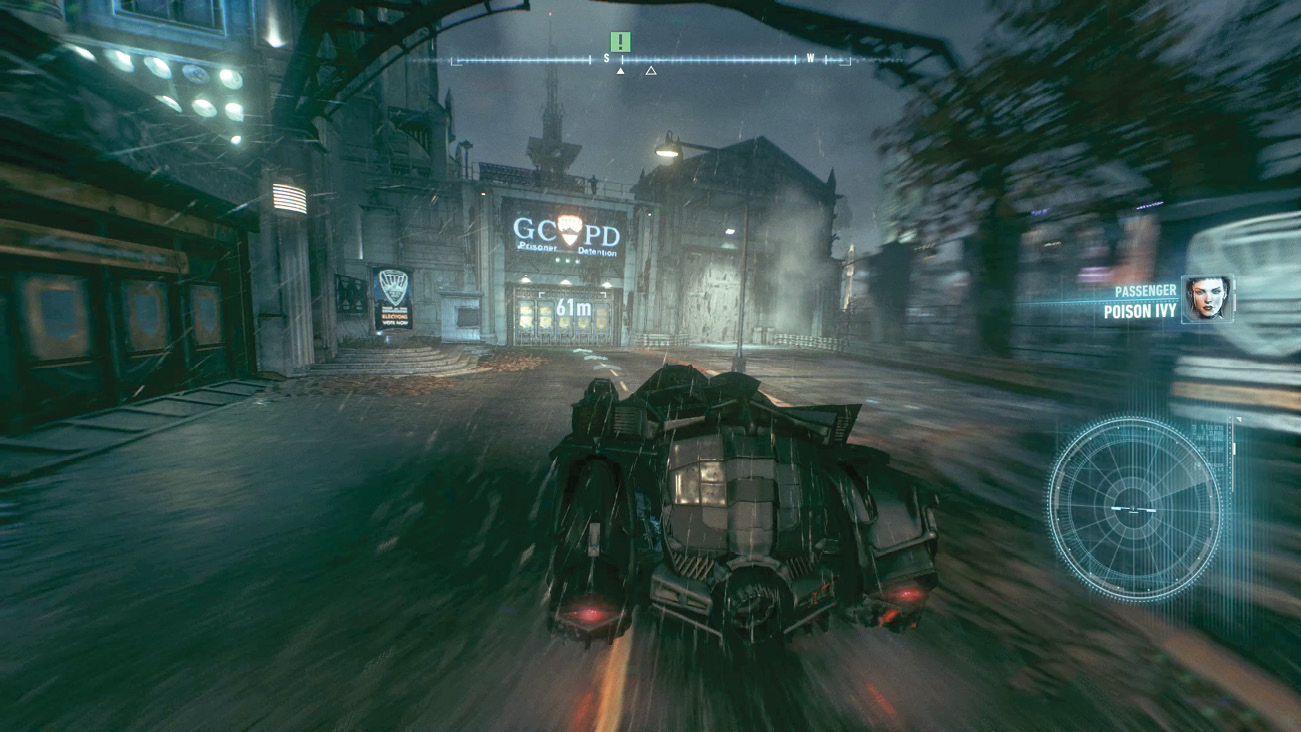
 Meet Oracle at the Clock Tower to help locate Scarecrow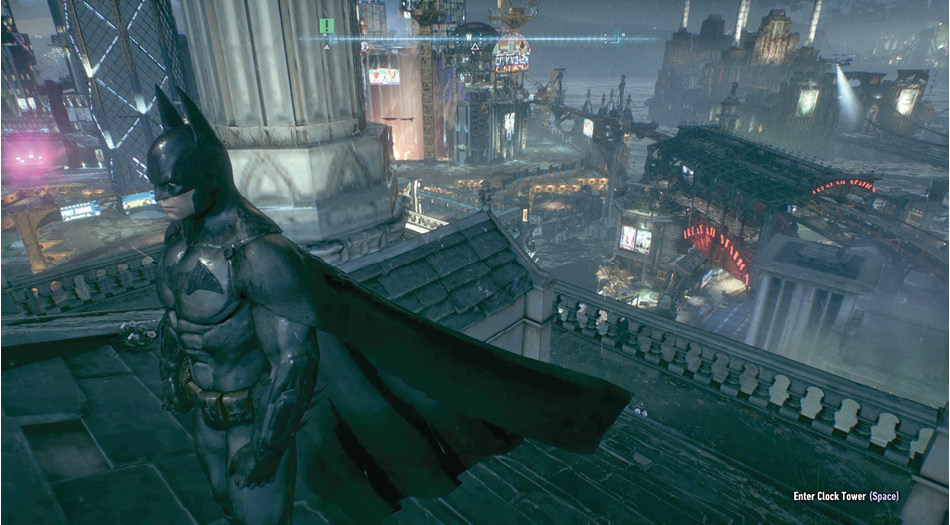
 Use Panessa Studios Antenna to Pinpoint Scarecrow’s Location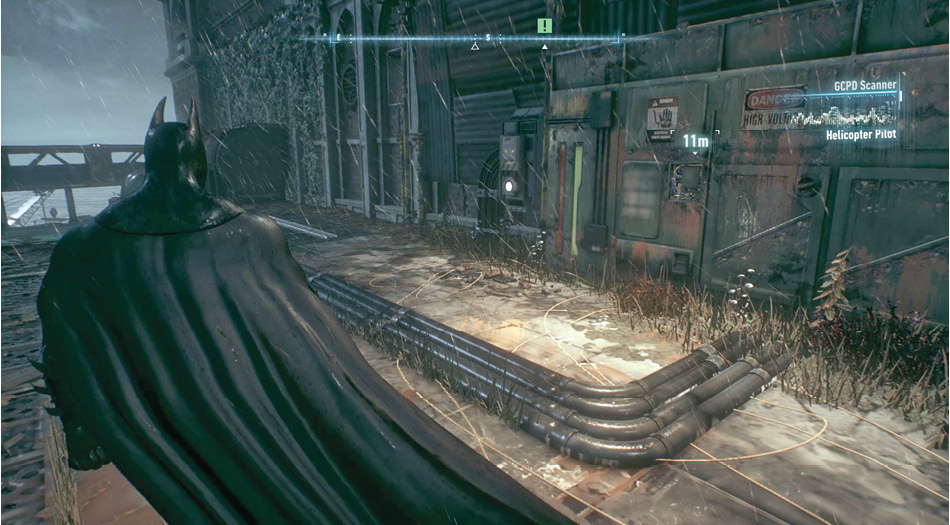
 Collect the Power Winch for the Batmobile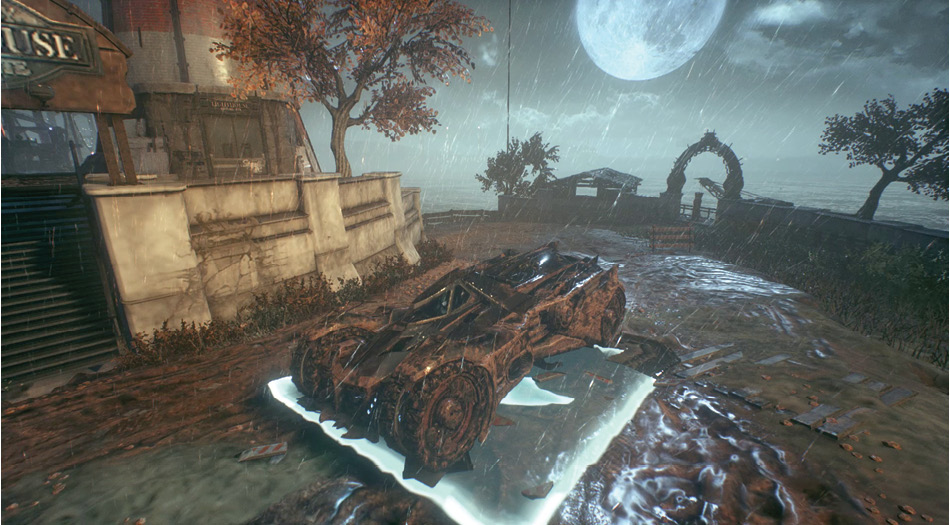
 Power Up the Panessa Studios Antenna with the Batmobile Power Winch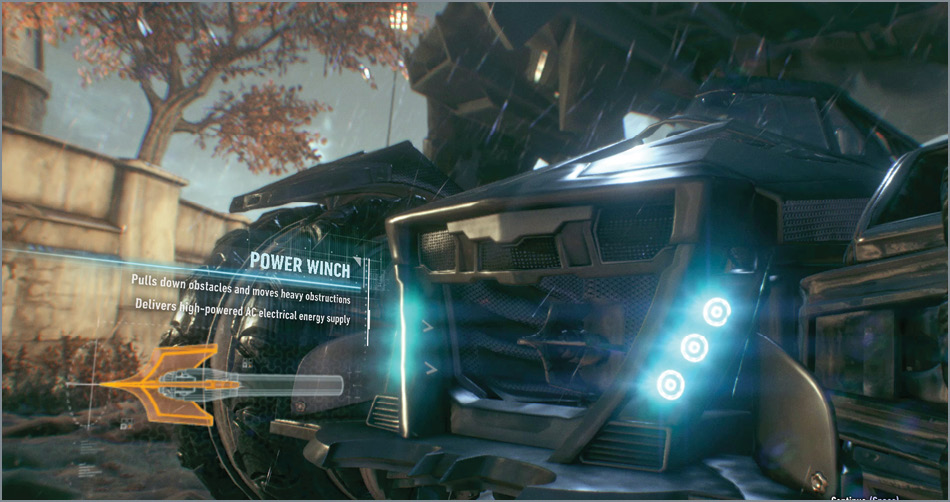
 Use the Antenna at the Falcone Shipping Yard to Locate Scarecrow