
Batman: Arkham Knight Guide Story Mode
Chapter 3: It is Dangerous Out There
The Chapter at a GlanceOBJECTIVES
NEW AR CHALLENGES
AVAILABLE SIDE MISSIONS Riddler’s Revenge |
 Meet Gordon Outside GCPD Prisoner Detention
 Escort Gordon to the Clock Tower
 Take Out the Arkham Knight Militia Forces
 Investigate the Clock Tower
 Track the Arkham Knight’s Vehicle
 Investigate the Militia Device
 Defend the Virus Upload
 Defuse the Bomb with a Controlled Explosion
 Track the Arkham Knight’s Vehicle
 Proceed on Foot to the Grand Avenue Station
 Head to the Abandoned Orphanage
 Return to Mercy Bridge
 Track the Arkham Knight’s Vehicle
 Investigate the Crashed Vehicle
 Head to Wayne Tower
 Infiltrate the Miagani Tunnel Network
 Rendezvous with the Batwing
 Rendezvous with Nightwing
 Follow the Weapons Truck
 Access the Weapons Cache and Interrogate Penguin
 Destroy Penguin’s Weapon Cache
 Identify a Way to Infiltrate the Stagg Enterprises Airships
 Disable the Watchtower Guarding the Airships
 Collect the Remote Hacking Device
 Midnight Fury TT
 Revive and Shine
 Tower Defense
 Untouchable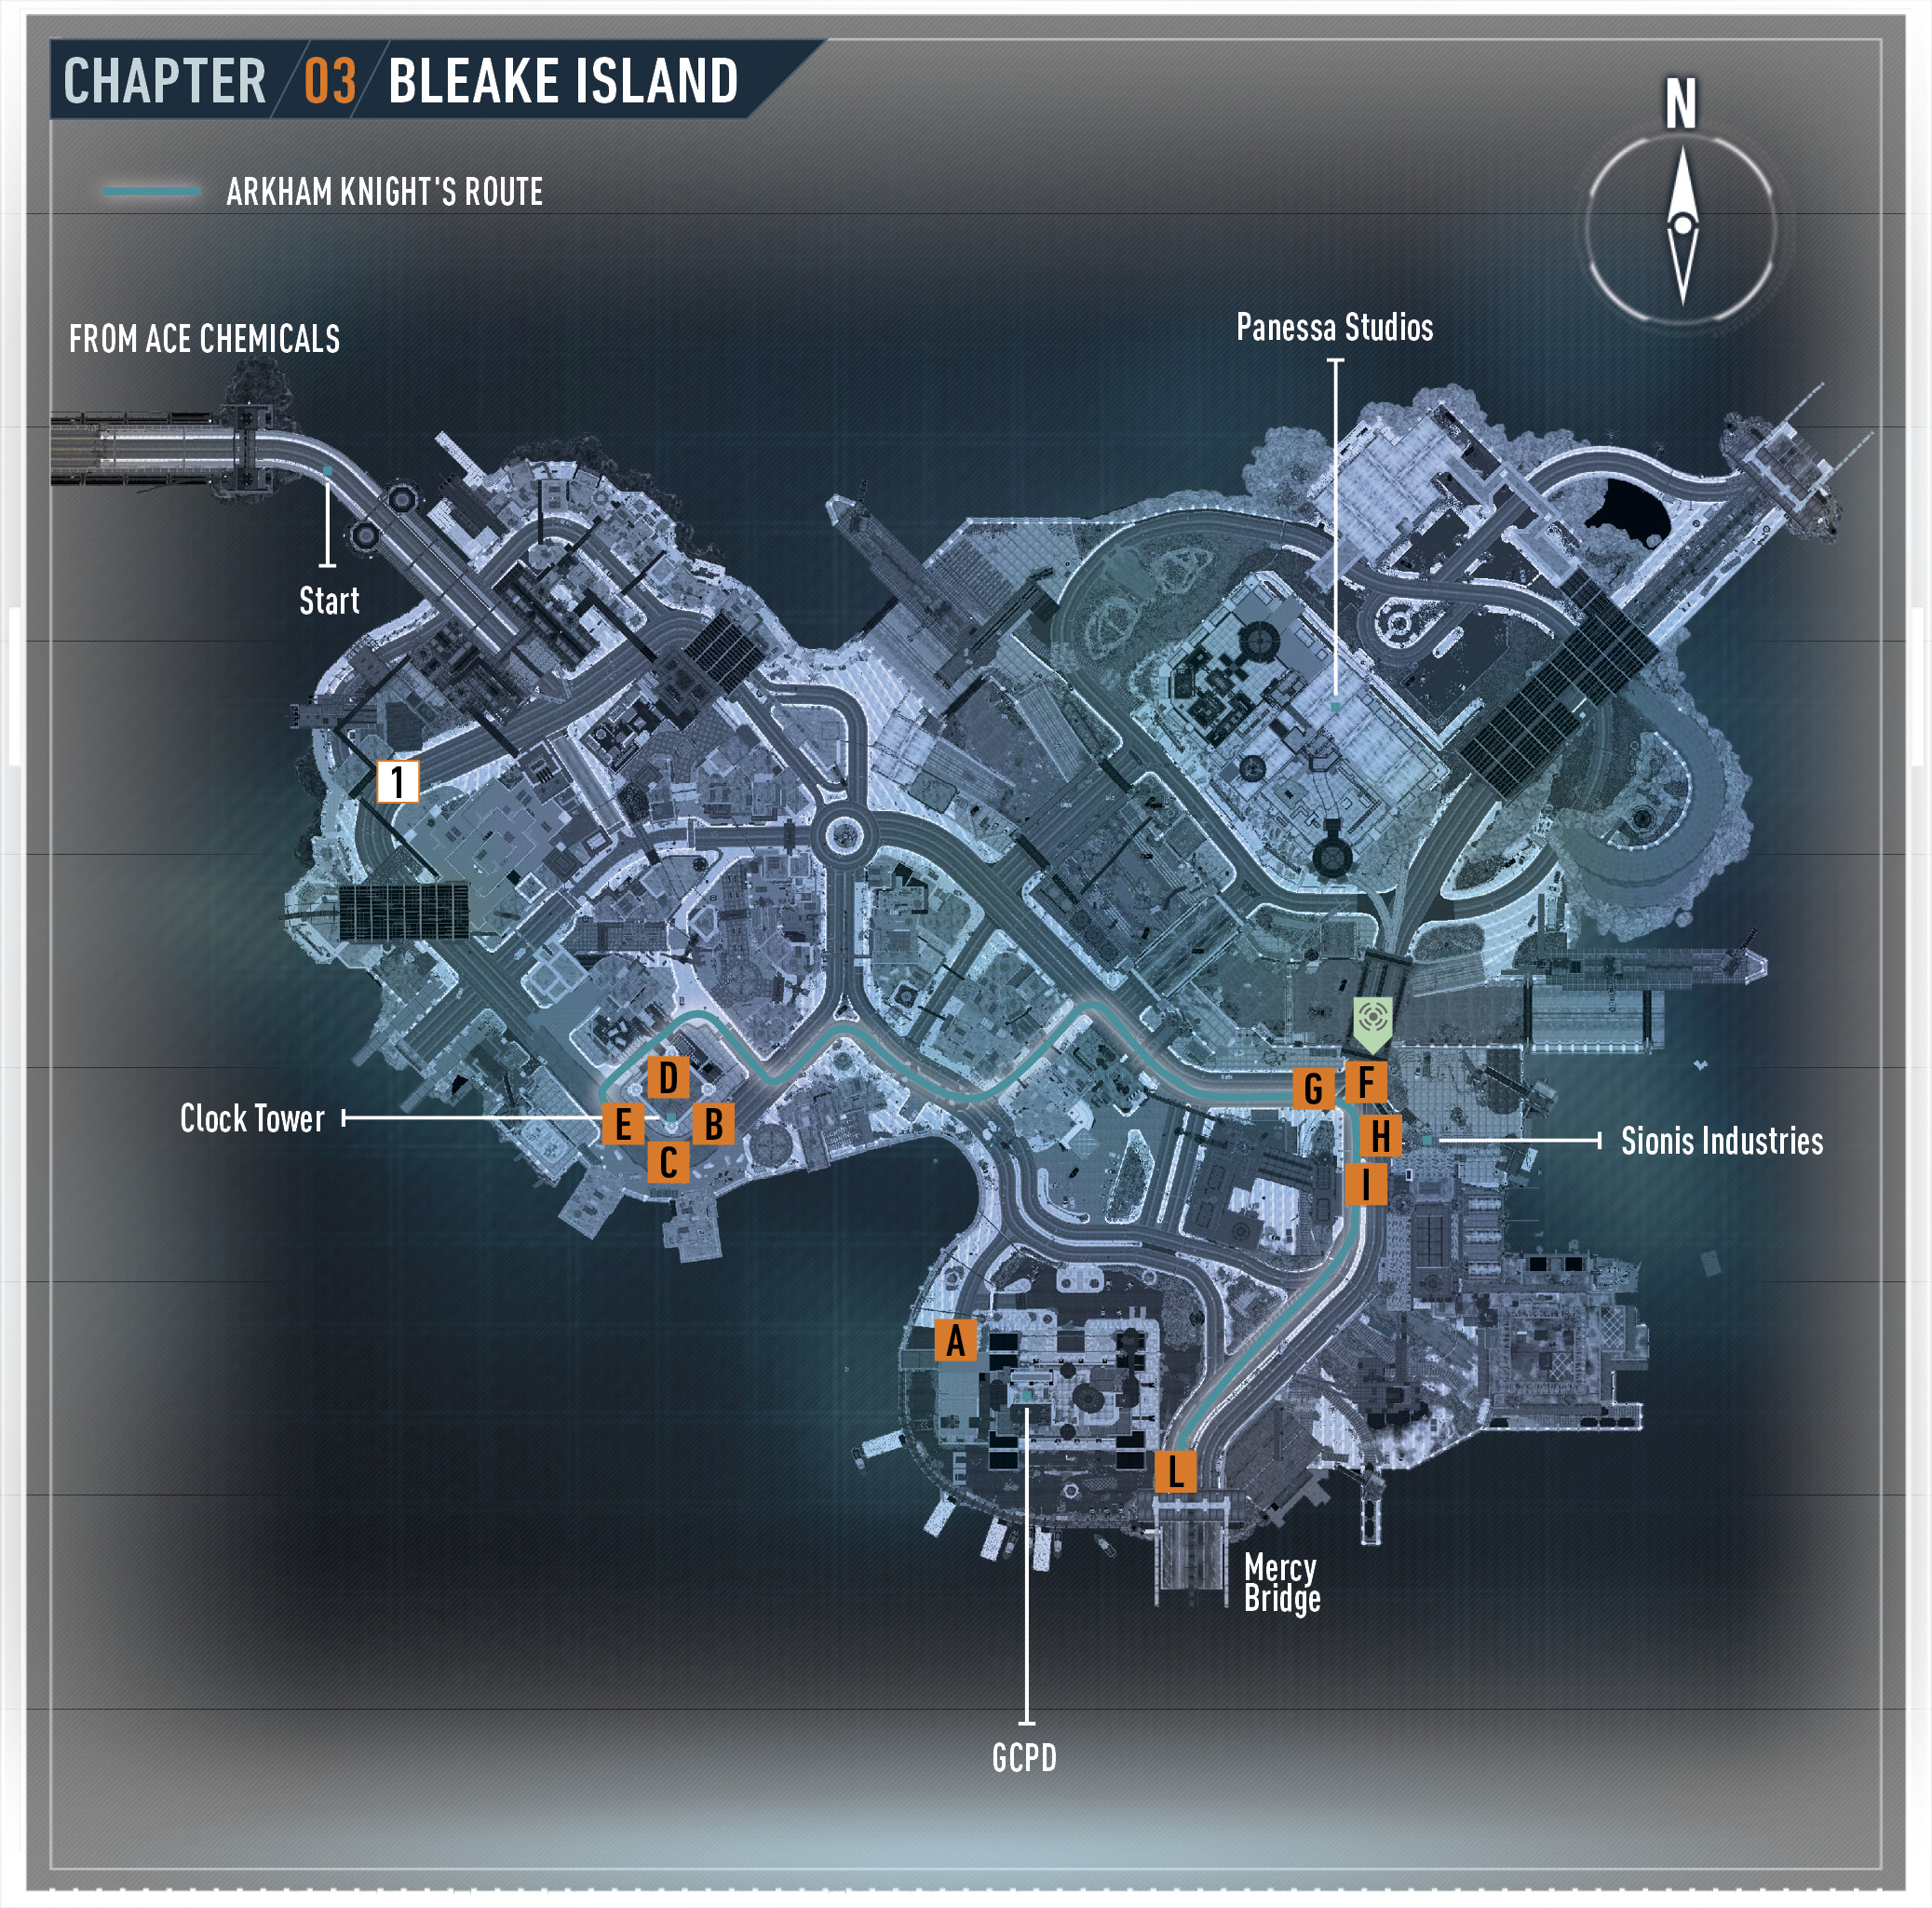
 Meet Gordon Outside GCPD Prisoner Detention
The drive to GCPD is more dangerous with the increased numbers of militia tanks. Take out the Rattler Drones along the way. Drive down to the Prisoner Detention where Commissioner Gordon awaits Batman’s arrival.
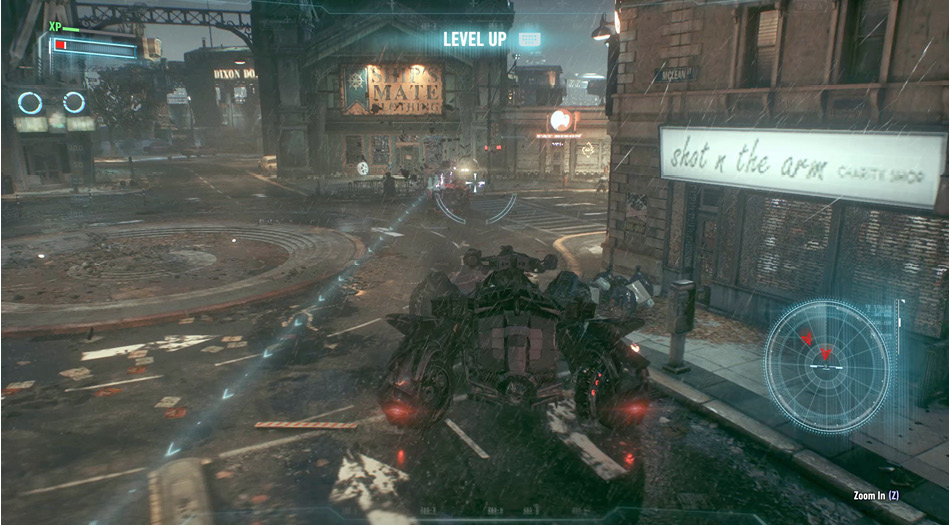
 Escort Gordon to Oracle’s Clock Tower
Allow Gordon to lead the way as you drive toward the Clock Tower. A couple of Militia Armored Vehicles attempt to apprehend the Commissioner. Take them out with the Immobilizer or by running into them. Press toward an enemy car plus the Run button to perform a Side Swipe. Once they have been taken care of, Gordon pulls to the side of the road. Move into the marker just ahead, wait for him to get into the Batmobile, and continue to the destination.
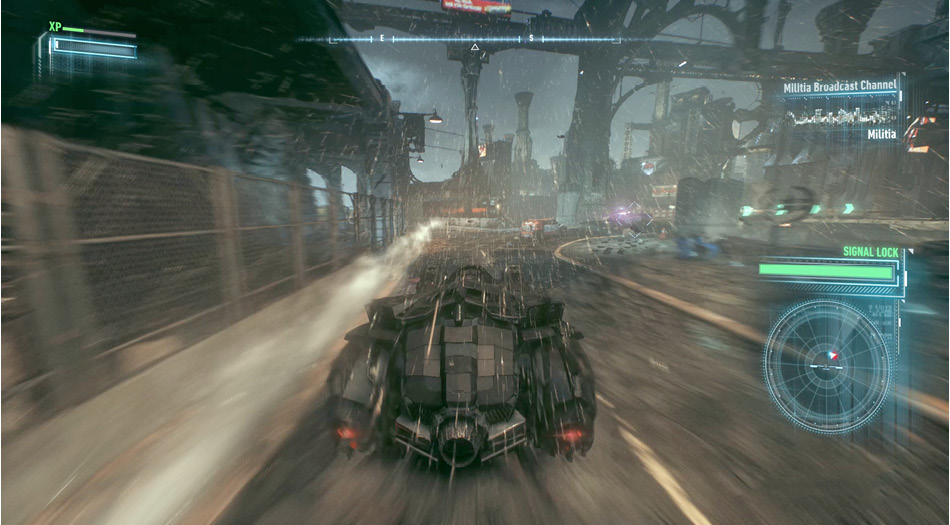
 Take Out the Arkham Knight Militia Forces Occupying the Clock Tower
Twelve Rattler Drones attempt to stop Batman as the objective nears. Dodge their attacks while taking them down with the Heavy Cannon. Once the tanks are out of the way, grapple to a high Vantage Point to survey the militia soldiers who occupy the Clock Tower. Six hostiles, including a Medic, patrol the outdoor area. A gargoyle, floor grates, railings/ledges, and many corners offer enough locations to perform Silent Takedowns on all of them.
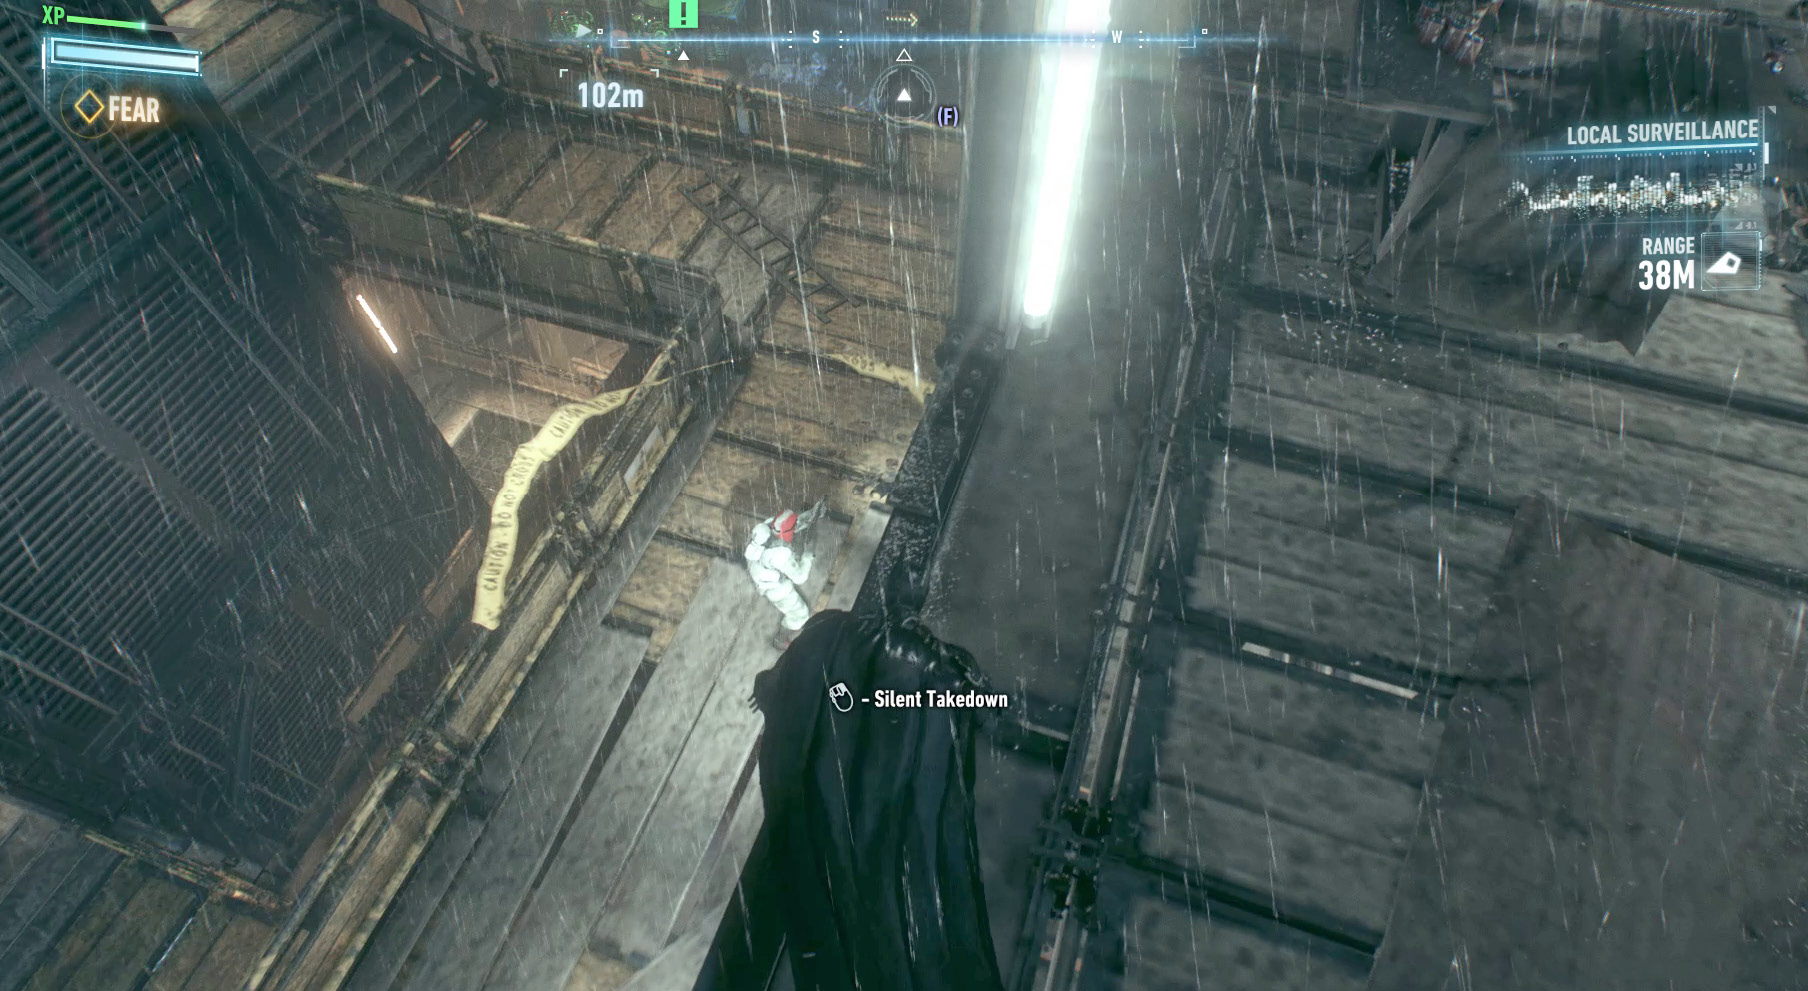
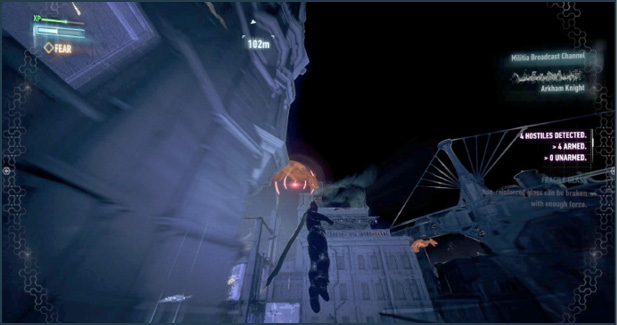
 Investigate the Clock Tower for Clues to Help Locate Oracle
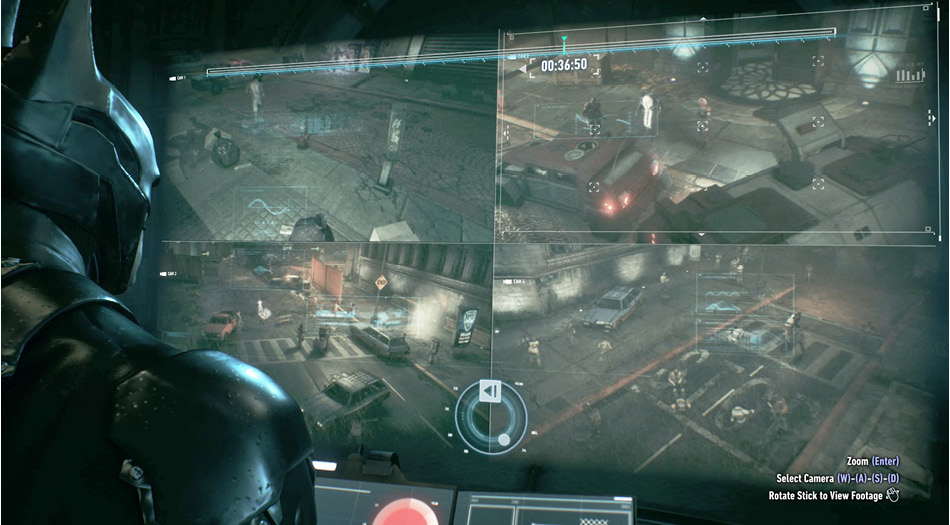
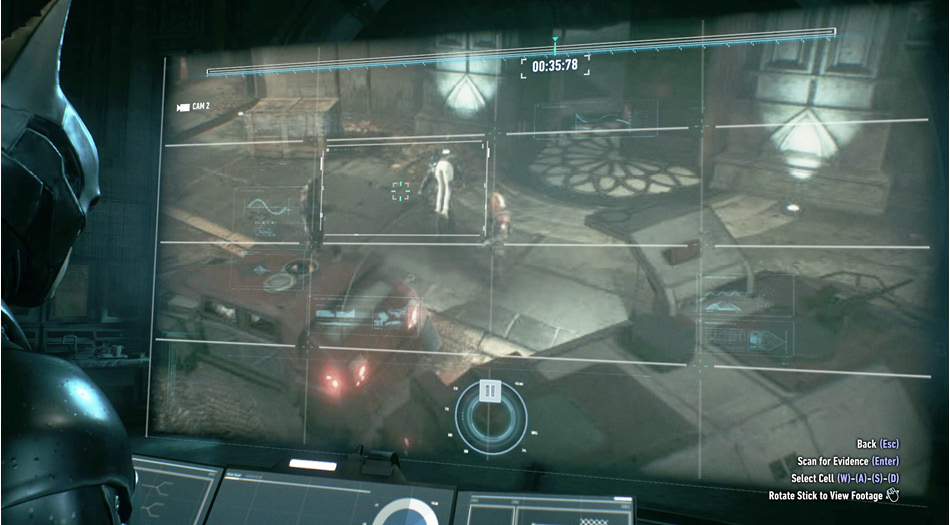
Grapple to the top of the Clock Tower and enter through the secret entrance. Pick up the wheelchair once the option appears. After Gordon leaves, use the computer to search for clues. With footage from four surrounding CCTV cameras on screen, Batman should be able to find an indication of who has taken her. Use the move controls to select a camera, while look allows for scrubbing of the video. Rotate the stick clockwise or move the mouse right to go forward and vice versa to rewind. Select the upper-right camera and when the guy emerges from the tower zoom in. Now select the section of the image where he is located and scan for evidence to find out who has her. Wait for him to get in the Armored Vehicle and scan one of the sections of the car.
 Track the Arkham Knight’s Vehicle to Locate Oracle
Initiate Shutdown Procedure, exit the tower, and call the Batmobile. Starting from the tower exit, use the Forensics Scanner to reveal the tire tracks and the route the Arkham Knight’s vehicle took.
 Investigate the Militia Device
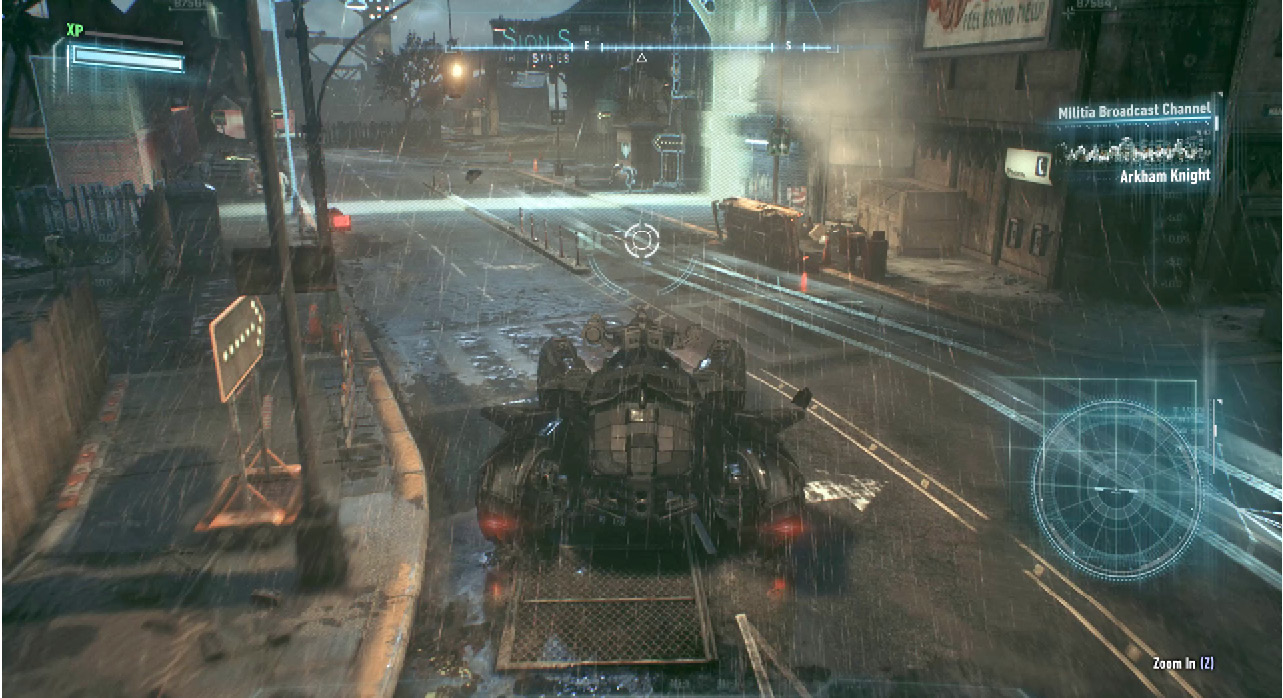
Just outside Sionis Industries, the militia buried a device into the ground. Exit the car and investigate to find out it is a bomb. Batman decides to use the Batcomputer to hit it with multiple viruses and detonate it with a controlled explosion.
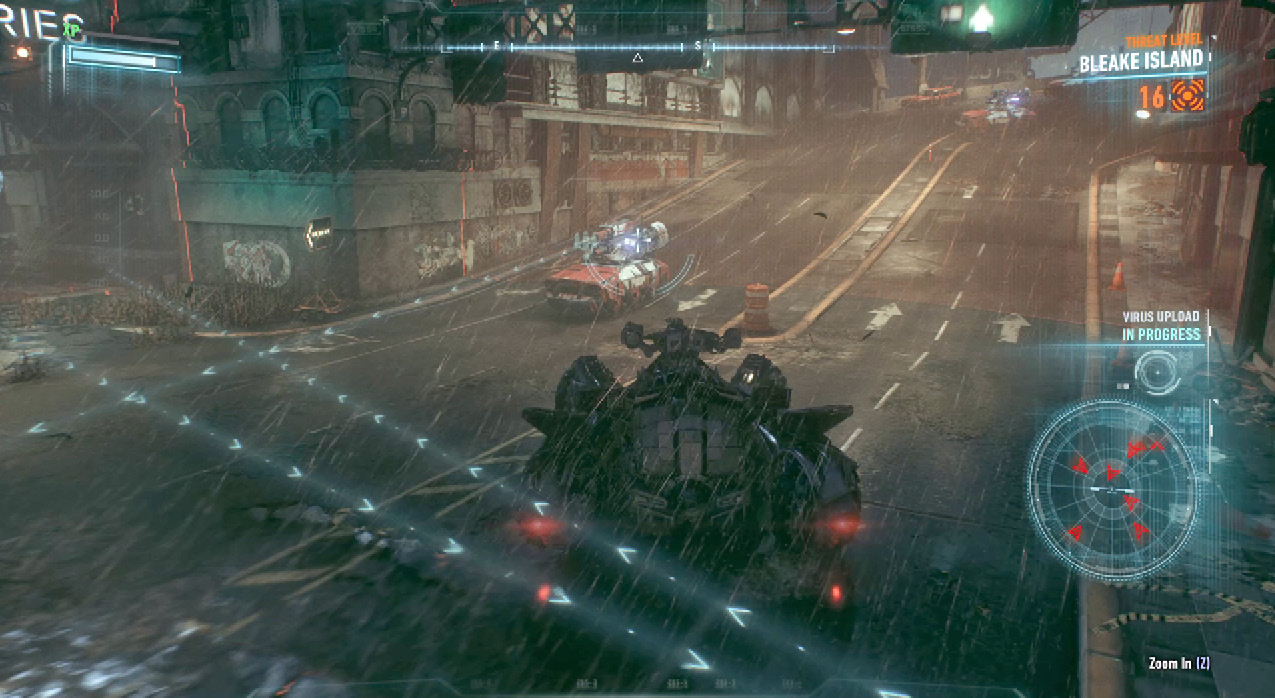
 Defend the Virus Upload
The militia sends 16 Rattler Drones to stop Batman. Activate Battle Mode and defend the virus upload from the tanks. With that many drones, enemy shots are incoming almost constantly. Stay on the move while taking the vehicles out with the Heavy Cannon.
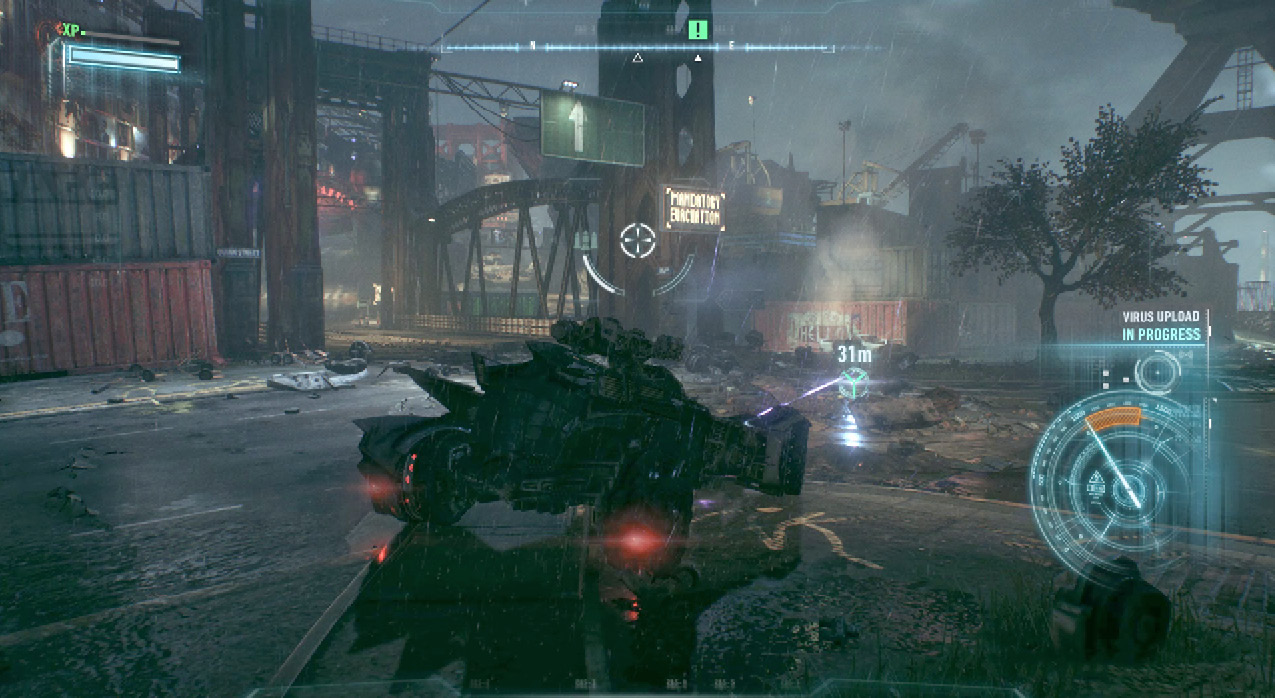
 Defuse the Bomb with a Controlled Explosion
With the drones out of the way, attach the Power Winch to the bomb, and lightly hold the accelerator to rev the engine. Keep the needle in the orange until the bomb detonates. This registers as the first bomb removed in the Campaign for Disarmament side mission.
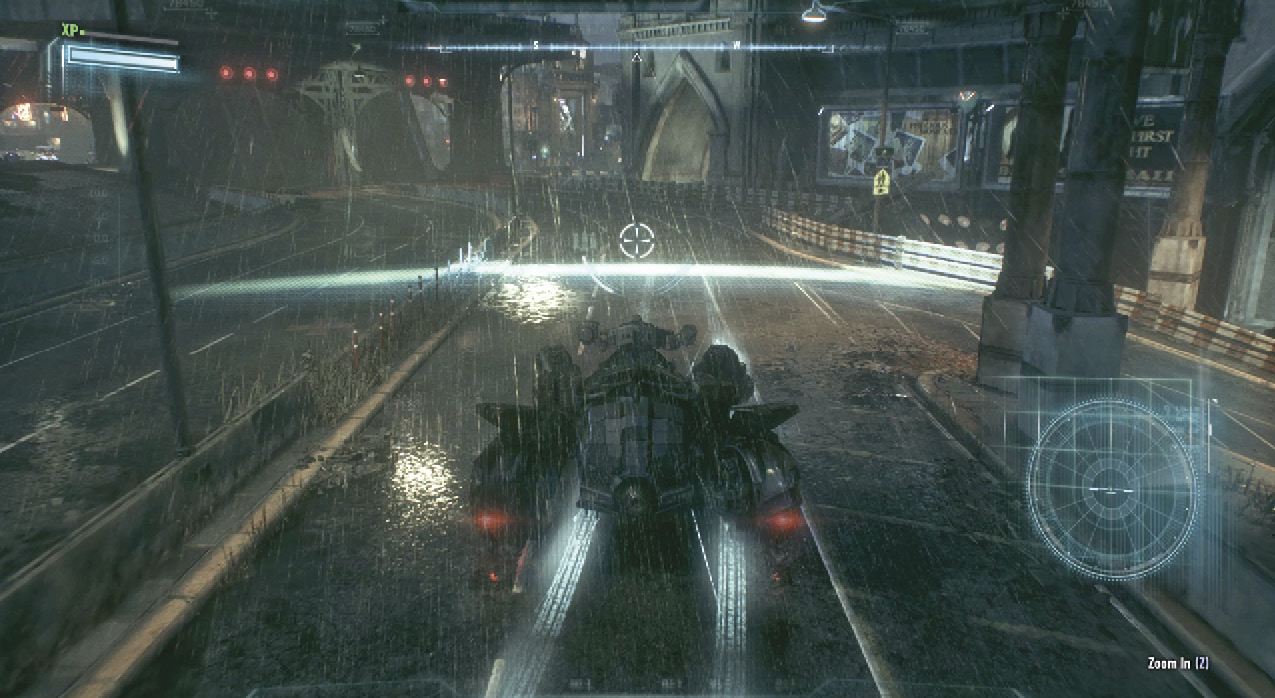
 Track the Arkham Knight’s Vehicle to Locate Oracle
Return to the tire tracks and use the Forensics Scanner to follow the vehicle’s route south to Mercy Bridge. The Batmobile is unable to proceed, though, as the militia has hacked into the Transport Control System, raising the bridge and locking Batman out.
 Proceed on Foot to the Militia Access Point at Grand Avenue Station and Regain Control of Mercy Bridge
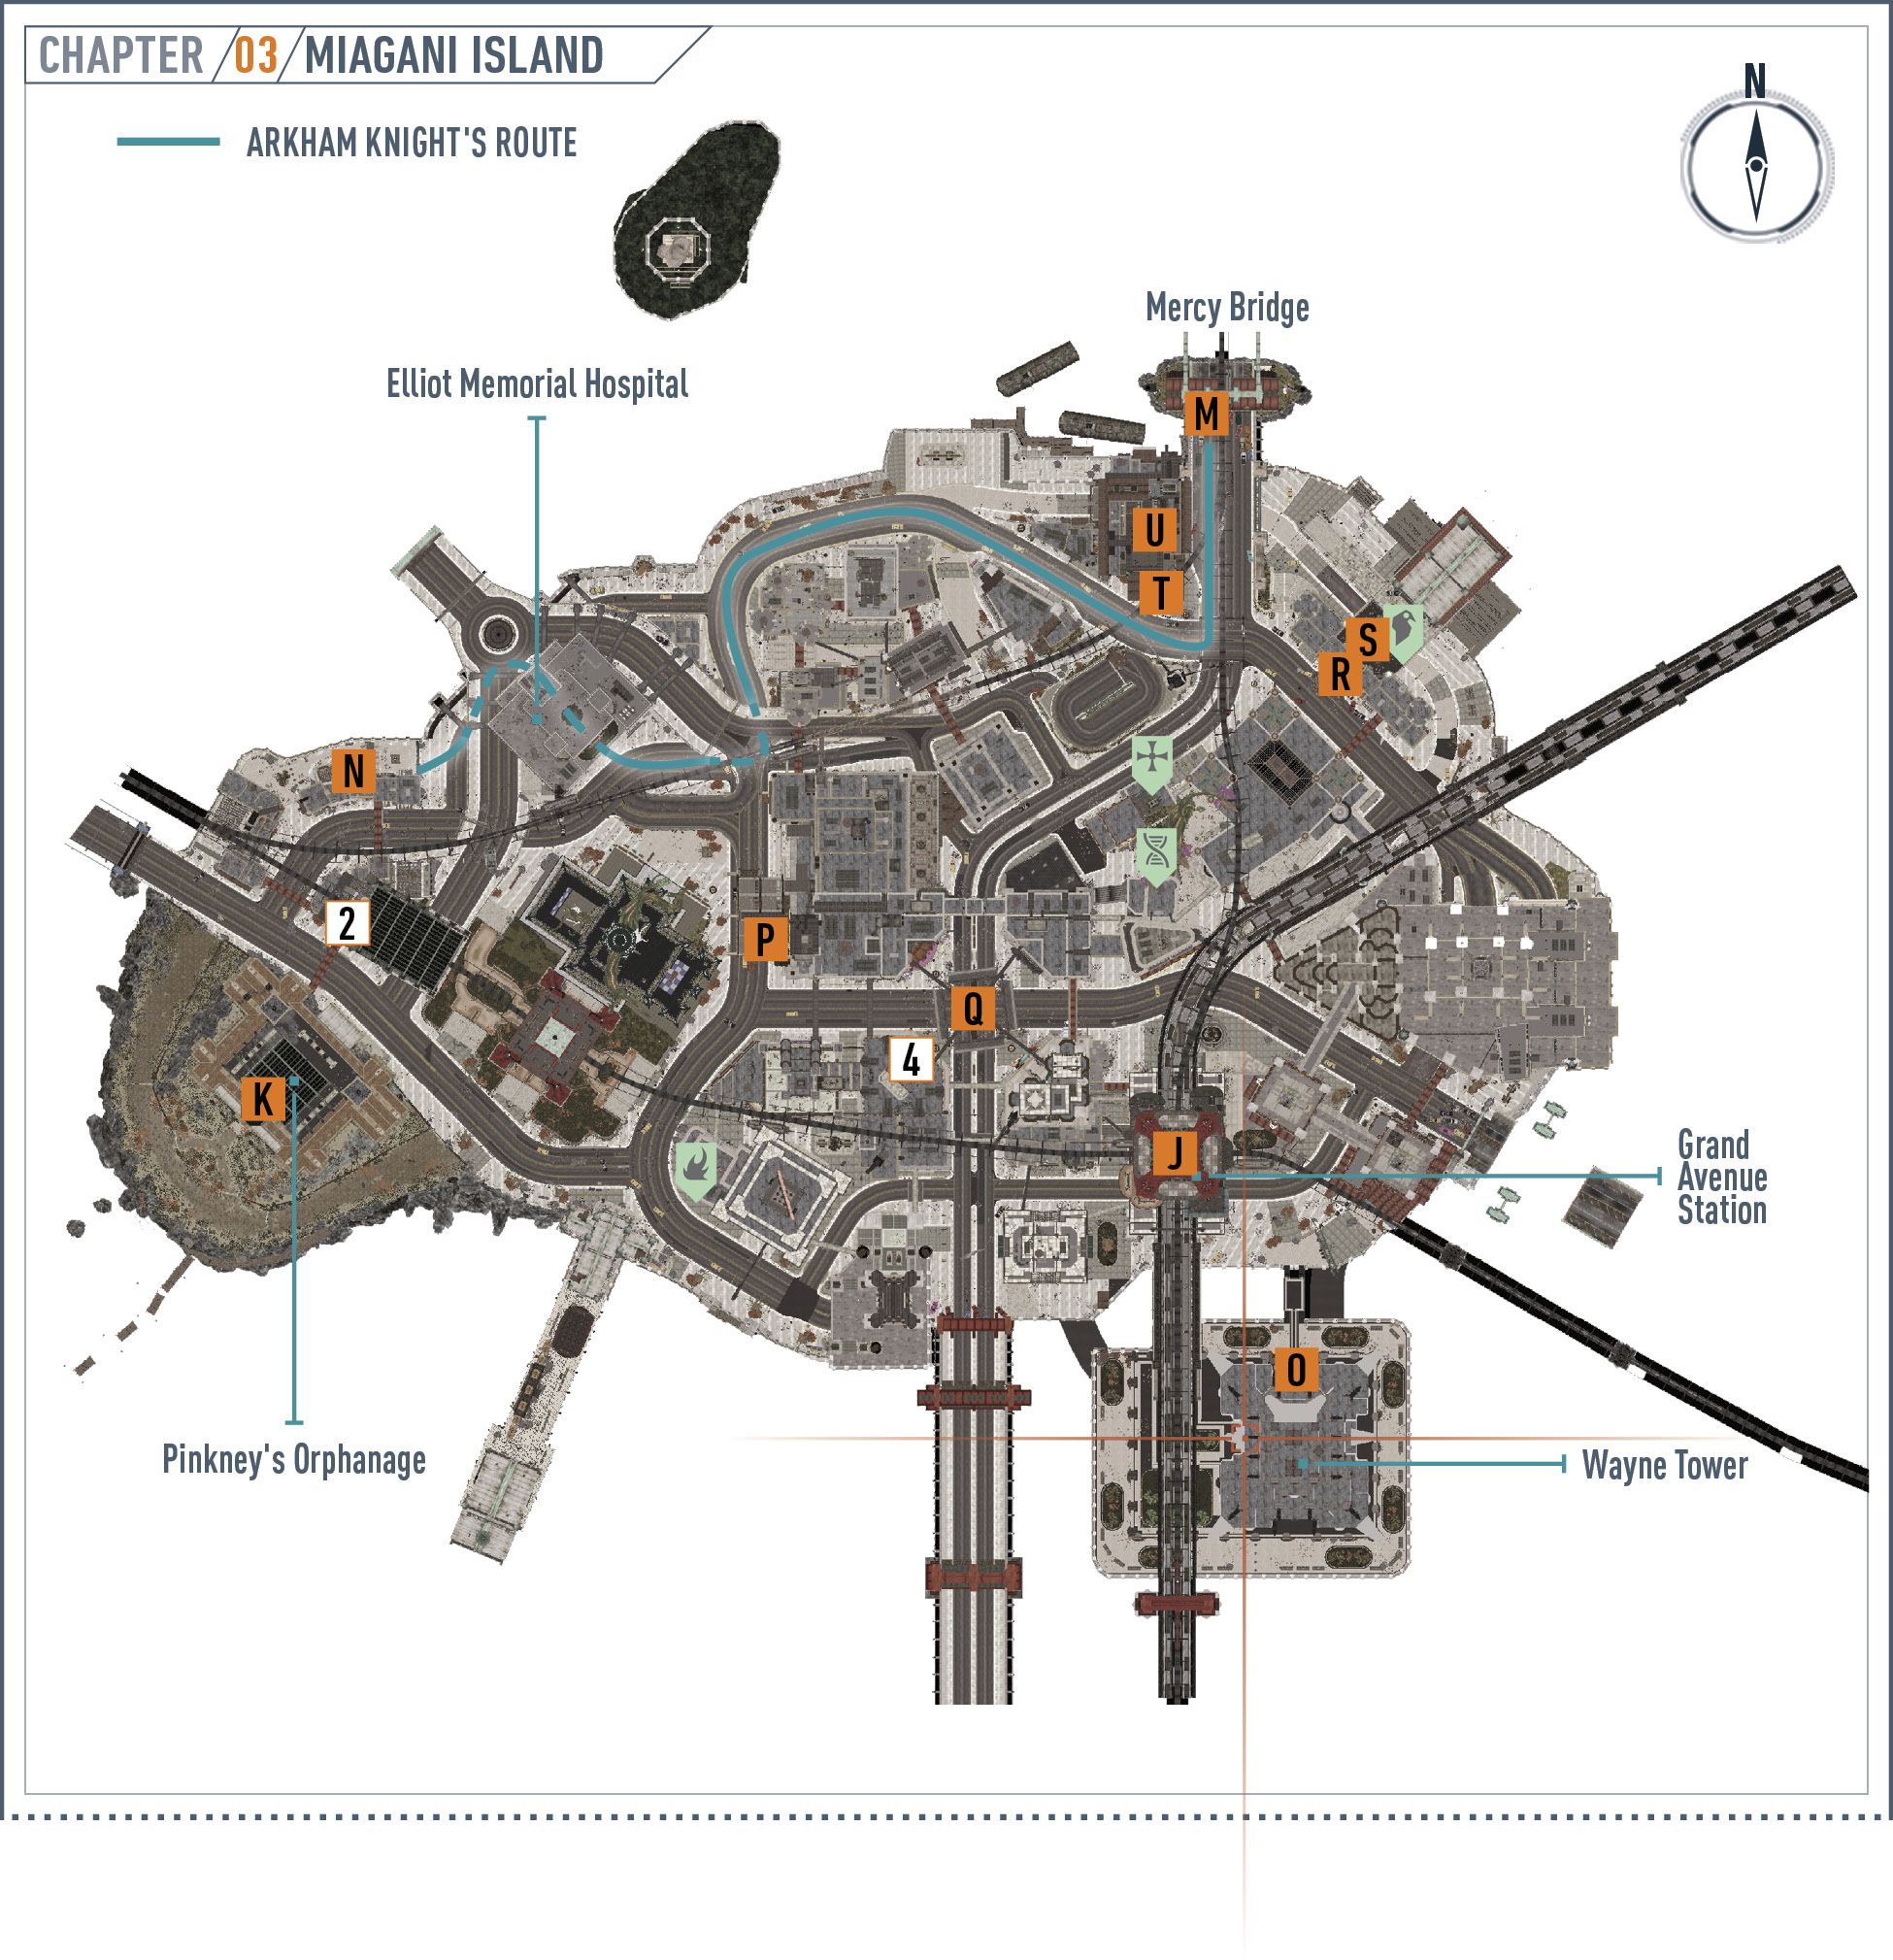
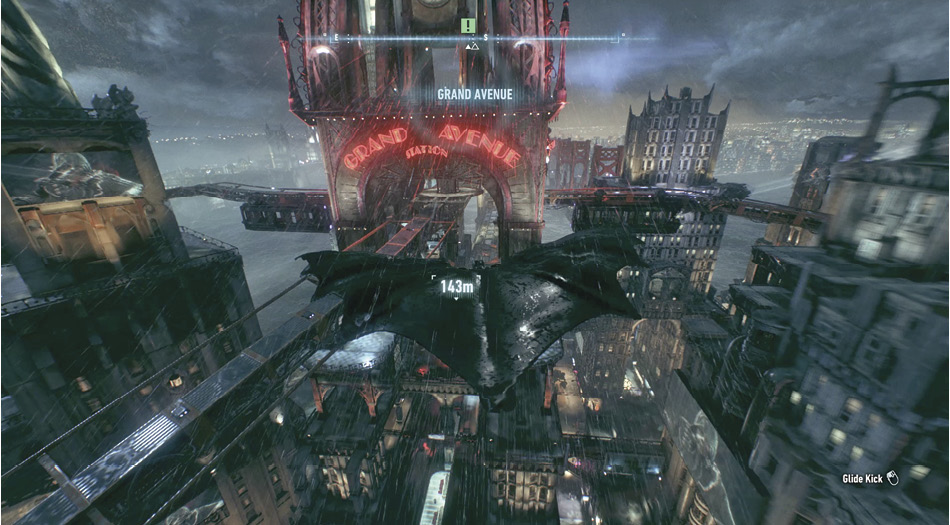
A waypoint is placed at Grand Avenue Station straight ahead on Miagani Island. Glide over to the new island and proceed to the station, landing on the railing just above the militia uplink terminal. Eight armed soldiers occupy the large depot, including one Boa Sentry Drone operator. Two hostiles are easy pickings from the start as they guard the laptop below. The others can be picked off from floor grates, Vantage Points, behind walls, upper floors, and more. If spotted or heard, flee the immediate area and continue to take down the militia soldiers. With the area clear, use the computer to gain access to Mercy Bridge.
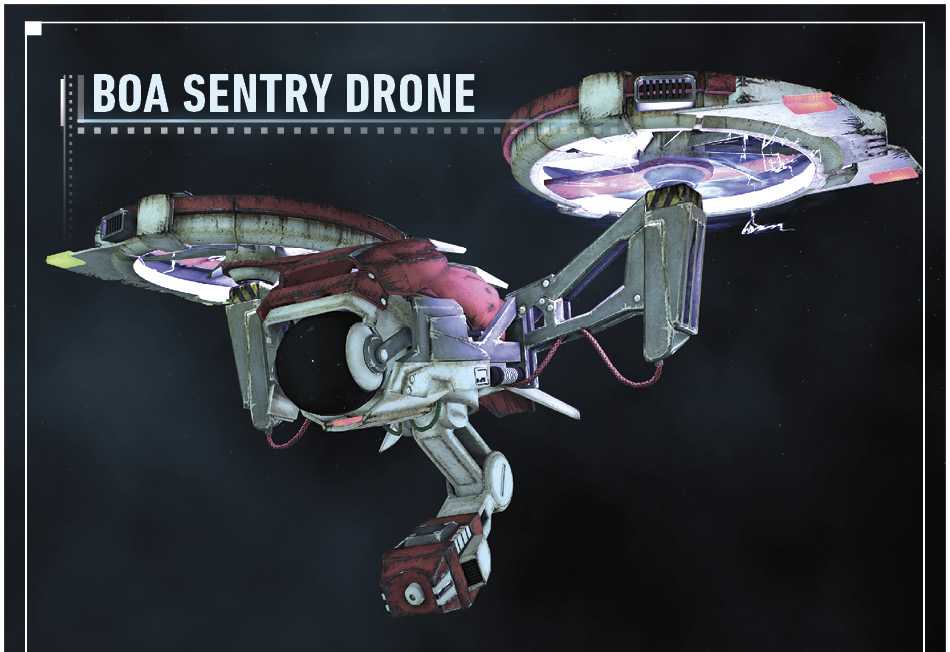 The Boa Sentry Drone is a remote control surveillance device used in predator situations. It is flown around by one of the hostiles, adding an extra set of “eyes” in the sky. Avoid its field of vision, which is indicated by lights on the front. Enable Detective Mode to spot the drone’s operator, who is connected to the device by a line. Take this guy out to cause it to crash. 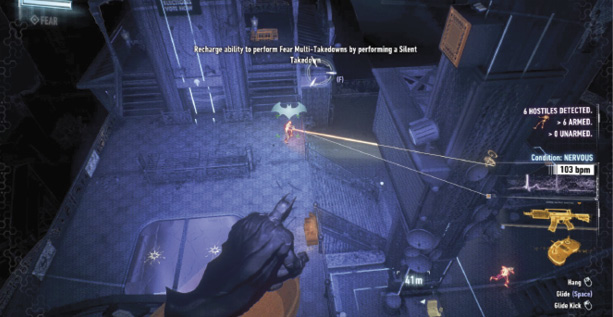 |
 Head to Riddler’s Orphanage to Rescue Catwoman
After a lengthy announcement from the Riddler and while Alfred works on getting the bridge accessible, glide and grapple over to the orphanage, located on the west side of the island. Avoid the ground as militia drones litter the roads. Five of Riddler’s thugs greet you at the entrance, including an informant. Take them down and interrogate the highlighted foe before entering the building and rescuing Catwoman.
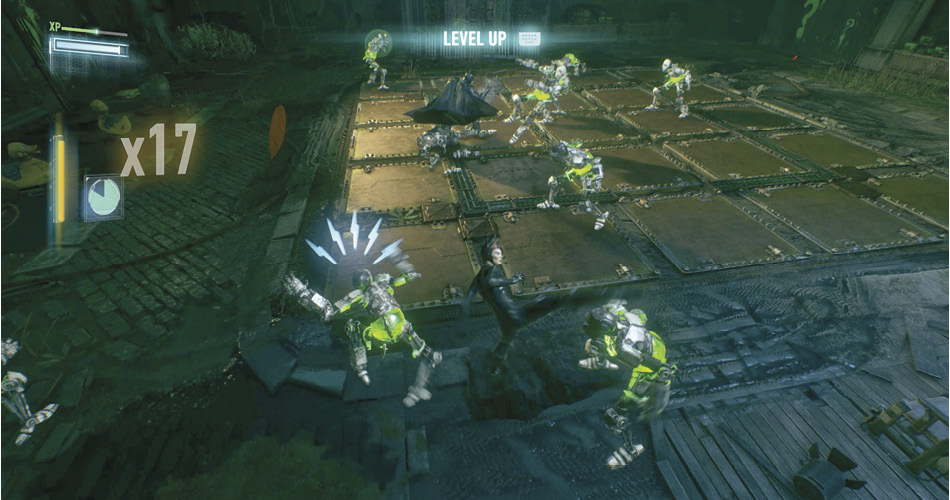
Edward Nigma introduces the duo to his automated combatants. These robots learn from the fight, allowing the Riddler to build better opponents for the next battle. The first challenge for Batman and Catwoman requires them to defeat 10 of these fighters. The first version of the androids is easily taken care of with melee attacks and counters. Take advantage of the assistance from your partner and dispose of the metal thugs. After the skirmish, talk to your teammate.
 Return to Mercy Bridge to Resume Tracking the Arkham Knight’s Vehicle
Once ready to return to the main story, head over to Mercy Bridge to use the Batmobile’s Forensics Scanner where the tracks left off.
 Track the Arkham Knight’s Vehicle to Locate Oracle
Mercy Bridge is lowered, revealing six militia drones on the other side: two Mamba Drones, a Diamondback, and three Rattlers. Stay back and pick off each one with the Heavy Cannon. The Mamba Drones launch guided missiles that can be knocked down with the Vulcan Gun. The Rattlers can be taken out instantly with a direct shot at the sensory array with the Vulcan Gun. With the bridge safe to navigate, scan the tracks across the bridge, to the right, past the Gotham Mall and Elliot Memorial Hospital, to a row of bollards that block the road. Rattler Drones litter the island, so feel free to take a break from forensics and eliminate these foes.
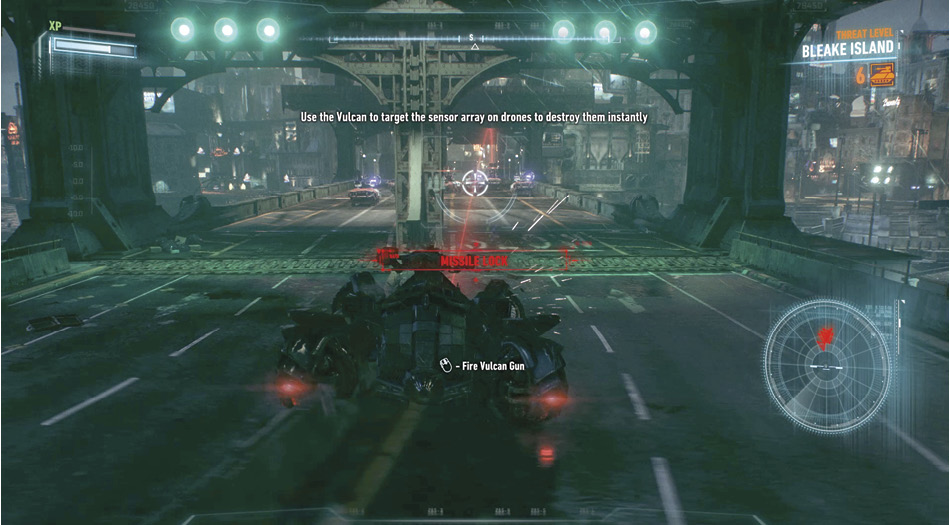
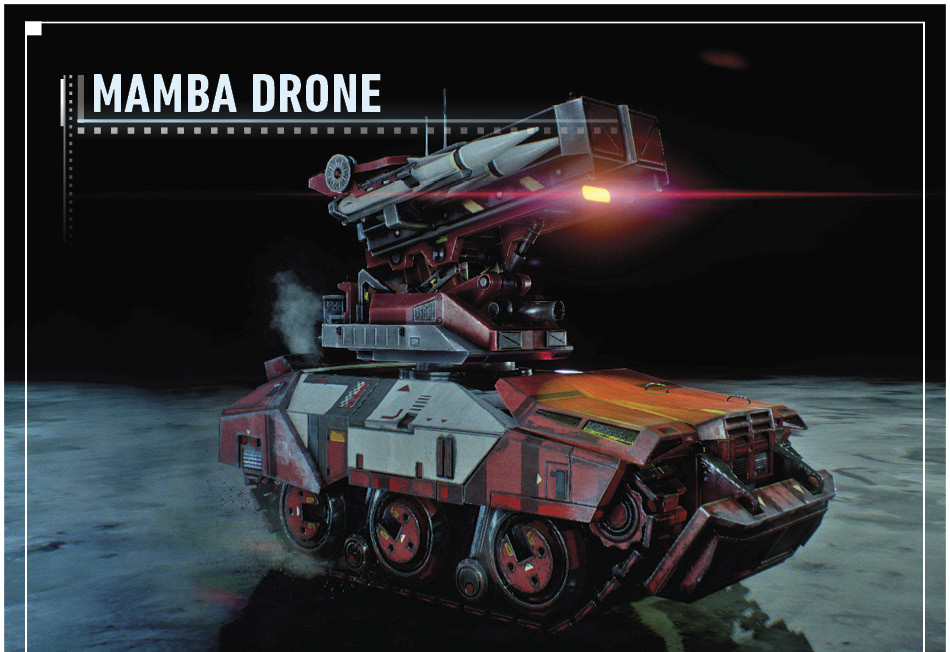 The Mamba Drone launches two guided missiles at its target. A red arc from the launcher to the Batmobile indicates that missiles are ready to deploy. Red squares on the HUD identify their location in flight. Once locked on, a message informs the player. Listen for the warning beeps and quickly target the projectiles with the Vulcan Gun. Take the drone out with the Heavy Cannon.  |
 Investigate the Crashed Vehicle
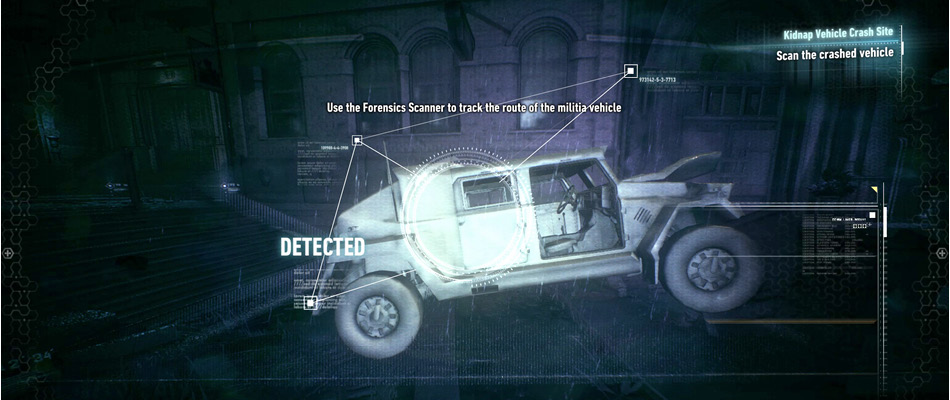
Investigate the crashed SUV ahead to discover that Arkham Knight must have taken Oracle and moved on. Enable the Evidence Scanner to investigate the scene. Move the circular reticle around the vehicle and surroundings to search for evidence. Once found, hold the Run button to scan it in. Scrub through the playback to follow the clues.
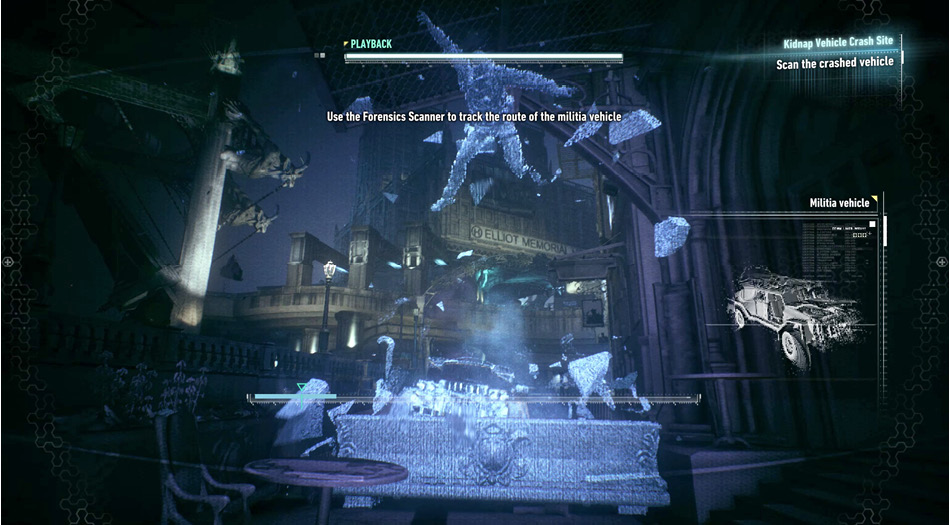
Scan in the right part of the vehicle and then rewind to reconstruct the scene. Take it all the way back to the start and let it play. It shows the car veering off the road and the driver being launched out the windshield.
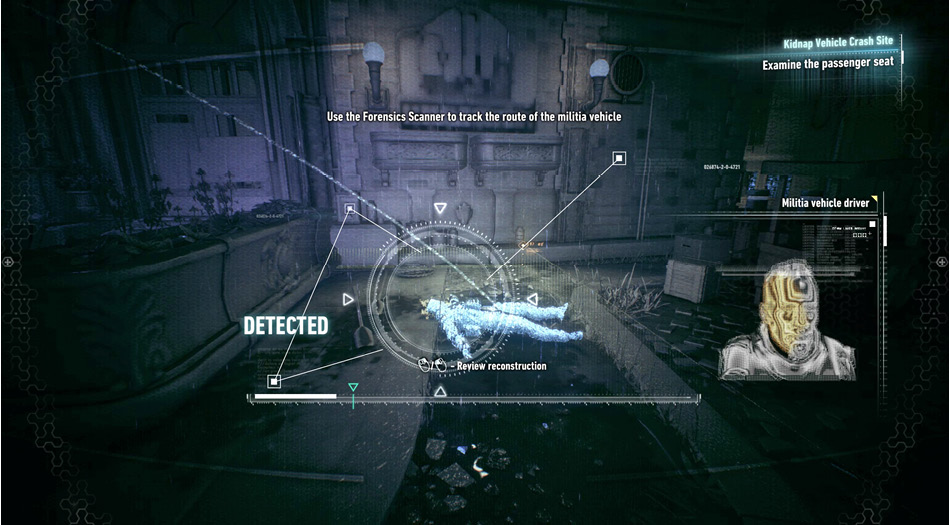
Walk around the planters to find the driver lying on the ground. Scan him to find out he was hit with pepper spray.
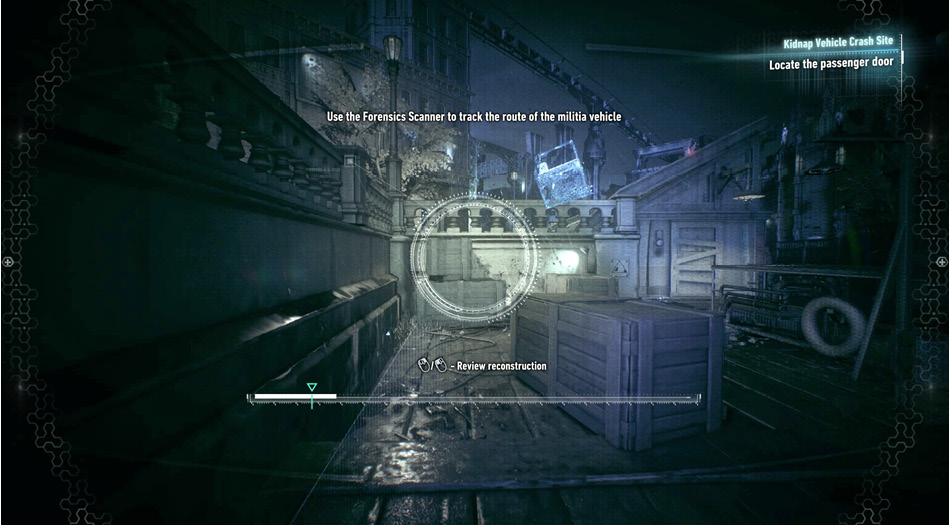
Scan the passenger seat and reconstruct the scene again. The passenger-side door is sent flying when the SUV impacted the planter. Rewind the scene and follow the door over the railing. Scan it in to reveal more of the scene.
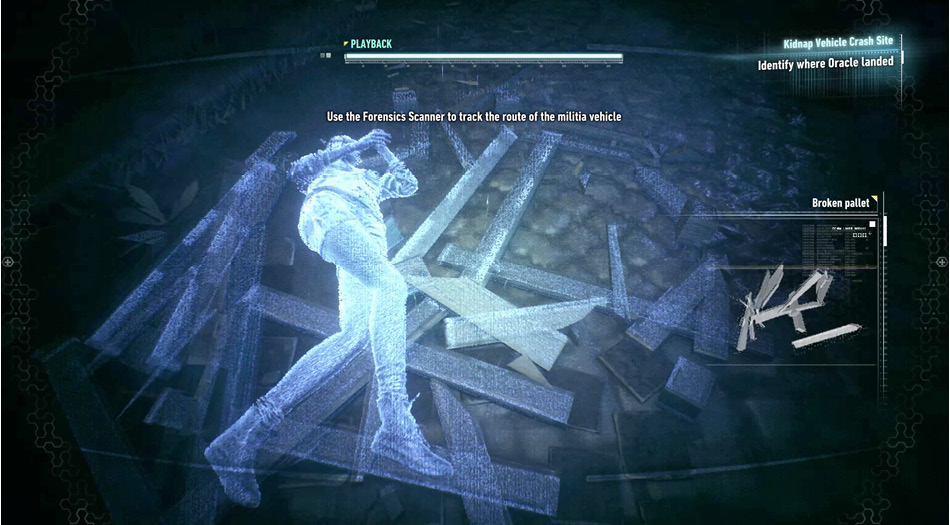
Reconstruct the scene again and watch as Oracle rolls out of the SUV before impact. Follow her path as she breaks the pallet and attempts to crawl away. Batman deduces that a shot was fired at her.
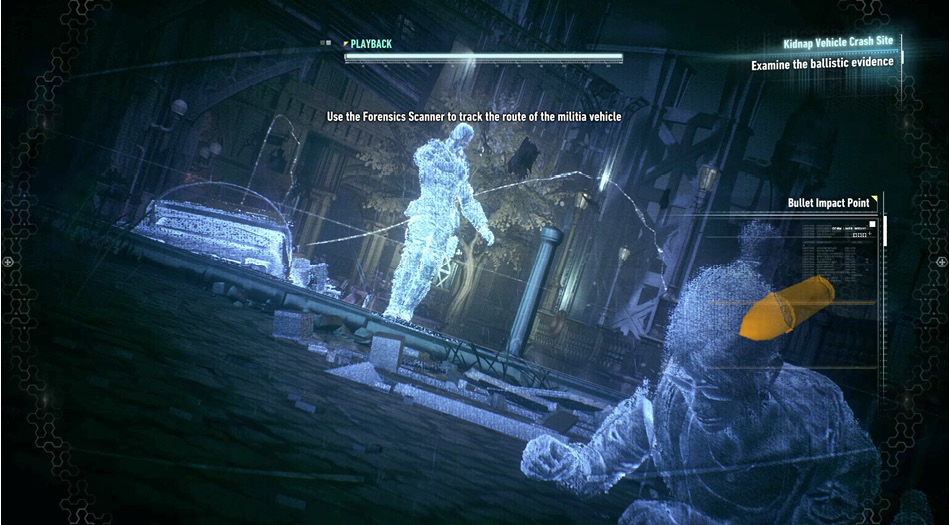
Rewind the scene and follow the trajectory of the bullet as it hits just to the right of Barbara—a warning shot. There must be a reason for her to cause the crash. Investigate further to find out why.
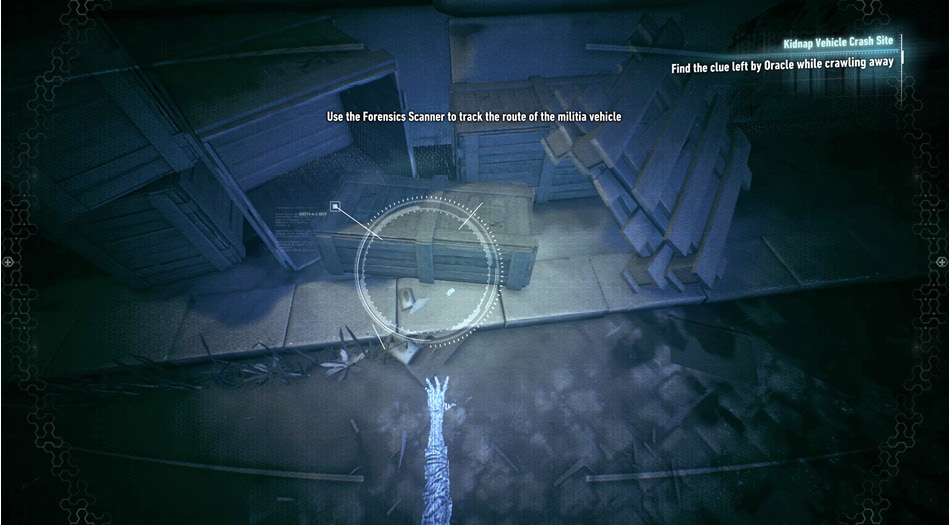
Scrub backward again and carefully watch Oracle as she crawls away. She tosses something into the crates on her left. Trace the path and scan the nearest box to find a scrambler device.
 Head to Wayne Tower and Analyze the Arkham Knight’s Encryption Protocols
It will take a while for Lucius Fox to decrypt the data on the device, so it's a good time to see what's going on with Gotham’s Most Wanted. Alfred informs Batman of two new cases, an interloper who stands on a rooftop next to a burning bat symbol and a fire at the Bristol fire station. These are optional at this point, but well worth the WayneTech Upgrade Points you earn by completing them.
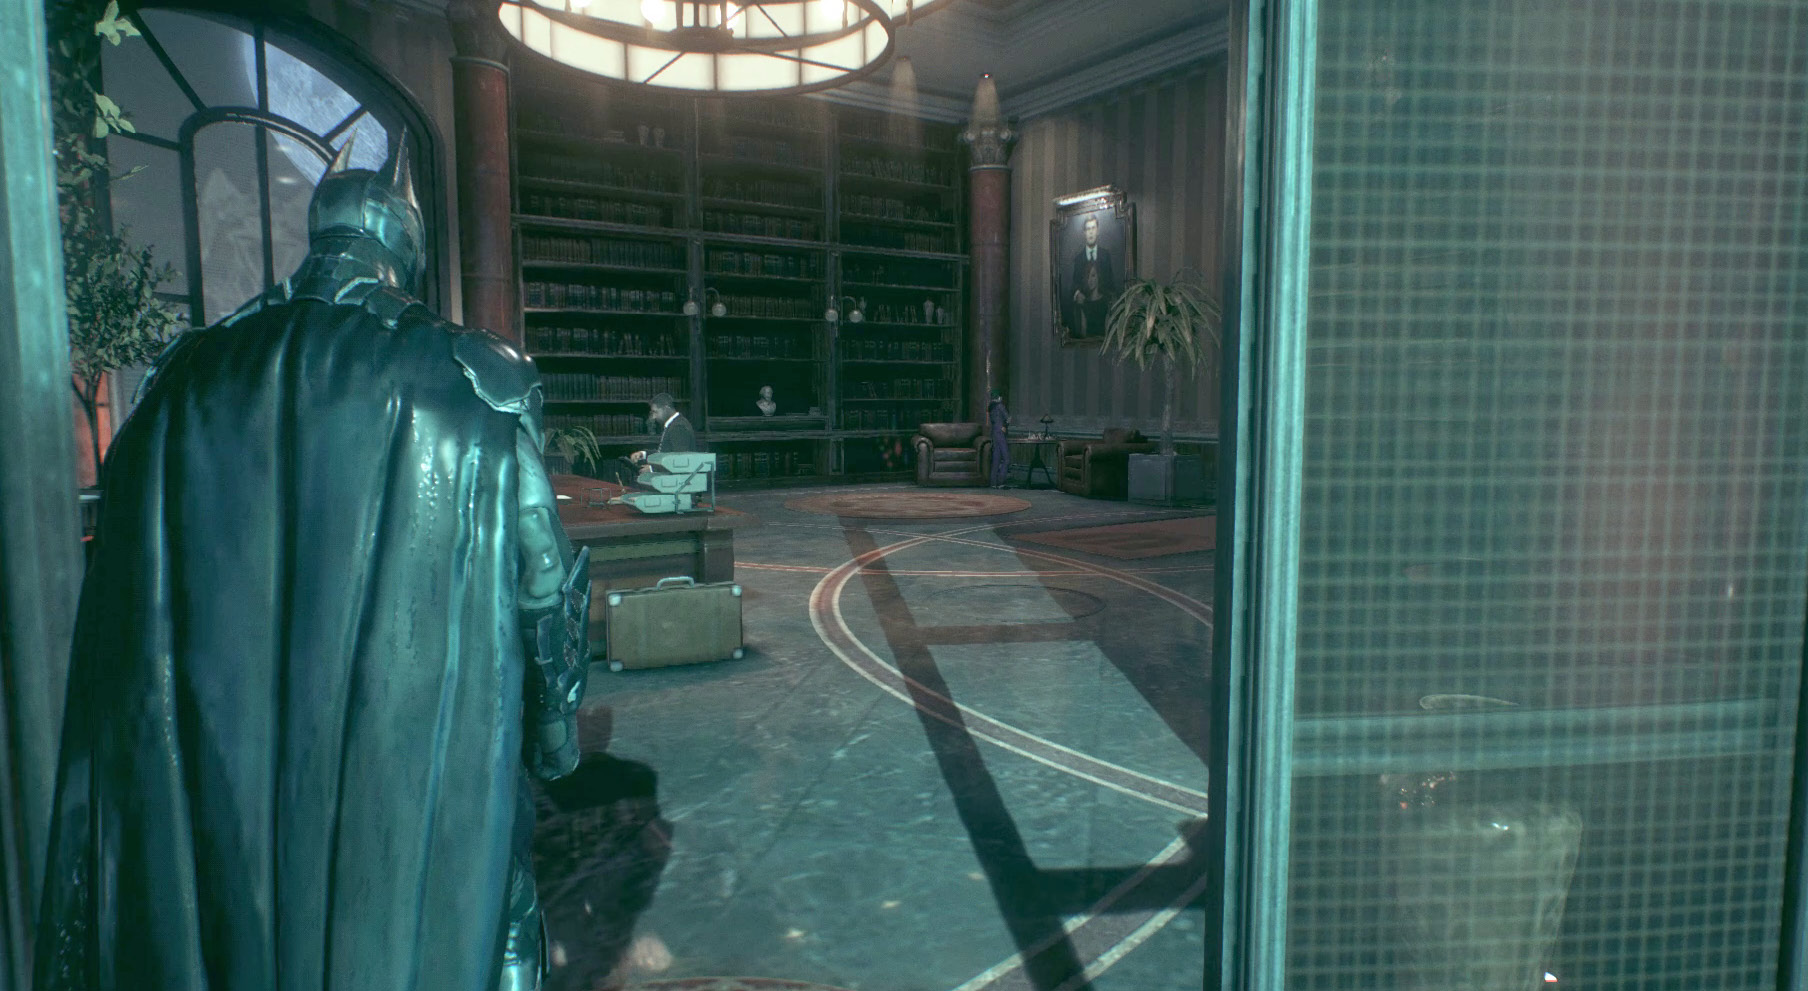
Drive or glide to Wayne Tower in the southeast corner of the island and grapple up to the highest balcony. The shutters open, allowing access to Bruce Wayne’s office. Talk to Lucius Fox and then access the computer on the desk to find out the Arkham Knight is in the Miagani Tunnel Network. Before leaving the office, Lucius gives Batman a choice between two Batmobile upgrades. The one you select is delivered shortly.
■ CPU Virus – Overrides the friend or foe identification system of militia drones. An infected drone targets other drones instead of the Batmobile. When deployed at higher weapon energy levels, this infects multiple enemy targets.
■ Weapon Generator MK III – Allows a user to overcharge secondary weapons, increasing their offensive capability.
 Infiltrate the Tunnel Network under Miagani Island
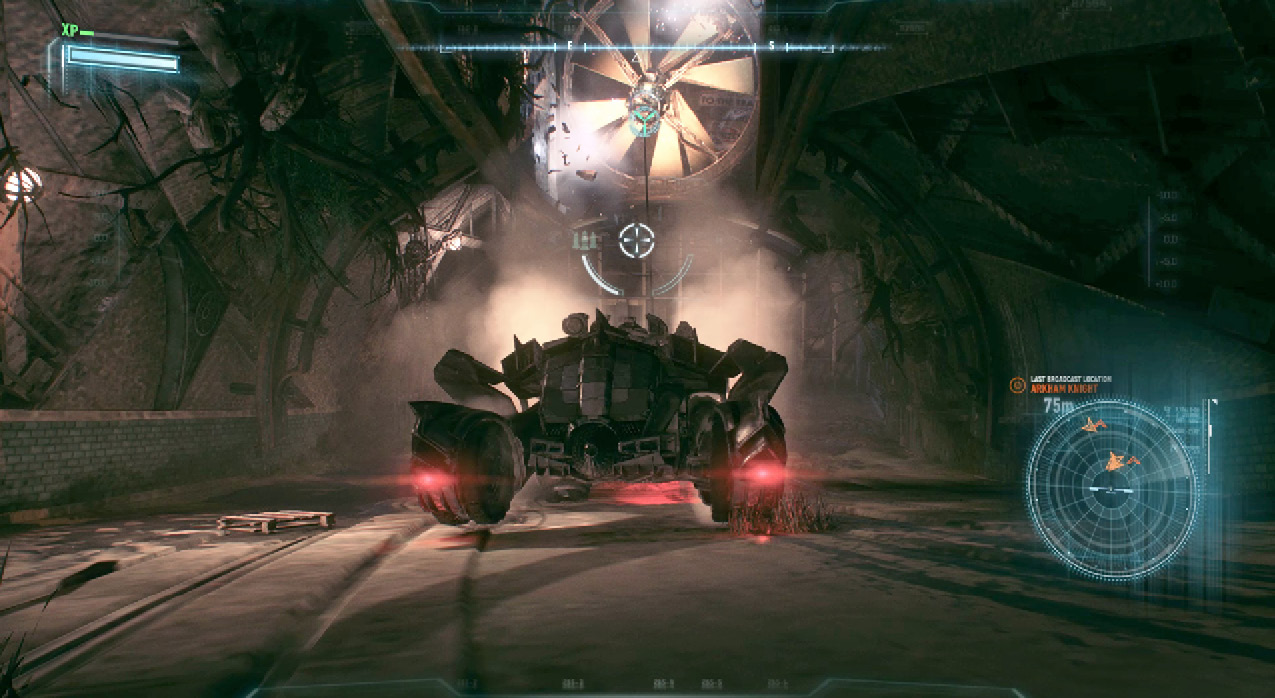
Hop in the Batmobile and drive into the waypoint near the Miagani Botanical Gardens to access the tunnel system. Continue inside, stop short of the dead end, and fire the Power Winch at the fan above. Pull it down and grapple inside.
Bust through the weak walls ahead, pry the vent cover off to the left, and crawl inside. Select the Line Launcher and slide over the fan to the next platform. Look to the right to spot a switch on the wall. Toss the Remote Controlled Batarang and guide it into the button to open the gate on the right. Use the Line Launcher again to move through the new opening.
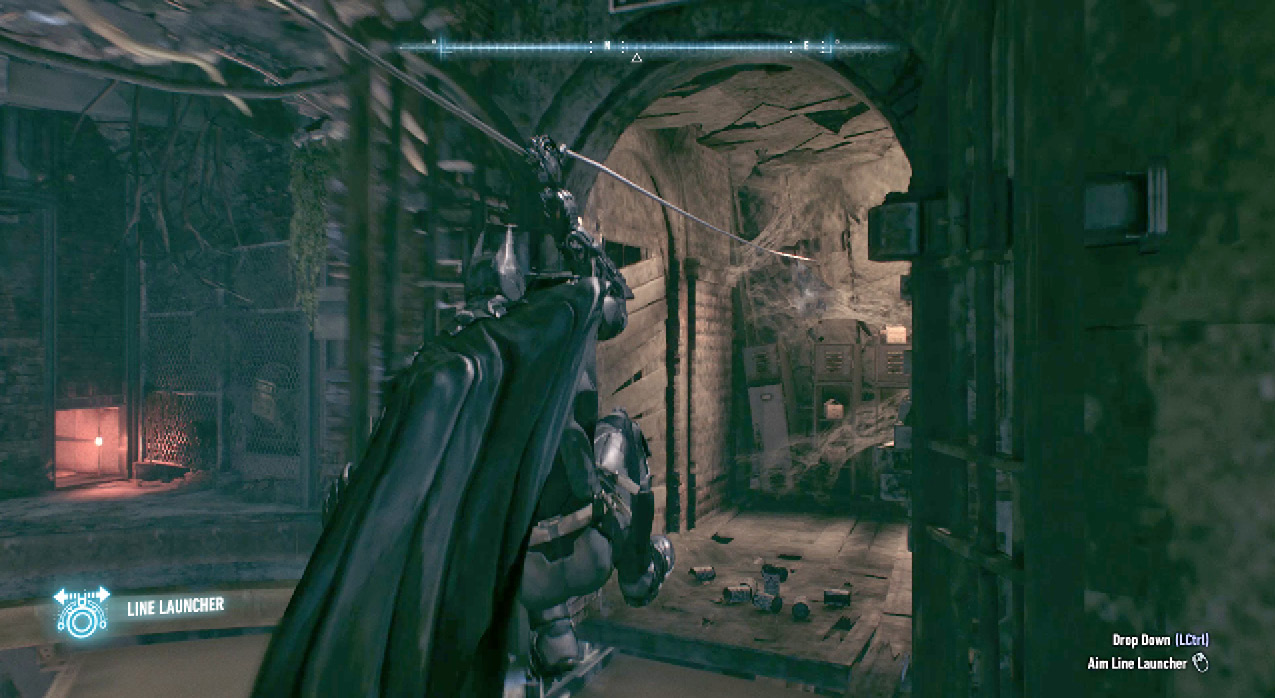
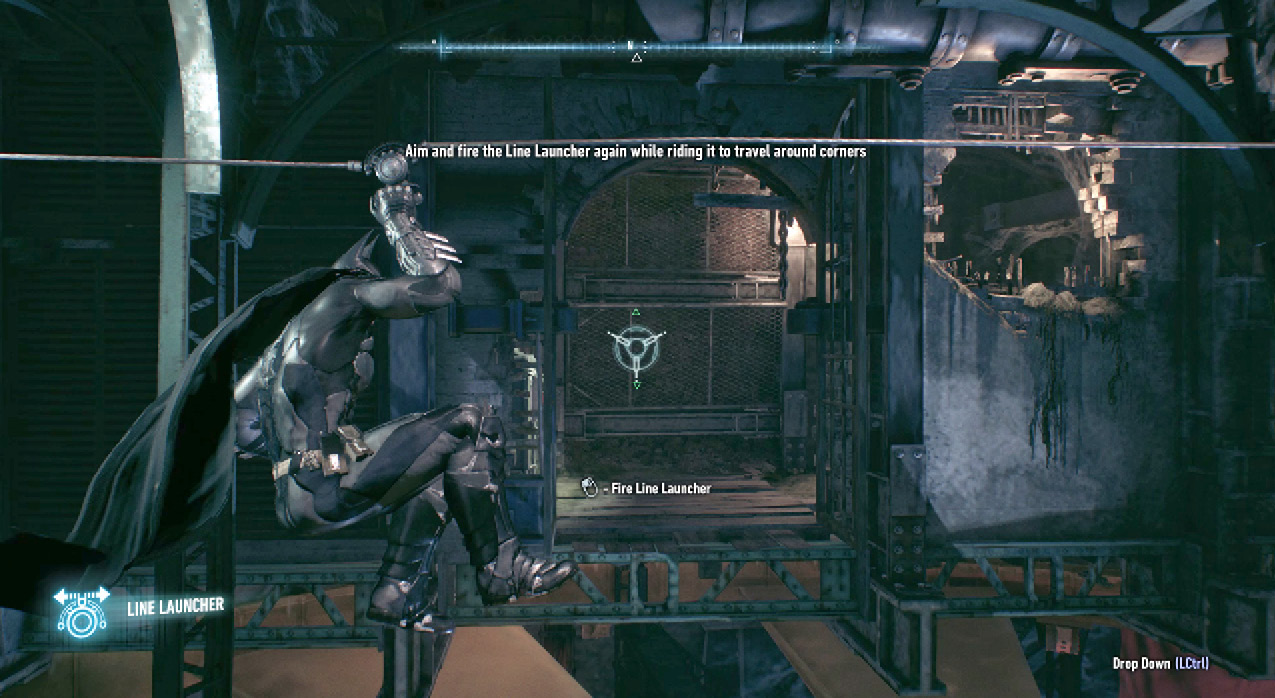
At the next fan, throw the Remote Controlled Batarang into the air and guide it through the hole on the left wall. Maneuver it down to the left and hit the button on the panel ahead to open another gate. Aim the Line Launcher at the far wall and fire to start a slide. About half way, look to the left and fire another line through the opening.
Follow the path to a big room where numerous militia soldiers gather below. Swing over to the beam, turn around, and continue to another girder. Proceed along the beams until a wall vent to the right becomes accessible. Swing inside to drop into the floor grate and follow the path into a side room.
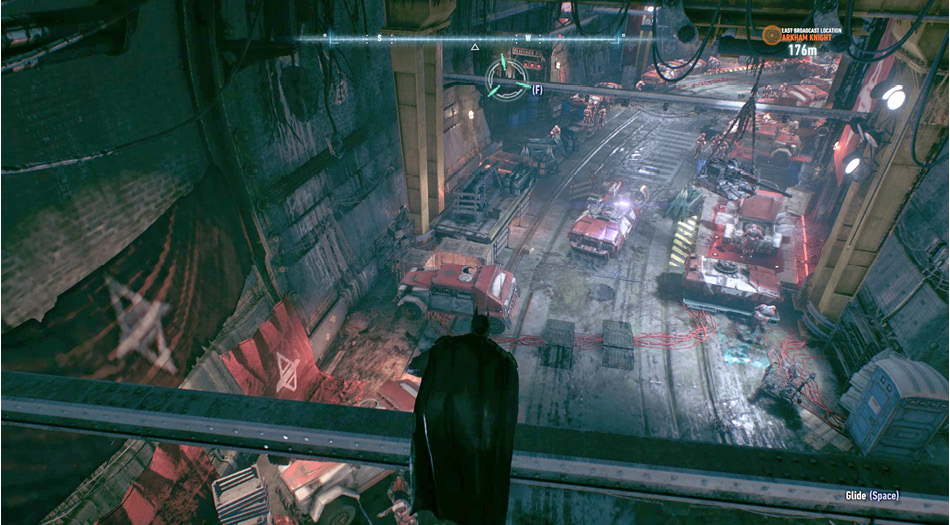
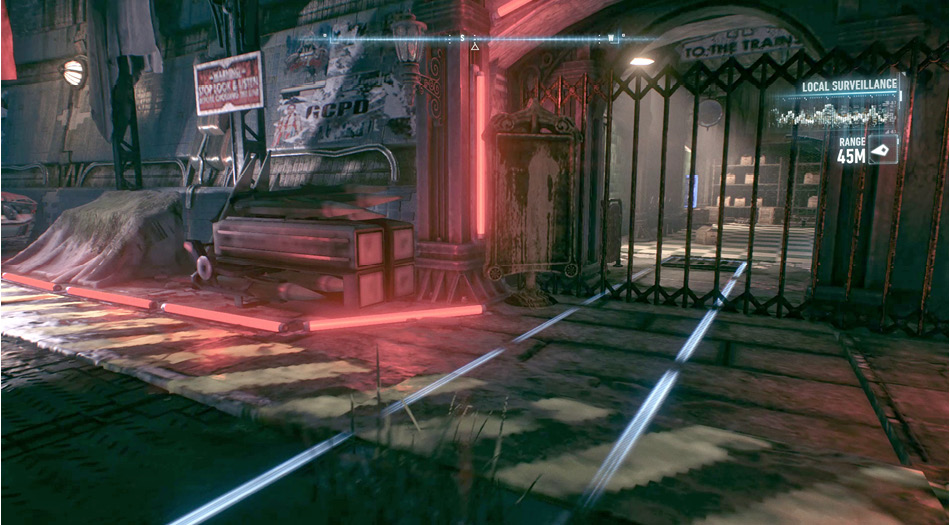
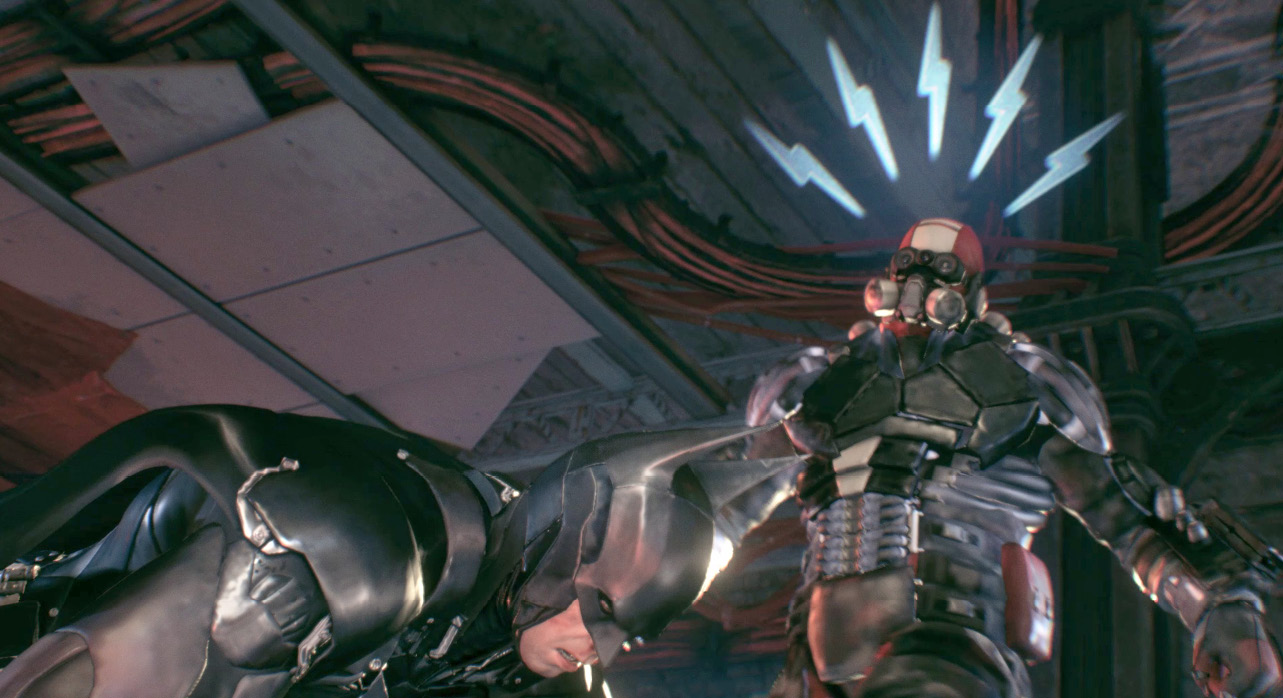
Exit the grate to get the attention of the Arkham Knight himself. When the brute kicks Batman, counter the move to push him away. Stun and take him down with a Beat Down. This attracts the attention of 12 soldiers, four Combat Experts, one Medic, and two Brutes. Be ready to redirect whenever you're unsure of what to do next, while taking down the big pack of thugs.
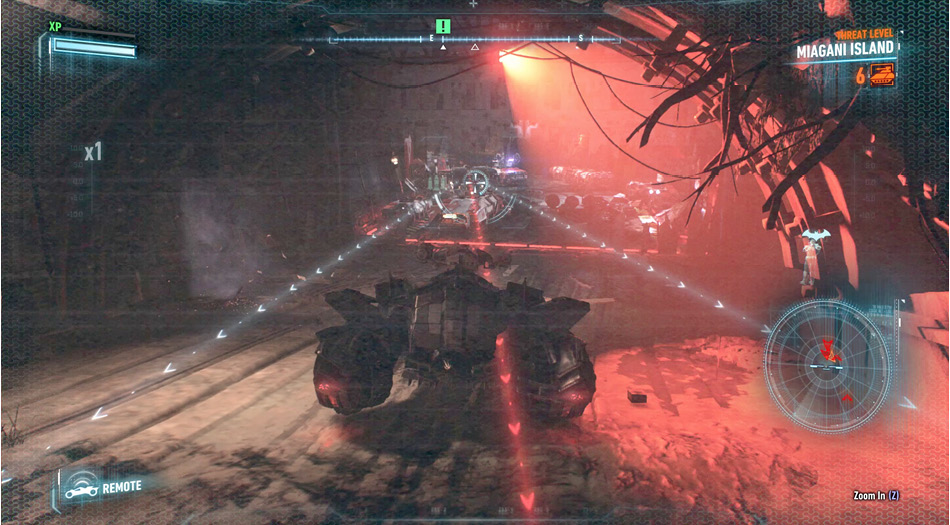
Find the box in the corner and use it to open the access gate. Select the Batmobile Remote, bring down the wall, and take out the Diamondback and Rattler Drones. Enter the vehicle and continue along the path. At the next gate, hop out and use the gate access to just miss the APC.
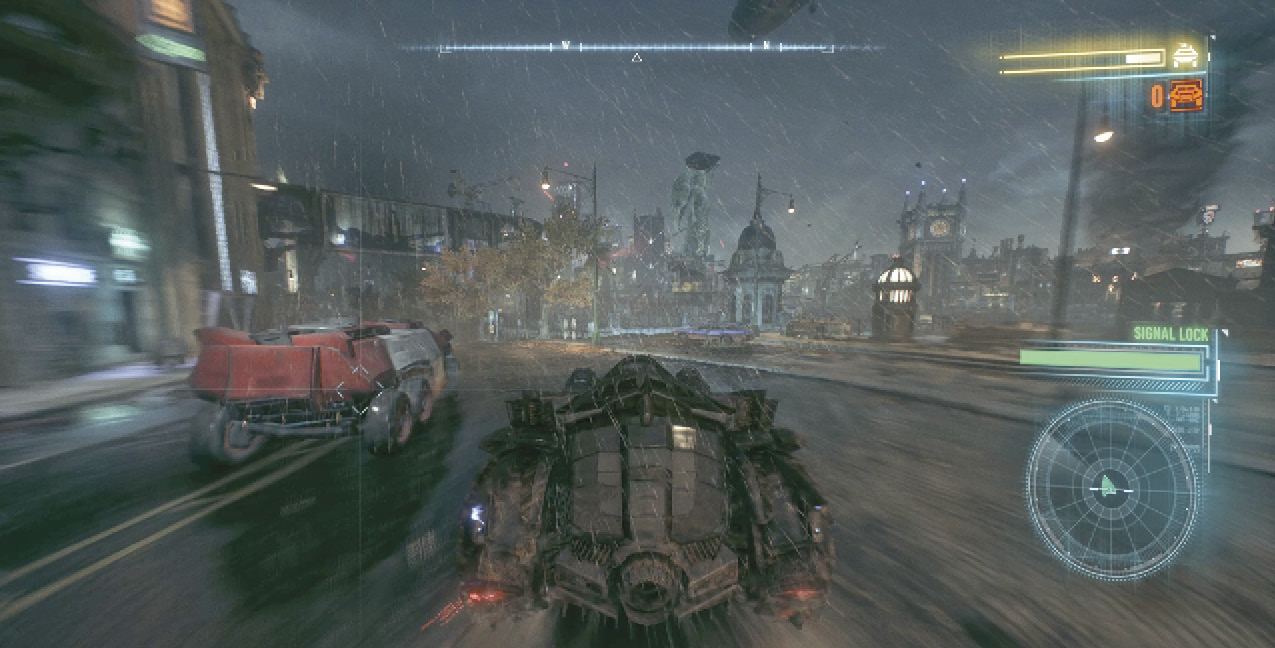
Chase the vehicle through the city. When the Armored Vehicles get in the way, use the Immobilizer to remove them. Perform Side Swipes when an enemy drives up beside the Batmobile. Once you’ve taken out the APC, hop out and interrogate the soldier. Press the accelerator when prompted to do so, to intimidate the thug and find out about Penguin’s involvement and North Refrigeration.
 Rendezvous with the Batwing to equip a new Secondary Weapon for the Batmobile
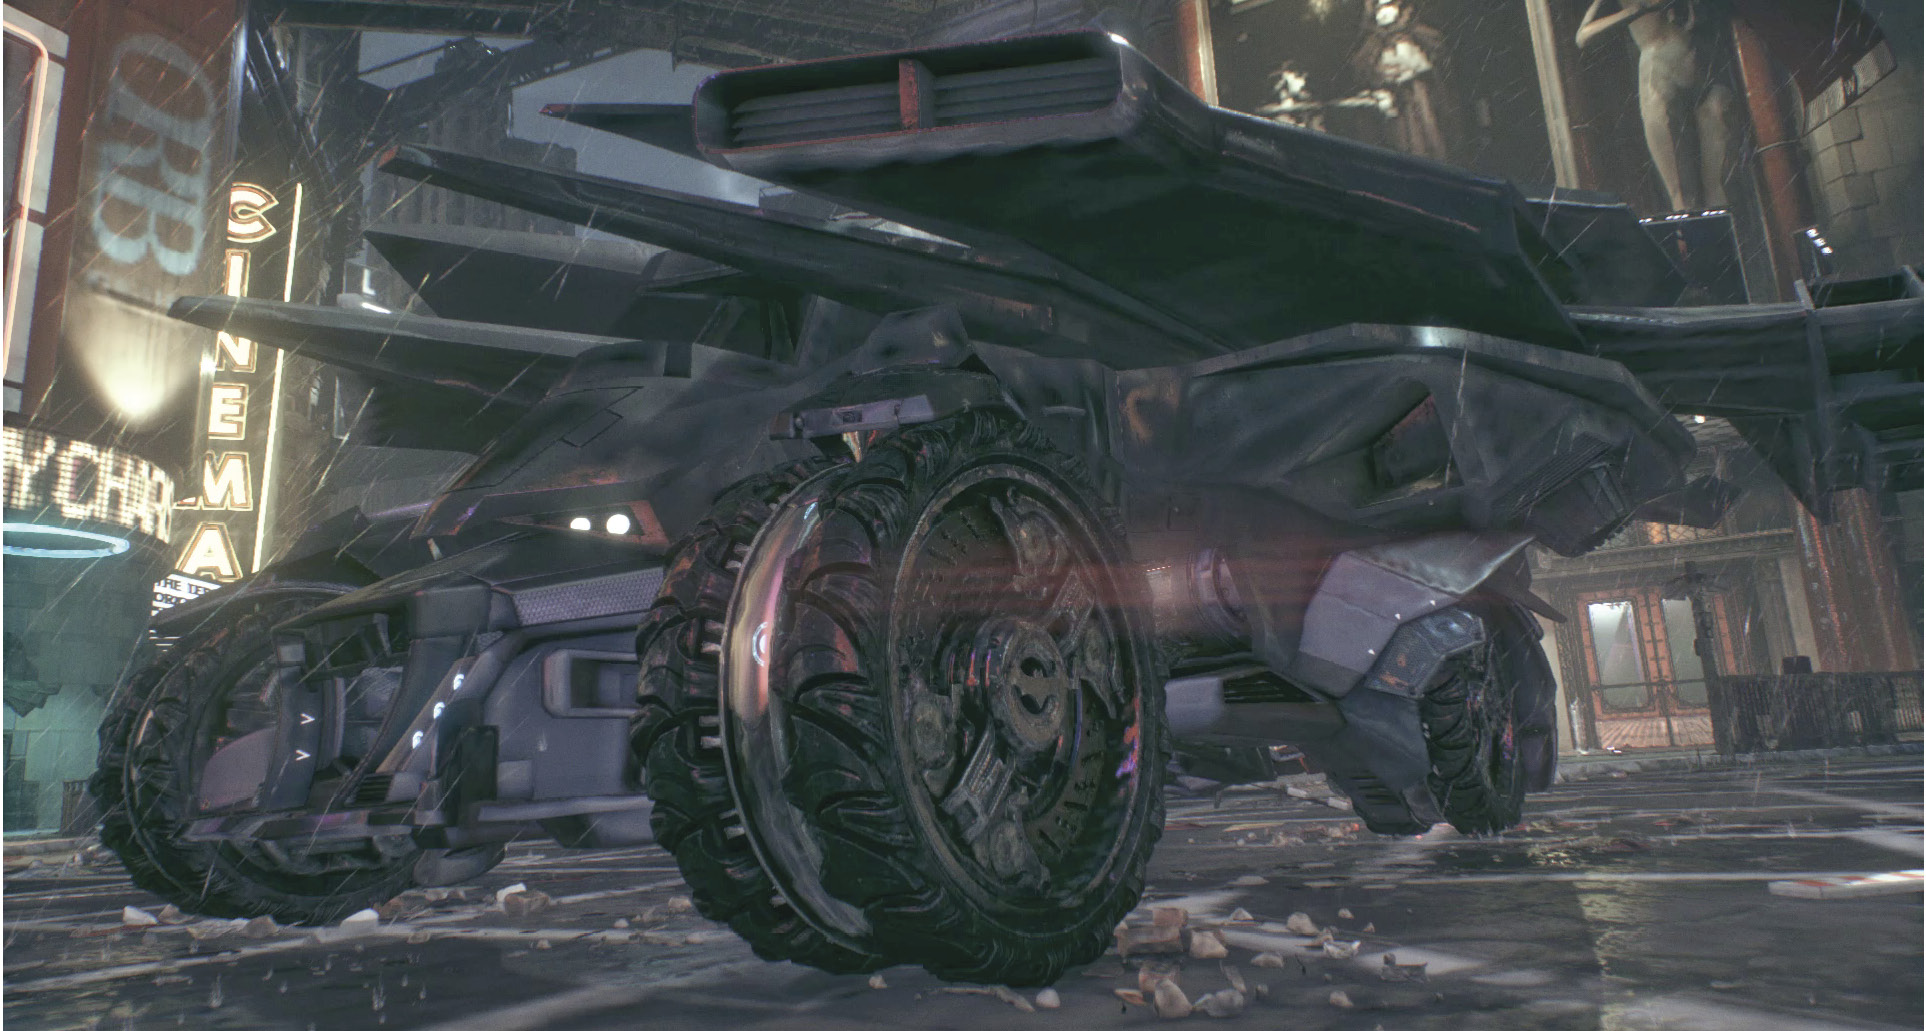
The new Batmobile upgrade is ready for deployment. Meet it at the waypoint on Grand Avenue. With help from the new upgrade, take care of the attacking drones.
 Rendezvous with Nightwing to Get Intel on Penguin’s Whereabouts
Meet up with Nightwing atop the entrance to Ranelagh Ferry Terminal in the northeast corner of Miagani Island. He has been tracking the North Refrigeration trucks out of Blüdhaven, which is why Nightwing chose to meet at this location. He hands over a new Disruptor prototype as a van pulls up below. Six thugs appear, including two who are armed, as well as a brute. Fire the Disruptor at each of their guns and then hit the gun locker, so they cannot grab another without getting a shock. Once the firearms are disabled, drop down and take out the crew.
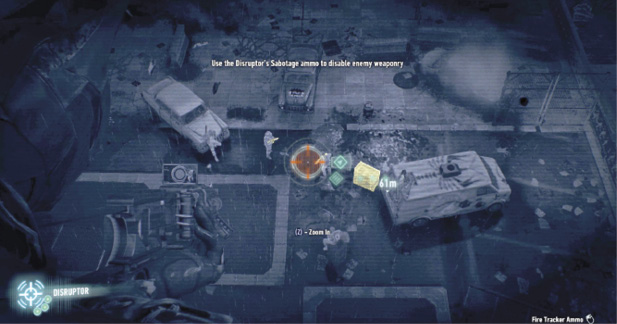
DisruptorThe new and improved Disruptor allows Batman to sabotage weapons, gun locker, equipment, and more. Upgrades allow for more uses. The device can also be used for tracking vehicles, such as in the GunRunner side mission. Simply aim at the weapon or piece of equipment and fire to disable it. |
 Follow the Weapons Truck to Locate Penguin’s Secret Hideout
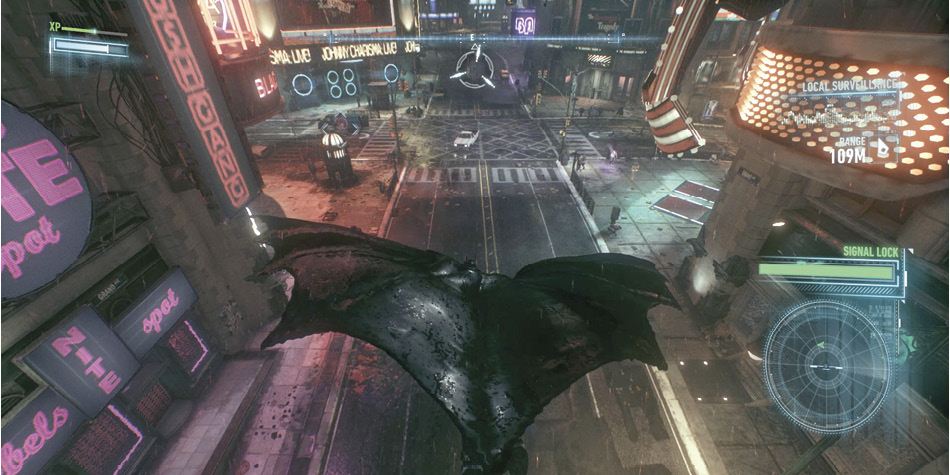
Fire the Disruptor at the van and then knock on the back. As they speed away, immediately follow them, keeping them in view. Don’t use the Batmobile, as it spooks the thugs. The truck’s position is shown when it’s behind buildings, as long as it doesn’t get too far away. Grapple and glide to keep up with the vehicle.
 Access the Weapons Cache and Interrogate Penguin
Eventually, they lead Batman right to the weapons cache, just down the street from where the chase originated. The shutter is locked behind the thugs and soldiers guard the only way in from the rooftop. Grapple to a high vantage point and survey the scene. You must deal with six armed hostiles and two Sentry Guns. Go ahead and use the Disruptor to sabotage one of the closest firearms, and take out the other two, before proceeding. Disable each turret from behind when the area is clear. Eliminate the remaining guards and enter the hatch inside the roof access.
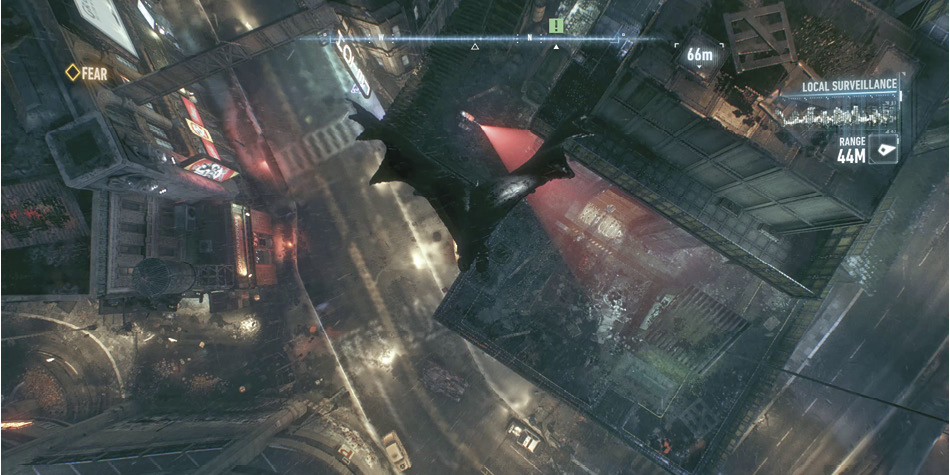
Twenty hostiles and Penguin himself guard the weapon cache below. Fortunately, they are all unarmed. Find the vent on the wall and slide down into the floor grate. Move behind the boss and interrogate him. Counter the optimistic soldiers when they strike, including the two who grab guns from the weapon crate. Nightwing joins Batman, starting the brawl with the remaining thugs. Switch between the two vigilantes and use the Dual Team Takedown whenever possible.
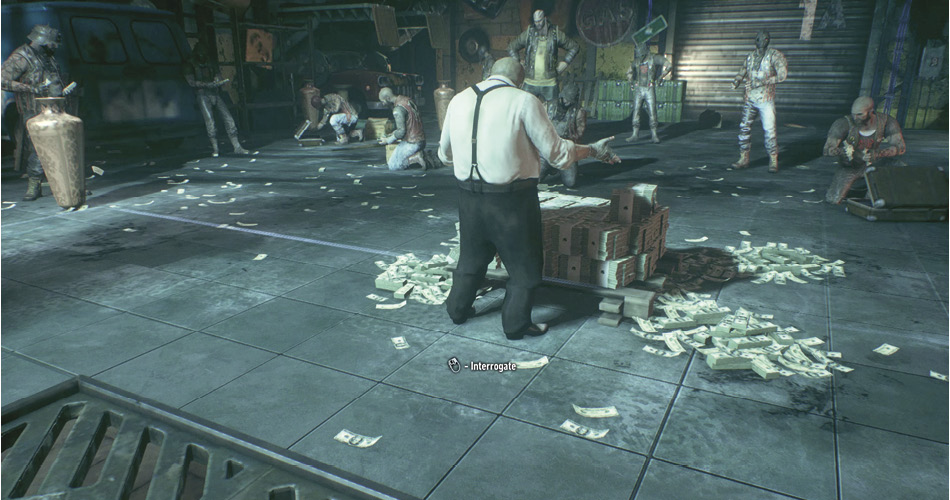
 Destroy Penguin’s Weapon Cache
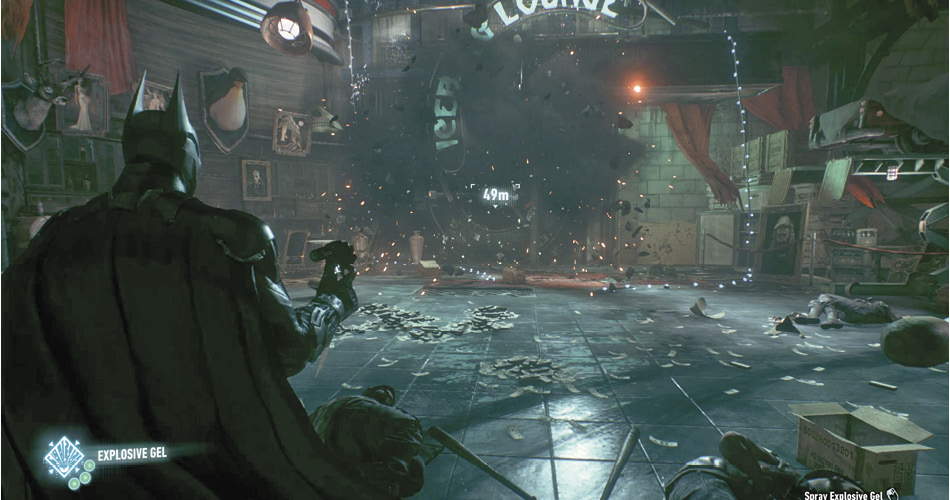
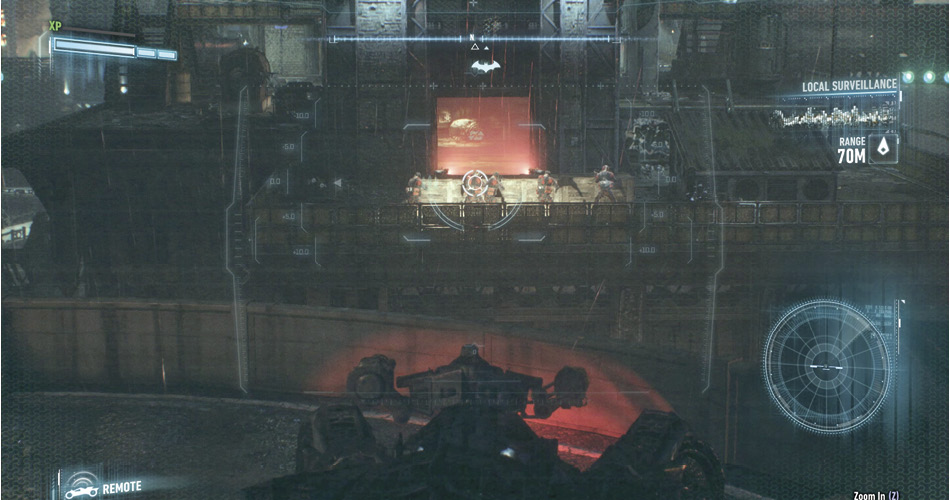
Once everyone has been dealt with, enter the vault and spray Explosive Gel on the highlighted crate in the back. Exit the room and interact with the door. With the vault closed up tight, move away from the blast area and detonate. Talk to Nightwing and exit the building. On the roof, hostiles have set up an ambush for Batman. Pull out the Batmobile Remote and drive the vehicle up to the top level of the parking garage across the street. Take out the Sentry Guns and soldiers that block the vigilante’s escape.
 Identify a Way to Infiltrate the Stagg Enterprises Airships
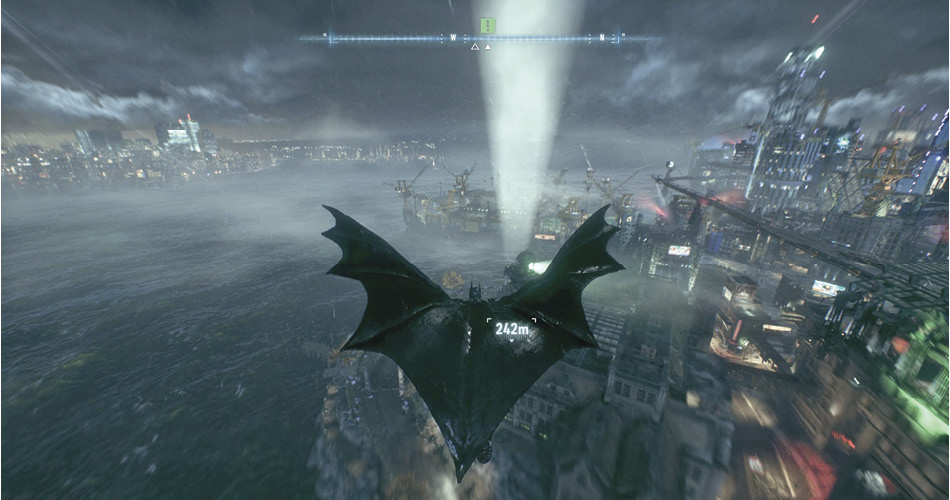
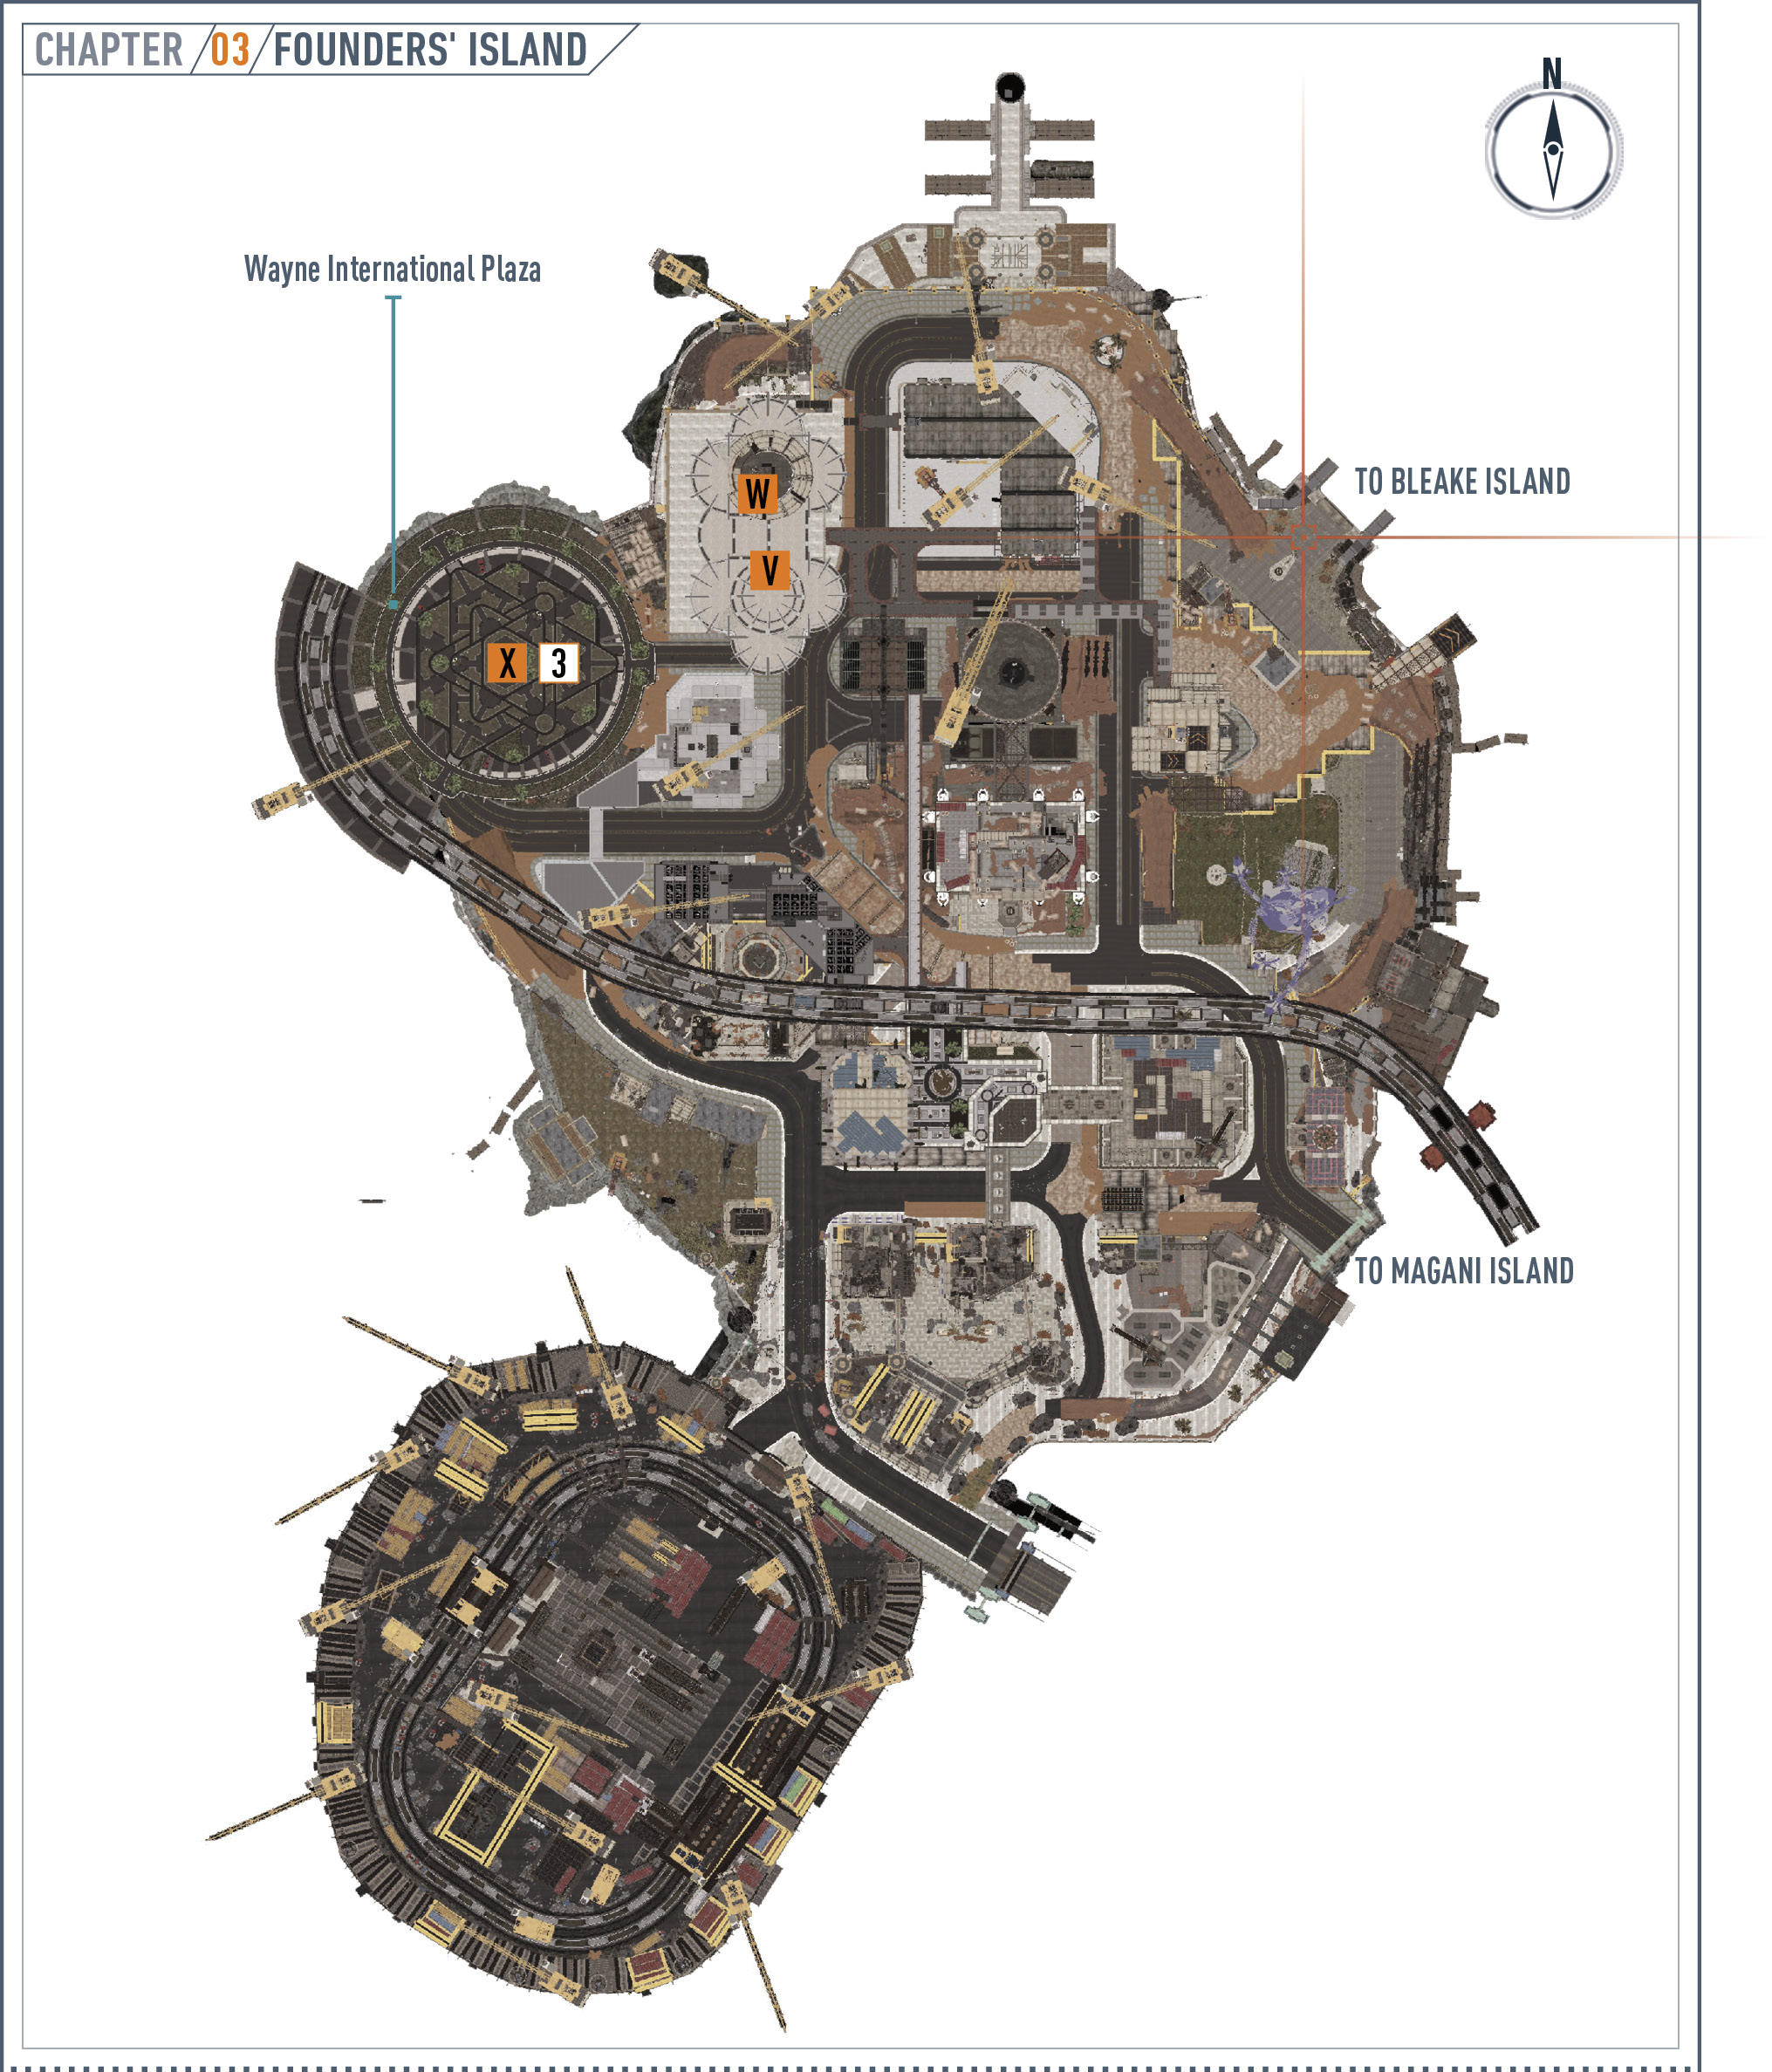
Penguin divulged information about Simon Stagg and his airships, so that's the next objective. He's on Founders' Island, which is guarded by the militia’s long-range radar and missile launcher. That means Batman must go in on foot. Grapple to the top of a tall building and glide toward the waypoint on Founders' Island.
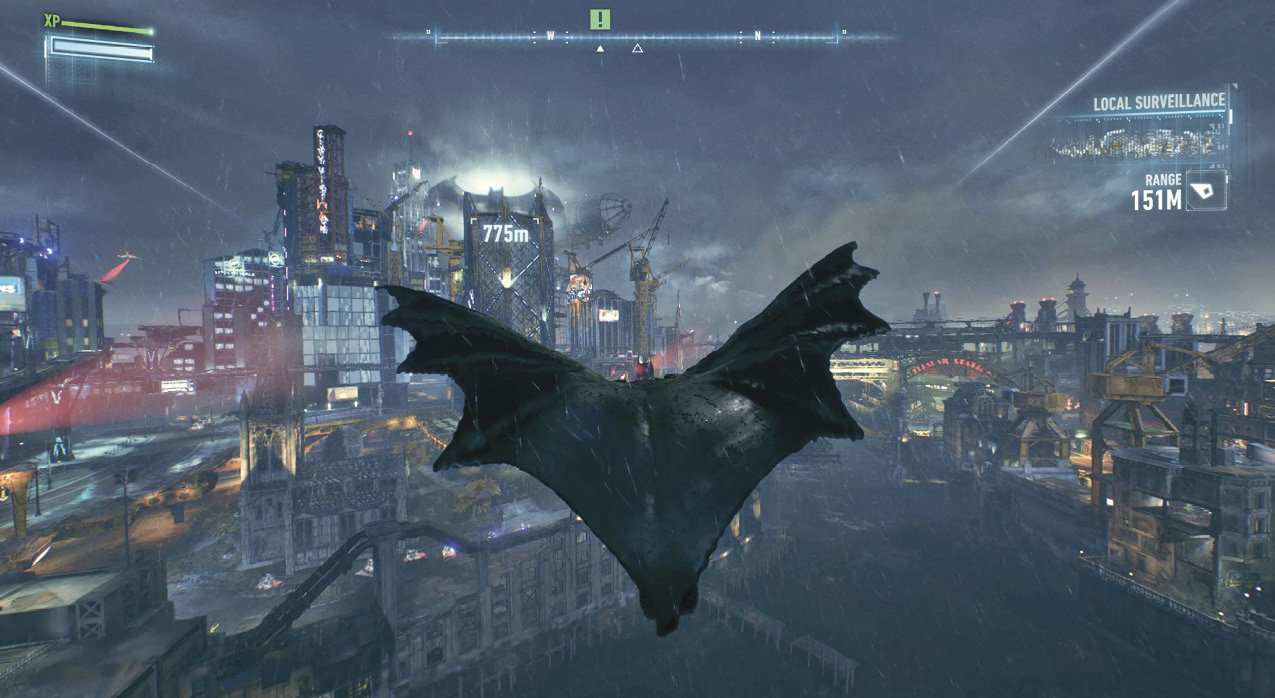
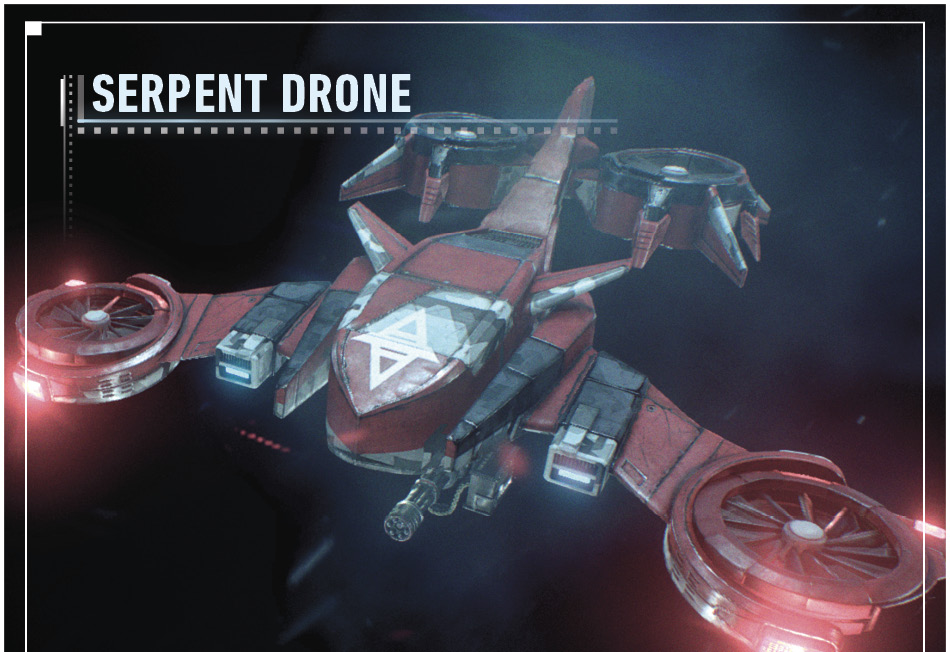 This aerial drone flies around the island with one purpose—find Batman. These vehicles do not play into any side mission, but they do earn you a little XP and getting them out of the way is a nice bonus. A red cone shows its current field of view. Avoid this or get shot down. Glide onto the top of the surveillance aircraft and Batman automatically sprays some Explosive Gel. Detonate it to take the drone down.  |
 Disable the Watchtower Guarding the Airships
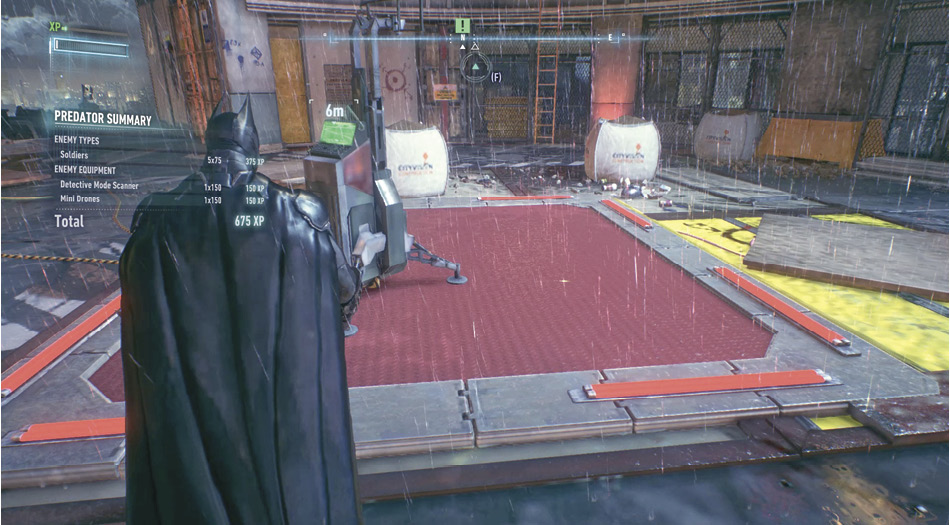
A watchtower has been stationed just outside the airships. A Sentry Gun hangs on the outside and five armed soldiers patrol below. A central command point controls the turret and must be taken out before entering the airships. One hostile operates a Boa Sentry Drone while another holds a device that can track Batman’s Detective Mode. A meter appears in the middle of the screen that shows the thug’s progress toward detecting the vigilante whenever Detective Mode is used. Be sure to disable it before being found. Use the circular beams to get the drop on the soldiers. Watch out, as they place mines on vantage points to deter their use. Once you’ve taken care of the five enemies, approach the computer, spray Explosive Gel, and detonate. This destroys any connected Sentry Guns, allowing access to the airship.
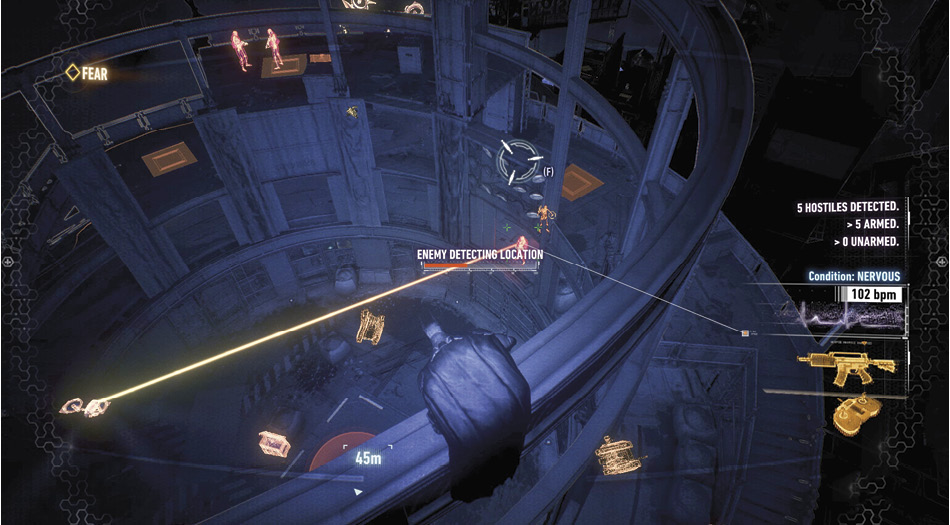
 Collect the Remote Hacking Device from the top of Wayne International Plaza
Lucius has readied the Remote Hacking Device for pickup at Wayne International Plaza. Glide to the southwest toward the skyscraper and grapple to the very top. Activate the vault to find a Batpod inside, which reveals the device when opened. This arrives just in time as a service hatch on top of the airship is locked tight and requires hacking into a nearby security console to get inside.
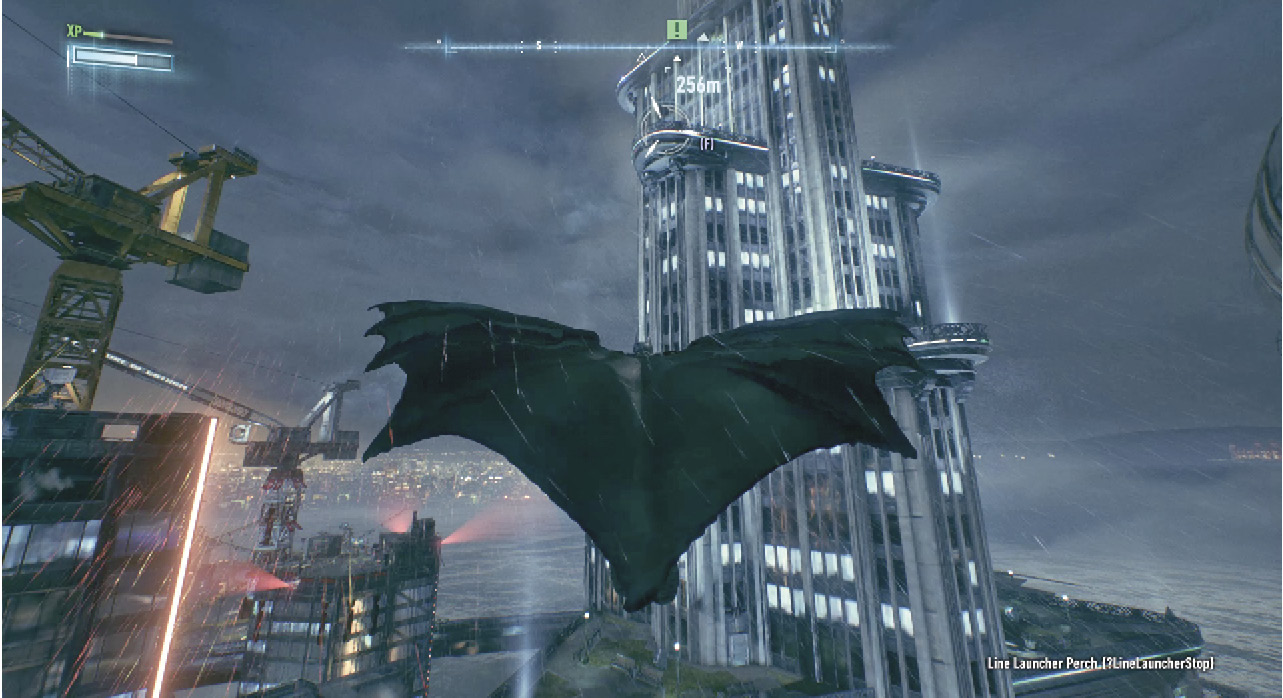
Remote Hacking DeviceThe Remote Hacking Device is a powerful gadget with many uses. It descrambles equipment, hacks into security consoles, and triggers environmental objects and traps. It is used often to bypass security protocols and is vital in getting past the upcoming objectives. |