Batman: Arkham Knight Guide Most Wanted Side Missions
Riddler's Revenge
|
First Available: Chapter 1, Orphanage accessible in Chapter 3 Main Objective: Defeat Riddler and rescue Catwoman Location: Pinkney Orphanage, Caves located throughout city Most Wanted Villain: The Riddler Reward: 25 Upgrade Points, 2 per challenge, 3 for completing Riddler’s Revenge |
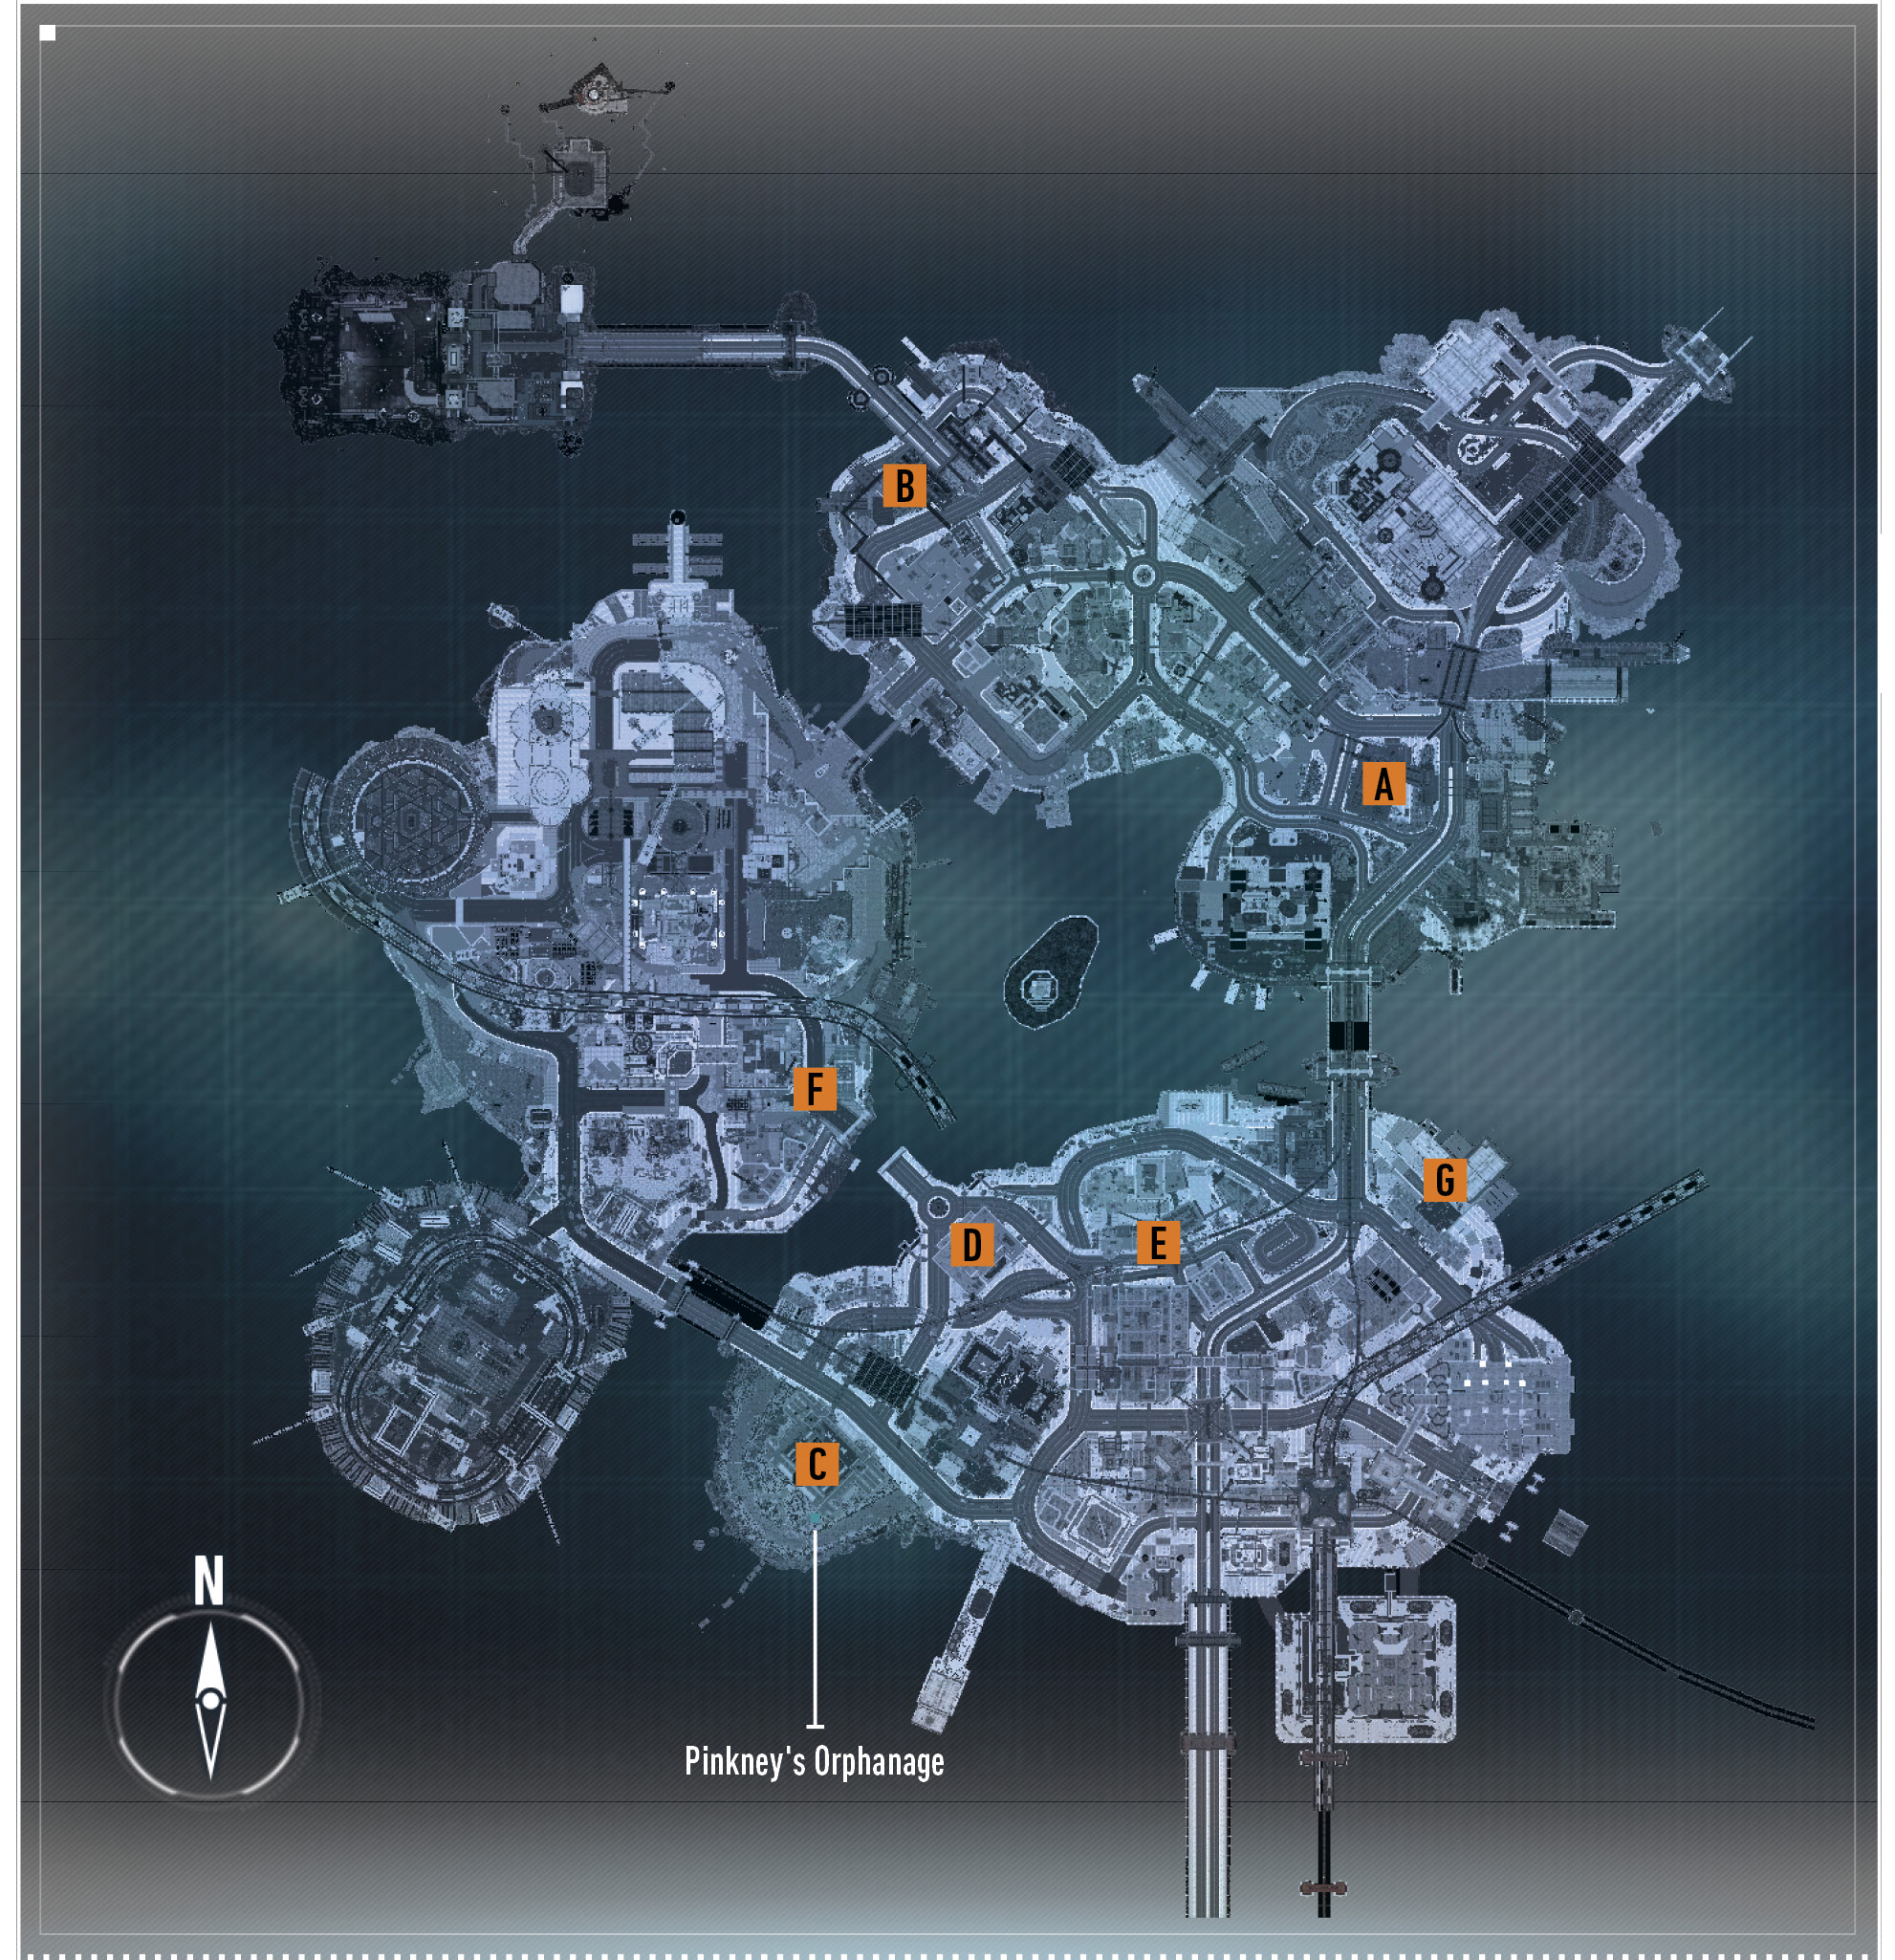
During Chapter 1, after locking up Poison Ivy, Aaron Cash mentions a suspicious looking man milling around the train yard. This begins the most extensive and rewarding side mission in the game. Riddler has set up a series of puzzles for Batman, as well as collectible trophies, destructible items, and riddles to solve. To complete 100% of Riddler’s Revenge, you must accomplish all of this. This section covers the six caves and orphanage puzzle rooms set up just for Batman. Riddler Trophies, destructibles, and riddles can be found in the Collectibles chapter.
In Chapter 3, after lowering Mercy Bridge, Edward Nigma announces that he has Catwoman tied up and gives Batman an ultimatum; come to Pinkney’s Orphanage on the west side of Miagani Island or she dies. You must solve a mix of combat and puzzle challenges located in and out of the building to set her free. The trials held inside the orphanage require Batman and Catwoman to work together.
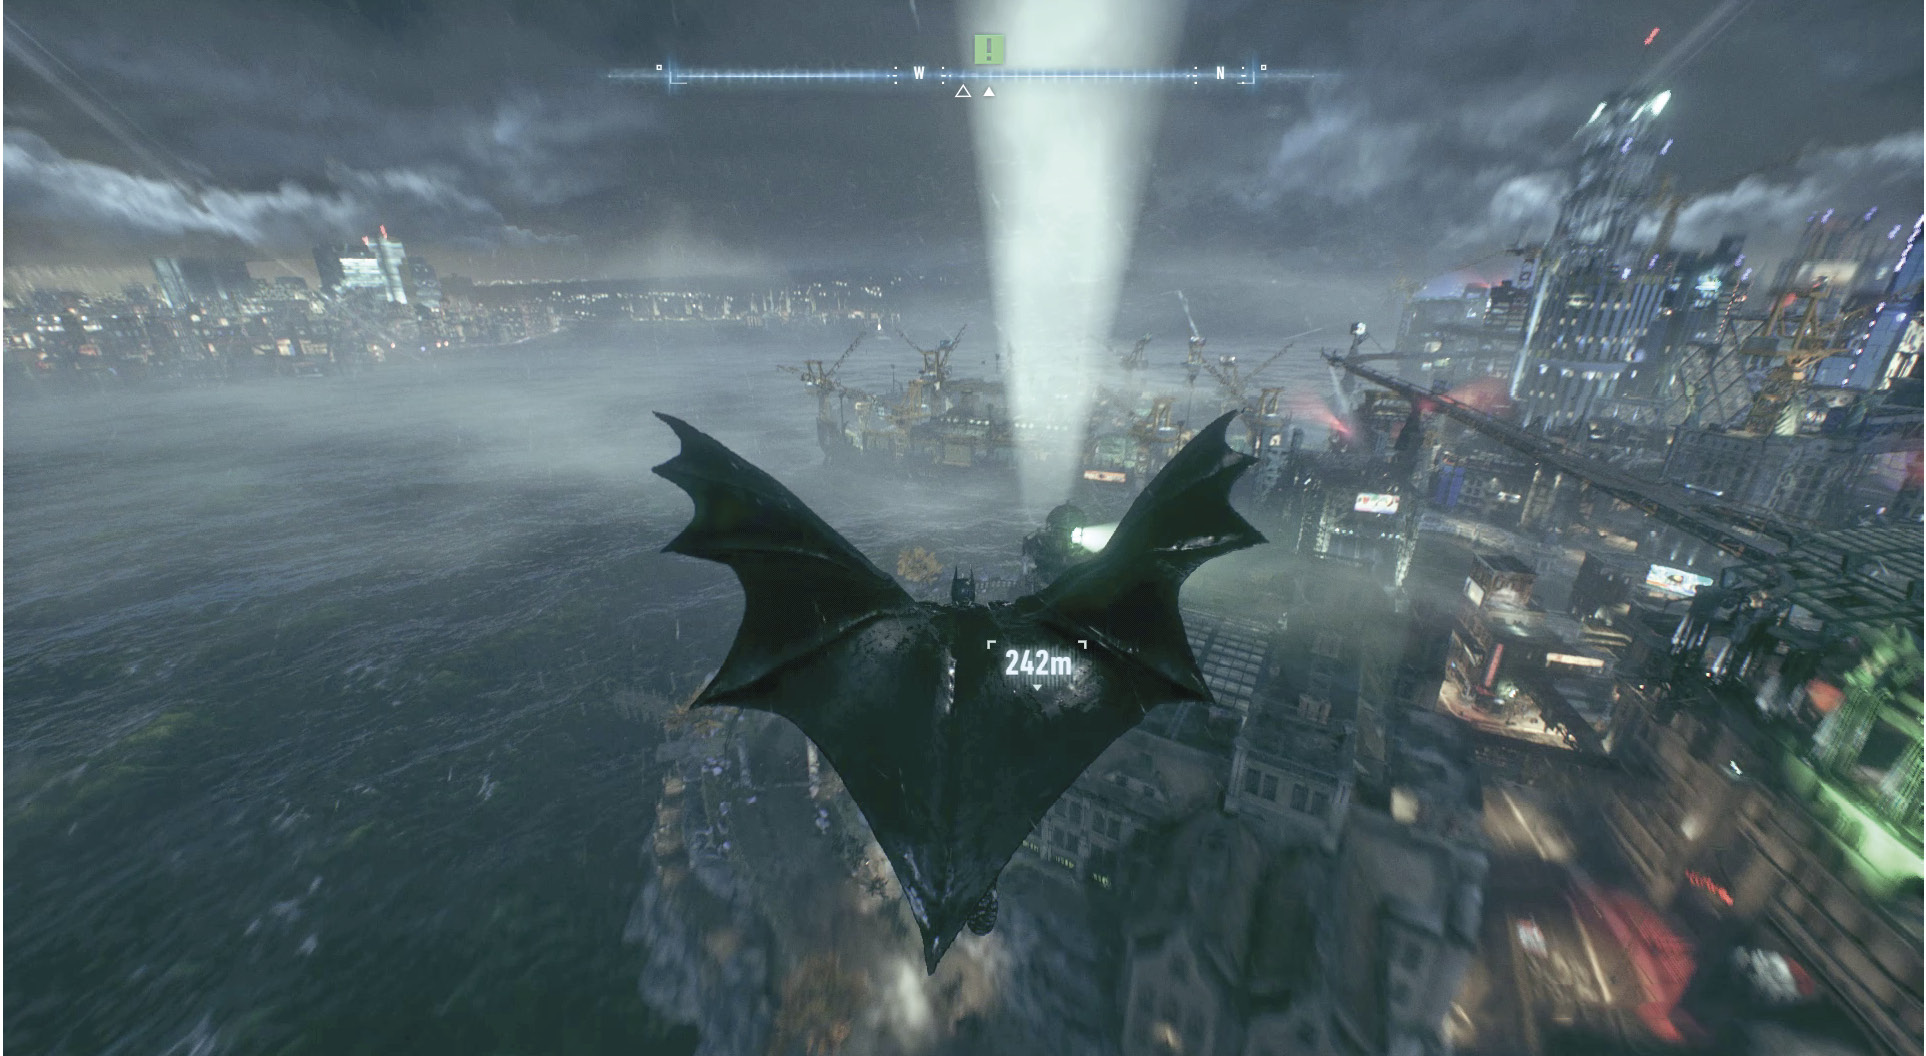
You must visit the orphanage as part of the main story path, but beyond that, this side mission can be done at your leisure—though Riddler won’t stop pestering you. Glide and grapple over to the orphanage. Interrogate the informant at the entrance before entering the building.
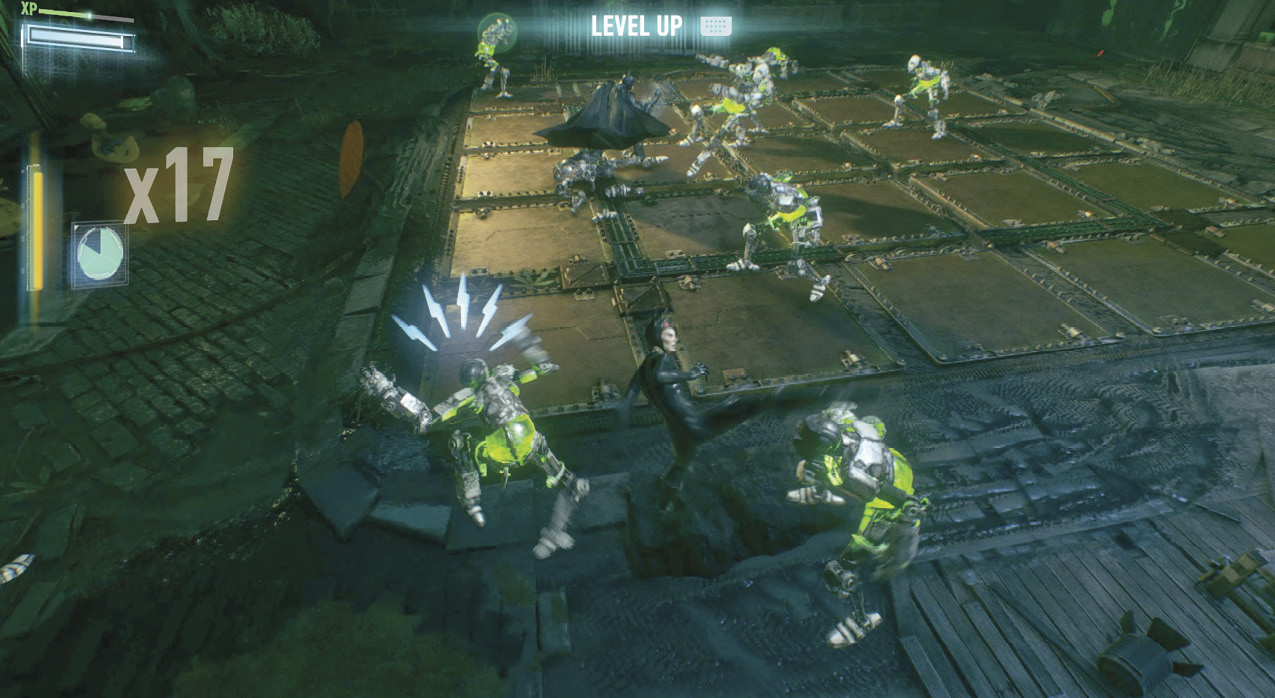
Edward Nigma introduces the duo to his automated combatants. These robots learn from the fight, allowing the Riddler to build better opponents for the next battle. The first challenge for Batman and Catwoman requires them to defeat ten of these fighters. The first version of the androids is easily taken care of with melee attacks and counters. Take advantage of the assistance from your partner and dispose of the metal thugs. After the skirmish, talk to your teammate.
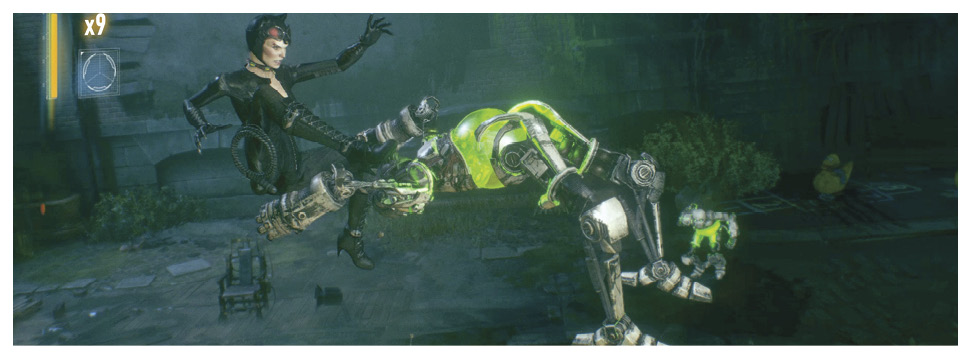
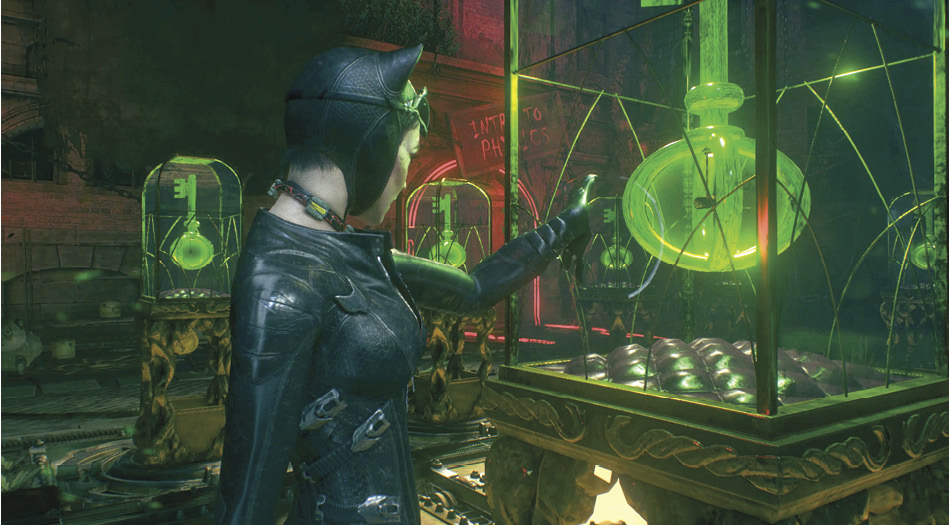
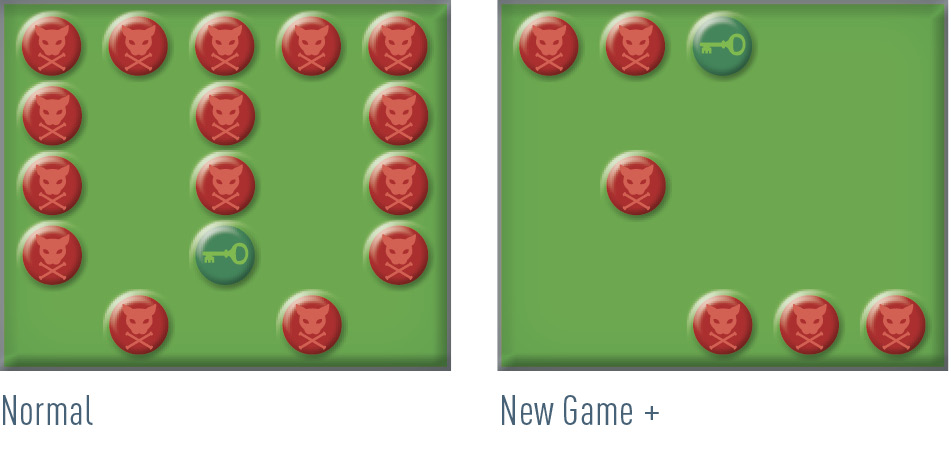
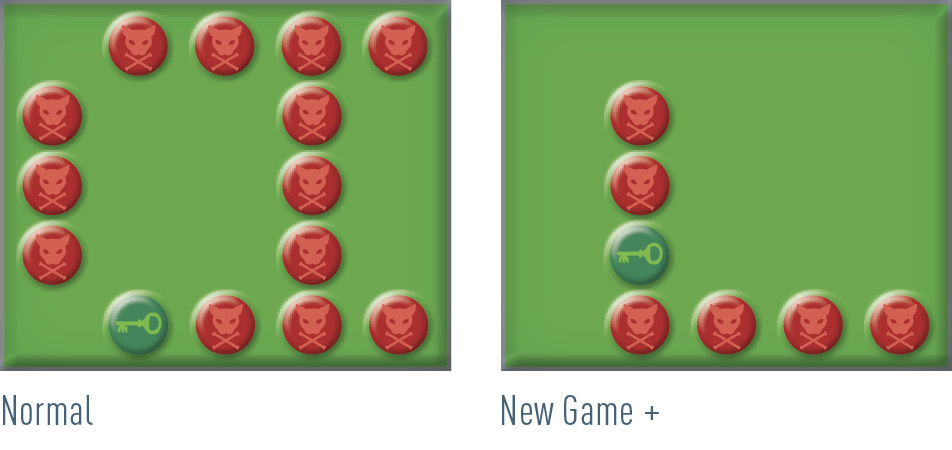
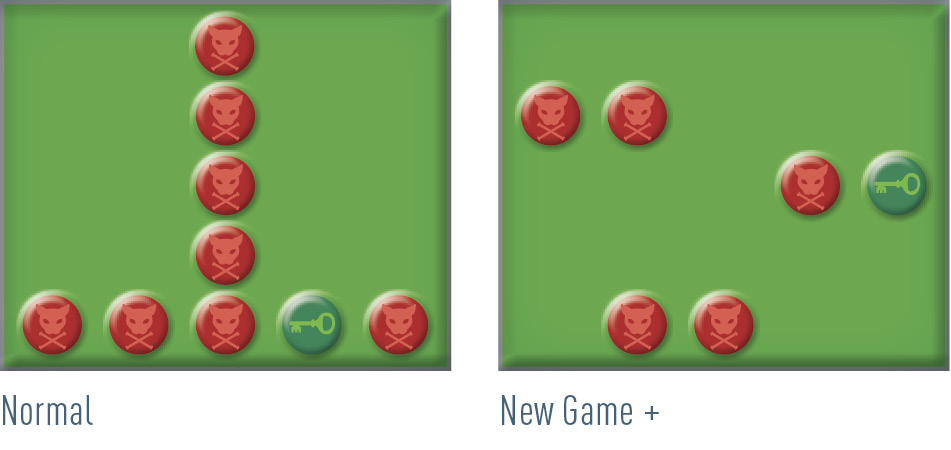
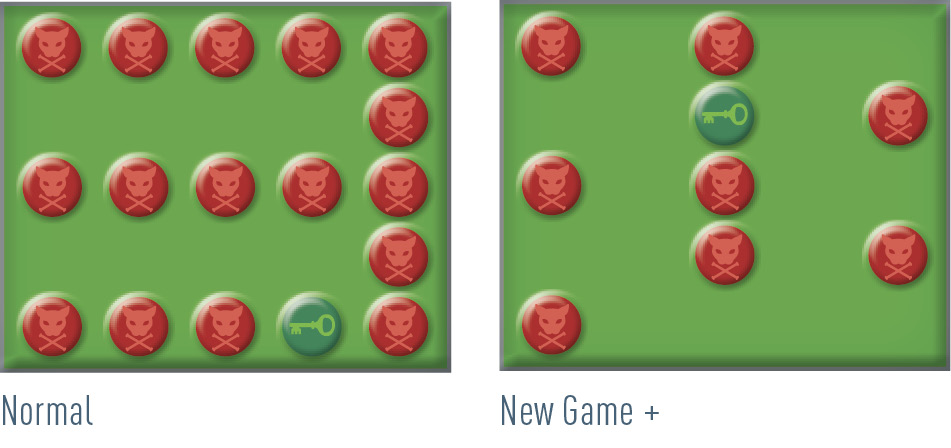
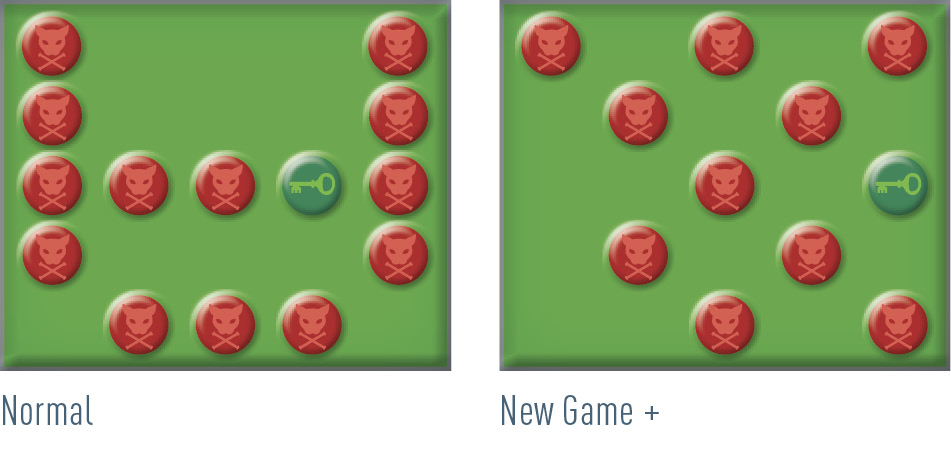
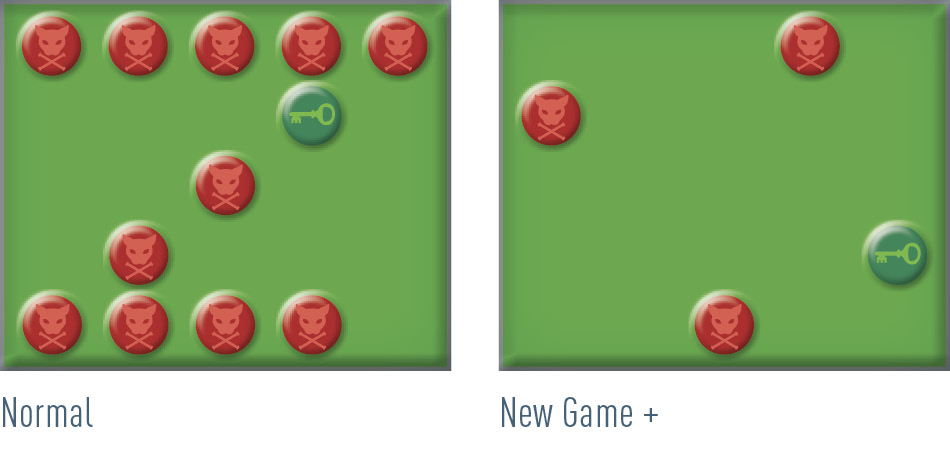
After completing each cave challenge, activate a panel of lights by walking onto the nearby switch. One light is green, the rest are red. This corresponds to the layout of cases at the orphanage. Note which position is green and switch to Catwoman. Walk up to the case in that same position and interact with it to grab the key. If it is the correct one, the counter on Catwoman's collar drops by one. Otherwise the collar detonates, the kitty goes boom, and the choice must be made again. These grids differ between the normal game and New Game +.
 Cave 1: Mental Blocked
Location: Bleake Island – The Cauldron, west of Falcone Shipping
Requirements: Talk to Aaron Cash at GCPD during Chapter 1 and complete the Orphanage in Chapter 3
Head to The Cauldron and drive into the Gotham Water Company elevator with the Mental Blocked banner overhead. The Riddler begins his spiel as the player descends into the first of his caves. This challenge gives a taste of what he has in store for Batman, but his bigger plan must wait for now. As the player rolls out of the lift, a red mechanism blocks the path ahead. Batman can jump the gun on the villain by decrypting the codes or he can stay and listen to the rules, which become increasingly entertaining. Press the Immobilizer button to move the contraption out of the way.
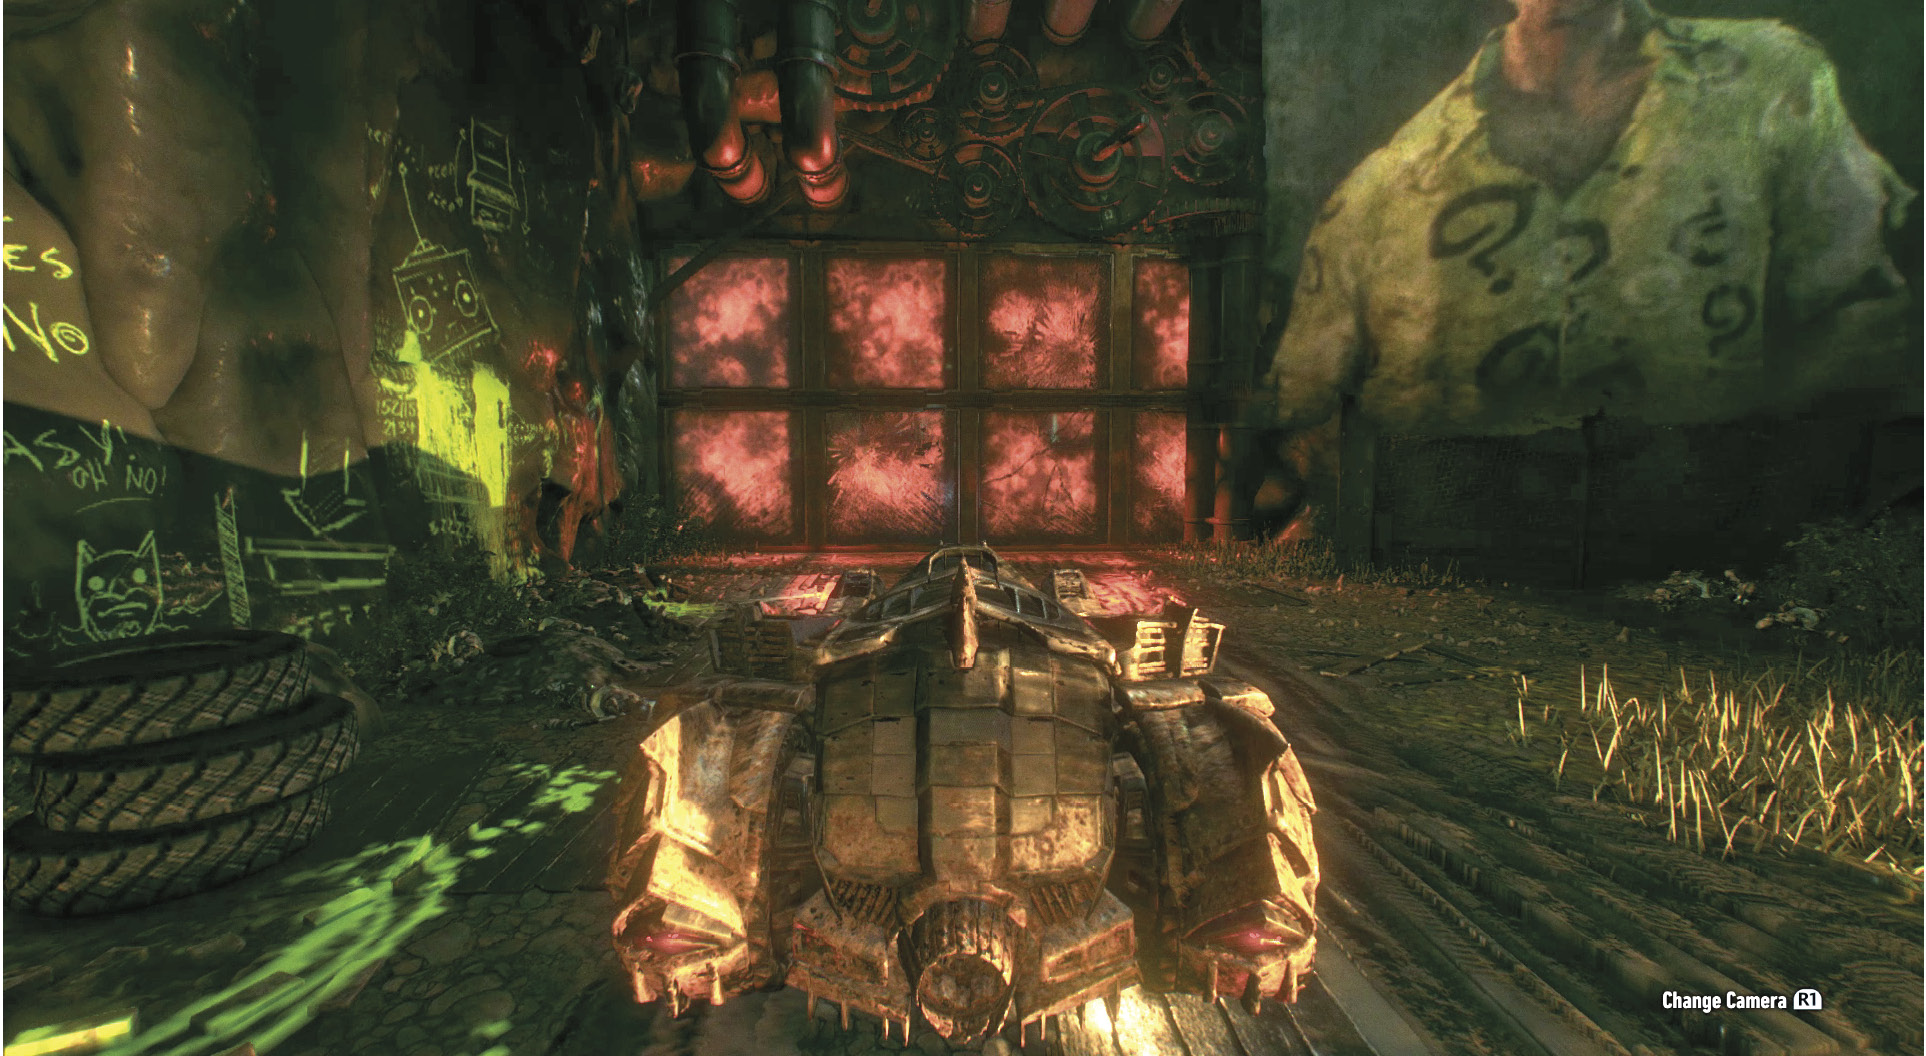
The challenge involves racing the Batmobile around a track for three, increasingly more difficult, laps. There are green and red Riddler Blockades that obstruct the road. Tapping Immobilizer toggles between the two. Press once and the red move out of the way and green enter the course. Another tap of the button brings the green into play. These obstructions increase in number as the laps progress.
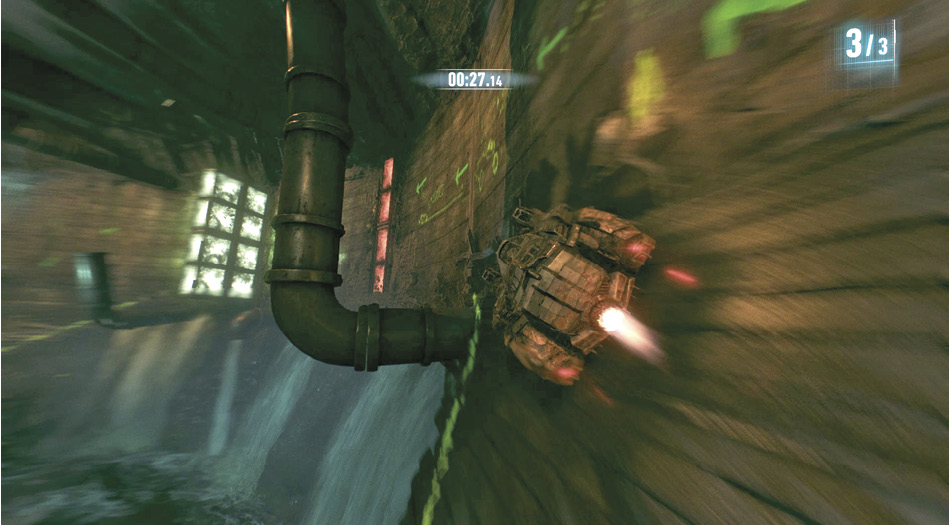
Complete the first lap and the track switches to the new layout. A timer counts down from the start of each lap and if you don’t cross the finish line before it expires, you must repeat that lap. You have 1:20 for the first lap, 1:10 for the second, and a minute for the final.
Key Grid
 Cave 2: Balancing Act
Location: Bleake Island - Chinatown, near ACE Chemicals
Requirements: Complete Mental Blocked
Drive toward the entrance to ACE Chemicals in Chinatown, but turn left just before committing to the bridge. Just around the corner is a garage door labeled Balancing Act. Use it to descend into Riddler’s second cave. This challenge requires you to complete the following steps to power up the light board:
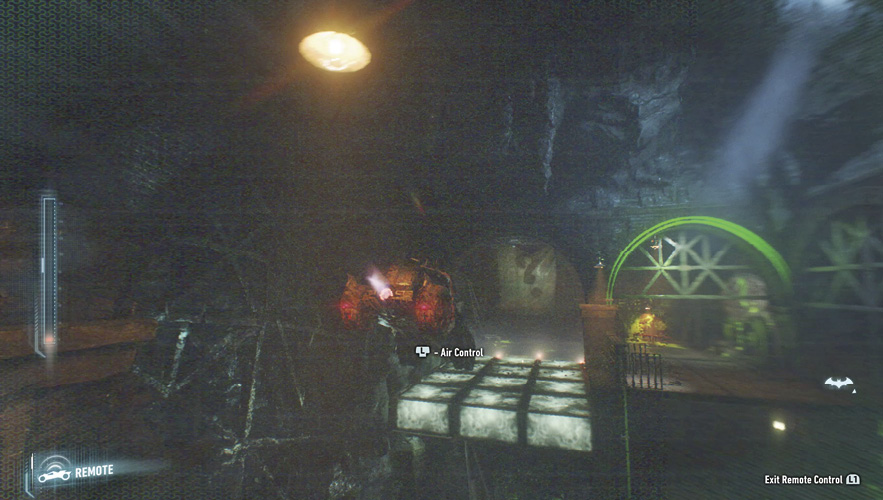
■ Drive up the ramp, exit the Batmobile and step on the ground switch. Use the remote to drive the vehicle onto the balance board. Activate Riddler’s Blockade and drive up to the next platform.
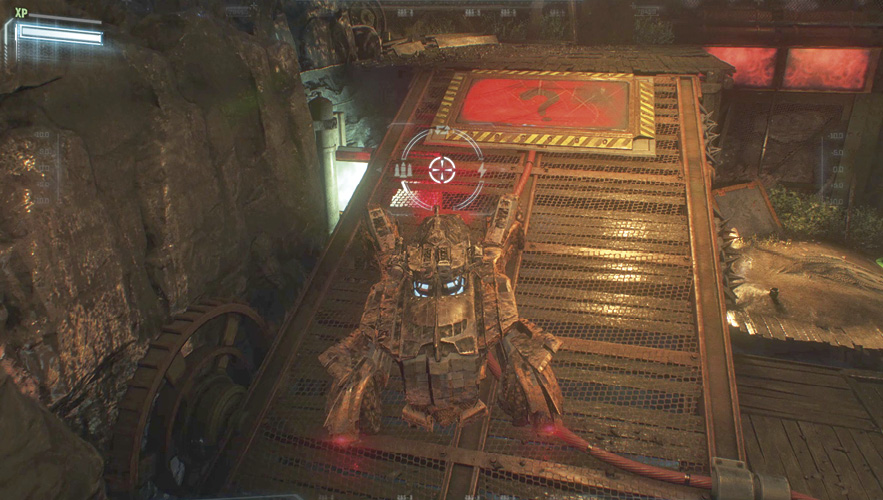
■ Press the Immobilizer to bring out the red platform and drive across. Tap the button again and cross the green.
■ Drive onto the second balance board and switch the red blockades on and then the green to get the far end all the way up. Hit the Afterburner and jump across to the green platform.
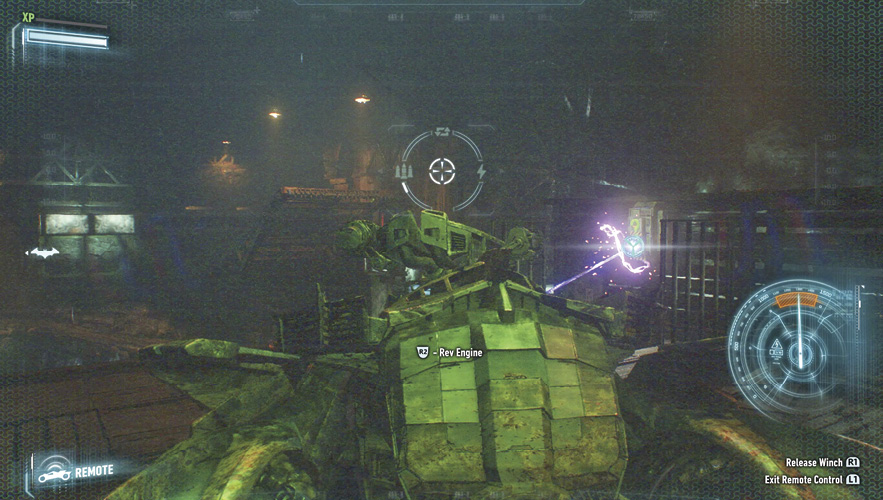
■ Drive around to the lift, fire the Power Winch at the switch on the right, and rev the engine—keeping the needle in the orange. This powers the board ahead.
Key Grid
 Puzzle Room 1: Numeracy 101
Location: Miagani Island – Pinkney’s Orphanage
Requirements: Complete Balancing Act
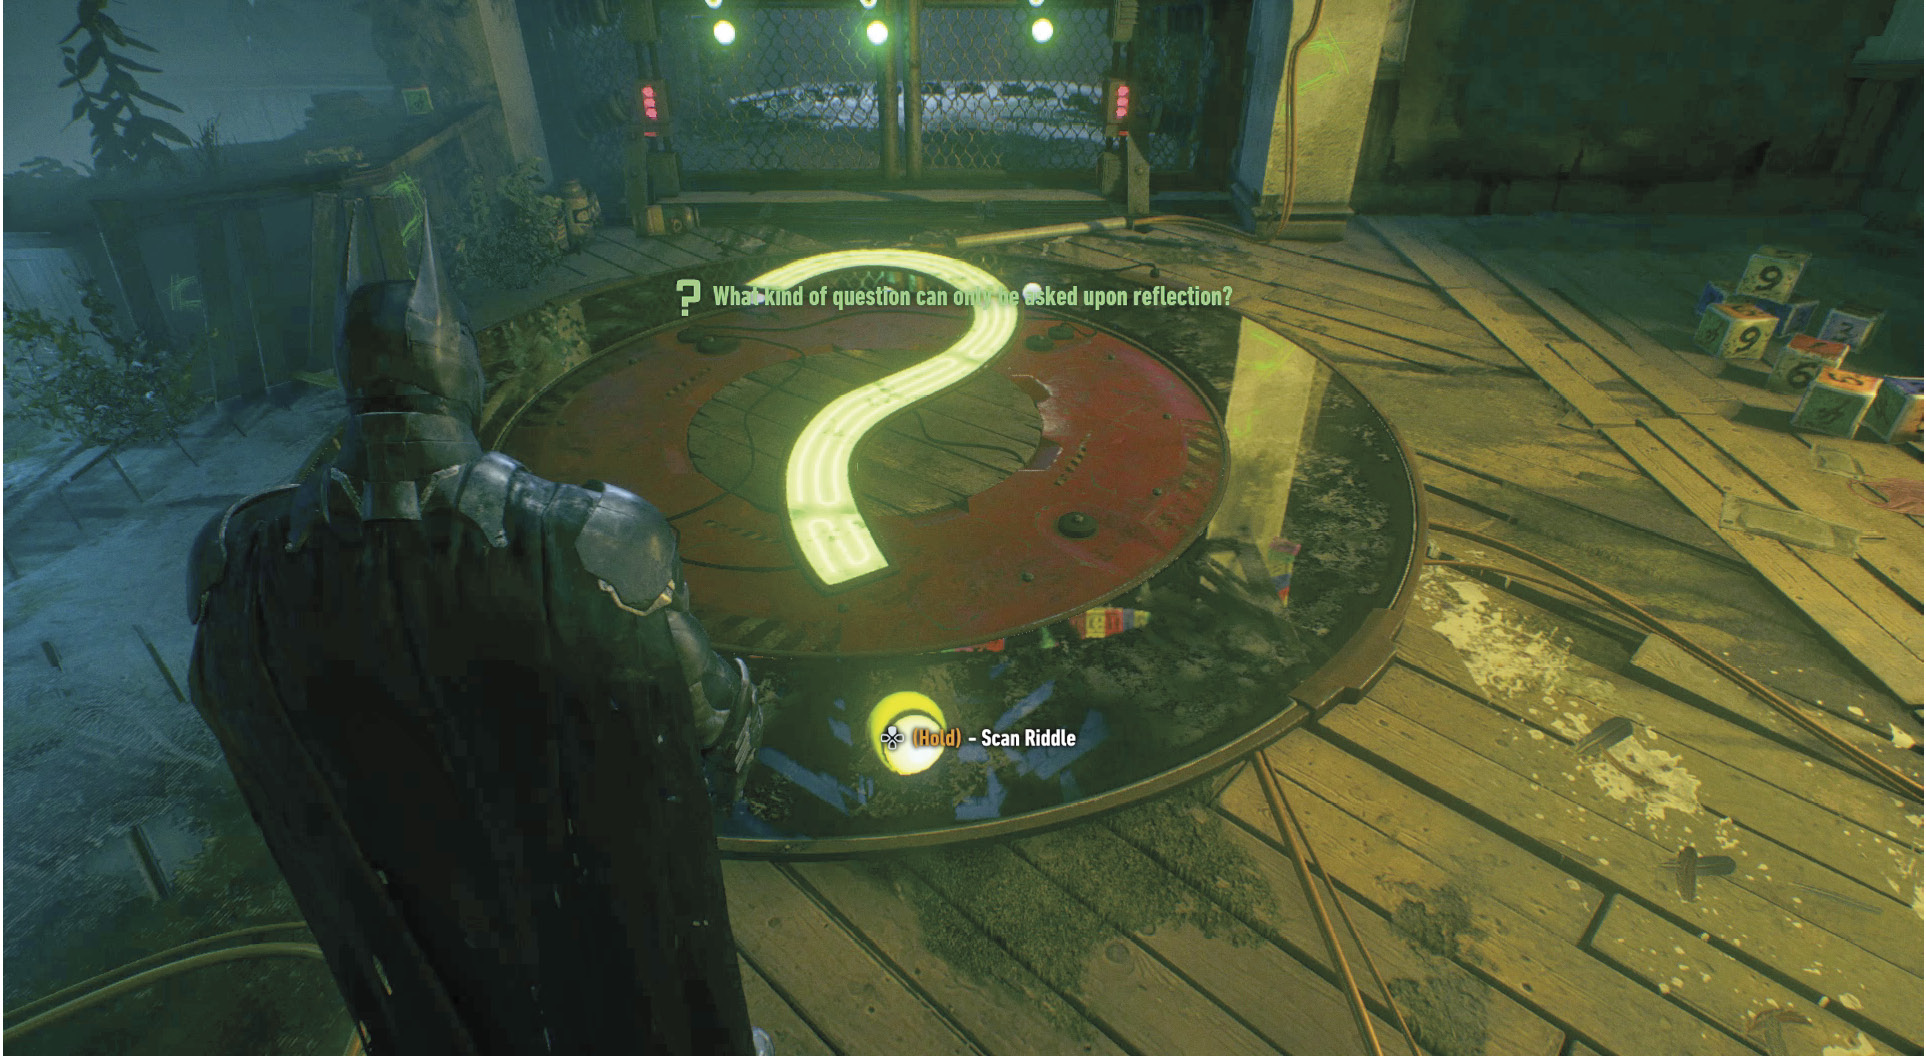
Enter Pinkney’s Orphanage where you must first complete a puzzle before the next challenge. Three question marks hang on the gate ahead. Hitting each one with a Batarang turns a different portion of the big question mark on the floor. The idea is to line up the circles so it is a straight up and down question mark. Then adjust your view until the light in the mirror forms the dot. Scan to solve the riddle.
Join Catwoman and enter the door labeled Numeracy. Maneuver Batman onto the switch on your right and Catwoman to the left. Numbers from 1 to 5 are displayed on a light board in front of each character. Remember the order and switch to the other person. Toss Batarangs or crack the whip at the question marks in that order, where the left one is 1 and the right is 5. Hit them in the following order for both Batman and Catwoman:
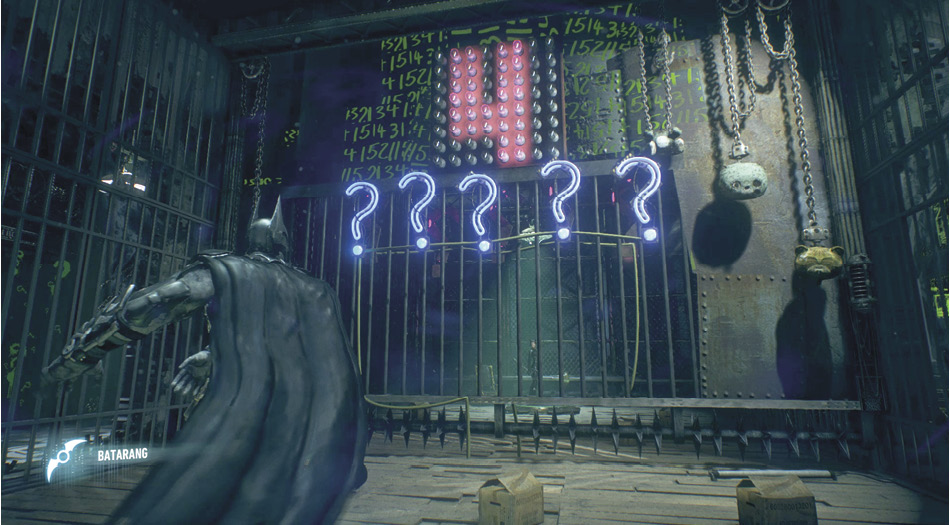
Catwoman: 1 3 5 2 4
Batman: 3 1 4 5 2
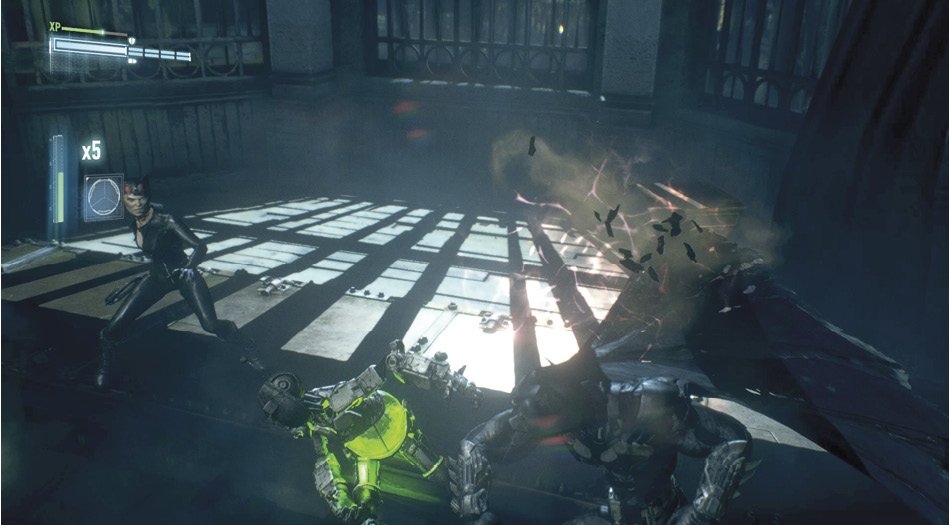
This releases 10 more Riddler Robots. These combatants are improved fighters over the previous ones, but still not a huge challenge for the two. Have Catwoman walk over to the case against the wall and grab the third key.
 Cave 3: Crushonator
Location: Miagani Island – Bristol, beneath Elliot Memorial Hospital
Requirements: Complete Numeracy 101
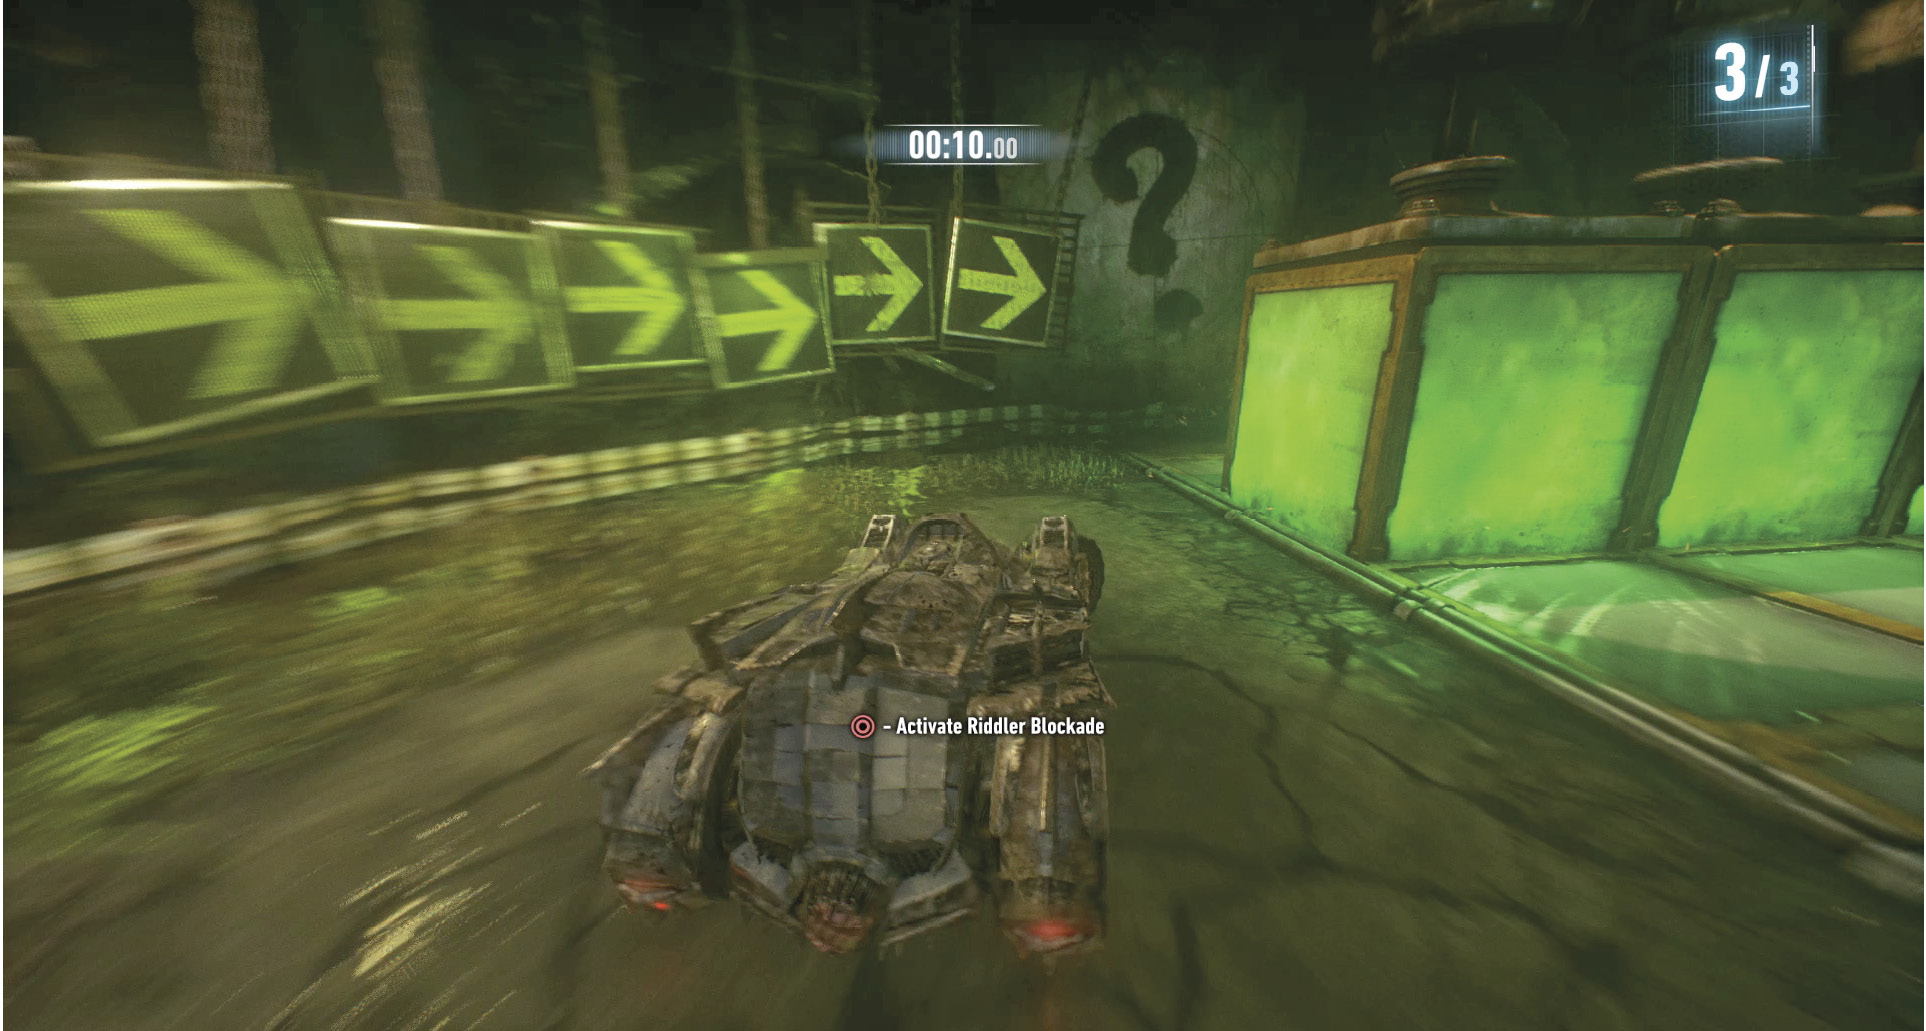
Drive to the hospital and find the garage labeled Crushonator underneath. If not completed yet, a militia checkpoint keeps the Batmobile out. Defeat the hostiles and then drive the vehicle into the third cave, where another racetrack has been constructed. Again, red and green Riddler Blockades move in and out with a push of the Immobilizer. This time though, they drop from the ceiling, crushing anything that gets caught underneath. Watch out for bright green obstructions that move on their own. Otherwise, it is the same idea as the first cave. Fail a lap and you must retry it again. Any successful laps remain complete. You have 1:40 for the first lap, 1:30 for the second, and 1:20 for the third.
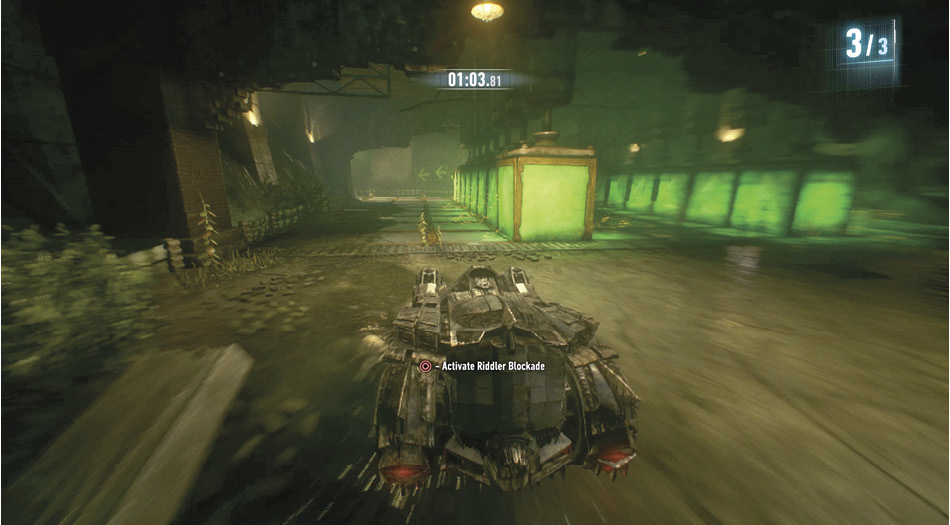
Memorization of the course is crucial for completing this challenge, but it is possible to finish the first time with very good reactions. Keep your eyes on the course ahead, being ready to stop, hit the Afterburner, or activate the Riddler Blockades at a moment’s notice.
Key Grid
 Cave 4: Flight School
Location: Miagani Island – Kingston, under Gotham Casino
Requirements: Complete Crushonator
Drive to Kingston and find the Flight School garage behind the casino. Descend into the fourth cave. Three Riddler Pressure Pads must be pressed by gliding into them to complete this challenge. The trick is to get enough air to reach each one. Drive out of the elevator and eject just before hitting the railing. Glide into the button ahead, push off, and return to the vehicle. If you fail, simply grapple to the chain above the Batmobile and try again.
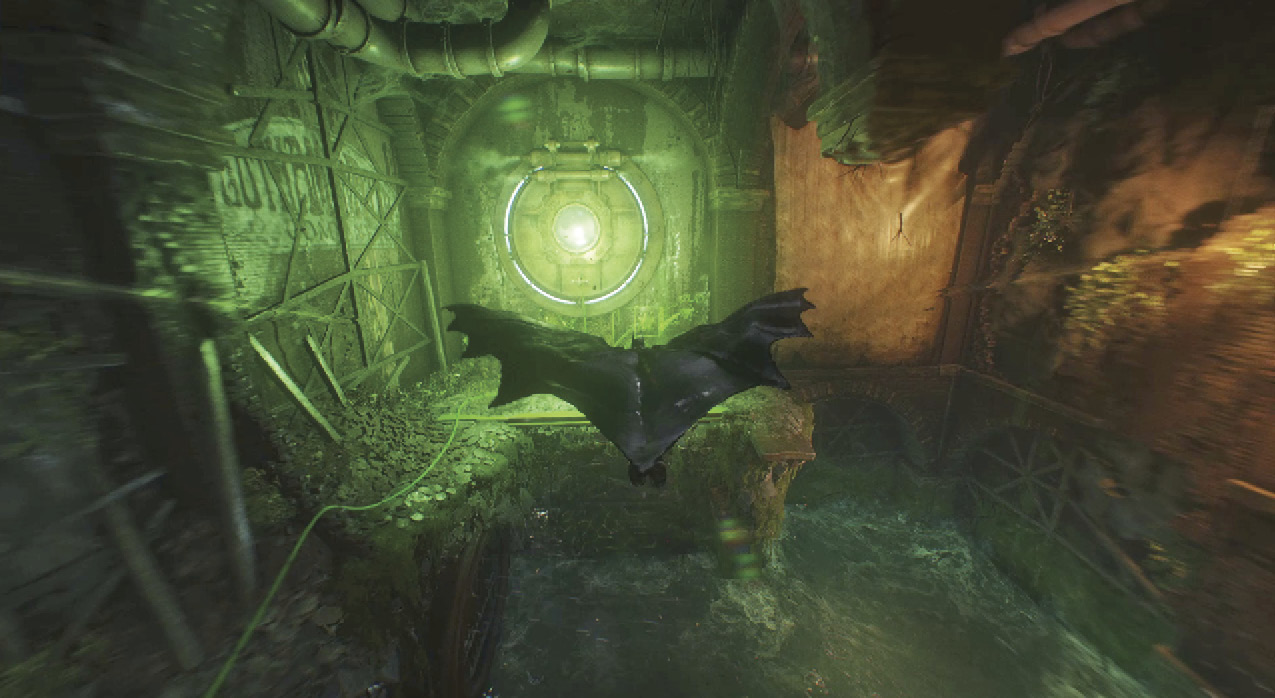
The switch is around the corner to the right. Again, race toward the railing in the Batmobile and eject just before the end. Get plenty of height and glide to the right. Make a 180-degree turn and continue into the second pressure pad at the end of the corridor. Glide and grapple back to the car.
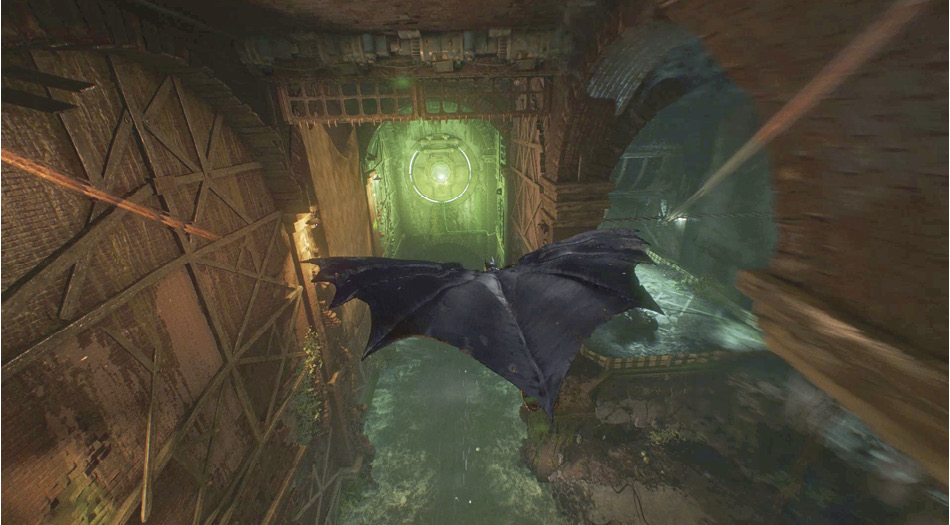
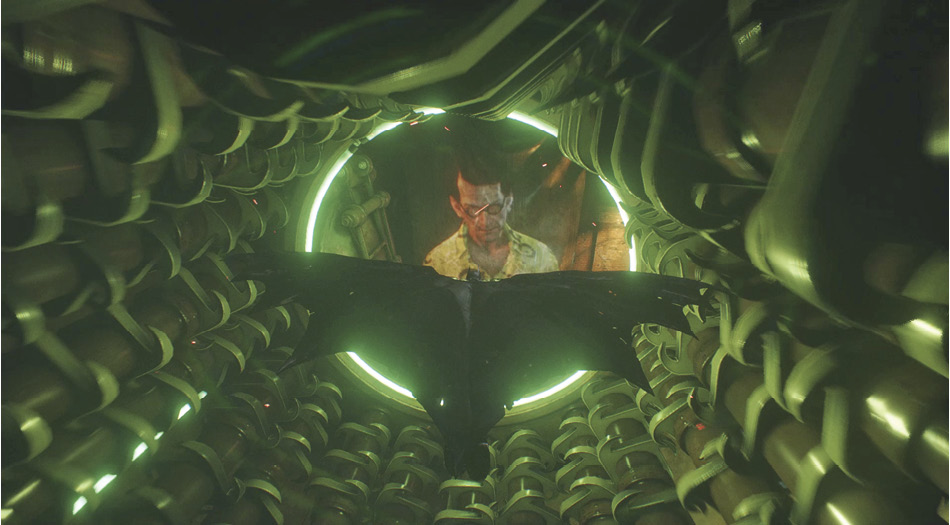
This time do the same thing to glide toward the second switch before entering a tight, deadly tunnel on the right. Keep as high as possible while avoiding the sharp, spinning blades. Turn right after the death trap and glide down to the third pressure pad. Return to the light board next to the elevator to get Catwoman another key.
Key Grid
 Puzzle Room 2: Intro to Physics
Location: Miagani Island – Pinkney’s Orphanage
Requirements: Complete Flight School
Back at the orphanage, enter the door marked Intro to Physics. This challenge requires Batman and Catwoman to guide an electric charge to its destination. On the stage ahead, there are three pressure pads that control a single horizontal pipe. If Catwoman steps on the switch, it raises a little. Batman alone takes it just beyond half way. When both step on the pad the pipe goes to the top. The idea is to start the charge moving and quickly raise each pipe into the correct spot to help the charge reach the destination in the upper-left corner. Follow the steps below to complete the challenge:
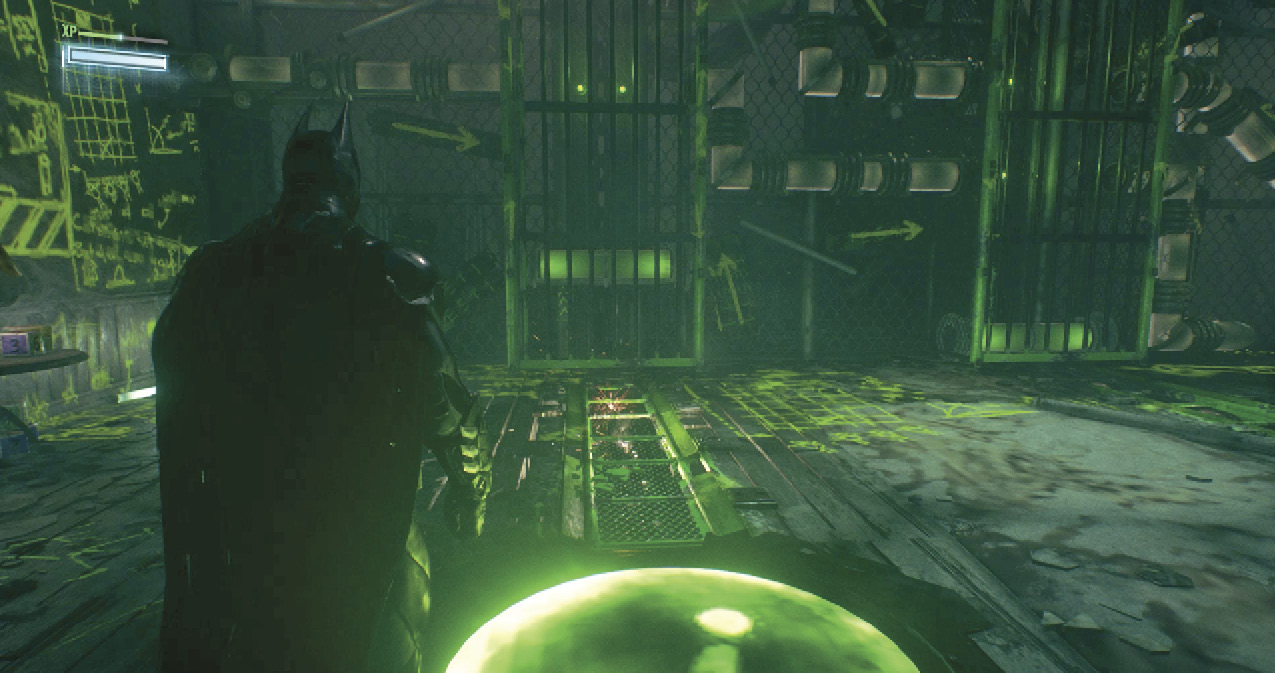
■ To start the charge moving, toss a Batarang at the question mark on the left and stand on the left switch.
■ Move Catwoman onto the second pressure pad. After the electric charge passes Batman, move him to the third switch.
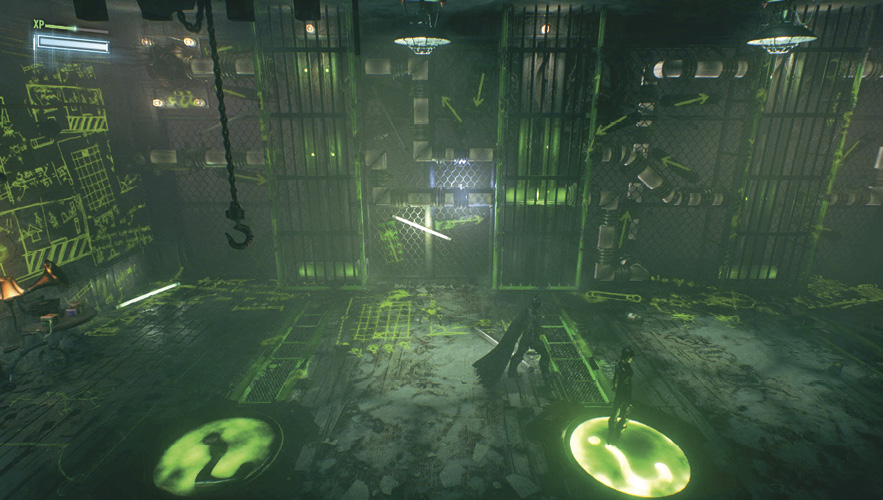
■ After it passes Catwoman, move her with Batman on the third pad. As the charge switches back the other way, remove Batman from the switch.
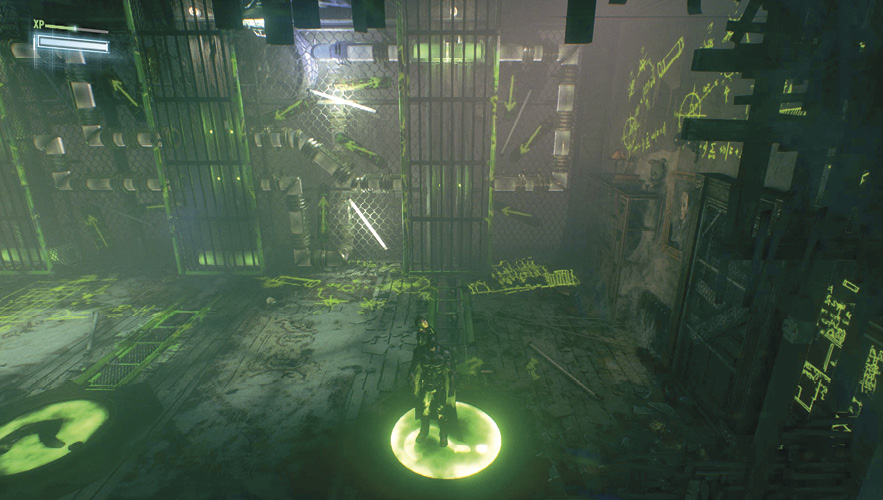
■ Batman should next step on the second pressure pad. With the charge past Catwoman again, move her to the first one.
■ Wait for the charge to pass Batman’s location and then move him alongside Catwoman on the first pressure pad to complete the puzzle.
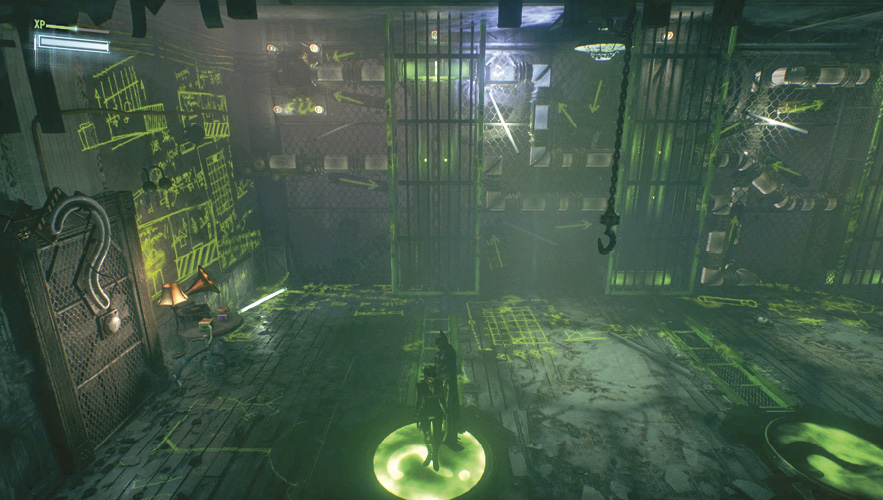
An electrified floor prevents you from just grabbing the next key. Have Batman jump onto the pressure pad on the right while Catwoman goes for the key. Riddler introduces ten of his new and improved red and blue robots. Only Catwoman can attack the red while the blue must be left for Batman. Finish them off before finally grabbing theprize.
 Cave 5: Drain Pain
Location: Founders’ Island, Otisburg, next to Divinity Church
Requirements: Intro to Physics
Drive to Divinity Church on Founders’ Island, enter the lower tier, and find the Drain Pain garage. Descend into the fifth cave to find another puzzle. There are holes around the sides of the pit ahead that must be entered to complete specific objectives. The problem is they are blocked at the moment. That is where the Batmobile comes in, as it is used to turn the pit. Follow these steps to complete the challenge:
■ Fire the Power Winch at the anchor point above, turn around, and descend down the wall, next to the spinning blades. Move right to cause the wall to move right until the opening is over the hole in the far wall. You know you end up in the right spot if the Batmobile is on top of a Batmobile reserved parking symbol.
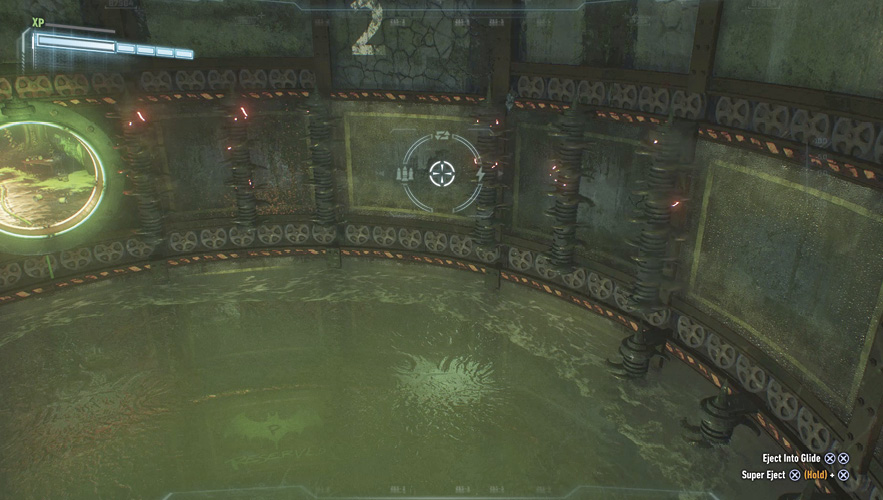
■ Eject from the car and glide into the new opening. Step onto the pressure pad to lower the water one level. Hop back into the Batmobile and drive it to the right to the number 2.
■ Attach the winch to the anchor point above and lower the car to just above the water. Move left until the opening is over the weakened wall and fire the Heavy Cannon to destroy it.
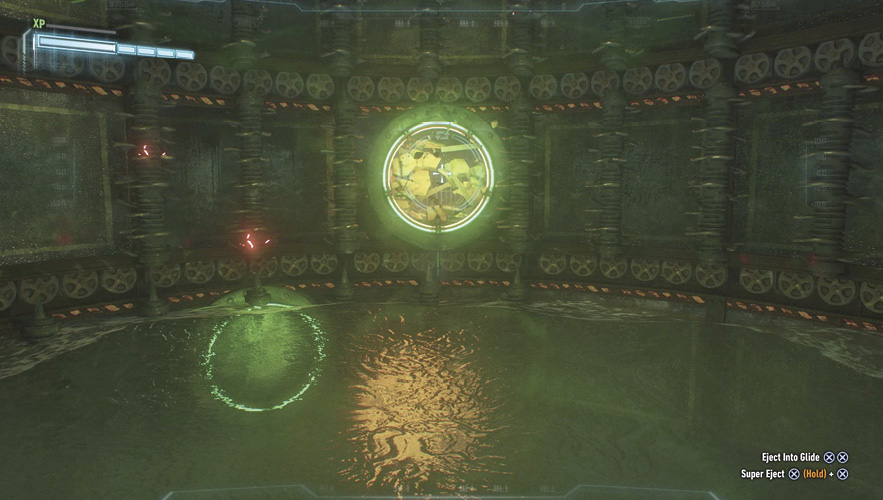
■ Eject from the car and glide into the hole, being sure to clear the electrified panels just inside. Step on the pressure pad to lower the water another level. Four Riddler Robots pop up, so take them down.
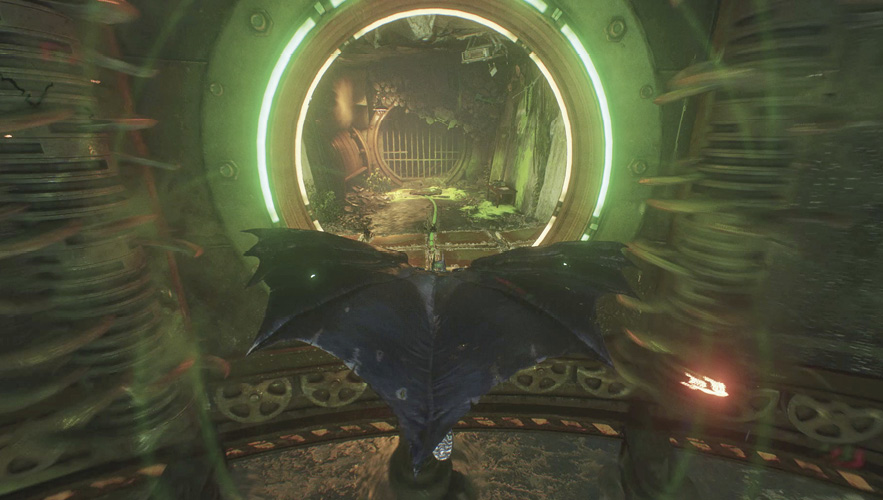
■ Reenter the vehicle, drive right until the spinning blades are next to you and then drive back up the wall. Find the number 3 and lower the Batmobile from the Winch Anchor Point above. This time go down three levels.
■ Spin the wall until you are on top of the reserved parking, eject from the car, and glide into the third hole. Step onto the pressure pad around the corner and two Gun Turrets appear where you entered. Equip the Batmobile Remote and destroy the automated weapons.
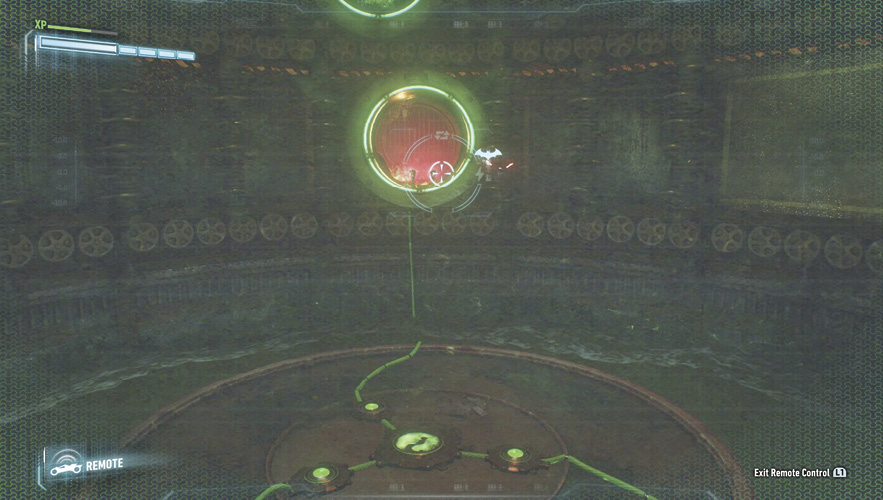
■ Glide down to the pressure pad at the bottom of the pit to activate the light board high above.
Key Grid
 Puzzle Room 3: Advanced Deathtraps
Location: Miagani Island – Pinkney’s Orphanage
Requirements: Complete Drain Pain
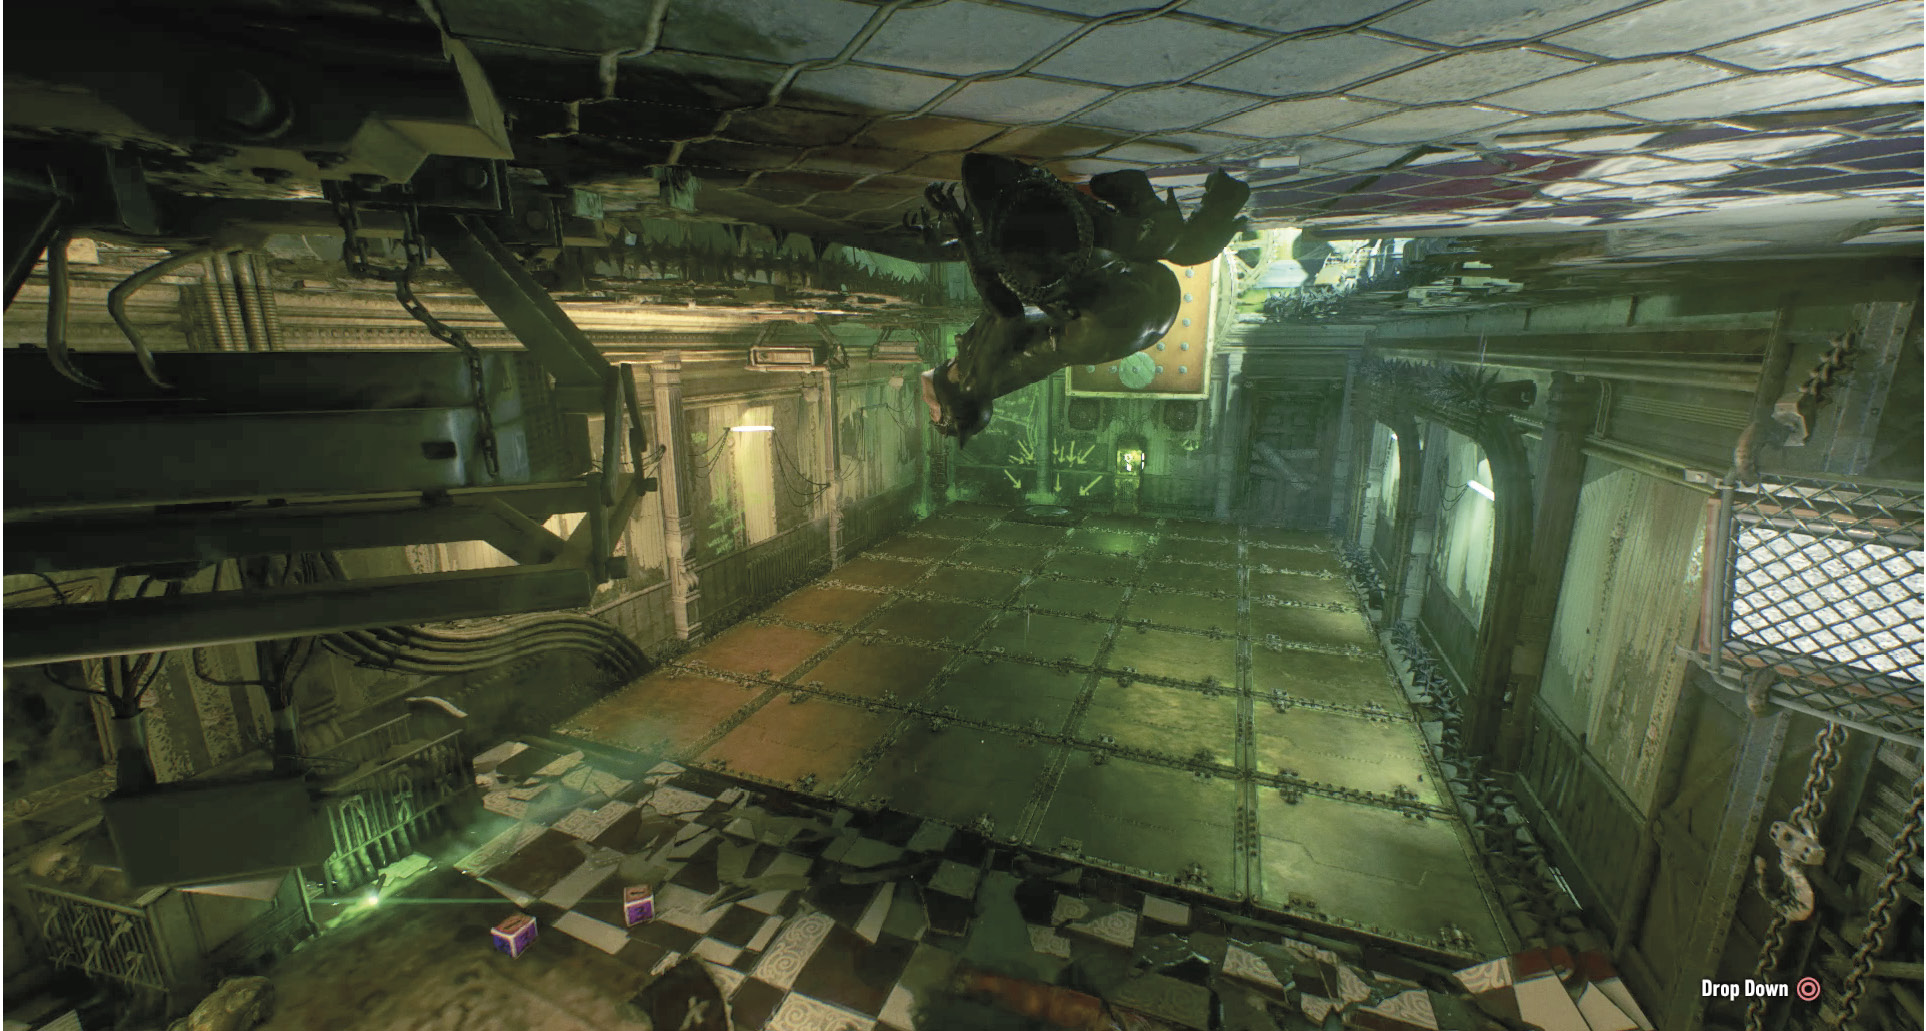
The next puzzle room presents two rooms full of electrified panels and a light board on the wall ahead. Again Bruce and Selina must work together to complete the puzzle. Move Batman onto the pressure pad on the right. Have Catwoman pounce to the ceiling, climb into the adjacent room, and step on another pad.
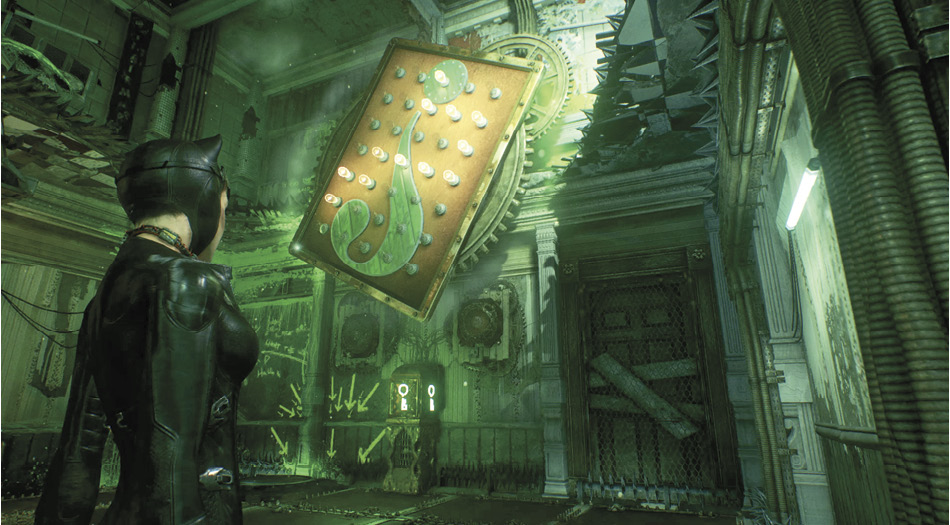
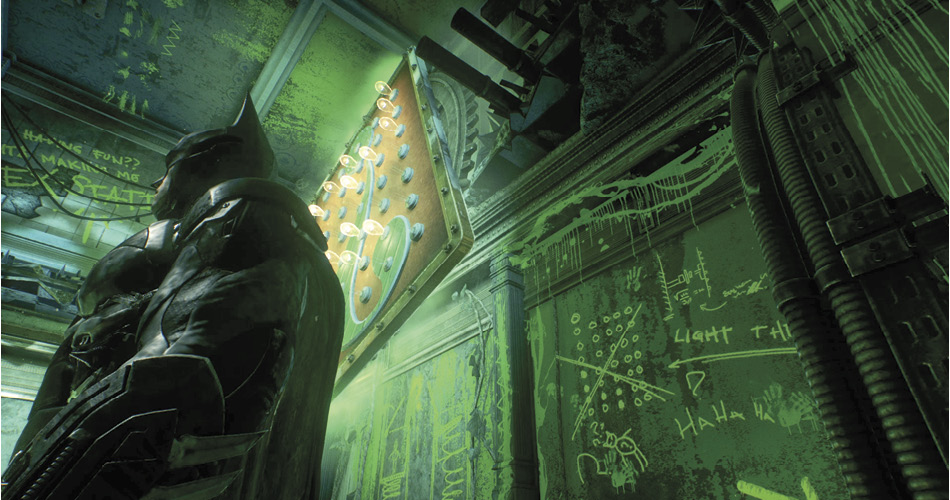
Each character has one light lit up on the board ahead, which represents the other person’s first move. Step on the appropriate panel and more light up for the other. Remember the path and move the second character to that spot. Watch out as the Riddler tries to confuse you and the board begins to spin. Always remember the dot of the question mark is the start. Continue this back and forth movement until both reach the pressure pad. Note that Batman cannot see the board from his pad.
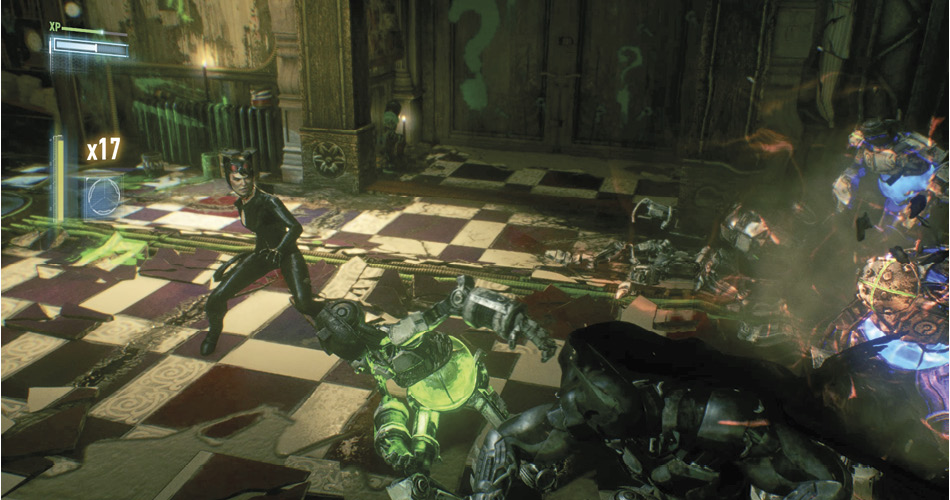
This introduces ten more Riddler Robots in red and blue. Note that a robot turns green during a Dual Team Takedown, making it vulnerable to both fighters. Grab the key to get a small step closer to freedom.
 Cave 6: Condamned
Location: Miagani Island – Kingston, beneath Ranelagh Ferry Terminal
Requirements: Complete Advanced Deathtraps
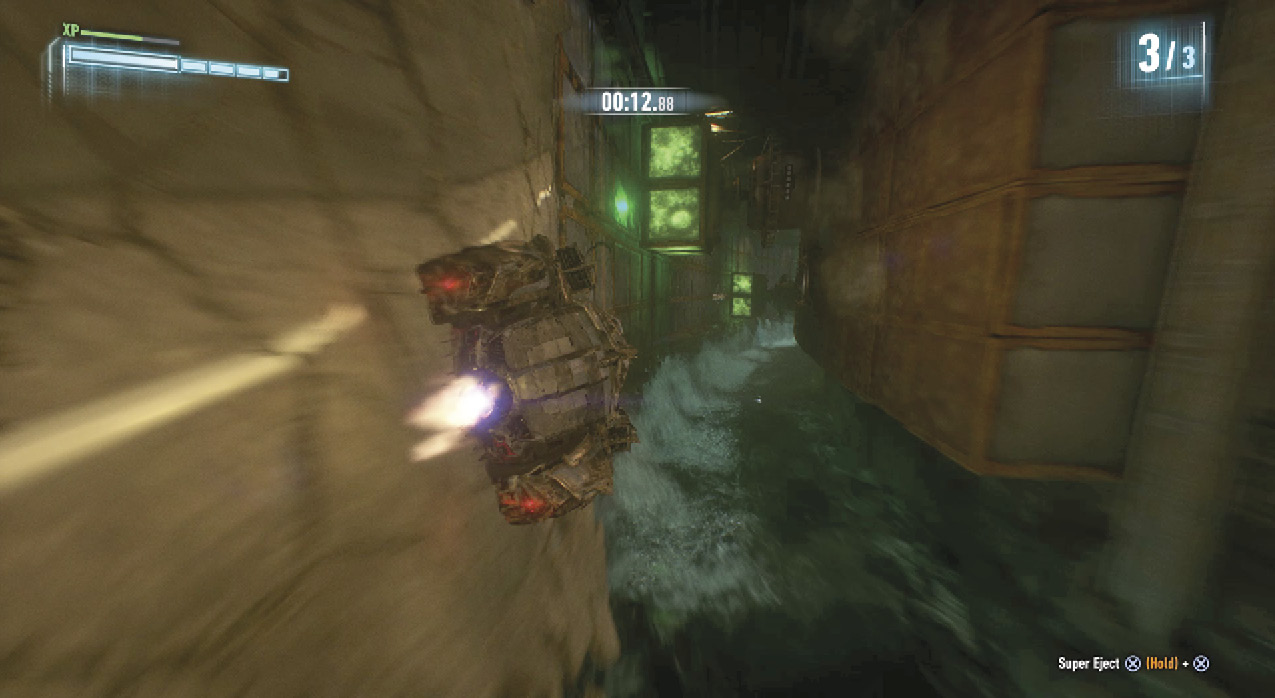
Drive to Ranelagh Ferry Terminal in Kingston and find the Condamned garage on the left side. Descend into Riddler’s final cave to find another race. This challenge introduces you to new obstacles, such as the spike poles that move side to side or back and forth. Pressing Immobilizer raises and lowers them or they can be driven between. You have 1:30 for the first lap, 1:20 for the second, and 1:10 for the final lap.
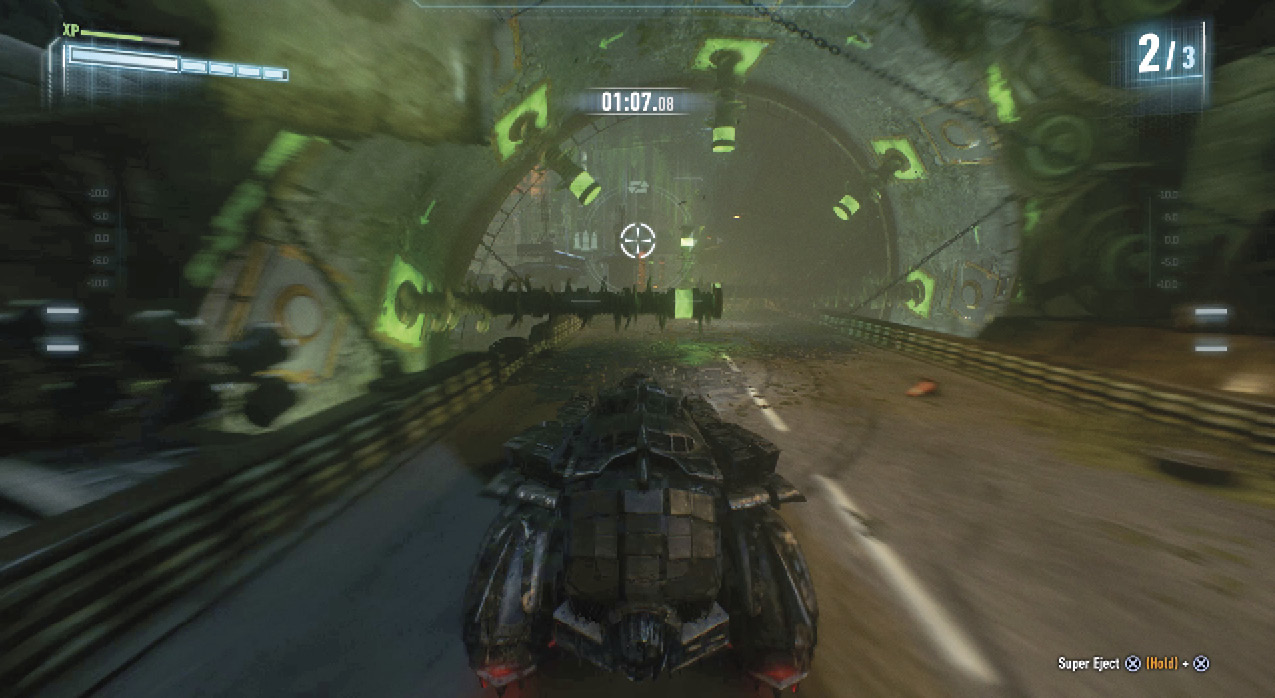
This race gets incredibly tough on the third lap as Riddler takes control of the obstacles. A few of the obstacles require you to learn the timing.
Key Grid
 Puzzle Room 4: Final Exam
Location: Miagani Island – Pinkney’s Orphanage
Requirements: Complete Condamned
At the orphanage, enter the Final Exam door and move past the first room to reach the puzzle. A 5x5 grid of pressure pads lies in the middle of the floor below, but you can’t just walk out to them. Instead, have Catwoman pounce to the ceiling and drop down onto the switches. Two spots are missing a pad. Generators sit at the end of each row. Fire the Remote Electrical Charge at a generator lined up with the opening to cause it to either attract or repel the row of pads in front of it. If the row is full, they do not move. A laser is fired from the ceiling at one of the pad positions. You must shift the switches around so that it lines up with the open slot. If Catwoman steps on a pressure pad, it does not move even if in the path of an attracting or repelling generator.
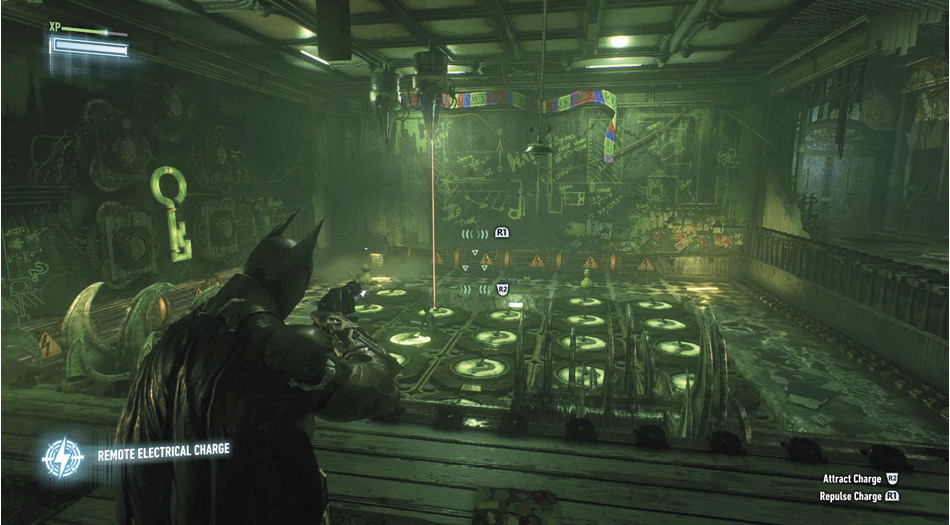
The first time there is only one laser, place Catwoman on a pressure pad and move the rows around with the REC. Once the laser hits an open spot, a light appears on the left wall to indicate a puzzle is complete. At that point, spinning blades sweep across the floor. To avoid them, pounce to the ceiling or watch their movements and duck under the bar. A second laser is introduced in the second and third puzzles. Work the pressure pads around until both hit open spots. The three puzzles must be solved before grabbing the final key in the first room.
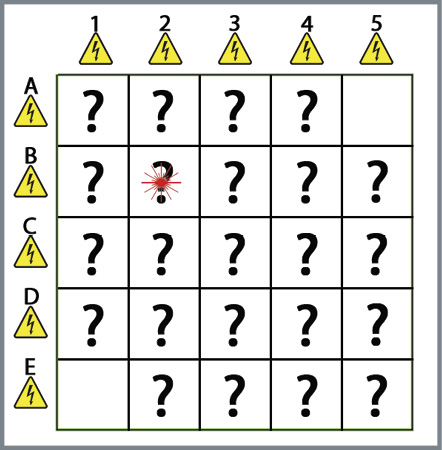
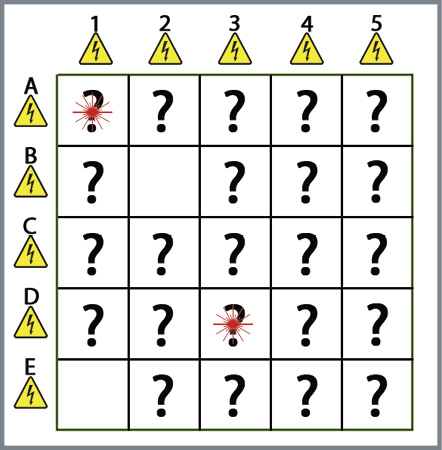
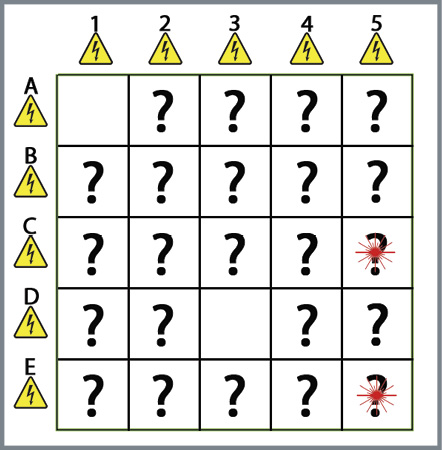
There are many ways to solve these puzzles. Here is a quick solution for each one. The diagrams show the view from the left side with the laser placement and starting empty slots, assuming the following solution is used.
Puzzle 1 (Laser at B2)
■ Catwoman on A1 and repel generator A
■ Catwoman on C2 and attract generator 2
Puzzle 2 (Lasers at A1 and D3)
■ Repel generator 1
■ Catwoman on E2 and attract generator 2
■ Catwoman on D4 and attract generator D
Puzzle 3 (Lasers at C5 and E5)
■ Catwoman on B3 and repel generator 3
■ Attract generator 1
■ Attract generator C
■ Attract generator E
 Fight Riddler
Location: Miagani Island – Pinkney’s Orphanage
Requirements: Complete Final Exam
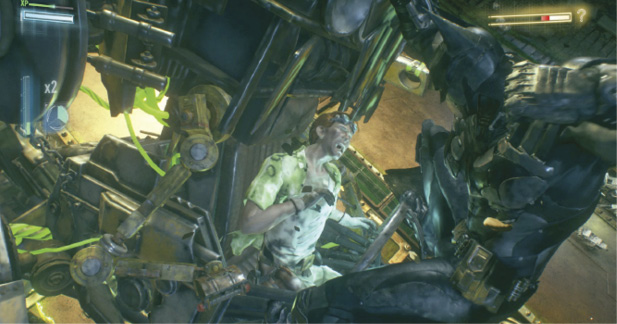
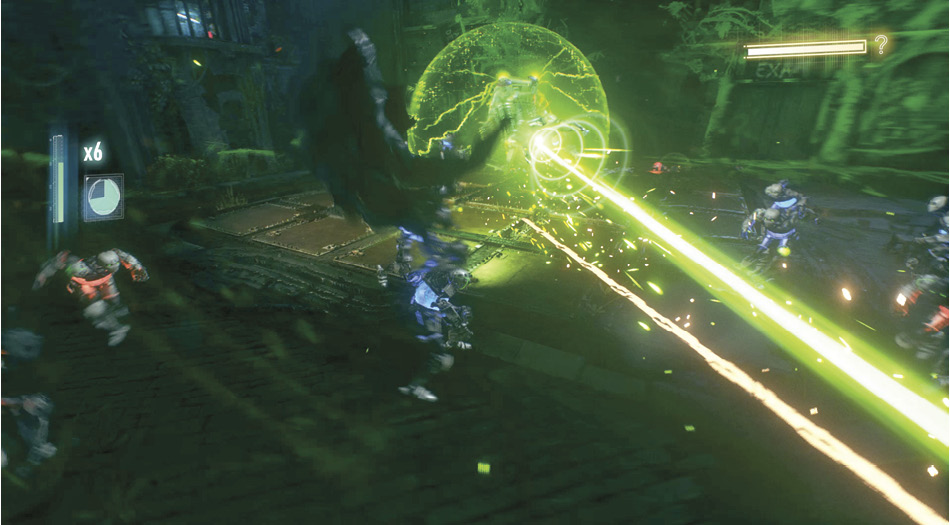
With the caves and puzzle rooms complete, attempt to exit the orphanage. Riddler shows up in a mech and pushes Batman back inside. Red and blue Riddler Robots pop up from the floor and surround the boss. His health appears in the upper-right corner of the HUD. He fires a green laser across the battlefield, harming anything in its path. He also has the ability to switch the color of the robots, so pay close attention to the color you are fighting. It’s no use attacking him directly as he is heavily shielded.
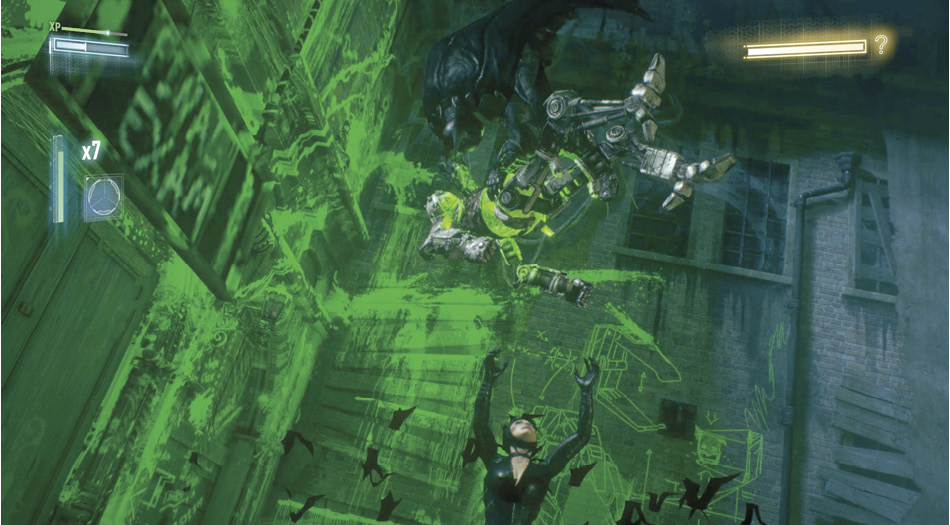
With help from Catwoman, take down the robots while avoiding Riddler’s laser attack. Be sure to fight the blue with Batman and the red with Catwoman. Whenever a Dual Team Takedown is available, use it since the color doesn’t matter. After the squad of robots has been exterminated, Edward puts up an electrified fence around himself. This completes the first battle. To take him on again, you must collect all of the Riddler Trophies.
 Fight Riddler Part 2
Location: Miagani Island – Pinkney’s Orphanage
Requirements: Complete the first Fight with Riddler and collect all Riddler Trophies
Once you’ve collected all the trophies, return to Pinkney’s Orphanage and use the question mark console to fight Riddler’s mech again. It is just Batman this time with all blue Riddler’s Robots. After a number of them have been taken down, Riddler turns some red. Fire the REC to knock the red ones back until Catwoman has a change of heart and shows up.
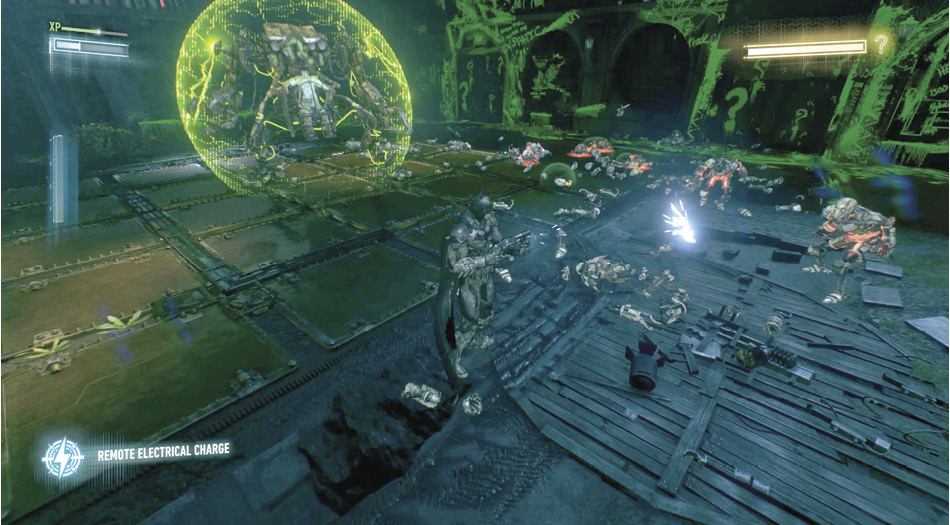
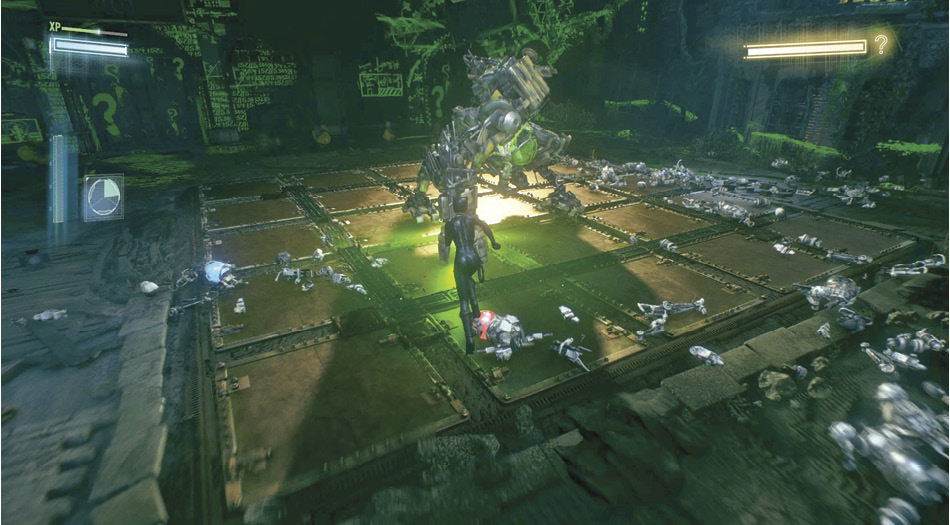
Take out the squad of robots and Riddler thrusts the mech’s right fist into the ground. It lets off a green glow, so attack the arm with either character to damage the boss. Continue to strike him until Edward retaliates. Continue to pummel the robots, causing Riddler to punch the ground every time the room is cleared out. If the fist glows red, attack with Catwoman. If blue, attack with Batman.
Once his health has been depleted, Batman apprehends the villain. Drive him to GCPD to score the rest of the upgrade points.