Batman: Arkham Knight Guide Story Mode
Chapter 5: Tonight Ends With Gotham's Fall
The Chapter at a GlanceOBJECTIVES
NEW AR CHALLENGES
AVAILABLE SIDE MISSIONS Riddler’s Revenge |
 Rescue Oracle from Scarecrow’s Safe House
 Meet with Ivy at the GCPD
 Scan the Arkham Knight’s
  Destroy the Arkham Knight’s
  Equip a New Secondary Weapon for
  Take Ivy to the Botanical Gardens
 Destroy the Cobra Tanks
 Head to the Wayne Tower Parking Garage
 Use
Use  Protect Ivy’s Plant from the Militia
 Head to Panessa Studios
 Glide onto the Relay Drone
 Destroy the Arkham Knight’s Radar Network
 Take Out the Arkham Knight’s Missile Battery
 Lower the Barriers Around the Missile Battery
 Return to Oracle’s Clock Tower
 David & Goliath
 Drone Zone
 Gotham Knights
 Seek and Destroy
 Terminal Velocity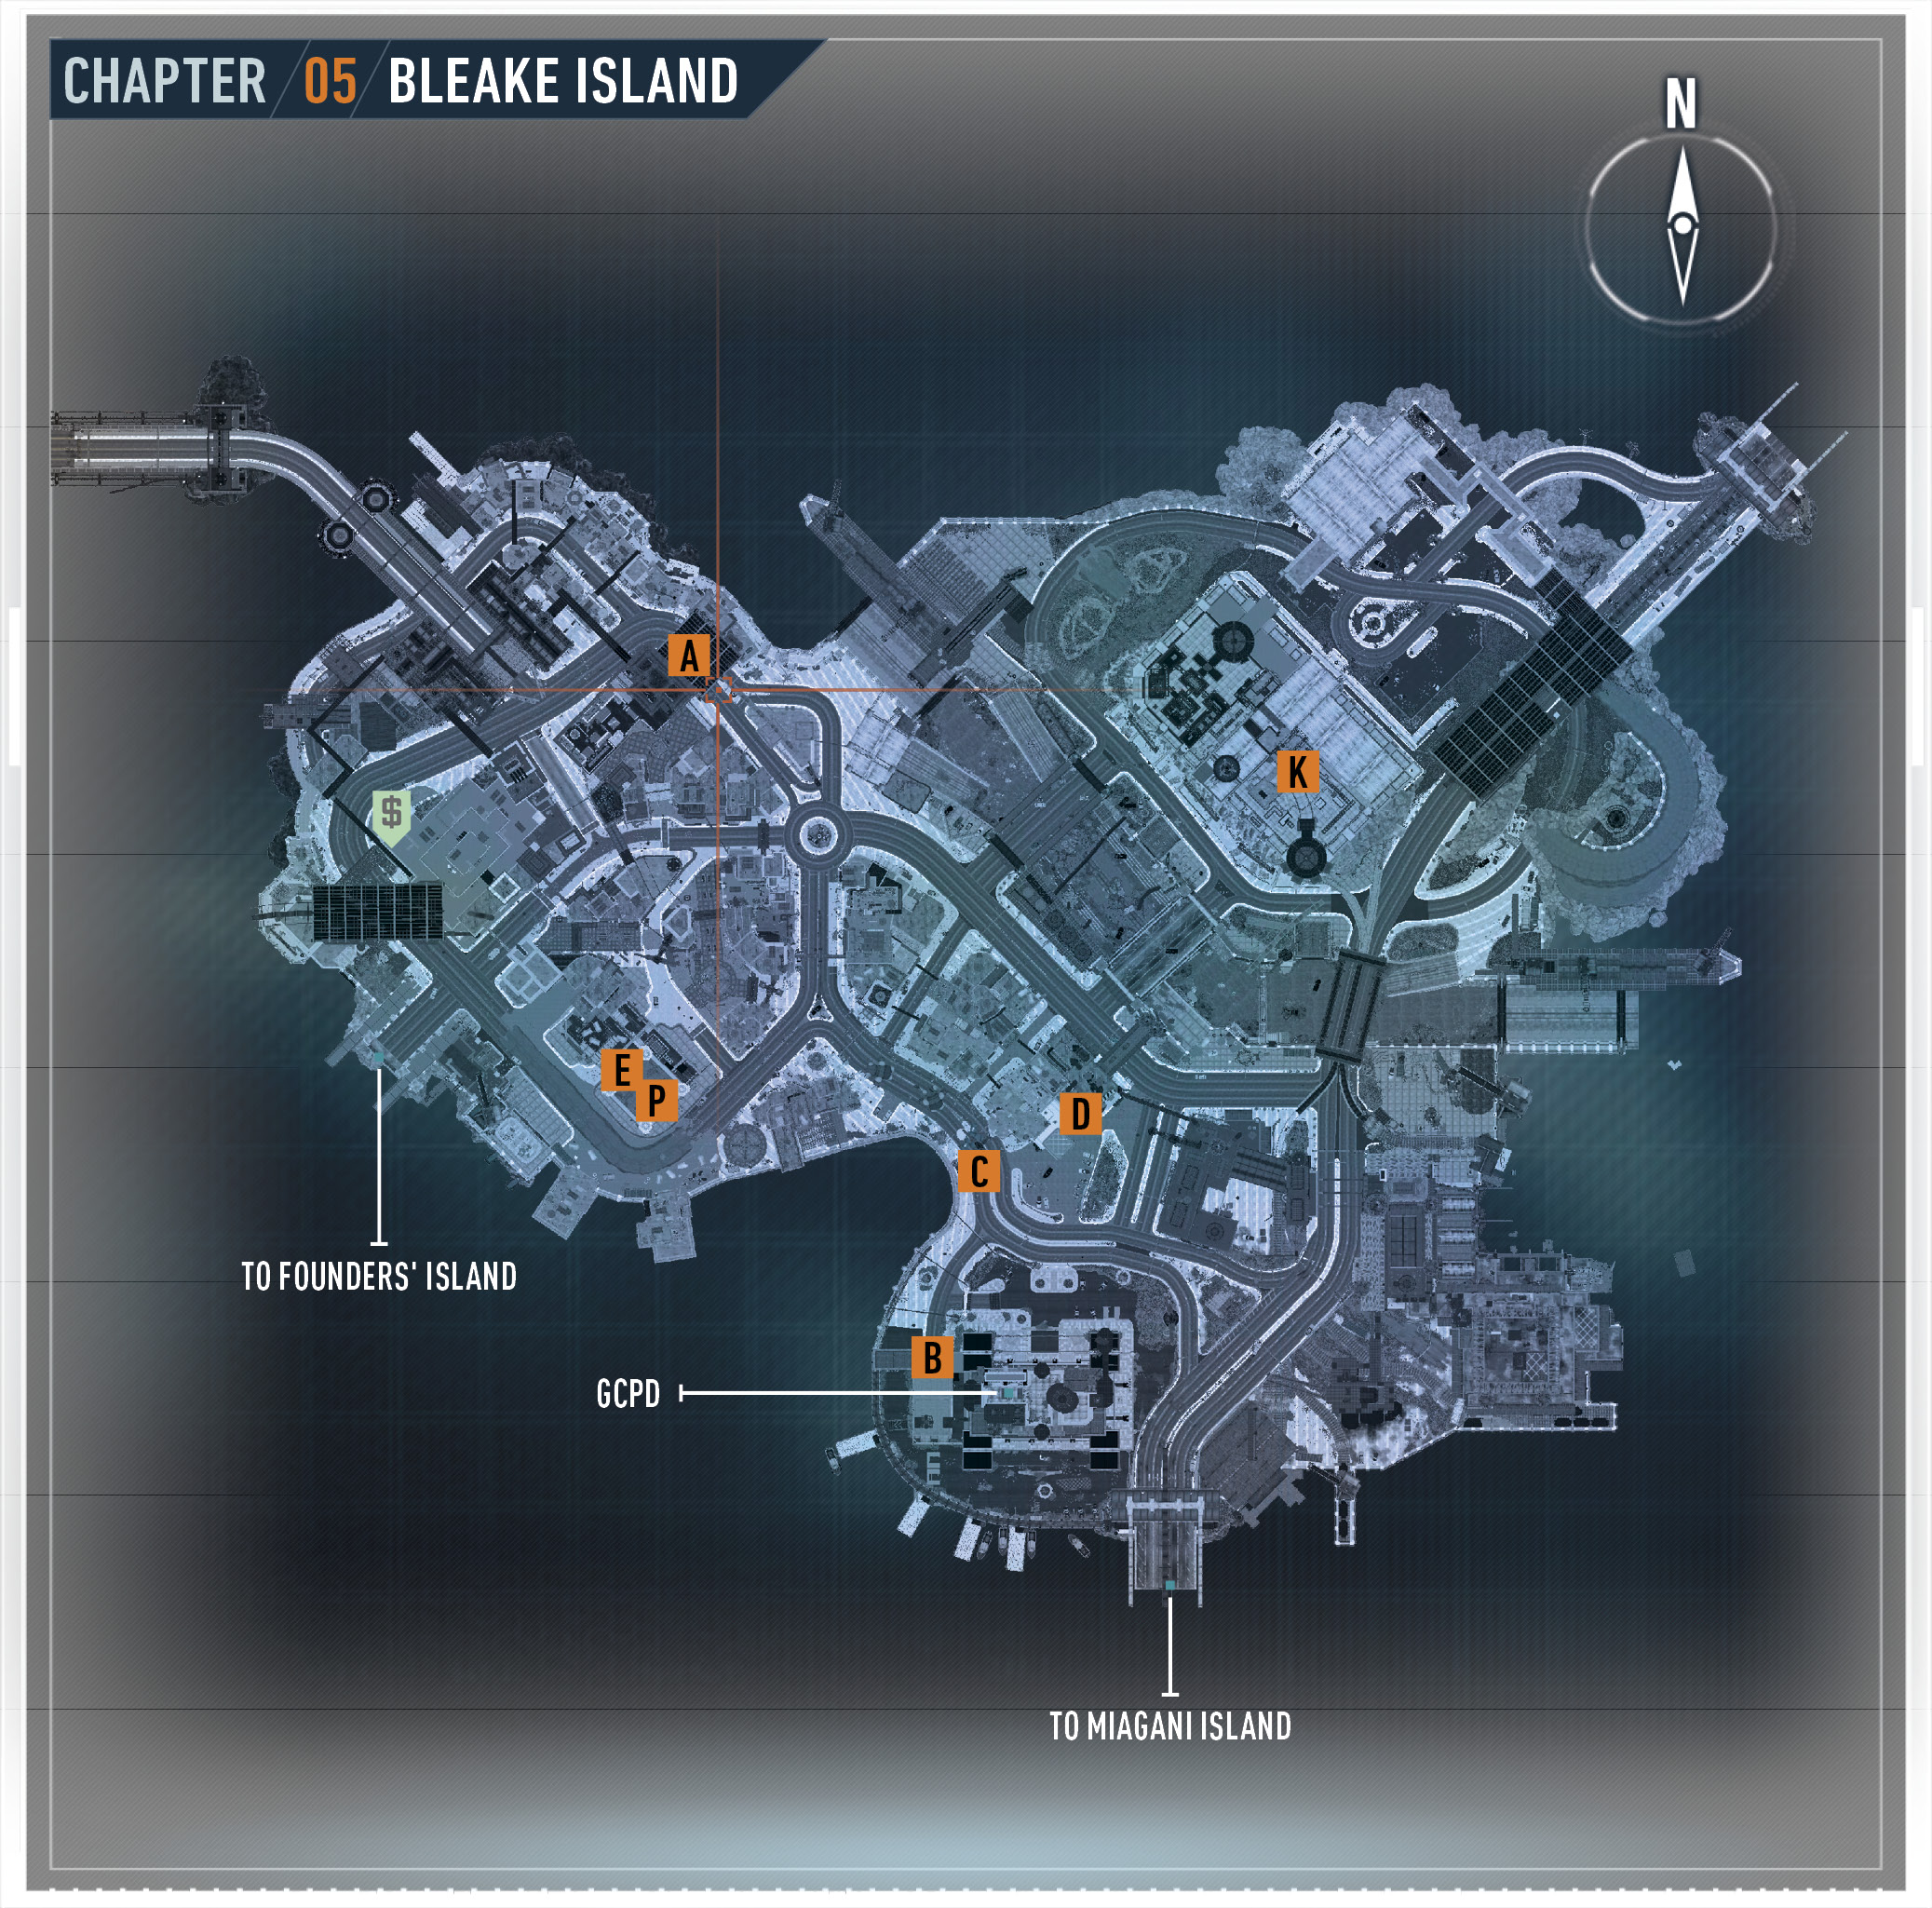
 Rescue Oracle from Scarecrow’s Safe House
Make your way to Scarecrow’s Chinatown safe house on Bleake Island to arrive just in time for a show.
 Meet with Ivy at the GCPD
In the hopes that Poison Ivy’s immunity to the fear toxin can help the city, drive to GCPD and talk to the inmate. She agrees to assist the vigilante and willingly climbs into the passenger seat.
 Scan the Arkham Knight’s Cobra Drone to Identify a Weakness
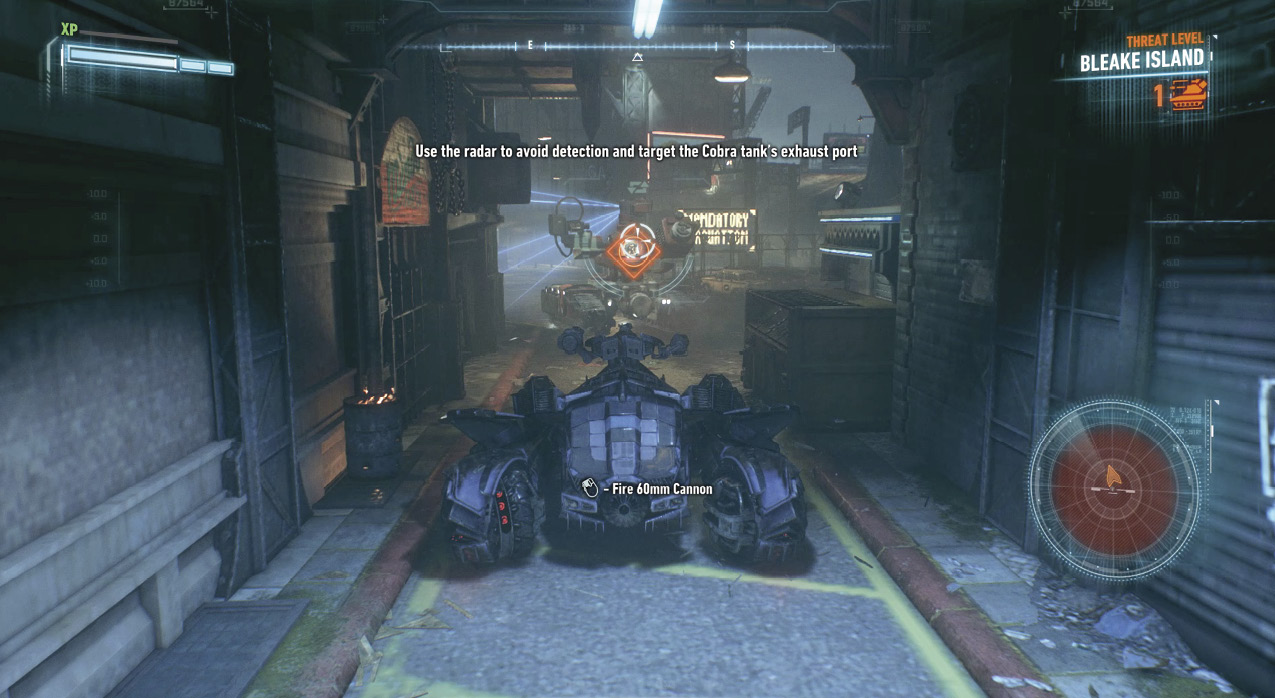
On the way out of GCPD, Batman comes to a stop before the closed shutter. Cash informs him of a big tank patrolling just outside. He lifts the door just enough for the vigilante to crouch underneath. Once outside, he automatically grapples to a vantage point and scans the Cobra Tank ahead. A closer look is necessary to find a weakness. Swing and glide to the vehicle. Scan the back and each side while avoiding its sensor. It scours the area in front and to the sides giving the player plenty of space to analyze the tank without being detected. Once you scan all three sides, you find a weakness at the rear exhaust port.
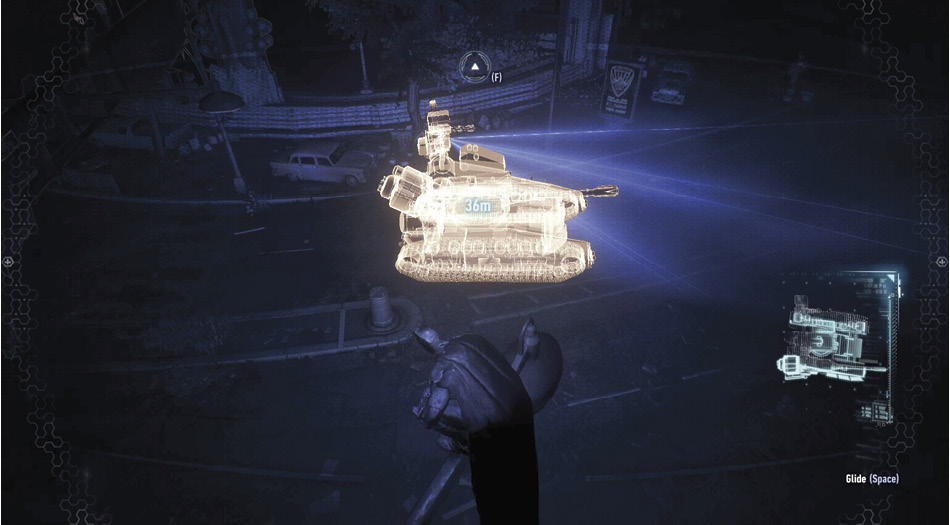
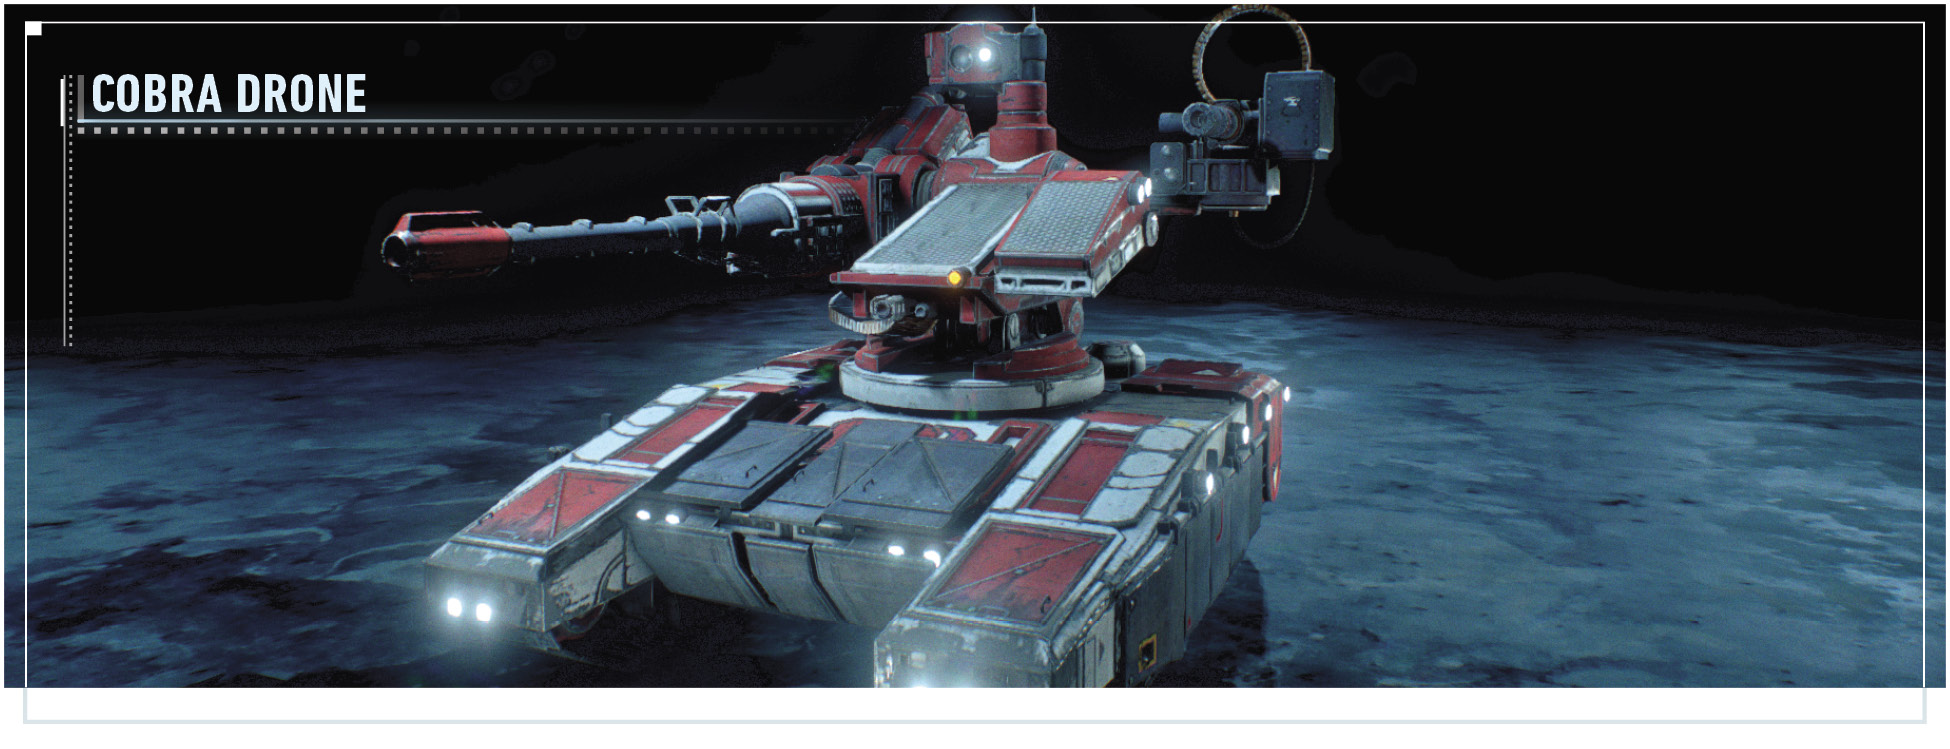 This militia heavy tank is too well-armored to take down directly and its weaponry can overpower the Batmobile. Based on Batman’s scans, there is a weakness through the rear exhaust port. The drone constantly scans side to side, but occasionally it stops and performs a 360-degree scan. You should always try to avoid its sensors, but if you do get caught, quickly duck behind cover or speed away. A Cobra Drone becomes more aggressive once its prey has been detected. The icon on the radar turns red when it’s in this state. Constantly check the radar and note the locations of the Cobra Drones. Sneak behind one in Battle Mode and the Batmobile aims at the exhaust port. Once targeted, fire the Heavy Cannon to instantly take the drone out. |
 Destroy the Arkham Knight’s Cobra Drone
Head back to GCPD and call the Batmobile just outside the building. Get behind the Cobra Drone and allow the exhaust port to be targeted. Once ready, release a shot from the Heavy Cannon to destroy the tank.
 Equip a New Secondary Weapon for the Batmobile at Clock Tower Facility
Lucius Fox has the next Batmobile upgrade ready for installation. Drive to the Clock Tower and enter the garage on the northwest side. The vehicle is modified with the chosen upgrade.
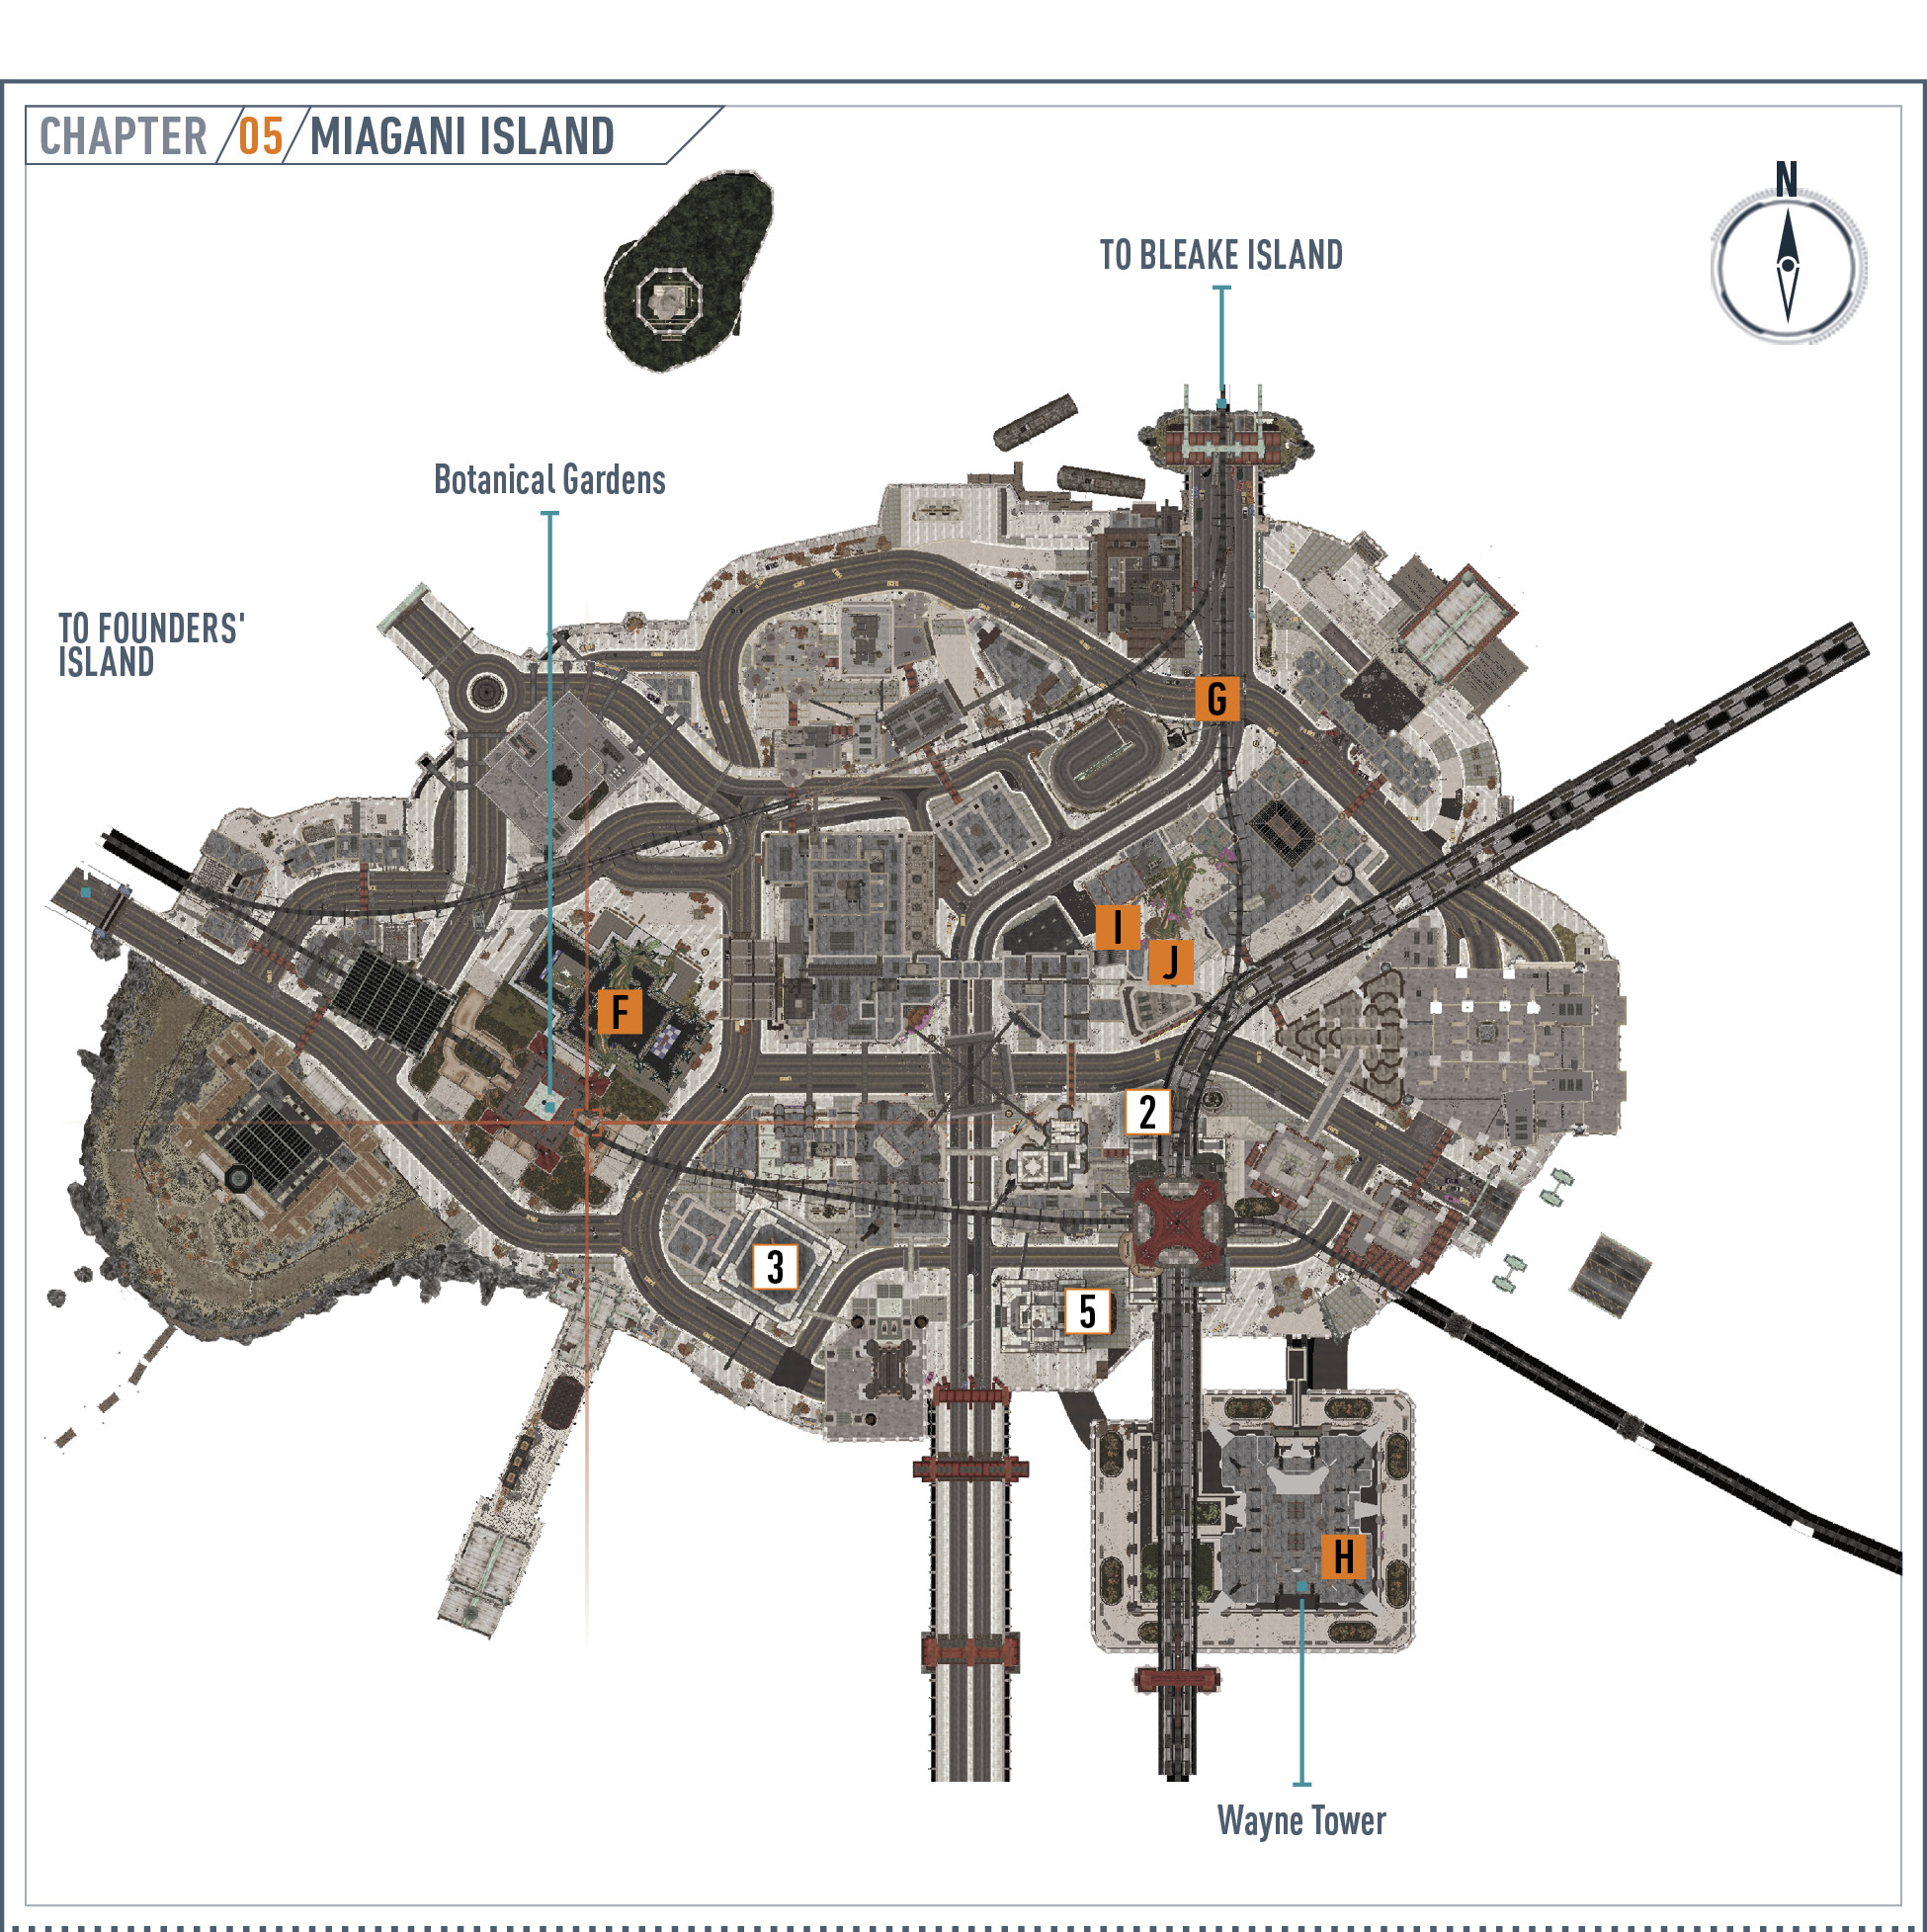
 Take Ivy to the Botanical Gardens
Drive Ivy to Miagani Island where Arkham Knight has called in a squadron of Cobra Drones to take on the Batmobile.
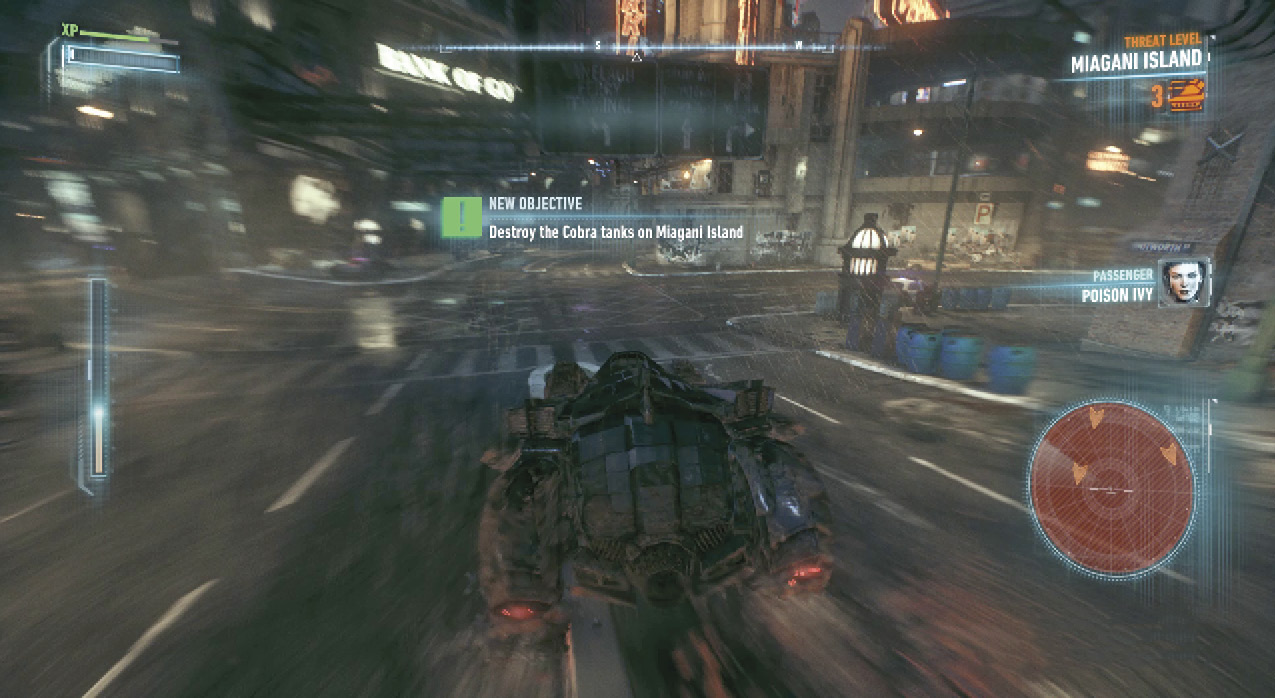
 Destroy the Cobra Tanks on Miagani Island
Three Cobra Drones patrol nearby on Miagani Island. Take them out in the same manner as the lone tank. Use the radar to isolate each one, being careful a second vehicle doesn’t sneak up behind you.
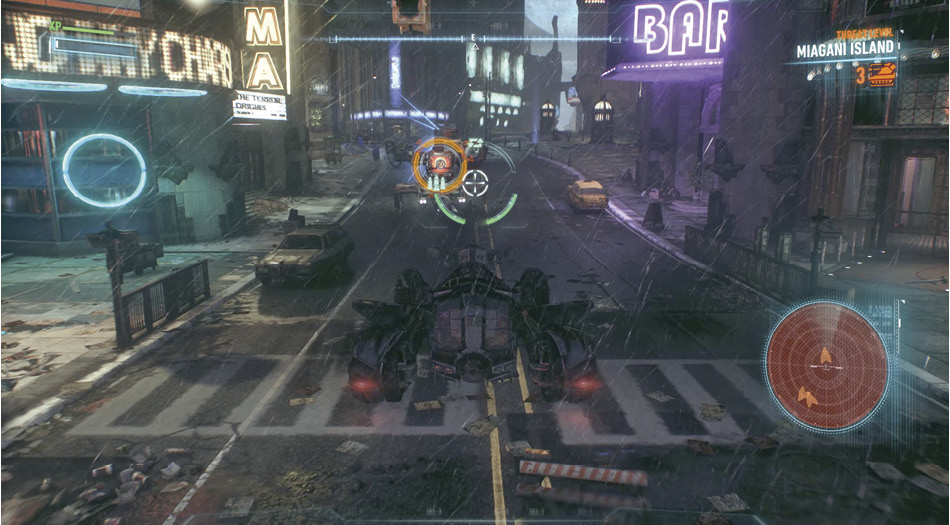
 Take Ivy to the Botanical Gardens (cont.)
Once the area is safe again, drive to Miagani Botanical Gardens and drop off PoisonIvy.
 Head to the Wayne Tower Parking Garage and Collect Ivy Plant Tracking Device
Lucius prepares a device for the Batmobile that can track Ivy’s plant. Drive south under the Grand Avenue Station and turn into the Wayne Tower parking garage. Pull into the spot next to the elevator just as a squad of militia drones show up and immediately assault your vehicle. Rattlers, Diamondbacks, and Mambas attack from all sides. Stay alert for incoming projectiles and destroy the tanks before returning to the parking spot. Sonar is installed that allows the Batmobile to scan below ground.
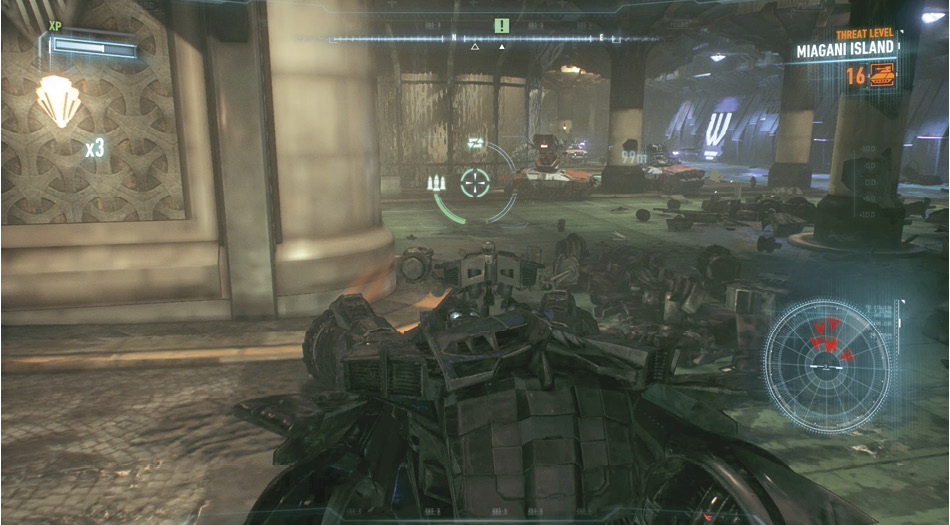
 Use the Batmobile Sonar to locate and Release Ivy’s Plant
More militia have been deployed around the city. Fire the Sonar to reveal the plant roots on the radar. Follow the roots with the radar. A reddish dot shows the plant's center. Drive onto the spot, located southwest of the Bank of Gotham. Use a sustained sonar pulse to break the plant free.
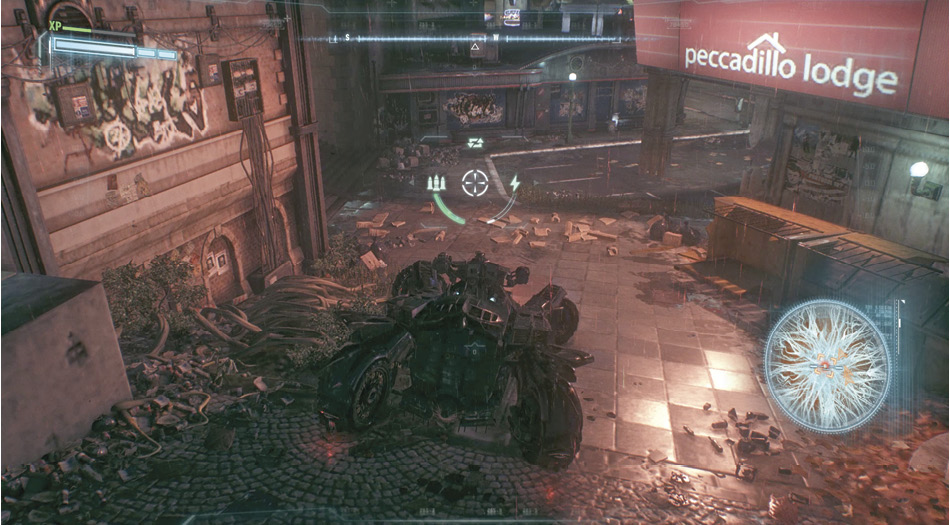
 Protect Ivy’s Plant from the Arkham Knight’s Militia While It Matures
A pack of thugs along with a medic and brute attack the plant. Glide over their rooftop and take them all down. Remember to use the Batclaw to dissipate the electricity from a charged enemy. Batman checks in with Ivy and Alfred once it is safe to do so.
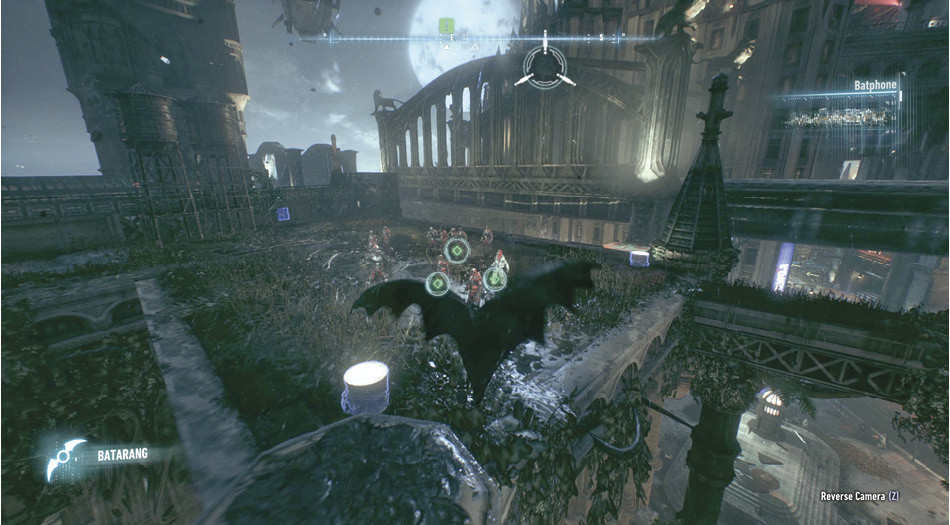
 Head to Panessa Studios to Analyze the Arkham Knight’s Forces
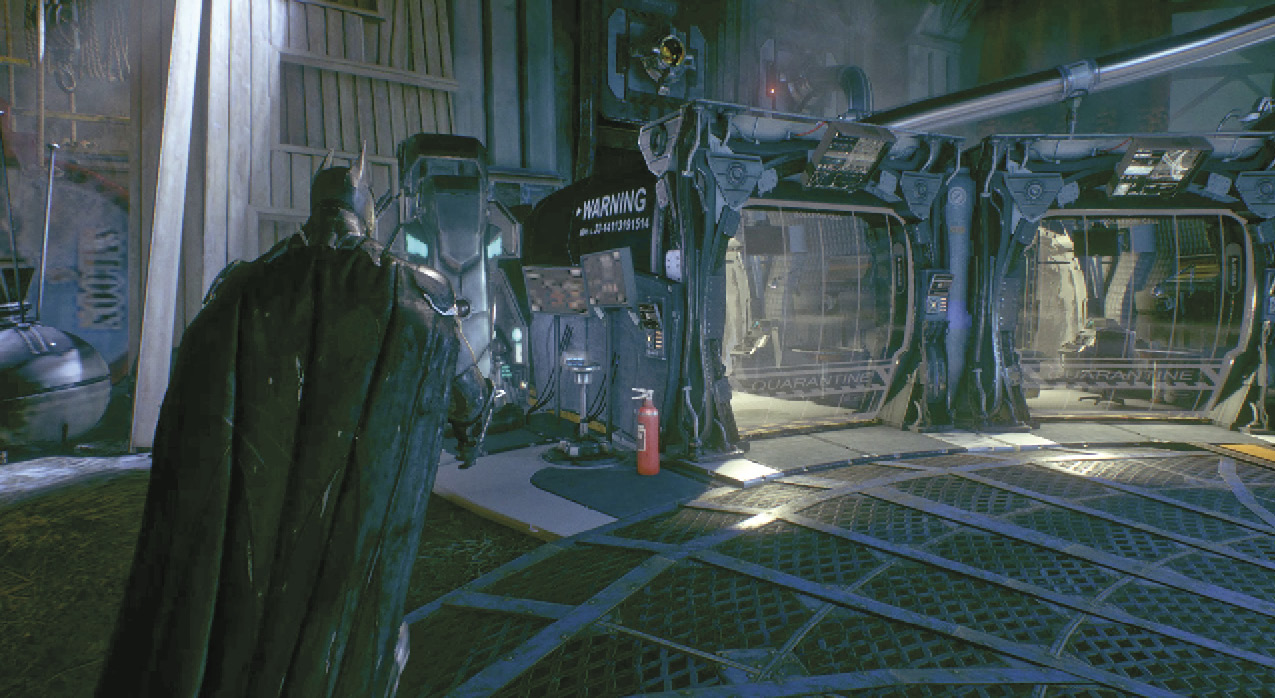
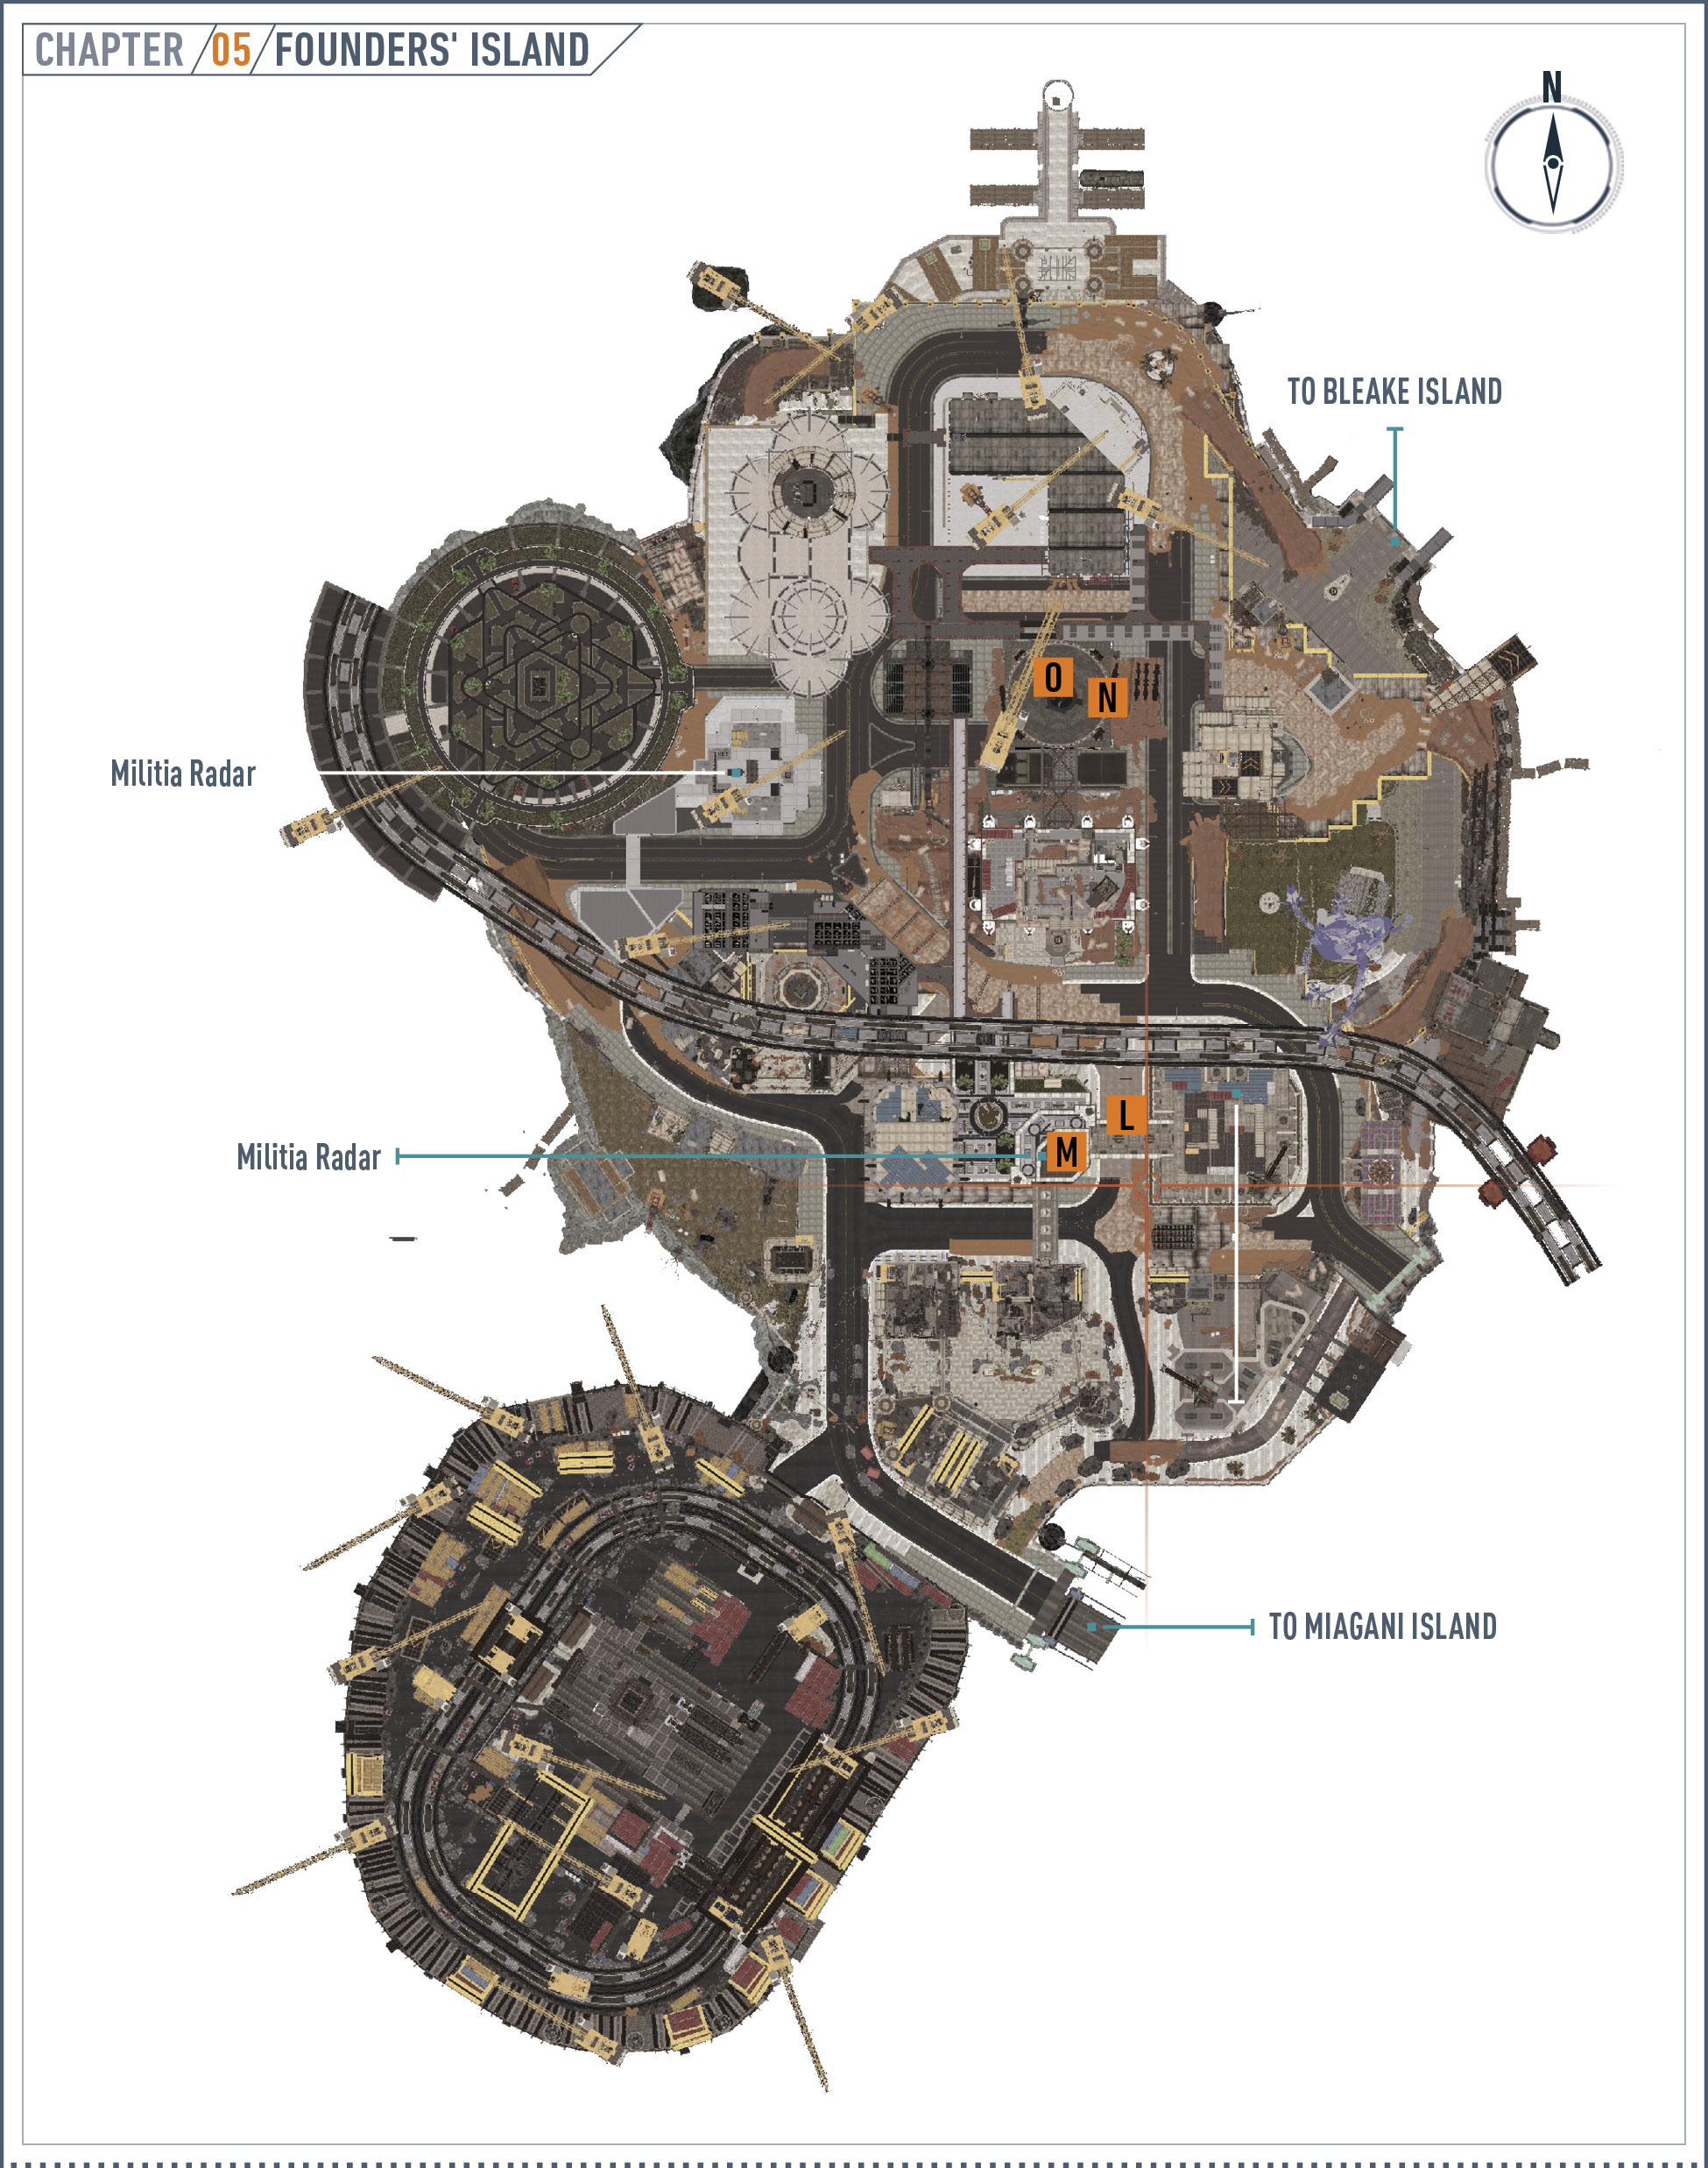
Go to the Panessa Studios rooftop and use the V.I.P. elevator. Enter the Quarantine Cells room and grab the Freeze Blast Grenade that sits on a table next to the left cell. Access the Batcomputer to analyze the Arkham Knight’s militia forces. Two Radar Towers protect a Missile Launcher on Founders’ Island, preventing the Batwing to scan that island for the Cloudburst. The Batmobile is also unable to get close to the equipment. A Relay Drone manages the communications between the devices. Batman should be able to reverse engineer its security protocols to give him some time to take out the radar towers.
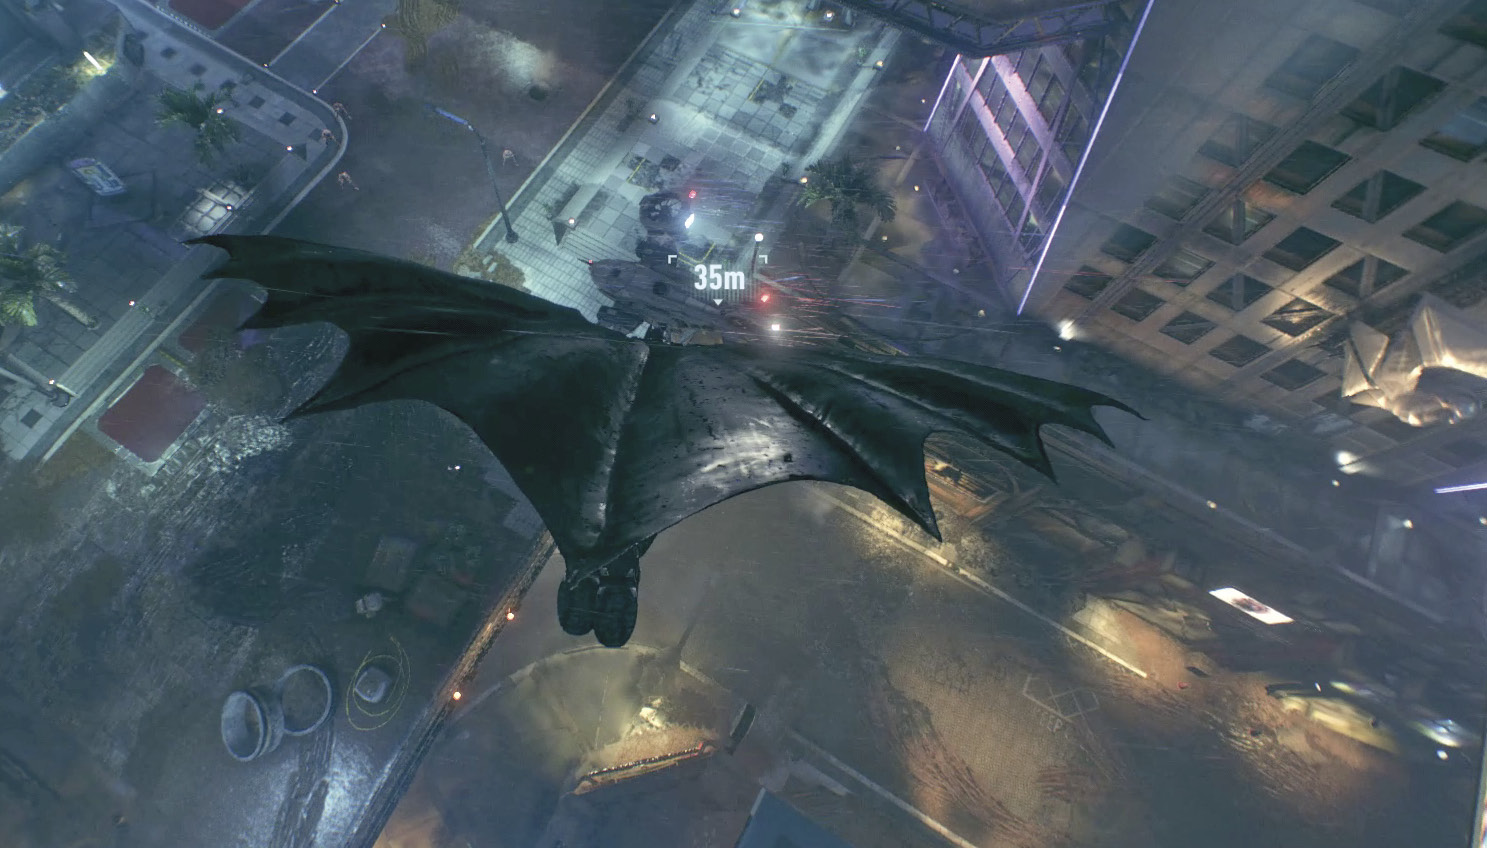
 Glide onto the Relay Drone and Examine It to Find a Way to Defeat the Drone Forces
Glide to Founders’ Island and spot the Relay Drone that flies around Otisburg. Get some height and land on top of the aircraft. Batman manages to snag the communications chip from inside and adds it to the Remote Hacking Device, giving it the ability to temporarily blind a drone.
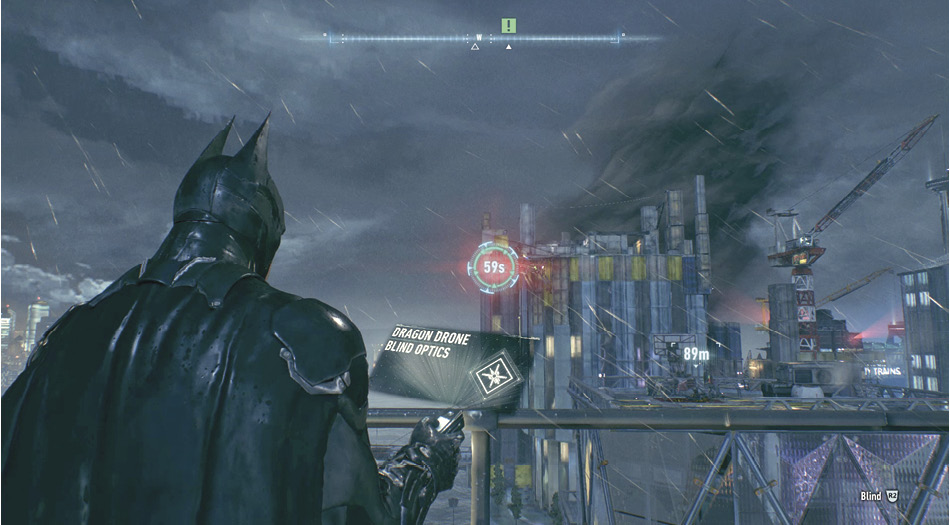
 Destroy the Arkham Knight’s Radar Network
A Dragon Drone patrols above the rooftop to the west, guarding the first Militia Radar. Aim the Remote Hacking Device at the chopper and blind it. Glide to the now accessible rooftop and approach the Radar Console. Place Explosive Gel on the computer and detonate to destroy the first radar. Be sure to keep an eye on the Dragon Drone’s timer. You need to get off the rooftop before it reaches zero or hit it again with the hacking device.
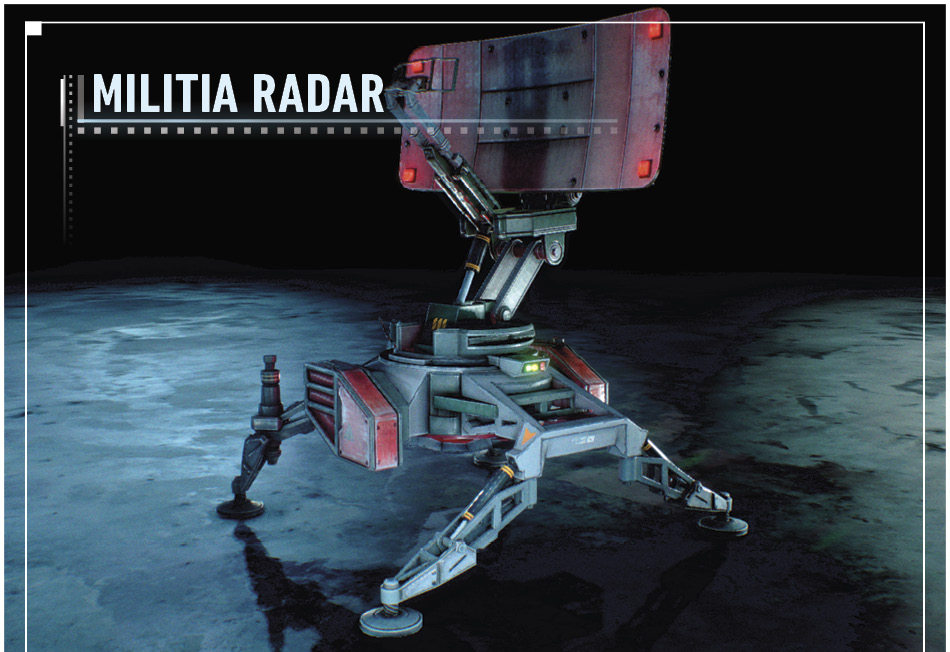 The Militia Radar monitors the air and roads for any signs of the Batmobile or Batwing. To get the Batwing operational in the area, Batman must go in on foot and eliminate the radar towers. |
The second radar is located on the Lex Corp rooftop to the northwest. Grapple to the highest point of the roof and observe the group of militia below. Four soldiers, four combat experts, and a brute pose a challenging skirmish before the radar can be destroyed. Line up a Fear Multi-Takedown to quickly eliminate a few of the hostiles. Target the combat experts since they are tougher to deal with than the soldiers.
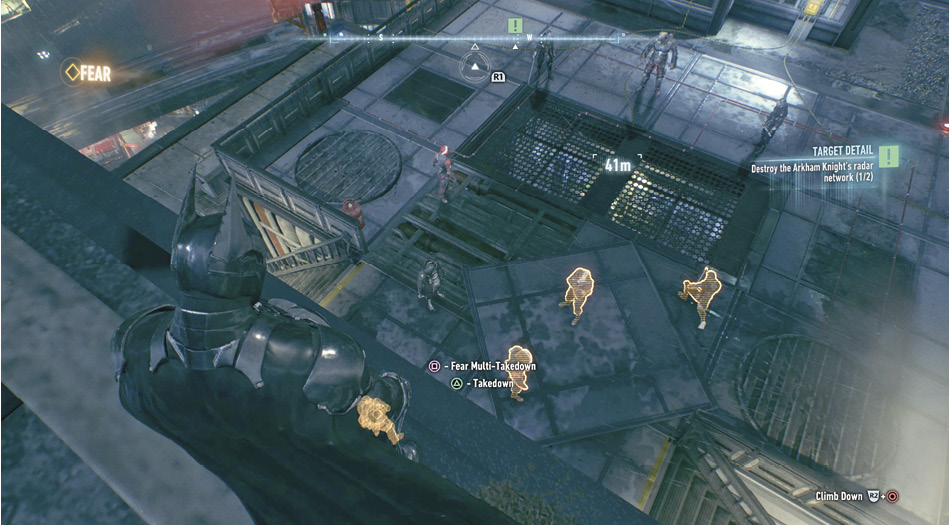
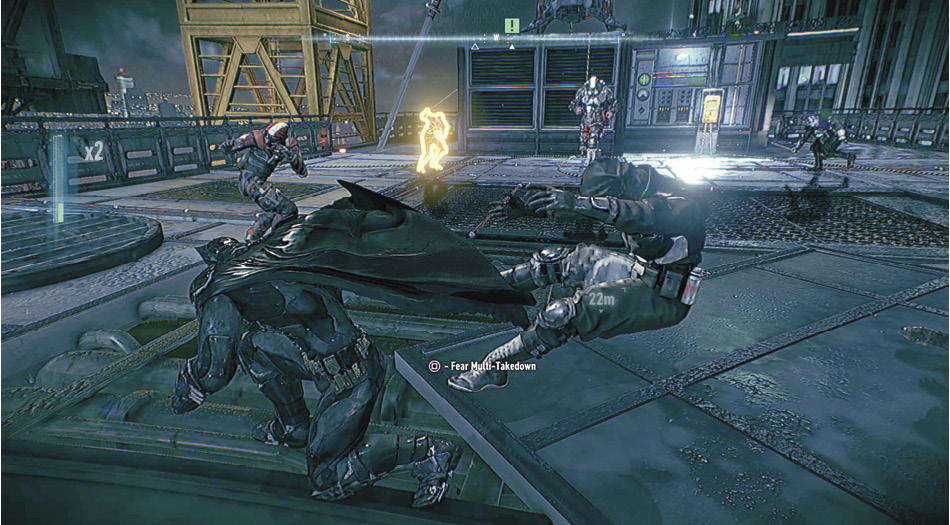
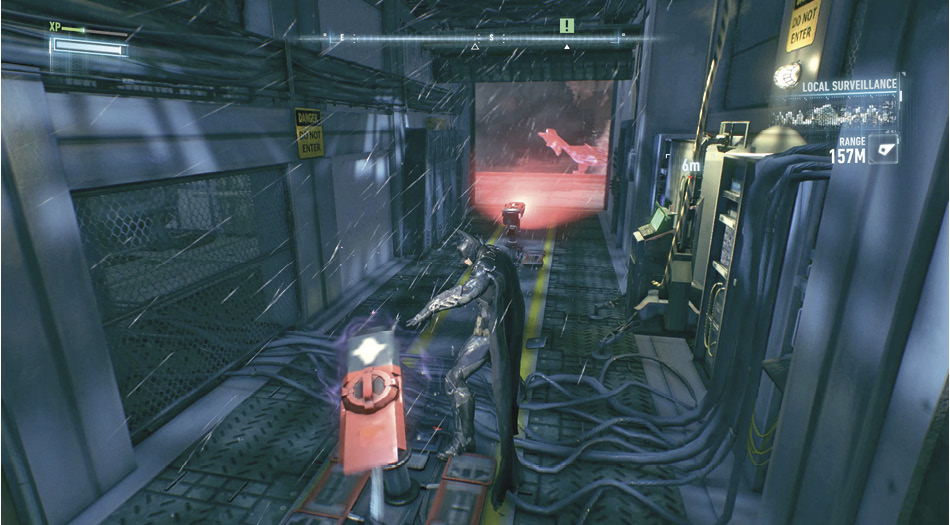
With the threat removed, interact with the yellow electric box, to reveal the Radar Console below. Two Gun Turrets protect the computer. Drop down to the west to reach a lower roof. Duck behind cover to avoid taking damage from the automated weapon. Equip the Remote Hacking Device, peek around the corner, and blind the turret for 15 seconds. Quickly run behind the gun and destroy it from behind.
 Take Out the Arkham Knight’s Missile Battery
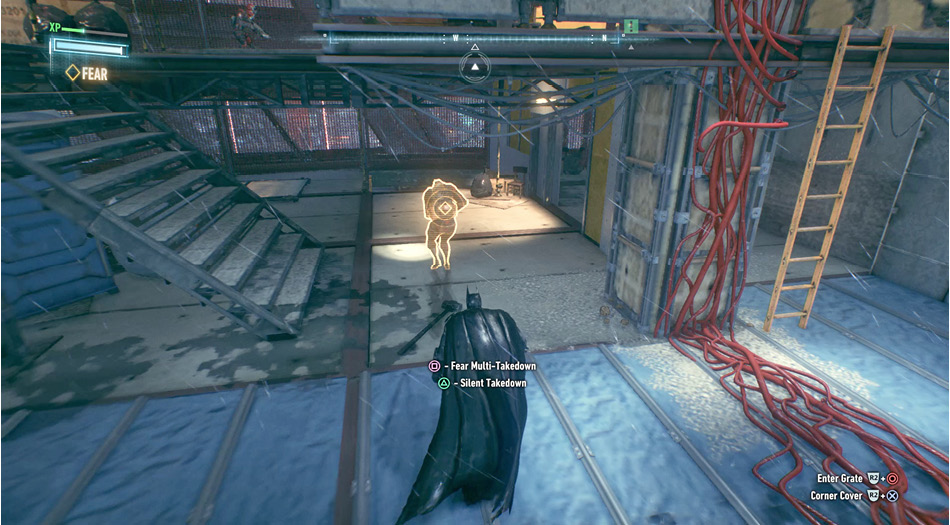
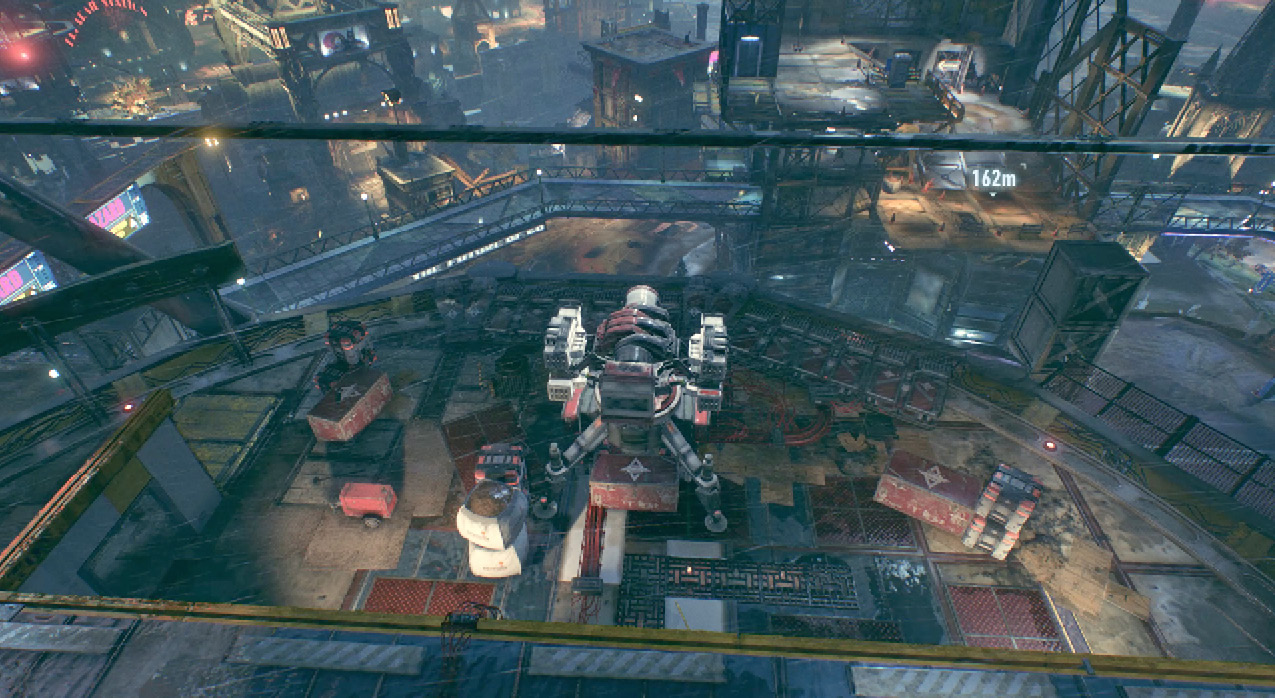
The radar units are out of the way, but the long-range missile launcher must be disabled. Glide east to the incomplete Queen Industries building and land on the upper level. Activate Detective Mode and survey the predator zone. Eight armed soldiers guard the launcher. Multiple levels and rooms allow for isolating of the hostiles. There are rooms that can be closed off by using the Remote Hacking Device on a remote switch. Look for lone enemies and perform Silent Takedowns on them. If a small group of thugs forms, use a Fear Multi-Takedown to eliminate them at once. Be sure to flee from the area, since the commotion does attract attention. With the militia out of the way, approach the launcher. Batman realizes the armor is too thick to penetrate on his own.
 Lower the Barriers Around the Missile Battery
A defense shield protects the missile battery on the east side. Grapple up to the top floor and enter the double doors to find the control room. Use the laptop on the right to lower the barrier, making it reachable for the Batmobile’s Heavy Cannon.
 Take Out the Arkham Knight’s Missile Battery (cont.)
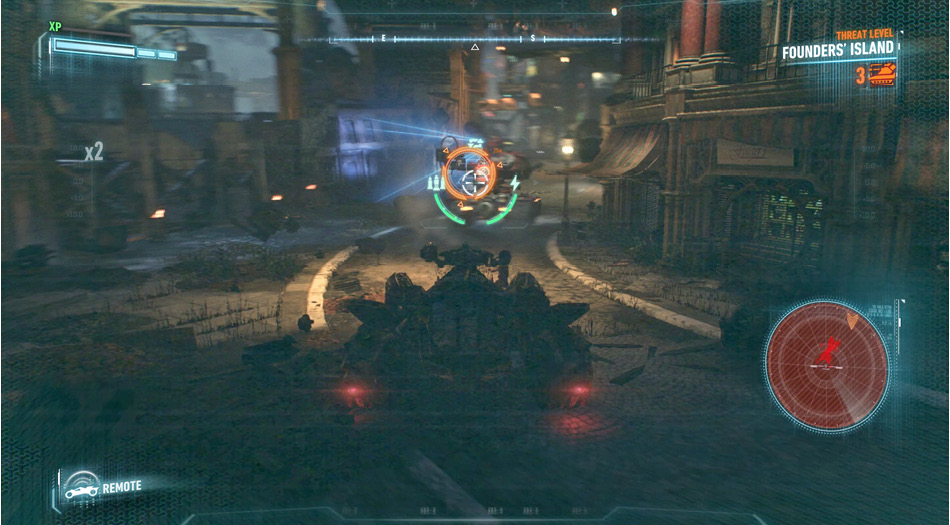
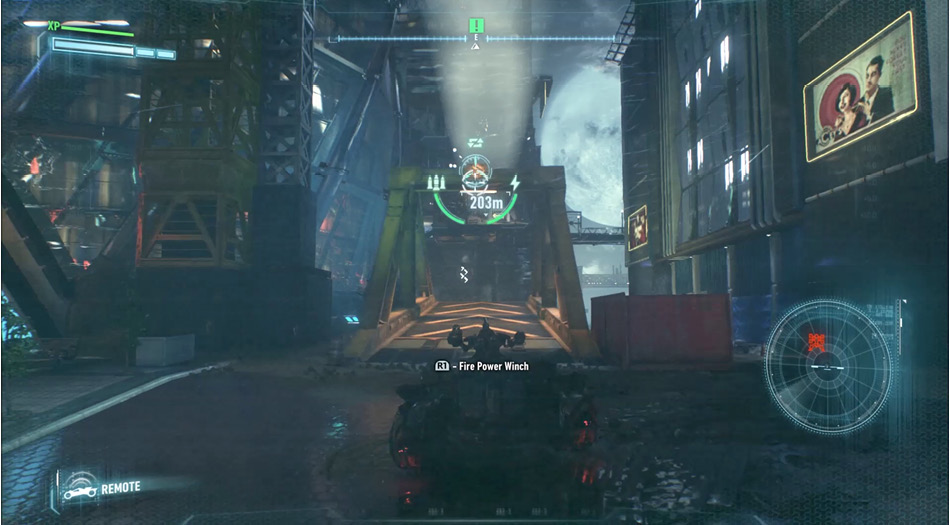
Five Cobra Drones now patrol the area as you take control of the Batmobile. They are major nuisances if they are not dealt with first. Work your way behind each one and destroy them with the Heavy Cannon. With the area clear of drones, drive to the Queen Industries building and find the adjustable bridge on the south side. From the west, fire the Power Winch at the anchor point and pull back to create a ramp.
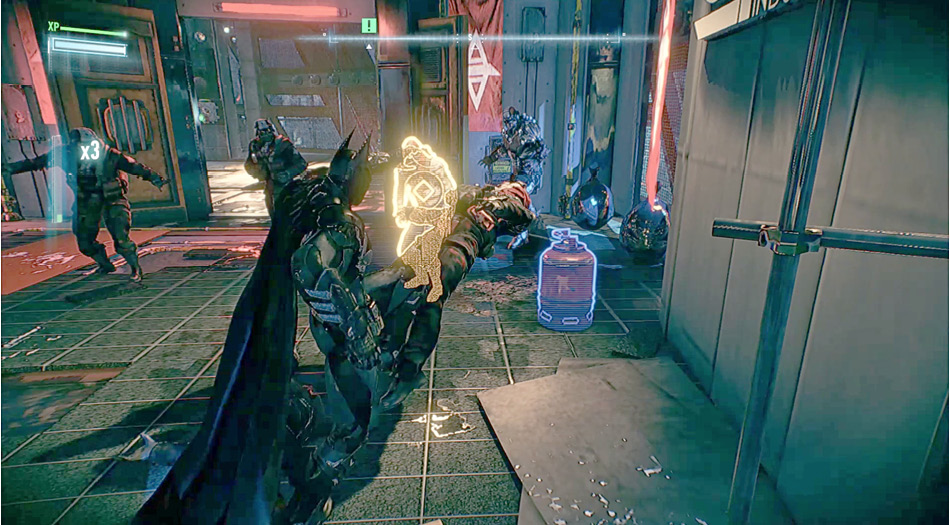
At that moment, Arkham Knight and a group of his soldiers show up at the control room. Use a Fear Multi-Takedown on a few of them, including the medic. Then, aim the next attack at the villain. After a bit of a struggle, the Arkham Knight makes a hasty escape. Watch out for soldiers who have been electrically charged by the second medic and finish off the remaining hostiles in the room.
 Lower the Barriers Around the Missile Battery
One of the soldiers managed to raise the barrier, so use the laptop again to get it back down.
 Take Out the Arkham Knight’s Missile Battery
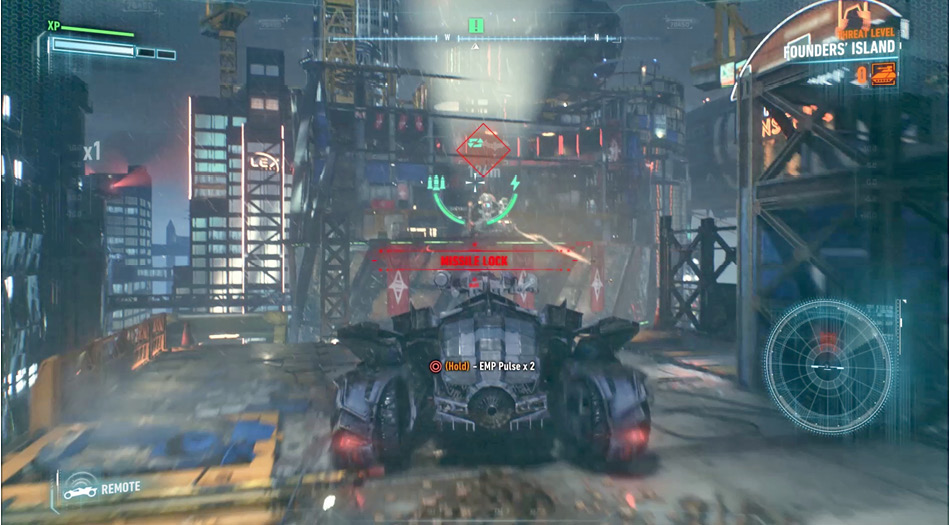
Back at the Batmobile, continue to pull back with the winch. Accelerate toward the ramp and hit the Afterburner to jump onto the building across the street. The Missile Launcher begins to fire at your vehicle once in range. From the upper floor, dodge to the side to avoid incoming cannon fire while shooting down the missiles with the Vulcan Gun. Get in shots from your Heavy Cannon whenever possible to destroy the missile battery.
 Return to Oracle’s Clock Tower to Review the Batwing Scans for the Cloudburst Device
With the skies safe again for the Batwing, scanning can continue for the Cloudburst. Drive to the Clock Tower and drop through the secret entrance. Use the bust on the shelf and access the Batcomputer to check on the Batwing. It has not found anything yet, but an emergency call comes in from Panessa Studios that requires Batman’s immediate attention.