Batman: Arkham Knight Guide Most Wanted Side Missions
Own the Roads
|
First Available: Chapter 7 Main Objective: Wipe out the militia checkpoints deployed around the city Location: Bleake Island (4), Miagani Island (8), Founders’ Island (8) Most Wanted Villain: Unknown Reward: 20 Upgrade Points, 1 per Checkpoint |
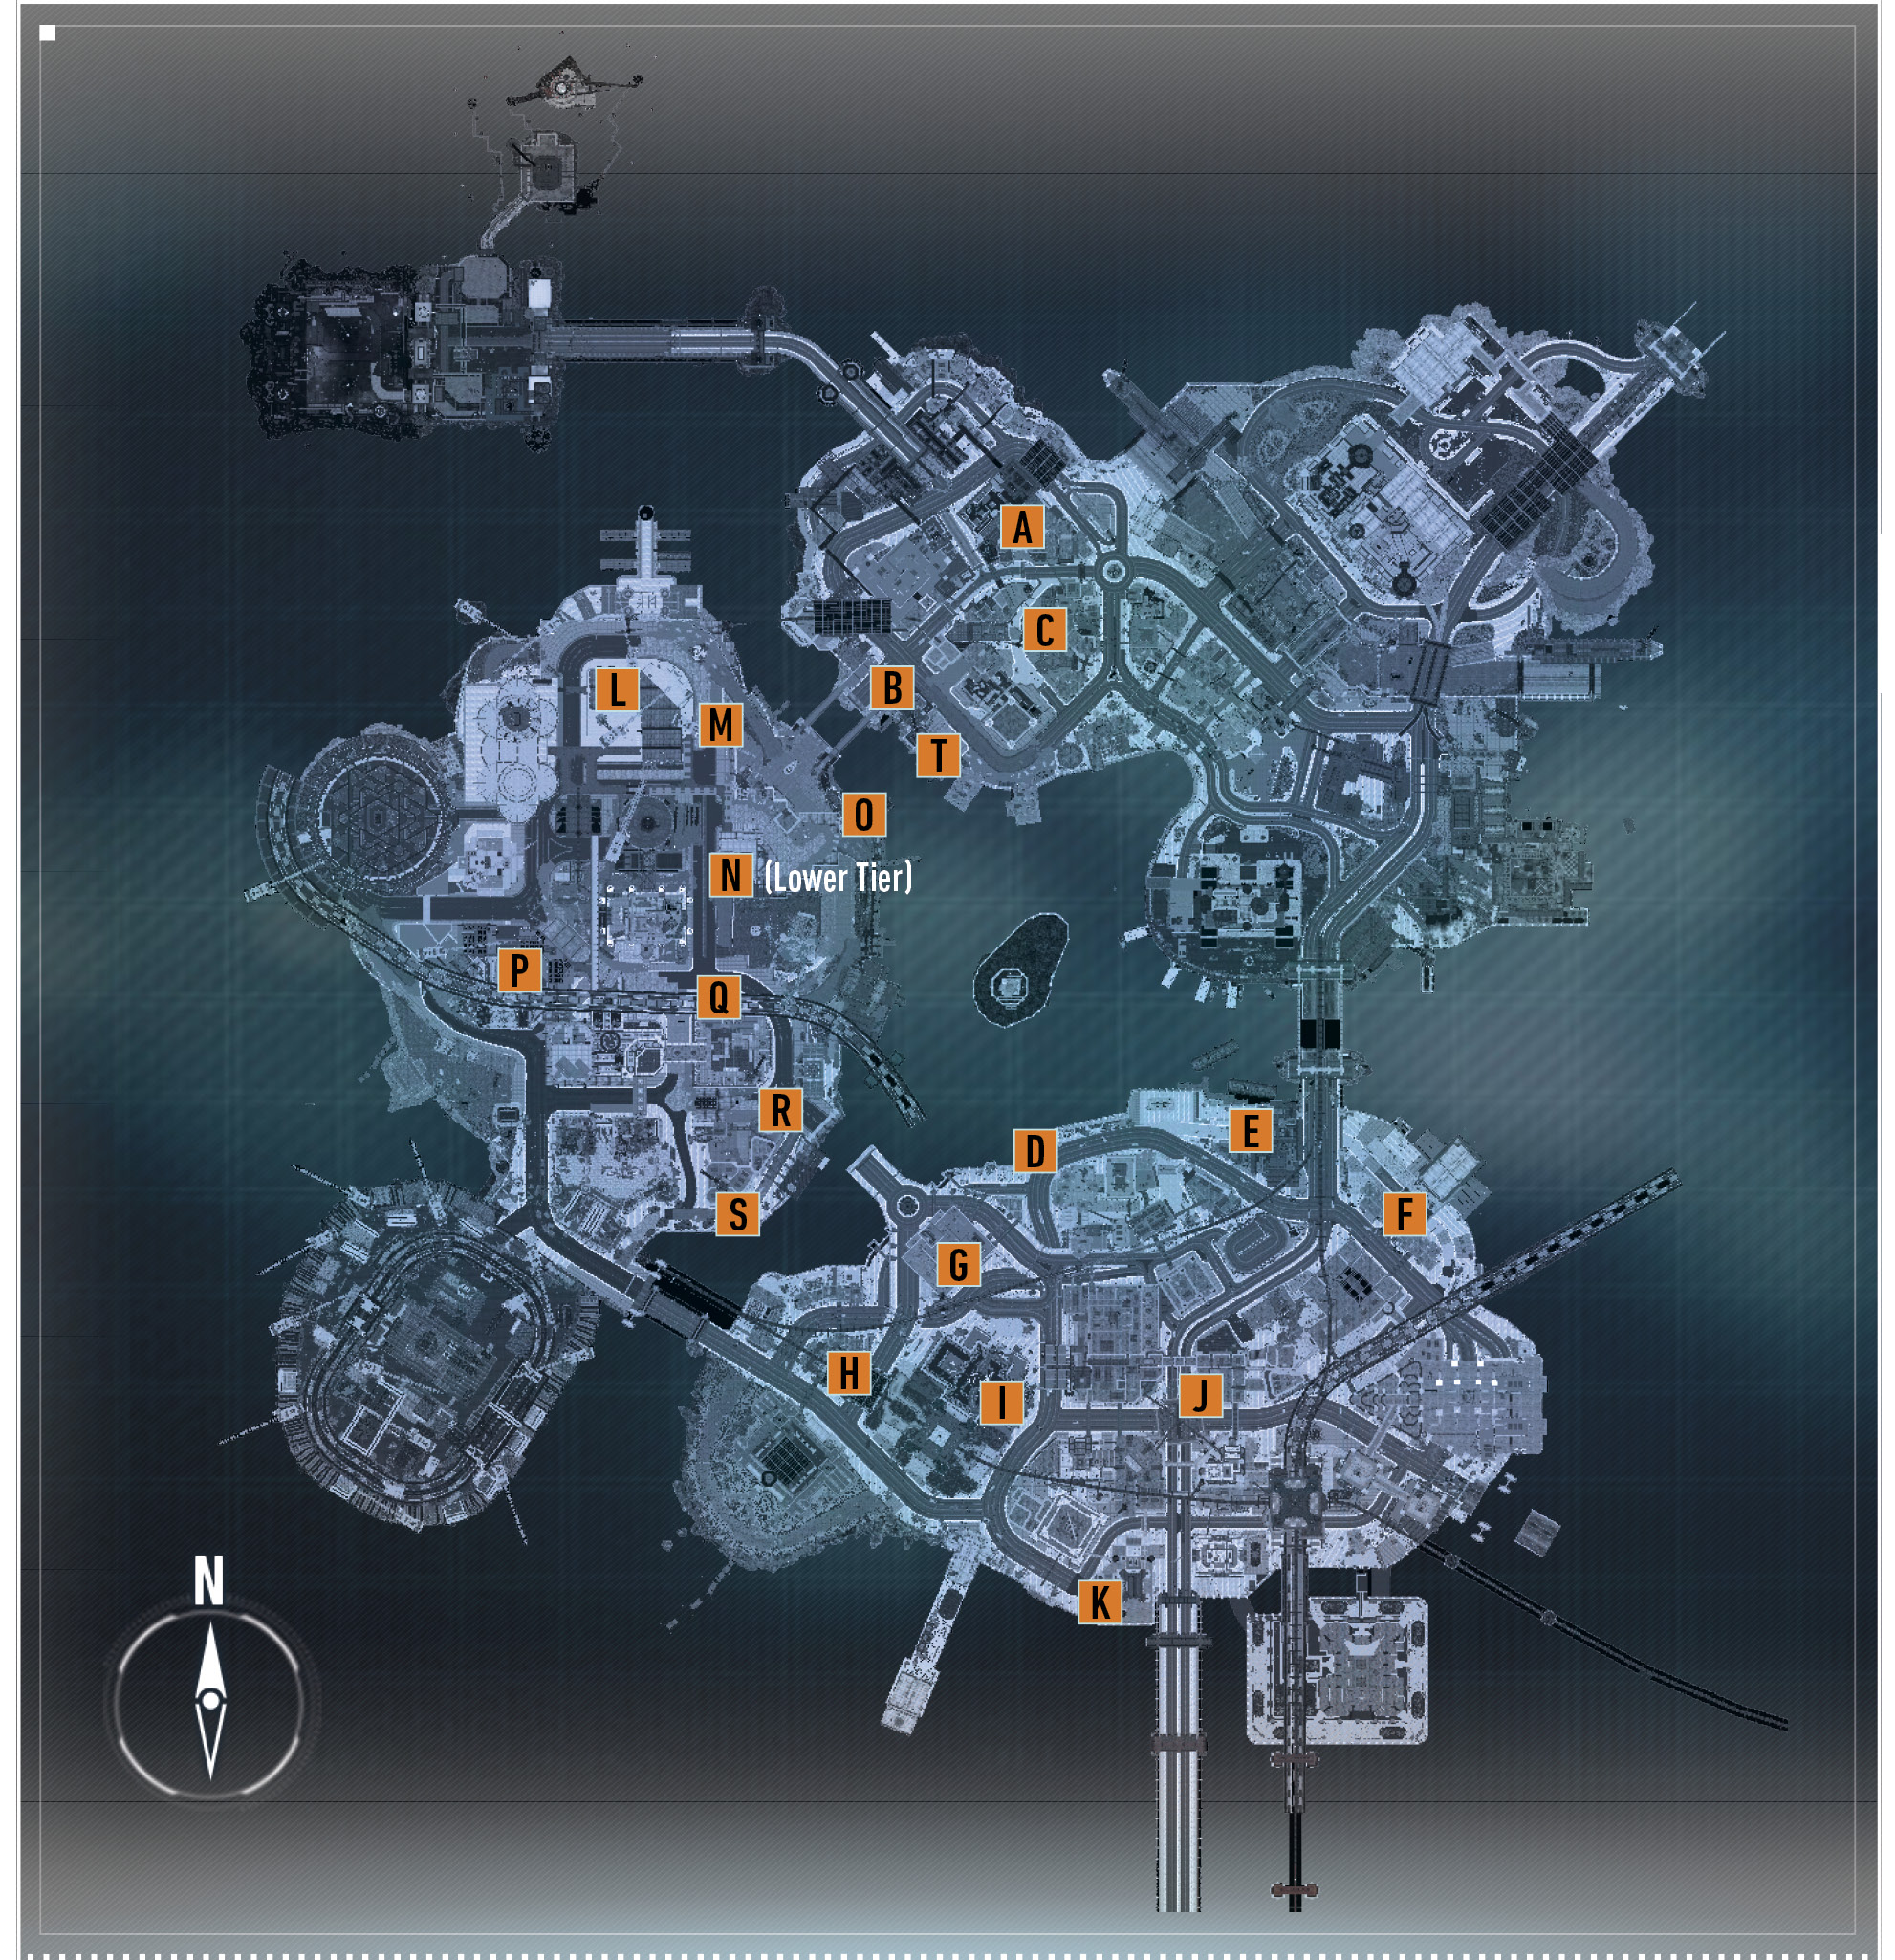
Beginning in Chapter 7, checkpoints are deployed across the city. Whereas the watchtowers are placed at primarily high locations, such as rooftops, these posts are located down on the road for the most part. Temporary walls surround a group of soldiers and possibly Checkpoint Drones. These must be disposed of through combat, predatory means, or by solving a puzzle, with the Batmobile out of reach for most of them. Once the soldiers have been taken care of, use Detective Mode to find the commander’s body, interact with him to destroy his checkpoint controller—dropping the surrounding walls.
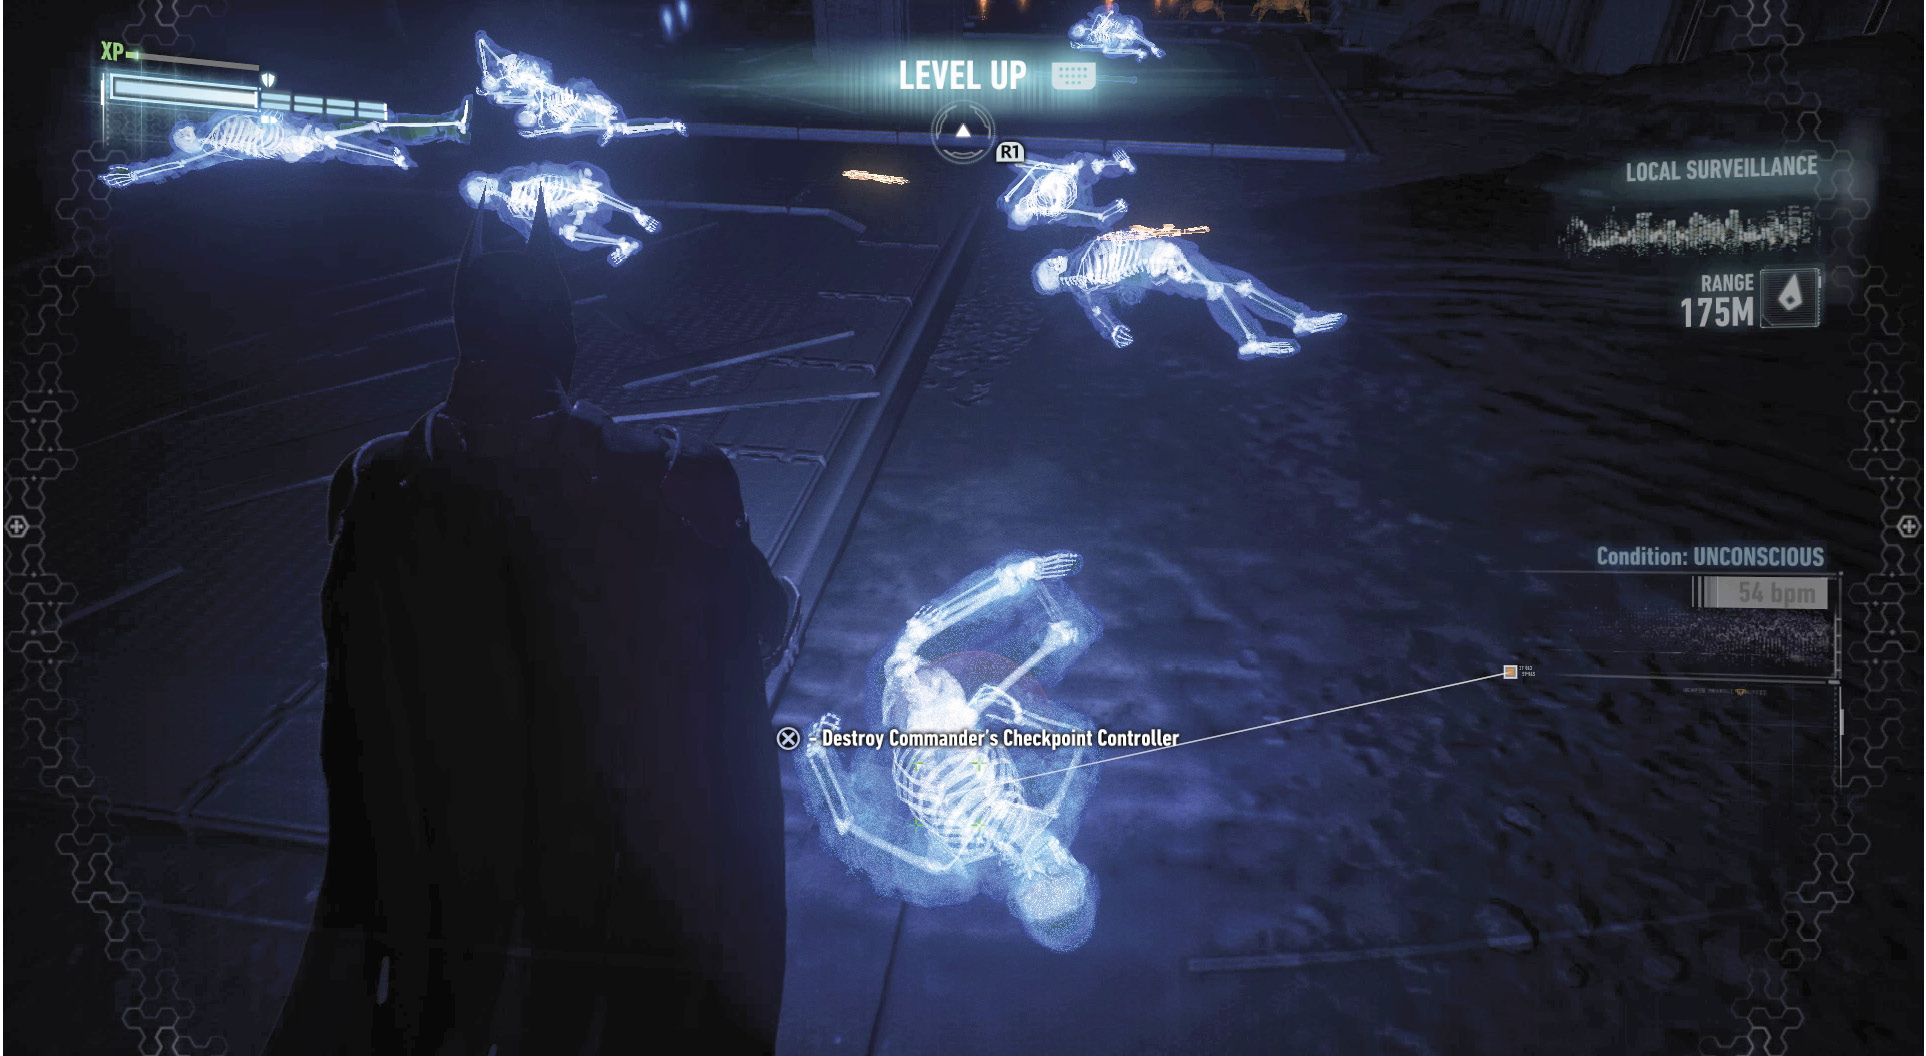
This section covers all 20 checkpoints with location, type of challenge, and what to expect ateach.
 Checkpoint A
Location: Bleake Island – Chinatown, south of Scarecrow’s safe house
Type of Challenge: Puzzle
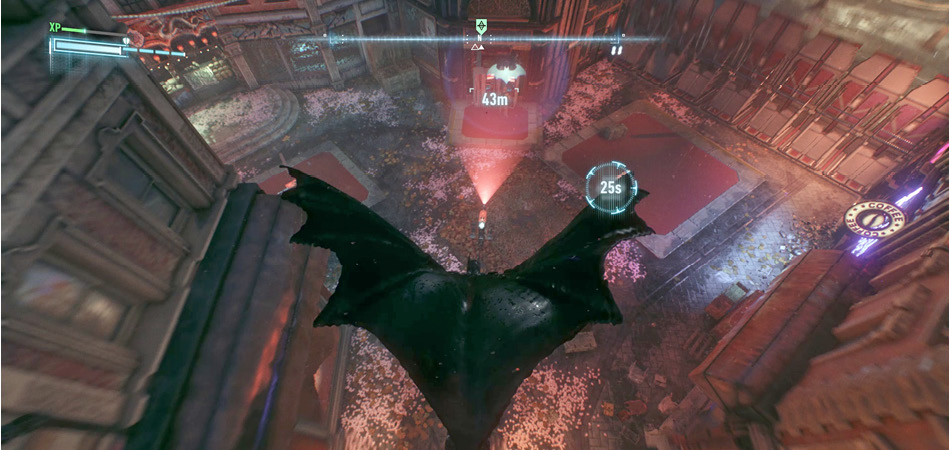
In Chinatown, approach Scarecrow’s safe house from the south side. Hop over the wall to find three Sentry Guns protecting the checkpoint commander. Equip the Remote Hacking Device and blind one of the outside guns. Quietly move to the center turret, throw down a Smoke Pellet, and destroy it. Take out the functional one next before eliminating the third. Sneak up on the commander and perform a Silent Takedown.
 Checkpoint B
Location: Bleake Island – Chinatown, next to Perdition Bridge
Type of Challenge: Puzzle
A militia checkpoint has been deployed on the Bleake Island side of Perdition Bridge. Hop over the wall and take out the soldiers and brute. Use the Remote Hacking Device to toggle the security access panel off. This opens an access on the right side of the building. Grapple to the ledge, but do not immediately climb up. Instead, perform a Ledge Takedown on the soldier before finishing off the Commander further inside.
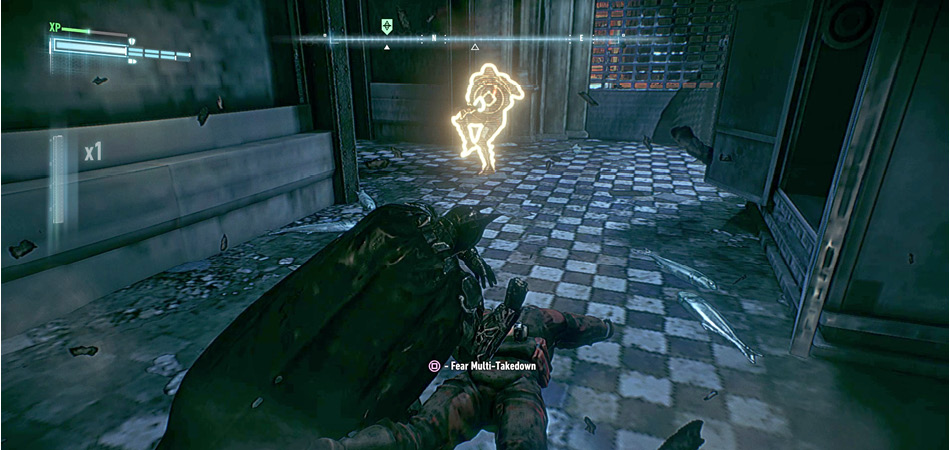
 Checkpoint C
Location: Bleake Island – Chinatown, next to Tattoo Parlor
Type of Challenge: Combat
Find a checkpoint in Chinatown, north of the Clock Tower. Two Sentry Guns protect the north wall, but a destructible divider keeps their fire away from the hostiles. Sixteen combatants occupy the area inside the walls, including two medics, two brutes, two Combat Experts, and two with guns. There are a few ways to tackle this challenge. Drive the Batmobile around, destroy the automated weapons, and knock out the guys inside. You can also drop behind the turrets from the wire above and disable them. Soldiers climb over the divider to get to you. Take them out as they do so before finishing off the others inside. Watch out for enemies charged by one of the medics. Knock them back with the Remote Electrical Charge.
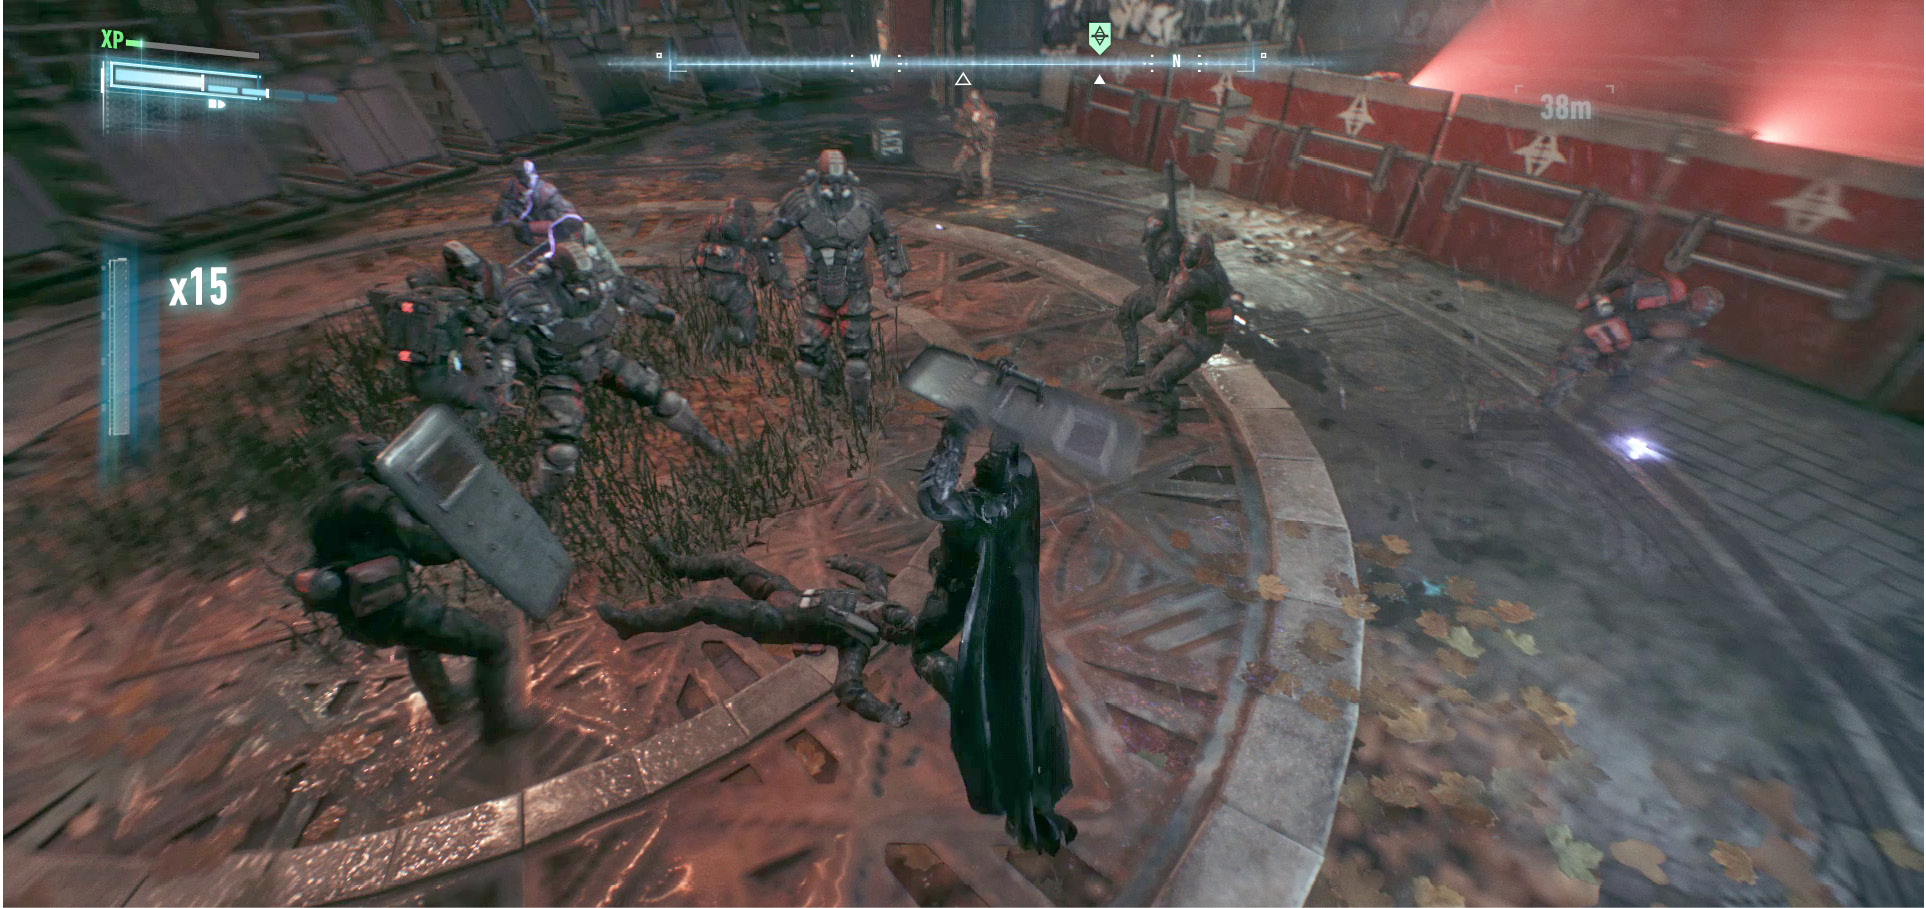
 Checkpoint D
Location: Bleake Island – Chinatown, northeast of hospital
Type of Challenge: Combat
Placed on the edge of the water, the militia occupy a checkpoint northeast of the hospital. Five soldiers and a brute do not pose much of a threat. Start out with a Glide Kick from above and finish off the crew.
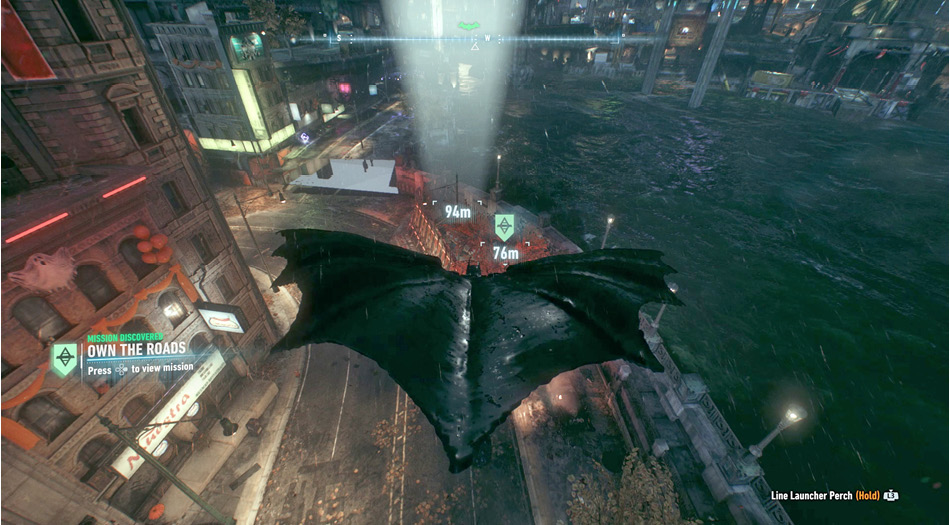
 Checkpoint E
Location: Miagani Island – Kingston, west of Mercy Bridge
Type of Challenge: Combat
A checkpoint has been set up near the docks, west of Mercy Bridge in Kingston. Seven-unarmed soldiers and a brute man the location. Approach from the west side, gliding down to the side wall. If undetected, perform a Fear Multi-Takedown on the hostiles or grapple to the girder to the south and start from there. Finish off the squad and then destroy the controller.
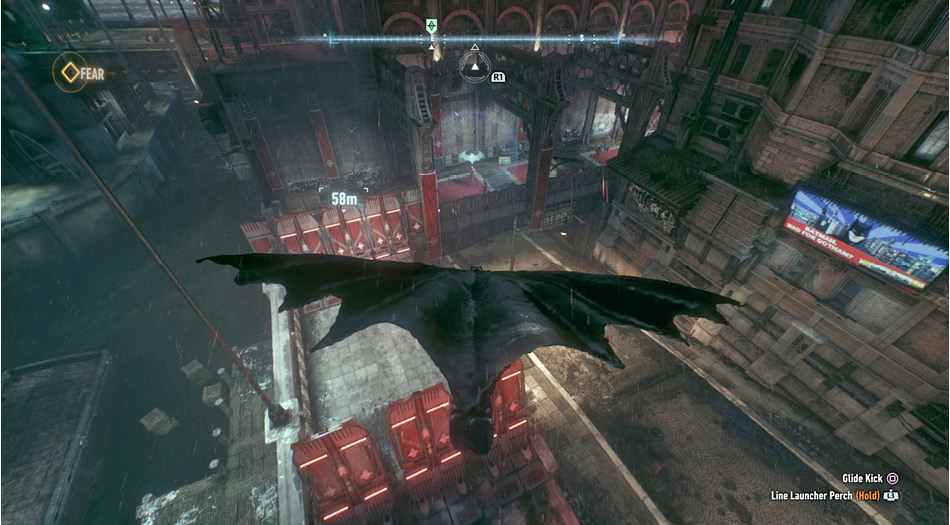
 Checkpoint F
Location: Miagani Island – Kingston, Ranelagh Ferry Terminal
Type of Challenge: Puzzle
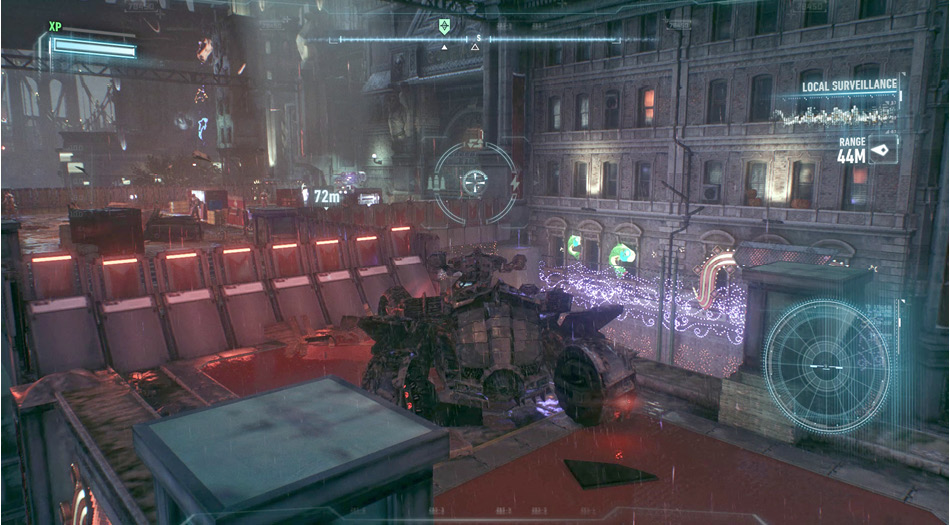
At the Ranelagh Ferry Terminal, two Checkpoint Drones guard the main entrance along with five-armed soldiers. A direct attack is suicide, as the cannons would tear Batman apart. Instead, drive up the steps on the northwest side and peek over the wall. Take out the guns with the Heavy Cannon and the soldiers with the Riot Suppressor. Destroy the crates to reveal hiding hostiles.
 Checkpoint G
Location: Miagani Island – Bristol, Elliot Memorial Hospital
Type of Challenge: Combat
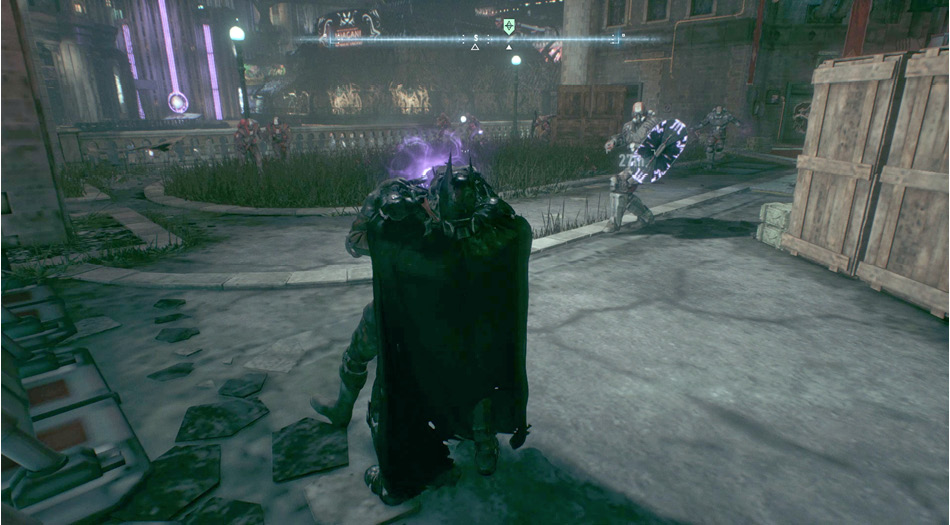
Underneath the Elliot Memorial Hospital, next to the upper road, the militia has set up a checkpoint with eight-unarmed soldiers and two brutes. Hop onto the north wall and get things started with a Silent or Fear Multi-Takedown. Finish off the squad before taking care of the checkpoint walls.
 Checkpoint H
Location: Miagani Island – Bristol, Urbarail Station
Type of Challenge: Batmobile
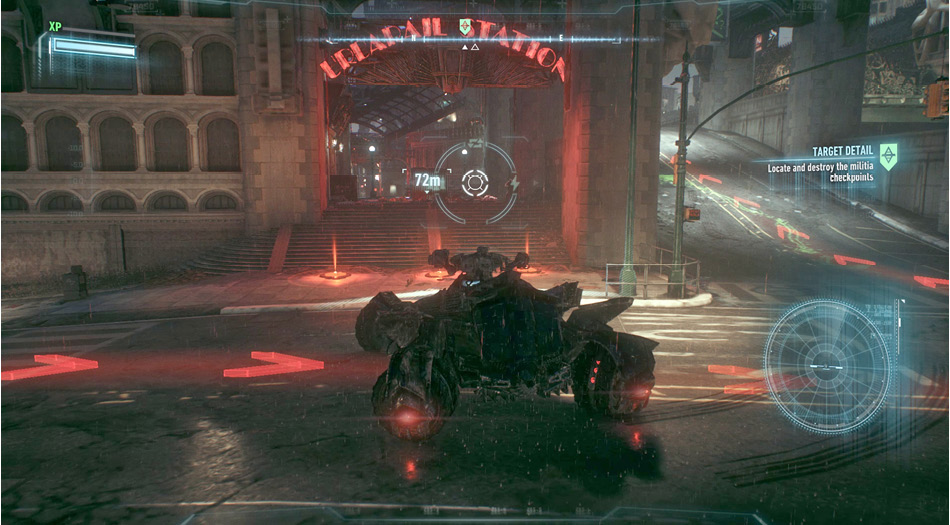
The Urbarail Station entrance in Bristol has been taken over by a militia checkpoint. Fortunately, their walls have not gone up yet. Hop into the Batmobile and drive to the southwest or northeast side. Watch out for the Shock Mines and pick off the soldiers who occupy the station. Hop out and finish off any remaining hostiles before destroying the commander’s controller.
 Checkpoint I
Location: Miagani Island – Bristol, Botanical Gardens
Type of Challenge: Puzzle
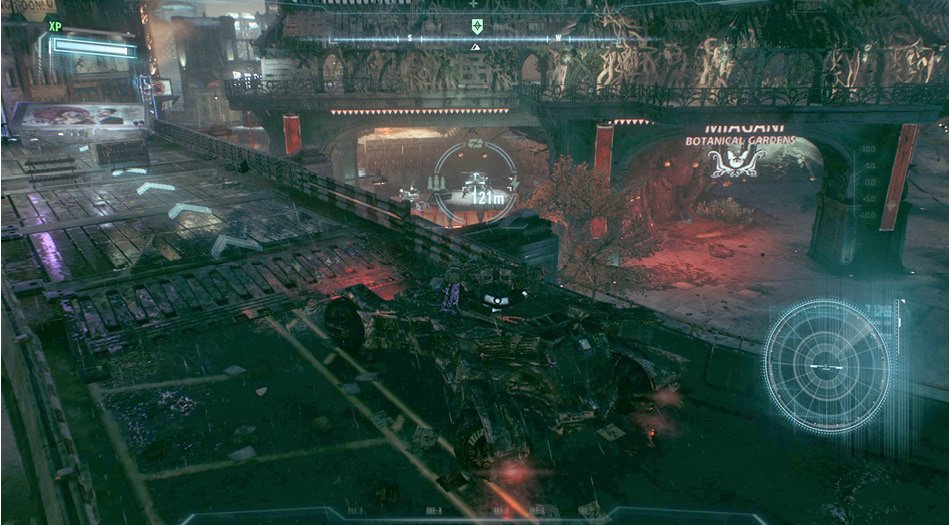
Underneath Miagani Botanical Gardens, the militia has closed off the area with a large checkpoint. Eight-armed soldiers surround two Checkpoint Drones. These guns take Batman out immediately if taken on directly. Instead, call in the Batmobile and drive onto the raised road to the northeast. From there, take out the turrets with your Heavy Cannon along with any hostiles you can reach. Grapple onto the far wall and disable three of the armed soldiers. If undetected, sneak up on the group and hit them with a Fear Multi-Takedown.
 Checkpoint J
Location: Miagani Island – Kingston, Grand Avenue intersection
Type of Challenge: Combat
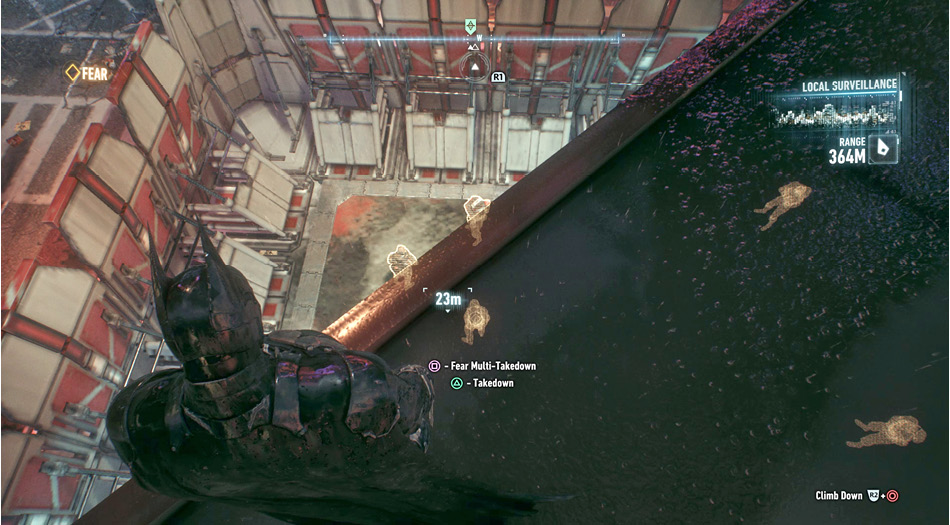
Located on the northeast corner of the Grand Avenue intersection, a checkpoint is manned by five soldiers and two medics. Land on the overhang just above and perform a Fear Multi-Takedown on the hostiles below, making the medics a high priority.
 Checkpoint K
Location: Miagani Island – Bristol, west of south bridge
Type of Challenge: Predator
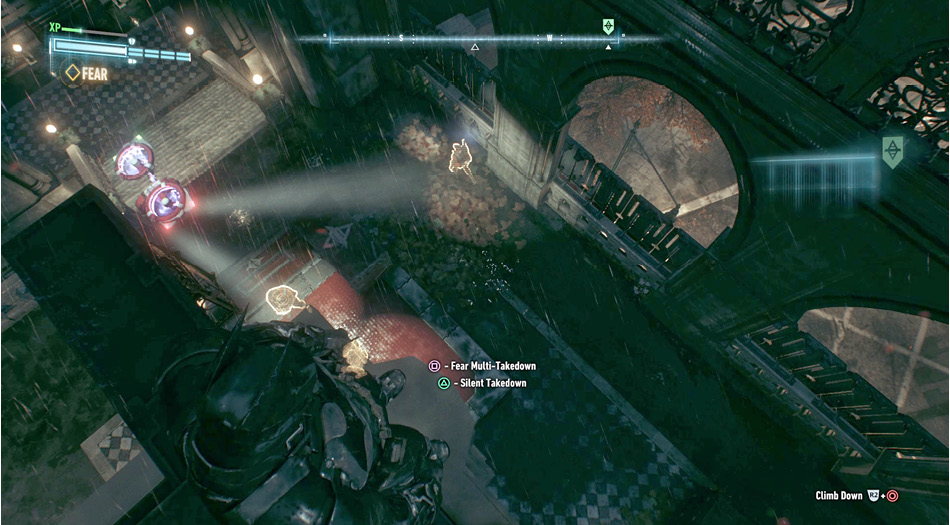
A checkpoint has been placed just west of the south bridge. Six-armed soldiers, including a Boa Sentry Drone operator, occupy this predator zone around the west and south sides of the building. Start out on the south side and take the two loners out with Silent Takedowns. Grapple to a wall on the west side and look over the other four hostiles. Eliminate them quietly one at a time or in a flurry with a Fear-Multi Takedown.
 Checkpoint L
Location: Founders’ Island – Ryker Heights, base of City Vision Construction building
Type of Challenge: Batmobile Puzzle
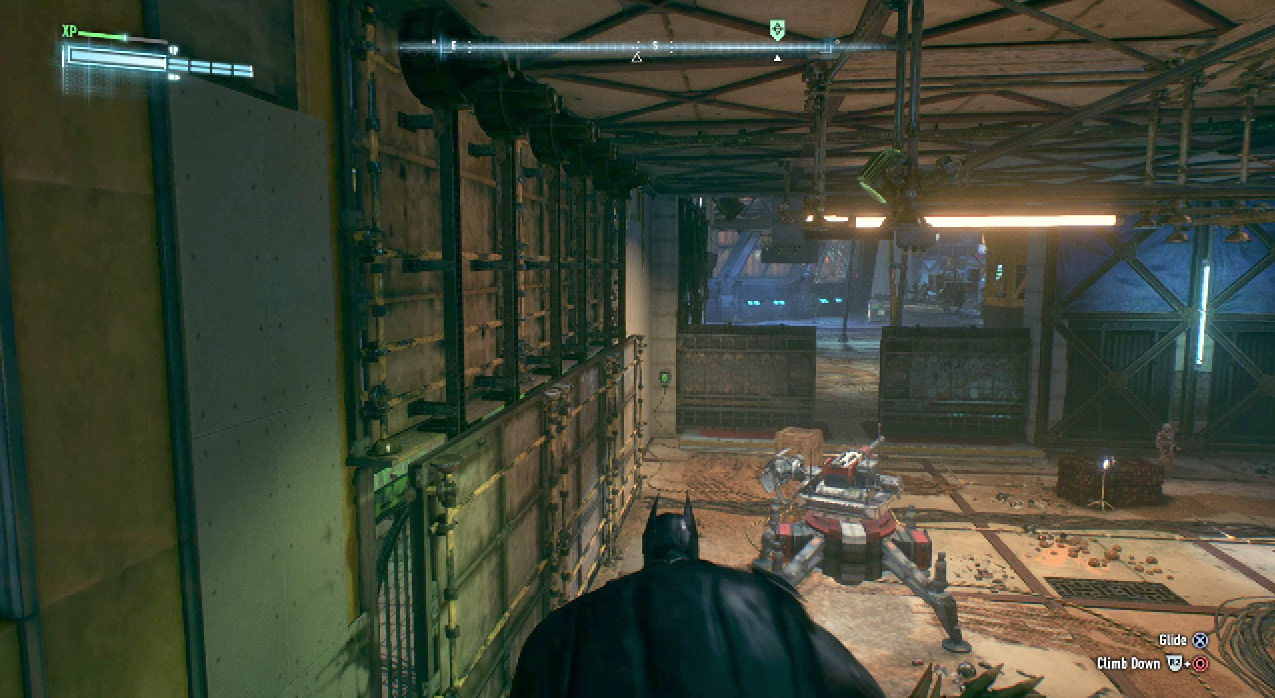
Travel to a checkpoint at the base of the City Vision building in north-central Ryker Heights. Inside, a Checkpoint Drone accompanies a group of armed-soldiers. Park the Batmobile south of the drone, exit the vehicle, and run around to the north side. Grapple onto the left side of the wall. Use the Remote Hacking Device on the security access panel in the far corner to allow the Batmobile to destroy the drone. Use the Riot Suppressor on the soldiers before searching for the commander.
 Checkpoint M
Location: Founders’ Island – Drescher, east of City Vision Construction
Type of Challenge: Combat
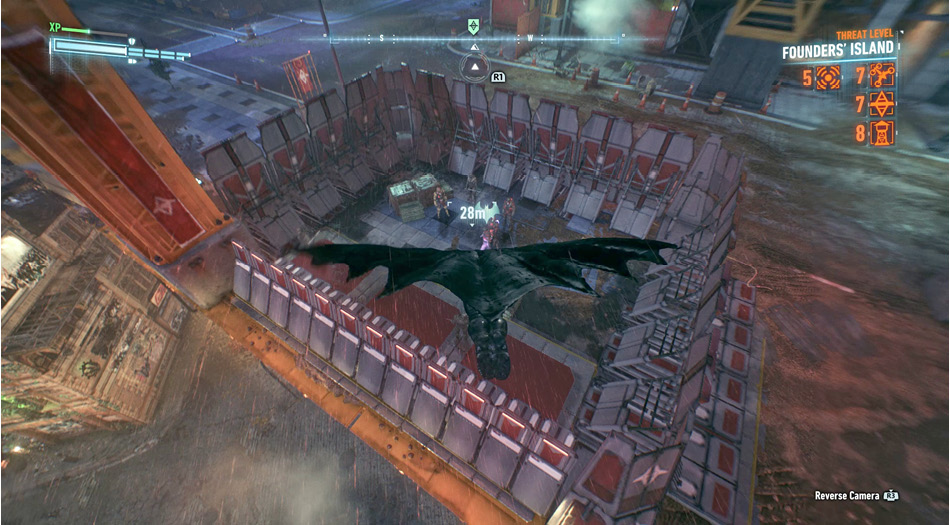
From Perdition Bridge, locate the checkpoint on the upper road just in front of the City Vision building. Glide Kick one of the combatants inside the walls and continue to pummel the four soldiers and four combat experts. Be cautious around the Stun Sticks, hitting them with the Remote Electrical Charge when they attack.
 Checkpoint N
Location: Founders’ Founders’ Island – Drescher,
Type of Challenge: Batmobile Puzzle
Drive to Ryker Heights on Founders’ Island and descend to the lower tier. A checkpoint has been deployed underneath the building. From the northwest side, find the Anchor Point on the temporary wall and pull it down with the Power Winch. Drive inside and eliminate all of the Sentry Guns and soldiers. Hop out, find the commander, and destroy his controller.
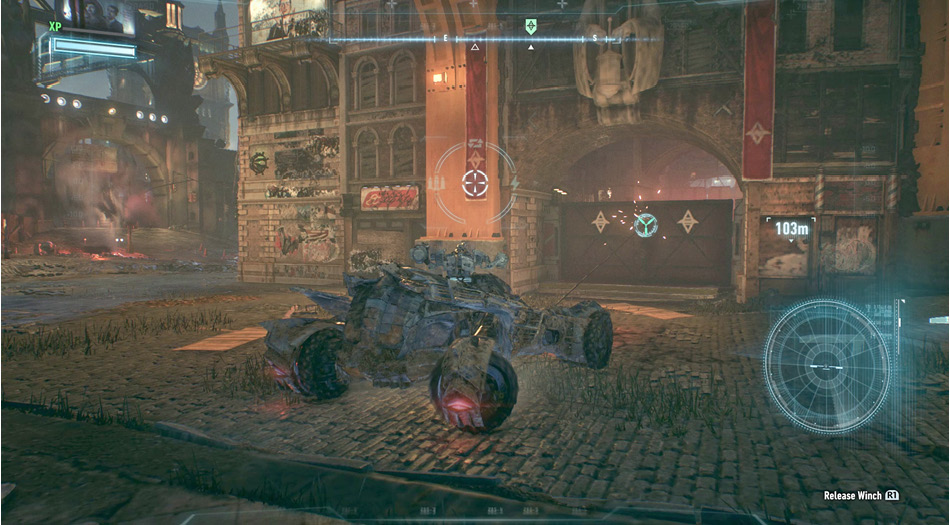
 Checkpoint O
Location: Founders’ Island – Drescher, southeast of Perdition Bridge
Type of Challenge: Combat
Southeast of Perdition Bridge, a checkpoint has been deployed next to a raised, partial bridge. This road allows access to Checkpoint T. From above, target one of the hostiles inside the small, walled-off area and perform a Glide Kick to get the brawl started. Finish off the seven soldiers and brute, paying close attention to the two armed men.
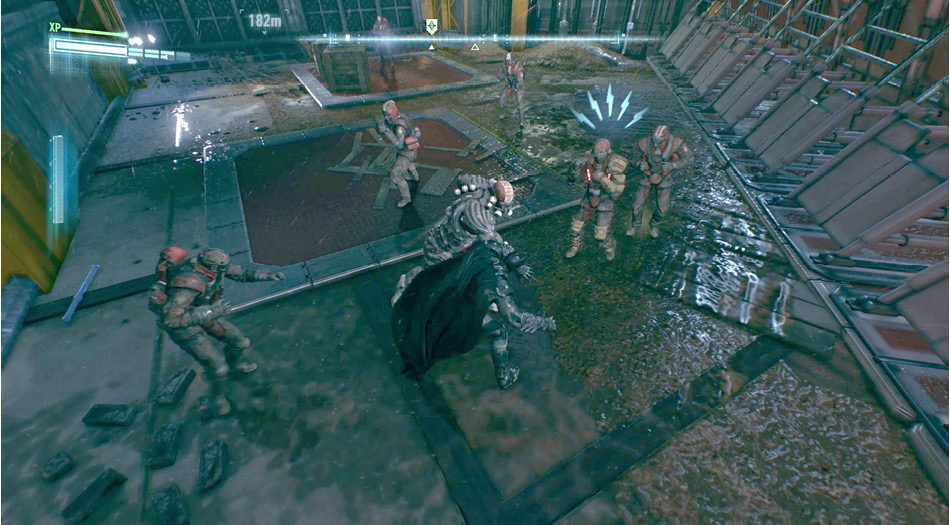
 Checkpoint P
Location: Founders’ Island – Ryker Heights, south of Wayne International Plaza
Type of Challenge: Predator
A deadly checkpoint is situated in between some buildings, southeast of the Stock Exchange. Six Checkpoint Drones and a few armed soldiers occupy the post. Drive the Batmobile just outside the north wall, eject from the cockpit, and grapple to the power cable that spans across the checkpoint. Toggle the remote switch on the east wall with the hacking device to open the way for your vehicle. Equip the remote and use the Heavy Cannon to destroy the drones. Drop inside and eliminate any stragglers before searching for the commander.
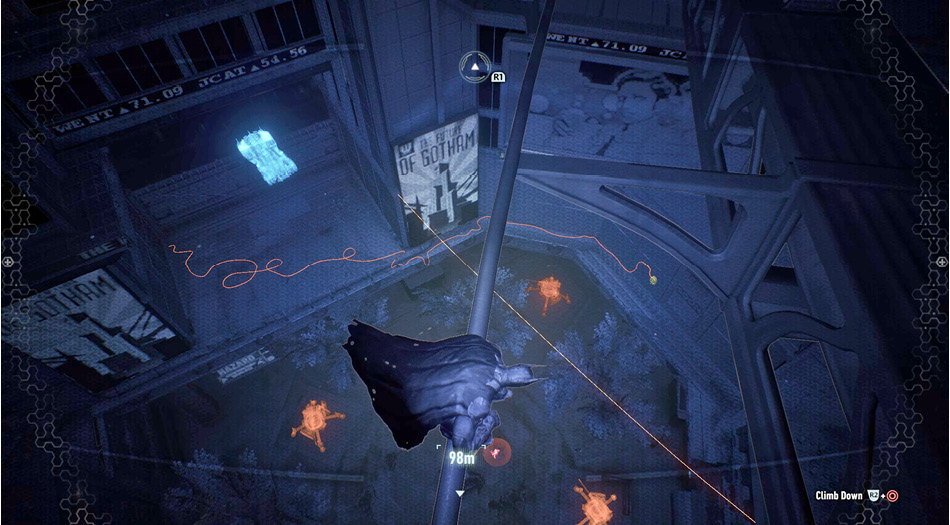
 Checkpoint Q
Location: Founders’ Island – Otisburg, northeast at T-intersection
Type of Challenge: Combat
Glide to northeast Otisburg and spot the checkpoint that sits next to a pillar for the raised track. Five-armed soldiers occupy the north side of the area. Disable the furthest three weapons from the north wall. Then, drop in with a Fear Multi-Takedown to take care of the pack.
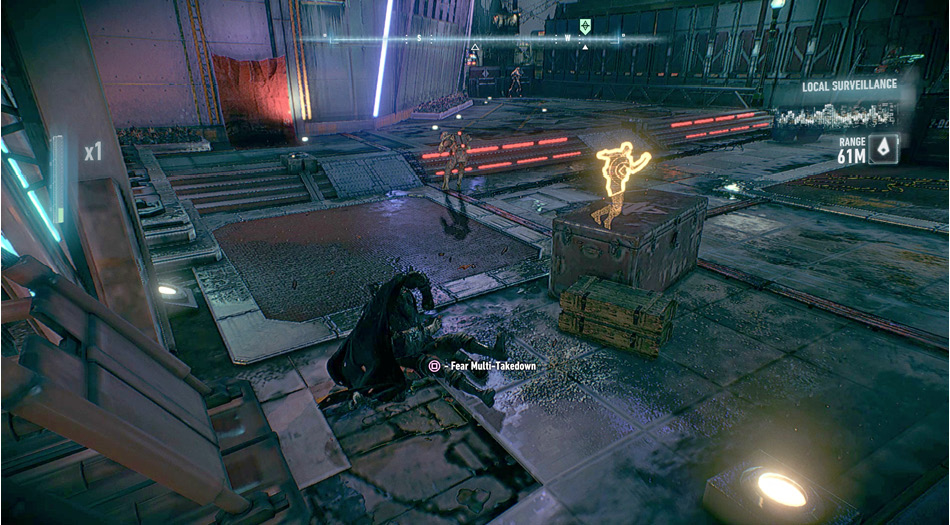
 Checkpoint R
Location: Founders’ Island – Otisburg, next to Amertek building
Type of Challenge: Combat
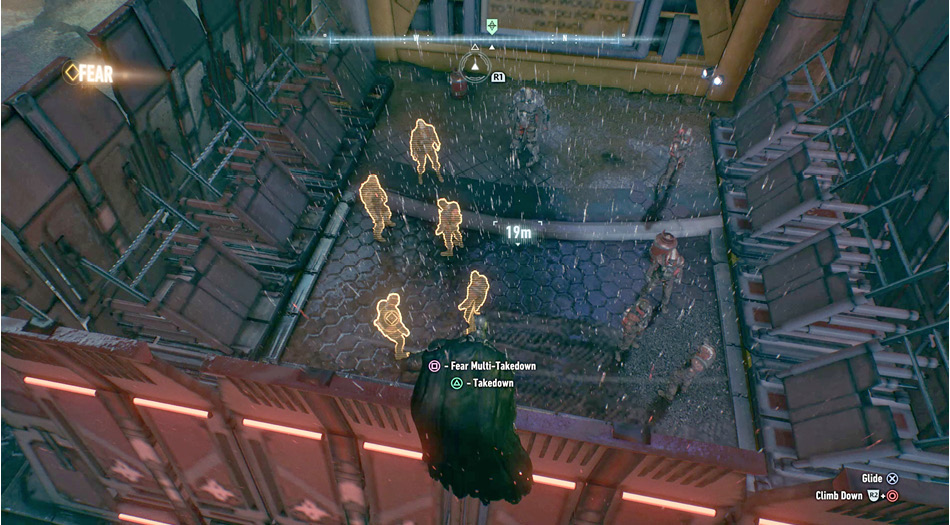
A relatively small checkpoint operates at the base of the Amertek building in eastern Otisburg. Eject from the Batmobile and grapple onto the wall. If undetected, perform a Fear Multi-Takedown to get the brawl started. Finish off the squad of nine soldiers and a brute before destroying the commander’s controller.
 Checkpoint S
Location: Founders’ Island – Otisburg, south of Penitence Bridge
Type of Challenge: Combat
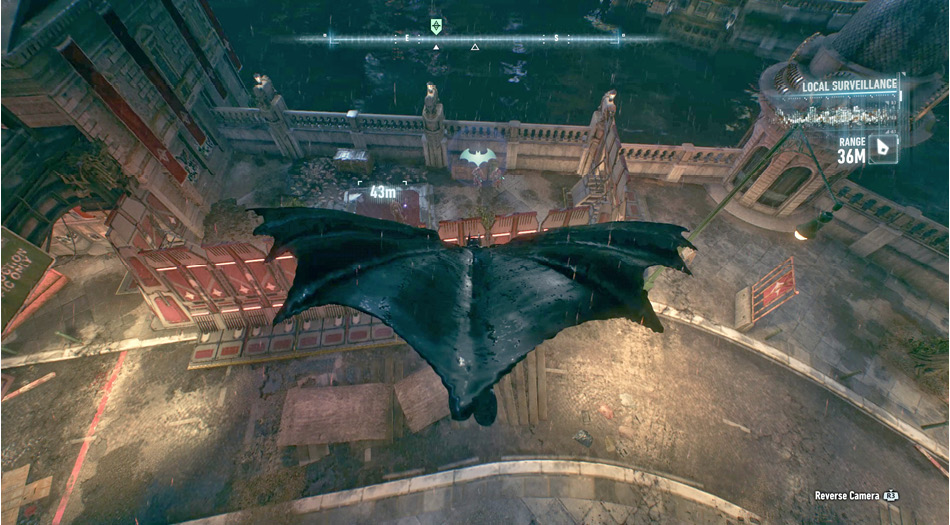
Situated on the waterfront, southwest of Penitence Bridge, a checkpoint is manned by just a handful of soldiers, though two do carry firearms. From atop the northern rooftop, sabotage the ballistic weapons before swooping in for a Glide Kick. Be careful around the Stun Sticks and finish the crew off.
 Checkpoint T
Location: Bleake Island – Chinatown, southwest of the Clock Tower
Type of Challenge: Puzzle
Checkpoint O must be completed before trying this one.
Two Checkpoint Drones join a group of armed soldiers on the waterfront, southwest of the Clock Tower. The location is well protected, except from a higher spot across the water on Founders’ Island. After removing Checkpoint O, lower the partial bridge by firing the Power Winch at the anchor point and pulling back. This snaps the cable, bringing the ramp down. Drive to the other end and take out the cannons and soldiers across the water. Get a running start at the ramp and hit the Afterburner to jump inside the walls. Eliminate any stragglers before finding the commander and destroying his controller.