Prima Games eGuides
primagames.com Browse Redeem a code Help
Batman: Arkham Knight eGuide
Sign in My Guides

Sign in or create an account

We'll email you a link. No password needed, and if you don't have an account yet, the link makes one.

By creating an account or signing in, you agree to our Terms of Service and Privacy Policy.

Have a password?

Had an account on the old eGuides site, or a code from a printed guide? Help and troubleshooting

Sign in with a password

By signing in, you agree to our Terms of Service and Privacy Policy.

Check your email

A sign-in link is on its way. It works once and expires in 15 minutes. Open it and you're in, with an account if you didn't already have one.

Contents

  • Enemies
    • Foot Soldiers
      • Overview
      • Standard Enemies
      • Enemy Lieutenants
      • Riddler Robots
    • Vehicles and Drones
      • Overview
      • Joyriding Rioters
      • Armored Vehicle
      • Militia APC
      • Rattler Drone
      • Cobra Drone
      • Mamba Drone
      • Diamondback Drone
      • Dragon Drone
      • Python Drone
      • Serpent Drone
      • Twin Rattler Drone
      • Boa Sentry Drone
  • Most Wanted Side Missions
    • Overview
    • Armored and Dangerous
    • Campaign for Disarmament
    • Creature of the Night
    • Friend in Need
    • Gotham on Fire
    • Gunrunner
    • Heir to the Cowl
    • Lamb to the Slaughter
    • The Line of Duty
    • Occupy Gotham
    • Own the Roads
    • The Perfect Crime
    • Riddler's Revenge
    • Two-Faced Bandit
  • Achievements, Trophies, and Unlocks
    • Overview
    • Achievements and Trophies
    • Most Wanted Side Missions
    • Riddler's Revenge Related
    • AR Challenge Related
    • Batmobile Stunts
    • Miscellaneous Batman Stunts
    • AR Challenges
    • Character Bios
    • Showcase Character Models
    • Showcase Vehicle Models
    • Concept Art
    • Gotham City Stories
    • Riddler Grids and Audio Tapes
      • Overview
      • Bleake Island Grids
      • Miagani Island Grids
      • Founders' Island Grids
      • Airships Grids
      • Studios Grids
      • Hideout Grids
  • Waynetech Arsenal
    • Gadgets
    • Upgrades
    • Better XP Through Combos
    • Standard Movement
    • Standard Combat
    • Standard Batmobile Components
    • Batmobile Components Initially Unavailable
    • Close Combat Upgrades
    • Batsuit Upgrades
    • Tech Gadget Upgrades
    • Skill Gadget Upgrades
    • Batmobile Pursuit Mode Upgrades
    • Batmobile Battle Mode Upgrades
  • AR Challenges
    • Overview
    • AR Challenge Locations
    • Tutorial Challenges
      • [1] Throw Counter
      • [2] Fear Multi-Takedown
      • [3] Predator Fundamentals
      • [4] Grapnel Boost MK II
      • [5] Summon, Eject & Glide
      • [6] Weapon Energy Diagnostics
    • Combat Challenges
      • [7] Combo Master
      • [8] Tower Defense
      • [9] Azrael's Atonement
      • [10] Gotham Knights
    • Predator Challenges
      • [11] Smash and Grab
      • [12] Terminal Velocity
      • [13] Revive and Shine
      • [14] Under the Pale Moonlight
    • Batmobile Race Challenges
      • [15] Midnight Fury TT
      • [16] City Heat TT
      • [17] Crushonator
      • [18] Condamned
      • [19] Mental Blocked
    • Batmobile Combat Challenges
      • [20] Untouchable
      • [21] One Man Army
      • [22] Natural Selection
      • [23] Slumdog Billionaire
    • Batmobile Hybrid Challenges
      • [24] Seek and Destroy
      • [25] Knight Time Strike
      • [26] Road Rage
      • [27] Big Game Hunter
      • [28] David & Goliath
      • [29] Drone Zone
  • Collectibles
    • Overview
    • Trophies and Puzzle Trophies
    • Riddles
    • Destructibles
    • Uncovering Riddler Challenge Locations
    • Solving Puzzles
    • Bleake Island Militia Shield Destructibles
    • Bleake Island Riddles
    • Bleake Island Riddler Trophies
    • Bleake Island Riddler Puzzle Trophies
    • Miagani Island Militia Shield Destructibles
    • Miagani Island Riddles
    • Miagani Island Riddler Trophies
    • Miagani Island Riddler Puzzle Trophies
    • Founders' Island Destructibles
    • Founders' Island Riddles
    • Founders' Island Riddler Trophies
    • Founders' Island Riddler Puzzle Trophies
    • Airships Insect Crate Destructibles
    • Airships Riddles
    • Airships Riddler Trophies
    • Studios Jack in the Box Destructibles
    • Studios Riddles
    • Studios Riddler Trophies
    • Hideout Spider Drone Destructibles
    • Hideout Riddles
    • Hideout Riddler Trophies
  • Game Play
    • Introduction
    • Difficulty Settings
    • Game Completion
    • New Game Plus and Knightmare Difficulty
    • Gameplay
    • Display
    • Choosing Objectives
    • Detective Mode
    • The Batmobile
    • Gadgets
    • Combat Scenarios
    • Predator Scenarios
  • Story Mode
    • Introduction
    • Chapter 1: Its Going to Be a Long Night
    • Chapter 2: Patience is a Virtue
    • Chapter 3: It is Dangerous Out There
    • Chapter 4: Prey That No Longer Fears You
    • Chapter 5: Tonight Ends With Gotham's Fall
    • Chapter 6: Some Kind of Bat Trick
    • Chapter 7: Nature Always Wins
    • Chapter 8: Crippled by Fear
    • Chapter 9: The Die is Cast

Batman: Arkham Knight Guide › Story Mode

Chapter 6: Some Kind of Bat Trick

The Chapter at a Glance

OBJECTIVES

Investigate Panessa Studios

 Stop Harley Quinn from Taking The Joker Infected

 Return the Escaped Joker Infected to Their Cells

 Apprehend Christina Bell in Sound Stage B

 Apprehend Albert King in Sound Stage A

 Apprehend Johnny Charisma in Sound Stage C

 Apprehend Harley Quinn

 Equip a New Secondary Weapon
NEW AR CHALLENGES

None

AVAILABLE SIDE MISSIONS

  The Line of Duty

  The Perfect Crime

  Riddler’s Revenge

  Campaign for Disarmament

  Gotham on Fire

  Heir to the Cowl

  Creature of the Night

  GunRunner

  Armored and Dangerous

  Occupy Gotham

  Two-Faced Bandit

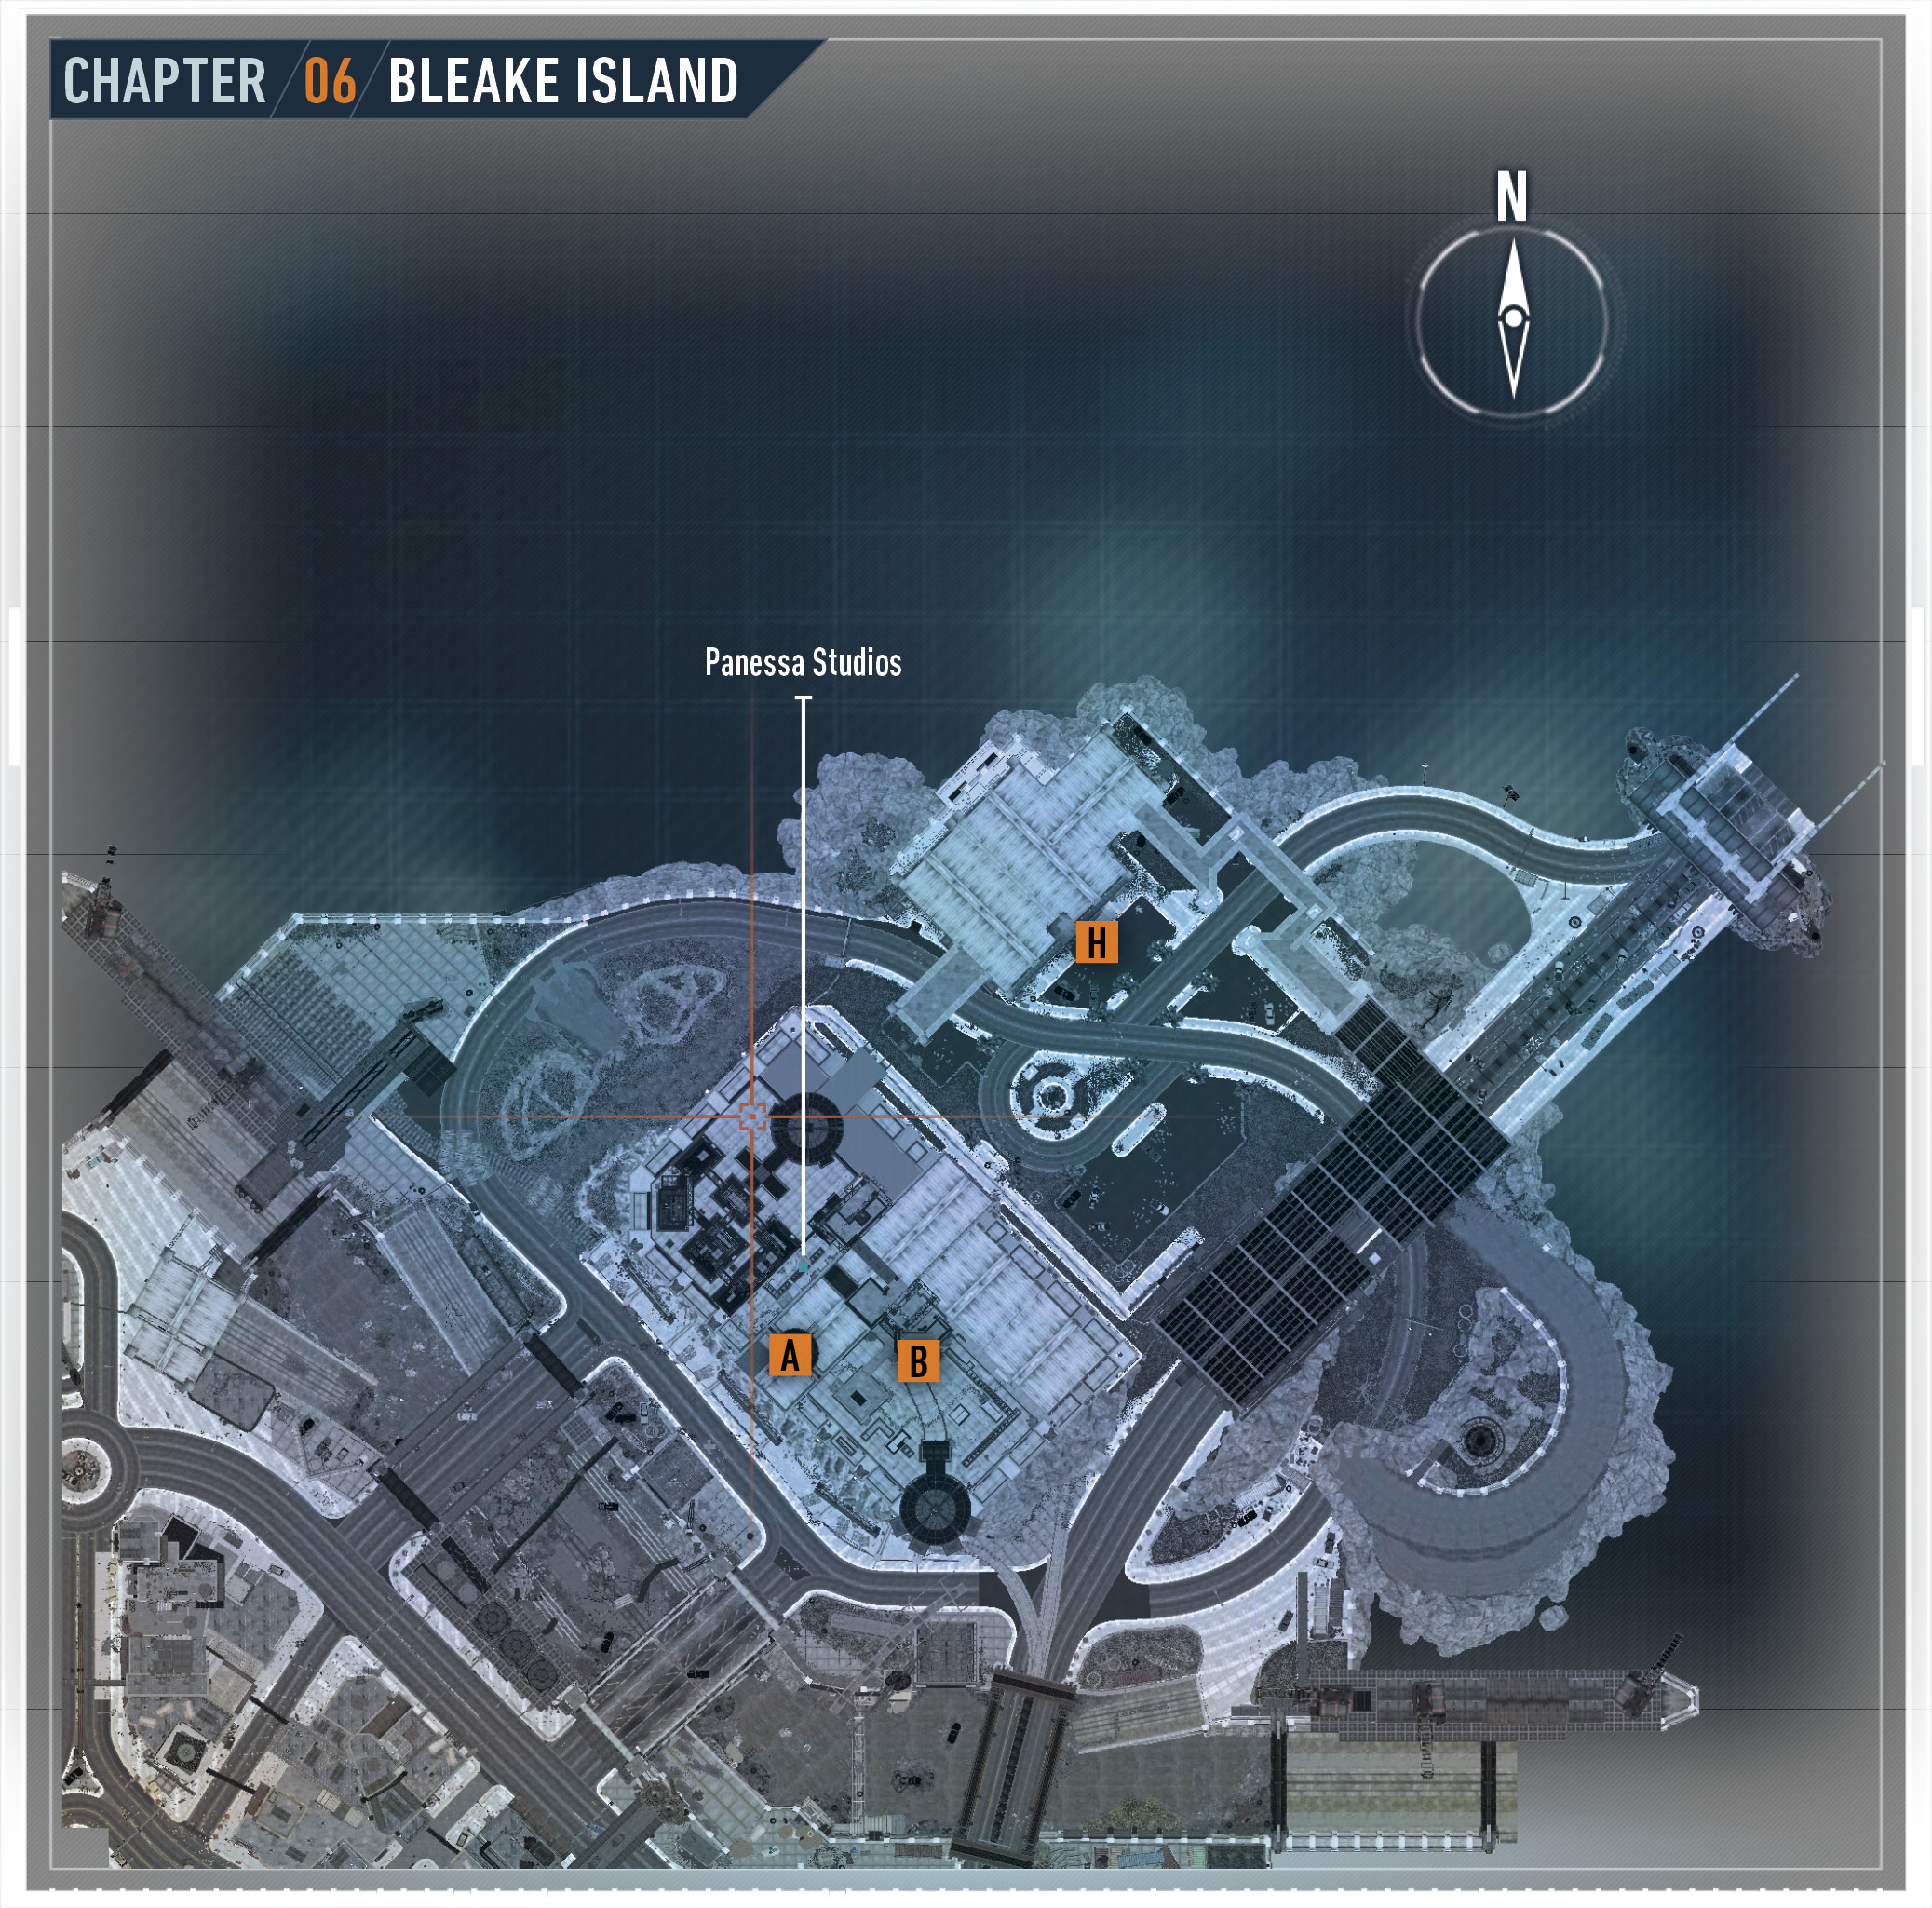
Investigate Panessa Studios

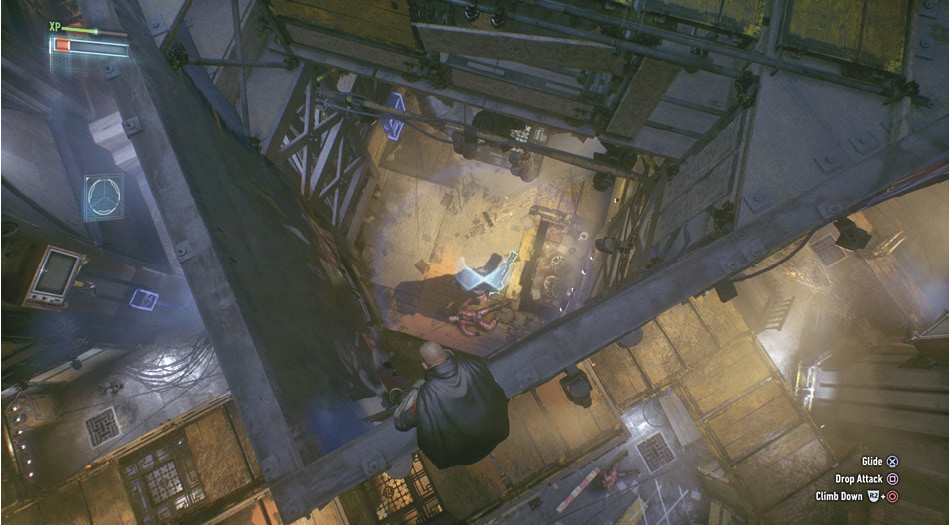
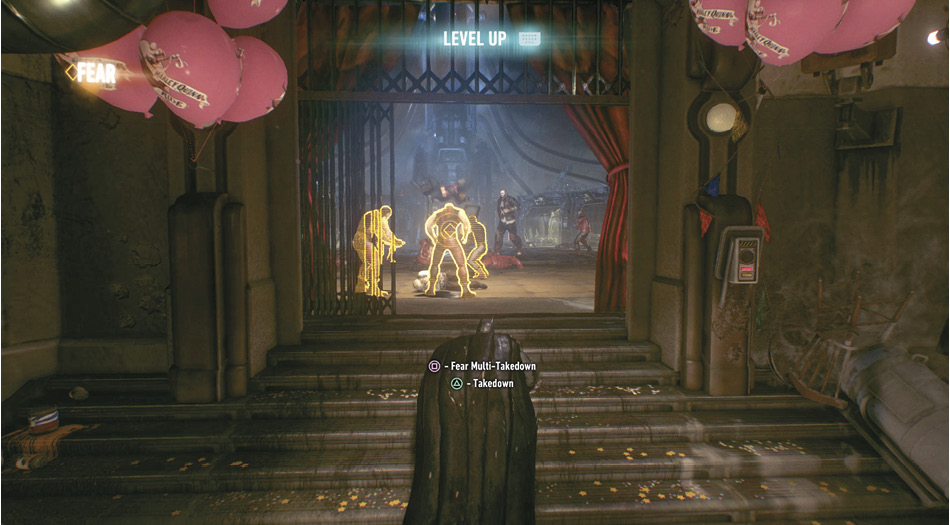
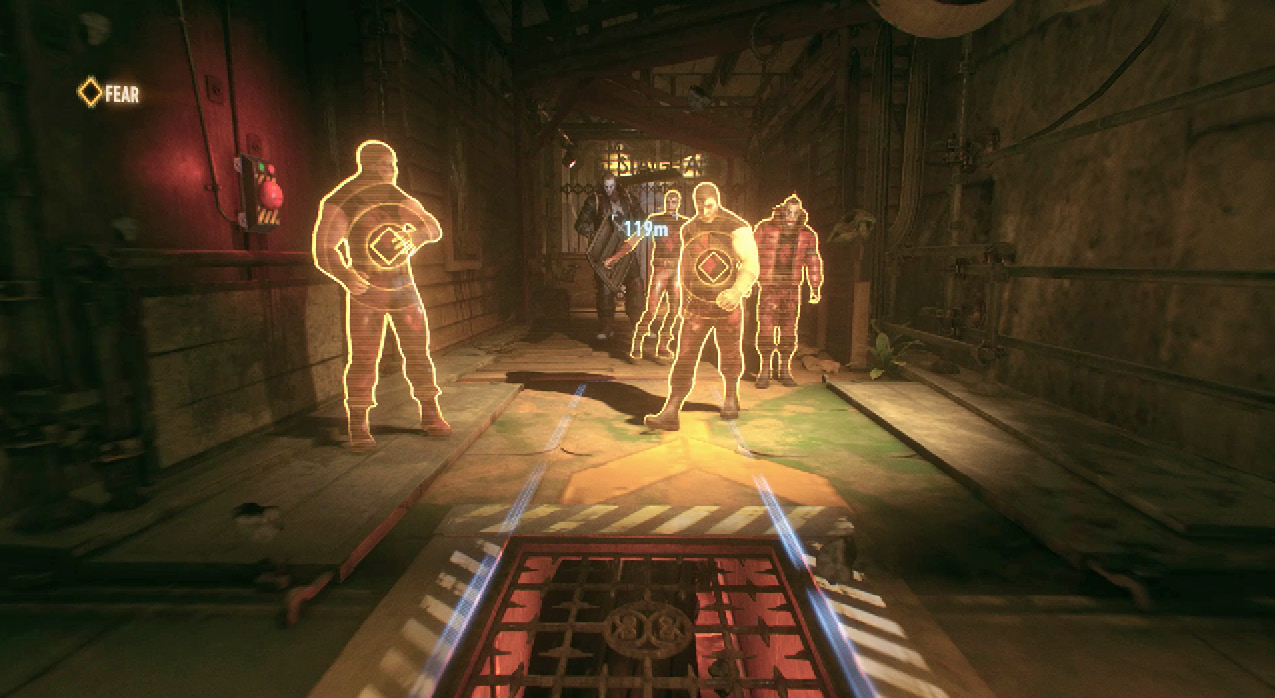
Harley Quinn has taken over Panessa Studios and threatens to free the prisoners. Grapple to the Panessa rooftop and drop down to the railing just south of the V.I.P. elevator. Line up a Fear Multi-Takedown on the two-armed thugs and continue to eliminate the group. Interact with the gate to find out Harley Quinn has changed the voice activation. Use the device to calibrate the sample and then use it on the panel to open the door. When Harley’s actual voice is heard through the door, Batman grapples to safety.

Calibrating a Voice Sample with Voice Synthesizer

The current Harley Quinn voice sample must be calibrated with the Voice Synthesizer before it can be used. The Pitch and Wave Modulation can be modified using the Look and Move controls, respectively. Note the vertical and horizontal bars are adjusted when changes are made. The altered sample is played over and over during the process, so use the sound to determine how close it is. Readings on the screen can also be used to determine the accuracy. This image shows the final settings. Once you feel that it is ready, press Run to verify the voice print for accuracy, which is indicated by a percentage. This must reach 100% to complete the calibration. Don’t worry; there is no penalty for multiple attempts.

Harley Quinn

Real Name Dr. Harleen F. Quinzel

Occupation Professional Criminal

Based In Gotham City

Eye Color Blue

Hair Color Blonde

Height 5 Ft. 7 Inches

Weight 140 Lbs

First AppearanceBatman: Batman Adventures #12 [September, 1993]

Attributes

-Surprising strength and stamina

-Superior gymnastic skills

-Total disregard for human life

An Arkham Asylum psychiatrist assigned to treat The Joker, Dr. Harleen Quinzel instead became obsessively fixated on her patient, believing herself to be in love with him.

She helped him escape and took on her own criminal identity as Harley Quinn, a violent and unpredictable felon whose only motivation was achieving The Joker’s approval.

Because of his cruel and mercurial nature, this in some ways made her just another of his victims, albeit a very dangerous one.

Since her ill-fated attempt to avenge her lover’s death in Arkham City, Harley is rumored to have assumed control of Joker’s criminal gang and begun plotting another attack on the man she holds responsible—Batman.

Voice Synthesizer

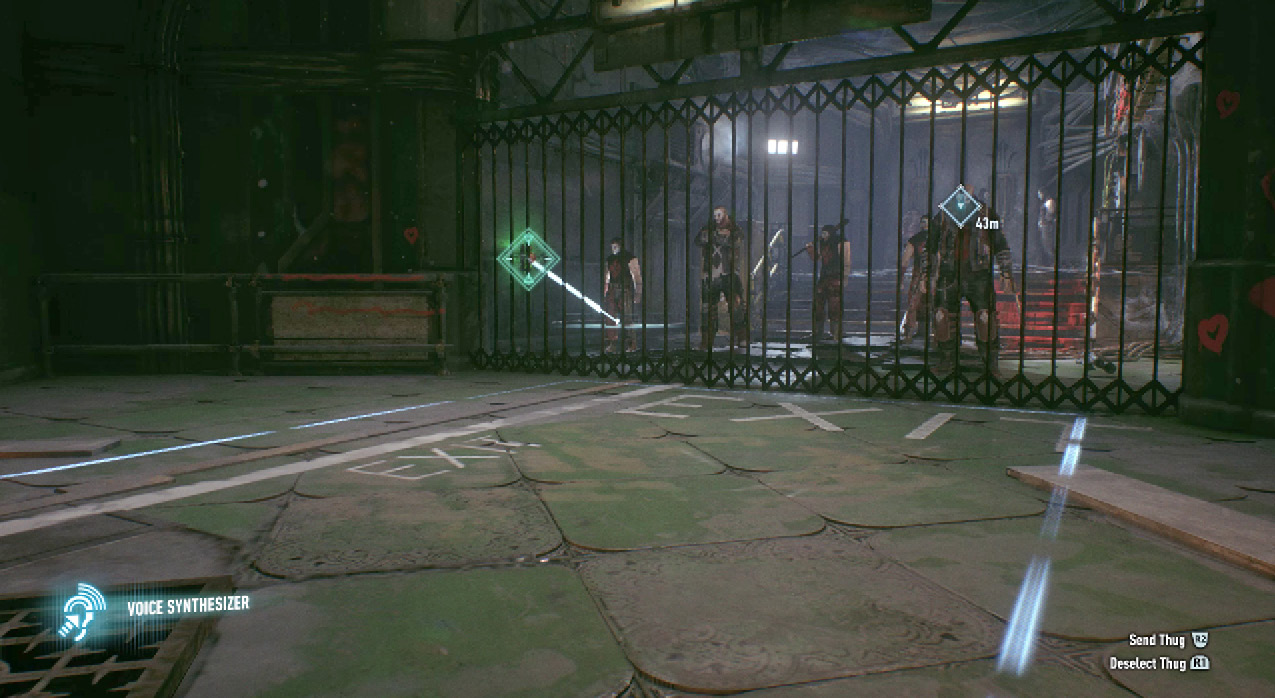
The Voice Synthesizer allows Batman to imitate vocal signatures and use them during combat to order enemies and create disarray. More voices are obtained as you progress through the game, but for now Batman can only imitate Harley Quinn. Hold Aim Gadget and select the desired enemy with the Crouch button. Place the reticle where you wish to move the target and press Crouch again to give the order. Press Grapple to deselect the thug. Only one hostile can be ordered around at a time. Once the command has been given, the Voice Synthesizer icon in the lower-left corner of the HUD is highlighted before it begins to count down a cool down period. The device cannot be used until the icon is clear again.

Barking orders with the Voice Synthesizer is a great way to remove an enemy from a group and isolate him for an easy takedown. Use this new ability often to reduce clusters of hostiles, allowing for easier Silent Takedowns.

Stop Harley Quinn from Taking The Joker Infected

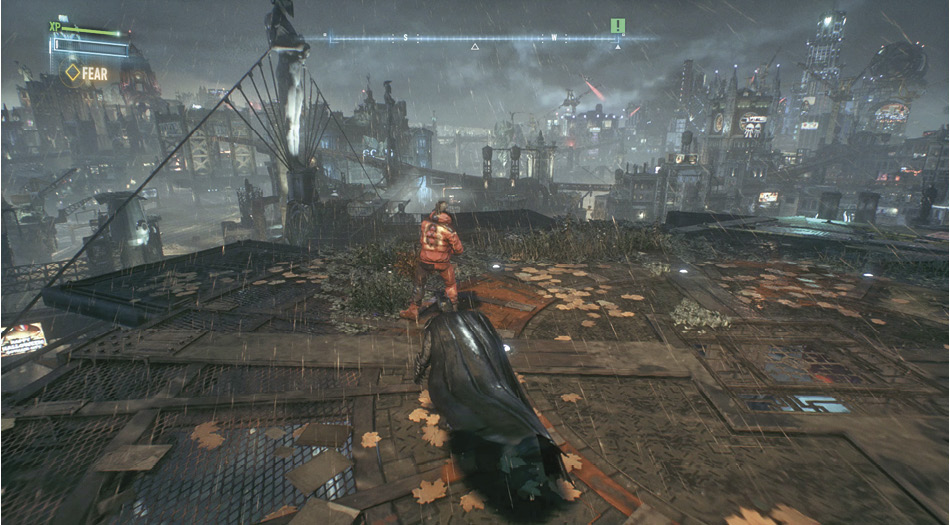
Eleven armed hostiles now occupy the rooftop, including a minigunner. Test out the new gadget by selecting one of the guys below and sending him to the landing pad in the corner. Glide behind him and silently take him down. Use the floor grates, high vantage points, corners, and multiple levels of the environment to eliminate the remaining thugs—leaving the big guy for last. With the roof clear, enter the studio and ride the elevator down to the basement.
Generator

Generators on the studio rooftop are used as an emergency power supply. Overloading the motor using the Remote Hacking Device can cause a small-scale blast and incapacitate nearby enemies.

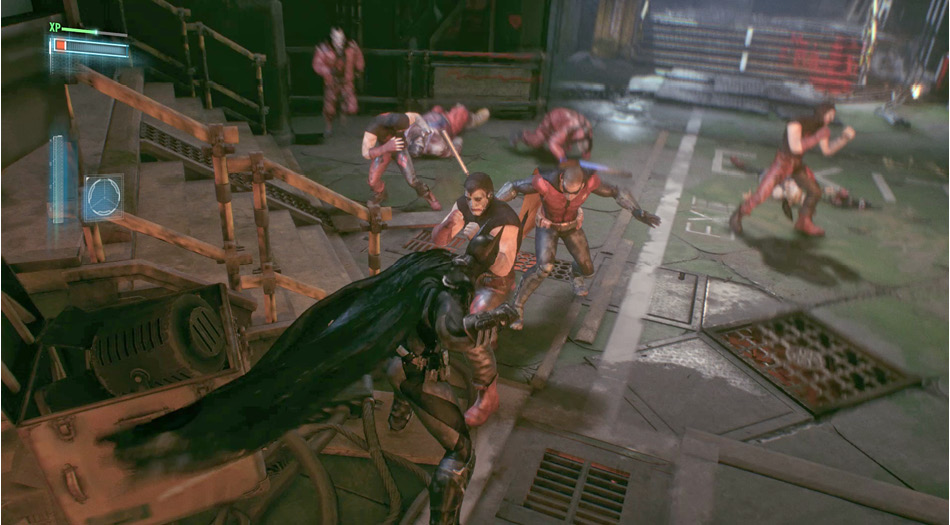
A brawl is already underway between a large group of Harley’s men and Robin at the Quarantine Cells, but a locked gate prevents entry. Use the Voice Synthesizer to gain access. Eliminate 3 to 5 guys right away with a Fear-Multi Takedown. Then, team up with Drake to finish off the group of thugs and brutes. Join your partner in the middle of the room and interrogate the thug about the location of Harley and the infected. Next, access the Batcomputer to find the three prisoners, who each have their own plans for Batman.
Thugs with Shields

Use the Aerial Attack to take out thugs using shields. Hit him with a Cape Stun and then double tap Run to perform the maneuver, knocking the hostile to the ground.

Return the Escaped Joker Infected to Their Cells

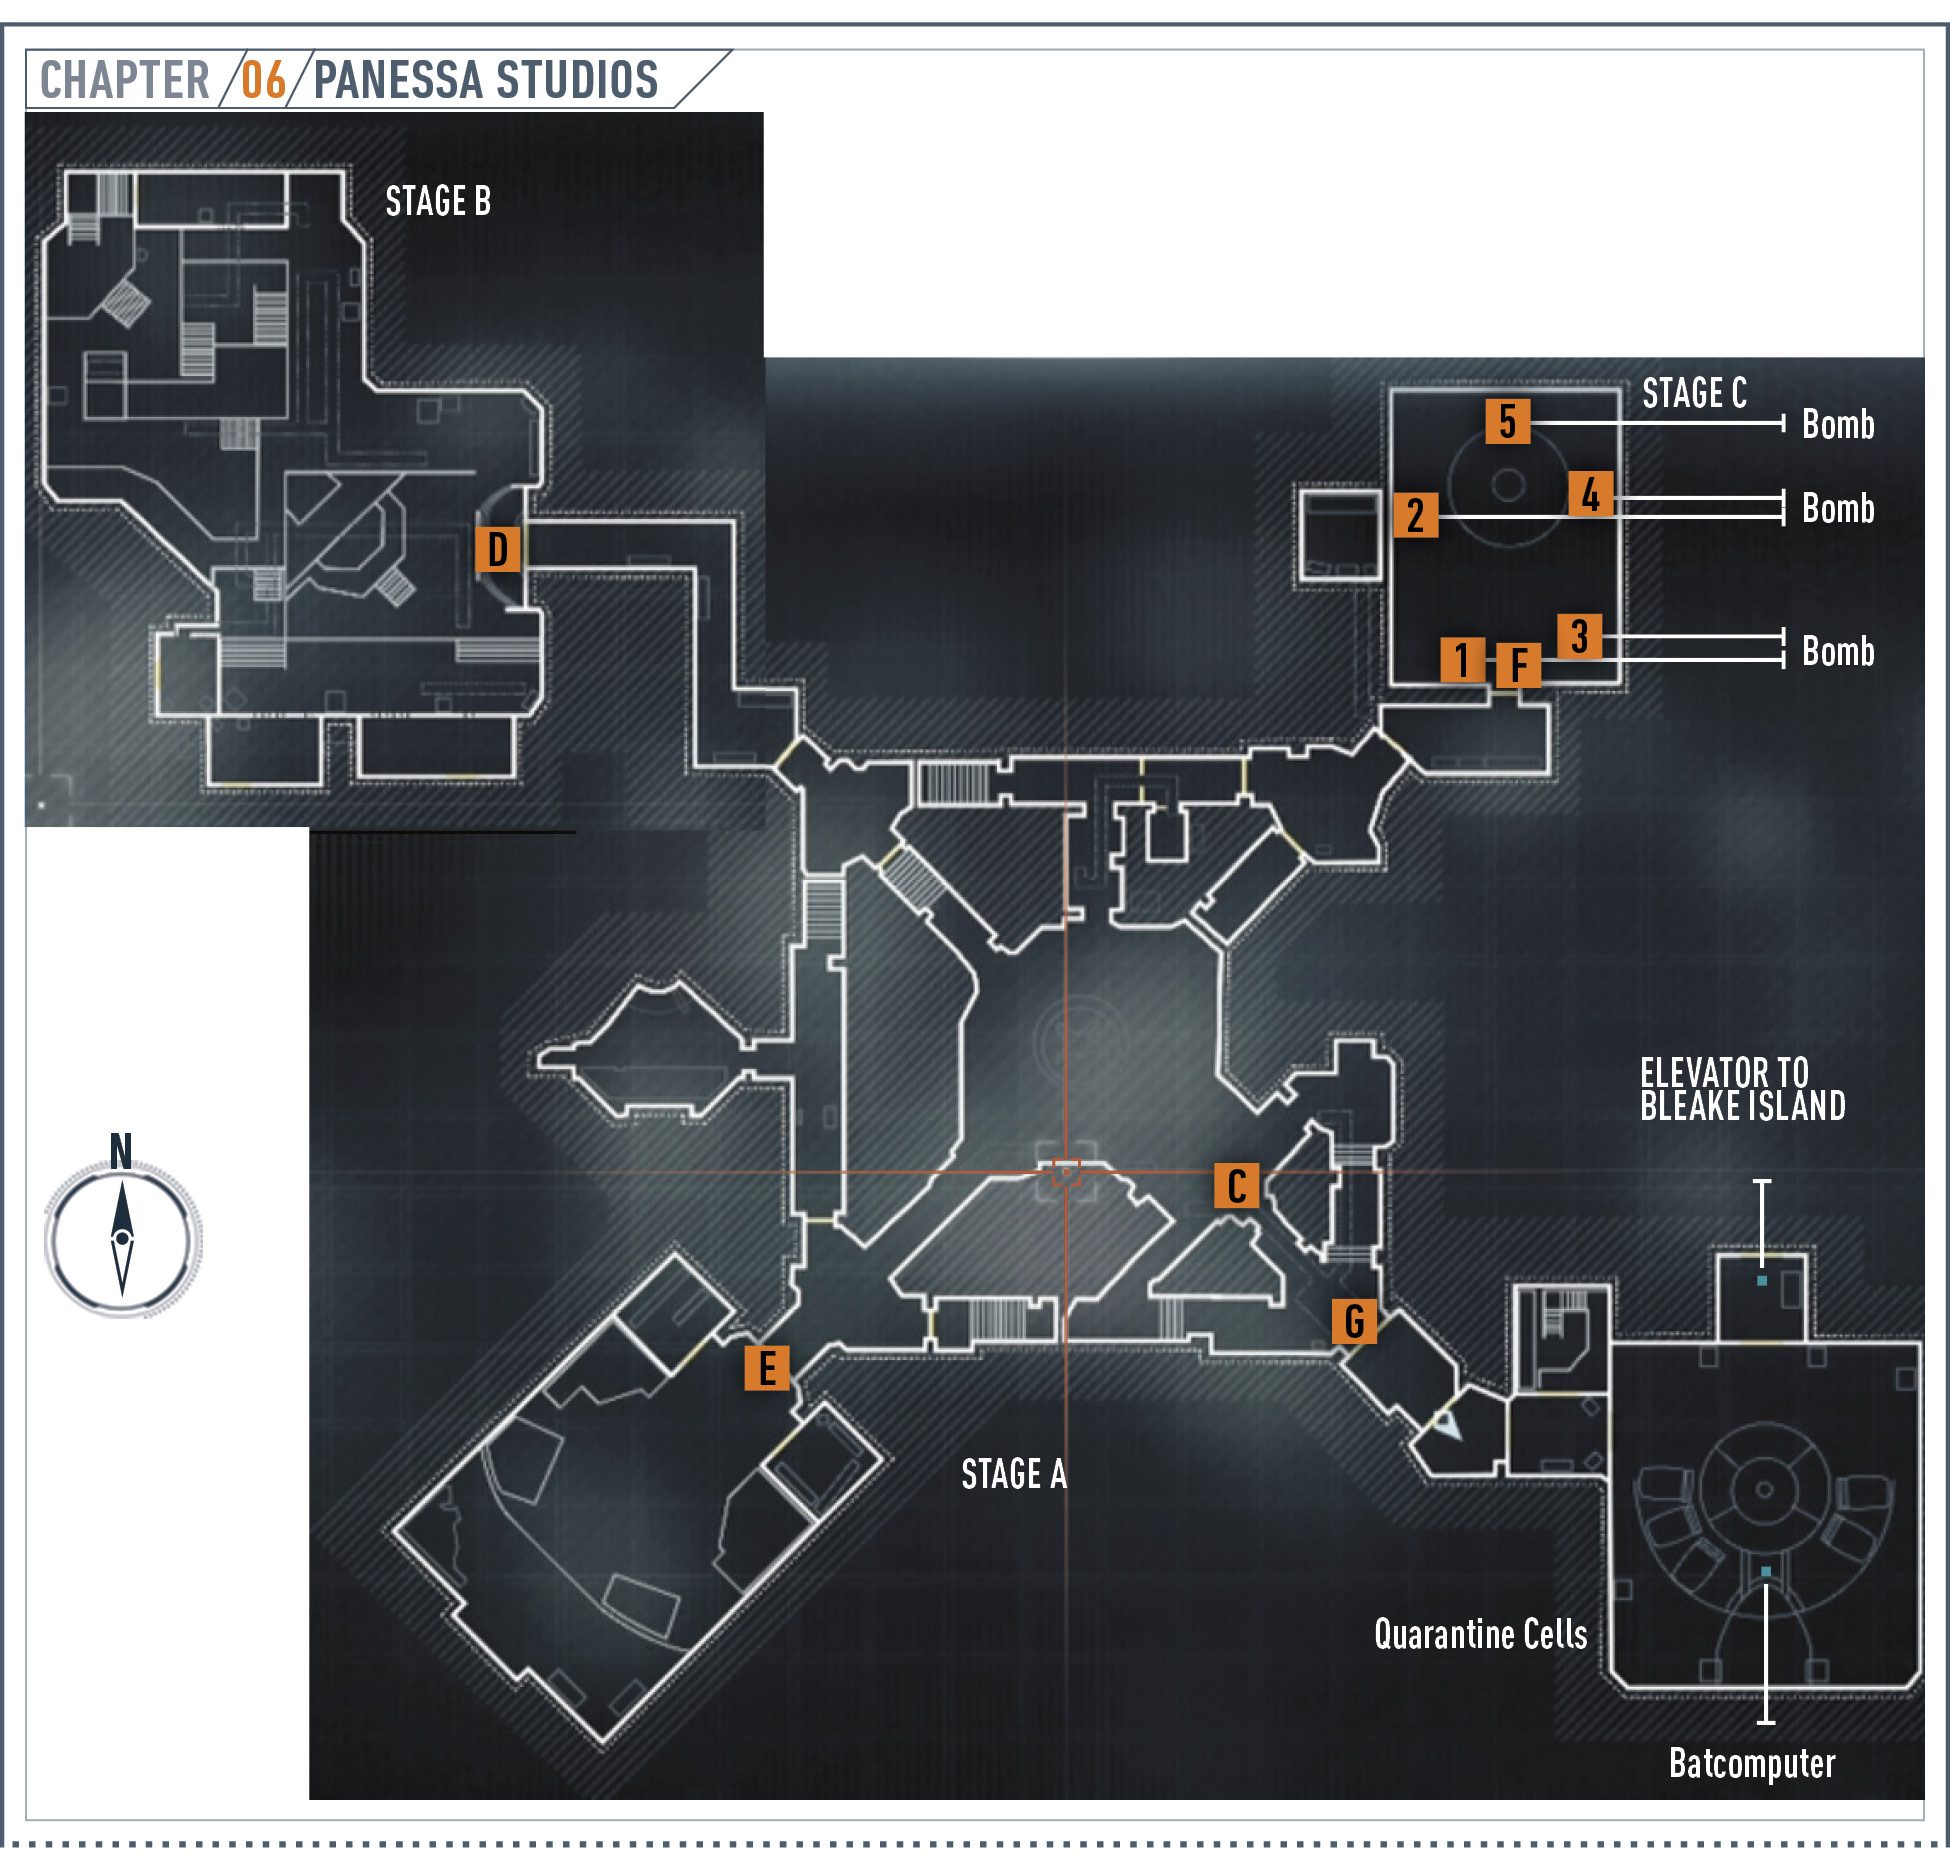
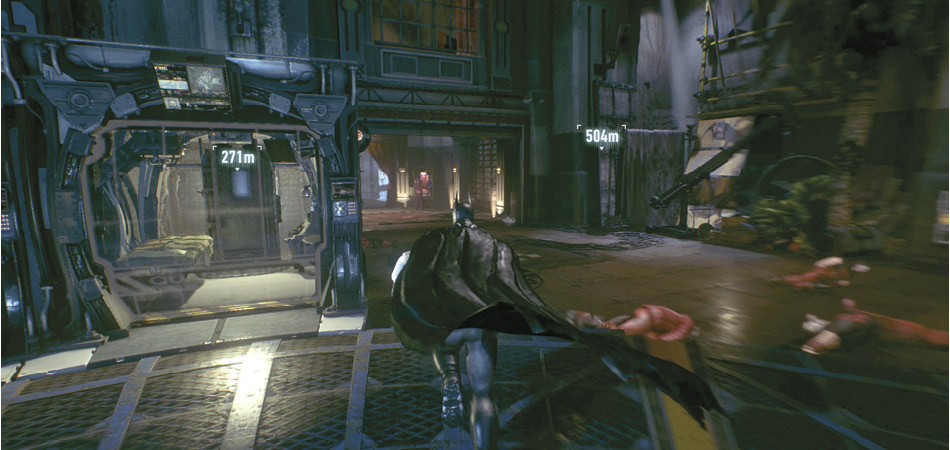
Run past Henry Adams and enter the doors ahead. Waypoints appear at Sound Stages A, B, and C. These represent the locations of the three infected. Stage B must be first, but the other two can be done in either order. Albert King presents a challenging brawl for Batman and Robin. Christina Bell has a predator scenario for the dynamic duo. Johnny Charisma’s offering is more of a puzzle.
Jack in the Boxes

Look out for small Jack in the Boxes lying around Panessa Studios. Toss a Batarang at the items to destroy them. This counts toward Riddler’sCollectibles.

Apprehend Christina Bell in Sound Stage B

Take the corridor straight ahead, enter the door alongside Robin, and team up against the small pack of thugs inside. Proceed into Stage B. A minigunner blocks the path to the right. Grapple up to the vantage point in the corner and swing behind him. Drop down, sneak up from behind, and perform a Dual Team Takedown on the big guy. Follow the hallway through another door, where a group of Harley’s hooligans protect Christina Bell.
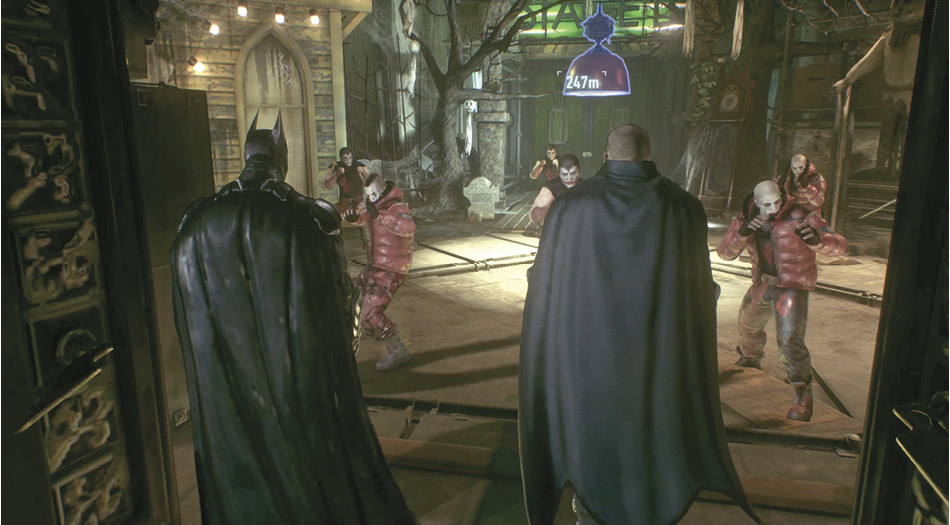
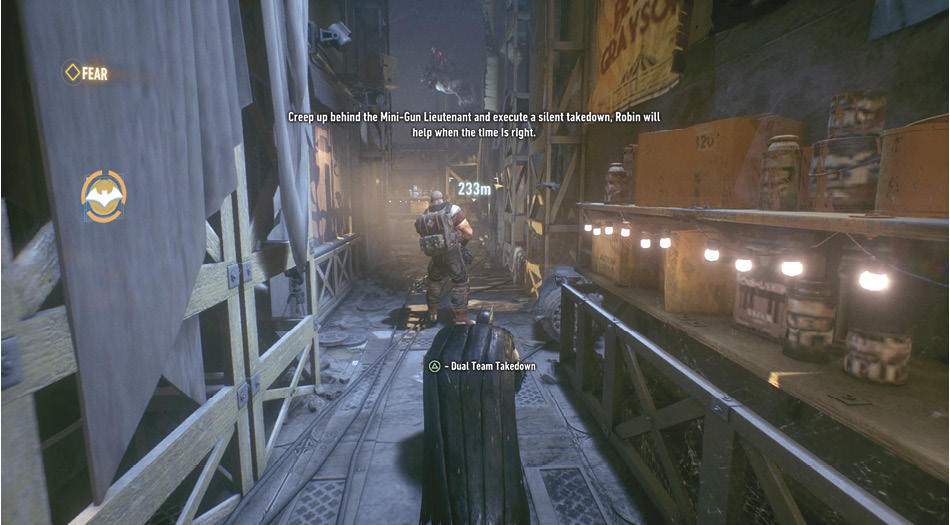
Find a good vantage point and survey the situation. Ten hostiles in all defend her, six in the immediate area and four more in a separate room with Christina. Only one minigunner joins the first group, while two remain back with the others. Disrupt their weapons before pursuing any enemies. Use the vantage points, railings, and various levels of the stage to eliminate the thugs before going after the minigunner. With the first six defeated, the second group enters. When taking down a minigunner, make sure no other hostiles are nearby. Once everyone has been taken care of, climb the steps in the corner and enter the final room. Counter Christina’s attack to apprehend her. Exit the stage as Robin carries her back to her cell.

Allow Robin to Help

Robin joins Batman in this predator zone. The player can switch between the two with the Call Batmobile button. When the dual team symbol fills up on the left side of the HUD, your partner is available for a takedown. A press of the button calls the other vigilante in for a takedown against your current target.

Apprehend Albert King in Sound Stage A

A group of Harley’s thugs hang out just beyond a security gate at the entrance to Stage A. Enter the floor grate opposite Stage B and move toward the enemies. Use the Voice Synthesizer to order one of the hostiles to push the button. Once the gate is open, jump out with a Fear-Multi Takedown and eliminate the thugs. Finish off the brute with a Cape Stun and Beat Down before pushing the button on the right wall. Interact with the figure in the middle of the room.
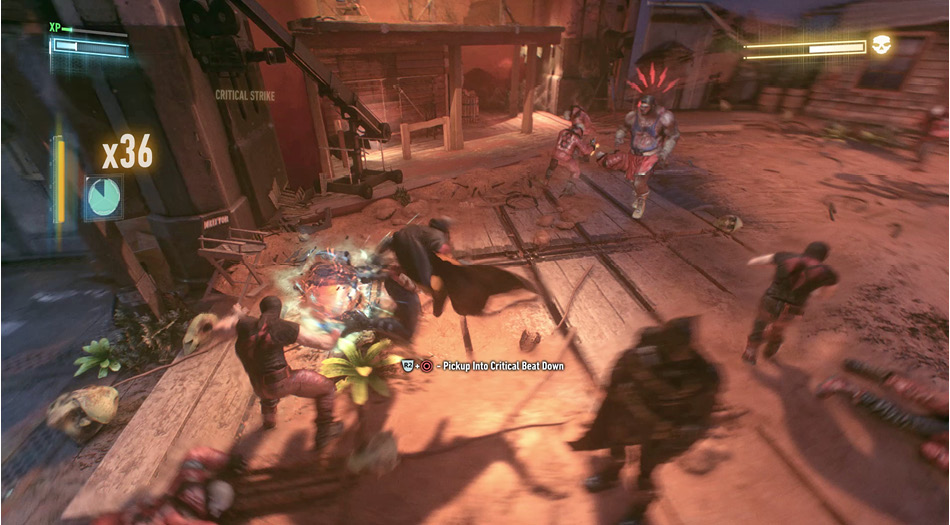
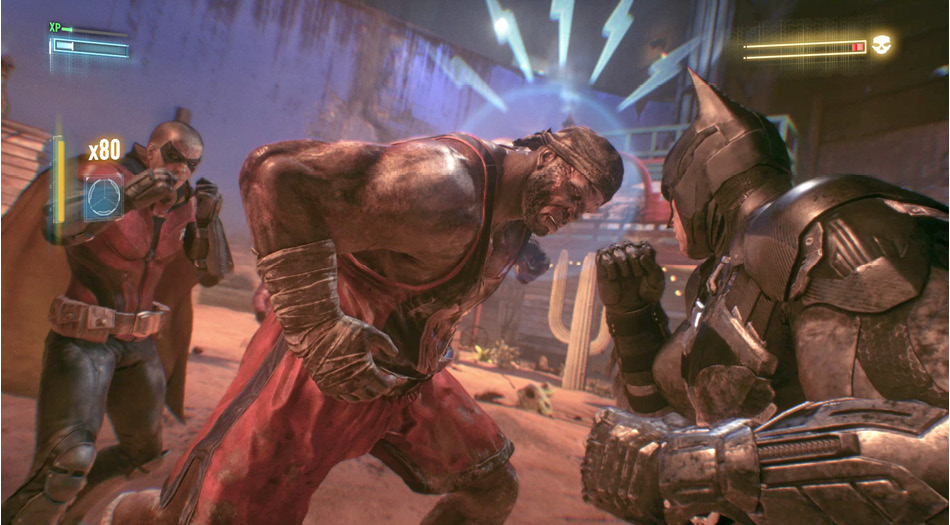
Enter Sound Stage A to find Albert King and eight thugs on a western-themed stage. Watch out for the boss, as his punches cannot be countered. Avoid him at all costs while using the smaller foes to build up the Dual Team meter. Hit Albert with a Dual Team Takedown once it is available. Repeat this process three times to reduce the boss’ health to 50%. The next time the takedown is executed, rapidly tap the Strike Button to strike him in the mid-section. Counter his punches while continuing the Beat Down, much like fighting a minigunner. One last team-up, just like the previous one, is required to finish the boxer. Again, Robin has the tough task of returning him to his cell. Exit the way you came in.
Apprehend Johnny Charisma in Sound Stage C

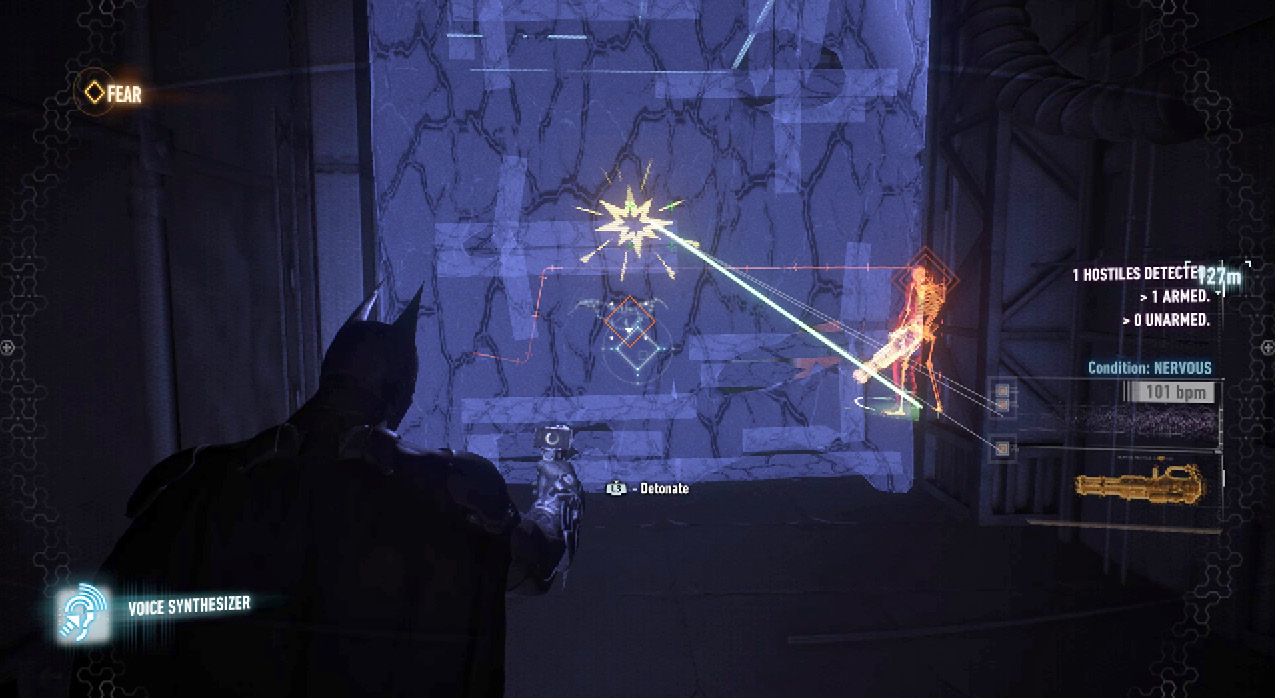
Enter the corridor marked Stage C and stop before the corner. A minigunner stands guard on the other side. Turn around and grapple into an open vent above. Follow it until Batman drops behind a structurally weakened wall. Spray Explosive Gel on the backside. Select the Voice Synthesizer, activate Detective Mode, and tell the minigunner to investigate the weak wall. Trigger the detonation as soon as he is within range. Press the button on the other side of the hall. Go through the door and investigate the figure ahead.

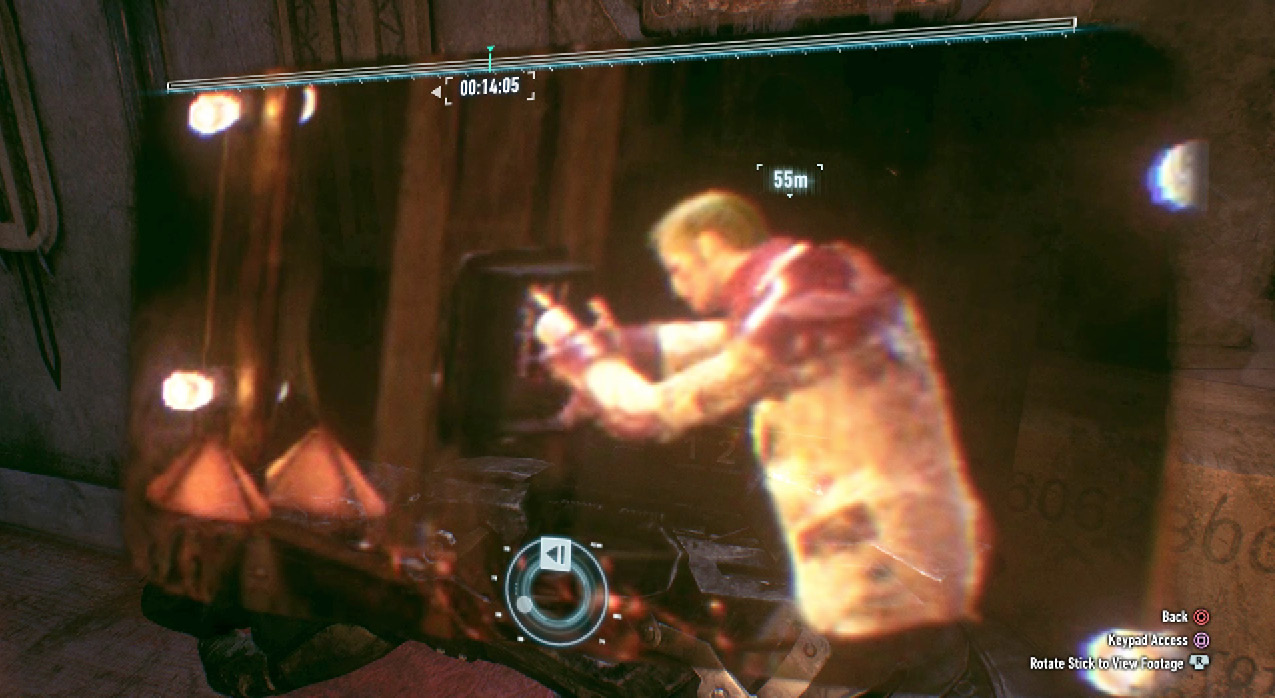
Enter the Stage C door and approach the vent on the left. Batman directs Robin to take that route to reach the next room. Approach the keypad next to the door ahead and with help from Henry Adams, CCTV footage appears on Batman’s screen. Zoom in on the keypad and scrub the scene forward. Note the first digit that Johnny enters. As he steps in front of the panel, zoom out and change your focus to the keypad in the mirror. Now the rest of the access PIN can be figured out as he punches the numbers—remembering that the image is mirrored. Press the Keypad Access button and enter 0539 to unlock the door. Step inside to find the performer on stage wearing a bomb vest along with five other bombs around the room, each resting atop two barrels.
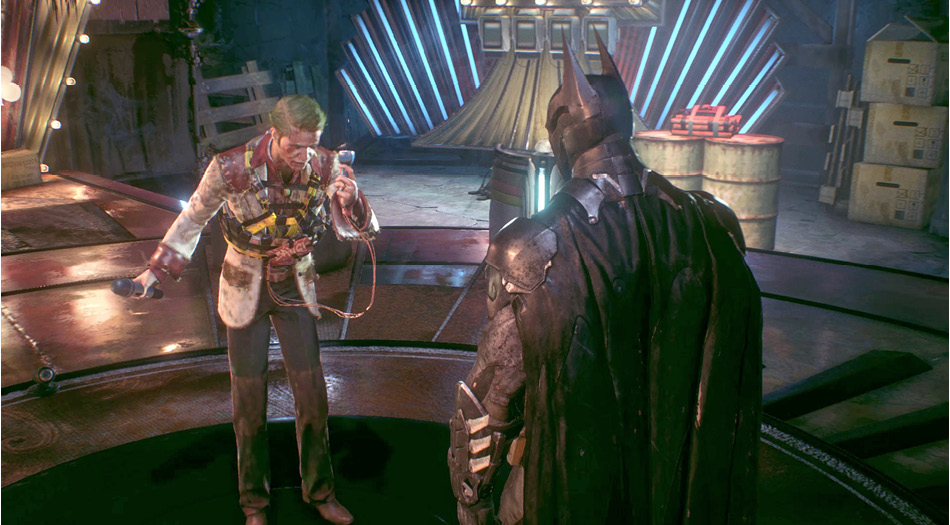
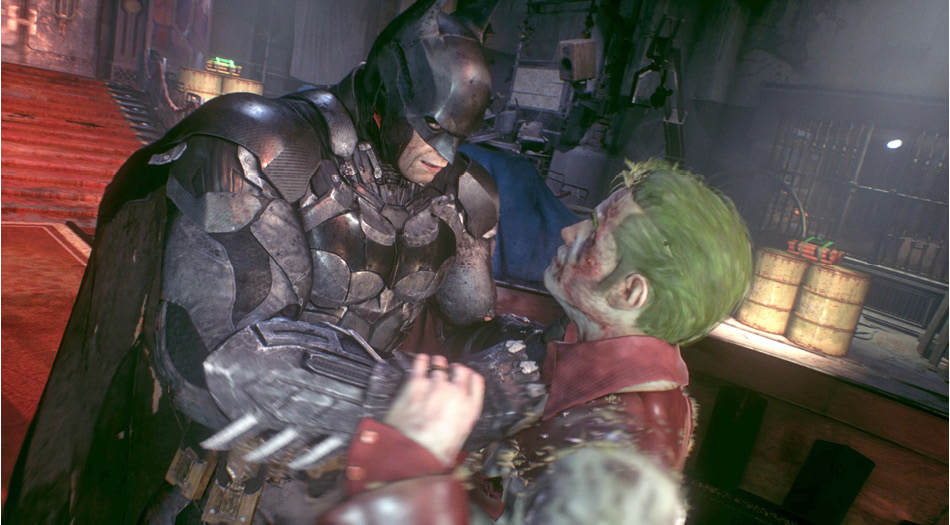
As the camera focuses toward the entrance, Robin drops in from the vent on the right. Now you control him as he attempts to disarm all five bombs. Note which way Johnny Charisma is facing. If Robin is in his view, the explosives are detonated. Quickly move to the first bomb and hold the Run button to disarm. Then, as the stage rotates around, move to the next objective on the right. Return to the top and head to the bomb sitting on the bleachers to the left. Carefully, continue down the left side of the room and take care of the fourth bomb and then the final one at the back of the stage. Robin is vulnerable as he disarms the last bomb, so be sure to move from the previous dynamite once out of view, quickly defuse it, and return to the barrels on the right. There is just enough time to get it done. Next, move behind the infected singer and perform a takedown to remove the vest and apprehend him.
Be Cautious

There are tarp-covered tables and boxes all around the room that offer shelter for Robin. If not confident about reaching the next bomb, take refuge at these locations to avoid being spotted. It is a long song, so there is time. The number of explosives left is tracked in the upper-right corner of the HUD.

Run back toward the Quarantine Cells before getting stopped at a security gate and a group of Harley’s men. Move back toward Stage A and drop into the floor grate out of view of the thugs. Order one of them to push the button, but this time it doesn’t work as Harley Quinn shows up.
Apprehend Harley Quinn

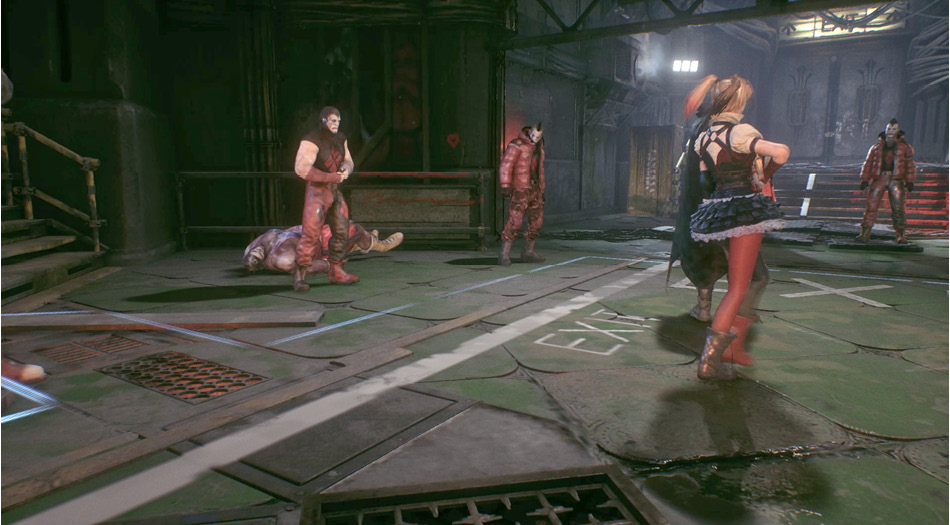
Robin convinces her to open the gate. Wait for her to move in close and take her down from the floor grate. With help from your partner, take down the thugs and brutes. If things start to get rough, retreat into a corridor for extra room. After clearing the hostiles out, take the prisoners to the cells. Once the excitement is over, interact with the left quarantine cell. When the door opens, move into the room. After the flashback, return to the cell and interact with Robin.
Equip a New Secondary Weapon for the Batmobile at the Panessa Studios Facility

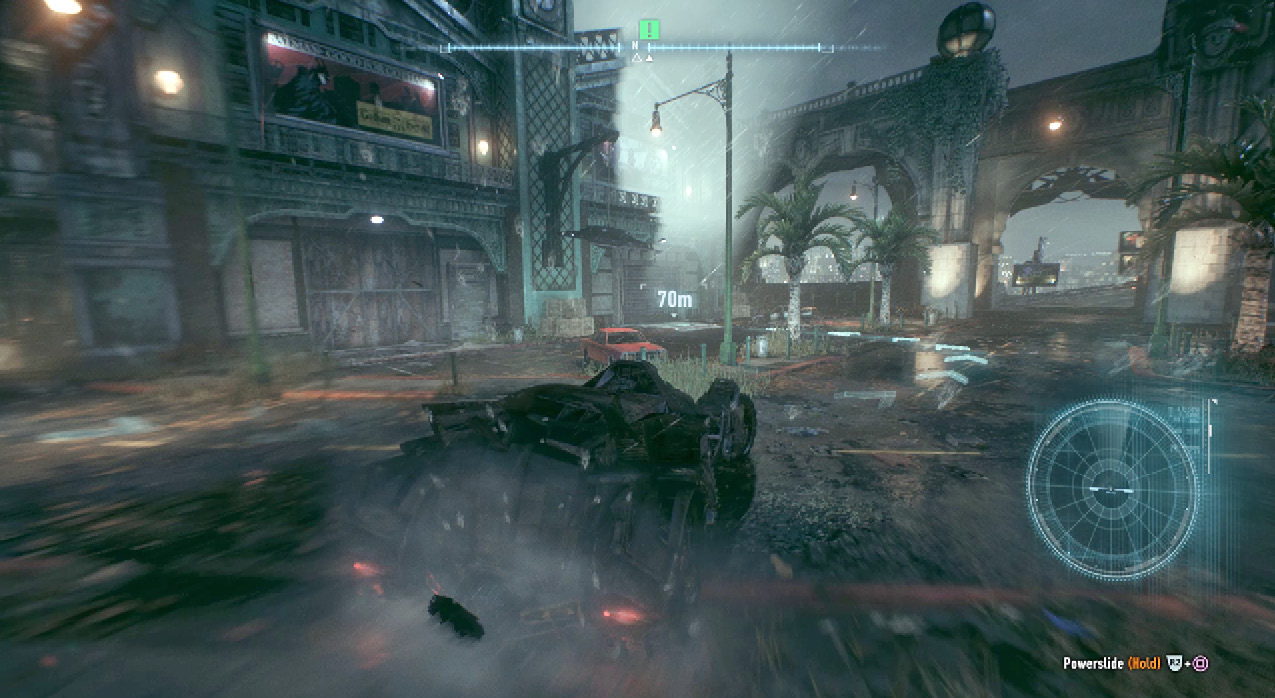
Take the elevator back outside, glide off the north side of the rooftop, and call the Batmobile. Drive into the nearby garage to get the remaining Batmobile upgrade.
Keep reading with a free account

The first 3 sections of Batman: Arkham Knight are open to everyone. An account opens the rest of it, and every other guide in the archive. It's free, and there's nothing to buy.

Bought guides on the old Prima Games site? Your account and every guide you own moved here, so there's nothing to buy again. Sign in.

Create a free account Or browse our free guides

PreviousChapter 5: Tonight Ends With Gotham's Fall NextChapter 7: Nature Always Wins