
Fable Anniversary Guide Walkthrough Witchwood to Grey House
Grey House
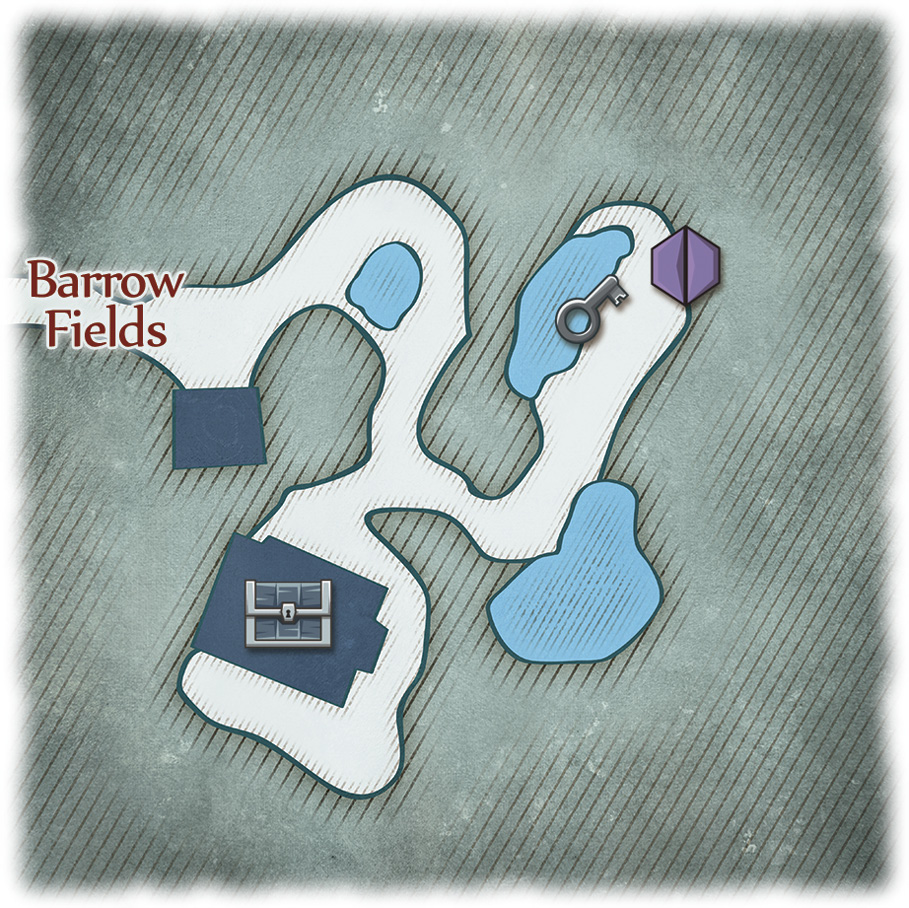
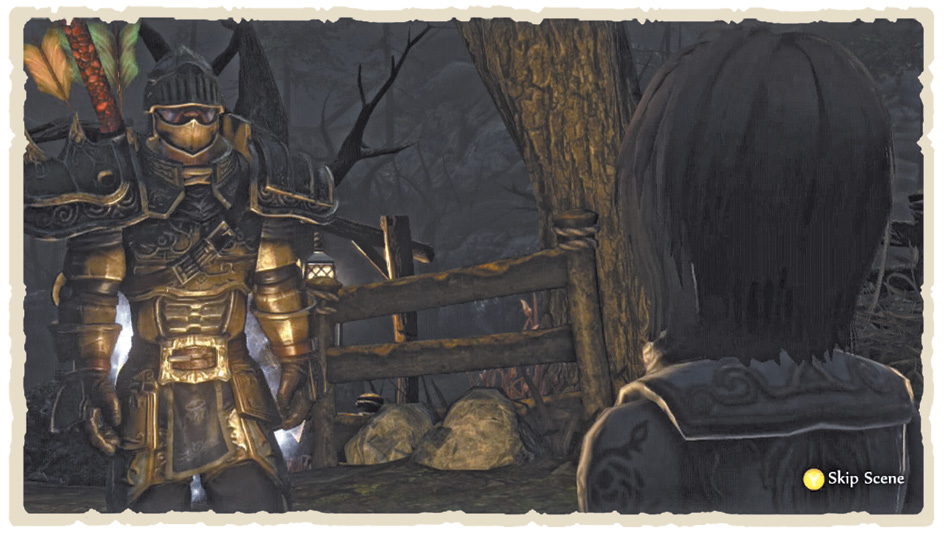
Theresa meets you outside the gloomy childhood home of Lady Grey—Mayor of Bowerstone North—immediately upon your arrival. With Albion starting to reveal its darkest secrets, Theresa takes her leave—noting that a new quest awaits back at the Heroes’ Guild.
However, there are a few things to do around Grey House before you embark on your next story quest. Enter Grey House itself and a grandfather clock chimes the hour, summoning a horde of Undead opponents. They’re slow, weak enemies, however, and shouldn’t pose too much of a threat.
After the battle, rummage around the ground floor to find an intriguing Dusty Notebook, a Tallin Clan Leg Tattoo, a Ruby, and an Ages of Skill Potion. Upstairs, there’s an Ages of Will Potion, a Normal Beard card, and a 10-Key Silver Key Chest containing a Sharpening Augmentation.
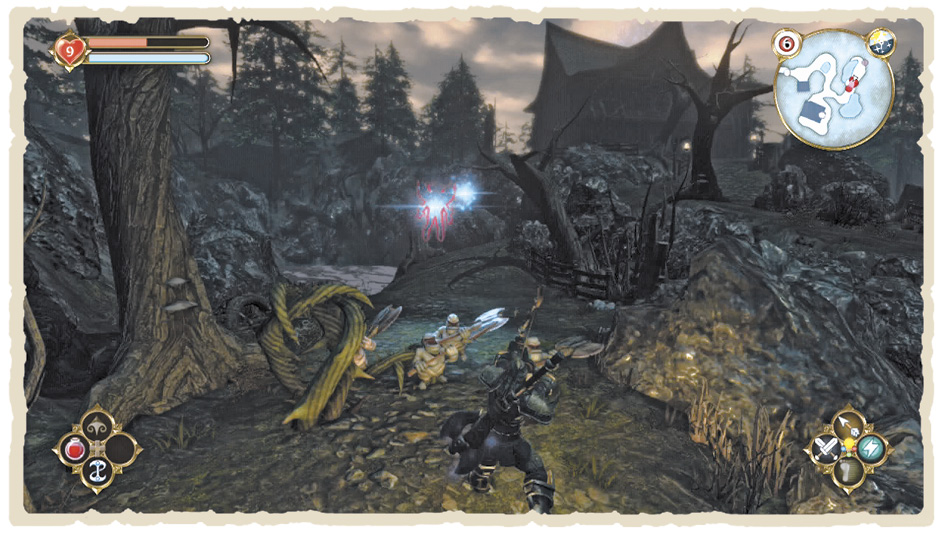
Head outside again then traipse round the back of the house to explore its equally miserable garden. There’s a Tallin Clan Arm Tattoo card stuffed into the scarecrow propped against the wall, and, now that you’ve exorcised the Undead hordes inside, a Deathlicon Tattoo waiting to be exhumed in the left-most grave.
Finally, make your way to the end of the path in the north-east. There are two giggling Water Nymphs here that you should deal with as soon as possible. Lock on to each in turn and use charged Spells or Ranged attacks to bring them down quickly. Intermittently, they summon Hobbe minions to do their dirty work, so try not to get overwhelmed.
Once the area is clear, chat to the Demon Door nearby. You won’t be able to meet its demands just yet, so fish up the Silver Key in the pond opposite then teleport back to the Heroes’ Guild, where your next adventure awaits.
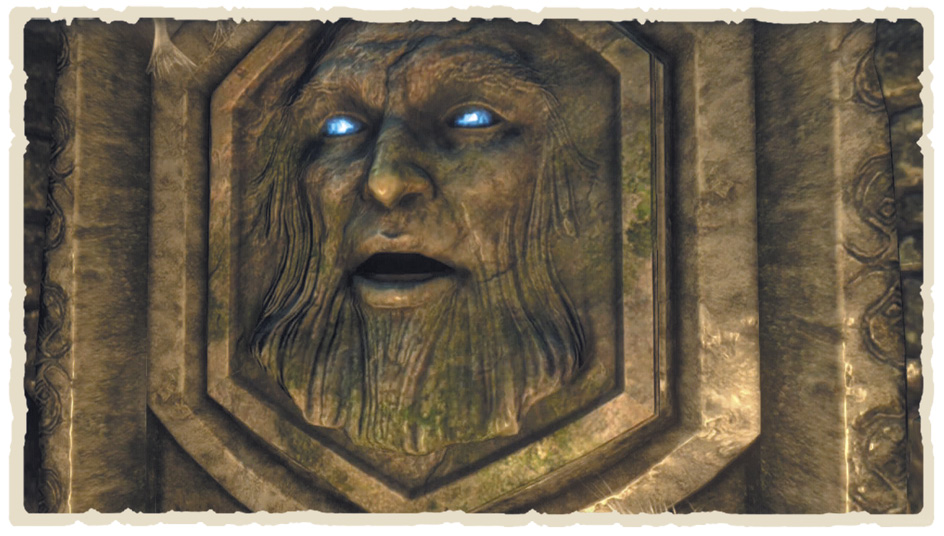
Grey House Demon Door
This particularly picky door refuses to open for any but the man married to a “posh wife with a title.” Of course, only one woman in the whole of Albion fits that bill—Lady Grey herself. To get hitched, you need to complete the imminent Mayor’s Invitation quest, granting you access to the Lost Garden and the Legendary Ronok the Axe inside. Be warned, though; if you choose to expose Lady Grey in the Investigate the Mayor quest, your entry is forever denied.
Further Adventures in Albion
Back at the Heroes’ Guild, your first task should be to spend all that lovely Experience you earned in the Arena. When you’re done, investigate the Map Table and peruse the Rescue the Archaeologist main story quest, plus the Lost Trader and Break the Siege quests. Take the two Silver Quests then make your way to Orchard Farm again—there’s another bit of business you should attend to here. Once you’ve arrived, speak to Isiah outside the farmhouse to get things underway.
BREAK THE SIEGE—BOASTS
| Boasts | Criteria | Wager | Reward |
|---|---|---|---|
| Fist Fighter | Use no weapons or offensive magic. | 400 | 1,900 |
| Kill Leader | Kill the Bandit siege leader. | 500 | 1,200 |
| No Protection | Do the quest naked. | 500 | 1,300 |
| Solo Mission | Do without assistance from Guards. | 800 | 1,600 |
| Without a Scratch | Take no damage. | 400 | 1,800 |
Ghost Granny Necklace
It seems Orchard Farm is in the midst of a haunting. As soon as you’ve accepted the quest, head down the path that runs north-west along the side of the farmhouse and speak to the spectral old lady there. In order to retrieve the heirloom, make your way west to Greatwood Lake. There’s a lone Bandit loitering by the broken bridge to the north—kill him, collect your spoils, then hand Isiah the necklace back at Orchard Farm.
The Lost Trader
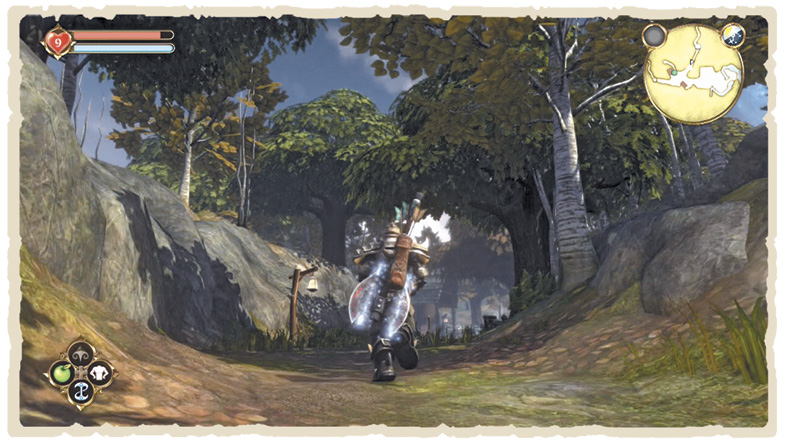
Your next task is to warp to Oakvale then slowly wind your way along the Clifftop Path until you reach the Abandoned Road. Once there, you meet a Trader in dire need of assistance.
First, follow the Trader along the path until he refuses to go any farther. After that, continue forward without him, bringing down any Bandits that get in your way. The Trader’s brother stands cowering at the far end of the road and, once you’ve talked to him, another wave of Bandits appears. If you’re feeling cautious, command the Trader to Wait then run ahead to clear out every remaining enemy. Finally, go back, command him to Follow, and return to the east. Alternatively, just dash on into the fray and hope for the best. Your reward for this particular endeavour is the extraordinarily long-awaited Treasure Clue 2. Good work.
Break the Siege
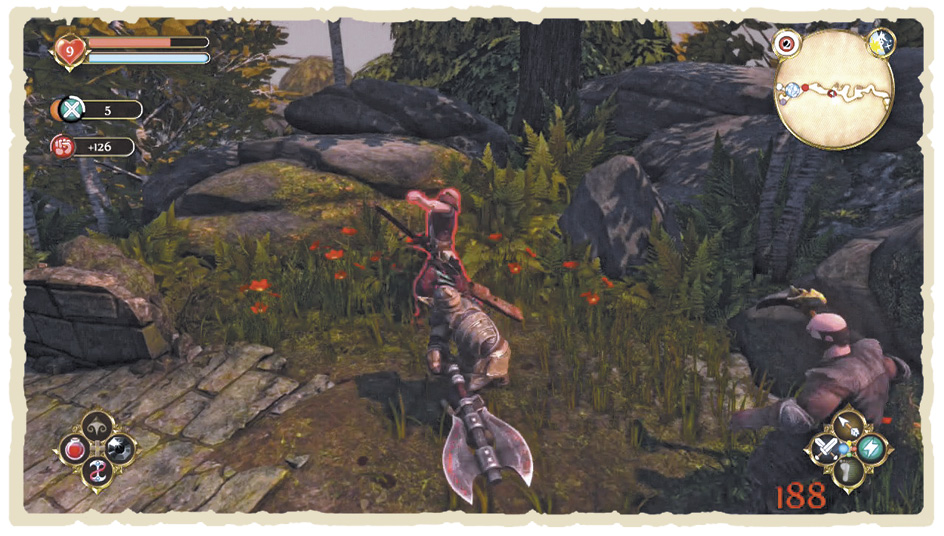
Now that you’ve collected the Break the Siege quest, a few new treats await in Knothole Glade—so teleport on over when you’re ready. It seems the locals have captured themselves a Bandit Leader, and, needless to say, hilarity ensues.
Inside Knothole Glade, the village Chief is less than ready to hand his hostage back. Before you go talk to the Guard by the gate, head south toward the tavern and scout out the Bandit Leader’s location nearby—it’s helpful to understand the lay of the land before launching into action here. When you’re ready, speak to the Guard and prepare for the Bandit onslaught.
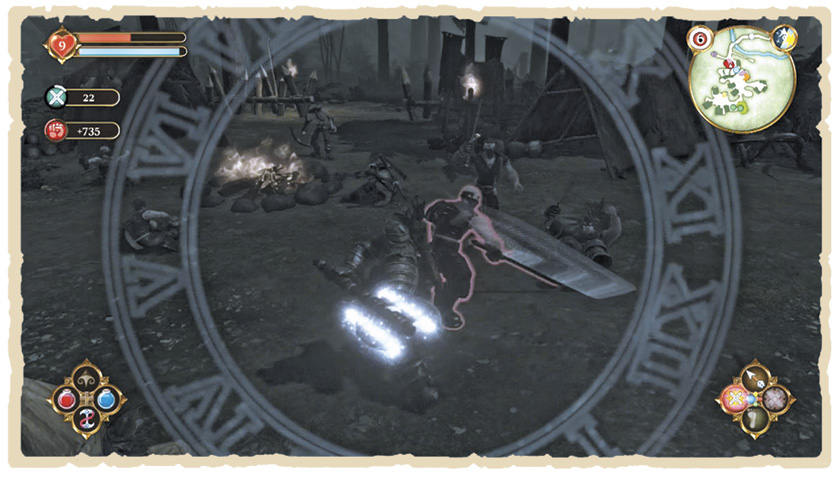
Your task is to maim each Bandit as it approaches the village gates. Heavy Melee weapons that pack a decent punch are especially handy here, and Will users can make the most of any Spell with a knock-down effect, such as Fireball, Enflame, or Force Push. Be warned, though; if a Bandit slips through your net and makes it to the south of the village, the Bandit Leader is freed and begins to worm his way to the exit. You need to defeat every Bandit beyond the gate before he manages to escape—as such, Slow Time can be a real boon in this battle. Once peace is restored, victory is yours.
After completing Break the Siege, leave the area and return immediately. You’re now a marked man, and, from this point on, Assassins attempt to ambush you in certain locations around Albion. Stay alert!
As you make your way back toward the village gates in Knothole Glade, an Assassin charges from a concealed path in the south-east. Deal with him as you would any Assassin—receiving the somewhat flattering, but mostly creepy, Doll of You as a reward. Prepare to be accosted again at the Witchwood Cullis Gate and at upcoming areas: Windmill Hill, the Prison Path, and Hook Coast. On the plus side, the treats you earn for each successful slaughter include a Jet stone, the book “Eyes of a Killer,” some Potions, and 100 Gold. Silver linings, right?
Archery Competition
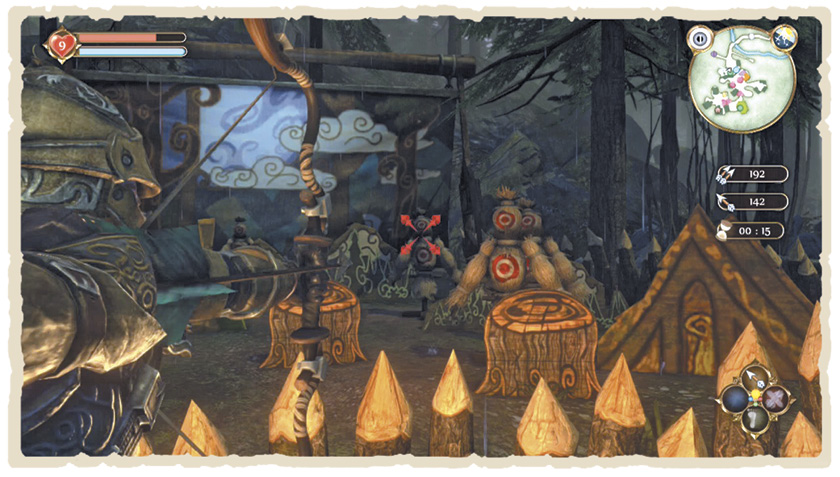
It appears that some enterprising soul has assembled the Knothole Glade archery range while you were otherwise engaged. You can find it right outside the village gates and it costs a paltry 10 Gold to enter.
Before the competition begins, quickly switch to first-person view for improved accuracy and aim your fully charged shots at the dummies right at the back to guarantee some big points. To win the competition, you need to beat the high score set all the way back during your Heroes’ Guild Archery training. One successful win earns you Treasure Clue 4, and, if you beat your new record, a Silver Arrow Trophy awaits. Alternatively, Evil characters can simply about-face, launch an arrow at the competition master’s head, then snag all the prizes from his startled-looking corpse—but that puts an end to the competition permanently. When you’re done, head back to the Heroes’ Guild, where new wonders await.