Fable Anniversary Guide Walkthrough Windmill Hill to Hook Coast
Prison Path
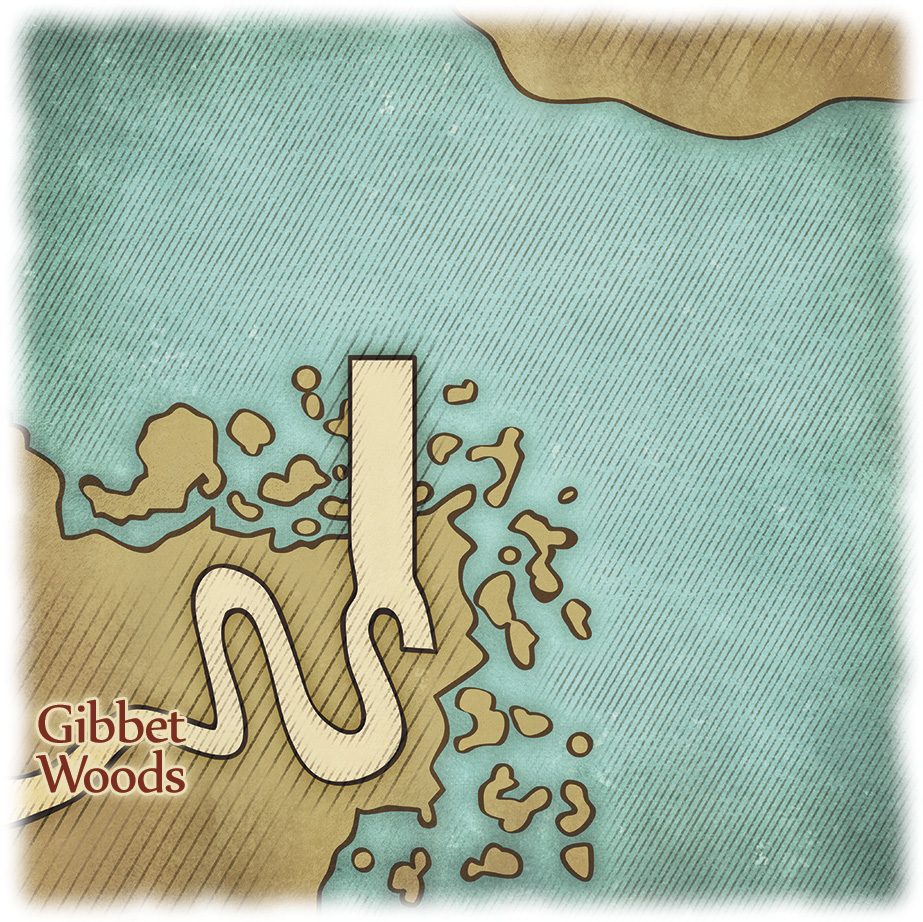
As soon as you enter the area, a timer starts ticking down—you’ve got five minutes exactly to work your way to the dock and rescue the archaeologist. Hopefully, you have a full entourage of Guards to help you out in this challenging task. Unless you’ve acquired an especially powerful Ranged weapon, Melee attacks are most effective here—use Slow Time to buy yourself a few extra seconds and exploit any situation where a Minion is focussing its wrath on your companions. Be warned that Flourish attacks are risky here, wasting time as you wait for an opponent to return to its feet.
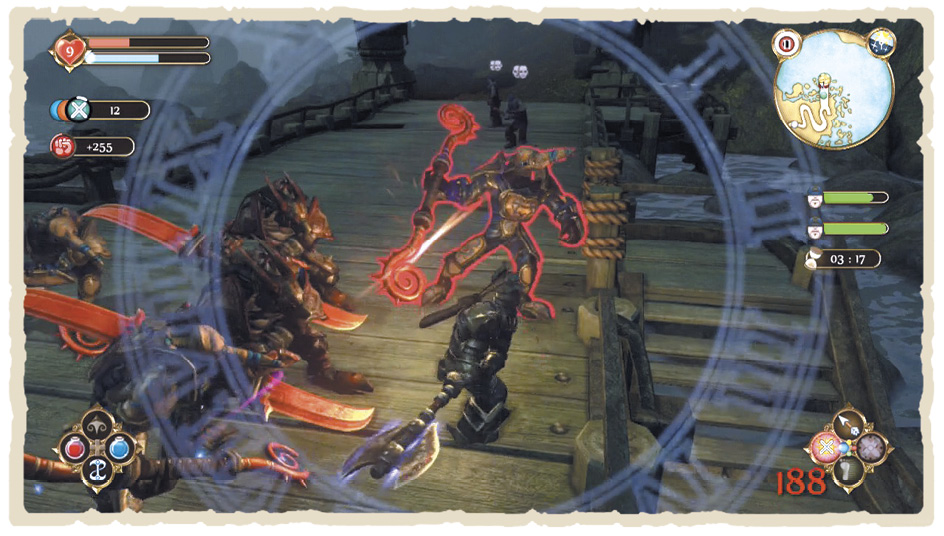
Push on down the path, and, eventually, you reach the dock. Here, you’re accosted by a whole bunch of Minions and time is of the essence. Use your most powerful Spells (a high level Enflame should do the job nicely) and keep hacking away until victory—and the Minion’s Helmet Trophy—is yours.
With the archaeologist safely recovered, The Graveyard Path quest is now active in your quest log—and three more await back at the Heroes’ Guild. However, you should retrace your footsteps first and collect any treasure you missed during the Minion battle. Grab the Silver Augmentation from the chest on the dock then wind back up the Prison Path, smashing barrels to receive various items, including an Emerald and a Resurrection Phial. Next, return to Windmill Hill.
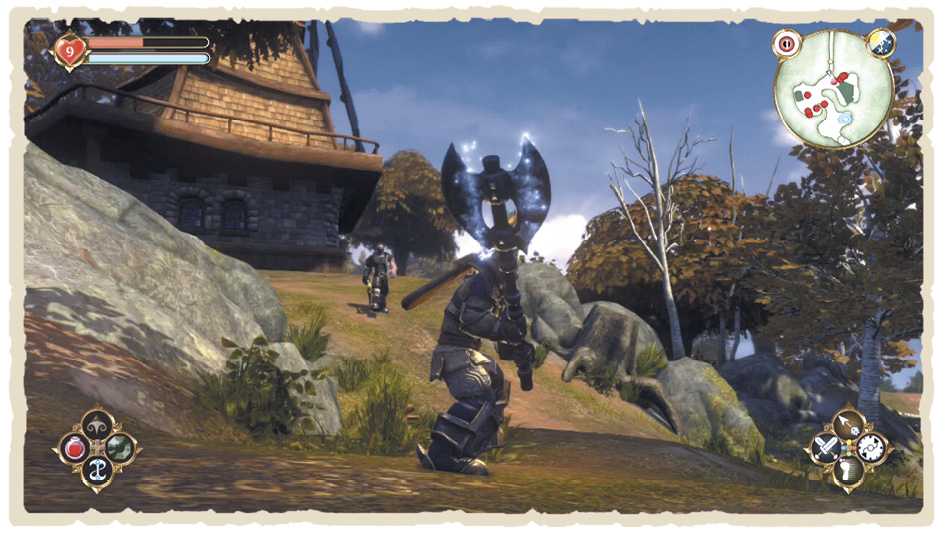
First things first, deal with the new enemy threat in the area and, when all is clear, grab the Trader Style Moustache card from the scarecrow to the south-west. Fish in the pond opposite to hook a Wedding Ring, then check out the flower circle in the field near the farmhouse—there’s a Silver Key buried inside.
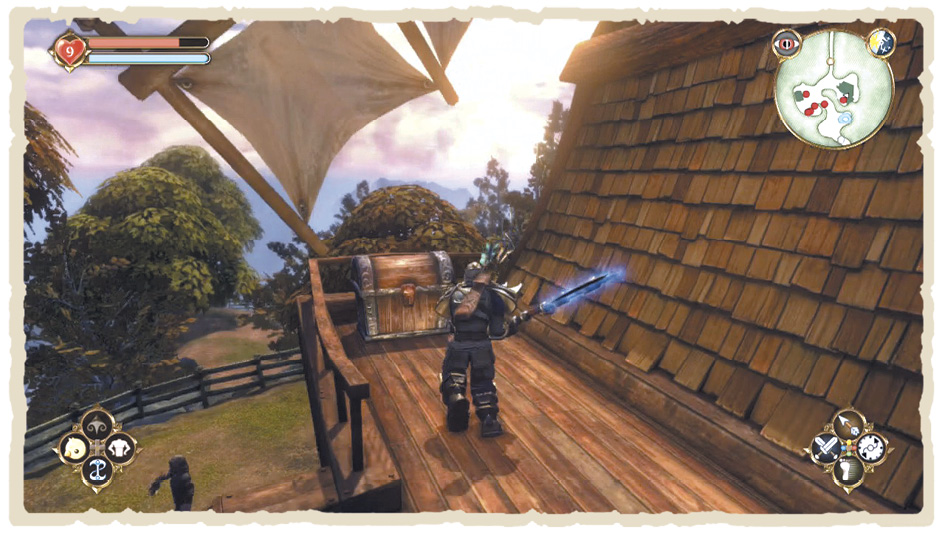
Next, visit the windmill to the east, smashing any barrels you spot on the way. Deal with the Bandits (and possibly another Assassin) then scramble up the windmill steps and swipe the Resurrection Phial from the chest. There are more barrel-based goodies to be found inside and you can dig up a second Silver Key in the flower ring to the north of the building. Finally, there’s a chest containing Treasure Clue 6 along the windmill’s eastern side. When you’re done, return to the Heroes’ Guild where a brand-new batch of quests awaits.
There are three new Silver Quests in total: the mysterious-sounding Darkwood Disturbance, plus the Execution Tree and Execution Tree Rescue quests. You can only select one of these latter two, with Execution Tree being tailored toward Evil Heroes and Execution Tree Rescue designed for saintly sorts. Once your choice is made, it’s time to visit Headman’s Hill.
EXECUTION TREE—BOASTS
| Boasts | Criteria | Wager | Reward |
|---|---|---|---|
| Fist Fighter | Use no weapons or offensive magic. | 500 | 1,500 |
| No Protection | Do the quest naked. | 400 | 1,000 |
| Protect Guards | Ensure no Guards are killed. | 500 | 1,500 |
| Without a Scratch | Take no damage. | 500 | 1,500 |
EXECUTION TREE RESCUE—BOASTS
| Boasts | Criteria | Wager | Reward |
|---|---|---|---|
| Fist Fighter | Use no weapons or offensive magic. | 500 | 1,500 |
| No Protection | Do the quest naked. | 400 | 1,000 |
| Protect Bandits | Ensure no Bandits are killed. | 500 | 1,500 |
| Without a Scratch | Take no damage. | 500 | 1,500 |
DARKWOOD DISTURBANCE—BOASTS
| Boasts | Criteria | Wager | Reward |
|---|---|---|---|
| Briar Rose Not Harmed | Don’t let Briar Rose get hurt. | 400 | 2,000 |
| Fist Fighter | Use no weapons or offensive magic. | 1,000 | 6,000 |
| No Protection | Do the quest naked. | 200 | 400 |
| Without a Scratch | Take no damage. | 800 | 4,000 |
Execution Tree and Execution Tree Rescue Quests
Both quests involve the imminent execution of a notorious Bandit. Good Heroes are tasked with escorting the criminal safely from Bowerstone Jail to Headsman’s Hill, while Evil characters must rescue the man before the Executioner’s axe falls. Regardless of the quest you chose, make your way to Bowerstone Jail to begin.
Execution Tree
Your first job is to familiarise yourself with the pace of your team—stray too far ahead and both Guards and prisoner stop dead in their tracks. As you move up the hill and around the bend, a Bandit wave attacks. If everyone is distracted, your charge will try and escape—be sure to chase him down quickly.
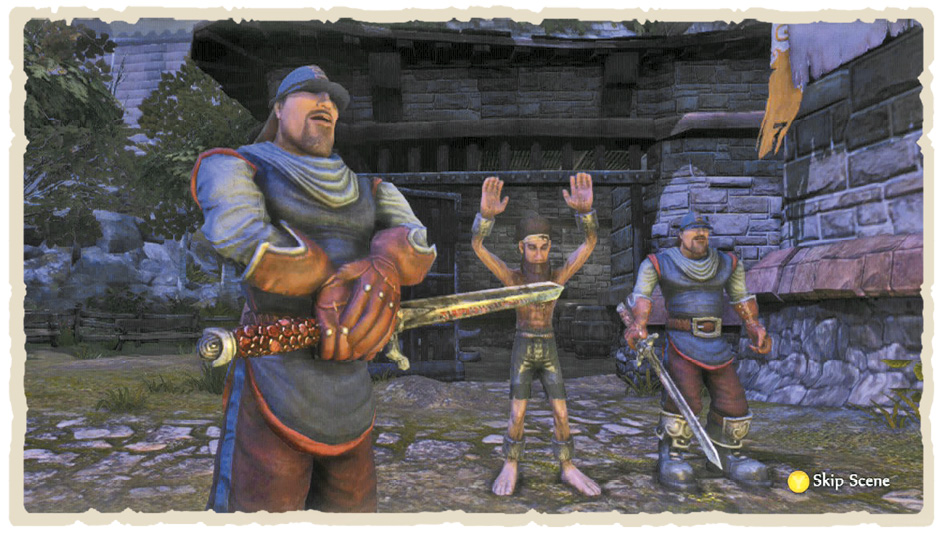
If either the captive Bandit or your Guard allies are killed in battle, the quest is over—so keep in close at all times. Let the Guards lead the way, ensuring you don’t lose each other between areas, and use Slow Time to minimise the amount of damage Bandits can deal before you’re able to respond. For obvious reasons, avoid area-of-effect Spells at all costs.
Proceed cautiously along the route through Windmill Hill and head north-west into Headsman’s Hill from Gibbet Woods. Once there, defeat the final Bandit influx (don’t hurt the Executioner who comes to assist!) and victory will be yours.
Execution Tree Rescue
In this version of the quest, you have 3 minutes and 45 seconds to make your way from Bowerstone Jail to Headsman’s Hill and save your comrade—with some Bandit help, of course. As you thunder toward your goal, Guards spring from the undergrowth in an attempt to thwart your plans. If you haven’t taken the Protect Bandits Boast, you can simply ignore enemies and leg it straight to your destination—otherwise, make judicious use of the Slow Time Spell to prevent your opponents from killing your comrades. Once you reach Headsman’s Hill, defeat the Executioner to complete your quest.