
Fable Anniversary Guide Walkthrough The Heroes Guild to Archons Folly
Necropolis
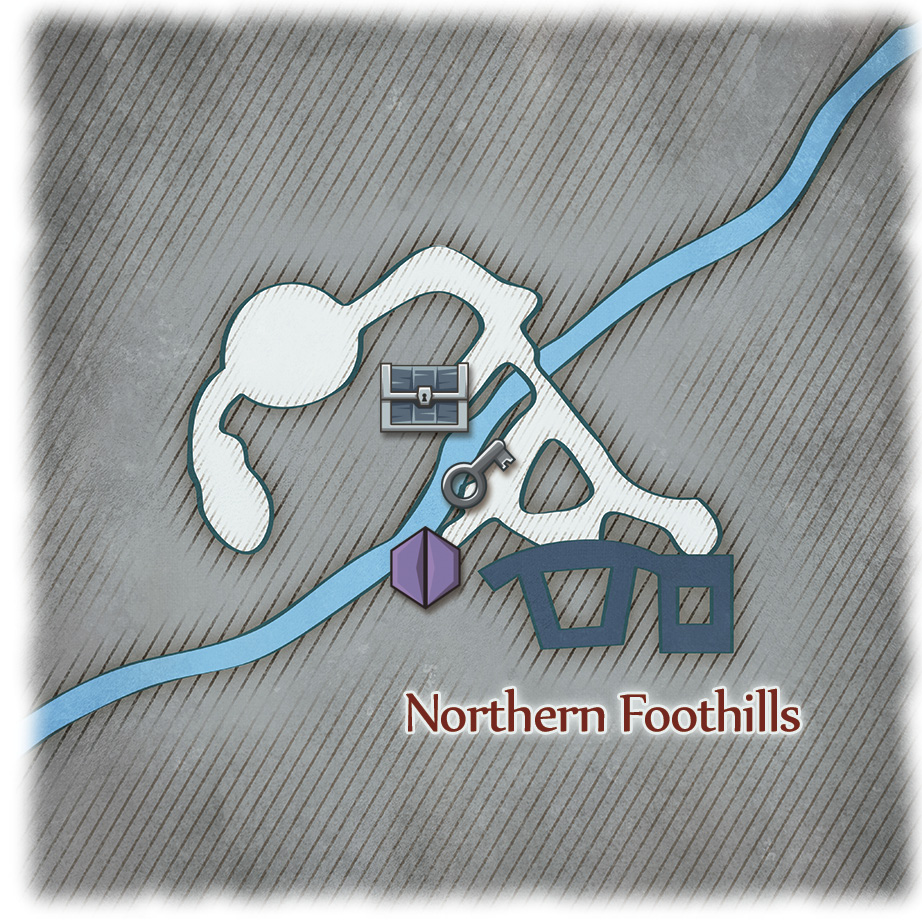
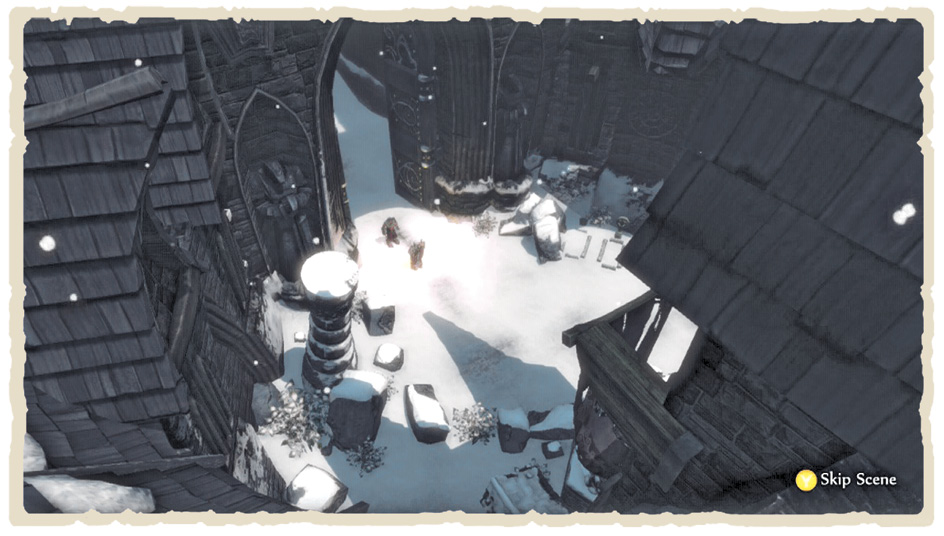
This once-bustling town lies deserted now, it’s true name lost alongside the citizens it sought to protect. All that remains are empty streets and the ghostly whispers of those that witnessed its fall first-hand.
The four Glymphs of Inquiry you seek (Yeron’s Tablet, Moryk’s Tablet, Calran’s Tablet, and Avisto’s Tablet) are buried somewhere in the Wraith and Balverine-infested ruins of the Necropolis, randomly placed beneath the glowing headstones that litter the area. Once you locate a new cluster of graves (follow the green markers on your mini-map if you need help), whip out your Spade, and get stuck into the putrid earth.
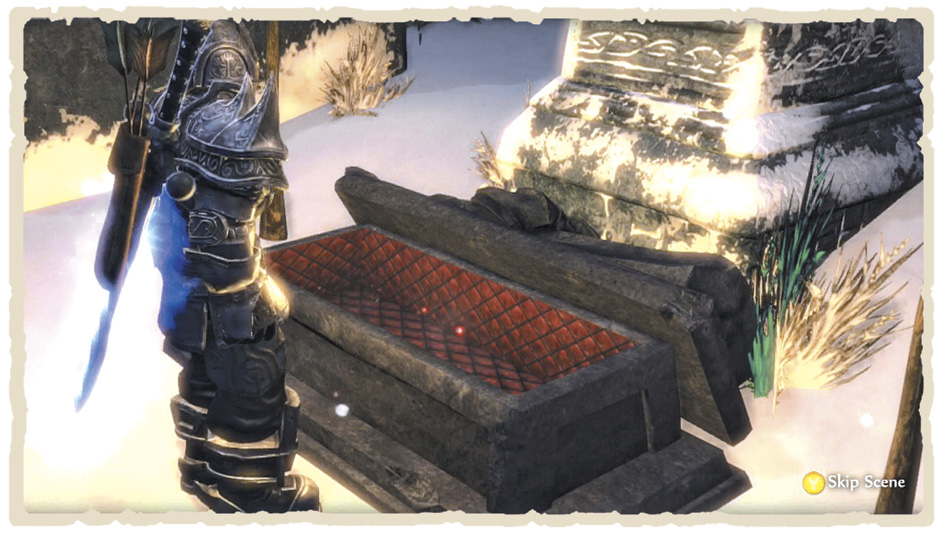
Be warned, though, not all graves contain the treasures you seek. Some hold beneficial items while others contain false Glyphs—red-spattered stones with the power to call Summoners and Minions into this realm. Thankfully, though, opponents only appear in small groups, meaning it’s potentially worth raiding every grave for items—assuming you don’t mind getting your hands dirty.
Look immediately to the left as you enter the Necropolis to locate the first batch of gravestones. Once you’ve revealed their spoils, begin moving north. As the road ahead forks, take the north-western path to find an Ages of Skill Potion in a nearby chest, alongside another cluster of graves. Continue onward, excavating more resting places as the path bends east, and keep an eye out for the Big Beard card lying near a statue close to the bridge.
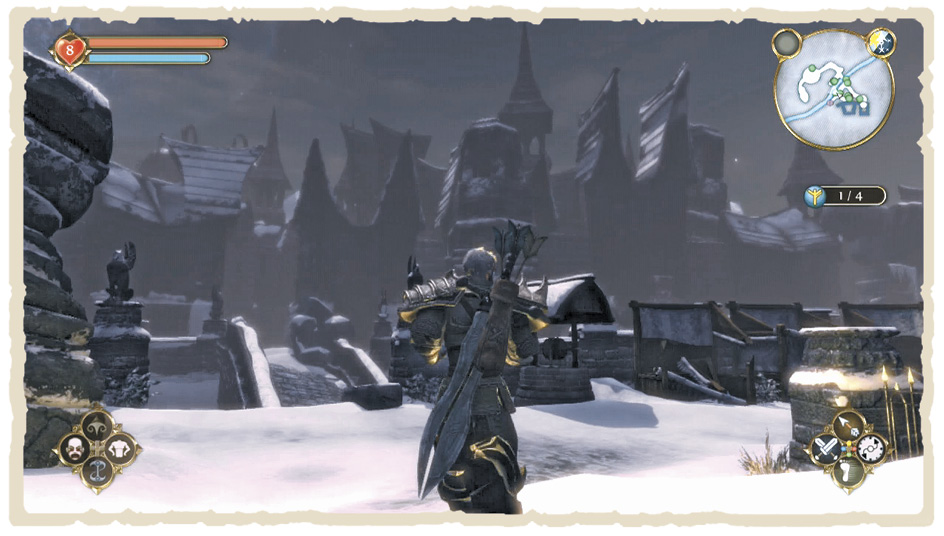
When you’re ready to move on, cross the bridge leading north and take a left, following the path to its end. Here, you’ll find a 25-Key Silver Key Chest (which you should be equipped to open by now) containing Archon’s Battle Helmet, Archon’s Battle Chest Piece, Archon’s Battle Gauntlets, Archon’s Battle Leggings, and Archon’s Battle Boots—a fine choice of armour for combat-happy Heroes. Before you retrace your steps, look for a second chest containing an Ages of Might Potion up the staircase to the right.
More graves huddle either side of the abandoned square in the north-west of town and, once you’ve investigated those, swipe the Furite Arm Tattoo and Furite Swirl Back Tattoo tucked alongside the nearby mausoleum. Your final destination lies at the very end of the road winding away from the square to the south-west.
Alas, the route is blocked by a huge Ice Troll so ready yourself for battle. The Troll’s multiple ice trails can be a real pain in these relatively tight confines so give yourself a bit of breathing space with Slow Time and pile on the Multi Arrows or snake in for a bold Melee strike.
With the Ice Troll defeated, head onward to the final Glyph’s resting place. Of course, nothing is ever as easy as it looks and a magical seal appears behind you—blocking your exit and leaving little choice but to confront the Minions and Summoners in the area. Slow Time is a real blessing here, enabling you to zip quickly around to the back of your opponents, where they’re most vulnerable. Once all four Glyphs—and the Summoner’s Gauntlet Trophy reward—are in your possession, teleport back to Snowspire where Scythe awaits.
THE NECROPOLIS DEMON DOOR
If you plan to impress this greedy little door, you’ll need to do far more than don your best frock or fart on a chicken. Don’t be too hasty to agree to its demands, however—if you turn over every Silver Key in your possession, as it requests, that’s the last you’ll see of them. Be sure to open every single Silver Key Chest in Albion before giving up your stash. Your ultimate reward for satisfying this particular Demon Door is the Legendary Bereaver—and, through the hypnotic powers of this guide, a possible urge to trump on livestock.
Paging The Oracle
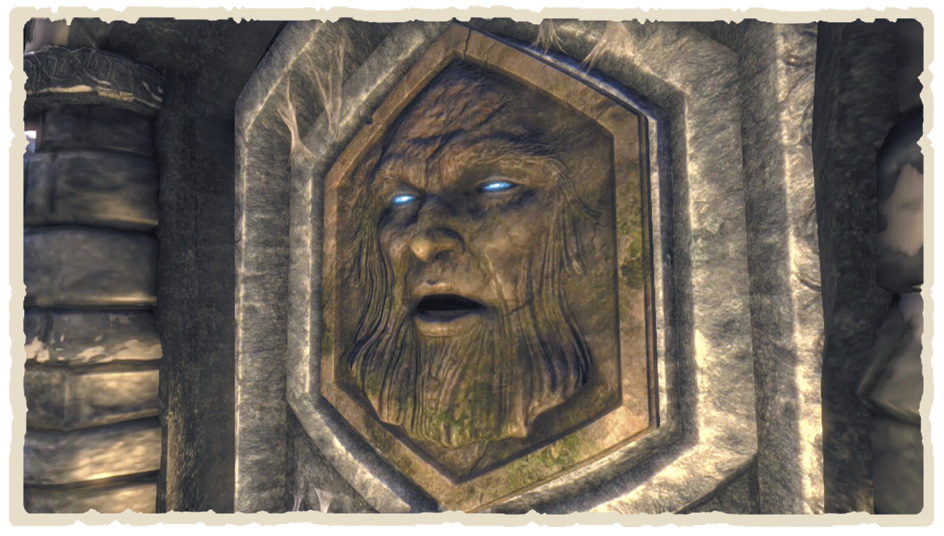
Back in Snowspire Village, use the four Glyph stones to rouse the Oracle from its aeons-long slumber. Thankfully, it’s in remarkably good spirits, despite the rude awakening, and foretells of Jack of Blades return. It seems that his reinvigorated form lies beyond that bloody great Bronze Gate to the east. Briar Rose has more information at Archon’s Shrine, so bid your farewells and get going.
The Souls of Heroes
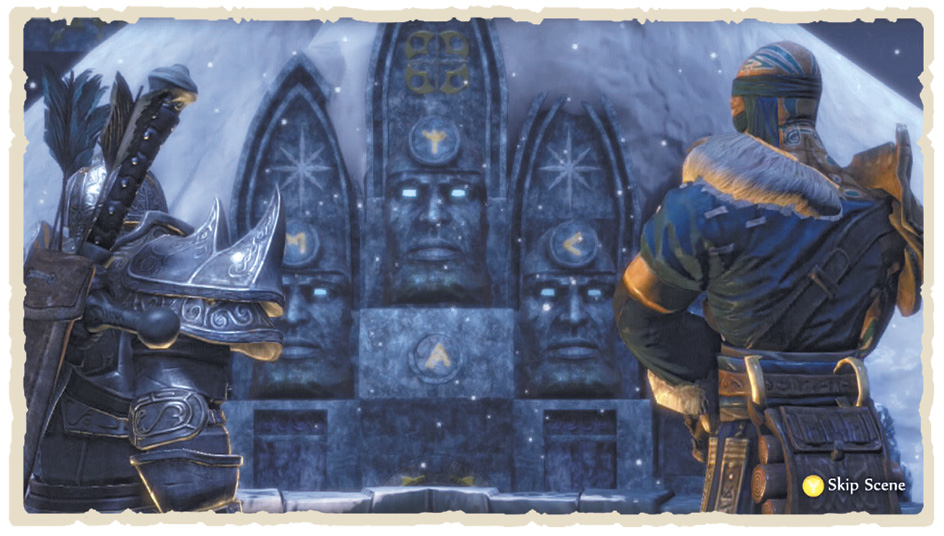
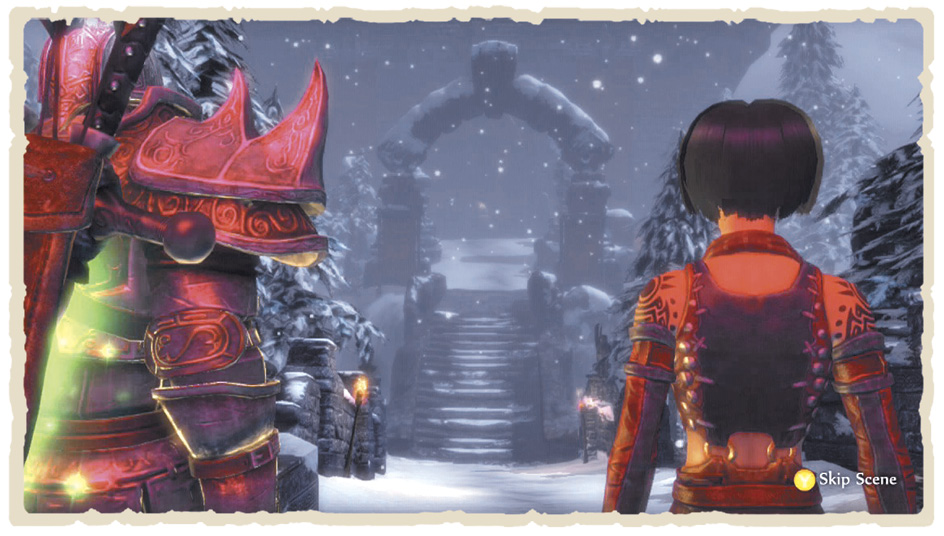
Once you’ve arrived at Archon’s Shrine, speak to Briar Rose for the run-down on your next quest. It seems that only the souls of three great Heroes can open the Bronze Gate that stands between you and Jack’s terrible new form. The first of these souls belongs to the King of the Arena and Briar Rose, reasonably, suggests you track down Thunder in Knothole Glade for more information. When you’re ready to begin, whip out your Guild Seal and beam on over.
In order to complete the Souls of Heroes quest, you need to consult Thunder, Briar Rose, and, finally, the Guildmaster to learn the whereabouts of each hidden soul. Recovering all three souls demands that you retrace your steps, visiting key locations from earlier in your adventures. However, by some staggering coincidence, your three Hero chums perfectly fit the criteria for each of the souls you need. In other words, if you’d rather not go traipsing around again, you could always just... take the ones in front of you?
The King of the Arena
 Collecting An Arena Soul
Once you find Thunder in Knothole Glade, he urges you to visit the Arena—a fairly logical place to find a soul with the title “King of the Arena.” As soon as you reach your destination, step inside and prepare to battle the Summoners causing havoc throughout the Hall of Heroes. You’ve fought enough of them by now to know their weaknesses—so knuckle down, then make your way through the door to the north-east when you’re ready
You should recognise the Arena Preparation Area from your earlier travels. However, this time around, the room is deserted—unless you count the hundreds of corpses littering the floor. Don’t get too gloomy, though—the abandoned shop in the centre of the room has a whole host of potions worth pilfering. With your pockets a little heavier, head north into the Arena itself.
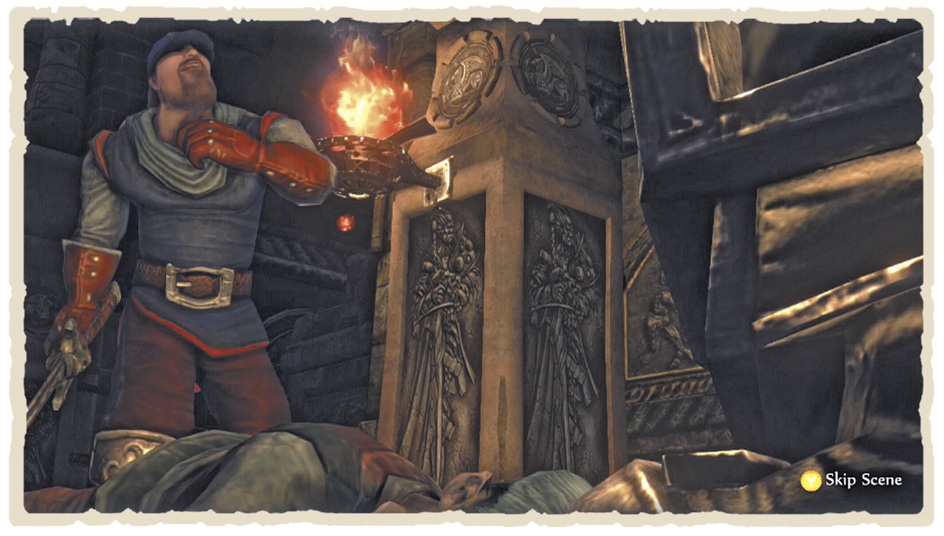
Once again, your time in the Arena is spent battling through several waves of increasingly challenging opponents. Thankfully, with only three rounds to beat, it won’t be long before victory—and the Arena Soul—are yours.
ROUND 1
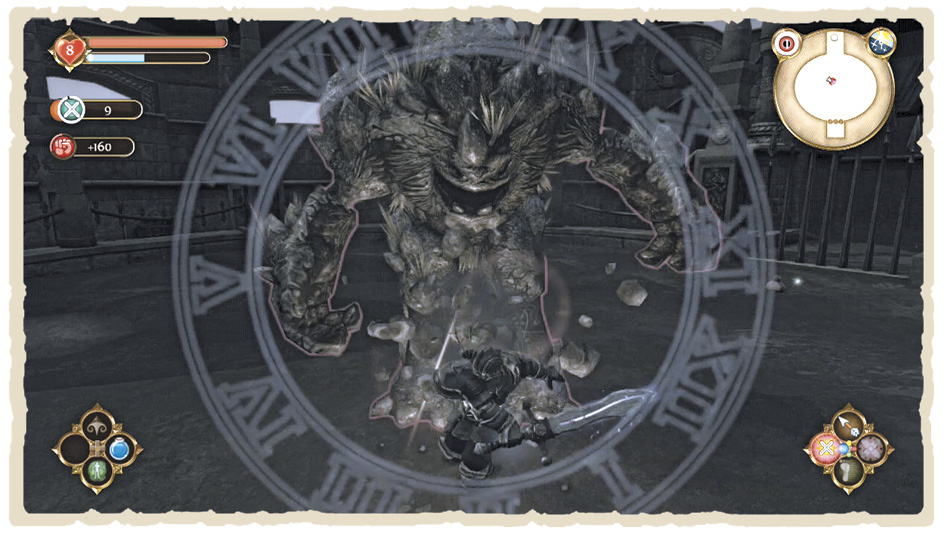
Your first challenge comes in the form of two Trolls and a handful of Minions. Immediately activate Slow Time and focus your attention on your smaller foes—there’s no way you can take on the Trolls with Minions nipping at your heels. Once they’re out of the picture, use your preferred method of battle to bring down your boulder-tossing chums.
Don’t rest easy just yet, though—a second wave begins almost immediately. Start the fight by clearing out any Minions in the area, then ready yourself for more. Next, you need to switch your attention back and forth between the incoming Minion hordes and your two new Troll opponents. It’s certainly tricky, but your previous strategies should work just as well here.
ROUND 2
Your next battle is split into two waves of Minions and Balverines—the only difference being that the second wave is a touch more brutal. Still, you’re a veritable master of slaughter now, so take a deep breath and get stuck in.
ROUND 3
This third and final round features Minion hordes and several strong Summoners, making it the most challenging fight yet. As ever, Minions shouldn’t pose much of a threat on their own, but the Summoners’ long-range magical attacks can be a real headache—so it’s wise to tackle them first. Give yourself the advantage with Slow Time, and, if you have it, unleash Berserk to cut through your Summoner challengers as quickly as possible. Wave two, as you’d expect, is a more enemy-heavy version of the first. Happy slashing!
With Round Three out of the way, the Arena Soul is yours. When you’re ready, return to Archon’s Shrine where the first leg of your epic quest concludes.
 KILLING THUNDER
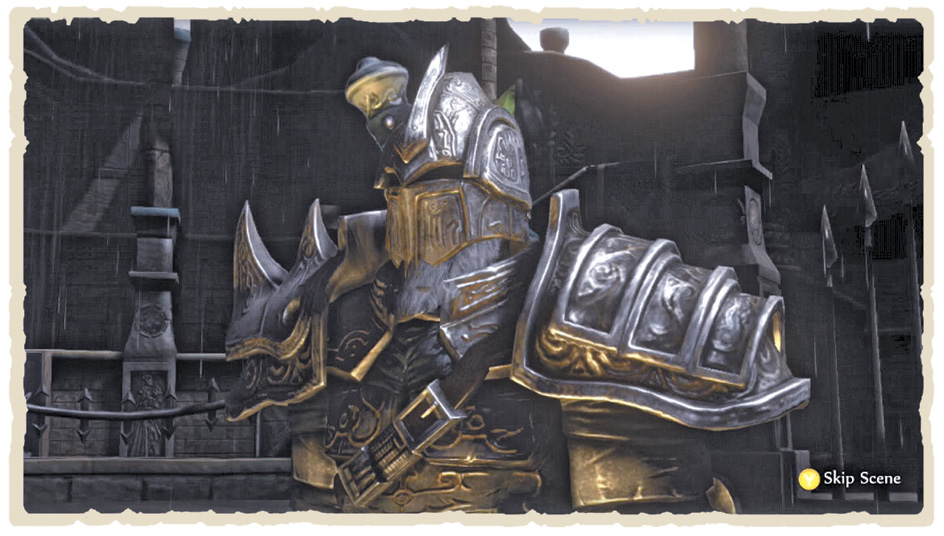
As Jack rightly notes, the Arena is an awfully long way away. Why waste another pair of boots when you’ve got a perfectly good candidate for the Arena Soul right in front of you? If you’re keen to progress down the path of Evil, simply attack Thunder to begin the quest.
If you fought Thunder earlier in the game, you’ll already know exactly how this battle plays out. Thunder hasn’t learned any new moves, meaning your best strategy is still to unleash a constant barrage of fully charged Multi Arrows or attack aggressively from behind. Wait until he’s mid-Spell if you’re choosing the Multi Arrow option, or use Slow Time to strike from the rear. With Thunder defeated, return to Archon’s Shrine with your first soul.
The Heroine
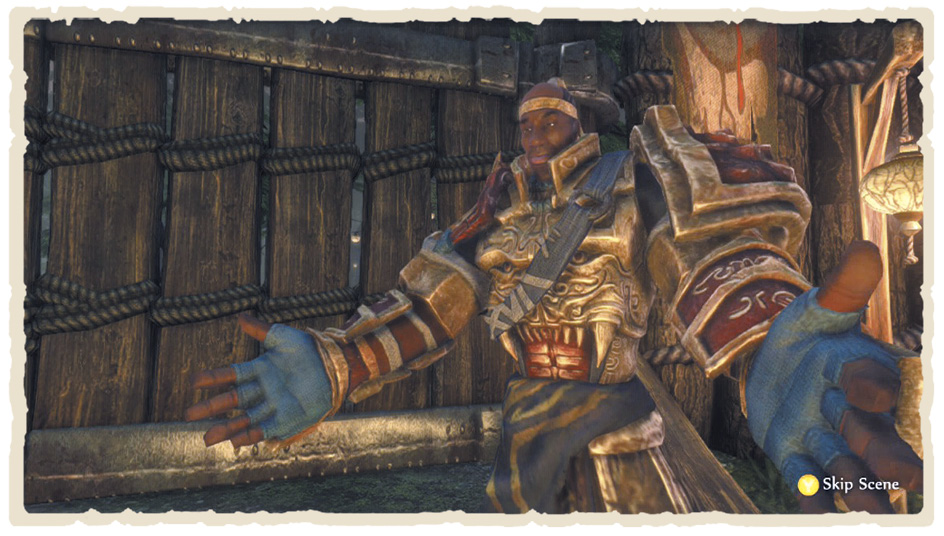
Next, it seems that the shrine requires the soul of a Heroine. As Briar Rose explains, nobody fits the bill better than your own mother, Scarlet Robe. Good Heroes should make their way to the Memorial Garden in Oakvale for a tearful reunion. Evil Heroes, meanwhile, may have already twigged that a perfectly decent alternative stands not too far away...
 COLLECTING YOUR MOTHER’S SOUL
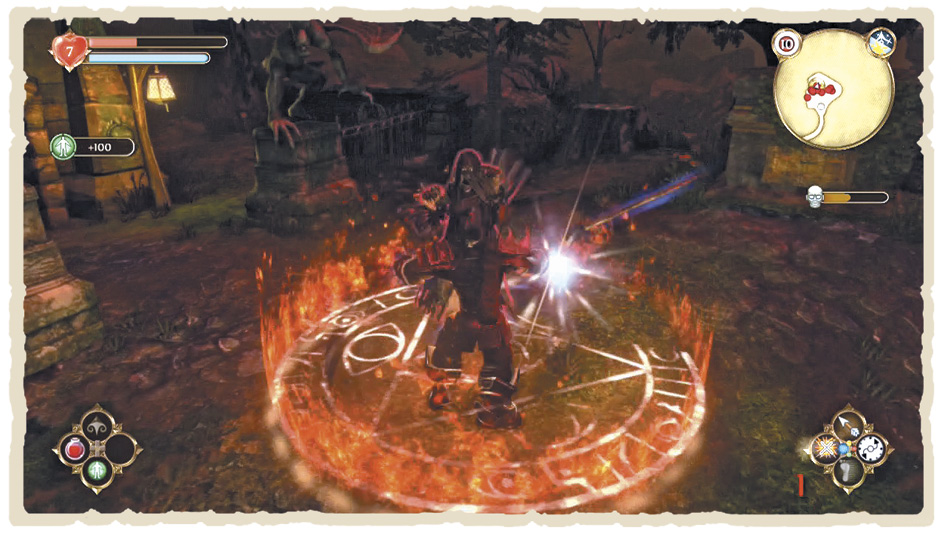
Your next quest begins the moment you enter Oakvale’s Memorial Garden. This once-peaceful grove is now home to a legion of Screamers, which, unsurprisingly, you’re going to have to battle. You shouldn’t have much trouble if you perfected your Screamer-annihilating skills back in Hook Coast—just remember that non-magical weapons won’t get you very far in this fight.
Use Slow Time if you start to get overwhelmed and keep a watch for powerful Screamer variants, easily spotted by the ring of fire that surrounds them. It pays to deal with these blighters quickly as their health-sapping Drain Life abilities can bleed you dry in seconds. Once your quota is full, return to Archon’s Shrine and relinquish your Mother’s Soul to Briar Rose.
 KILLING BRIAR ROSE
If you can’t be bothered to trot all the way to Oakvale, simply take a swing at Briar Rose to embark on the Evil version of this quest. A magical barrier appears around the shrine, preventing your exit, so prepare for some relatively close-quarters combat.
Briar’s first trick is to create several illusion versions of herself—smack each of them in turn until you find her real form then prepare to go one-on-one.
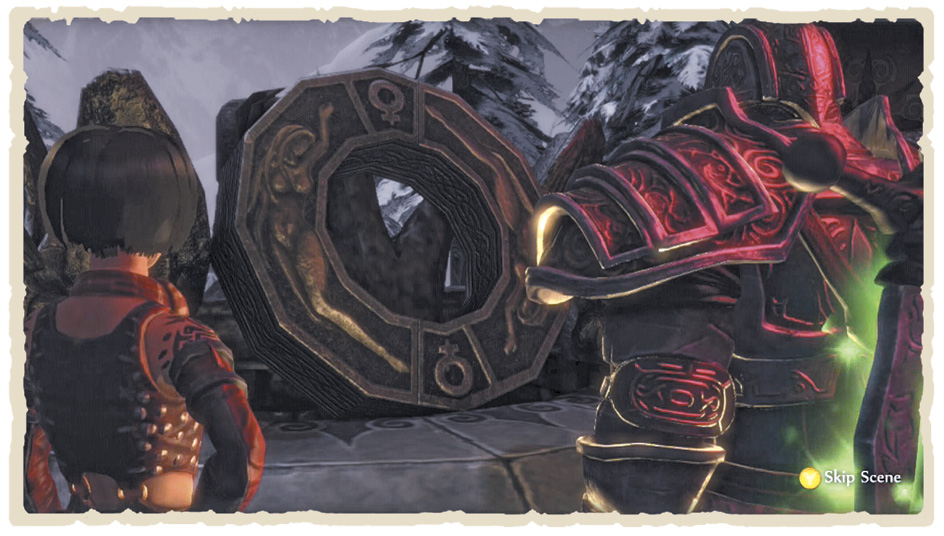
Up close, Briar is relatively easy to deal with, particularly if you remember to break her blocks with a Flourish and sneak round the back to dole out extra damage. Ranged fighters, however, should be wary of her powerful, long-distance energy Spell—remain vigilant and dodge out of the way of incoming attacks. Once you’ve landed a few successful blows, Briar’s entire attack pattern repeats. Keep up the fight, and, eventually, her soul will be yours.
The Oldest Soul
There’s one last soul to acquire—the mysteriously monikered Oldest Soul. Return to the Heroes’ Guild and speak with the acolytes to begin your final task. Good Heroes have an appointment with the great warrior Nostro and should teleport to Lychfield Graveyard before heading toward the Circle of the Dead. Evil Heroes, meanwhile, should swing by the Guild Woods for an audience with Guildmaster. After all, he’s no spring chicken....
 COLLECTING NOSTRO’S SOUL
Your final challenge begins once you reach the Circle of the Dead. On your way there, you’ll discover that the Old Graveyard Path has been overrun by Jack’s Minions and Nostro’s Undead army. Don’t panic, though; they’re all pretty distracted, so you can simply run on through, undisturbed.
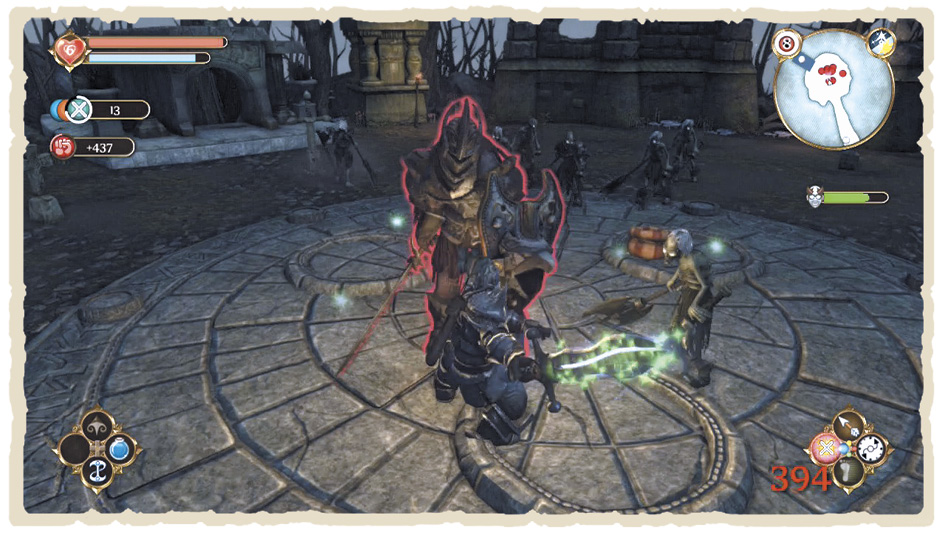
Nostro awaits your arrival within the Circle, and, rather helpfully, offers you his soul—provided you do him the honour of claiming it in battle. Once the fight commences, focus your attention on the Undead soldiers that start rising from the earth. Each time you destroy one, Nostro becomes momentarily vulnerable—quickly launch an attack before he disappears. Keep repeating the trick, and, eventually, Nostro’s fragile life-force will be no more. With the Oldest Soul in your possession, return to Archon’s Shrine one last time.
 KILLING THE GUILDMASTER
As you approach the Guild Woods, a group of Guards stops you in your tracks. Show no mercy, then hurry onward—the Guildmaster awaits.
You won’t battle the Guildmaster directly here—instead, his loyal Guards fight on his behalf. However, the old coot assists his allies by casting Heal Life and Physical Shield throughout the conflict, making your life just that little bit harder. Luckily, he can’t focus his magic on every Guard at once, so pick off any unaffected opponents and wait until the rest are no longer under his Spell.
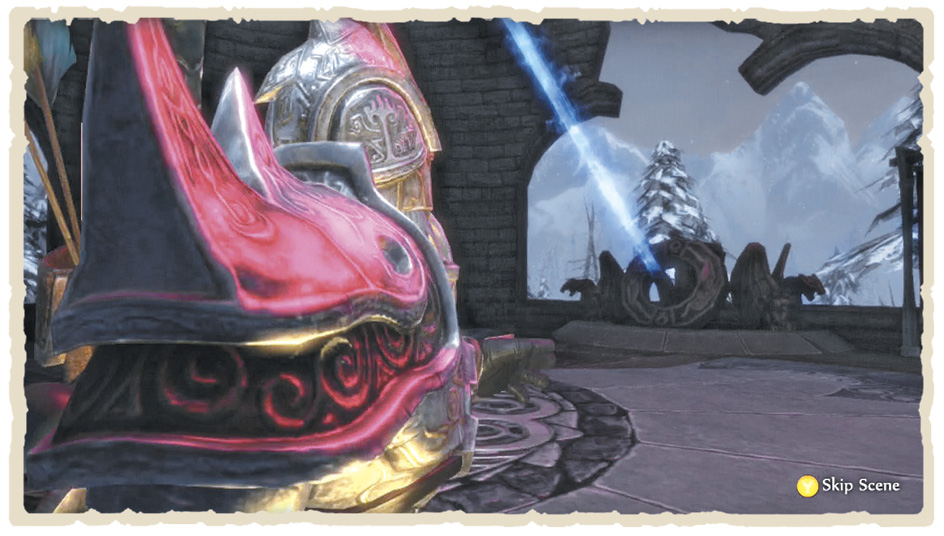
When every Guard is defeated, the Guildmaster finally submits. You’re given one last chance to spare his life and take Nostro’s soul at Lychfield Graveyard—but you’re way too Evil for mercy, right? Finish him off and return to Archon’s Shrine, with the third and final soul in your possession.
The Bronze Gate
As the three Hero Souls combine, the great Bronze Gate finally opens, granting access to its treacherous depths. Tuck away your brand-new Archon’s Circle Trophy, step into the darkness, and prepare for one last battle with Jack of Blades.