
Fable Anniversary Guide Walkthrough Lookout Point to Greatwood Caves
Bowerstone South
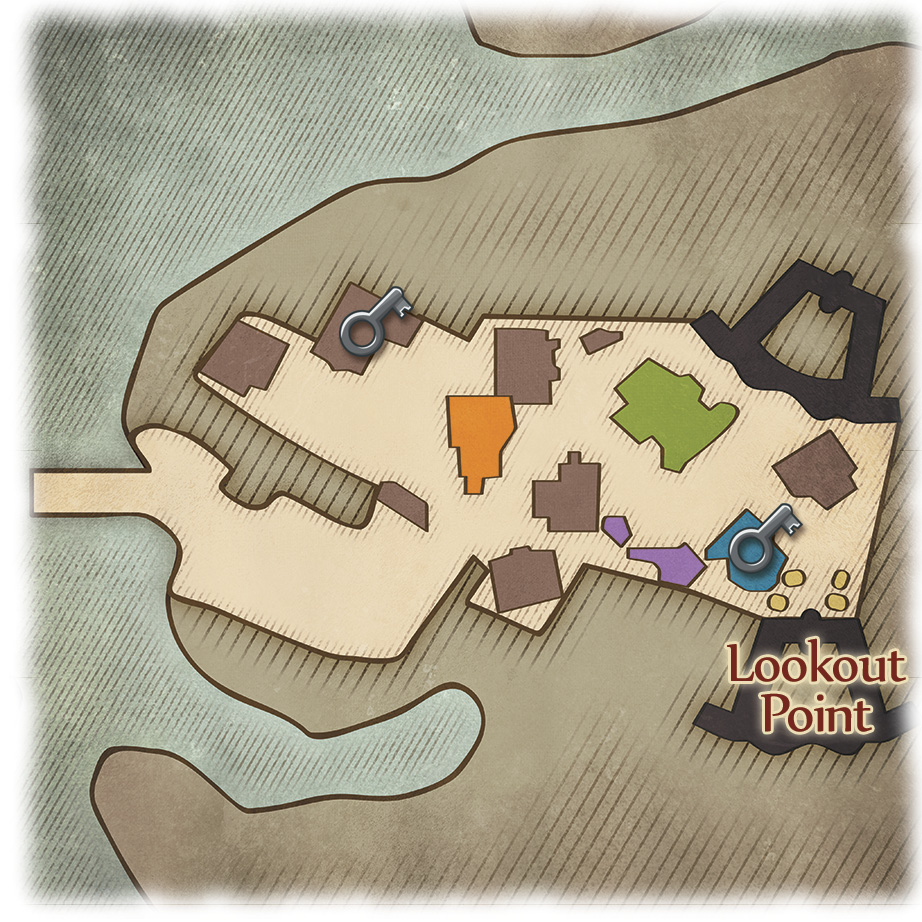
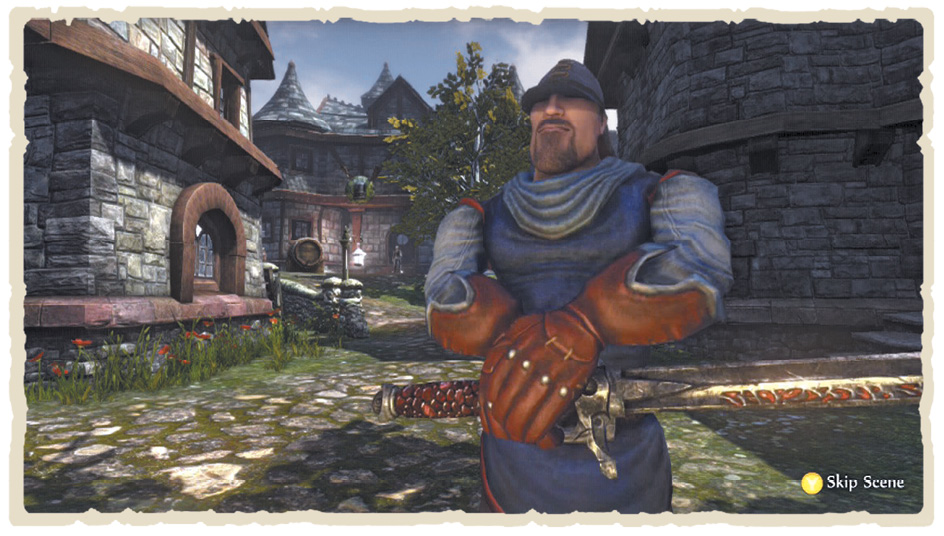
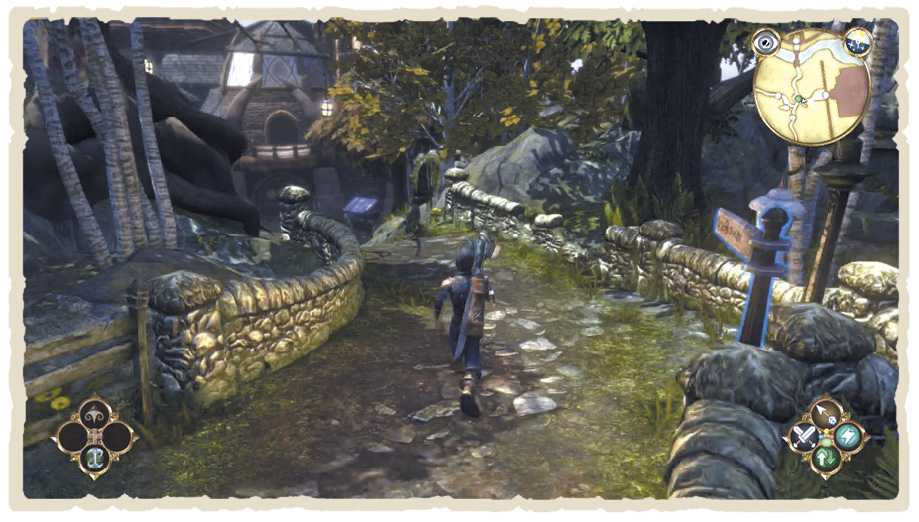
Bowerstone South lies to the north of Lookout Point. Enter its gates and the local constabulary will take a moment to explain the rules you’re expected to follow in civilised society. Basically, don’t: kill people; do: try your best not to kill people. Once he’s done, locate Maze outside the tavern and speak to him.
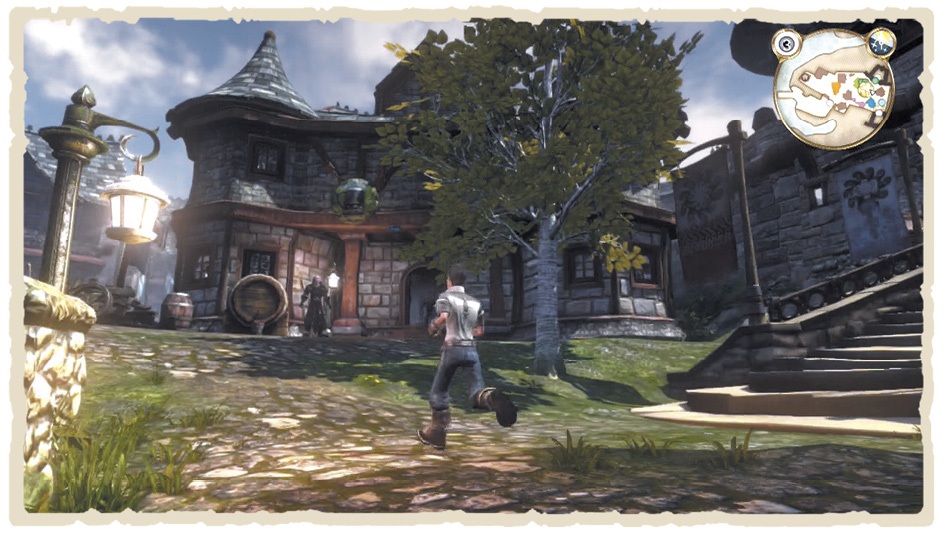
Maze suggests you return to the Guild and take on the Orchard Farm quest. By all means, do so immediately—but there’s still plenty to see and do in Bowerstone if you’d rather take your time. Silver Key collectors, for instance, should head back down the hill and enter the clothing shop to the right. Upstairs, on the balcony, you’ll locate the second Silver Key.
Bowerstone South Tavern
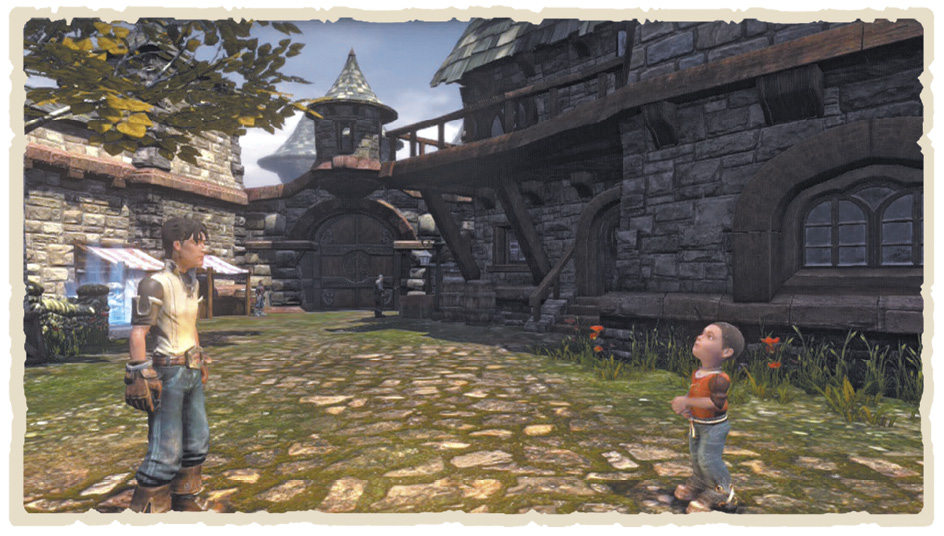
This heaving den of iniquity offers more than a frothy pint to quench your thirst. Poke around and you’ll discover a fine selection of beds upstairs—perfect for Heroes in need of 40 winks. Sleep in one for a small fee and night turns to day—or vice versa. Some quests are time dependent, so, if you can’t seem to find someone in town, have a kip. In the bar itself, you can try your hand at Card Pairs (and earn yourself a special prize), while local bodyguards offer sword-swinging assistance on your travels for a mere 10 Gold an hour.
Card Pairs
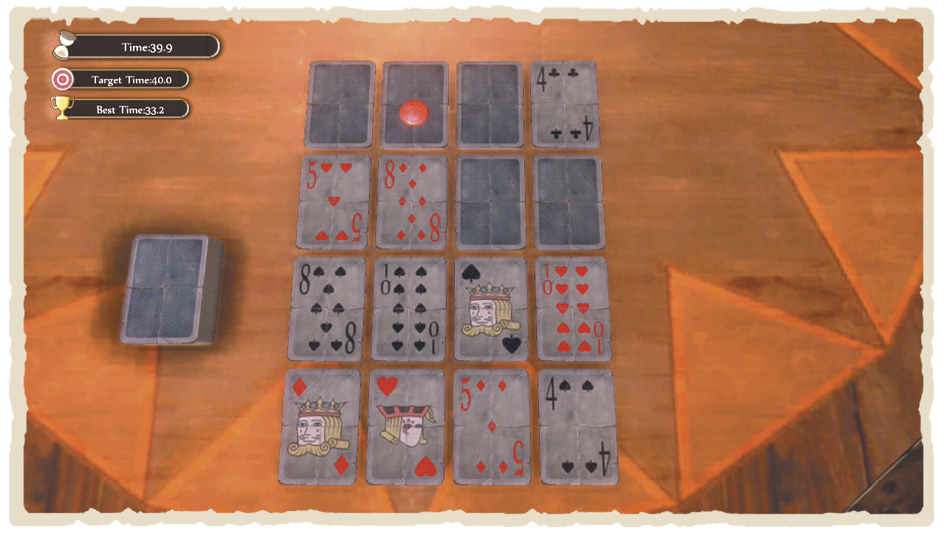
Card Pairs should be familiar to anyone that’s ever clenched a deck in their sweaty palms. It’s a simple memory game where your goal is to find every pair on the table by flipping two cards at a time. Beat the game in less than 30 seconds to win the much-sought-after Briar Rose Hero Doll. Take it to the boy wandering through town and you’ll receive the Collect the Hero Dolls quest to complete at your leisure.
There are seven Hero Dolls located around Albion—most rewarded for performing record-breaking feats in tavern mini-games. Once you’ve found them all, speak to the teacher at Bowerstone South school. Your prize for completing this lengthy, globe-trotting challenge is the entirely useless Jack of Blades Hero Doll.
The Tavern Cellar
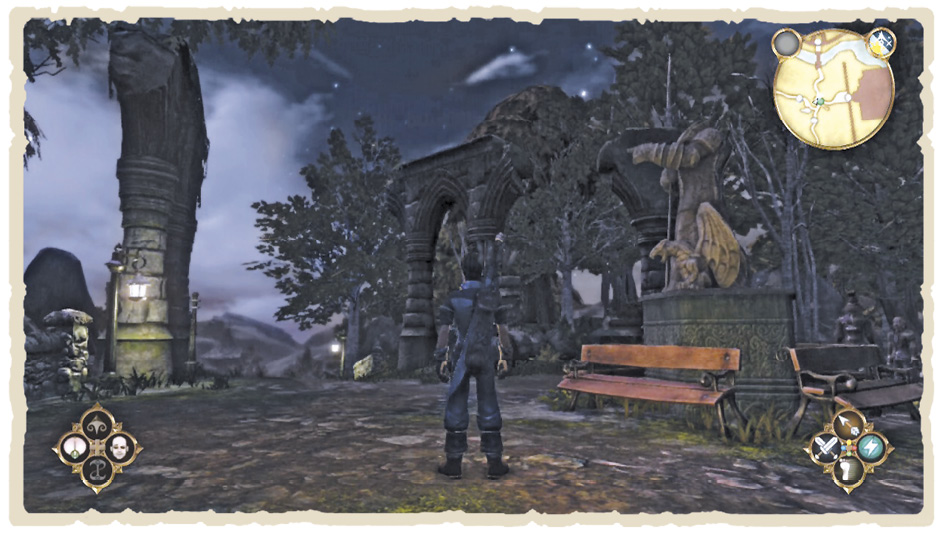
Nip behind the tavern and you’ll spy a tantalisingly locked cellar door. Sadly, though, no amount of frantic bashing will get you inside. As day turns to night and night into day, however, the statue at Lookout Point slowly spins on its axis. When its finger points toward Bowerstone South (around midnight), examine it and the cellar doors magically unlock, revealing a handy Leather Chest Piece inside. Changing the barrels must be a nightmare.
The Sick Child
Once you’re done draining the tavern dry, head outside and make your way back down the hill—you should spot a small girl, calling for your attention. Stop for a chat then follow her through town until you reach her mother. It seems some magical mushrooms have placed a young man in peril (don’t eat stuff you find lying around magic meadows, kids!) and, lo, a new quest begins.
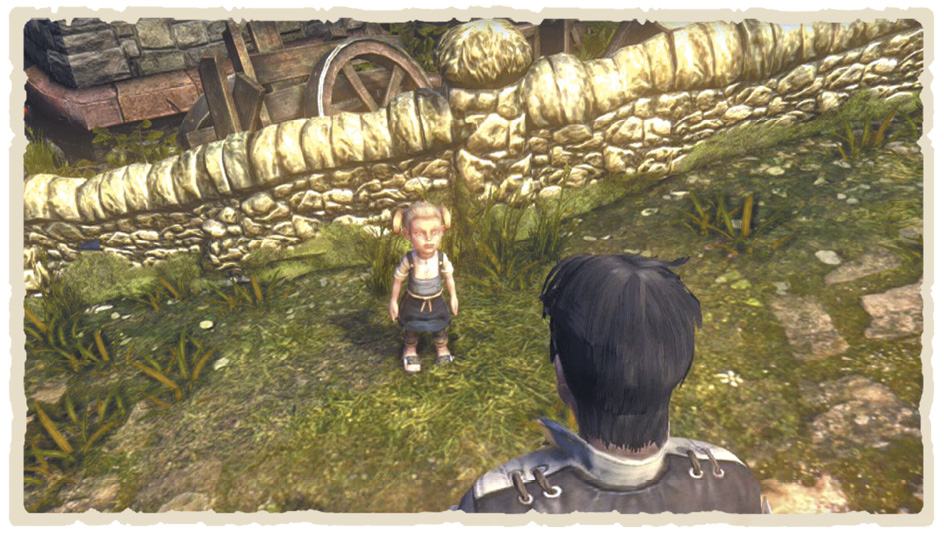
To complete this particular quest, you need to find four Blue Mushrooms scattered around Albion and take them to the witch in Bowerstone Quay. Two of the four lie in easy reach—and you can make headway on the third as well. Before you begin, though, there’s a little more sightseeing to be done.
Book Collection
Pay a visit to Bowerstone school in the north-west and its troubled teacher requests that you use your considerable Hero-ing skills to help restore the dwindling library, bringing back books you find on your travels.
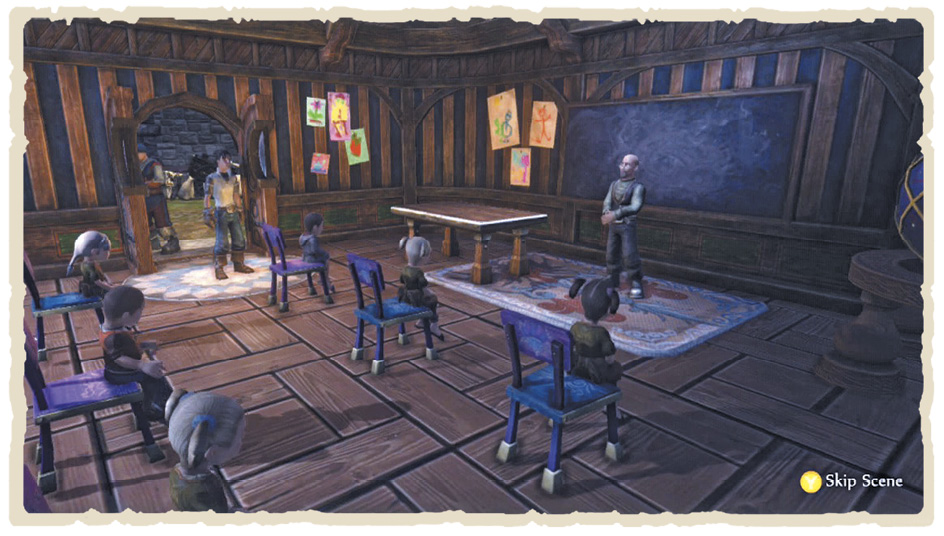
You’ll receive a prize once you’ve returned a set number of books to the teacher. As it happens, you should already have plenty on your person if you looted the shelves at the Heroes’ Guild. Your first reward is either the Bright Wizard Hat or Dark Wizard Hat, depending on the nature of the books you donate. Once you’ve delivered 25 acceptable tomes, you’ll be the lucky recipient of a Silver Key.
| Book | Location |
|---|---|
| A Love Story | Heroes’ Guild |
| Creatures of Albion Book I | Heroes’ Guild |
| Creatures of Albion Book II | Heroes’ Guild |
| Creatures of Albion Book III | Heroes’ Guild |
| Eyes of a Killer | Bowerstone South |
| Jack of Blades | Heroes’ Guild |
| Making Friends | Heroes’ Guild |
| The Arena | Heroes’ Guild |
| The Balverine Slayer | Knothole Glade |
| The Dragons | Heroes’ Guild |
| The Guild of Zeroes | Bowerstone South |
| The Northern Wastes | Heroes’ Guild |
| The Oakvale Raid | Oakvale |
| The Old Kingdom | Heroes’ Guild |
| The Other Land | Heroes’ Guild |
| The Pale Balverine | Heroes’ Guild |
| The Repentant Alchemist | Bowerstone South |
| The Sock Method | Oakvale |
| The Tailor’s Tragedy | Bowerstone North |
| The Tale of Maxley | Heroes’ Guild |
| The Tale of Twinblade | Heroes’ Guild |
| The Trials of Aarkan | Oakvale |
| The Ugly Guide | Oakvale |
| Windbreaker Rule Book | Bowerstone South |
| You Are Not a Bad Person | Bowerstone South |
Shopping at Bowerstone South
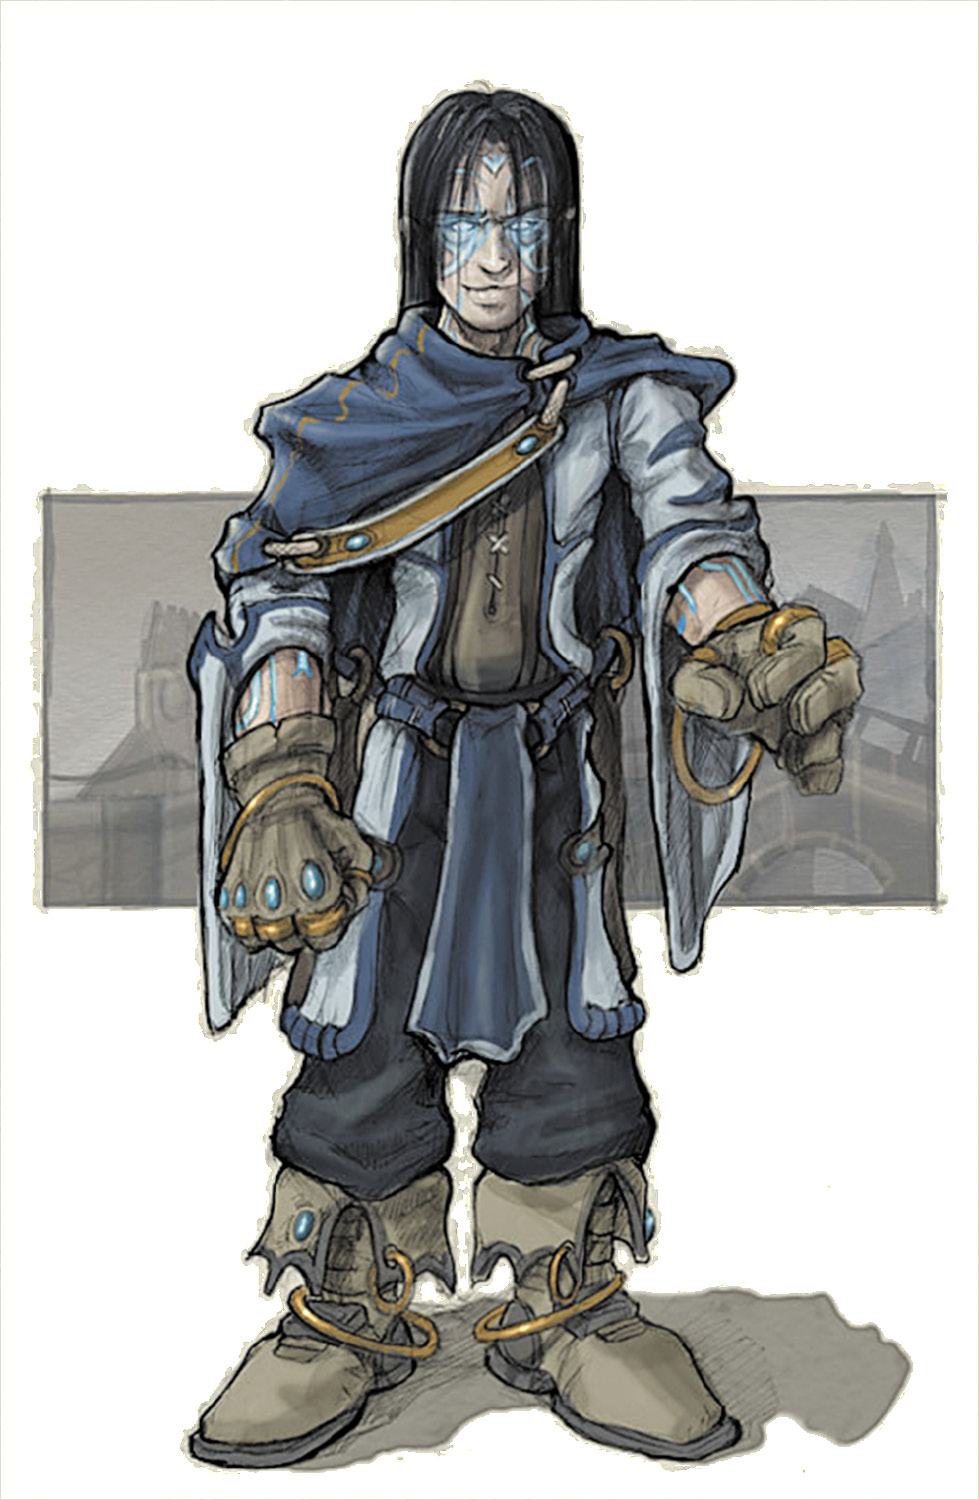
Prices in Bowerstone South are considerably less wallet-ravaging than those at the Heroes’ Guild. Most items can be bought for close to their base value if you’re looking halfway presentable. You’ll get some real bargains at the item shop near the gates—including Grain Sacks, which you can sell for a profit at the Heroes’ Guild Shop. Use your proceeds to grab some Leather Armour and a Spade before waving goodbye to Bowerstone South.
Clothing
| Head | Value |
|---|---|
| Chainmail Helmet | 742 |
| Hands | Value |
| Bright Leather Gauntlets | 150 |
| Chainmail Gauntlets | 742 |
| Dark Leather Gauntlets | 144 |
| Dress Gloves | 13 |
| Leather Gauntlets | 127 |
| Plate Gauntlets | 1,980 |
| Villager Gloves | 21 |
| Torso | Value |
| Bright Leather Chest | 545 |
| Chainmail Shirt | 2,967 |
| Dark Leather Chest | 535 |
| Leather Chest Piece | 507 |
| Plate Chest Piece | 7,920 |
| Upper Dress | 50 |
| Villager Shirt | 84 |
| Legs | Value |
| Bright Leather Leggings | 465 |
| Chainmail Leggings | 2,596 |
| Dark Leather Leggings | 460 |
| Leather Leggings | 443 |
| Lower Dress | 44 |
| Plate Leggings | 6,930 |
| Villager Trousers | 74 |
| Feet | Value |
| Assassin Boots | 68 |
| Bright Leather Boots | 70 |
| Chainmail Boots | 371 |
| Dark Leather Boots | 69 |
| Leather Boots | 63 |
| Plate Boots | 990 |
| Villager Boots | 11 |
Weapons
| Melee | Value |
|---|---|
| Iron Axe | 125 |
| Iron Cleaver | 138 |
| Iron Greataxe | 200 |
| Iron Greathammer | 225 |
| Iron Greatmace | 213 |
| Iron Greatsword | 238 |
| Iron Katana | 163 |
| Iron Longsword | 150 |
| Iron Mace | 113 |
| Iron Pickhammer | 100 |
| Master Axe | 17,438 |
| Master Pickhammer | 13,950 |
| Obsidian Cleaver | 2,145 |
| Obsidian Greatsword | 3,705 |
| Obsidian Pickhammer | 1,560 |
| Steel Axe | 375 |
| Steel Longsword | 450 |
| Steel Mace | 338 |
| Steel Pickhammer | 300 |
| Ranged | Value |
| Yew Longbow | 150 |
| Yew Crossbow | 200 |
| Oak Longbow | 450 |
| Oak Crossbow | 550 |
| Ebony Longbow | 1,820 |
ITEMS
| Potions | Value |
|---|---|
| Health Potion | 80 |
| Resurrection Phial | 500 |
| Will Potion | 70 |
| GIFTS | VALUE |
| Chocolates | 10 |
| Fake Wedding Ring | 200 |
| Perfume | 120 |
| Red Roses | 20 |
| Wedding Ring | 900 |
| PRODUCE | VALUE |
| Apple Pie | 15 |
| Carrot | 6 |
| Cider Crate | 52 |
| Fish | 12 |
| Flour Sack | 35 |
| Grain Sack | 25 |
| Green Apple | 4 |
| Red Meat | 14 |
| Other | Value |
| Fishing Rod | 50 |
| Spade | 200 |
WANTED
| Wanted | Value |
|---|---|
| Fish | 12 |
| Fish | 18 |
| Fishing Rod | 50 |
| Iron Longsword | 150 |
| Wedding Ring | 900 |
Bowerstone Quay
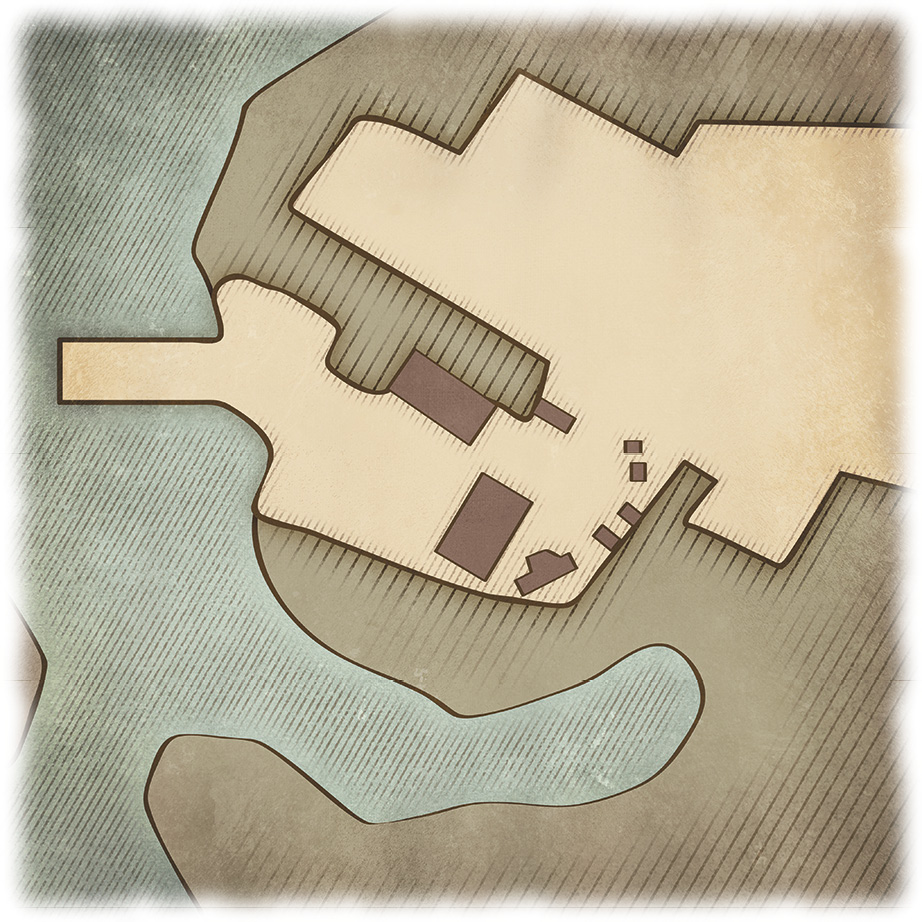
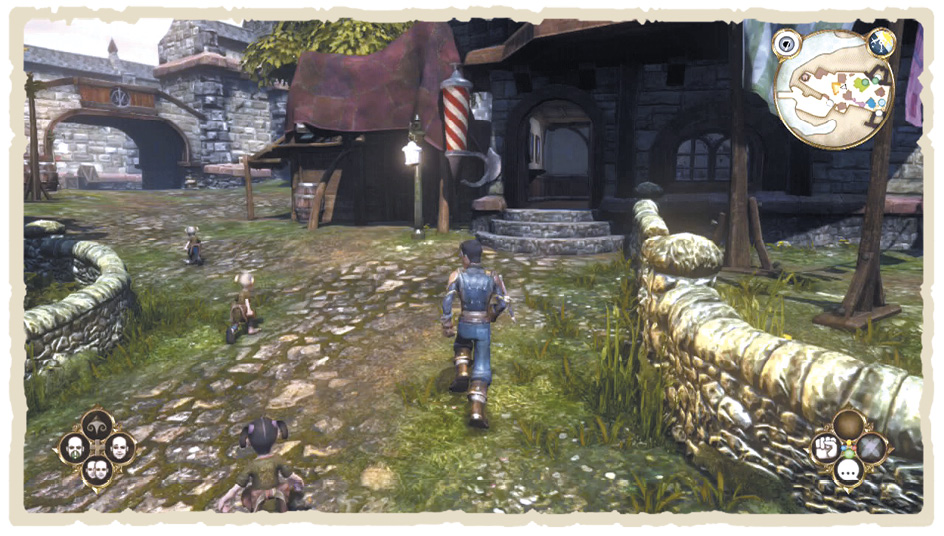
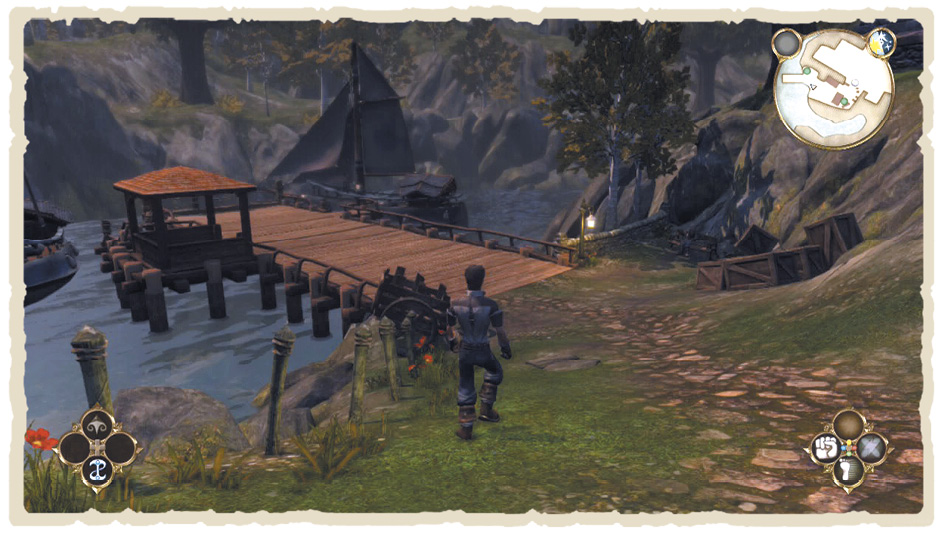
Bowerstone Quay lies west of Bowerstone South. Make your way there and speak with the gentleman loafing around by the water. His daughter, it seems, has a thing for Heroes—although she’s a little particular about their appearance. Agree to meet his fussy-sounding offspring and the Beardy Baldy quest begins.
Once the quest is under way, Beardy Baldy gives you the Pudding Basin hairstyle card (or something equally unattractive) and suggests you visit the barbershop in Bowerstone South. Once there, use the card to transform yourself into something more becoming of a, um, modern man, then return to Beardy Baldy.
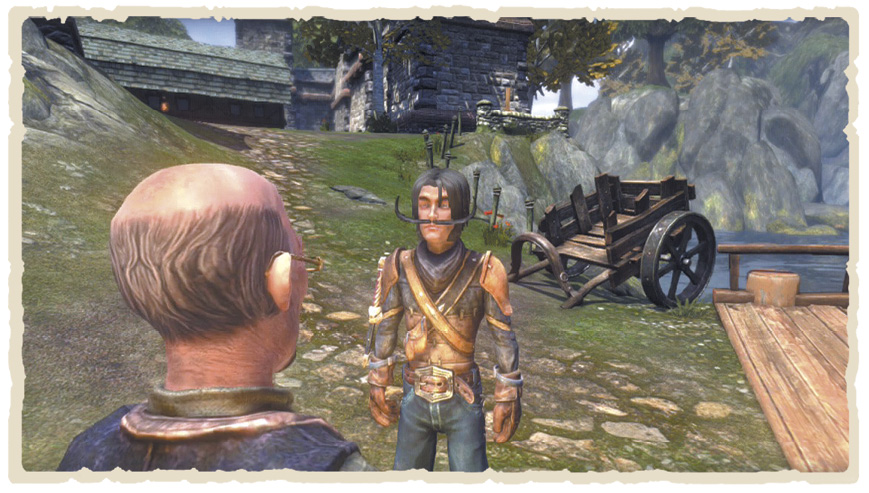
He’s got another card for you this time—either the Mutton Chop Beard or the Trader Style Moustache—and suggests you go try it on for size. Repeat the process one more time to complete the quest and receive the Fire Monkey Tattoo. Congratulations, Hero! You now look ridiculous.
The Fist Fighters Gang ~ Level 1
If you fancy giving your Melee skills a bit of a workout, head to the Fist Fighting ring in Bowerstone Quay at night. Wait until the braying crowd arrives then speak with their mohawked leader. It costs 50 Gold to enter the first Fist Fighters challenge, but you can easily earn your money back and more.
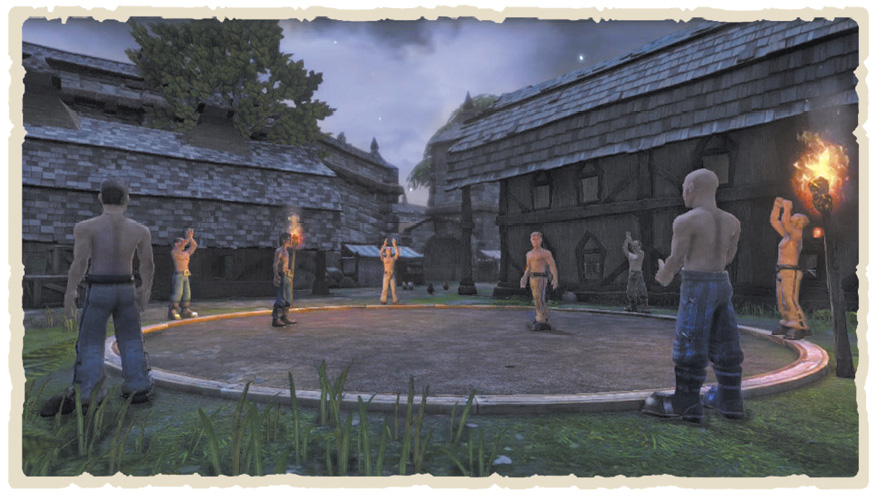
Simply land as many bare-knuckle blows as possible to bring down your first three challengers. Your fourth opponent, however, is a bit tougher to tackle—use your Flourish attack to break through his defences and give him a pounding. Once all four rounds are cleared, you’ll pocket the Fist Fight Level 1 Passed certificate—plus around 350 Gold and 50 Renown for a flawless victory. You need the certificate to enter other Fist Fighter challenges around Albion, so keep it safe!
Finding the First Blue Mushrooms
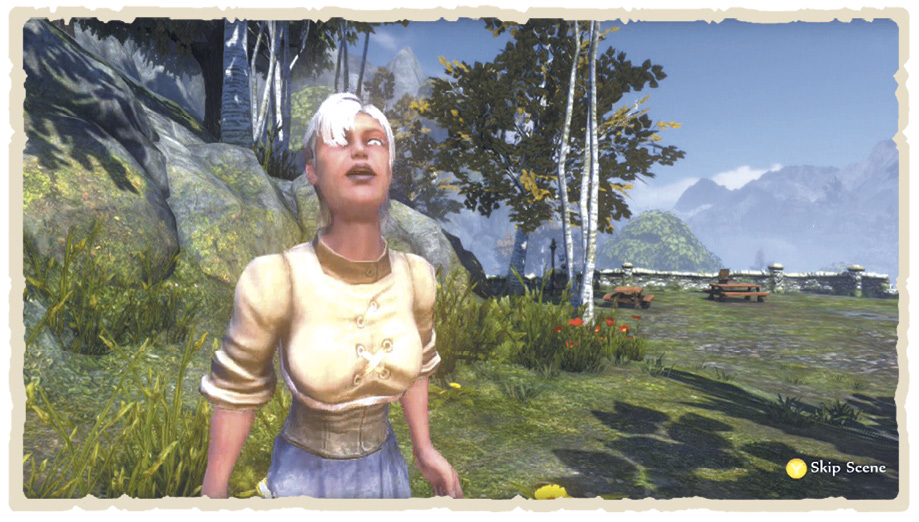
As soon as Bowerstone starts to lose its sheen, you can make a start on your newly acquired Sick Child quest. Return to The Picnic Area and have a natter with the unusually amused woman hanging around one of the benches. It turns out that she’s hoarding the first mushroom—but how you retrieve it is up to you....
 Use your Giggle Expression a few times to spread a little happiness. Once she’s suitably jubilant, she’ll hand over the first mushroom.
 Can’t be bothered with all that Expressions malarky? Then pull out your sword and prise the mushroom from her cold, dead hands. You absolute horror.
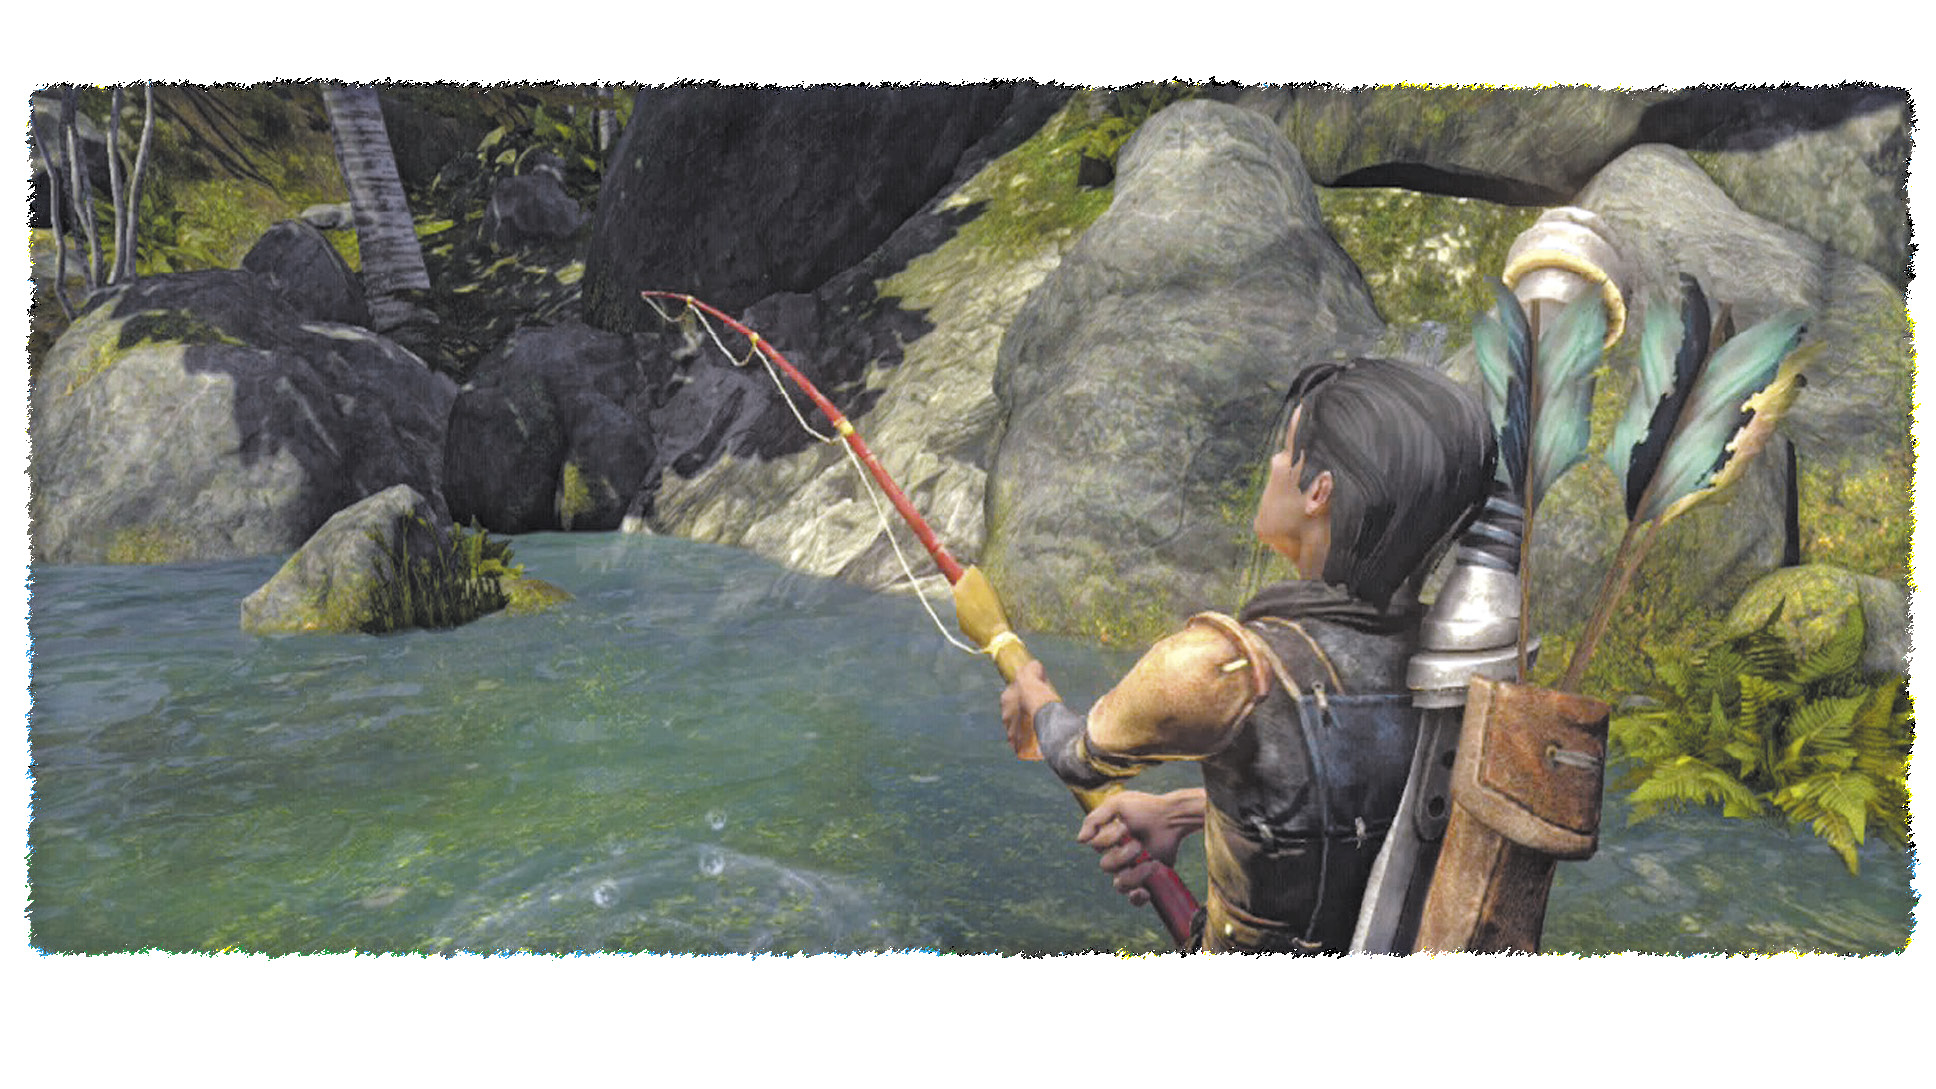
To acquire the second mushroom, you’re going to need a Fishing Rod. You’ll get one for nowt during the (imminent) Fisher Creek Fishing Lessons quest, but impatient types can buy one from the stall near Bowerstone Gates. According to the wide-eyed man at Lookout Point, the second mushroom is located near to the Heroes’ Guild Demon Door. Make your way there and use your Fishing Rod on the water ripple close by.
Finally, for now, return to Guild Woods and chat with the lovelorn man in the area. Once his tear-jerking tale is complete, he begs you to take his letter to his beloved in Oakvale. Again, you have two options here.
 Find the man’s sweetheart in Oakvale and deliver the letter—there’s another mushroom in it for you. Oakvale is still some way off, though, mind.
 Alternatively, save yourself the hassle of lugging a bit of paper around by killing the man to get the next mushroom.
Oh, while you’re in the area, you might as well fish up the next Silver Key from the large body of water to the south.
Orchard Farm and Greatwood
Now that you have a handful of those mysterious mushrooms tucked about your person, return to the Heroes’ Guild Map Room and investigate the Map Table. You’re able to choose between two new quest cards: Protect Orchard Farm and Attack Orchard Farm. Needless to say, you can only pick one—and each impacts your Alignment in significantly different ways.
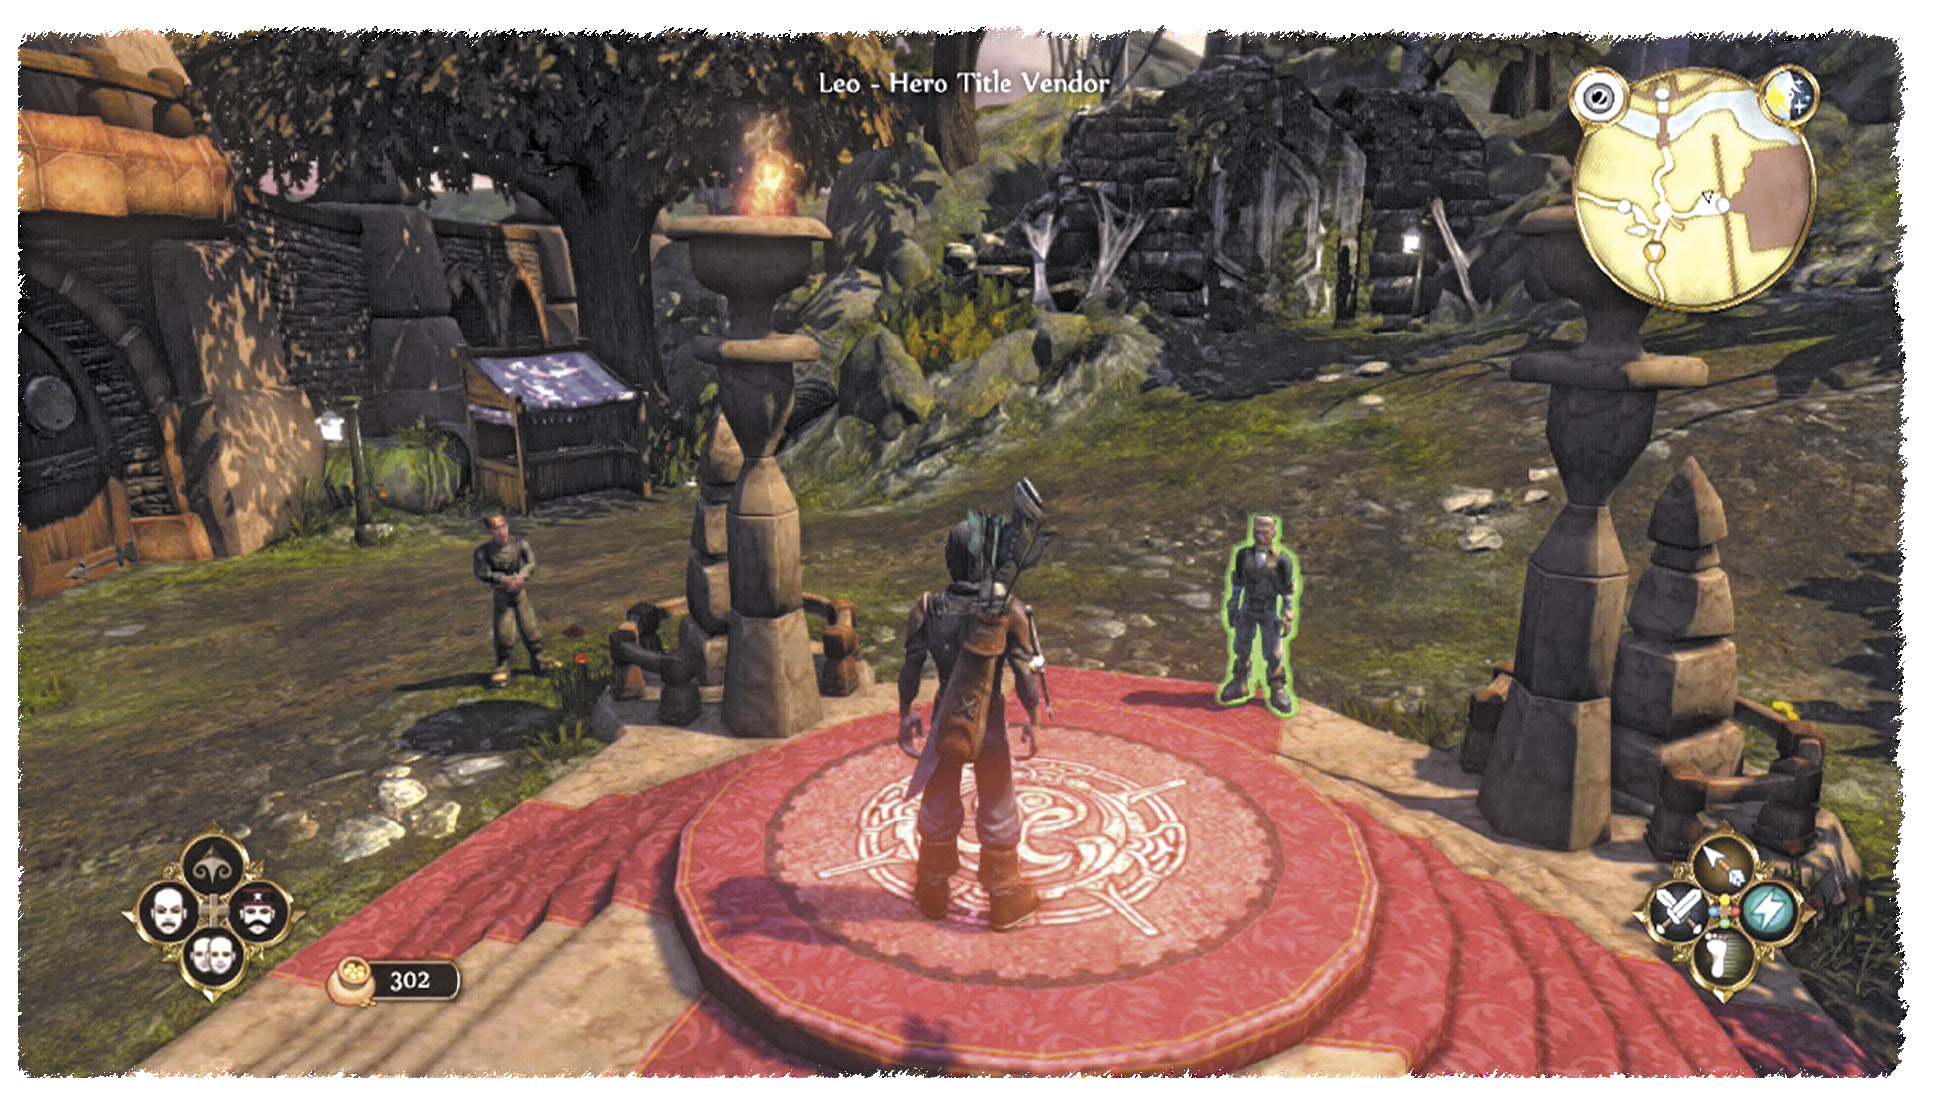
This is also your first opportunity to make a Boast wager in the game. Select ‘Take Quest and Boast’ to be transported to the podium at Lookout Point. Here, you can gamble your hard-earned Gold by promising to perform your chosen quest in one of several especially Heroic ways. When you’re ready to start your next adventure, make your way to Greatwood Entrance, just south of Lookout Point.
PROTECT ORCHARD FARM ~ BOASTS
| Boasts | Criteria | Wager | Reward |
|---|---|---|---|
| Fist Fighter | Use no weapons or offensive magic. | 100 | 300 |
| No Protection | Do the quest naked. | 80 | 160 |
| Protect Guards | Ensure no Guards are killed. | 100 | 250 |
| Without a Scratch | Take no damage. | 100 | 400 |
ATTACK ORCHARD FARM ~ BOASTS
| Boasts | Criteria | Wager | Reward |
|---|---|---|---|
| Fist Fighter | Use no weapons or offensive magic. | 100 | 300 |
| No Healing | Use nothing to restore health. | 80 | 160 |
| No Protection | Do the quest naked. | 80 | 160 |
| Protect Bandits | Ensure no Bandits are killed. | 100 | 275 |
| Without a Scratch | Take no damage. | 100 | 400 |