Fable Anniversary Guide The Basics Experience, Attributes, Spells & Classes
Attributes
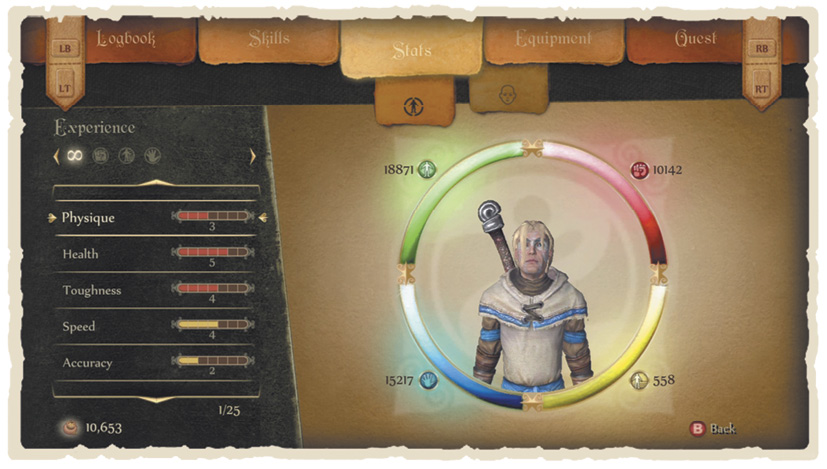
 Attributes are special upgradable abilities, split into three groups: Strength, Skill, and Will (loosely aligned to Melee combat, Ranged combat, and magic). It’s an important distinction to note, as Attribute levelling requires category-specific Experience points. However, a pool of general Experience is available for use in a category once your Strength, Skill, or Will Experience has depleted.
Strength Attributes
 Strength is a measure of your character’s physical prowess, with improved Strength enabling you to withstand more damage and deliver fiercer blows. That might suggest it’s a category primarily of interest to Melee-focused characters—and while this is largely true of the Physique Attribute, everyone will feel the benefits of Health and Toughness upgrades. Improve your Strength Attributes enough and you’ll notice your Hero bulking up to massive proportions.
Health
Unsurprisingly, the greater your Health, the more damage you can take before collapsing in a crumpled heap of lifelessness on the floor. Needless to say, everyone should spend a little Experience to get this Attribute higher.
| Level | Experience |
|---|---|
| 1 | 400 |
| 2 | 1,000 |
| 3 | 2,500 |
| 4 | 6,000 |
| 5 | 13,500 |
| 6 | 28,000 |
| 7 | 58,000 |
Toughness
As your Toughness Attribute increases, so too does your resistance to damage. Each level reduces the effectiveness of physical enemy attacks by around 7 percent, making it a useful stat for any adventurer.
| Level | Experience |
|---|---|
| 1 | 350 |
| 2 | 900 |
| 3 | 1,800 |
| 4 | 4,800 |
| 5 | 9,000 |
| 6 | 19,000 |
| 7 | 38,000 |
Physique
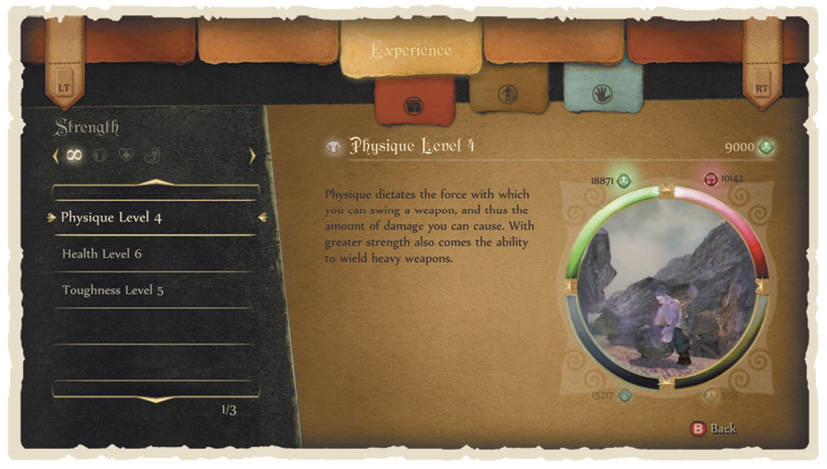
As your Physique levels increase, you’re able to swing weapons with considerably more force, dealing more damage in the process. Each new level increases your pain-dealing potential by around 10 percent and, once you reach Level 3, you’re able to wield ‘Heavy’ weapons. Physique is by far the most expensive Attribute in the game but well worth it if you’re a Melee-focused character.
| Level | Experience |
|---|---|
| 1 | 500 |
| 2 | 1,200 |
| 3 | 3,000 |
| 4 | 9,000 |
| 5 | 24,000 |
| 6 | 45,000 |
| 7 | 86,000 |
Skill Attributes
 Skill is a bit of a catch-all term that encapsulates all dexterity-based Attributes—whether physical or mental. Although Skill is nominally tied to Ranged combat, characters of all disciplines can put its broad scope of abilities to great use. Your Hero grows taller and leaner with every upgrade in the Skill category.
Speed
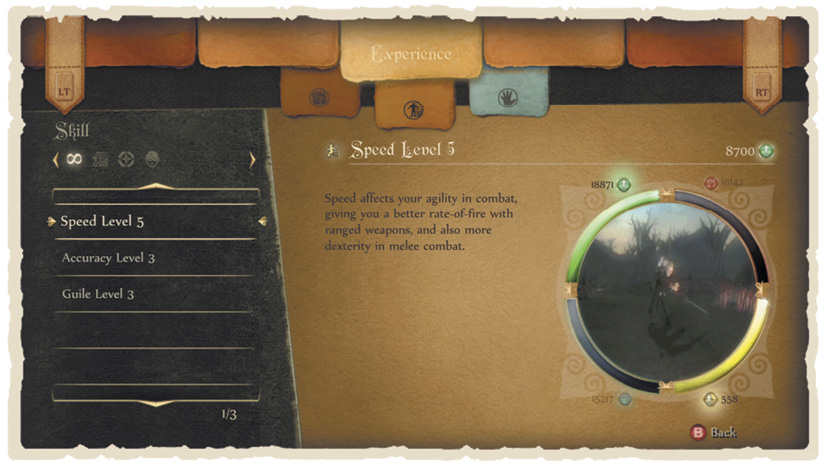
As your Speed increases, reload times for Ranged characters decrease, while Melee-focused Heroes grow swifter. High Speed levels prove particularly advantageous against block-happy opponents—an increasingly common sight as the game progresses.
| Level | Experience |
|---|---|
| 1 | 350 |
| 2 | 800 |
| 3 | 1,800 |
| 4 | 4,600 |
| 5 | 8,700 |
| 6 | 21,400 |
| 7 | 42,000 |
Accuracy
Accuracy benefits Ranged specialists greatly, but offers little advantage to anyone else. Upgrade Accuracy to improve your aim and increase the damage done by Ranged weapons. You’ll be the envy of your magical, fist-wielding friends.
| Level | Experience |
|---|---|
| 1 | 400 |
| 2 | 1,100 |
| 3 | 2,900 |
| 4 | 8,000 |
| 5 | 20,500 |
| 6 | 39,000 |
| 7 | 81,000 |
Guile
Guile is a surprisingly all-encompassing Attribute, offering a wide range of benefits as it’s upgraded. For starters, each Guile level earns you a 3.5 percent discount on purchases, and raises the amount you’ll earn in a sale, too. What’s more, Guile improves the effectiveness of your Sneak ability, making it ideal for wannabe thieves. Finally, Guile unlocks the Steal Expression at Level 3 and the Lockpick Expression at Level 5—two essential tools in a criminal’s arsenal.
| Level | Experience |
|---|---|
| 1 | 350 |
| 2 | 900 |
| 3 | 2,200 |
| 4 | 5,000 |
| 5 | 10,500 |
| 6 | 27,400 |
| 7 | 52,000 |
Will Attributes
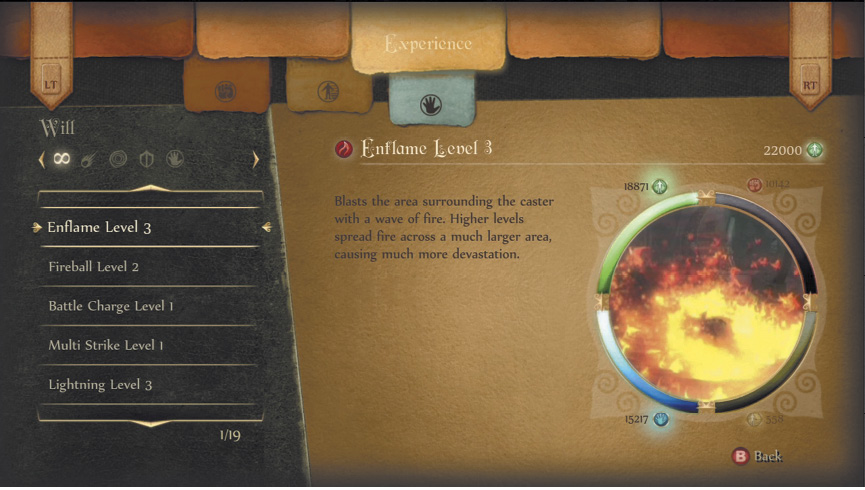
 Heavy magic users should make a beeline for the Will Attributes category. It consists primarily of Attack, Physical, and Surround Spells—and is the sole means of expanding your magical arsenal in Fable. Indeed, expect to splurge on plenty of Will Experience if Spell casting is your preferred means of combat. Your Hero grows pale, gaunt, and just that bit more twinkly as your Will Attributes improve, which should give you some idea of the power you’re playing with here.
SPELLS AND ALIGNMENT
As you’ll soon learn, your actions in Albion have major repercussions. To summarise, characters that behave virtuously are labelled as Good while morally bankrupt specimens fall under the Evil banner. It’s an important distinction for Will users as certain Spells are Good and Evil, too.
Kindly souls earn an Experience discount (calculated by the strength of their Alignment) on Good Spells while villainous sorts pay less for Evil Spells. Conversely, malevolent magic costs more for Good characters and vice versa. There’s one more point of note, too; the fourth level of any Alignment-specific Spell can only be purchased by characters of the same morality value.
Magic Power
Upgrade your Magic Power Attribute and your Will Energy Bar grows, meaning you’re able to dole out more magical justice with each upgrade.
| Level | Experience |
|---|---|
| 1 | 500 |
| 2 | 1,200 |
| 3 | 2,800 |
| 4 | 6,200 |
| 5 | 11,500 |
| 6 | 25,000 |
| 7 | 54,000 |
Attack Spells
 Battle Charge
ALIGNMENT: N/A
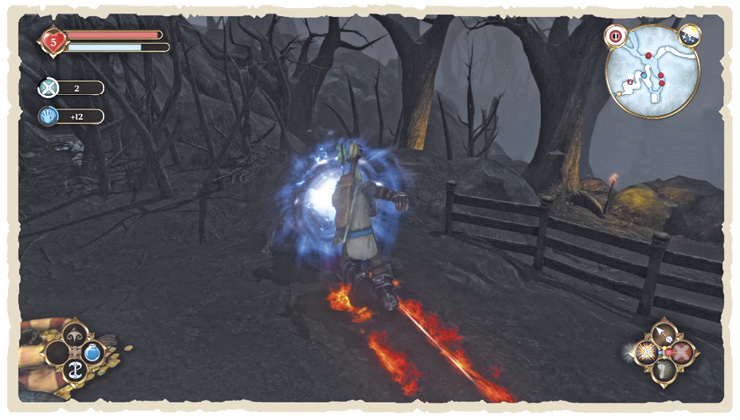
Battle Charge is an unblockable attack that thrusts you forward a short distance, knocking down anyone caught in your path. Foes that feel the full impact of your Charge take considerable damage, while those on the sidelines suffer far less. As a bonus, severely wounded opponents are momentarily stunned, making Battle Charge a useful tool in your Spell arsenal.
| Level | Experience | Damage |
|---|---|---|
| 1 | 750 | 100 |
| 2 | 5,400 | 170 |
| 3 | 17,500 | 300 |
| 4 | 52,000 | 500 |
 Divine Fury
ALIGNMENT: GOOD
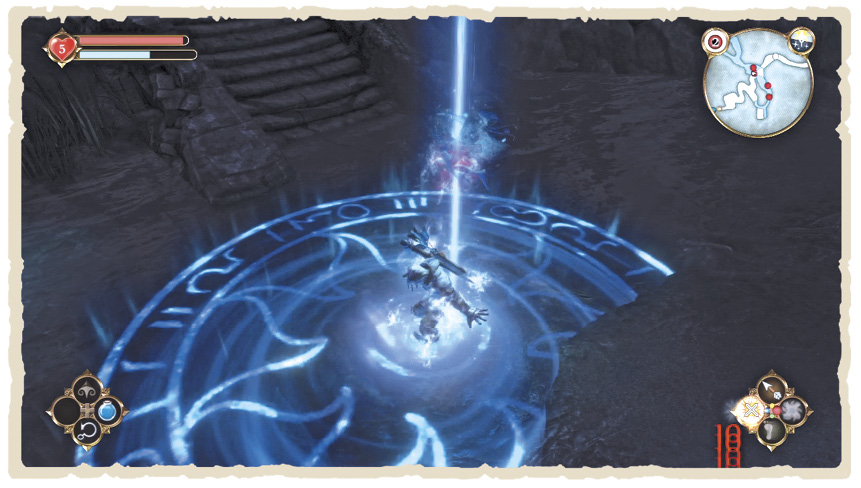
Divine Fury does an incredible amount of damage across a large area, toppling pretty much anything it hits. It’s not quite powerful enough to fell the game’s toughest enemies instantly, but it’s devastating against groups of weaker foes. Needless to say, it’s a pricey one to upgrade.
| Level | Experience | Damage |
|---|---|---|
| 1 | 4,000 | 200 |
| 2 | 9,000 | 400 |
| 3 | 25,000 | 800 |
| 4 | 66,000 | 1,200 |
 Enflame
ALIGNMENT: N/A
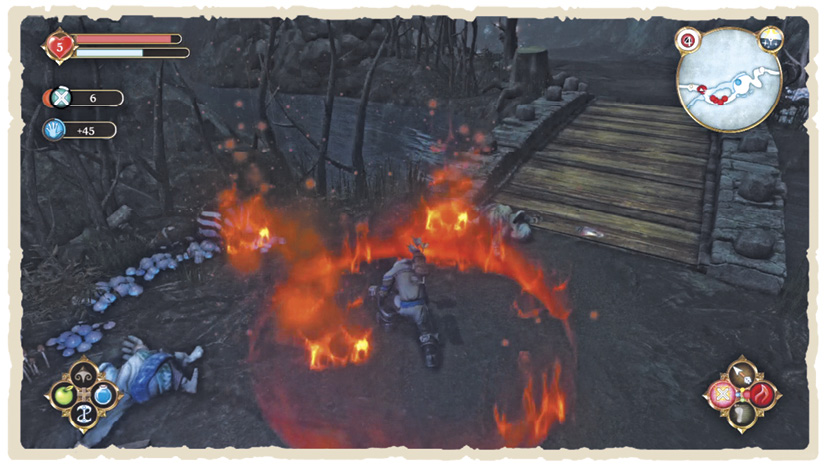
A fully upgraded Enflame Spell costs more Experience than any other Spell in the game. There’s a reason for that; it’s one of the most powerful Spells in your entire magical arsenal. Enflame combines the knock-back effect of Force Push with the red-hot retribution of Fireball, making it ideal for crowd control, particularly when enemies are susceptible to fire damage. Heavy Melee fighters with an interest in magic should find Enflame invaluable.
| Level | Experience | Damage |
|---|---|---|
| 1 | 3,500 | 80 |
| 2 | 8,100 | 180 |
| 3 | 22,000 | 300 |
| 4 | 58,000 | 500 |
 FIREBALL
ALIGNMENT: N/A
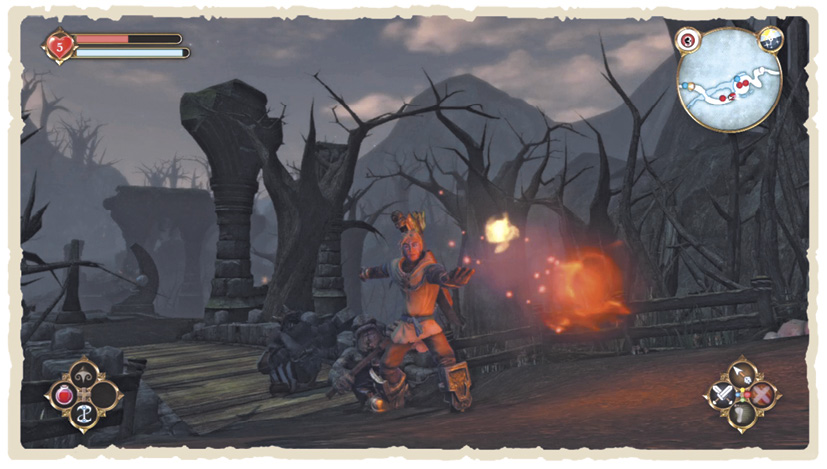
Fireball is an unblockable Ranged-style magical attack capable of doing serious damage at higher levels. Once charged and released, Fireball explodes on impact with your target, knocking down anything caught in the blast. At lower levels, Fireball’s splash damage isn’t much to talk about but, from Level 3 and up, it can topple whole groups of opponents. Note that while Fireballs do a fixed amount of damage per Level, their effectiveness will vary depending on the elemental weaknesses and resistances of your targets.
| Level | Experience | Damage |
|---|---|---|
| 1 | 500 | 80 |
| 2 | 4,500 | 180 |
| 3 | 17,800 | 350 |
| 4 | 54,000 | 700 |
 Infernal Wrath
ALIGNMENT: EVIL
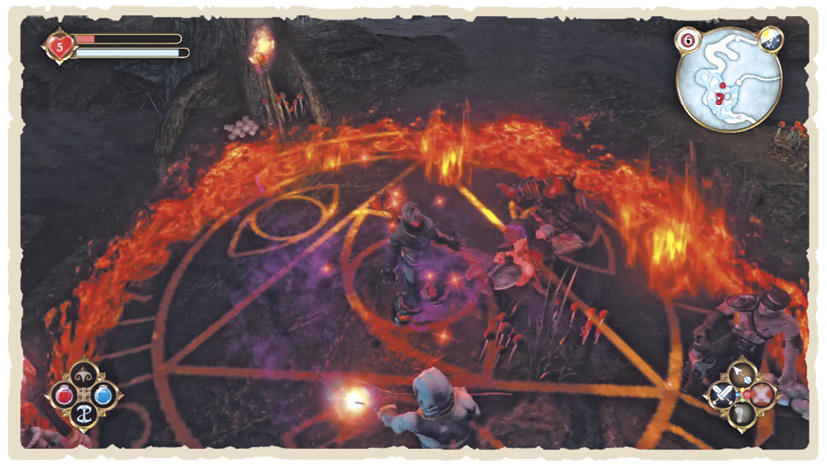
Infernal Wrath is Divine Fury’s Evil twin and, in terms of usage, damage, and Experience cost, is identical in every way. Obviously, though, if your Alignment leans more toward the angelic side, Divine Fury is the better choice—for the Experience discount, if nothing else.
| Level | Experience | Damage |
|---|---|---|
| 1 | 4,000 | 200 |
| 2 | 9,000 | 400 |
| 3 | 25,000 | 800 |
| 4 | 66,000 | 1,200 |
 Lightning
ALIGNMENT: N/A
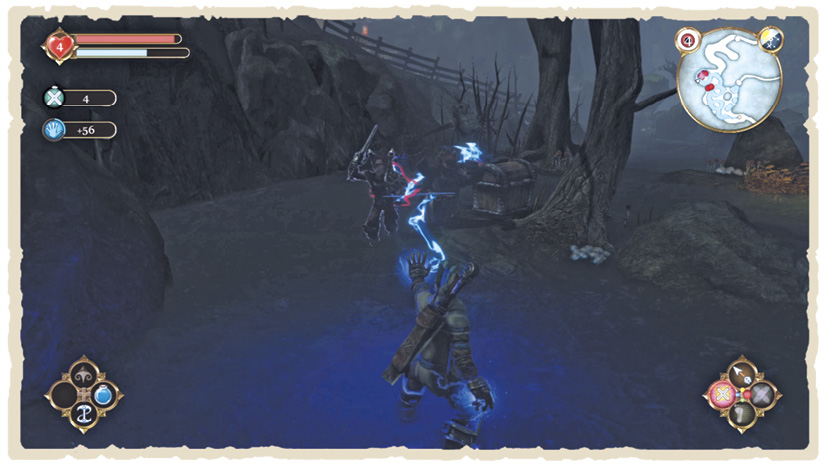
Lightning might be a little wimpy in terms of pure destructive power, but what it lacks in force, it makes up for elsewhere. Hold down the Spell button while casting Lightning, for instance, and you’ll unleash a volley of auto-targeting bolts that continue until your Will Energy is drained. Better still, a successful Lightning strikes immobilises enemies completely—until Death comes knocking, that is.
| Level | Experience | Damage |
|---|---|---|
| 1 | 0 | 18 |
| 2 | 5,760 | 30 |
| 3 | 18,200 | 40 |
| 4 | 48,000 | 60 |
Each time you upgrade Lightning, it gains another bolt—meaning you’re able to strike more opponents at once. While your primary target bears the brunt of the impact, enemies caught by secondary bolts still receive damage, albeit on a lesser scale. Lightning’s combination of continuous attacks and automatic lock-on makes it perfect for particularly lazy Will users—and, as a bonus, it occasionally blows your target’s head clean off, too.
 MULTI STRIKE
ALIGNMENT: N/A
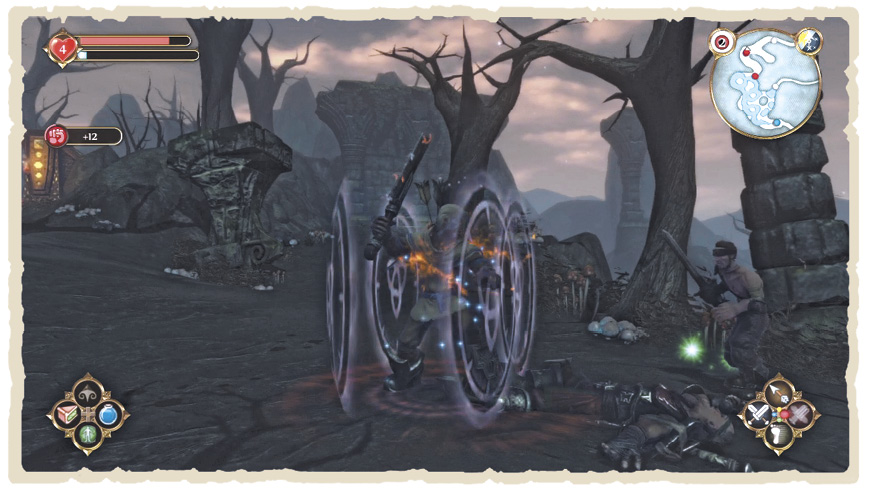
Multi Strike is the perfect Spell for Melee-focussed characters. Each time you land a blow with Multi Strike enabled, you get one additional hit per upgrade level—by Level 4, a single Melee attack effectively does the damage of five. It’s possible to use Multi Strike in combination with other Spells, such as Berserk, but bear in mind that you’ll be missing hitting opportunities while you faff around casting other Spells. Multi Strike is particularly effective when used with Flourishes.
| Level | Experience | Damage |
|---|---|---|
| 1 | 1,200 | Hit x 1 |
| 2 | 4,680 | Hit x 2 |
| 3 | 15,700 | Hit x 3 |
| 4 | 43,500 | Hit x 4 |
Physical Spells
 ASSASSIN RUSH
ALIGNMENT: N/A
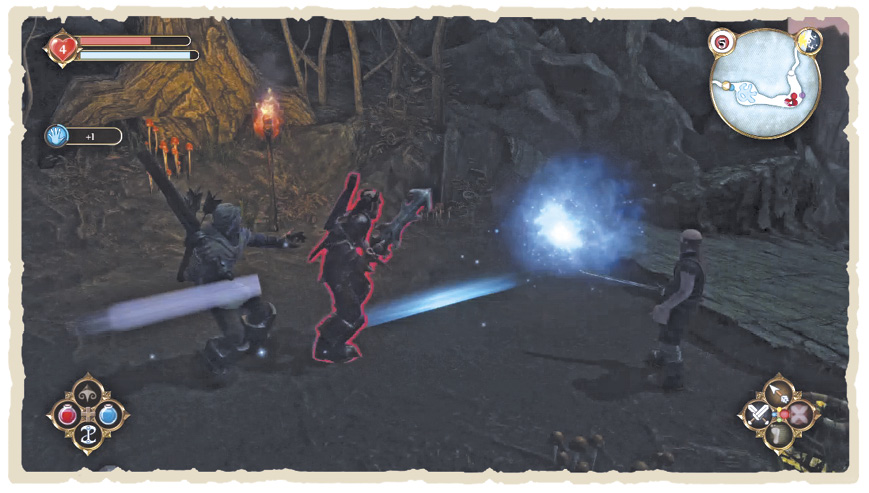
Assassin Rush is a bit of a bargain, considering how useful it is. Cast it and you’re instantly propelled through space, materialising directly behind your opponent. Assassin Rush is a great way to gain the upper hand against foes that love to use blocking moves. Meanwhile, an enemy’s projectile attacks can be avoided altogether if your timing is right. Note that casting Assassin Rush without selecting a target first simply causes you to zip forward a short distance (increased with every upgrade), making it invaluable for those moments when fleeing is your best option for survival.
| Level | Experience | Damage |
|---|---|---|
| 1 | 400 | N/A |
| 2 | 2,700 | N/A |
| 3 | 8,100 | N/A |
| 4 | 20,000 | N/A |
 BERSERK
ALIGNMENT: EVIL
Berserk, as you can probably guess, turns you into an unstoppable force of destruction. Casting Berserk increases the amount of damage you deal (making your attacks unblockable in the process), but also increases the effectiveness of enemy strikes. However, each time an opponent lands a shot, your blows become more powerful still, making for one of the most strategically fascinating Spells in the game.
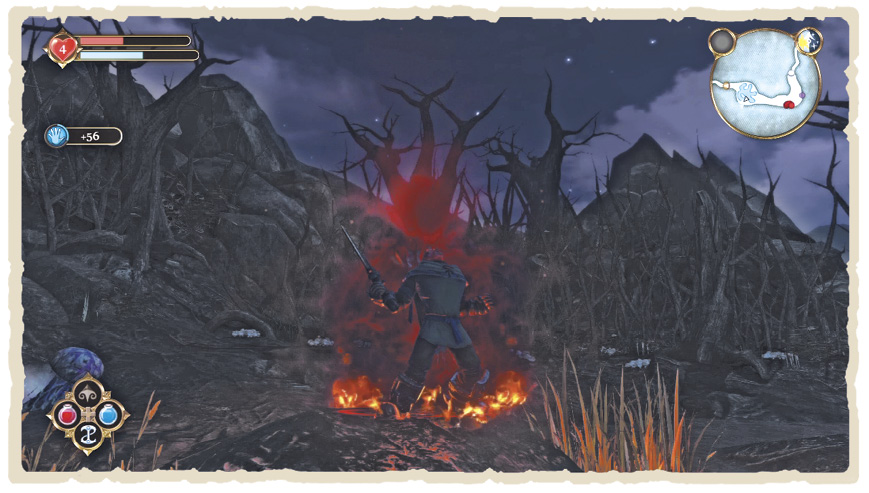
Berserk isn’t a subtle Spell—with a Level 3 upgrade doubling your attack power and increasing incoming damage by around 80 percent—and it’s a bit of a Mana drain, too. Almost all blows will decapitate human opponents when Berserk is activated— fun for everyone, except those on the sharp end of your blade.
| Level | Experience | Damage |
|---|---|---|
| 1 | 1,600 | 25 percent |
| 2 | 6,210 | 50 percent |
| 3 | 20,500 | 75 percent |
| 4 | 51,000 | 100 percent |
 GHOST SWORD
ALIGNMENT: N/A
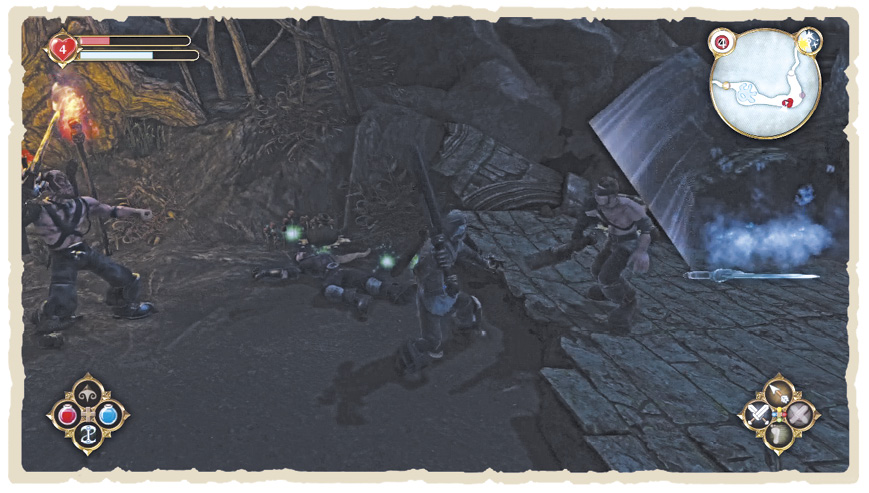
Ghost Sword is a pretty useful spell, whatever your preferred combat style. Once cast, a phantom blade appears at your side (with one additional blade summoned per upgrade level), ready to attack or distract incoming foes. Each sword has 250 Health points, making them relatively durable allies—and, as an added bonus, you earn Experience from anything they slaughter.
| Level | Experience | Damage |
|---|---|---|
| 1 | 2,500 | N/A |
| 2 | 6,300 | N/A |
| 3 | 17,200 | N/A |
| 4 | 51,500 | N/A |
 HEAL LIFE
ALIGNMENT: GOOD
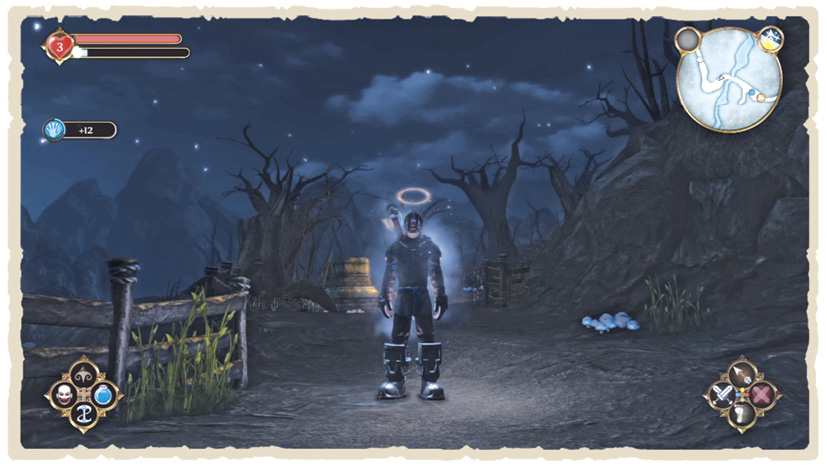
If Heal Life was simply a means to restore your energy, it would be fairly useless, given the prominence of Health-bolstering items in Albion. There’s more to it than that, though; cast Heal Life and nearby allies benefit from its healing properties, too. That makes it great for keeping bodyguards in peak condition and even handier during escort missions. It’s worth noting that Heal Life can fully fix most allies at Level 2 so, after that, Will Experience is better spent elsewhere.
| Level | Experience | Damage |
|---|---|---|
| 1 | 2,300 | N/A |
| 2 | 5,850 | N/A |
| 3 | 15,900 | N/A |
| 4 | 49,000 | N/A |
 MULTI ARROW
ALIGNMENT: N/A
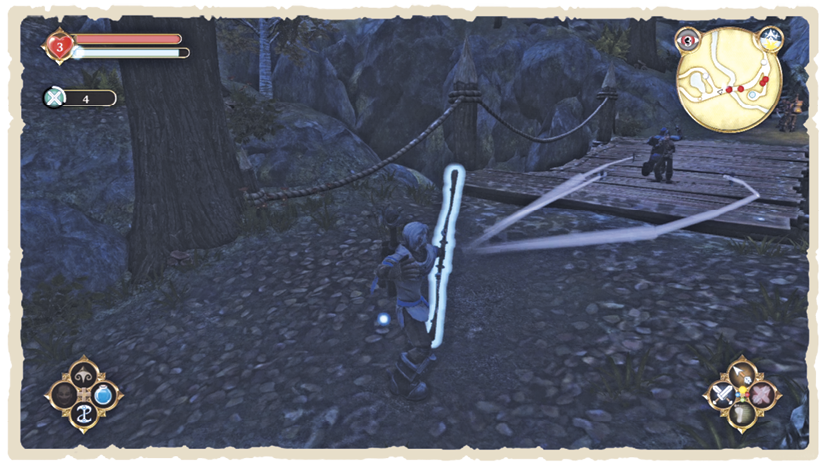
Fire a bog-standard arrow when Multi Arrow is cast and it turns into a bunch of magical homing arrows, with one extra projectile granted with each upgrade level. That’s not all, though! With every upgrade, the number of shots affected increases by one. That means that a fully upgraded Multi Arrow Spell can fire six arrows over four shots, making for 24 projectiles in total. There’s a small caveat, though—Multi Arrows only do around half the damage of boring, non-magical ones. Even so, Multi Arrow is a must for Ranged combat Heroes with a will for Will.
| Level | Experience | Damage | Shots |
|---|---|---|---|
| 1 | 1,000 | 3 | 1 |
| 2 | 5,140 | 4 | 2 |
| 3 | 19,500 | 5 | 3 |
| 4 | 47,000 | 6 | 4 |
 PHYSICAL SHIELD
ALIGNMENT: GOOD
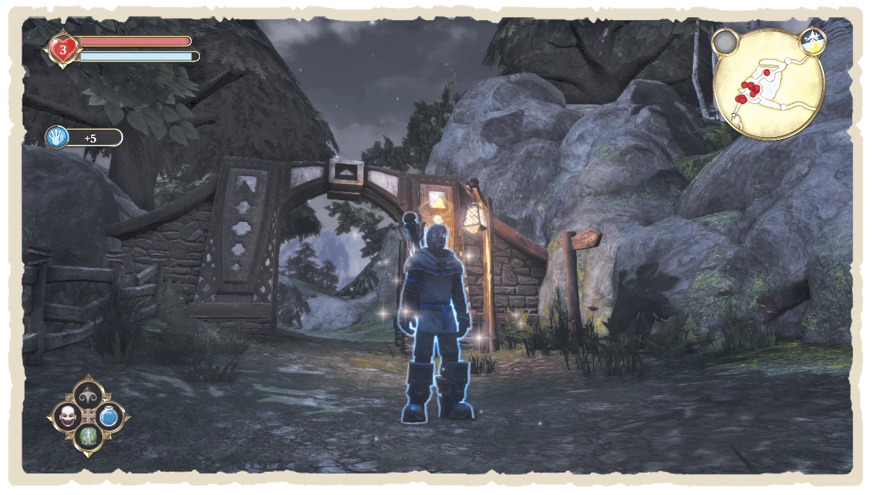
Physical Shield is a bit of a Melee specialist’s dream and offers two unique benefits. Firstly, it turns your Will Energy Bar into a second Health bar, meaning you’re able to take far more damage before submitting to Death’s icy grasp. Better still, it prevents your Combat Multiplier from plummeting if an opponent lands a successful blow. In case you’re wondering, enemy attacks don’t knock as much Will off your Energy Bar at higher Spell levels.
| Level | Experience | Damage |
|---|---|---|
| 1 | 900 | N/A |
| 2 | 5,350 | N/A |
| 3 | 17,700 | N/A |
| 4 | 45,500 | N/A |
Surround Spells
 DRAIN LIFE
ALIGNMENT: EVIL
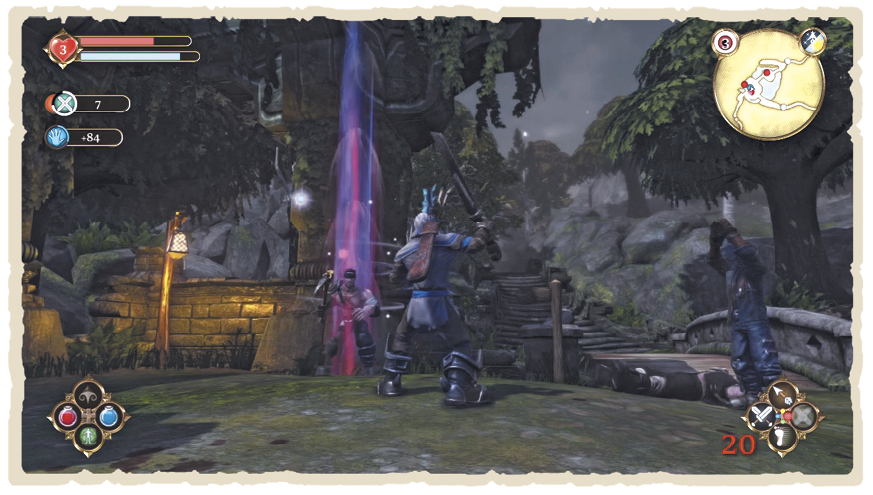
Drain Life does exactly what its name suggests, leeching precious Health from unlucky foes. However, in a truly nefarious twist, all sapped life is added directly to your own Health Bar—cue maniacal laughter. Like Lightning, Drain Life automatically locks onto nearby opponents, meaning you don’t need to be especially proactive during its use. However, you’re vulnerable while casting Drain Life so it’s best deployed while out of harm’s way or when up against weak, slow, or stunned assailants. Note that some enemies —including Minions, Trolls, Balverines, and the Undead—can resist its effects.
| Level | Experience | Damage |
|---|---|---|
| 1 | 2,800 | 20 |
| 2 | 6,750 | 40 |
| 3 | 16,500 | 60 |
| 4 | 44,000 | 80 |
 FORCE PUSH
ALIGNMENT: N/A
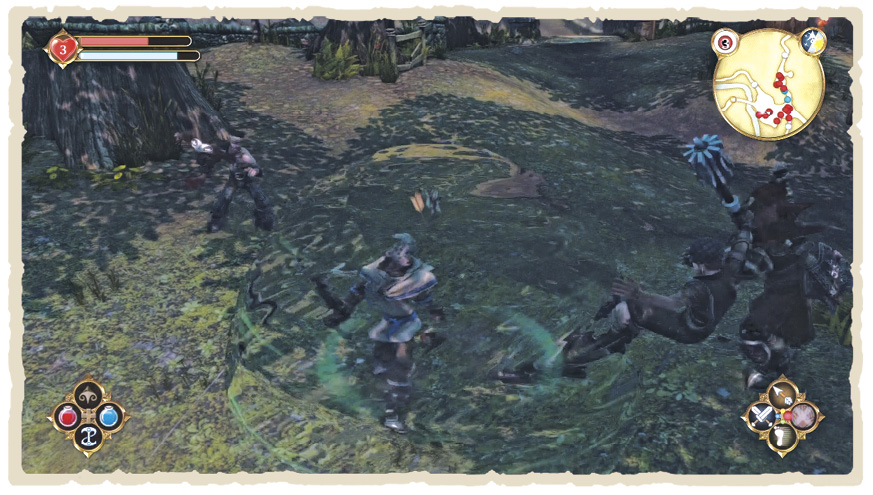
Force Push is one of Fable’s most entertaining Spells, what with its capacity to knock down enemies and fling them away. Indeed, later levels of Force Push can throw opponents so far back that you’re able to prep an arrow or Fireball in the time it takes them to rejoin the fray. That makes Force Push especially useful to Ranged specialists and Will users, particularly where crowd control is an issue. Bear in mind that Force Push does little actual damage, however; for a similarly styled Spell with more punch, check out Enflame.
| Level | Experience | Damage |
|---|---|---|
| 1 | 600 | N/A |
| 2 | 3,600 | N/A |
| 3 | 12,600 | N/A |
| 4 | 40,000 | N/A |
 SLOW TIME
ALIGNMENT: N/A
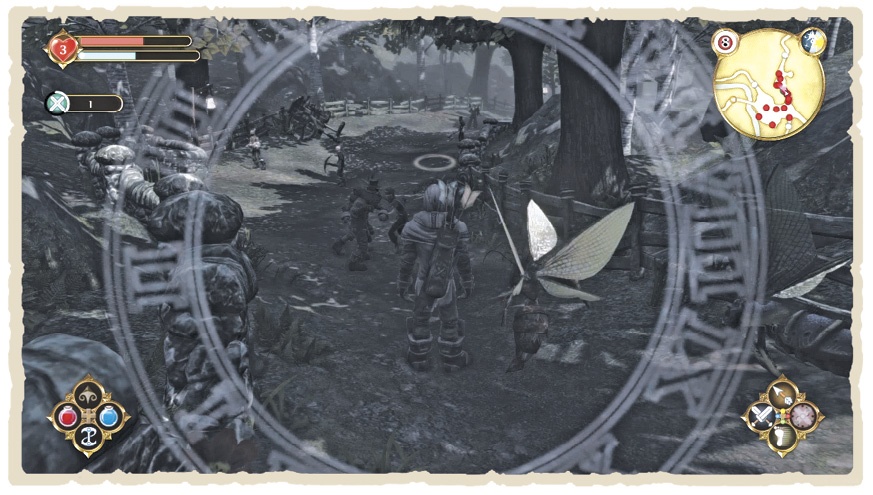
Cast Slow Time and your whole world slumps to a slow-motion crawl, granting you precious extra moments to dodge attacks, swing at enemies, or launch a few arrows while in combat. What’s more, you can use it to cheat at Pub Games—you monstrous creature, you. Basically, Slow Time is brilliant—but like all good things, it doesn’t come cheap.
| Level | Experience | Damage |
|---|---|---|
| 1 | 2,000 | N/A |
| 2 | 6,580 | N/A |
| 3 | 18,800 | N/A |
| 4 | 47,500 | N/A |
 SUMMON
ALIGNMENT: GOOD
Cast Summon for the first time and it conjures a single Wasp to help you in combat. Thankfully, though, it gets better; should your Wasp manage to kill an opponent, that foe permanently replaces the Wasp as your fighting partner. There are caveats, of course—Summon won’t work on bosses or huge enemies—but it’s always handy to have a powerful ally to hand. With each upgrade level, your summoned creatures stick around a little longer, provided they don’t die in battle.
| Level | Experience | Damage |
|---|---|---|
| 1 | 1,800 | N/A |
| 2 | 5,030 | N/A |
| 3 | 14,400 | N/A |
| 4 | 45,000 | N/A |
 TURNCOAT
ALIGNMENT: EVIL
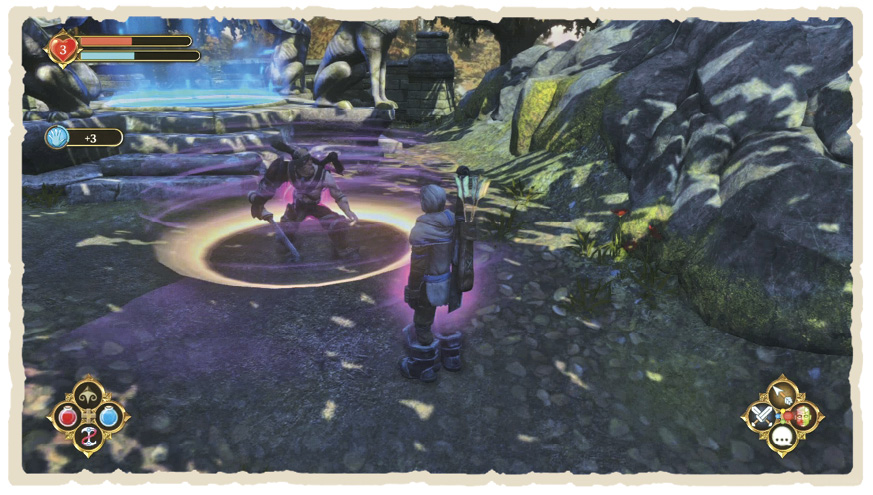
Cast Turncoat and your poor, unfortunate target slowly falls under your Evil influence. When Turncoat finally takes hold, the magic surrounding your opponent shatters and a new ally is yours—temporarily, at least. As great as this sounds, Turncoat is rife with weaknesses—from your vulnerability while casting to the length of time it takes to influence tougher enemies. Give Turncoat a whirl, by all means, but it’s likely you’ll favour less finicky Spells.
| Level | Experience | Damage |
|---|---|---|
| 1 | 3,200 | N/A |
| 2 | 6,500 | N/A |
| 3 | 16,000 | N/A |
| 4 | 45,000 | N/A |