Fable Anniversary Guide Walkthrough Windmill Hill to Hook Coast
Hook Coast
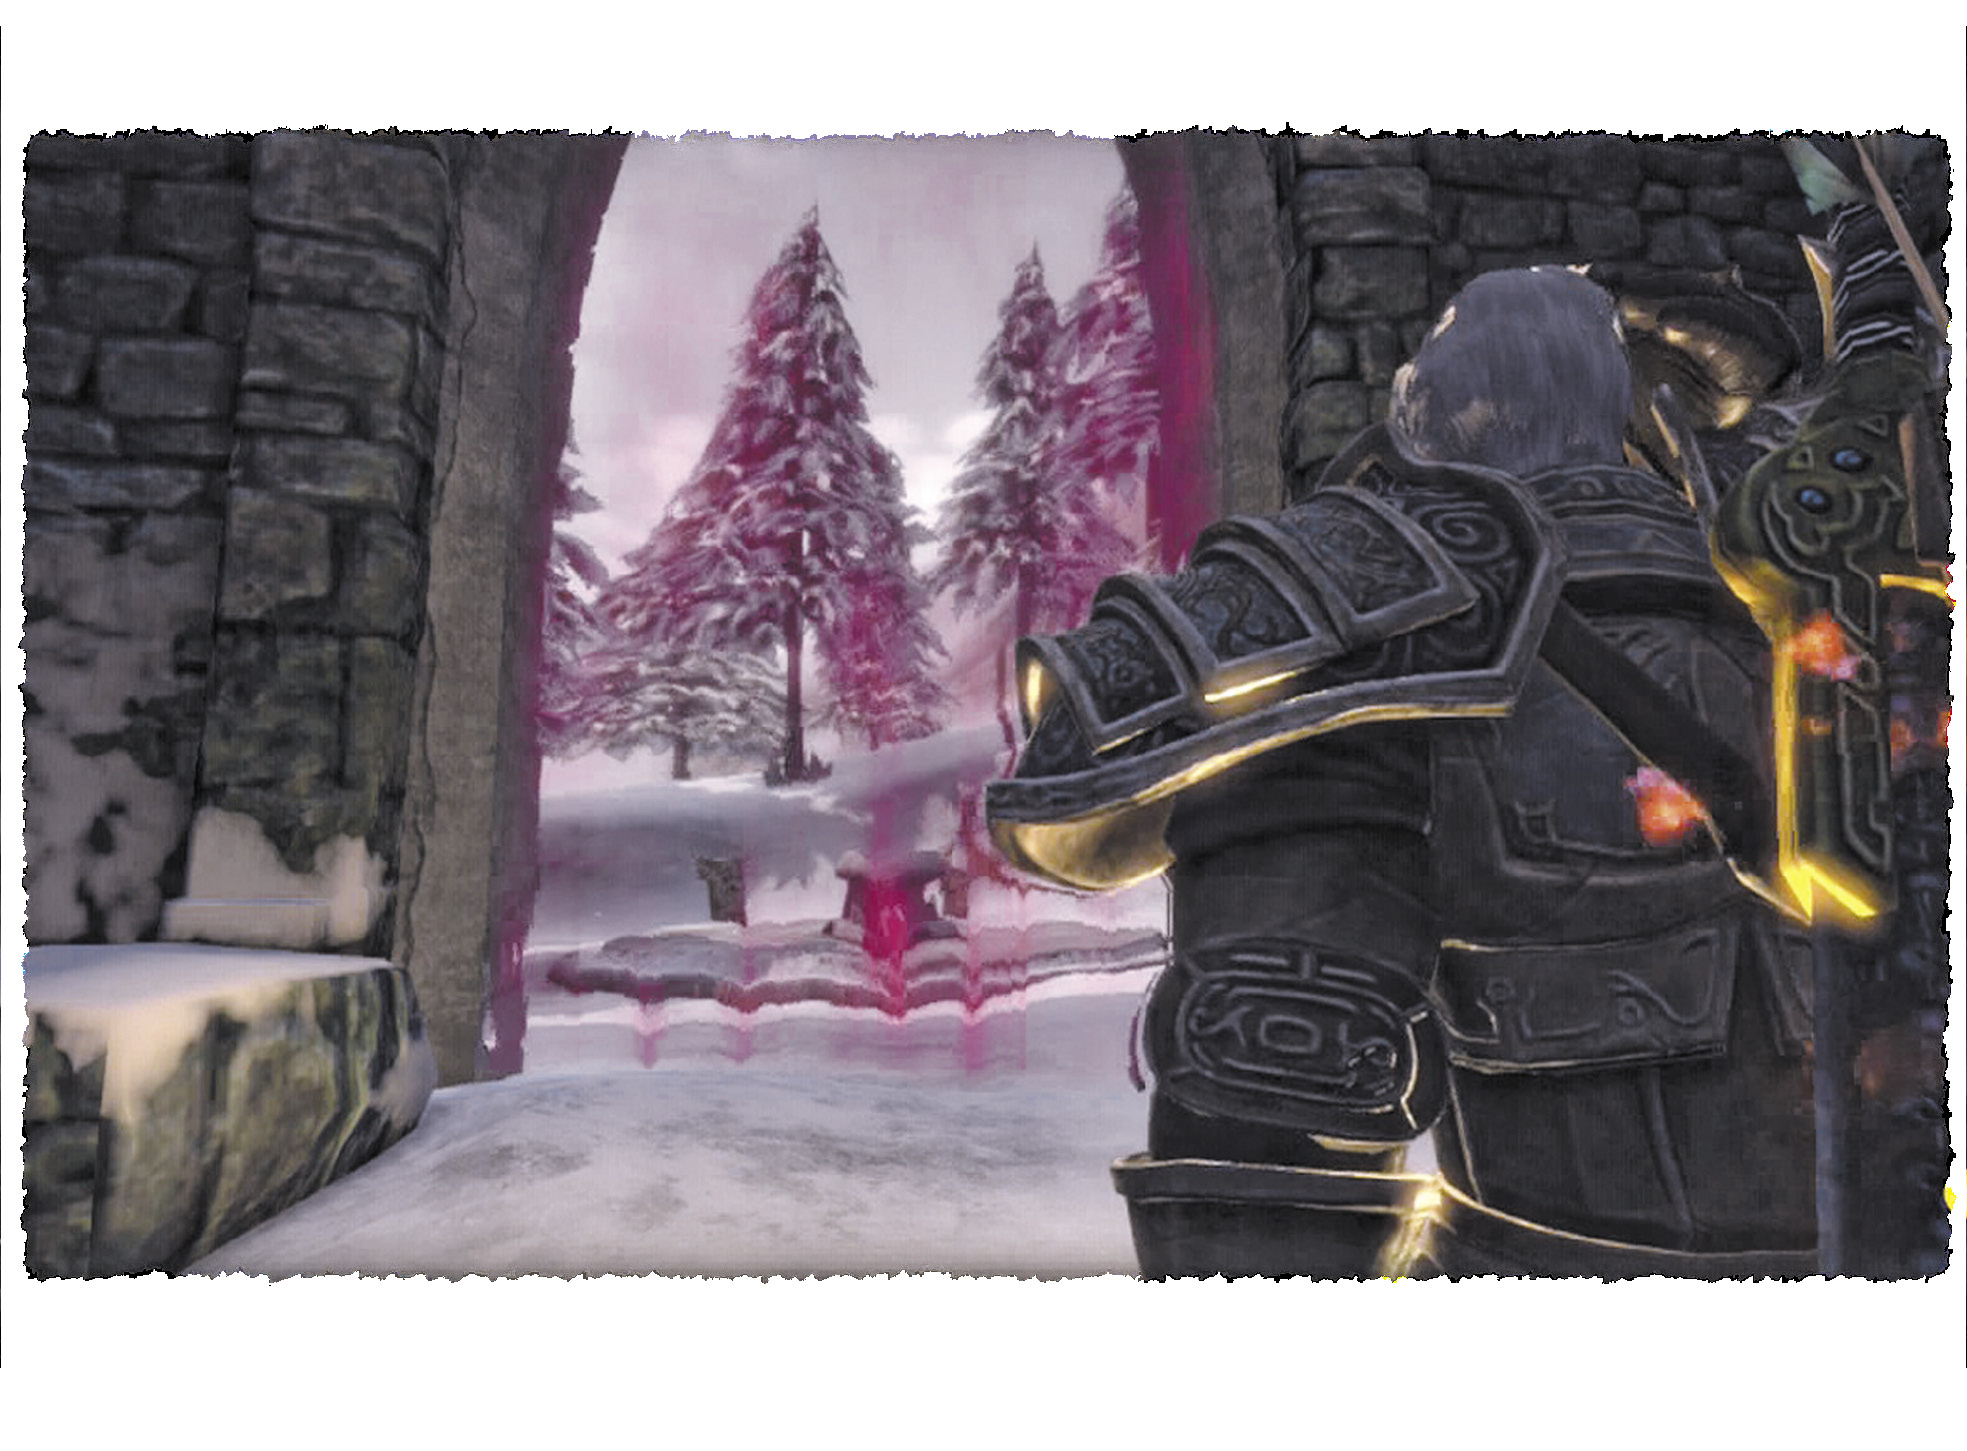
Your first stop in Hook Coast should be the ruined abbey, found in the north-western part of the region. Unfortunately, entrance to the abbey is blocked by some kind of undoubtedly nefarious magical barrier. Your mother suggests you return to the Heroes’ Guild and visit Maze’s quarters to proceed.
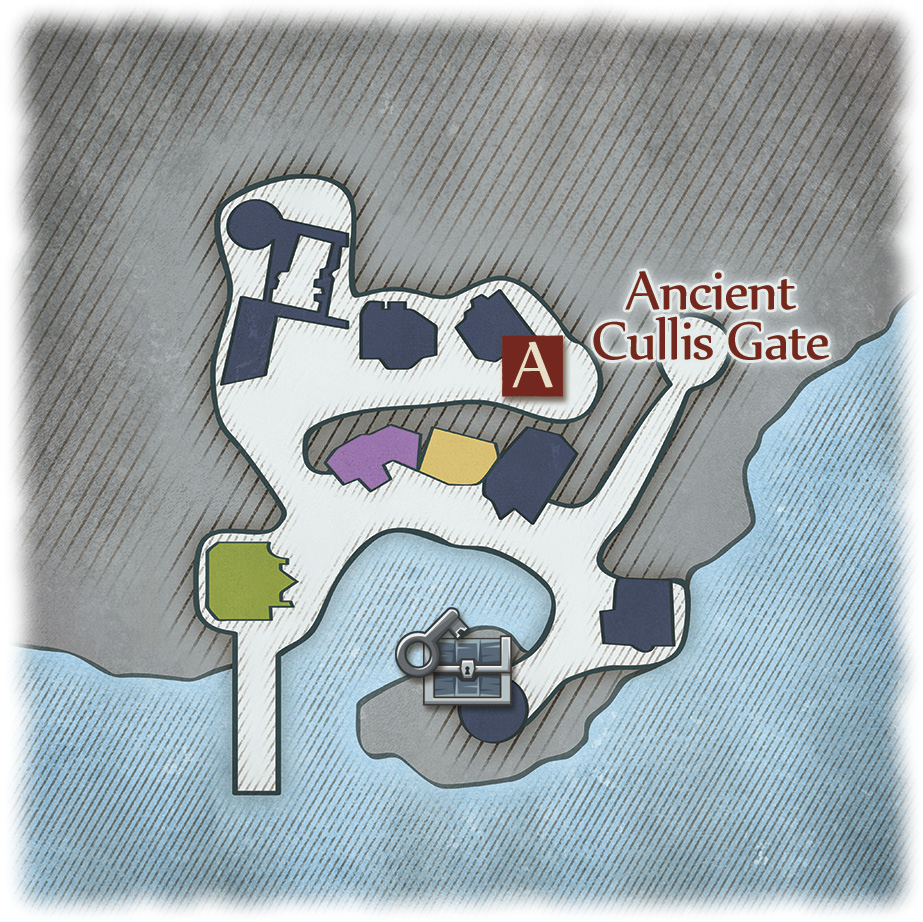
Before you do, though, why not spend a few chilly minutes investigating this remotest of outposts? There are no new quests to be found, but there’s plenty in the way of shopping to be done and treasure to pilfer—plus, you can win the Maze Hero Doll at the tavern. Dedicated sightseers, meanwhile, should go visit the lighthouse to the south. There’s also a strange bell to be found at Point A, where unlucky Heroes will face their fifth and final assassination attempt.
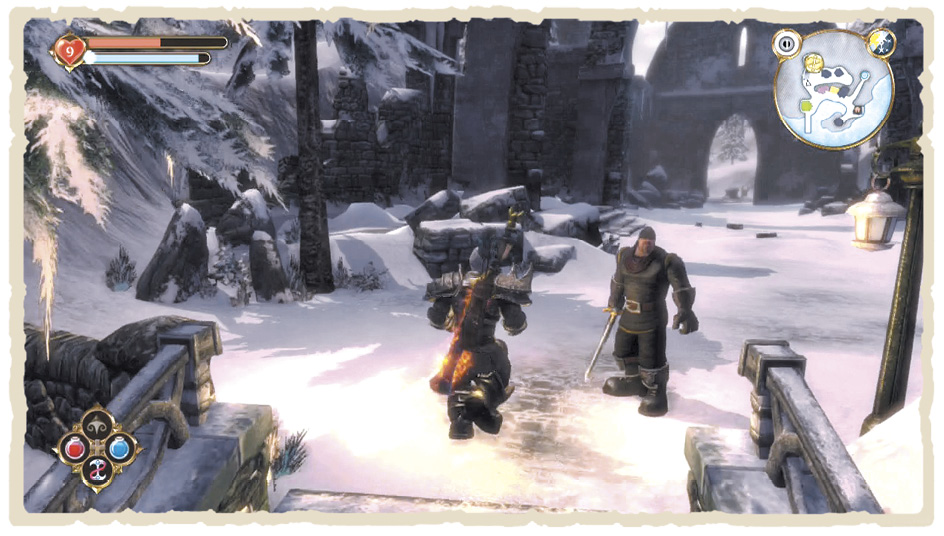
Those of a villainous disposition can find much to steal in the homes to the north of Hook Coast—including the Coron Birth, Arrowhead, and Eyes of Avo Tattoos, the Tramp Beard style card, plus a Sharpening Augmentation. More excitingly still, if your entire Fable experience has so far been ruined by the disgusting lack of a pigtails option for your Hero, go swipe the Plaits hairstyle card from the tavern. When you’re done traipsing through the snow-covered streets, whip out your Guild Seal and teleport back to the Heroes’ Guild.
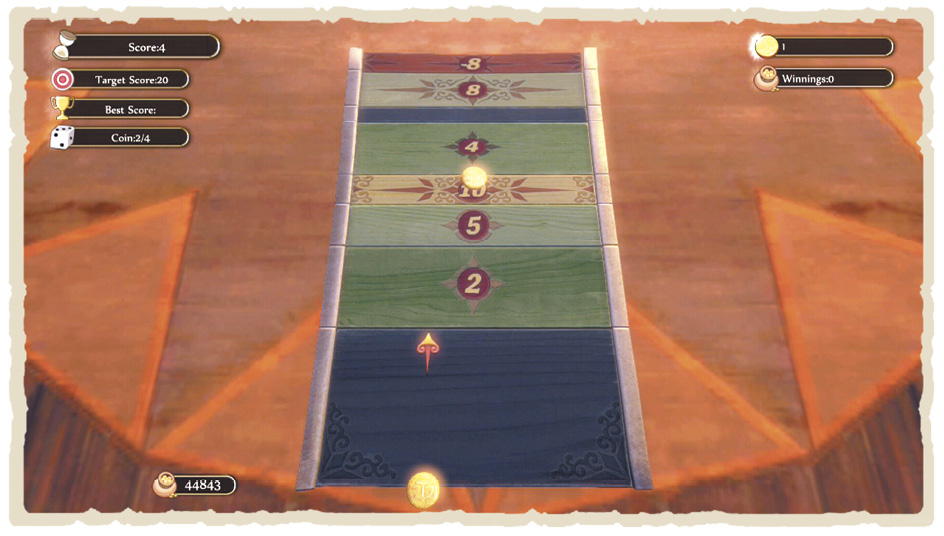
Shove Ha’penny
This particular game offers a nice, easy challenge. Your goal is to get as many of your coins as possible on the narrow “10” strip at the centre of the board. Simply position your shot, then adjust the power of your flick to send your coin sliding to its goal. If you can get all four of your coins on “10” to score a maximum of 30 points, the Maze Hero Doll will be yours.
The Lighthouse
This suspiciously important-looking structure stands proud on the shores of Hook Coast, doing absolutely nothing of use for the time being. However, it’s well worth punching in the door and having a poke around inside—just try not to get caught, eh? Once you’ve gained entry, investigate the cupboards on the ground floor to find 500 Gold and a Silver Key. Next, climb the steps to the very top, where you can discover a 15-Key Silver Key Chest, containing the Legendary Murren Greataxe. There’s a peculiar plinth up here, too, but, for now, it serves no purpose. When you’ve had your fill of the view, return to earth.
Shopping at Hook Coast
You’d be forgiven for thinking the shops of Hook Coast would be light on goods, given their remote location. Impressively, though, the region’s Traders stock every single Master-level weapon available in Albion, plus a fine selection of rare Augmentations, including Mana and Experience. If you’ve been saving your Gold, now would be the perfect time to un-save it.
WEAPONS
| MELEE | VALUE |
|---|---|
| Master Axe | 17,438 |
| Master Cleaver | 19,181 |
| Master Greataxe | 27,900 |
| Master Greathammer | 31,388 |
| Master Greatmace | 29,644 |
| Master Greatsword | 33,131 |
| Master Katana | 22,669 |
| Master Longsword | 20,925 |
| Master Mace | 15,694 |
| Master Pickhammer | 13,950 |
| RANGED | VALUE |
| Master Crossbow | 25,600 |
| Master Longbow | 23,040 |
| OTHER | VALUE |
| Experience Augmentation | 50,000 |
| Lightning Augmentation | 1,550 |
| Mana Augmentation | 45,000 |
| Piercing Augmentation | 2,100 |
| Sharpening Augmentation | 2,600 |
| Silver Augmentation | 1,650 |
CLOTHING
| HEAD | VALUE |
|---|---|
| Guard Hat | 105 |
| HANDS | VALUE |
| Bright Villager Gloves | 25 |
| Dark Plate Gauntlets | 2,020 |
| Dark Will User’s Gloves | 155 |
| Plate Gauntlets | 1,980 |
| Villager Gloves | 21 |
| Will User’s Gloves | 148 |
| TORSO | VALUE |
| Bright Villager Shirt | 96 |
| Dark Plate Chest Piece | 8,010 |
| Dark Will User’s Upper Robe | 630 |
| Plate Chest Piece | 7,920 |
| Villager Shirt | 84 |
| Will User’s Upper Robe | 593 |
| LEGS | VALUE |
| Dark Plate Leggings | 7,020 |
| Dark Will User’s Lower Robe | 530 |
| Plate Leggings | 6,930 |
| Villager Trousers | 74 |
| Will User’s Lower Robe | 519 |
| FEET | VALUE |
| Bright Villager Boots | 12 |
| Dark Plate Boots | 1,020 |
| Dark Villager Boots | 12 |
| Dark Will User’s Boots | 80 |
| Plate Boots | 990 |
| Villager Boots | 11 |
| Will User’s Boots | 74 |
ITEMS
| POTIONS | VALUE |
|---|---|
| Health Potion | 80 |
| Resurrection Phial | 500 |
| Will Potion | 70 |
| GIFTS | VALUE |
| Chocolates | 10 |
| Emerald | 700 |
| Jet | 450 |
| Perfume | 120 |
| Sapphire | 550 |
| Wedding Ring | 900 |
| PRODUCE | VALUE |
| Apple Pie | 15 |
| Carrot | 6 |
| Fish | 18 |
| Flour Sack | 35 |
| Grain Sack | 25 |
| Red Meat | 14 |
| OTHER | VALUE |
| “Eyes of a Killer” | 200 |
| “Making Friends” | 200 |
| “The Sock Method” | 200 |
| “The Ugly Guide” | 200 |
| “Windbreaker Rule Book” | 200 |
| “You Are Not a Bad Person” | 200 |
| Fishing Rod | 50 |
| Spade | 200 |
WANTED
| WANTED | VALUE |
|---|---|
| Carrot | 6 |
| Fish | 12 |
| Flame Augmentation | 1,450 |
| Green Apple | 4 |
| Health Augmentation | 45,000 |
| Health Potion | 80 |
| Red Rose | 20 |
Back at the Heroes’ Guild
As soon as you arrive back at the Heroes’ Guild, you receive a distressing call from your mother. Your first task should be to spend any Experience points you have on your person (sorry, ma!) then head over to Maze’s tower, south of the Guild gardens. Once you’re there, grab Arban’s Thaumaturgica from the table to complete your current quest.
You immediately receive a message from the Guild Master, encouraging you to go speak to him in the Map Room. However, before you accept his next mission, you should finish off any remaining side-quests.
Hidden Booty Hunt
Assuming you’ve been following along carefully, you should only have one major thing left to do before accepting the Guild Master’s final challenge—piece together all six treasure clues and complete the Hidden Booty Hunt quest. You should have received the final clue (Treasure Clue 3) when you killed the fifth Assassin back in Hook Coast, putting an end to the Assassin Attacks quest. However, if it’s still not in your possession, you might want to revisit the Focus Site at Witchwood Cullis Gate, the archery range in Knothole Glade, the Prison Path, and the windmill at Windmill Hill, making sure you didn’t miss any Assassins.
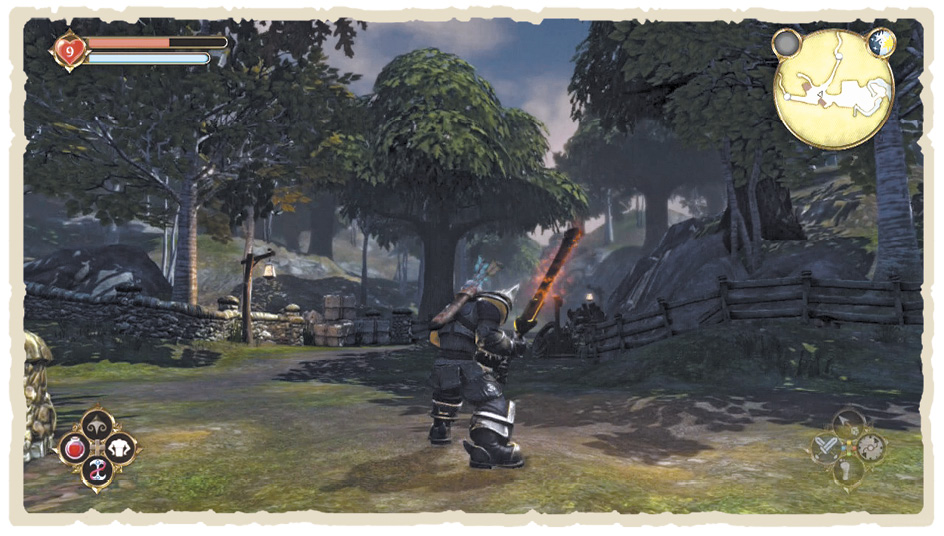
If you can’t be bothered to go galavanting off around Albion again, though, never fear—here are all six clues in full:
 TREASURE CLUE 1
“To begin your quest, go to the region where scrumping Hobbes were discovered in legion.”
 TREASURE CLUE 2
“Your hunt for the treasure can only come good if you start your search where fruit lies in the wood.”
 TREASURE CLUE 3
“With your back to the Lake, walk into the light. Proceed no farther when it’s no longer in sight.”
 TREASURE CLUE 4
“The nearest construction points with its limb. Follow its direction, but don’t stop on a whim.”
 TREASURE CLUE 5
“You’re not going in circles, but riddle me this: repeat the last clue, and you won’t go amiss.”
 TREASURE CLUE 6
“Your reward is buried at the end of your trail. Proceed as directed, ‘til you’re ‘twixt wood and bale.’”
In case you’re still struggling to solve the riddle, make your way to Orchard Farm, as described in Clue 1. Next, Clue 2 reveals that you need to be on the farm itself and not on its outskirts. Stand at the entrance with Greatwood Lake behind you, then follow Clue 3‘s instructions and start walking east until you reach the lamppost ahead. The “nearest construction” Clue 4 refers to is the lamppost you’re currently standing by. It points to a second lamppost just to the north; go there next. Clue 5 tells you to repeat the process, so follow the new lamppost until you reach the sign by the dilapidated cart. Clue 6 urges you to reach the end of the trail, so follow the sign and, just as suggested, you’ll come to a halt between wood (the barn) and a hay bale. Dig here to win your hard-earned prize!
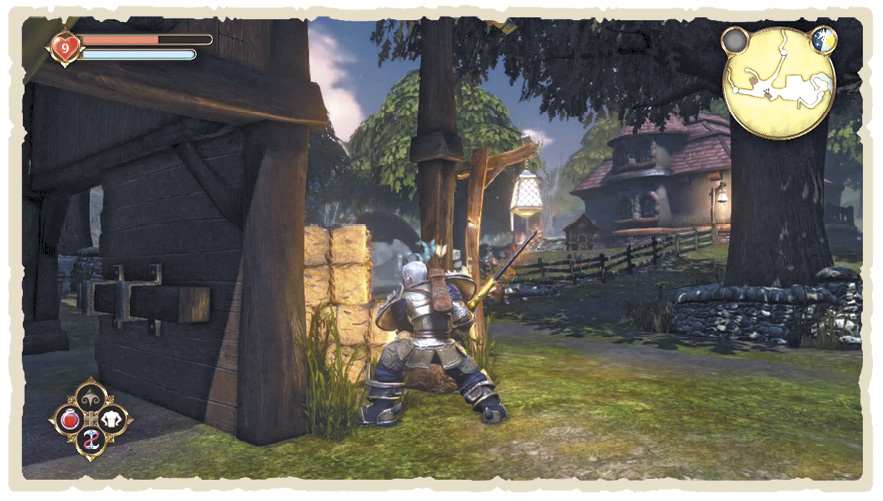
Congratulations! You’ve solved the riddle and uncovered the not-exactly-Legendary Frying Pan. Sure, it doesn’t deal a lot of damage on its own—but its whopping four Augmentation slots means it can be super-charged like no other kitchen utensil before it.
Return to Hook Coast
Once you’ve tied up any loose ends, it’s time to speak with the Guildmaster back in the Heroes’ Guild Map Room. Accept his quest and return to Hook Coast in a bid to finally break through the ruins’ magical seal.
Hook Coast, a once peaceful haven of, well, snow mostly, is now in the grip of a Screamer assault. These fearsome Undead apparitions use Drain Life as their primary attack and are resilient to basic physical damage. Magical strikes, however, are far more effective. Enflame should do you proud here as will weapons with magical Augmentations such as Fire or Lightning.
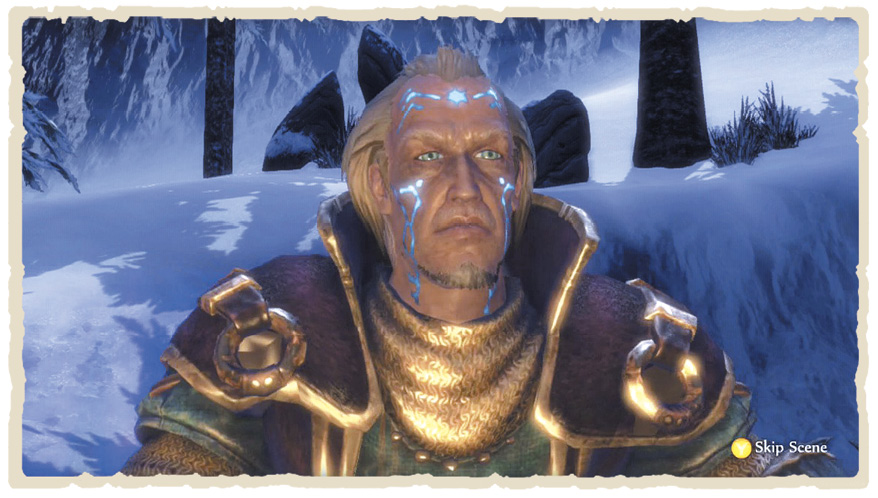
Make your way through the deserted town toward the ancient ruins in the north-west, dealing with any Screamers you encounter on the way. Once you reach the magical seal, the Guildmaster begins an ancient incantation, clearing the way forward. Prepare for twist after twist as you enter the ruins—(spoiler!)—Maze has been working alongside Jack of Blades since the beginning. And, with the ritual finally complete, Jack is in possession of the legendary Septimal Key.
Unfortunately, there’s little time to worry about that now—you’ve got one very peeved Maze to deal with first. As with Twinblade and Thunder before him, Maze can only be damaged from behind. To make matters worse, Maze has a full arsenal of devastating Spells, so getting in close can be a challenge.
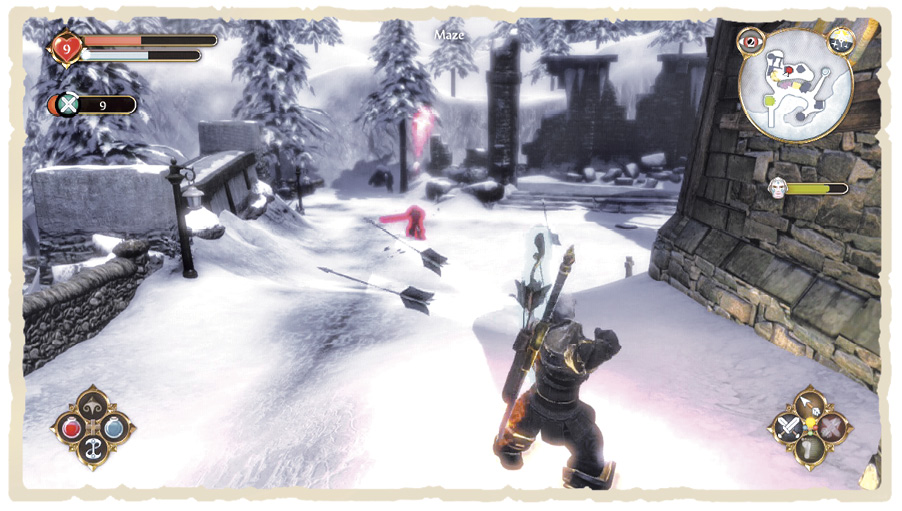
Melee combatants should make use of Assassin Rush to zip behind him, or combine Slow Time with some carefully executed rolls. Ranged specialists, meanwhile, should stand far enough back that Maze begins lobbing magical shots. Lock-on and fire off a charged Multi Arrow immediately after his Spell is cast.
Once you’ve begun whittling Maze’s health down, he relocates to a different part of town, as indicated by the Gold Quest Marker. Leg it over, dealing with any Screamers on the way, and start laying into him again.
Toward the end of the battle, Maze teleports into the lighthouse. There’s little room to manoeuvre inside, but your best bet is to lure him to ground level and deal with him there. Keep your distance to avoid his area-of-effect Spells and hack away when an opening arises, using all the defensive Melee moves in your arsenal. Ranged attacks are likely to be of little use in such close confines, however. Once Maze is defeated and the scope of Jack’s plans are revealed, the Maze’s Clasp Trophy—and an element of begrudging respect—will be yours.
Jack and the Focus Sites
With Maze now nothing but a damp red spot on a crisp white sheet of snow, return to the Heroes’ Guild and speak with the Guildmaster. Jack of Blades is rampaging across Albion, attempting to activate the four Focus Sites scattered throughout the land. To begin your final quest and your last chance to thwart Jack’s plans, step into the Guild’s Cullis Gate.
Your first destination is Witchwood, and, as you’ll soon discover, you’re not acting alone. City Guards, Guild members, and your fellow Heroes are all along for the final, climactic battle—meaning you can concentrate on reaching the Focus Sites while your allies hold back the enemy forces.
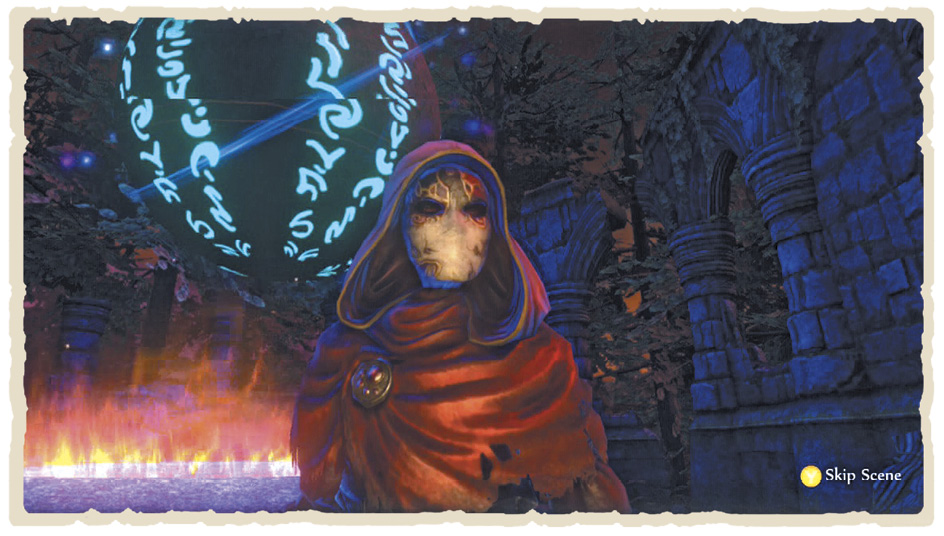
Once you catch up with Jack, you’re immediately transported to Orchard Farm. You need to make your way to the Greatwood Lake Focus Site to the west, dealing with any opponents that get in your way. Again, you’re too late to stop Jack and, again, you follow him to the next Focus Site, this time in the very depths of Hobbe Cave. Proceed along the path ahead until you reach the Focus Chamber at the far end of the cave system.
With three of the four Focus Sites now active, it’s time to make your way to Gibbet Woods. By now, the route ahead is packed with fearsome Minions so be prepared to break out your best defensive moves as you high-tail it to the final Focus Site. Of course, you’re too late again, and, with all four Focus Sites now feeding Jack ancient, unspeakable power, there’s little to do but follow his instructions and return to the Heroes’ Guild.
The Final Battle
The Heroes’ Guild is in turmoil but there’s little to do but push on through the burning corridors. Climb the staircase as you enter the Map Room to swipe a Resurrection Phial from the balcony, Back on the ground floor, head down the steps and search out the handy Health Potions nearby. When you’re done, enter the library through the left-hand archway.
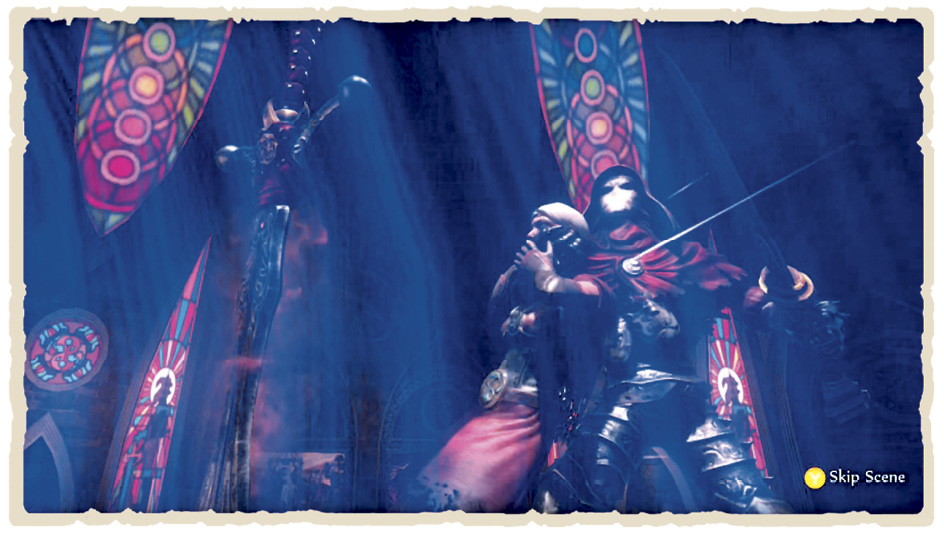
Continue onward into the Guild Caves, swiping the Oak Longbow from the fallen soldier if you need it. Finally, proceed into the Chamber of Fate and ready yourself for one last battle.
Before you even consider taking on Jack, turn your attention to his Minion lackeys. Use the ever-handy Slow Time Spell to bring their movements to a crawl and lay in with everything you’ve got until each of them is down.
Your first round against Jack is largely Melee-focused. He’s a sharp blocker so make the most of your Flourishes here, rolling out of the way whenever he thrusts his sword forward to unleash a magical attack. After a few successful hits, Jack zips out of reach—you need to rush in and continue your Flourish strikes, but be wary of his Spells as you make your approach.
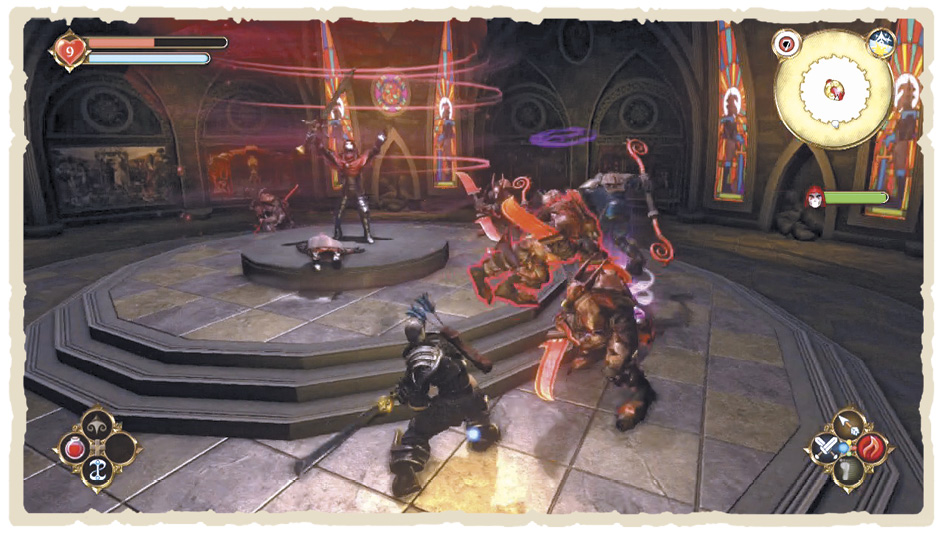
Once you’ve got Jack down to about half of his health, he retreats to the centre of the chamber, levitating into the air. You’ve no choice here but to resort to Ranged attacks. His large arsenal of projectile strikes are extremely difficult to dodge, but, luckily, you don’t have to—simply use the rock spires around the room as cover. As ever, Multi Arrow proves particularly effective, so let off a fully charged, magical-enhanced bolt between Jack’s assaults.
Eventually, more Minions swarm the room. Either stick close to your cover and take them out from there or—if Jack’s on his last flecks of health—try and avoid their attacks by circling around, unleashing a final volley of Multi Arrows at your main target. Keep it up and Jack won’t be long for this world.
A Choice for the Ages
Once the battle is over, there’s still one last choice to make. Do you cast the mighty Sword of Aeons into the vortex, ridding the world of its Evil influence forever—or do you strike down your sister and claim its Legendary power as your own? Choose wisely, Hero; a lifetime of Good or Evil deeds can be reversed with this single decision.