Fable Anniversary Guide Walkthrough Windmill Hill to Hook Coast
Prison Barracks
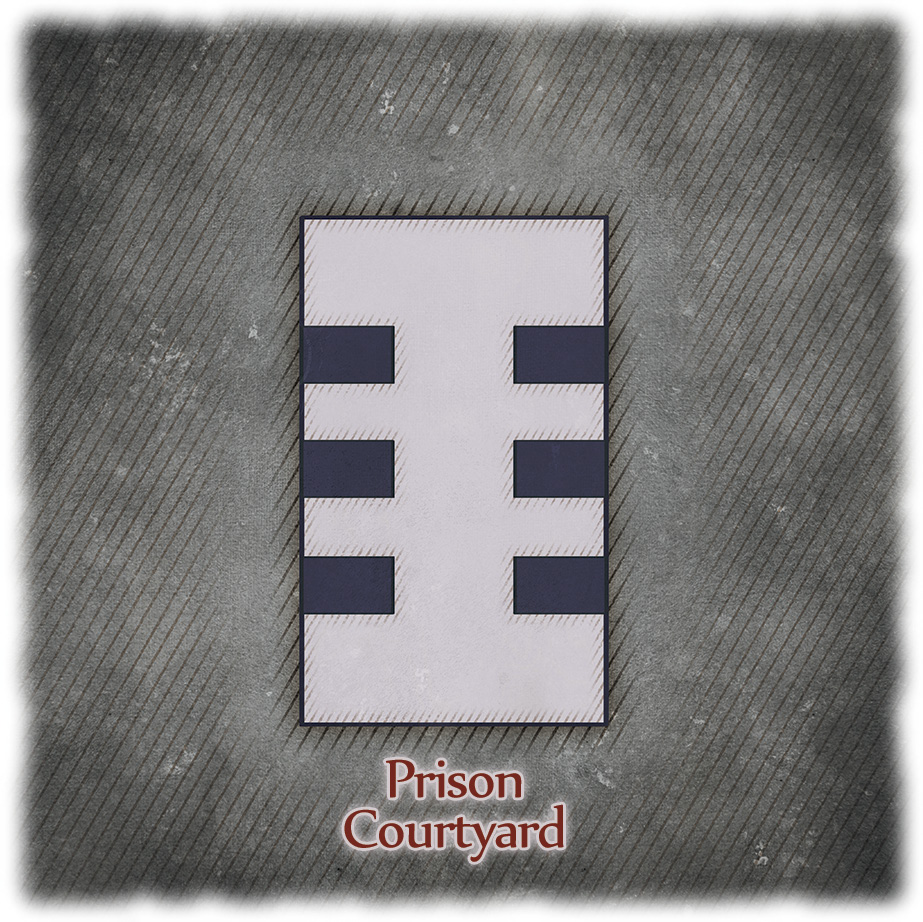
There are five chests in the room, containing Guard Boots, Guard Gloves, a Guard Hat, a Guard Shirt, Guard Trousers, and, finally, Your Belongings—note that opening the last chest summons a Guard into the room. While you’re here, check out the bookcases at the end of the room to swipe a Harion Shoulder Tattoo and a Harion Arm Tattoo. Finally, smash the barrels near the door for a few extra goodies. Once you’re done, don your garb of choice and leg it to mother in the Torture Chamber, through the small door to the west of the courtyard.
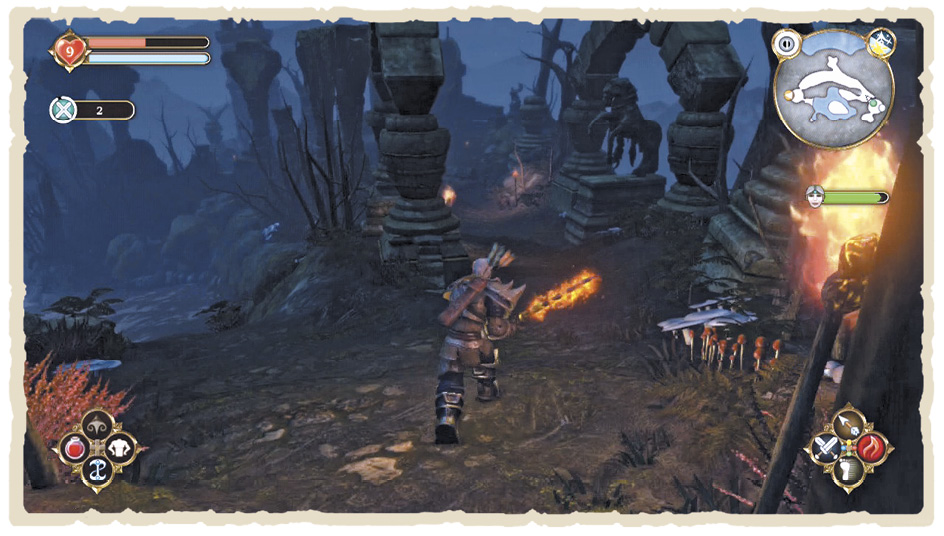
Immediately yank the lever and leg it through the northern-most door, into the Underground Passage. Deja vu, anyone? Keep a watchful eye on your mother as you progress and use Heal Life to top up her energy levels, if necessary. For all the attention the Guards pay her on your return trip, though, she might as well be invisible—clearly none of them has a subscription to Senior Heroes Quarterly. Make your way back along the Underground Passage, dealing with any enemies you encounter, then head through the door to the south-west.
Once you reach the Cliffside Path, take the route west through the water—it’s mercifully free of opponents. Next, push onward into the Underground Tunnel, following the winding corridor all the way along to the exit in the south-west. You’ll find a handful of agitated Guards waving their swords around here, but nothing that’s likely to trouble you. Unfortunately, the same can’t be said when you finally reach the Underground Chamber.
Enter the Kraken
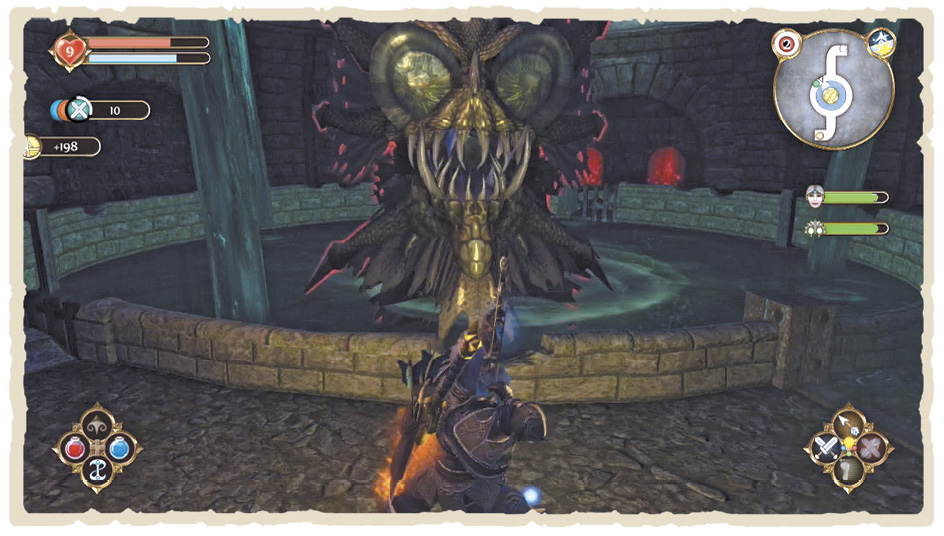
In a case of the worst possible timing imaginable, the great Kraken beneath Bargate Prison has chosen this exact moment to wake from its slumber. Your first task is to deal with its tentacles —keep moving slowly around the room then quickly dodge aside when you spot one preparing to lunge. If you’re hit, the tentacles immediately resume their upright position. However, if your dodge is successful, you’ve got a few seconds to smack them with your most powerful Melee weapon before they recover. Ranged combatants, meanwhile, should keep moving to avoid attack while they are charging their shots. Eventually, once all tentacles have disappeared beneath the waves, the great Kraken’s head emerges.
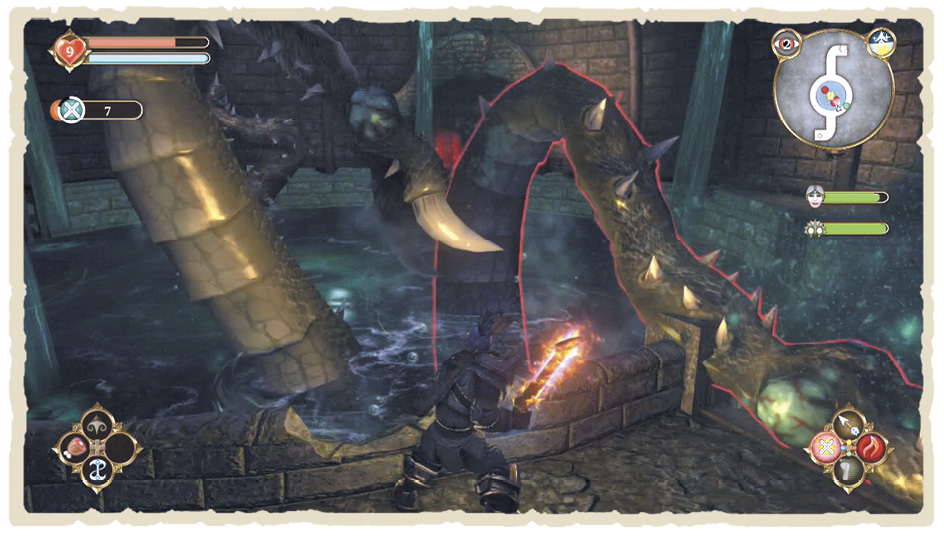
Ranged attacks are the fastest way of completing the next stage of the battle and Multi Arrows are particularly effective here. Immediately lock onto the monster and keep moving around the room’s perimeter. This should help you avoid its powerful ray attack, although a last-minute roll might be required on occasion. Eventually, the Kraken sinks back beneath the water, leaving you to do another round with its great, wobbly protrusions. Repeat the entire process over and, soon, it will be no more.
With the Kraken cracked, head south to leave the area and return to Lychfield Graveyard. Your mother tells you of a secret key, hidden somewhere in the remote Hook Coast area. It seems you can only get there through a portal in Darkwood, however—so expect to return there very soon. As a reward for your efforts, you receive 40,000 Experience points to spend as you please, plus the Kraken Tooth Trophy. It almost makes the years behind bars worth it.
Once free of Bargate Prison, the Gateway to Hook Coast quest is automatically added to your inventory. However, before embarking on the final leg of your adventure, it’s worth paying another visit to the Heroes’ Guild. Teleport on over, then spend your bumper bounty of Experience.
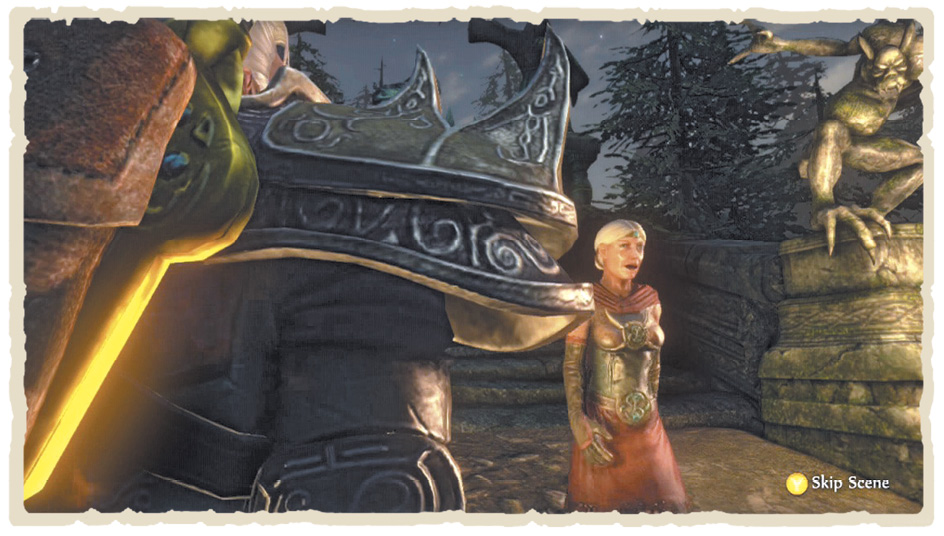
Bandit Spy Extraction
There’s a brand-new challenge waiting to be accepted from the Map Table. However, it’s a fundamentally Evil-focused quest, so Good characters may want to skip it and progress straight to the Ancient Cullis Gate where the pathway to Hook Coast lies. If you do accept it, though, make your way to Bowerstone North.
BANDIT SPY EXTRACTION—BOASTS
Both Trader Massacre and Guard Massacre Boasts offer ample entertainment value for the truly monstrous and, as an added bonus, are easy to achieve. Note, however, that you can only take one—so choose wisely. Or indiscriminately—that’s also up to you.
| Boasts | Criteria | Wager | Reward |
|---|---|---|---|
| Fist Fighter | Use no weapons or offensive magic. | 400 | 1,100 |
| Guard Massacre | Kill all the Guards. | 500 | 1,000 |
| No Protection | Do the quest naked. | 400 | 1,000 |
| Pacifist | Kill no one. | 500 | 1,400 |
| Solo Mission | Hire no Bandit allies. | 400 | 800 |
| Trader Massacre | Kill all the Traders. | 500 | 1,200 |
| Without a Scratch | Take no damage. | 400 | 1,600 |
Get things started by speaking with Tanya—a Bandit undercover operative waiting somewhere in Bowerstone North. Once she’s filled you in on the details, you automatically head to Bowerstone Jail, where the quest begins.
Before you get going, you have the option to hire each of the four Bandits in the area for 100 Gold a head. Of course, you’re free to do the whole thing by yourself, if you prefer—or if you chose the Solo Mission Boast.
When you’re ready, start slicing your way north to Windmill Hill. As soon as you enter the area, the convoy, and your target, begins its journey from the windmill into Gibbet Woods—and if it reaches the Prison Path, your quest is over. You need to catch up with the convoy and speak with Otto, the Trader spy, as quickly as possible, minimising the amount of backtracking you need to do next.
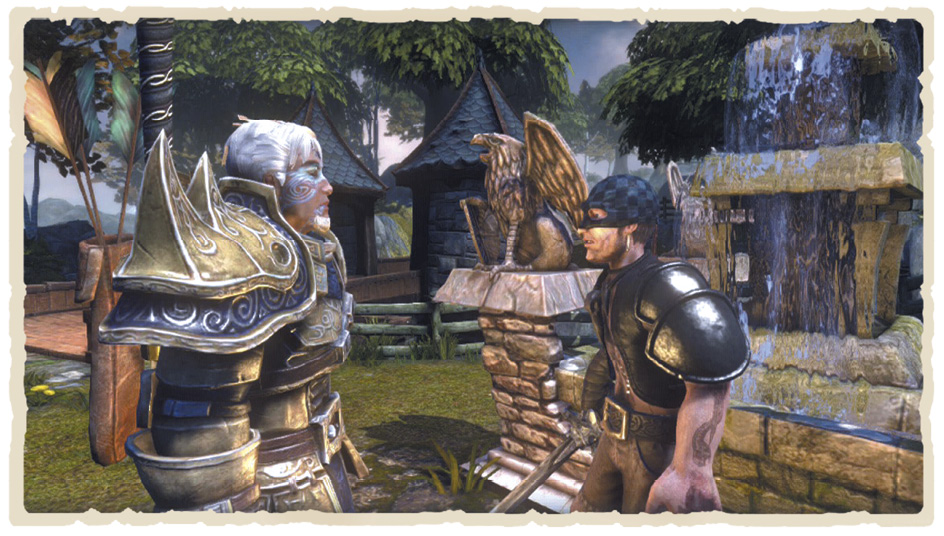
Once you’ve spoken, Otto immediately becomes vulnerable to attack. You might consider clearing the surrounding area of Guards and soon-to-be-hostile Traders before engaging in conversation. However, you need to do it quickly (or, say, with the help of a Slow Time Spell) otherwise he’ll be long gone.
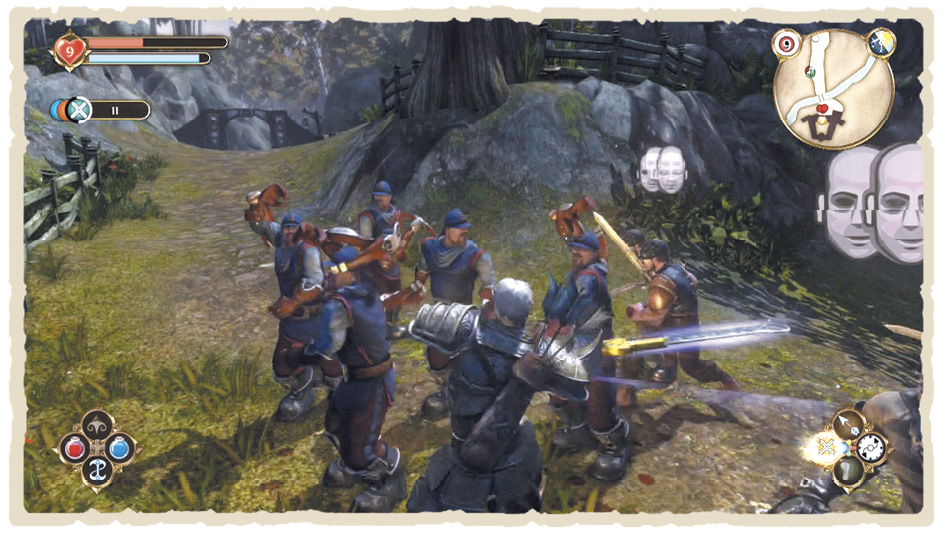
With Otto in your party, turn around and head back to Bowerstone North, taking out any new opponents on the way—both Slow Time and Heal Life Spells are invaluable here. Once your quest is complete, you’ll be the proud recipient of a Sharpening Augmentation and the delightful Trader’s Head Trophy.
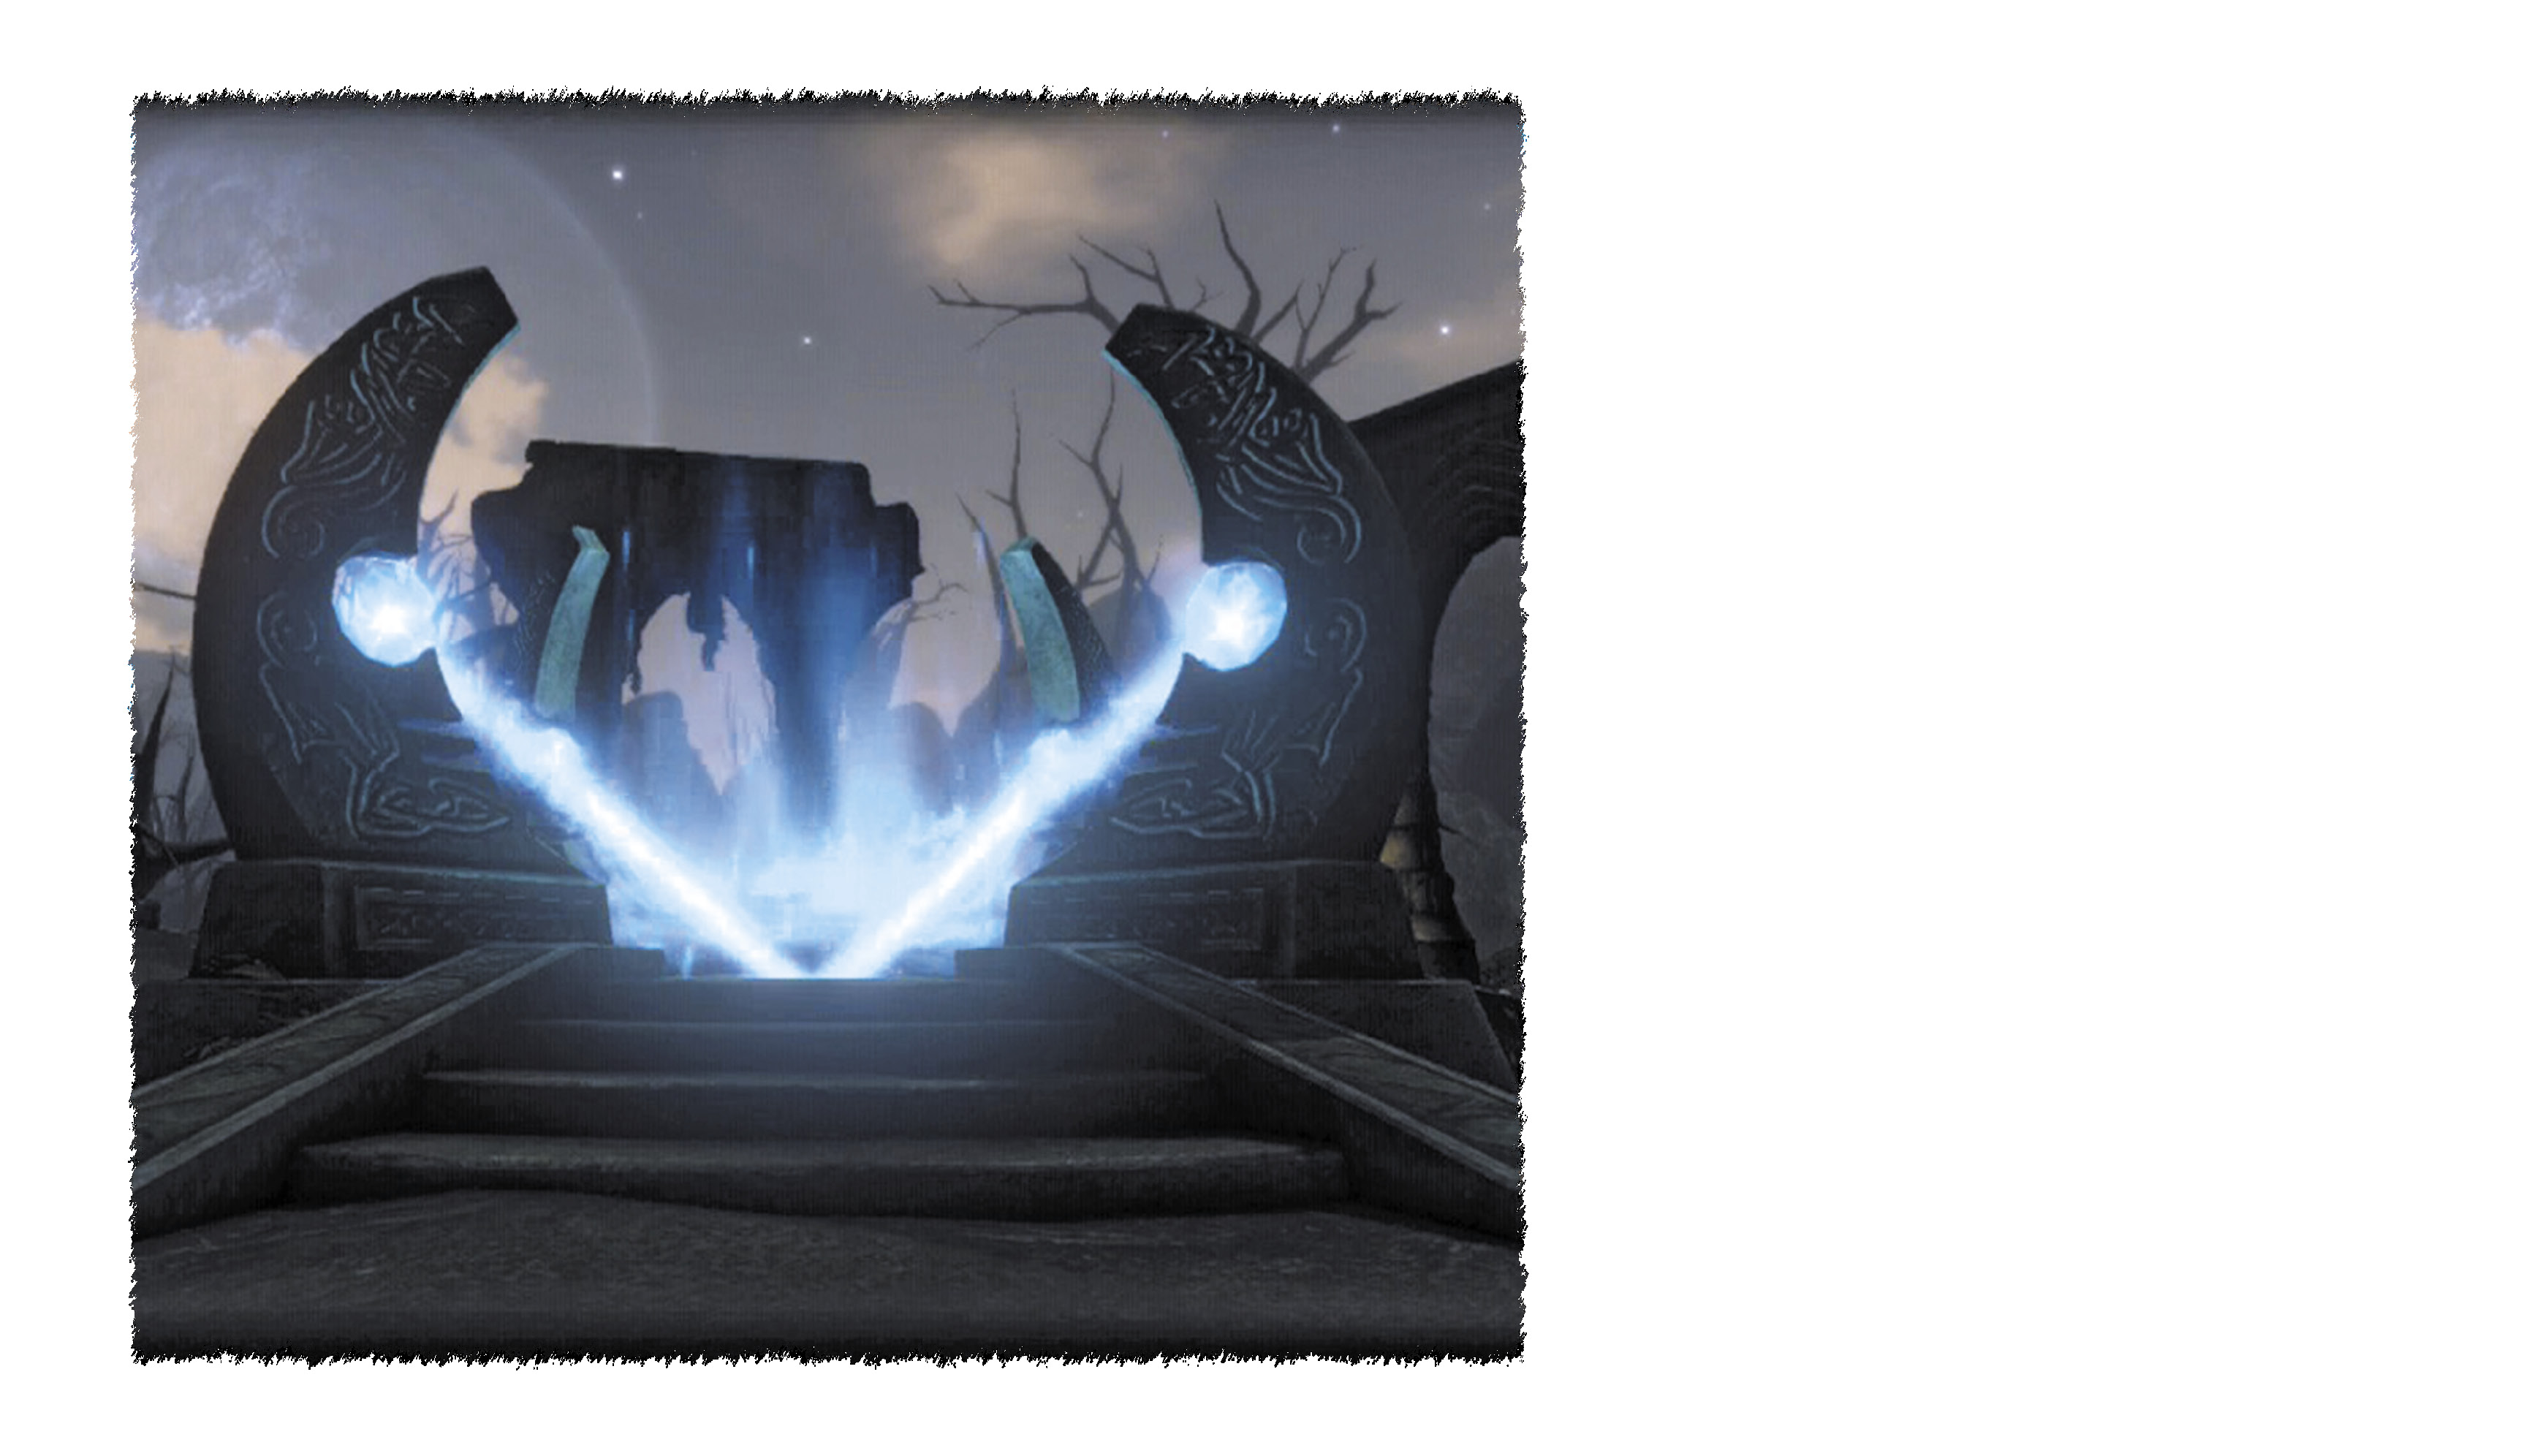
As soon as you’ve finished admiring your quaint new keepsake, teleport over to Barrow Fields. From there, wind your way toward the Ancient Cullis Gate in the Darkwood region—it’s time to pay Hook Coast a visit.
Through the Ancient Cullis Gate
In order to activate the Ancient Cullis Gate, you need to sate its hunger for Undead souls. Who knows why it can’t eat biscuits like everyone else? Once you reach the gate, Undead opponents will begin to burst from the earth. These aren’t just any old Undead either—these are Undead Generals, so you’ve got a bit of work to do. Each enemy you defeat increases the bar at the side of the screen—but it slowly depletes over time. You need to keep hacking away with wild abandon in order to fill it and open the path to Hook Coast.
Given the calibre of Undead you’re up against, you might prefer to use a spot of magic to speed things up. Berserk gives Melee combatants a much-needed boost, while a high-level Fireball Spell or Enflame should satisfy Will users with an appetite for Undead decimation. Once the Ancient Cullis Gate is finally active, step on through for your first taste of the ever-so-festive Hook Coast.