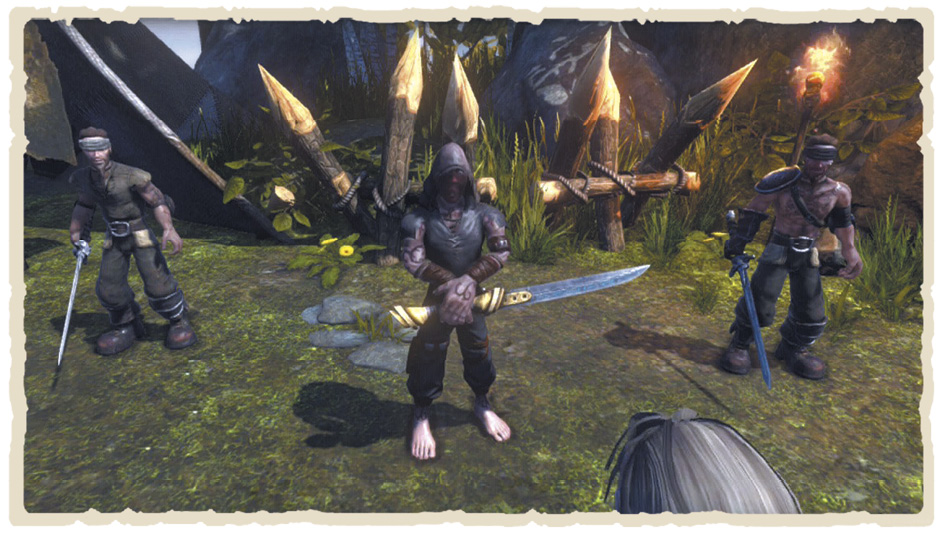
Fable Anniversary Guide Walkthrough Darkwood to Twinblades Camp
Twinblades Tent
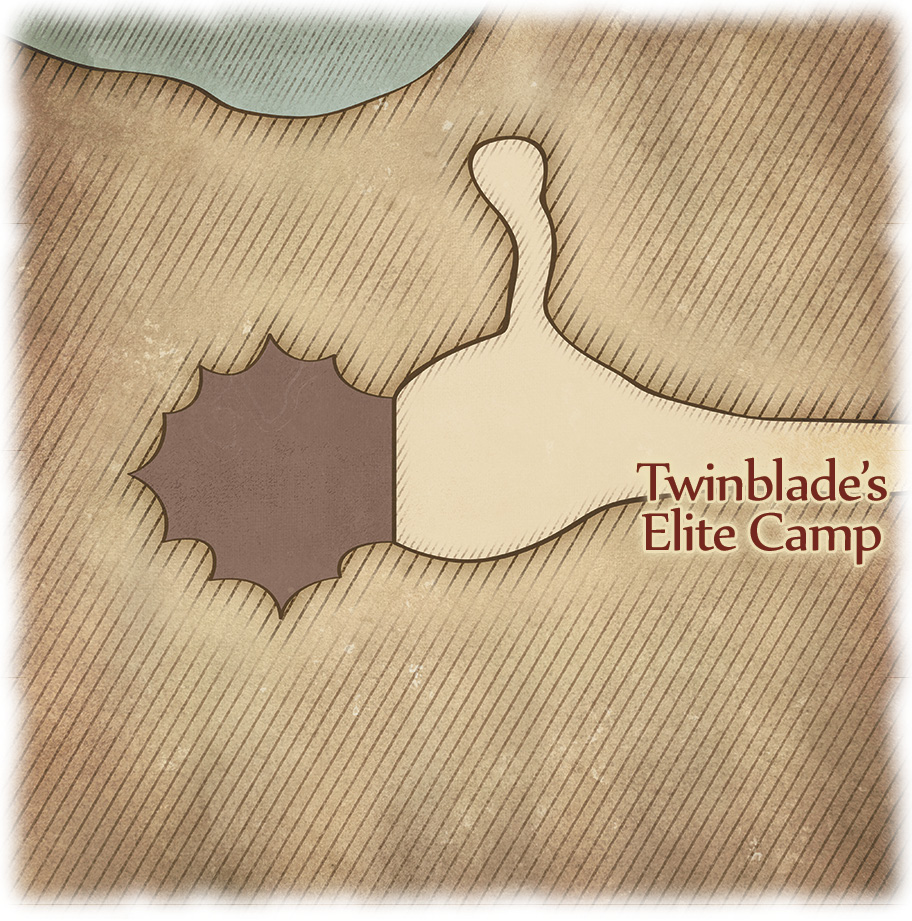
As soon as you enter Twinblade’s Tent, you have to answer to the big man himself. Twinblade is a formidable opponent, capable of blocking anything that comes his way. However, every couple of attacks, he slams his swords into the ground, unable to move for a few moments. This is your chance to circle round and hit him in the back for major damage. Your best strategy is simply to lock on, keep close, and dodge his moves until a window of opportunity arises. Be sure to keep away from the edge of the ring at all times, though—otherwise Twinblade’s Bandits start hacking away. Eventually, Twinblade yields and you’re faced with another Alignment-altering choice.
 Good characters can spare Twinblade, simply by leaving the area through the eastern gates. Bless.
 If you want him dead (and those delicious Evil points), take a swing to continue the battle to its bitter end. Be warned, though; if you choose to kill Twinblade, his Bandit cohorts (lining the ring) join in the final confrontation. Kill them all before initiating the fight to make things easier.
However you play it, your final reward for facing-down Twinblade is the Bandit Seal Trophy—go on, give it a hoist.
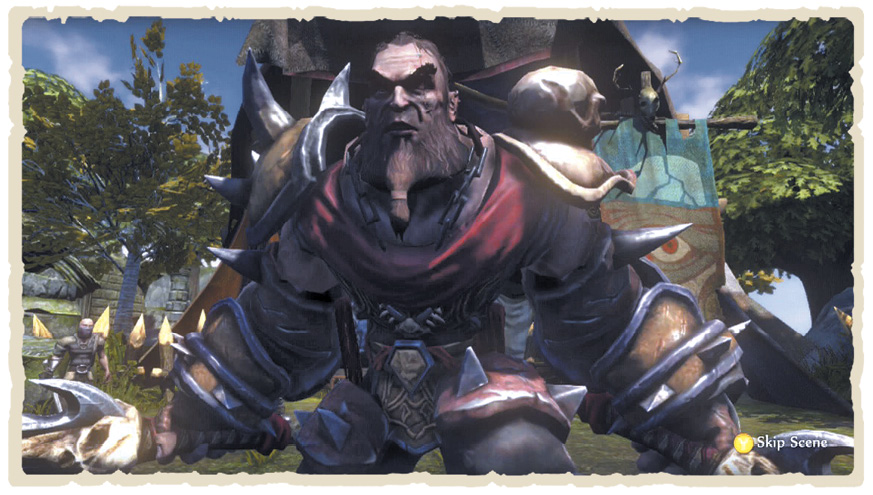
With Twinblade’s battle behind you, Maze immediately requests your presence back at the Heroes’ Guild. Best get over there, pronto.
Maze’s Next Request
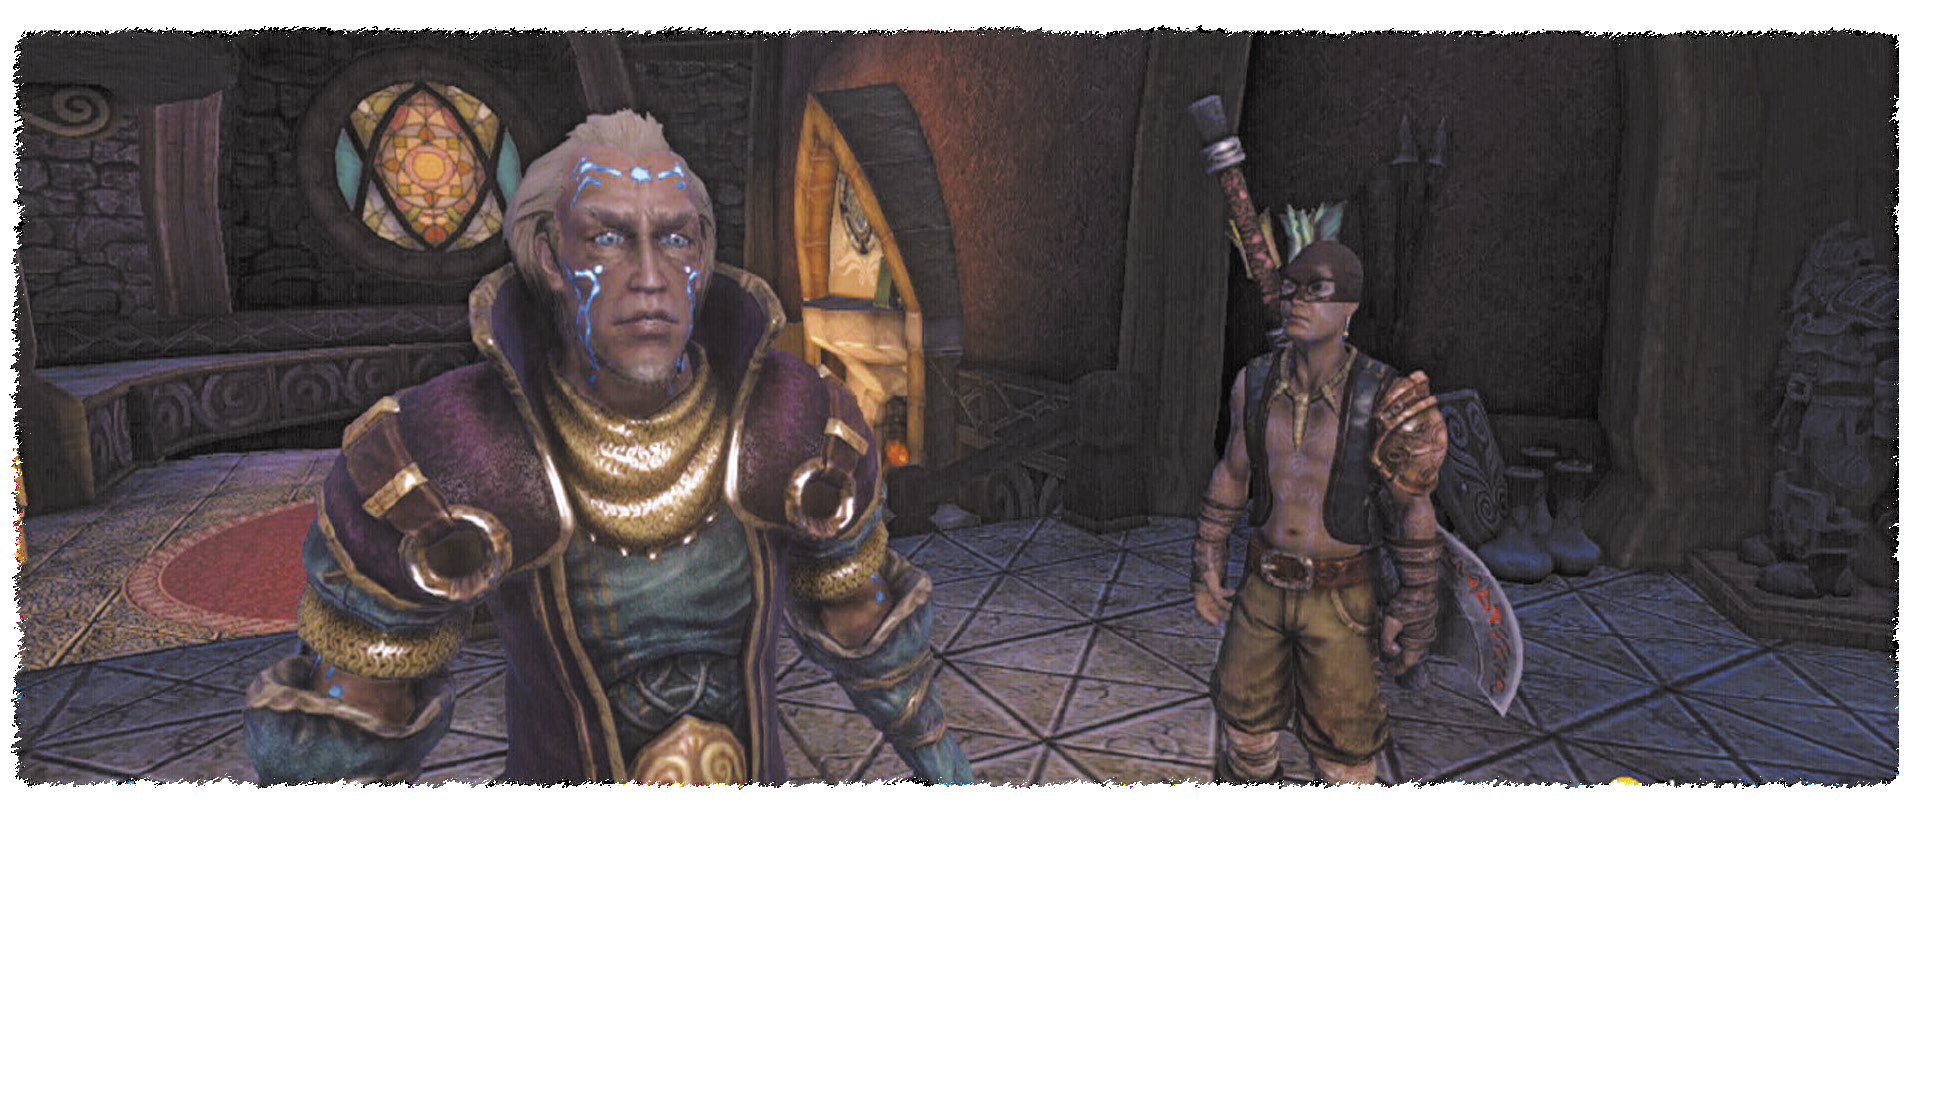
Teleport back to the Heroes’ Guild and spend your Experience (including 10,000 points gifted by Theresa) while you’re here. Next, meet Maze in his tower to the south and receive a new mission: find the Archaeologist in Witchwood.
Before you go gallivanting off again, there are a couple of additional quests waiting for you at the Map Table. Good Heroes can choose the saintly Trader Rescue quest, while Evil characters should grab the diabolical Trader Massacre quest. Alternatively, choose both if you’re feeling Alignment-agnostic and just want the money and fame.
Trader Massacre
TRADER MASSACRE ~ BOASTS
| BOASTS | CRITERIA | WAGER | REWARD |
|---|---|---|---|
| Fist Fighter | Use no weapons or offensive magic. | 800 | 5,000 |
| Keep Bandit Alive | Ensure that the Bandit doesn’t die. | 400 | 1,000 |
| No Protection | Do the quest naked. | 100 | 400 |
| Timed Quest | Complete the quest in under 4 minutes. | 400 | 1,000 |
| Without a Scratch | Take no damage. | 1,000 | 6,000 |
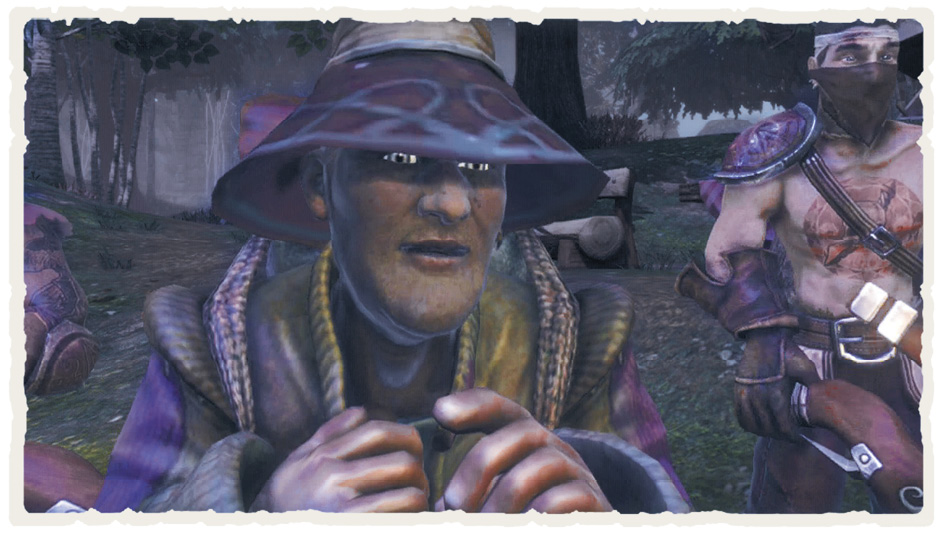
Evil characters have it easy. All you need do to complete this quest is eliminate every Guard and Trader in Barrow Fields. Teleport over and take care of business—enjoying the assistance of some Bandit chums. After the Guards have been defeated, there’s one final decision to make: either kill or spare the last Trader for a few extra Alignment points.
Trader Rescue
TRADER RESCUE ~ BOASTS
| BOASTS | CRITERIA | WAGER | REWARD |
|---|---|---|---|
| Pacifist | Kill no Bandits. | 400 | 1,000 |
| Fist Fighter | Use no weapons or offensive magic. | 300 | 1,000 |
| No Protection | Do the quest naked. | 100 | 400 |
| Timed Quest | Complete the quest in under 8 minutes. | 400 | 1,000 |
| Without a Scratch | Take no damage. | 300 | 1,000 |
This quest, requiring you to escort three Traders out of Twinblade’s Camp, begins as soon as you enter the area. There are two ways to achieve this—either by running (or sneaking) past the Bandits, grabbing the Traders, then legging it out again, or by killing every Bandit in sight. The first option is practically compulsory if you’ve opted for Without a Scratch, Pacifist, and Timed Quest Boasts. The second option, meanwhile, is slower but earns a ton more Experience.
If you’re fighting your way to victory, things start to get tough as you reach the large group of Bandits in the centre of camp. Dodge and Flourish (or bring out your best crowd-control Spells like Battle Charge and Force Push) to make it through. Be careful with large area-of-effect-style Spells; if you accidentally kill a Trader in the skirmish, your quest is over.
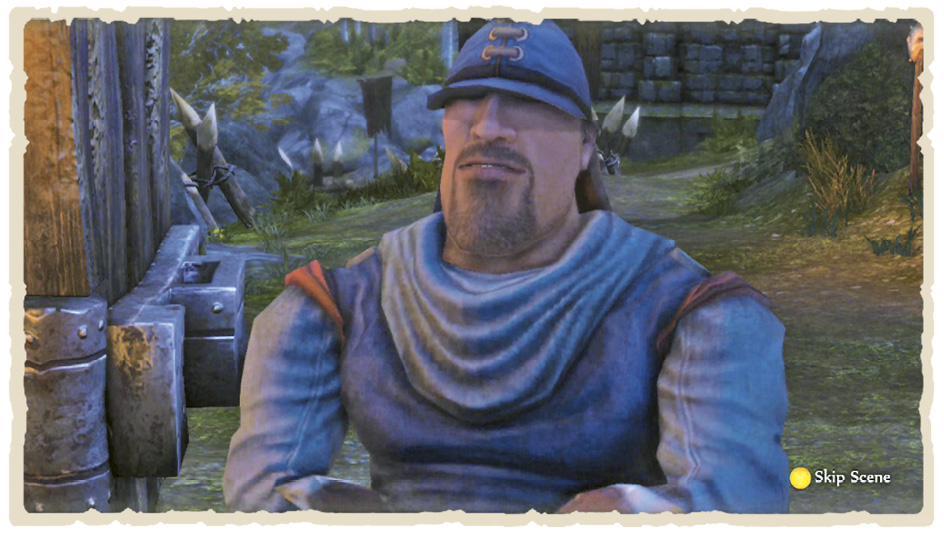
Once the area is clear, speak to the Trader and immediately command him to Wait. Next, run back along the northern path, attracting the next Bandit wave while keeping your charge out of harm’s way. Bring down any lingering opponents then command the Trader to Follow. Lead him out of the gate to the east then move deeper into camp to the west.
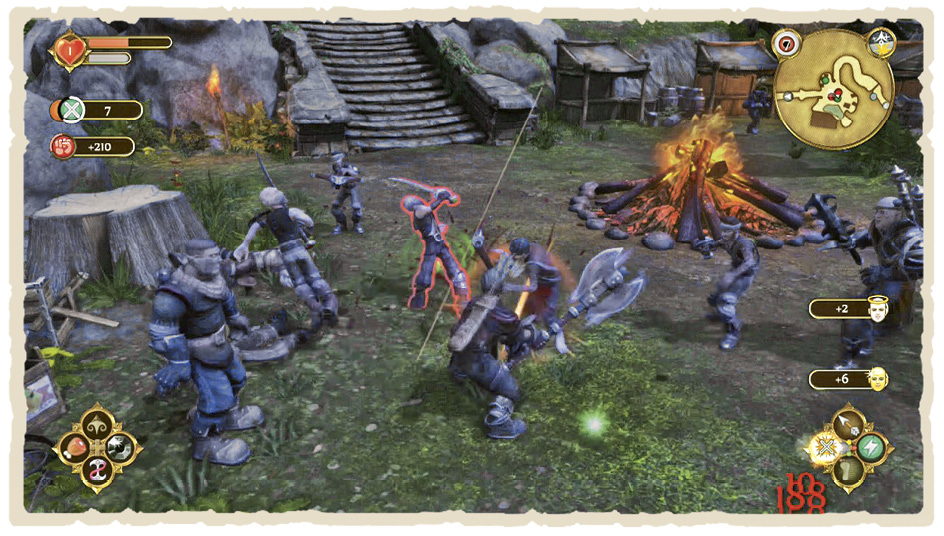
You can use the same strategy here as before: clear the entire area of Bandits then speak to either one of the two remaining Traders and command them to Wait. A few more Bandits appear when you do, so take care of them before leading both Traders—one to the north-east, the other to the south-west—through the gate to the east. Finally, back in the first camp, immediately tell both Traders to Wait then run ahead to clear out the latest group of Bandits to join the party. When peace is restored, simply lead your team out the exit to the east.
Murder With a Twist
There’s one last bit of business to take care of at Twinblade’s Camp. First, though, return to Oakvale and speak with the Guard at Point F. He asks you to deal with an Assassin that killed his brother, offering a 1,000 Gold reward.
Teleport back to Twinblade’s Camp and make your way to Twinblade’s Tent, where the aforementioned Assassin waits. Talk to him then pull out your weapon a few times to strike up a new deal. The Assassin offers you 2,000 Gold to kill the Guard that set the bounty—who, in a shocking twist, is his very own brother. You can refuse the Assassin’s offer once and he ups the fee to 2,500 Gold—but he attacks if you turn him down again. Accept the higher value and you receive payment immediately (plus a few Evil points)—meaning that you can still kill the Assassin and return to the Guard, claiming your original 1,000 Gold reward, too. Not bad for a few minutes’ work!