
Fable Anniversary Guide Enemies: A Field Guide for the Fearless and Foolhardy
Bosses
| Name | Health | Experience | Renown | Primary Melee Attack | Secondary Melee Attack | Ranged Attack | Strong Against | Weak Against |
|---|---|---|---|---|---|---|---|---|
|
1. Wasp Queen |
400 | 0 | 50 | Strike (30 DMG) | - | Wasp Generation | - |   |
|
2. Whisper |
1,500 | 0 | 0 | Whisper’s Staff (120 DMG) | - | - | - |  |
|
3. Twinblade |
3,000 | 100 | 120 | Twinblade’s Sword (120 DMG) | - | Twinblade Sword (120 DMG) | Everything* |  |
|
4. Arachanox |
7,000 | 200 | 300 | Tail Strike (50 DMG) | Claws (300 DMG) | - | Everything* |   |
|
5. Thunder |
3,000 | 100 | 0 | Thunder’s Sword (200 DMG) | - | Lightning Strike (200 DMG) | Everything* |   |
|
6. Kraken |
5,000 | 90 | 170 | - | - | - | Everything* |   |
|
7. Maze |
400 | 2,000 | 1,500 | - | - | - |   |
|
|
8. Jack of Blades |
10,000 | 5,000 | 20,000 | Sword of Aeons (500 DMG) | - | - | Everything* |  |
|
9. Briar Rose |
9,000 | 100 | 0 | Briar Rose’s Sword (520 DMG) | - | Drain Life Spell, Lightning Spell |  |
 |
|
10. Nostro |
12,000 | 38 | 36 | Nostro’s Sword (150 DMG) | - | - |  |
   |
|
11. Guildmaster |
8,000 | 100 | 0 | - | Physical Shield Spell, Heal Life Spell | - | - | |
|
12. Jack of Blades (Dragon) |
2,000 | - | 3,000 | Bite | Ground Slam | Fire Beam, Fire Ball |   |
 |
*See Weak Against for exceptions
1. Wasp Queen
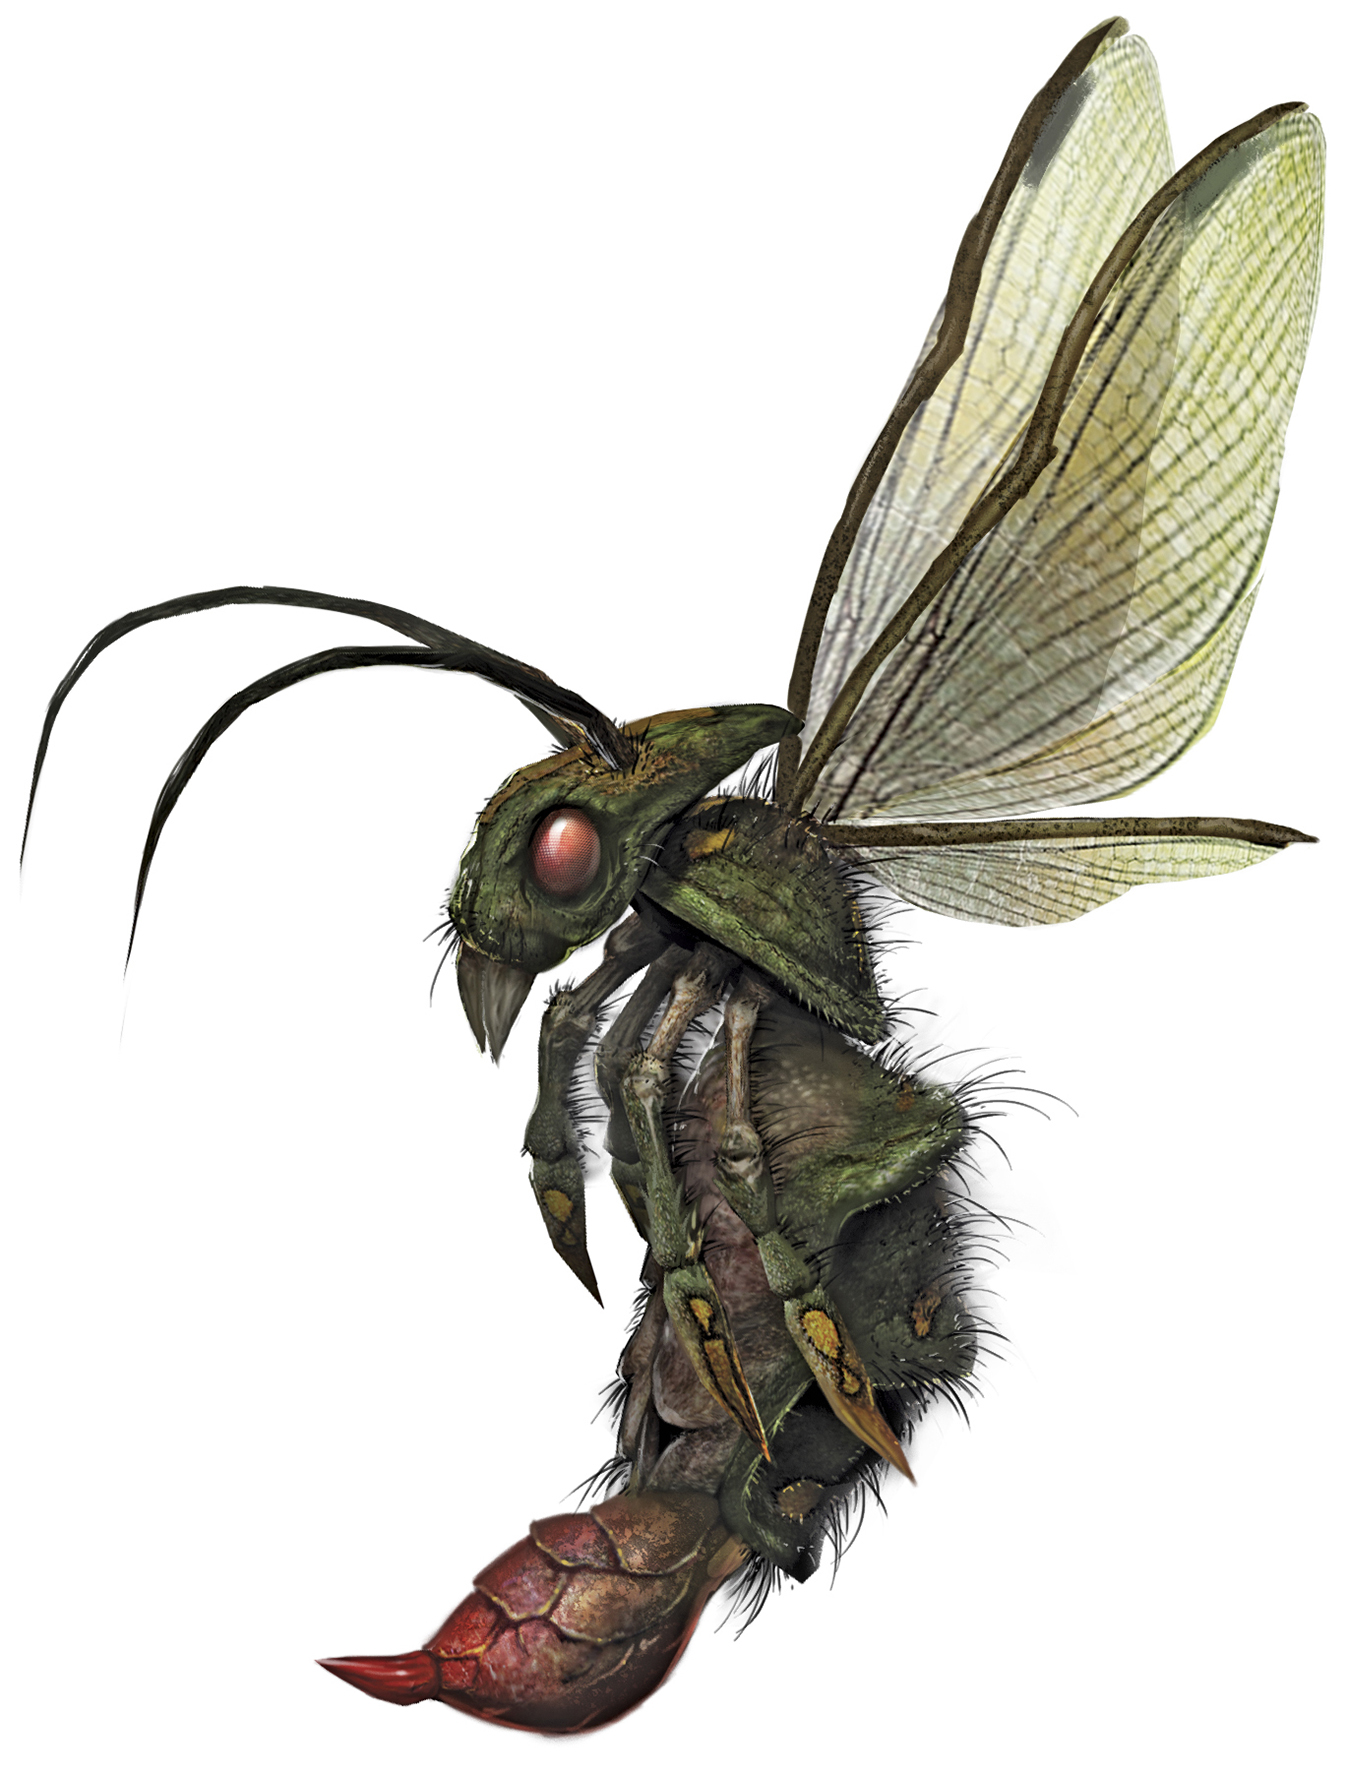
You encounter the Wasp Queen early on in your adventure, during the Wasp Menace quest (see Chapter 3.2). Thankfully, despite her formidable appearance, the Wasp Queen poses little threat to even the freshest-faced Heroes. However, her constant airborne nature makes Melee attacks virtually useless; instead, switch to a Ranged weapon or Spell, engage auto-target, and let rip.
2. Whisper
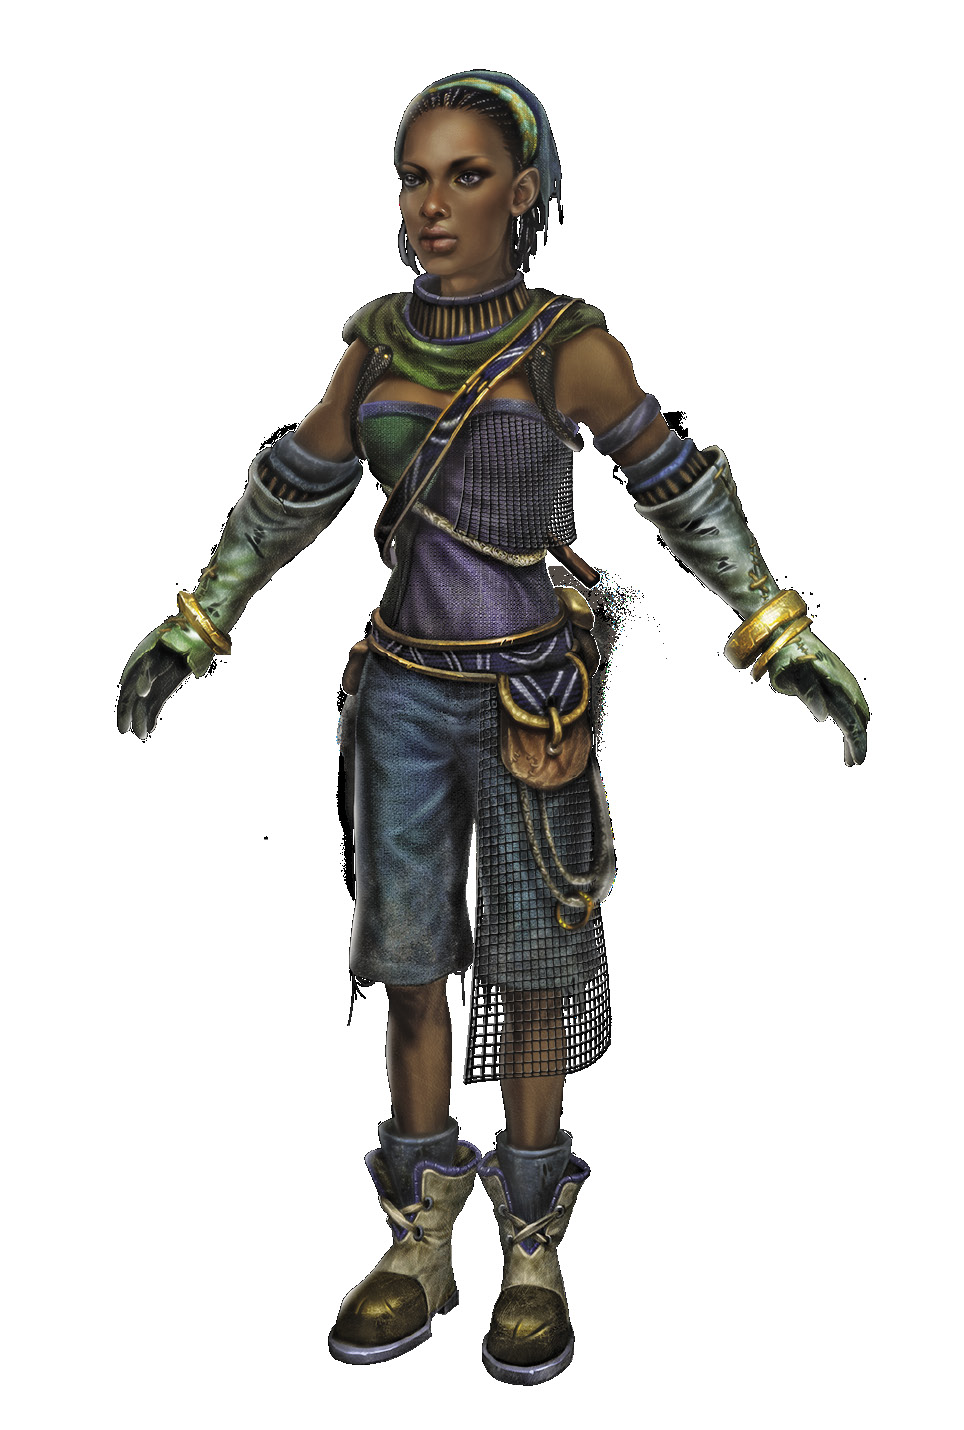
Whisper makes three combative appearances in Fable—during the Guild Training and Attack/Protect Orchard Farm quests (see Chapter 3.2) and, finally, at The Arena (see Chapter 3.4). She’s a master blocker and a nimble fighter—but, if you break through her defences, she can be subdued with a few direct hits. Melee weapons are a must against Whisper—use Slow Time then dodge behind her to unleash a succession of Flourishes.
3. Twinblade
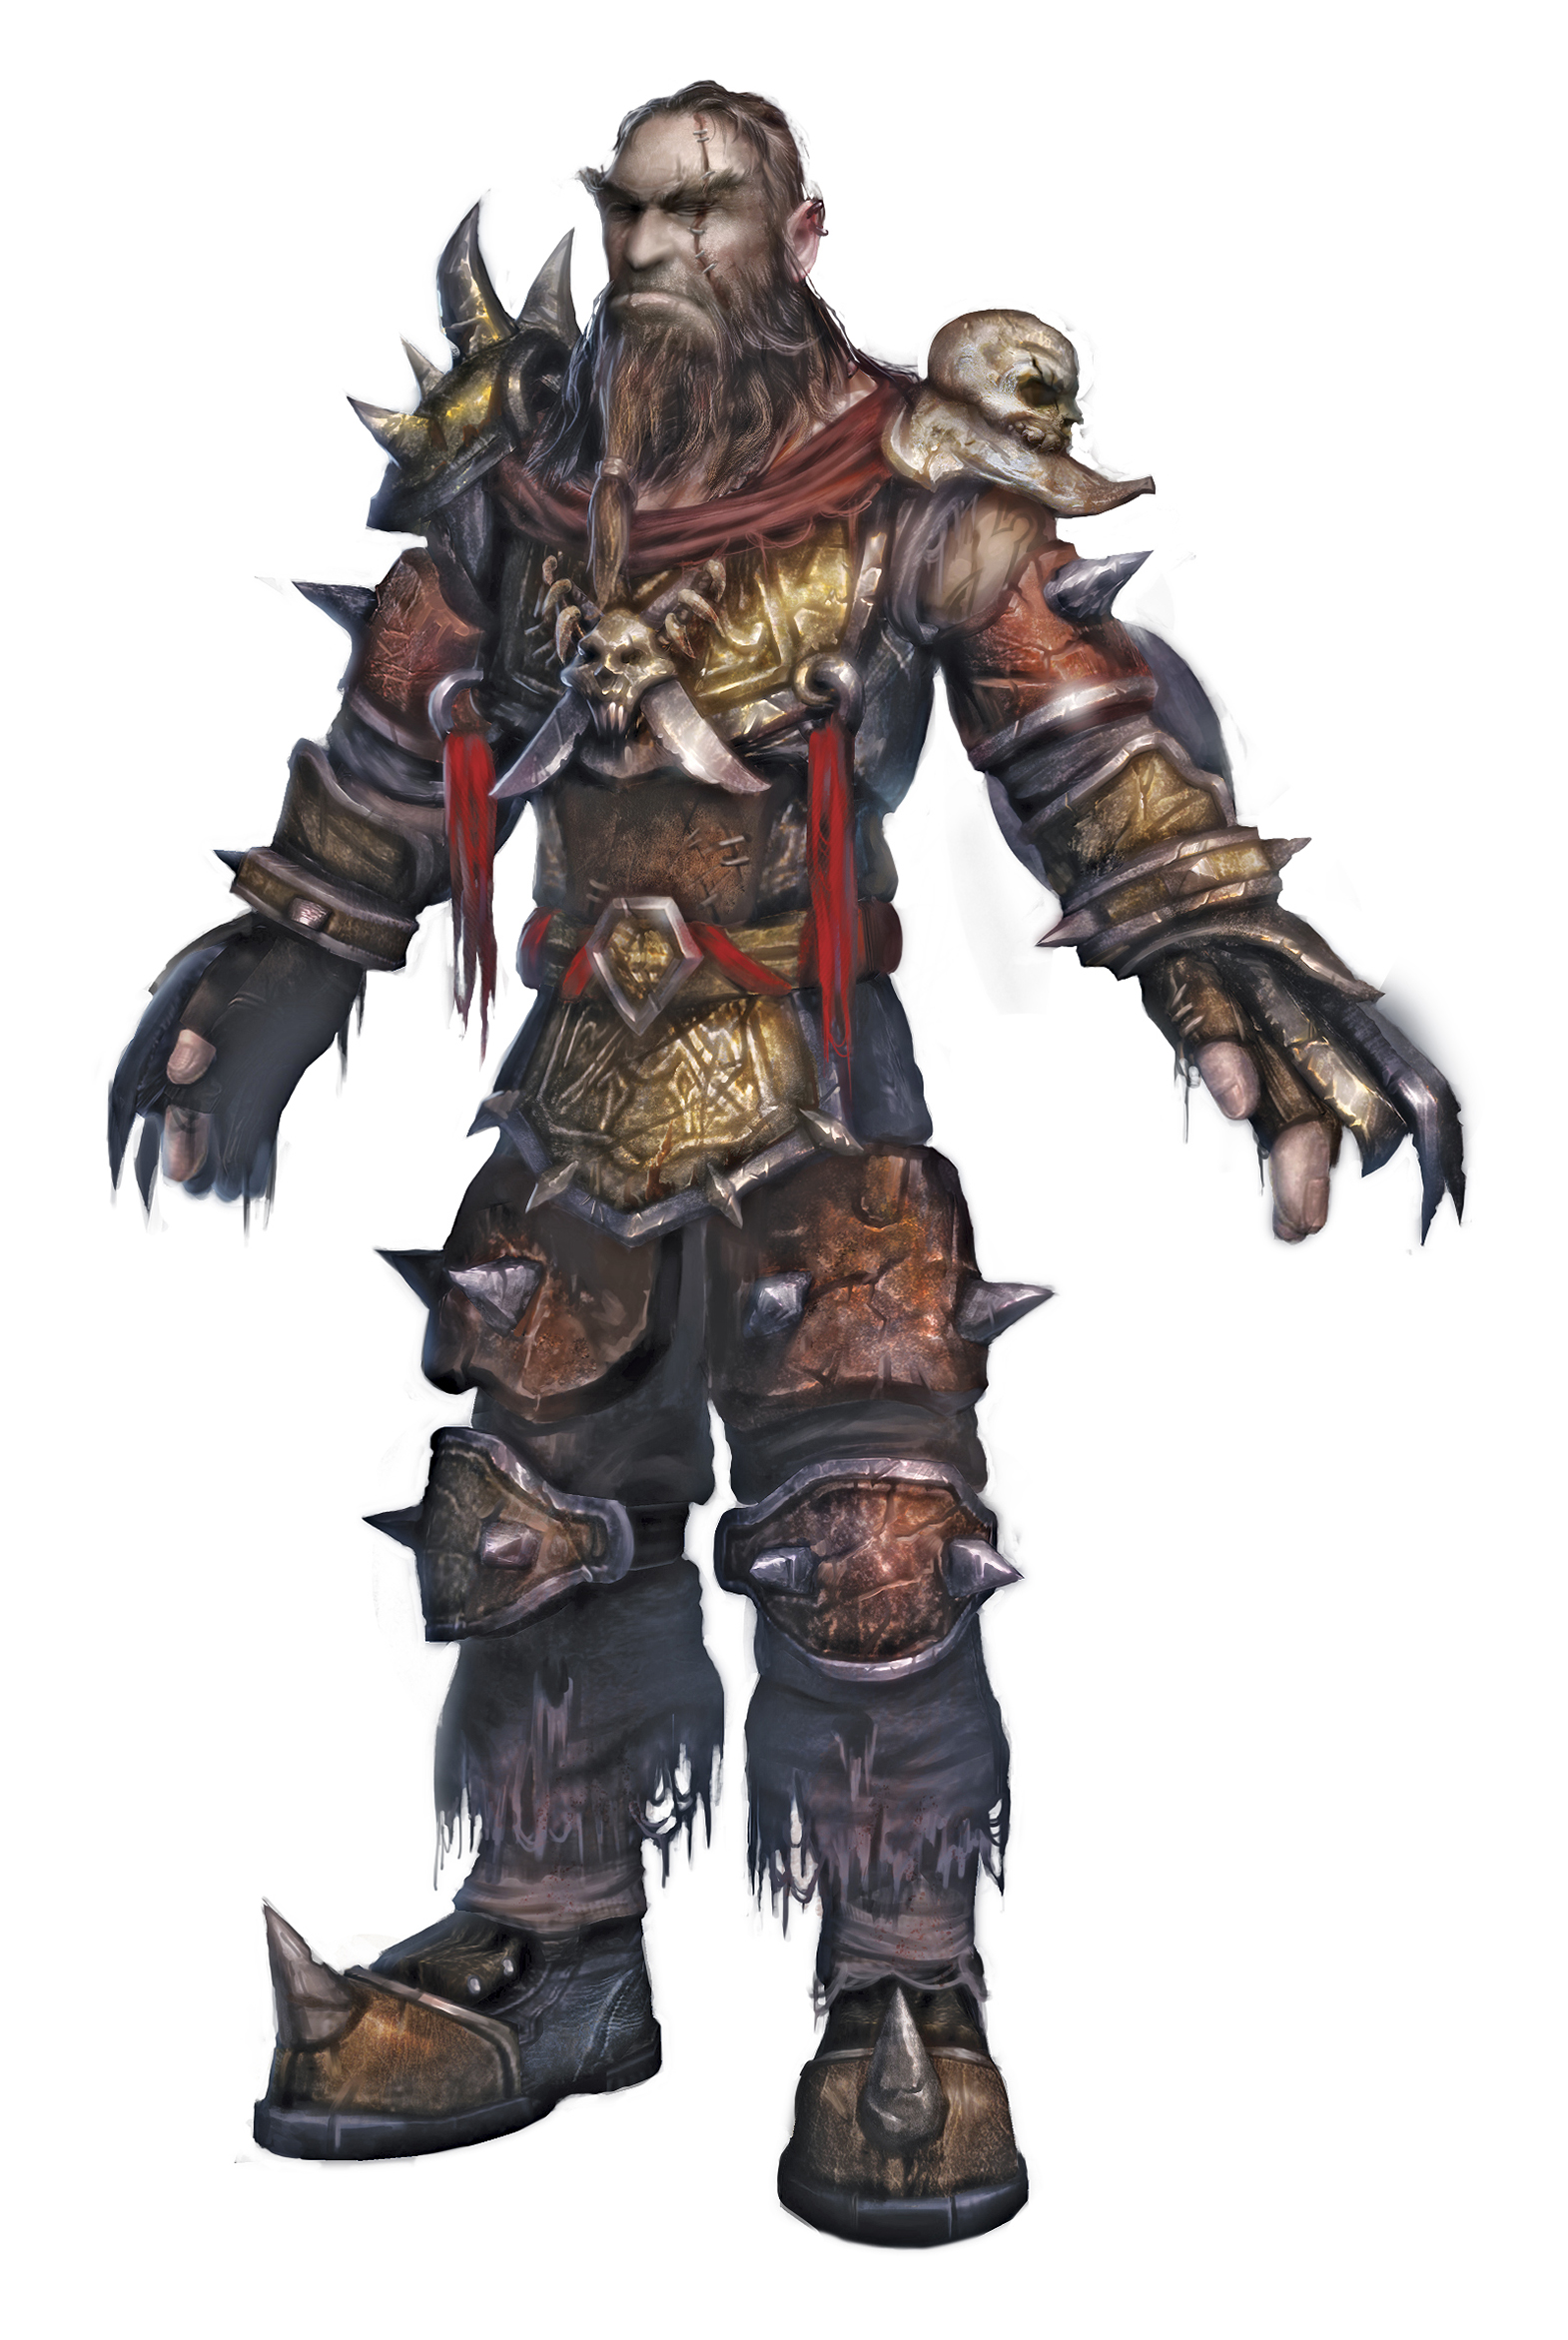
Twinblade appears as the Find the Bandit Seeress quest reaches its climax (see Chapter 3.3). He’s a truly formidable opponent, capable of blocking virtually all your attacks. Every so often, however, Twinblade slams his swords into the ground, giving you a few moments to strike while he pulls them free. Quickly circle around and land a few blows on his back to deal some major damage. Simply repeat the process until he submits. Be careful not to stray too close to the edge of the arena during battle, though; Twinblade’s amassed followers are only too happy to give you a few pokes with their swords.
4. Arachanox
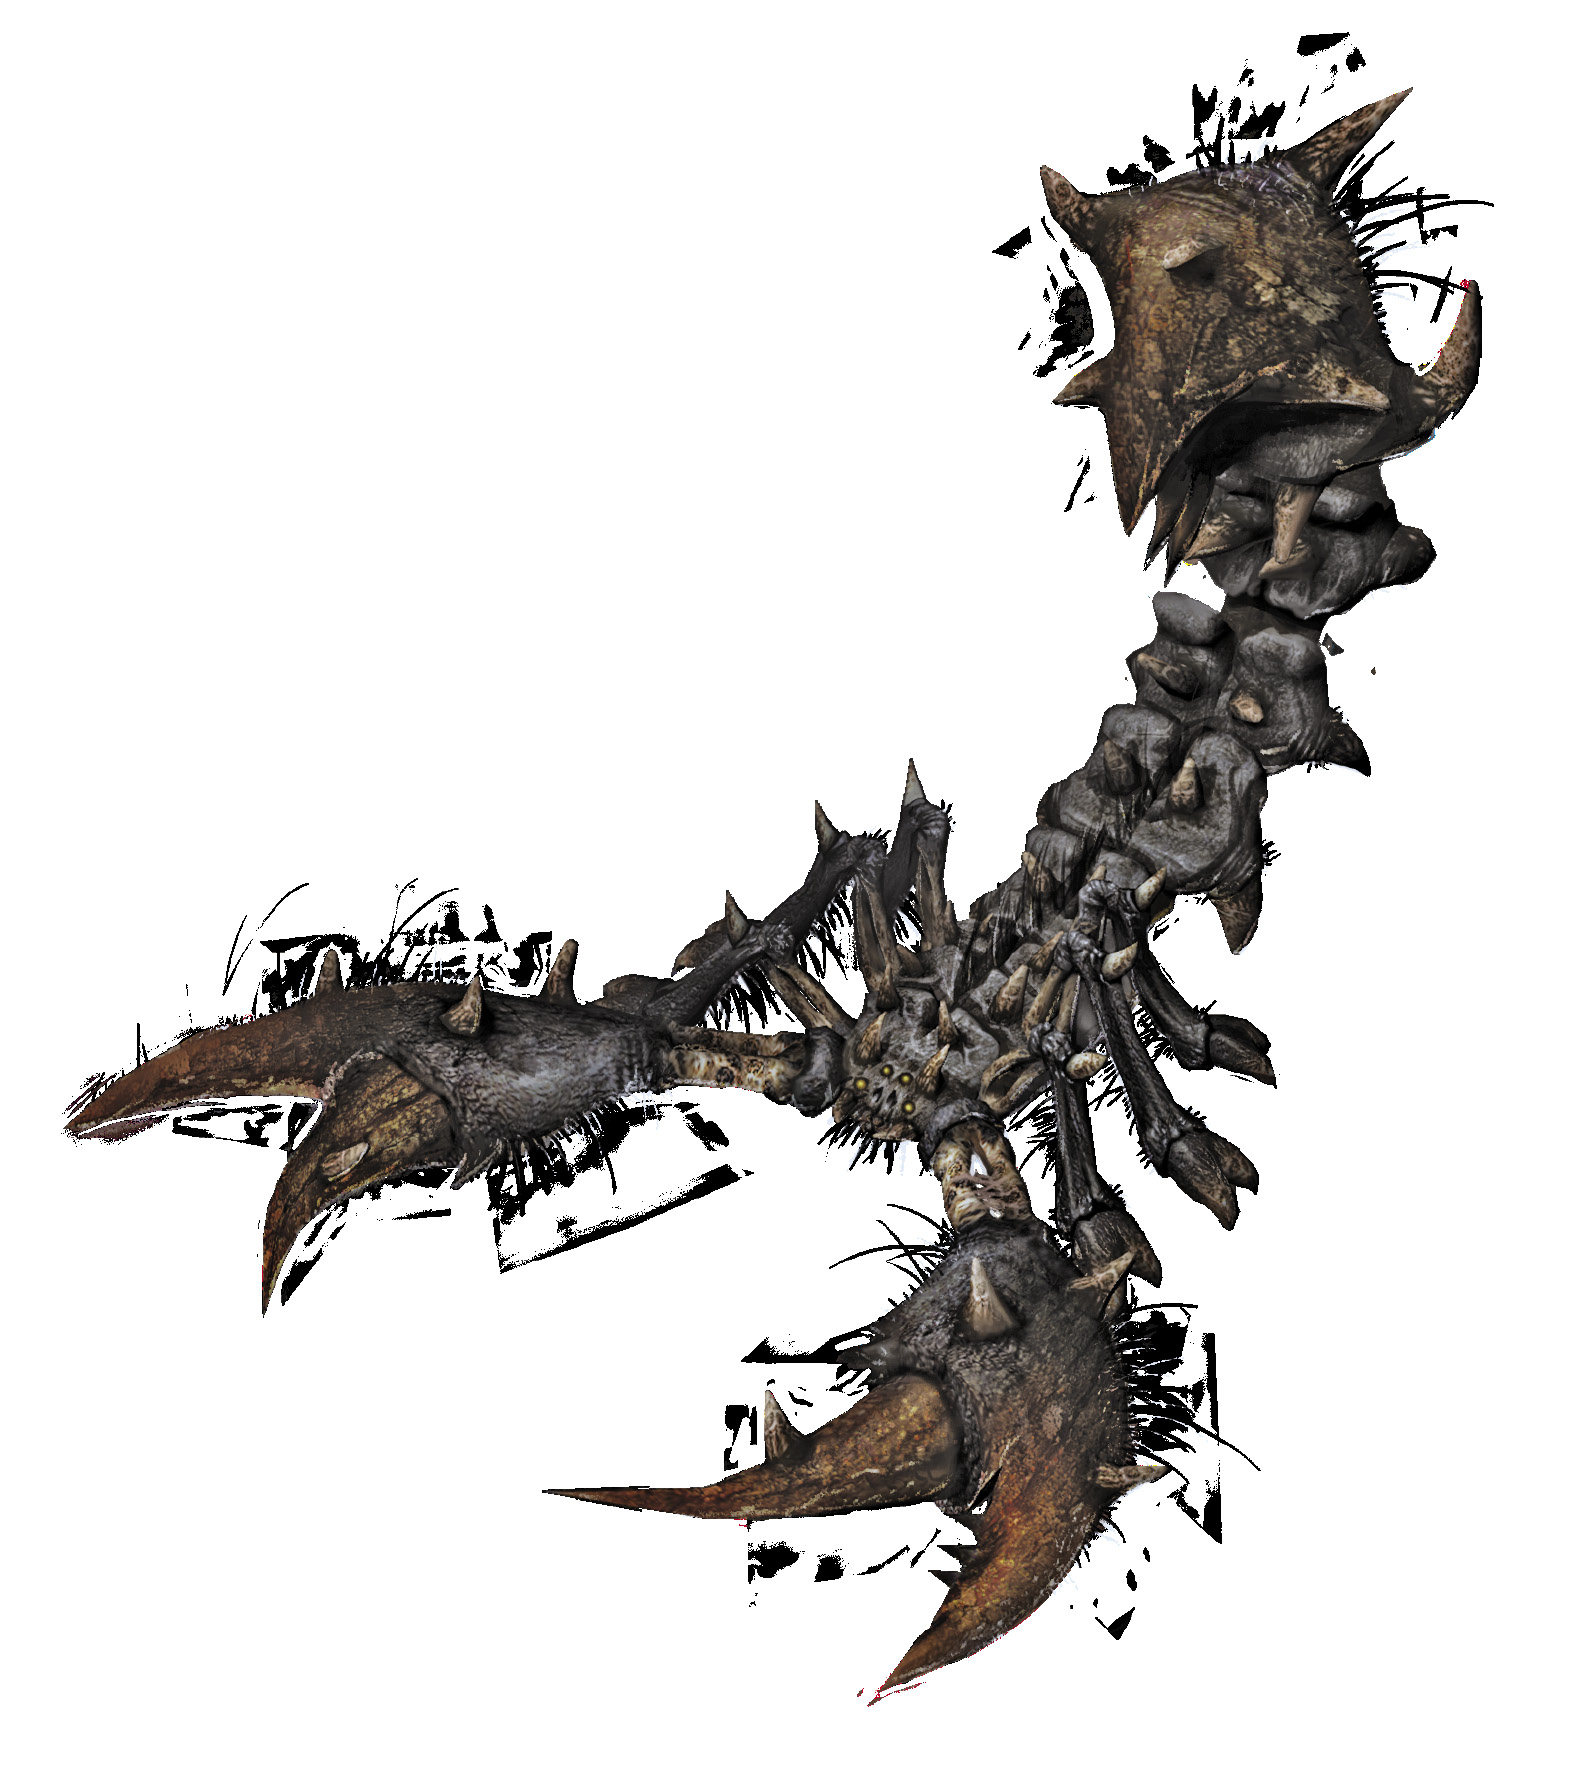
Arachanox, the fearsome Scorpion King, is encountered at the tail-end of the Arena quest (see Chapter 3.4). Keep your distance at first, firing off a few Multi Arrows or Spells to do some preliminary damage. As soon as your opponent spreads its claws and begins to glow green, cast Slow Time, run up, and pound it repeatedly in the eye. When Arachanox rears up, ready to slam its tail into the ground, quickly dodge backward then move in again to land a few more blows. Repeat this tactic and, eventually, Arachanox burrows beneath the earth. Deal with its Scorpion minions then repeat the entire pattern until victory is yours.
5. Thunder
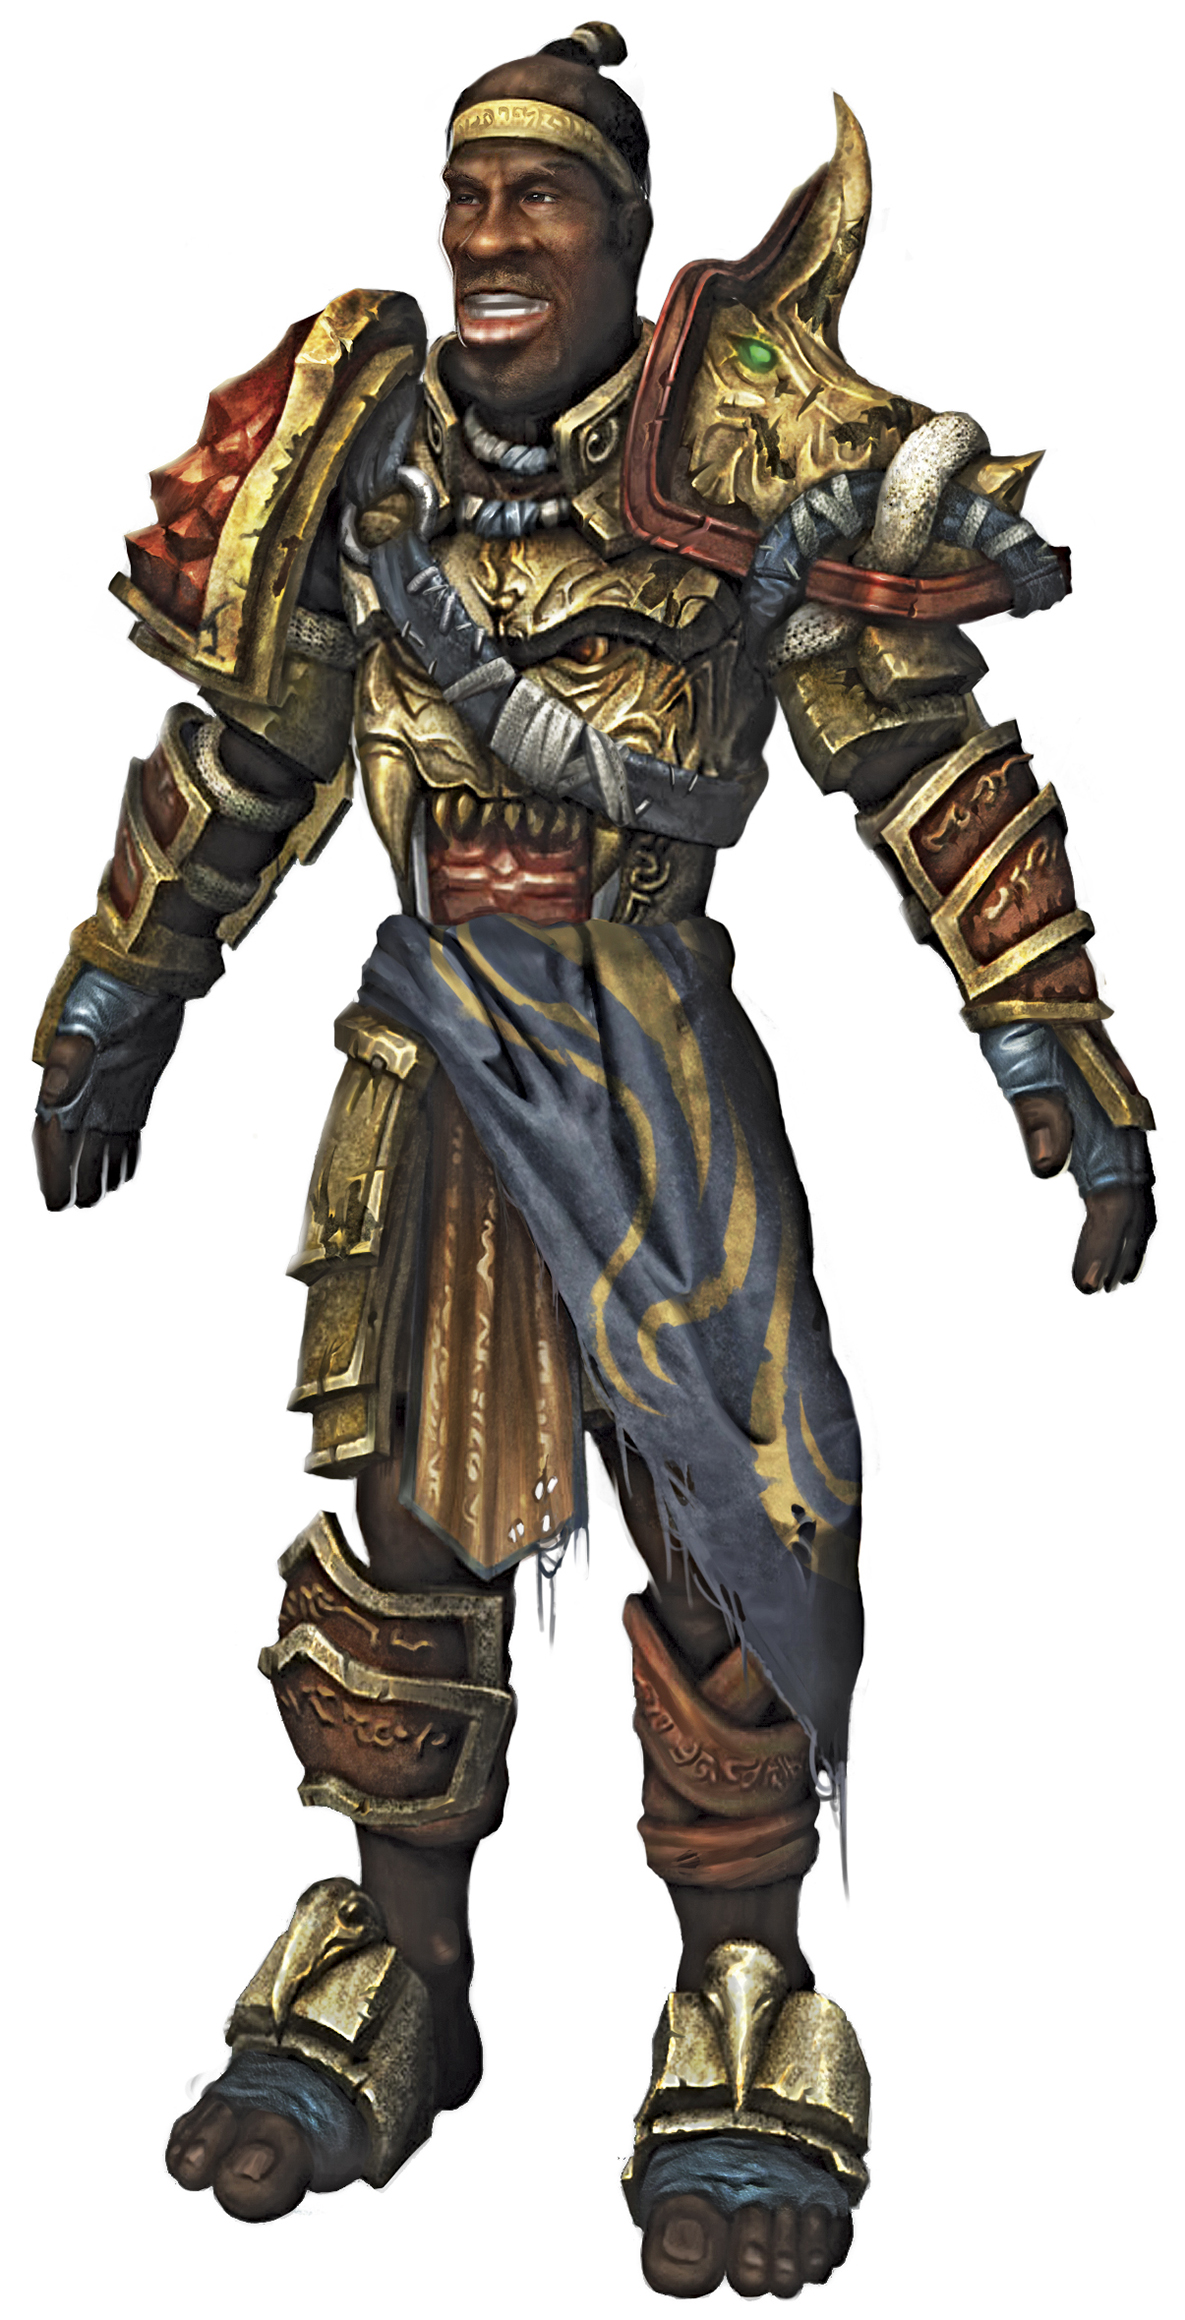
You have the option to battle Thunder twice in Fable—during the Mayor’s Invitation quest (see Chapter 3.5) and during the Evil version of the Souls of Heroes quest (see Chapter 3.6). Thunder is a master blocker so it’s vital that you dodge around or deploy the Assassin Rush Spell to attack from the rear—use Slow Time if you’re struggling. Intermittently, Thunder pauses to unleash a powerful Lightning Spell. Melee attacks are useless here, but Ranged combatants can pile on the damage from afar with Multi Arrow. Keep up the offensive and Thunder eventually succumbs to your superior strength.
6. Kraken
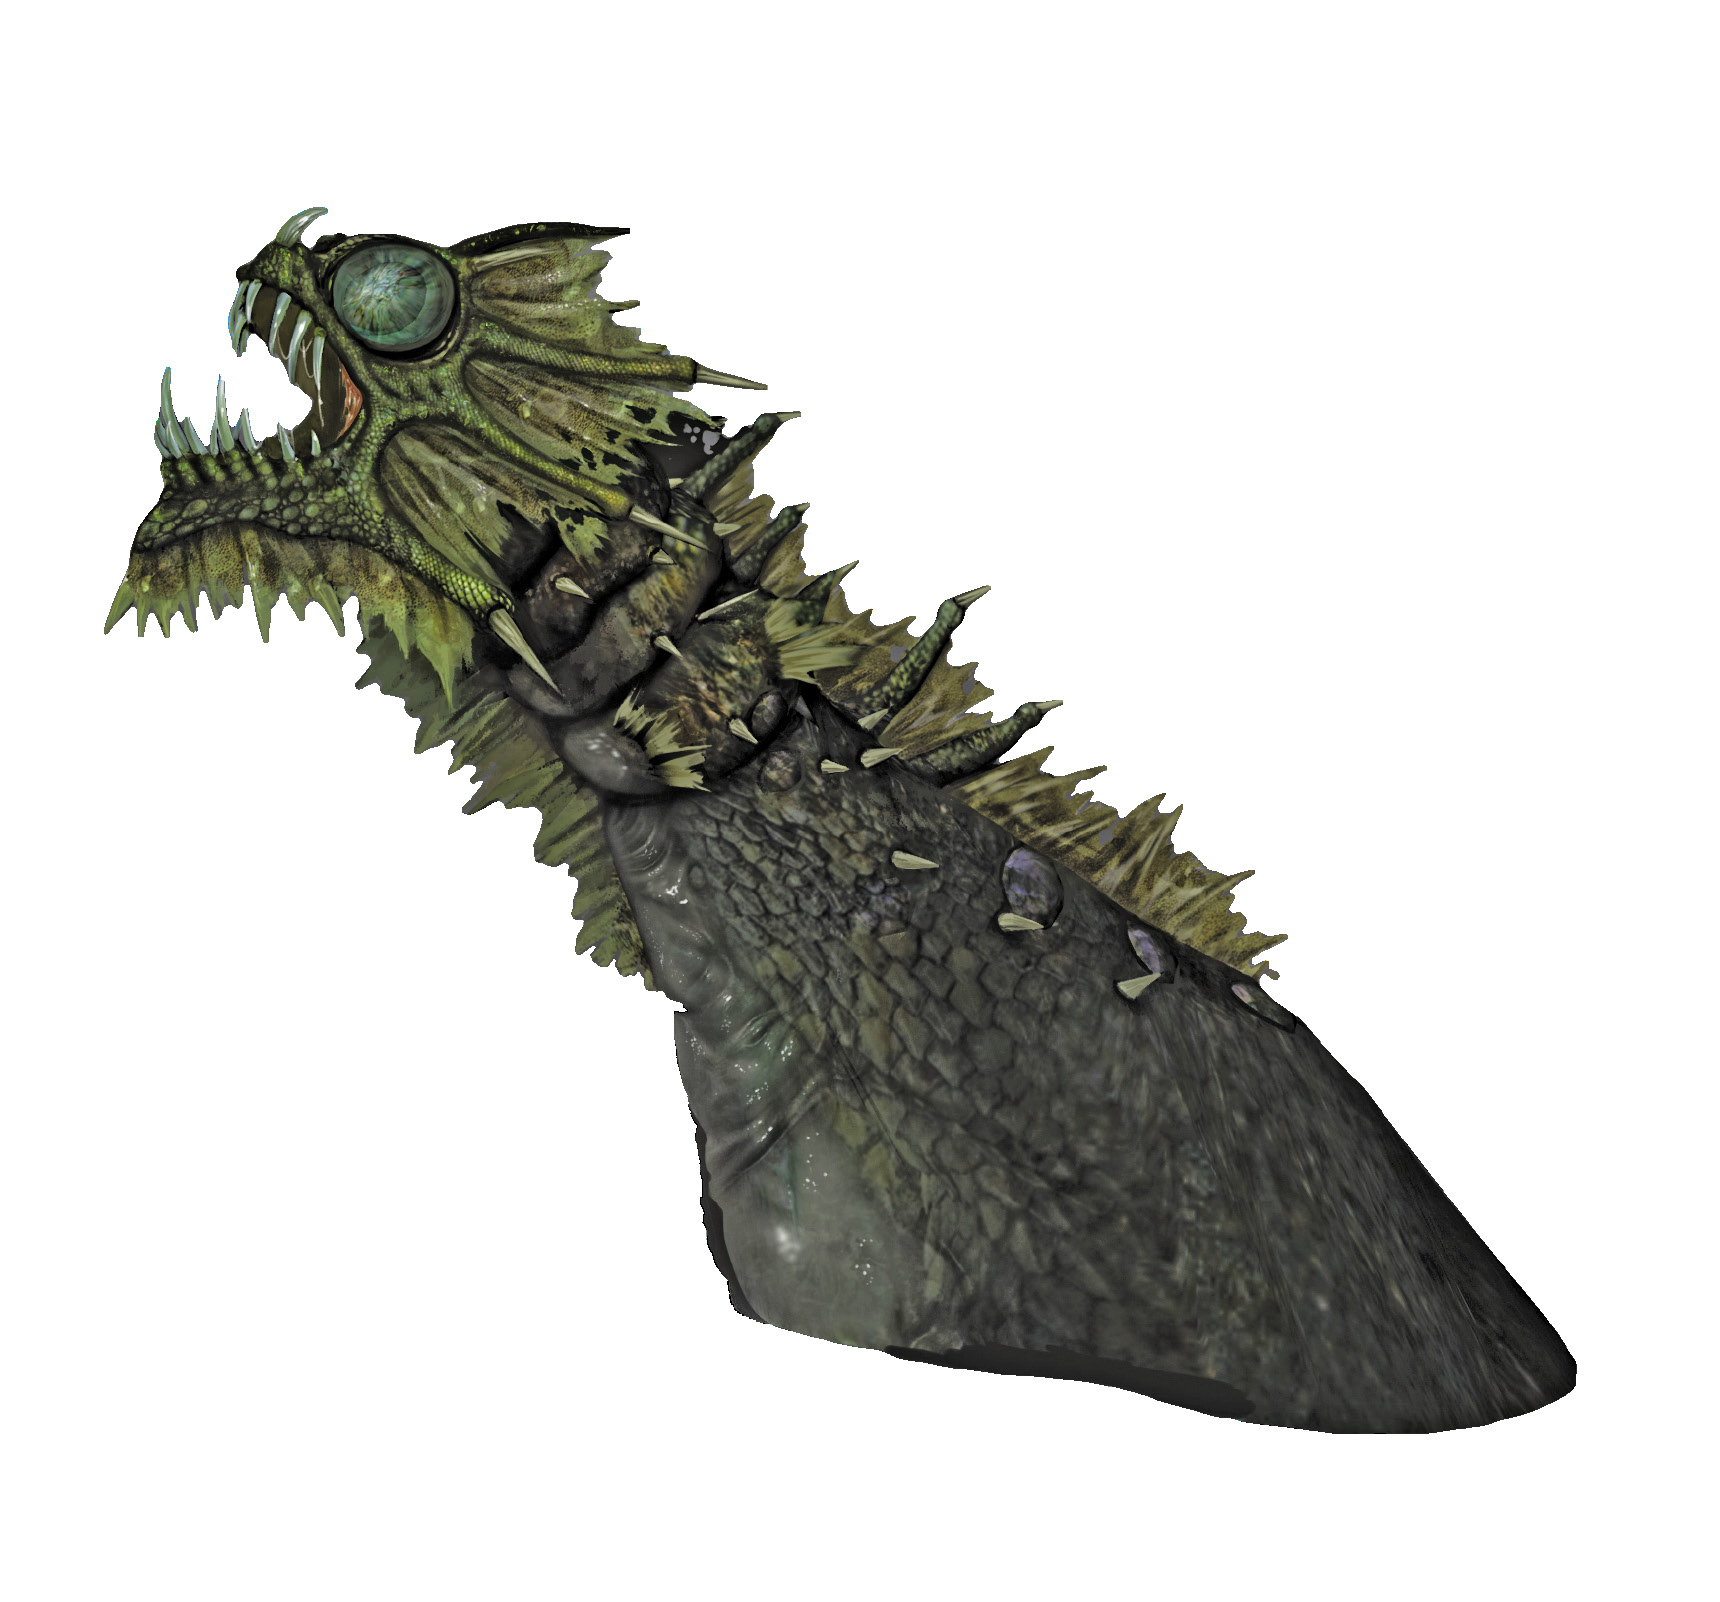
You encounter the Kraken (or bits of it, at least) just as things are beginning to go your way during the Prison Escape quest (see Chapter 3.5). Your first task is to deal with its tentacles, but you need to time your attack carefully. Melee users should edge around the room, ready to dodge when a tentacle prepares to lunge. A successful dodge leaves the tentacle stunned, giving you a few moments to hack away with the most powerful weapon at your disposal. Ranged combatants, meanwhile, should unleash a barrage of charged shots.
Once all tentacles have disappeared beneath the waves, the great Kraken’s head emerges. Lock on and keep moving to avoid its powerful ray attack (although you may need to dodge on occasion) and start laying on the damage. Ranged attacks are best during this stage of the battle, with Multi Arrows proving particularly effective. If you’re fast, it’s possible to defeat the Kraken before it sinks beneath the water again. Dawdle, though, and you’ll have to deal with its tentacles before another chance arises. Eventually, victory will be yours.
7. Maze
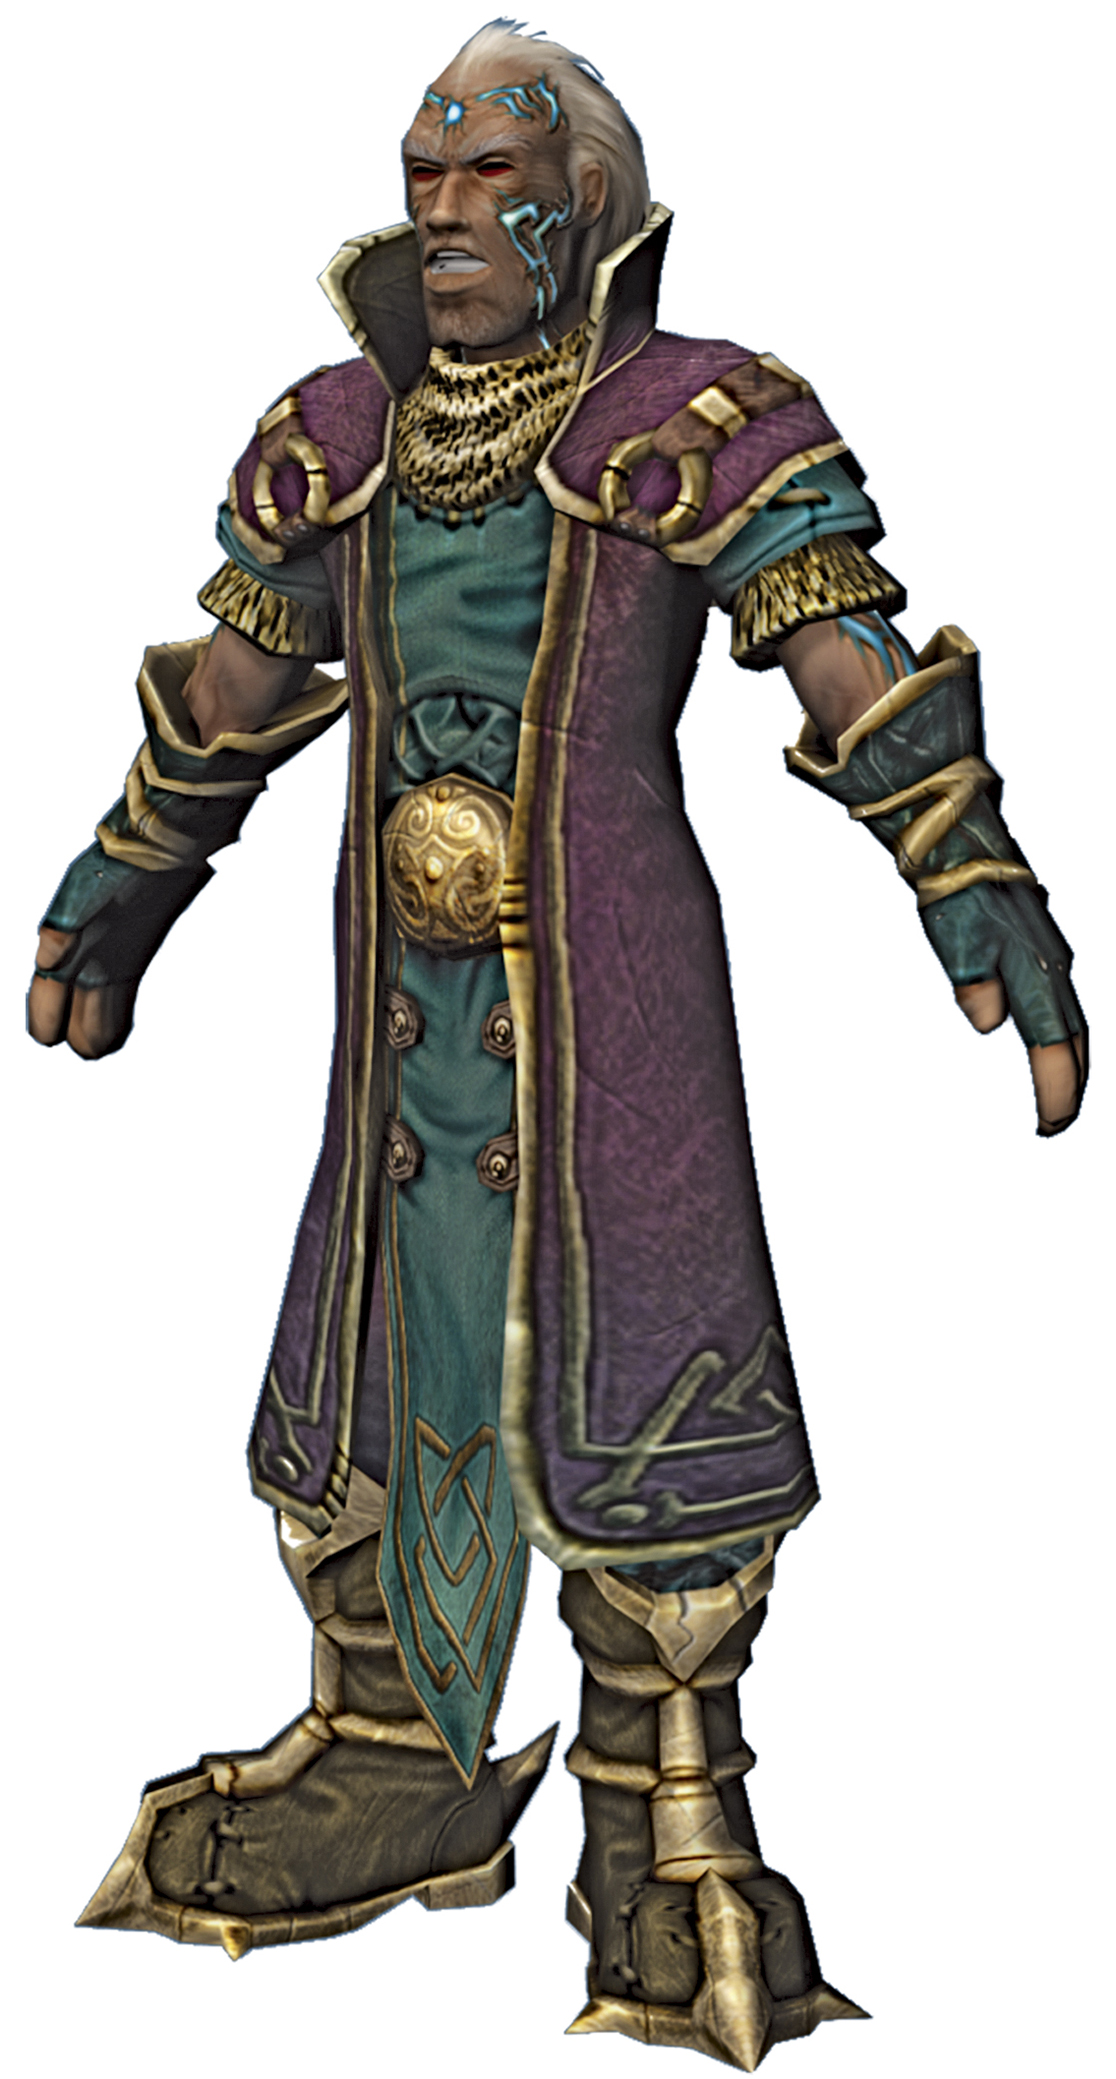
You face Maze during the Return to Hook Coast quest (see Chapter 3.5). He can only be damaged from behind and has a full arsenal of devastating Spells, meaning it’s often tough to get in close and attack. Melee combatants should make judicious use of Assassin Rush or combine Slow Time with some carefully executed rolls to slip into striking distance. Ranged specialists, meanwhile, should stand far enough back that Maze begins lobbing magical shots. Lock-on and fire off a charged Multi Arrow immediately after his Spell is cast. Eventually, Maze teleports to another location in Hook Coast, meaning you’ve no choice but to give chase and repeat the pattern.
As the battle reaches its conclusion, Maze enters the Hook Coast lighthouse. It’s a tough fight in such close confines, but try and lure Maze to ground level and deal with him there. Ranged shots are practically useless inside the lighthouse so equip a Melee weapon. Hang back to avoid Maze’s area-of-effect Spells, then, as soon as the opportunity arises, sweep in and hack away for all you’re worth. Keep it up and Maze will finally submit.
8. Jack of Blades
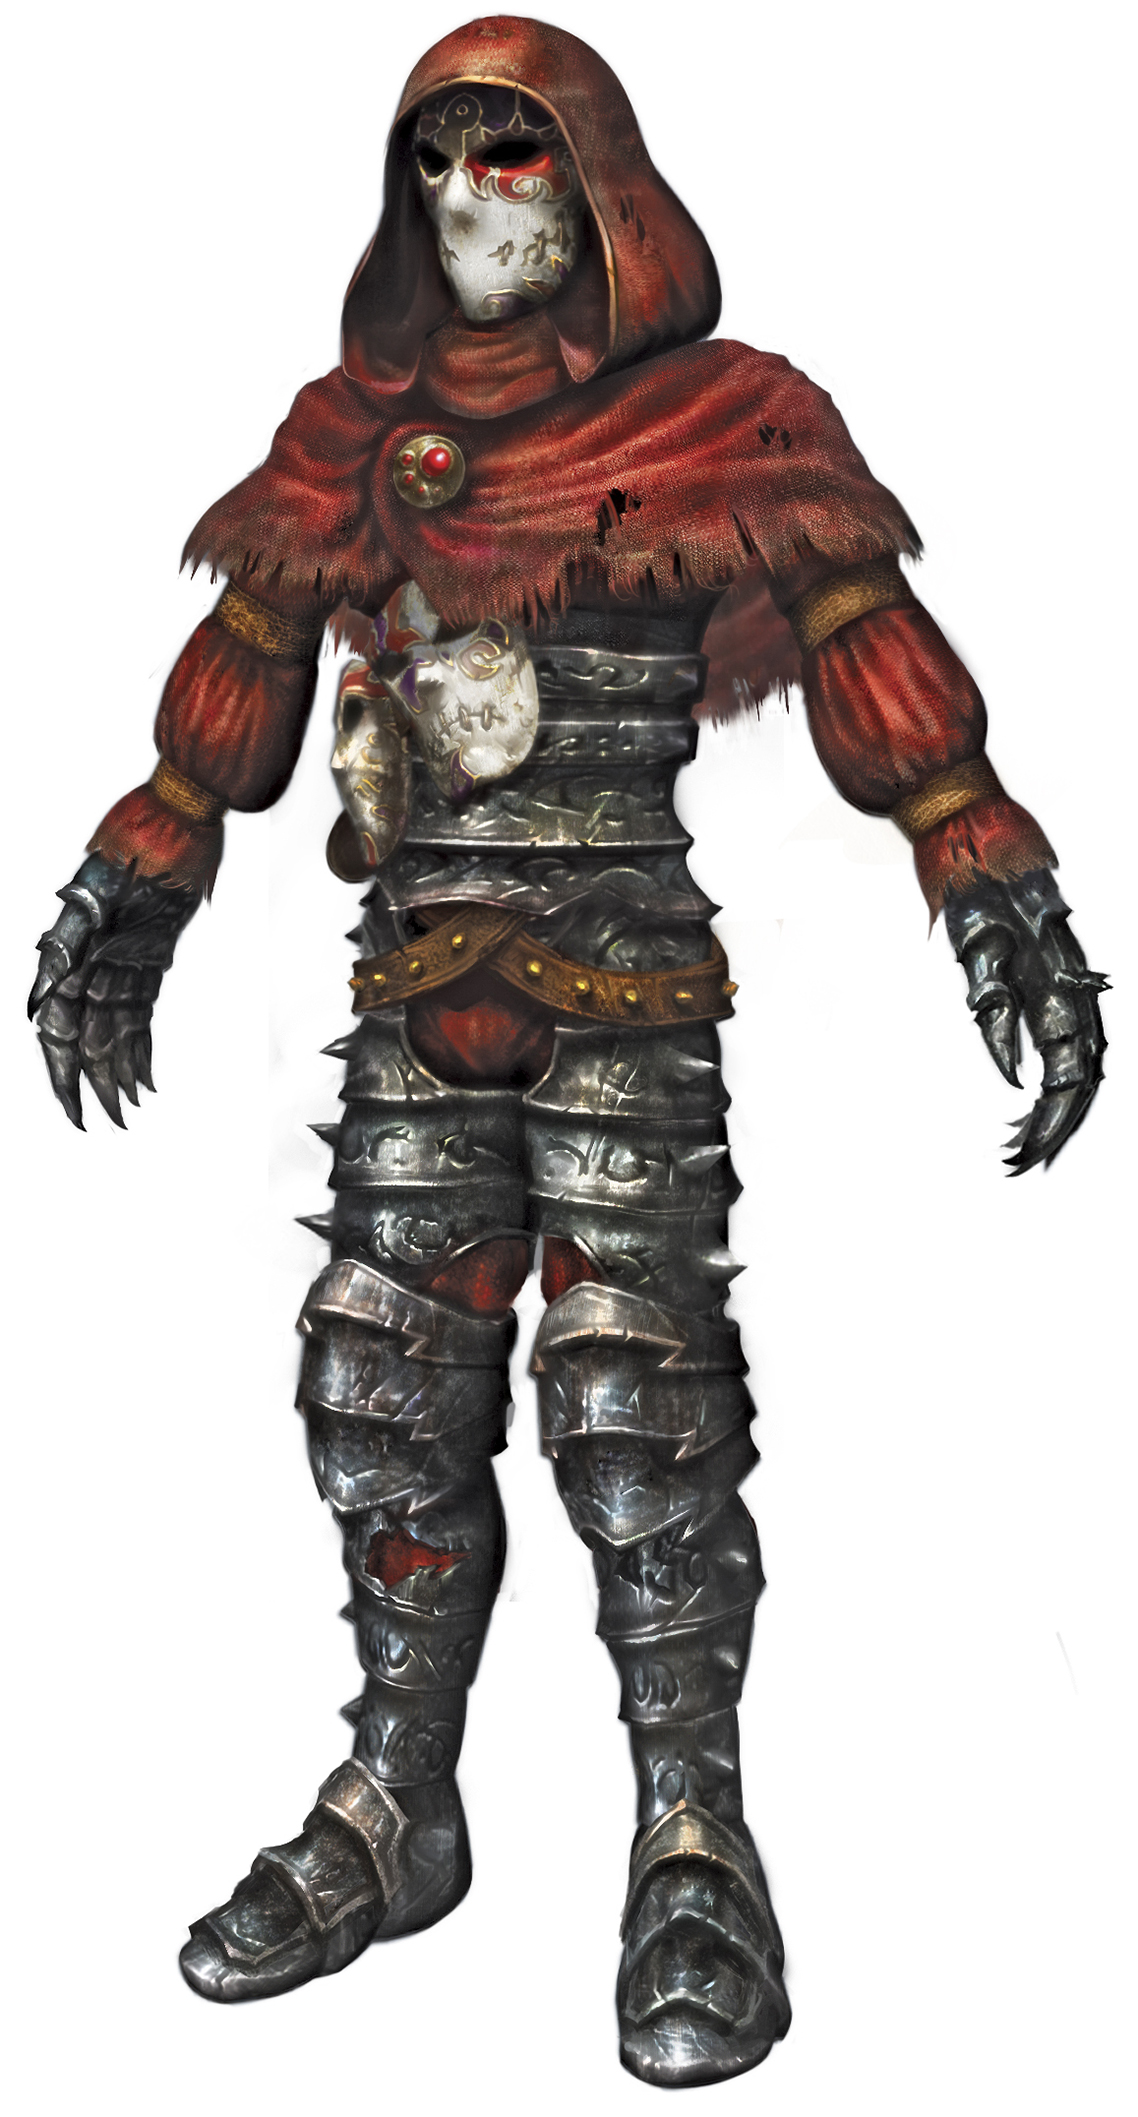
Your fight against Jack (see the Battle Jack of Blades quest in Chapter 3.5) consists of several different rounds. The first of these is largely Melee-focused, requiring careful use of Flourishes to bypass Jack’s fearsome blocking prowess—just be sure to dodge whenever he thrusts his magic-spewing sword forward. Once you’ve managed to land a few successful strikes, Jack teleports out of reach. Dash on over to his position, being mindful of his Spells as you approach, and continue laying on the Flourishes.
Once you’ve whittled down his health, Jack begins levitating in the centre of the chamber. Unsurprisingly, this necessitates a switch to Ranged weapons. Duck behind the rocks that emerge from the ground to escape Jack’s powerful projectile strikes and launch fully charged Multi Arrows between his attacks. You’re besieged by Minions toward the end of the encounter—either deal with them directly from behind cover or circle around the room, avoiding their advances and focussing on bringing Jack down as quickly as possible.
9. Briar Rose
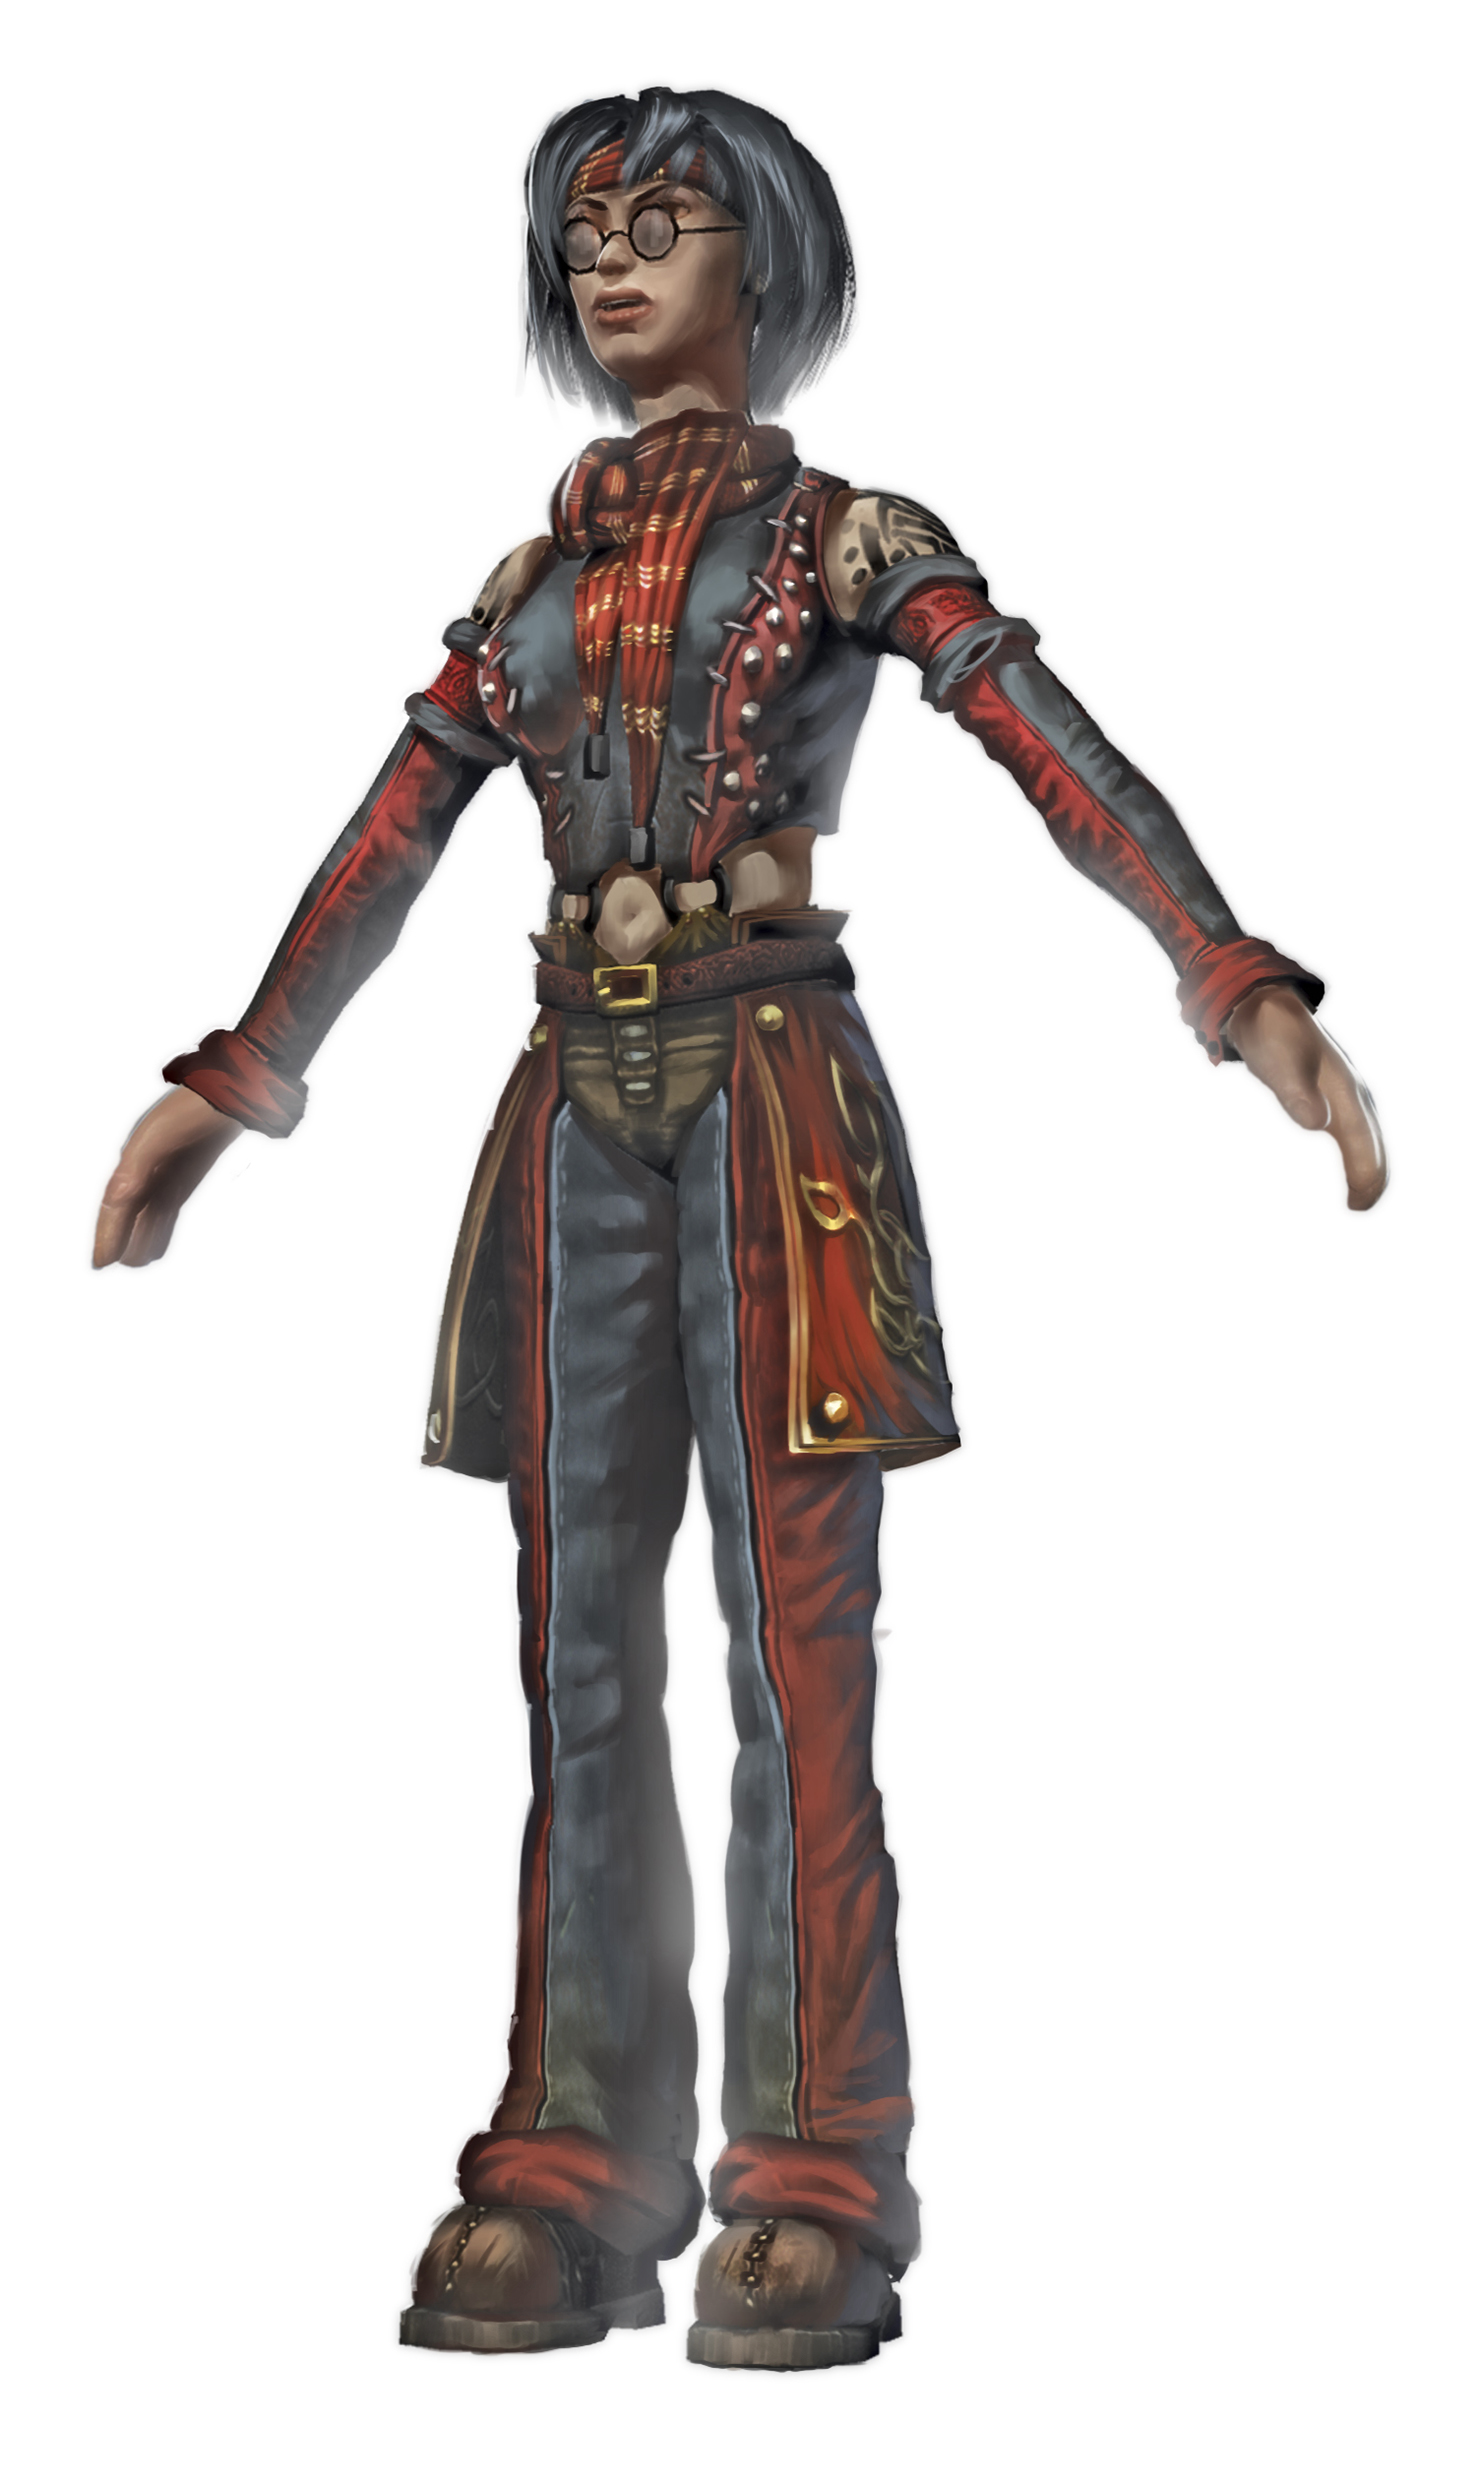
Should you choose to slaughter your chums in the Souls of Heroes quest (see Chapter 3.6), Briar Rose is your second target. Briar’s opening trick is to create several illusions of herself—smack each of them in turn until you find her real form, then get stuck in good and proper. Melee fighters should break Briar Rose’s blocks with a Flourish and sneak round the back to dole out extra damage. Things are a little trickier for Ranged users, however—watch out for Briar’s powerful, long-distance, energy Spell while you’re charging your attacks— and dodge frequently. After a few successful hits, Briar casts her illusion Spell again and the pattern repeats. Keep fighting and, eventually, her soul is yours.
10. Nostro
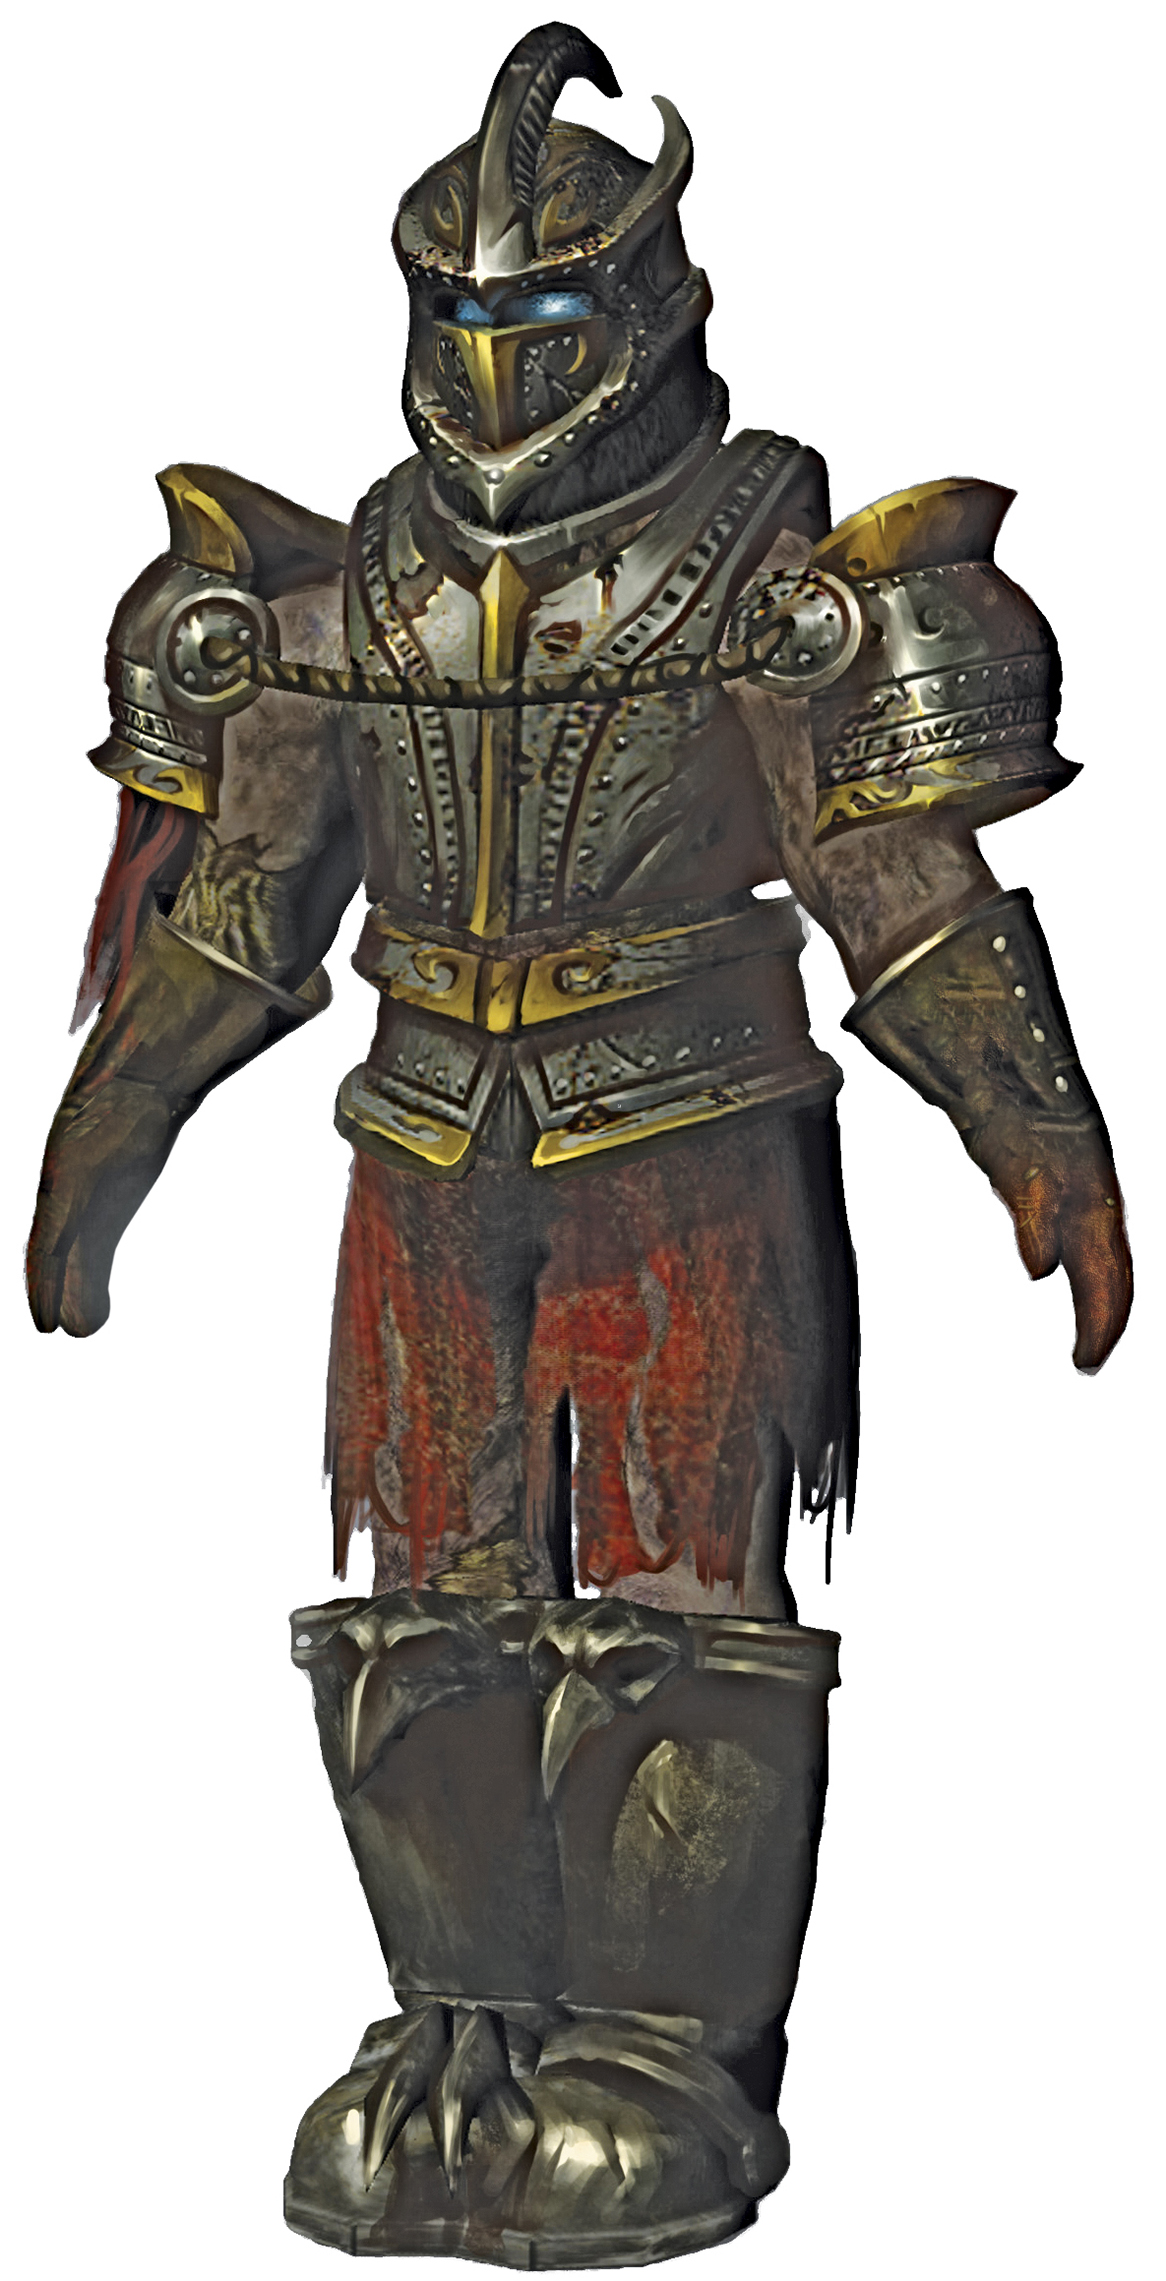
Good Heroes seeking the Oldest Soul during the Souls of Heroes quest (see Chapter 3.6) can expect a return trip to the Circle of the Dead, where the great (and notably deceased) Nostro awaits. Once the battle commences, immediately focus your attention on Nostro’s Undead soldiers. Nostro becomes temporarily vulnerable each time one is destroyed—use the opportunity to deal as much damage as possible before he fades again. Keep switching your attention between Nostro and the Undead and, eventually, the battle will be won.
11. Guildmaster
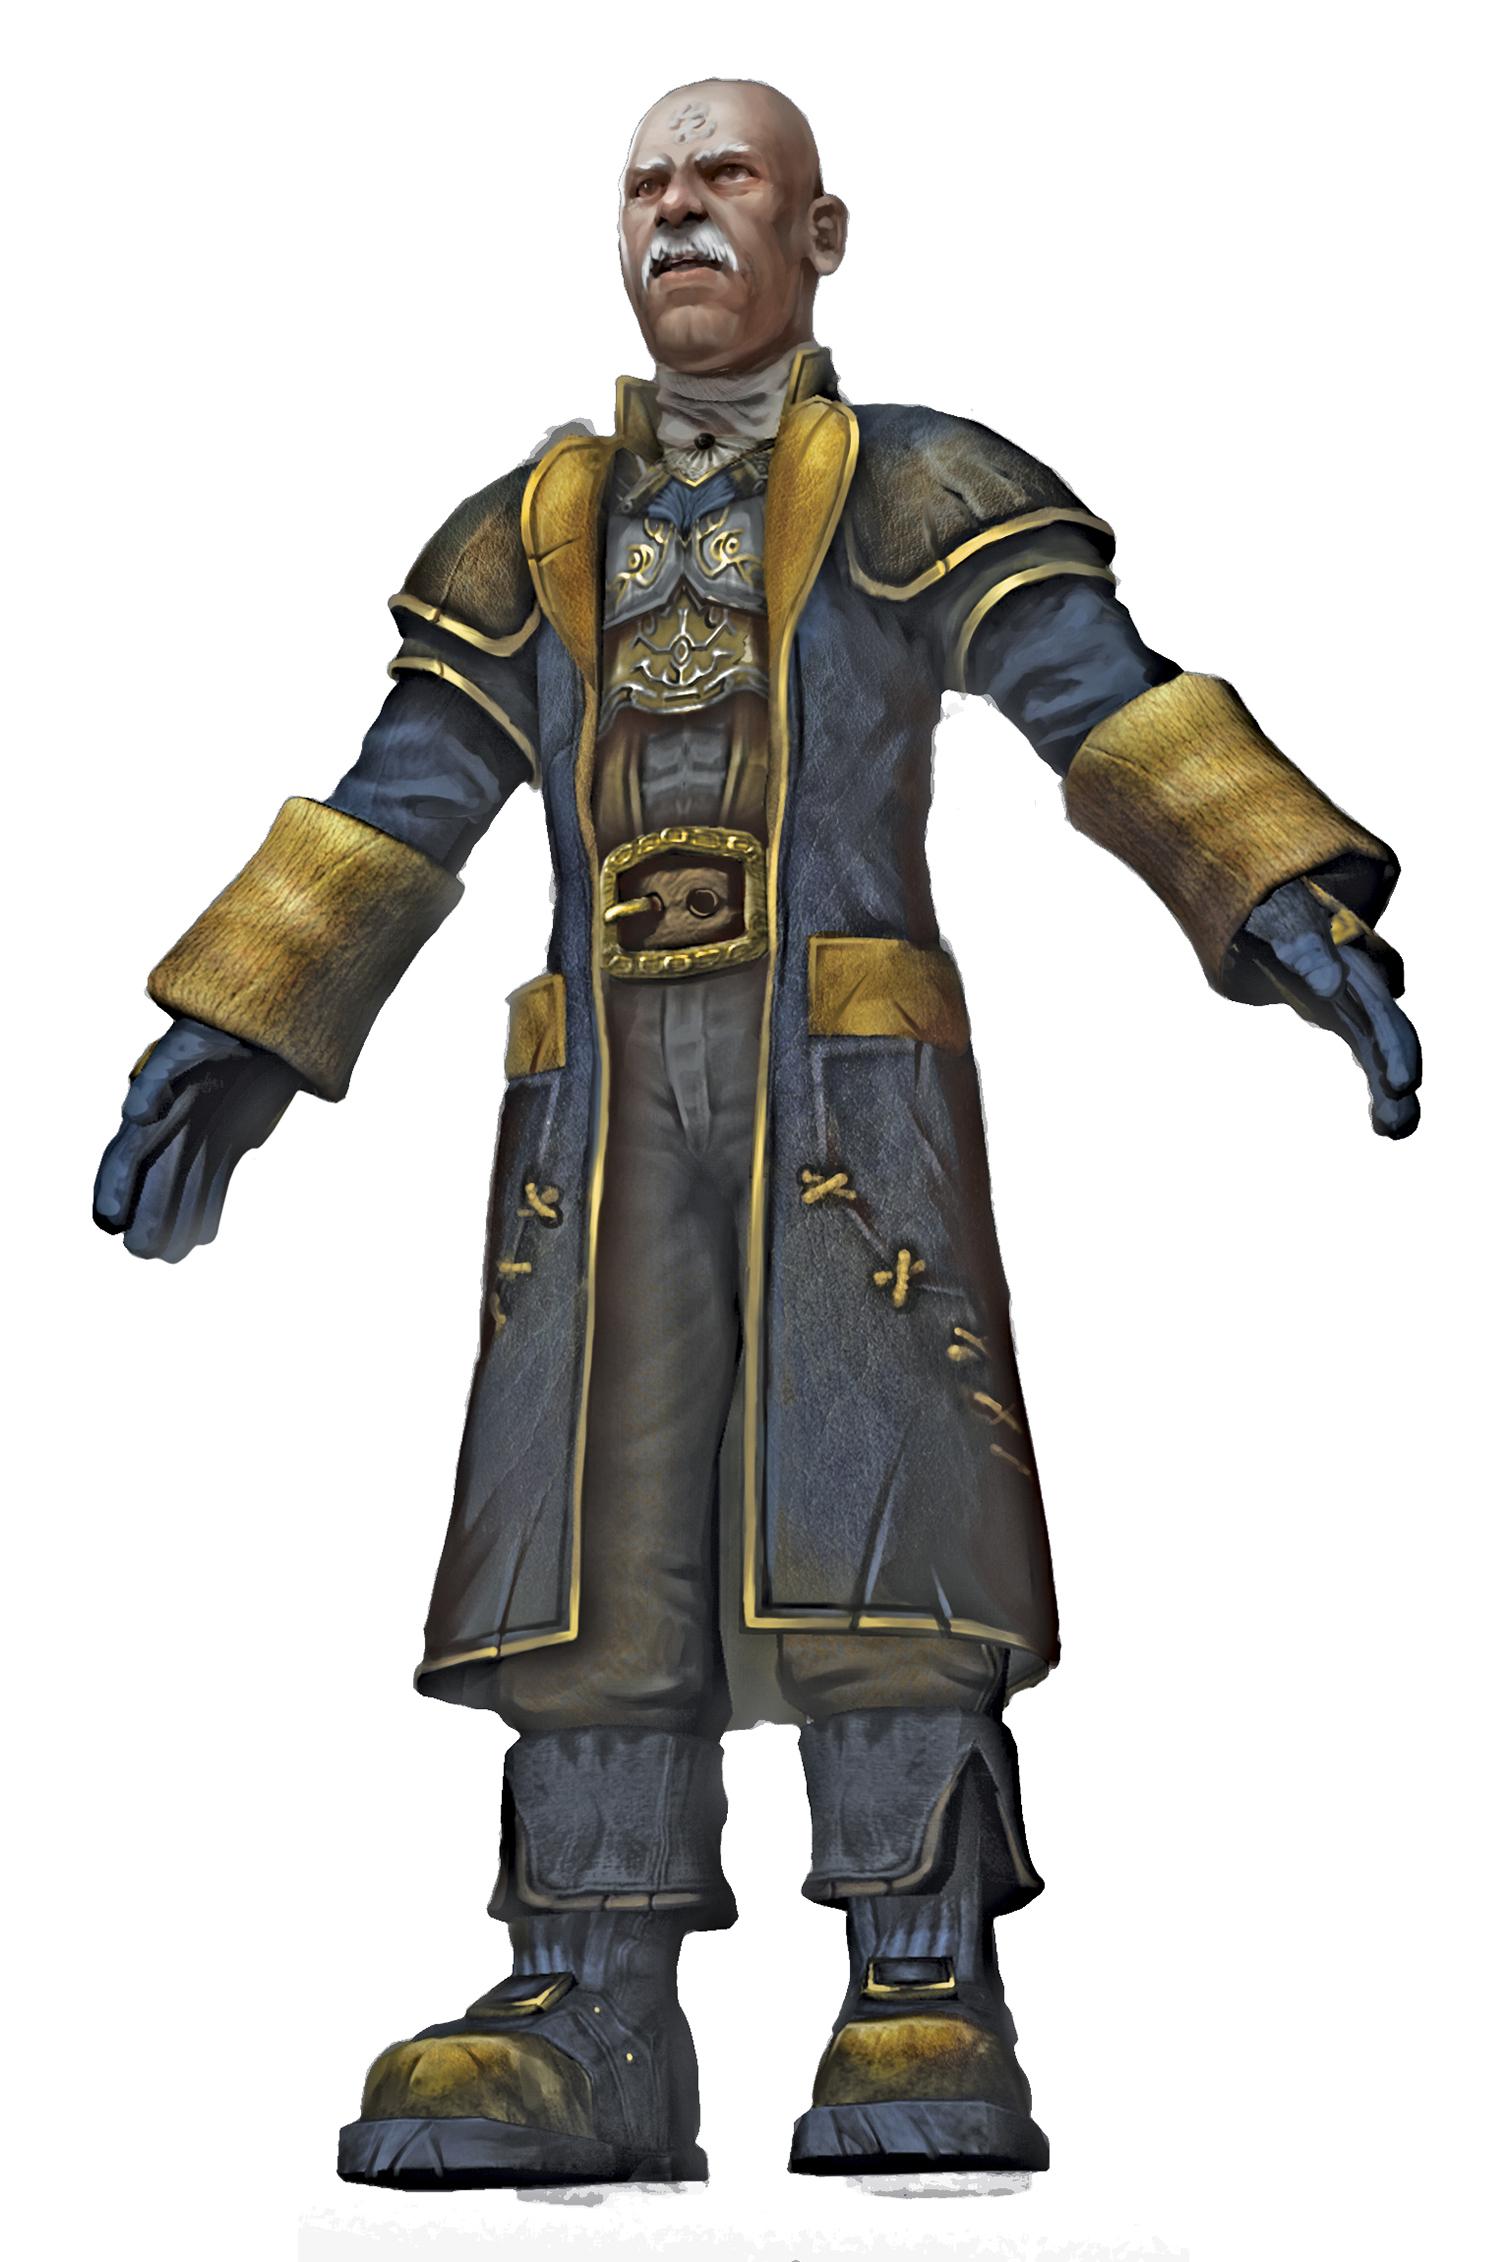
Evil Heroes searching for the Oldest Soul during the Souls of Heroes quest (see Chapter 3.6) eventually confront the Guildmaster himself. Unusually, you don’t battle him directly, instead taking on his army of loyal Guards. Throughout the fight, the Guildmaster casts Heal Life and Physical Shield on his allies, making things just a little bit harder. Thankfully, though, he can’t focus his magic on every Guard at once, so all you need to do is pick off any unaffected opponents and wait until the rest are no longer under his Spell.
12. Jack of Blades {Dragon Form}
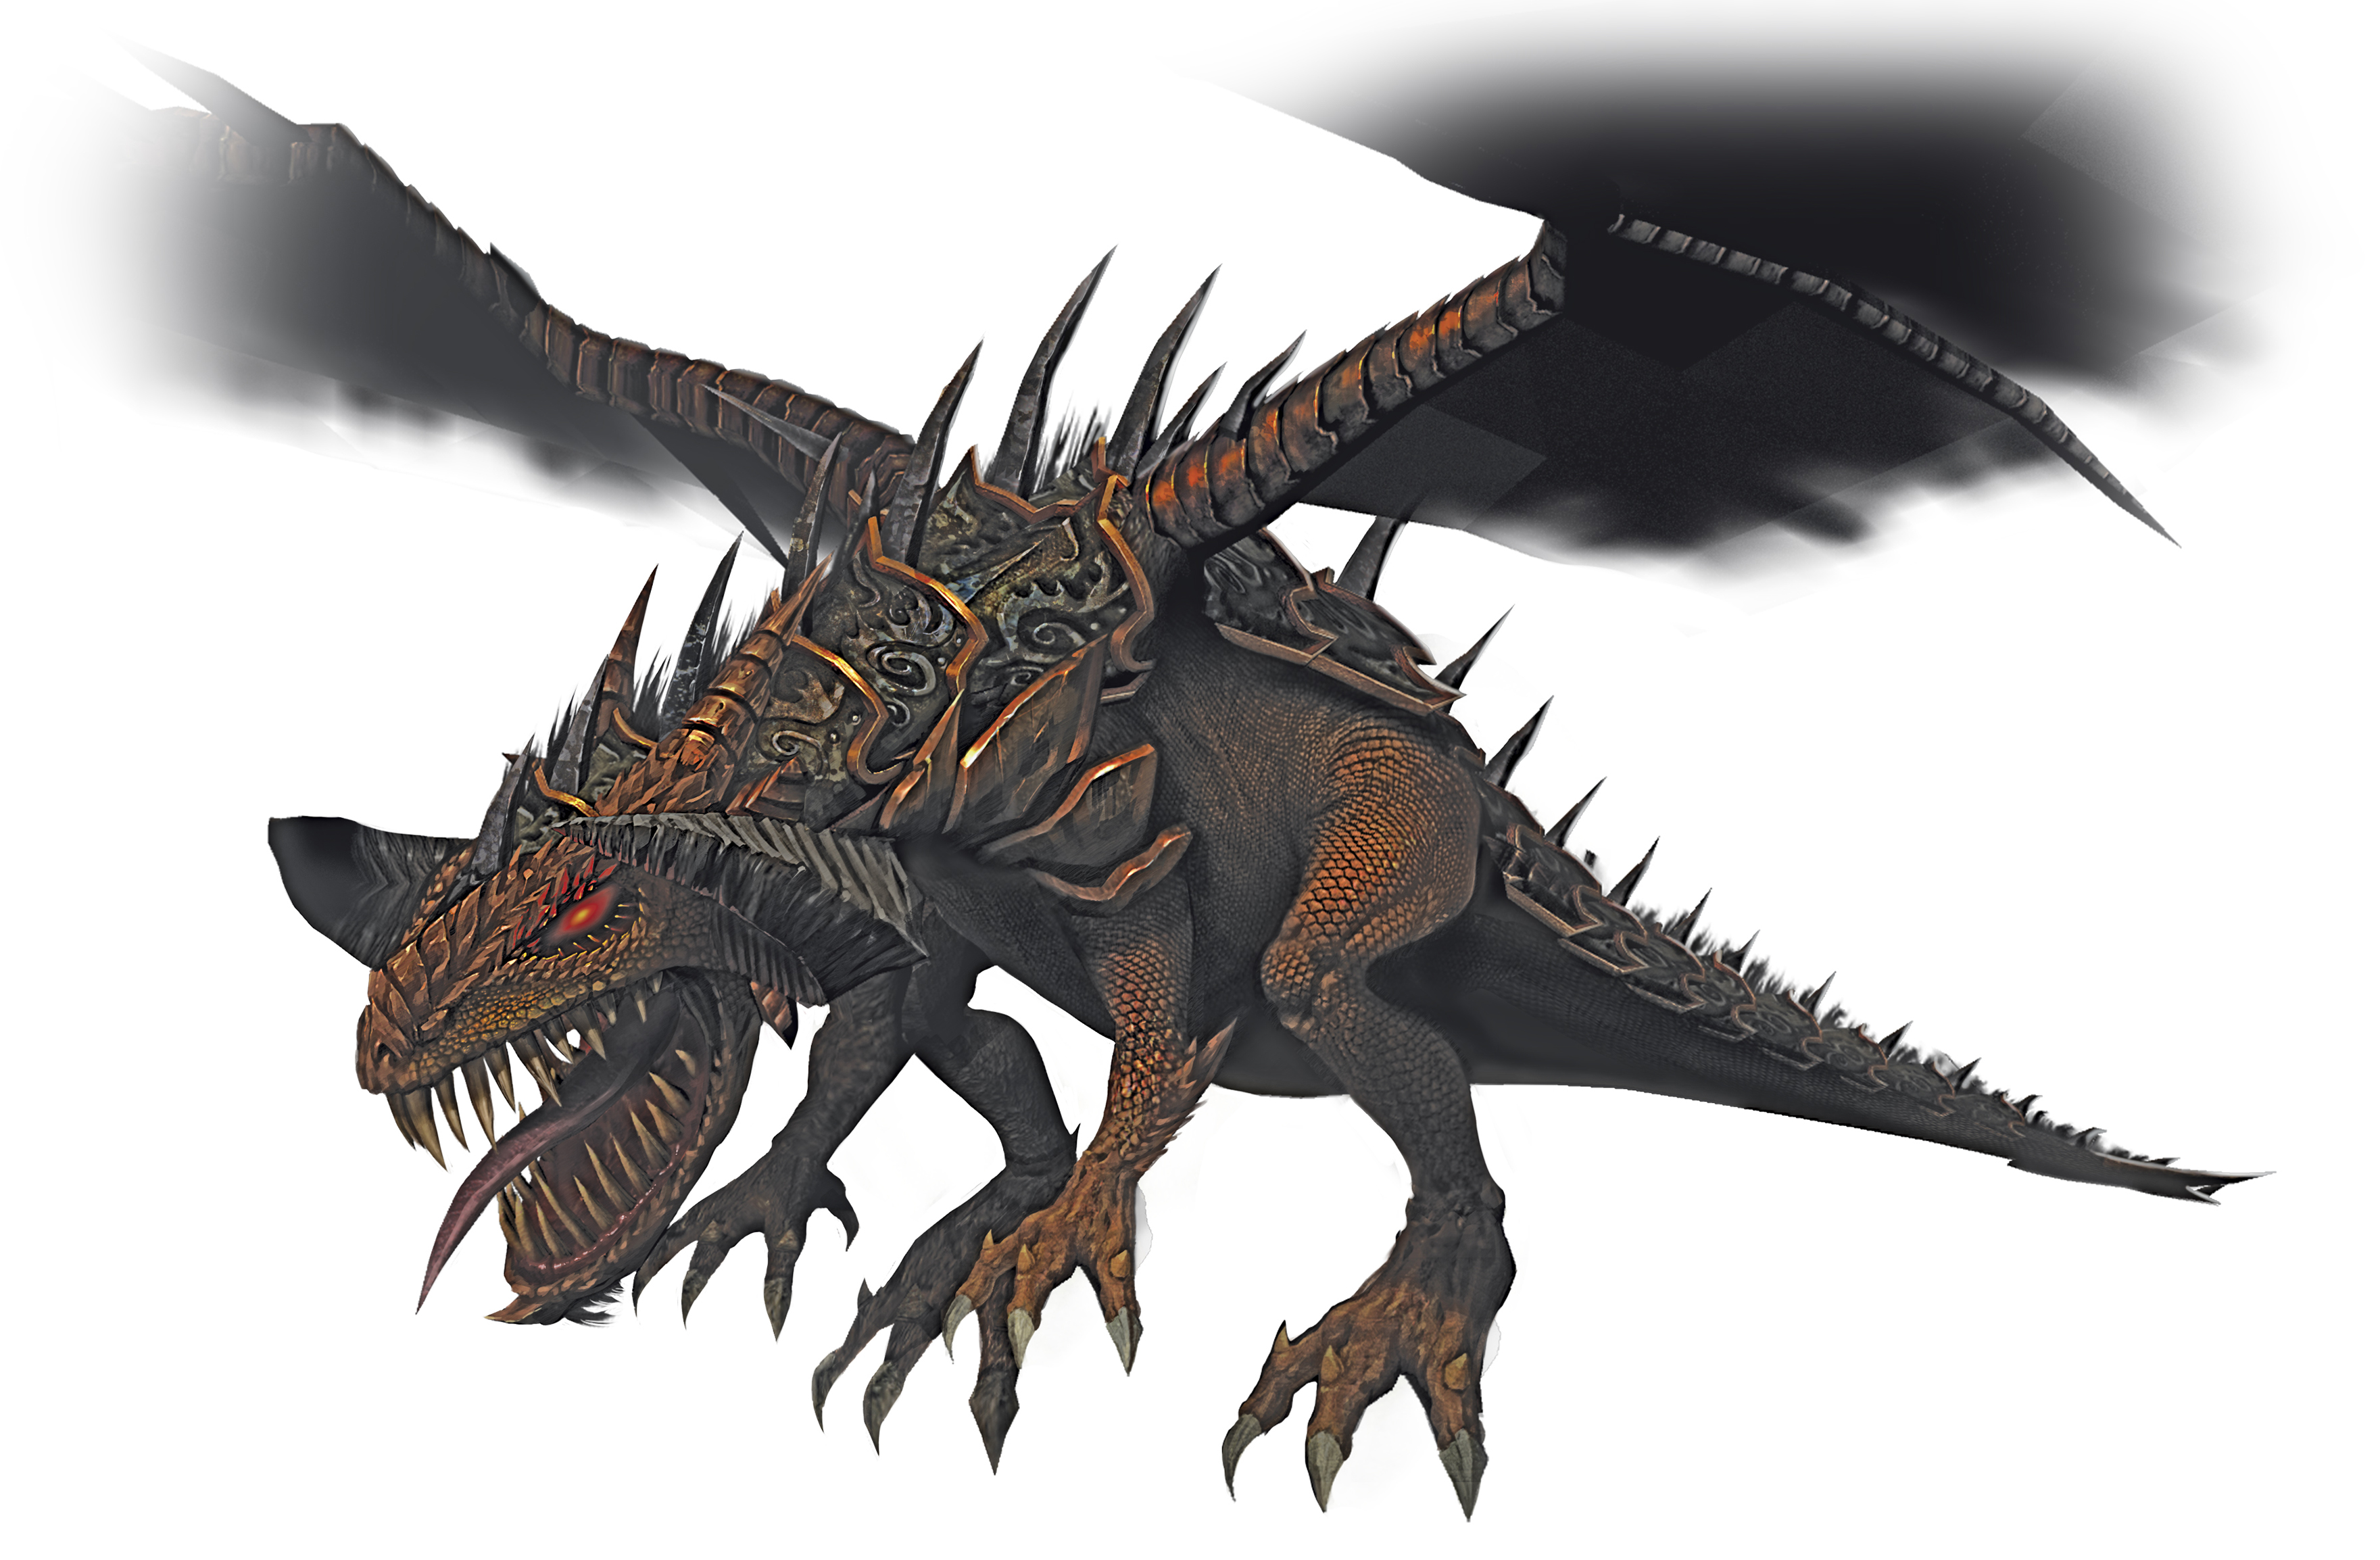
Your very final battle in Fable (see the appropriately titled Final Battle quest in Chapter 3.6) is against Jack of Blades’ terrifying dragon form. Before you do anything, take some time to learn his flight patterns and the attacks that follow. If Jack swoops down and hovers above one corner of the arena, Ranged fighters should take the opportunity to launch a long-distance strike. Watch out, though; he’s readying either a volley of fireballs, which can be dodged, or a powerful jet of flame. Escape the latter attack by quickly ducking into one of the alcoves at either side of the battlefield.
When Jack eventually lands, you have a few moments to run in and lay on some heavy Melee damage. Keep watch for his powerful lunge attack and be ready to move when he pushes suddenly off the ground. This indicates an imminent shockwave attack, which can be avoided by sprinting into a nearby corner—needless to say, Slow Time is invaluable here. Once you’ve depleted around half of Jack’s health, Minions begin materialising in the area. Deal with them as necessary but never take your eyes off Jack—the last thing you want is to be caught out at this late stage in battle. Eventually, though, hard-earned victory is yours.