Fable Anniversary Guide Walkthrough The Heroes Guild to Archons Folly
The Prophets Chamber
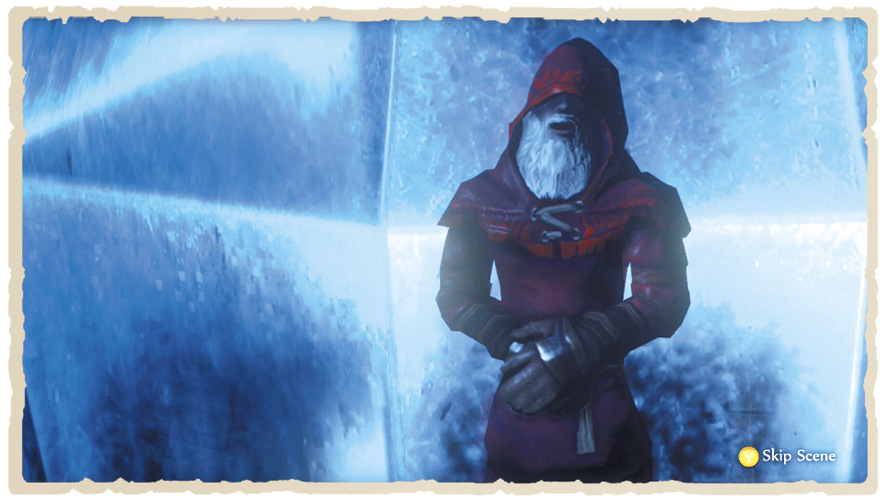
As the captive prophets explain, you must solve the chamber’s puzzle in order to claim the Fire Heart and summon the mysterious Ship of the Drowned—the only means of reaching the distant Northern Wastes.
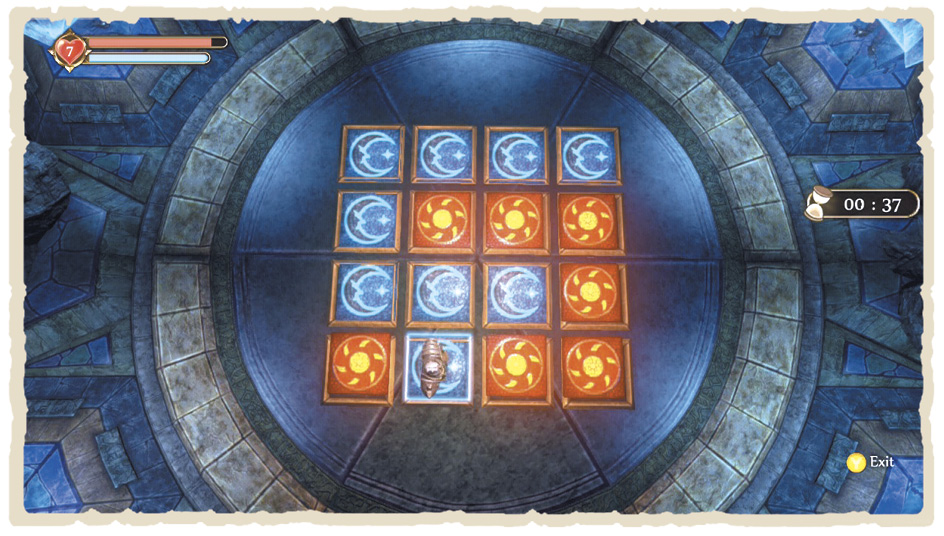
To complete the challenge, flip each puzzle tile so that only Sun signs—or, if you’re feeling particularly nefarious, Moon signs —are displayed. Each time you complete a round with all Sun tiles revealed, a prophet will be set free. Finish a round with only Moon tiles showing, however, and a prophet will perish. Needless to say, the path you choose has a major impact on your Good or Evil Alignment.
Tiles are flipped simply by stepping onto them—but the Fire Heart grows stronger with every beat, threatening to engulf dawdlers in its flame. Keep an eye on the timer to ensure you’re not about to become Hero flambé.
 RELEASE THE PROPHETS
To complete all five puzzles with only Sun signs showing, follow these directions:
PUZZLE 1
Directions: Up, Down, Up, Up, Down, Up, Right, Left, Up, Right, Right, Right
PUZZLE 2
Directions: Right, Up, Right, Left, Down, Up, Left, Up, Up, Right, Right, Right
PUZZLE 3
Directions: Up, Up, Right, Up, Down, Right, Up, Down, Right, Down, Down, Left, Left, Left
PUZZLE 4
Directions: Right, Right, Right, Up, Up, Up, Left, Left, Left, Down, Down, Right, Up, Right, Down, Down, Left, Left, Up, Up, Up
PUZZLE 5
Directions: Up, Up, Up, Right, Right, Right, Left, Down, Up, Down, Down, Up, Down, Down, Up, Down, Right, Left, Left, Left
 KILL THE PROPHETS
To complete all five puzzles with only Moon signs showing, follow these steps:
PUZZLE 1
Directions: Right, Right, Right, Up, Up, Left, Down, Left
PUZZLE 2
Directions: Right, Left, Right, Up, Right, Left, Left, Up, Up, Right, Down, Down, Up, Up, Right, Right, Left, Left, Right
PUZZLE 3
Directions: Up, Up, Right, Up, Down, Right, Up, Down, Right, Down, Down, Left, Left, Left
PUZZLE 4
Directions: Right, Right, Right, Up, Up, Up, Left, Left, Left, Down, Down, Right, Up, Right, Down, Down, Left, Left, Up, Up, Up
PUZZLE 5
Directions: Up, Up, Up, Right, Right, Right, Left, Down, Up, Down, Down, Up, Down, Down, Up, Down, Right, Left, Left, Left
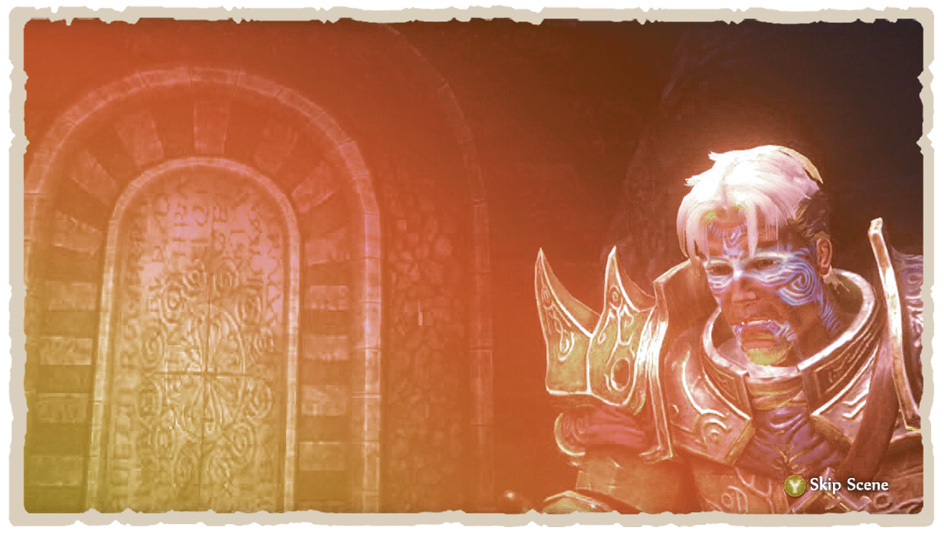
Once all five rounds of the puzzle are complete, the legendary Fire Heart, the Fire Heart Band Trophy, and the brand-new Ship of the Damned story quest are yours.
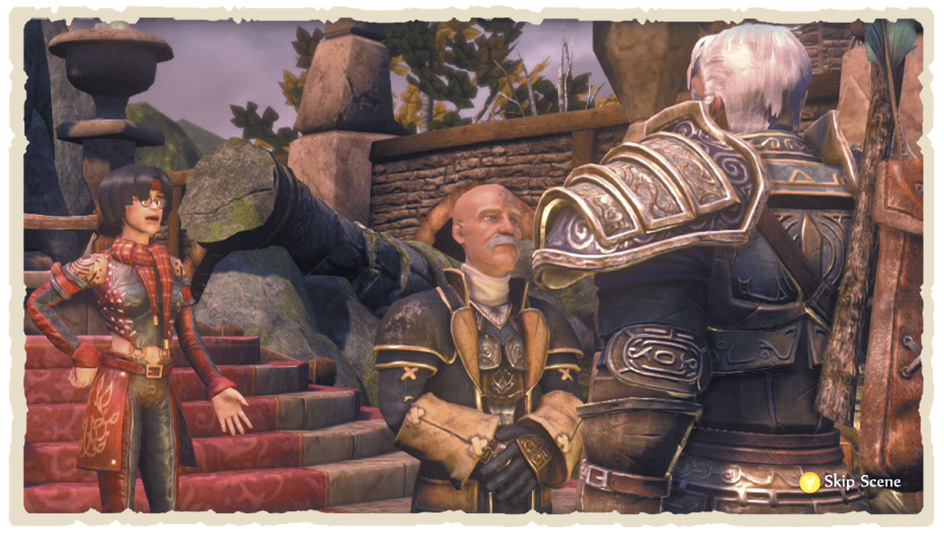
Back outside, your Hero chums congratulate you on your success—bid them farewell and return to the Heroes’ Guild. If you saved the Sword of Aeons following your battle with Jack of Blades, you can collect the Ransom Victim quest from the Map Table and get stuck straight in. However, those that elected to cast the Sword of Aeons into the Void have one small matter to attend to first.
The Hidden Sword
Good Heroes should head to the tower in the south of the Guild’s gardens and pay a visit to Maze’s study. Once there, check out the glowing bookshelf containing Maze’s notes on the whereabouts of a second Legendary sword.
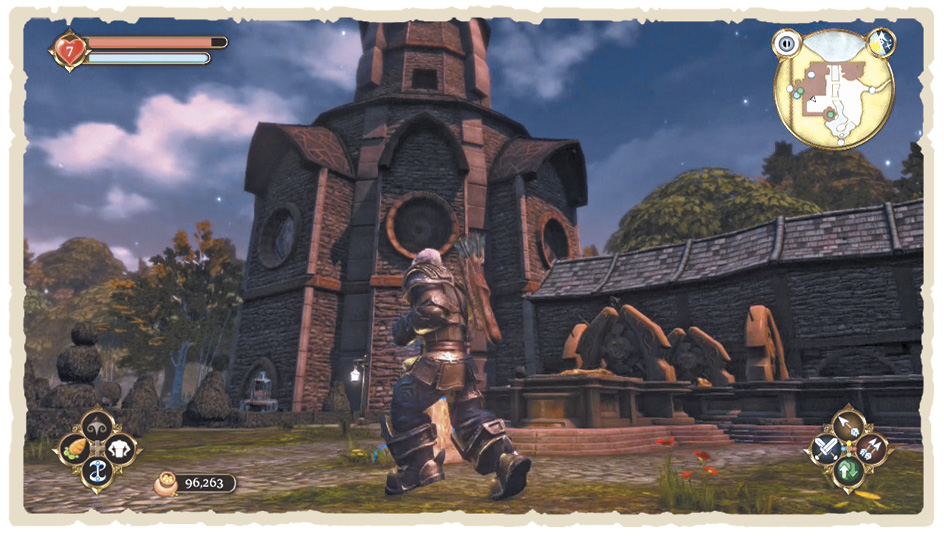
Back in the courtyard, examine the description on the grave to the west. Just as Maze predicted, the old spirits of the Guild cast judgment on your actions and, thankfully, deem you worthy enough to wield the Legendary Longsword Avo’s Tear. This sleek, shiny, and piously powerful new weapon is the Good equivalent of the Sword of Aeons. Don’t forget to equip it!
The Ransom Victim
When you’re ready to face the perils ahead, collect the Ransom Victim quest from the Map Table and begin making preparations for the next leg of your adventure. If you’re the boasting sort, now’s your chance!
THE RANSOM VICTIM ~ BOASTS
| Boasts | Criteria | Wager | Reward |
|---|---|---|---|
| Fist Fighter | Use no weapons or offensive magic. | 200 | 600 |
| Kill the Kidnappers | Kill the kidnapper and his Guards. | 400 | 1,000 |
| No Protection | Do the quest naked. | 100 | 300 |
| Victim Not Harmed | Don’t let the victim get hurt. | 400 | 1,000 |
| Without a Scratch | Take no damage. | 300 | 900 |
Next, teleport to Knothole Glade and speak to the Chief outside the building in the south-west. It seems that those pesky Bandits have been up to their usual tricks and kidnapped the Chief’s son. Unsurprisingly, you’re tasked with mounting a rescue operation. However, before you can hoist sword and get on your way, you’re visited by the Chief’s other son—and he has an altogether more sinister proposition for you. What a scoundrel.
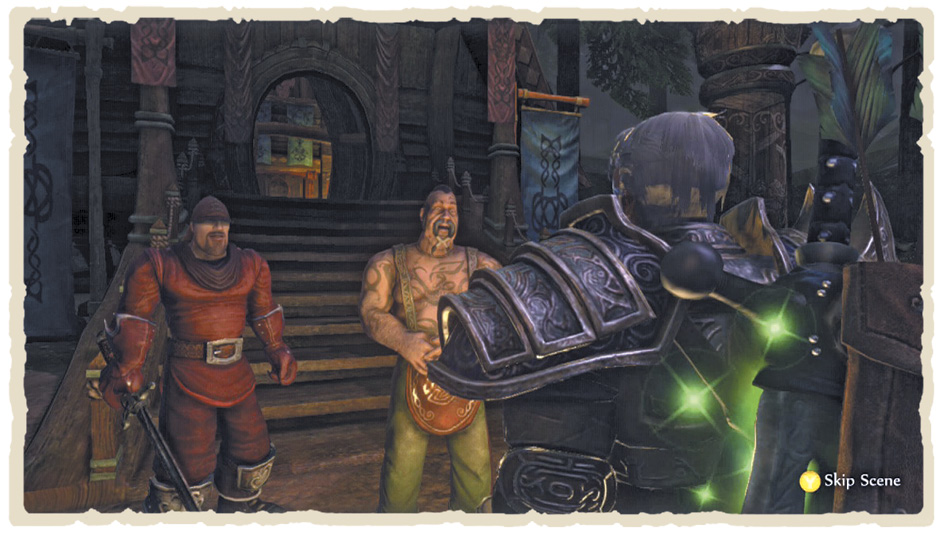
However you decide to end the quest, your first steps are always the same. If you’d like the help of some hired muscle, enter the house and speak with the Chief to make use of his personal Guard. Next, leave Knothole Glade and wind your way through the forest toward Witchwood Stones.
Once you reach Witchwood Stones, step through the Demon Door and prepare to confront the kidnapper. If you choose to ignore his demands and keep the ransom money for yourself, expect to battle an Assassin before proceeding. Also note that you’ll have to contend with a heap of Bandits and Assassins on your way back to Knothole Glade if you refuse to pay up. Interestingly, though, it’s easier to get the boy home in one piece this way—the forest wildlife that you face otherwise can be a real challenge.
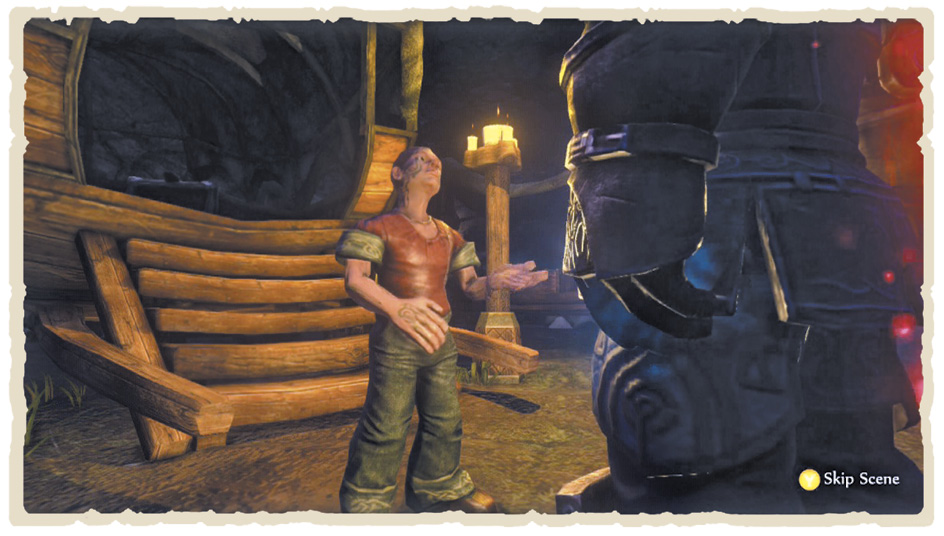
When you’re ready to begin the journey back, make your tiny charge Wait inside the cave entrance and run out to clear the area of enemies—this is particularly important if you took the Victim Not Harmed Boast earlier. Next, return to the boy, command him to Follow, and start the long walk home.
Next, command your (increasingly irritating) charge to Wait outside the entrance to the Temple of Avo area, then move on alone to rid it of enemies. When you’re done, return for the boy and deposit him by the Temple of Avo exit to Witchwood Lake. If nothing else, you won’t have to listen to his whining for a while. Once peace is restored, reclaim your insufferable pal and make the final trek into Knothole Glade—keeping watch for random Balverine attacks on your way.
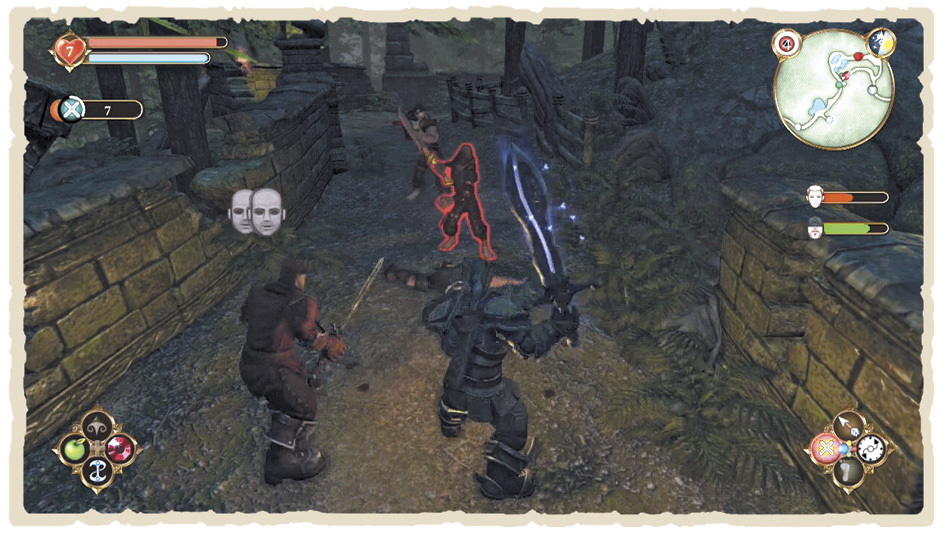
When you reach Knothole Glade, it’s time to decide what you want to do with the boy. If you choose to turn him over to his brother, head along the narrow path to the east immediately on entering the area. If there’s a speck of decency left in your soul, though, return to the Chief’s hut in the south-west to reunite father and son. As one last display of your piousness, you can even tell daddy what his other son was up to—someone’s going to get a spanking later. Whatever your choice, once the boy is off your hands, the quest is complete. Well done, you.
More Adventures in Hook Coast
When you’re ready to proceed with the next story quest, teleport over to Hook Coast and prepare to learn the terrible truth behind that mysterious lighthouse plinth. Okay, fine, so it’s not that terrible, but at least your interest is piqued.
As soon as you arrive at Hook Coast, head to the lighthouse in the south and make your way upstairs. With the Fire Heart now in your possession, all you need do is examine the pedestal up top to bring the accursed Ship of the Drowned into port. Be warned, though; once the Fire Heart is in place, the lighthouse is almost immediately besieged by three Summoners.
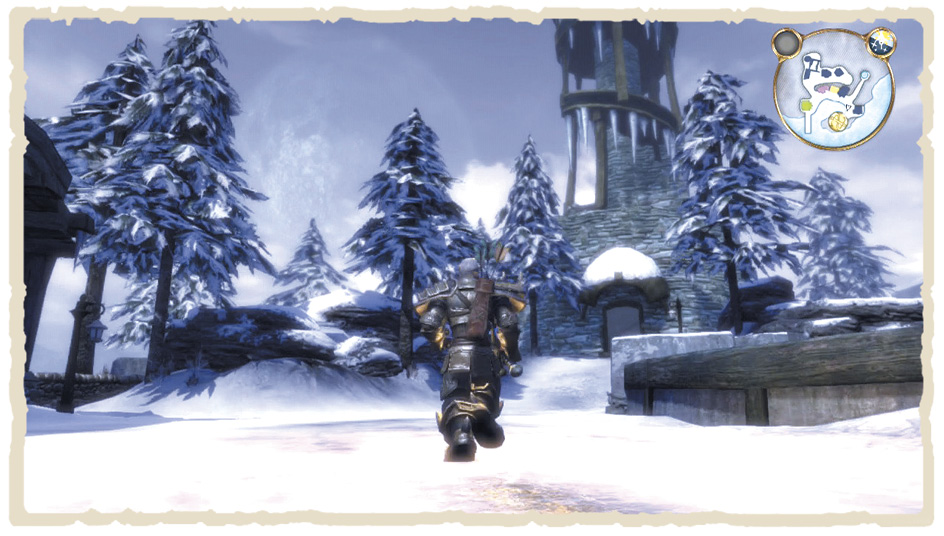
You need to deal with them quickly, before they can destroy the Fire Heart and bring your quest to a premature close. Once you’ve defeated the first Summoner, two more appear in the area, alongside a few Minion chums. Luckily, with your new-fangled blade, Summoners are a bit of a pushover—just avoid landing a Melee strike while they’re charging a Spell. Conveniently, their magical blasts damage nearby Minions, meaning you can simply dodge away from Minion attacks and focus your attention on the big guys without fear of peripheral damage.
Once the final Summoner is defeated, their Minions vanish, too. Now’s your chance to board the fabled Ship of the Drowned and begin your voyage to colder, less welcoming climes.