
Fable Anniversary Guide Walkthrough Darkwood to Twinblades Camp
Barrow Fields
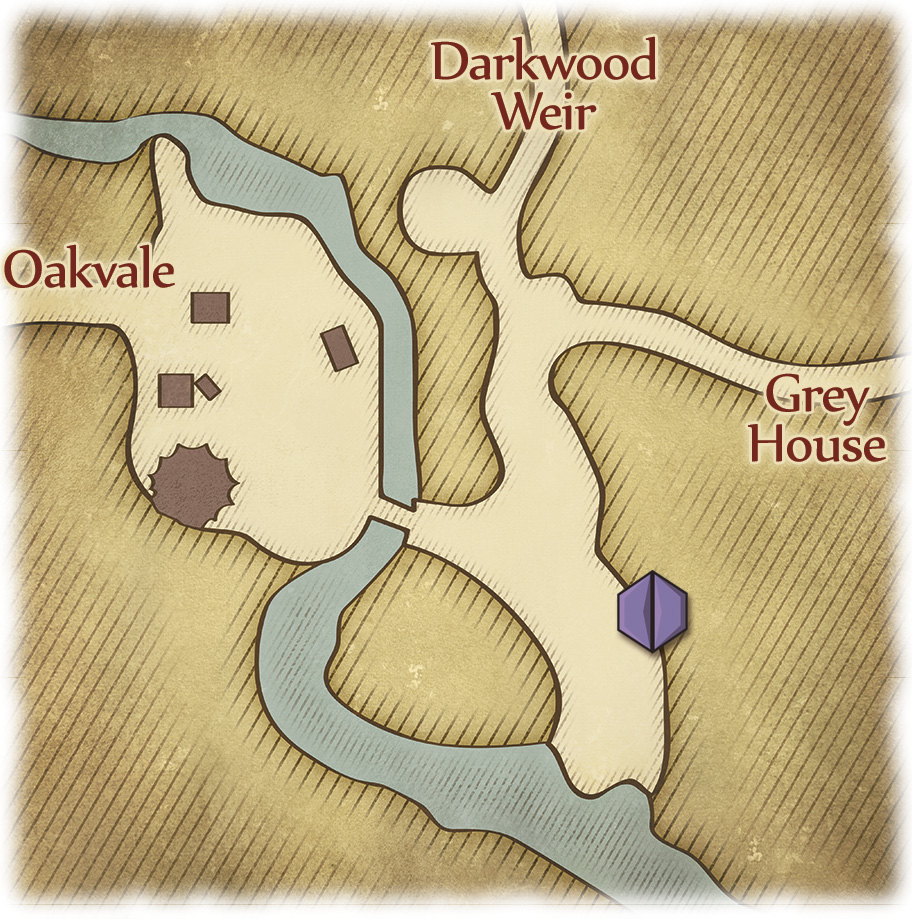
As you step blinking into the bright Barrow Fields sunshine, take a moment to congratulate yourself on a job (hopefully) well done. Next, walk along the path until you reach the bridge leading into the encampment. Say one last goodbye to your newfound friends then claim your long-overdue reward—including the flamboyant Trader’s Feather Trophy.
Of course, there’s no rest for the wicked (or indeed the thoroughly pious, depending on your Alignment) as a new quest arrives the moment you’ve waved off your long-suffering companions.
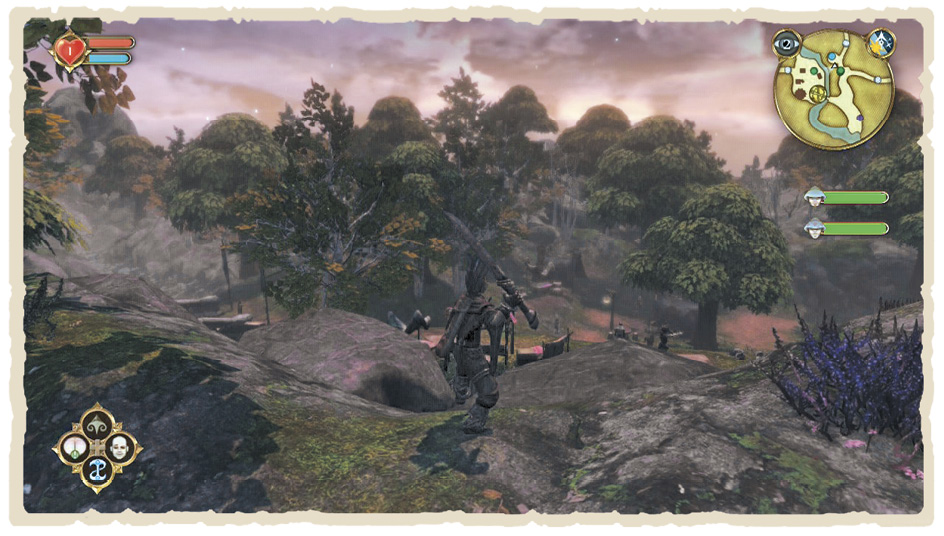
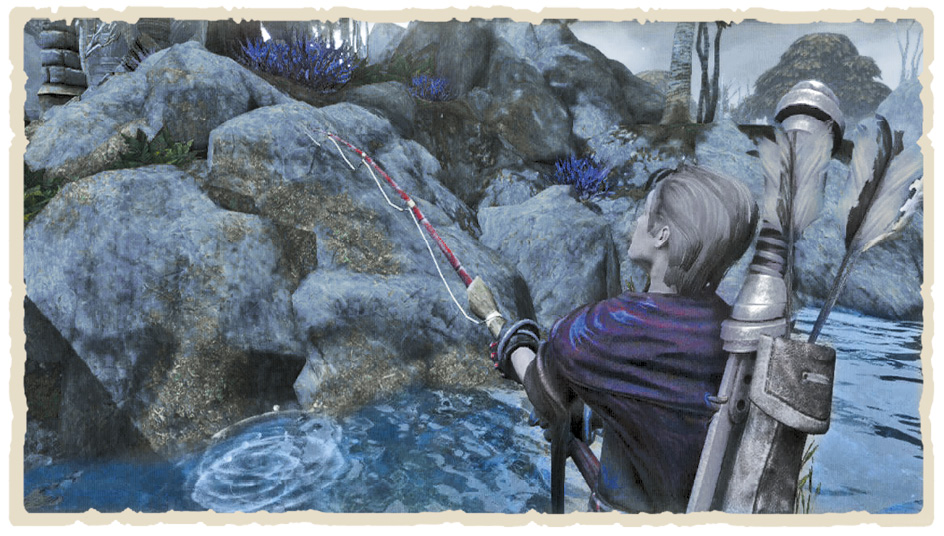
Oakvale lies north-west of your current location—but there’s plenty to do in Barrow Fields before pressing on. In the camp itself, head up the incline overlooking the river and use your Spade on the rock-circled dirt patch to unearth a Golden Carrot. Be sure to check out the scarecrow back down the hill for a tasty Health Potion, too. Elsewhere, there’s a fishing spot in the river at the north-western end of camp containing 500 Gold, and another offering up the Coron Night Tattoo in the south-east, just right of the bridge.
Finally, speak to the man standing alone to the north of camp—you’ll recognise him instantly by the lonely-looking mushroom perched atop his table. As luck would have it, this is the third Blue Mushroom required to complete the Sick Child quest (or fourth and final mushroom, if you heartlessly slaughtered the man in Guild Woods).
You’re given the option to buy it for a steep 1,500 Gold. However, if you’d rather hang onto your cash, you have two alternatives—both increasing your Evil Alignment. Either use the Steal Expression (if you’ve raised your Guile Attribute high enough) to swipe it, or—for the truly nefarious out there—hand over the Gold, receive the mushroom, and immediately kill the poor sod to get your money back. Who said crime doesn’t pay?
Shopping in Barrow Fields
As you’d expect, shopping isn’t particularly thrilling in this remote outpost. However, bargain hunters might find a few items to take their fancy.
WEAPONS
| MELEE | VALUE |
|---|---|
| Obsidian Axe | 1,950 |
| Obsidian Cleaver | 2,145 |
| Obsidian Pickhammer | 1,560 |
| Steel Cleaver | 413 |
| Steel Katana | 488 |
| Steel Longsword | 450 |
| RANGED | VALUE |
| Oak Crossbow | 550 |
| Oak Longbow | 450 |
ITEMS
| GIFTS | VALUE |
|---|---|
| Chocolates | 10 |
| Perfume | 120 |
| Red Rose | 20 |
| PRODUCE | VALUE |
| Apple Pie | 15 |
| Fish | 12 |
| Green Apple | 4 |
| Tofu | 40 |
WANTED
| WANTED | VALUE |
|---|---|
| Beer Keg | 46 |
| Cider Crate | 52 |
Beyond the Trader Camp
Once you’ve teased all the amusement you can out of camp, cross back over the bridge and into Barrow Fields’ wilds. Directly ahead lie some Old Kingdom ruins, containing all manner of wonders. For starters, open the chest and take the Sapphire from within, then push beyond the crumbling arches to locate another Demon Door and a fishing spot to the south-east. Here you’ll reel in another mystical Moonfish. Finally, you’re free to explore the gloomy Grey House area lurking east of Barrow Fields - however, this area forms part of a later quest, so you might want to hold off for now.
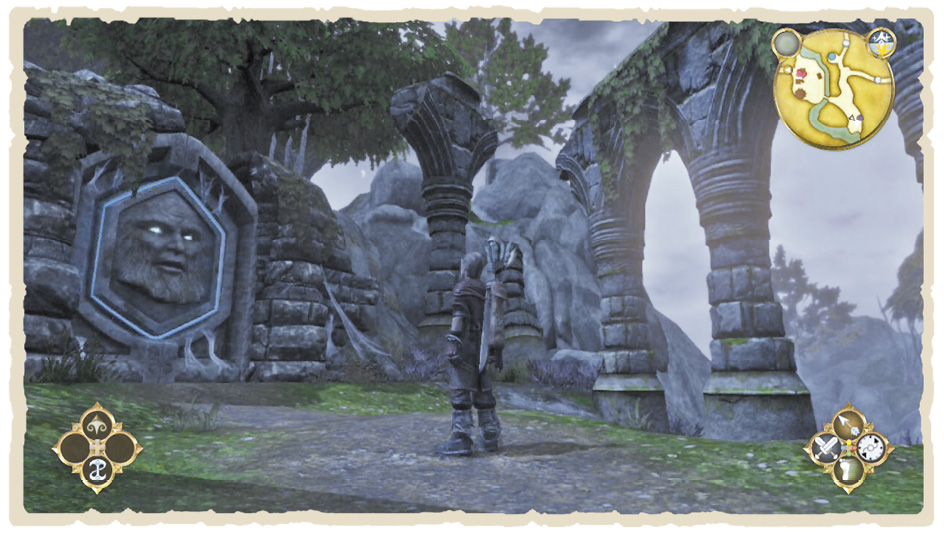
Barrow Fields Demon Door
This door has a fetish for the larger Hero—and will open only for the truly Obese. That means you’re going to have to pile on the pounds if you plan on pilfering its treasure. Bulk up by scoffing plenty of Red Meat and Apple Pies when your health bar is full—additional Health gained from eating food is automatically converted into body fat. It takes around 25 Apple Pies or 27 pieces of Red Meat to reach your full-fat flavour from Slim—and, once the door is suitably satisfied with your heft, you can enter the Old Kingdom Spring for a Will Master’s Elixir.