
Fable Anniversary Guide Walkthrough Darkwood to Twinblades Camp
Memorial Garden
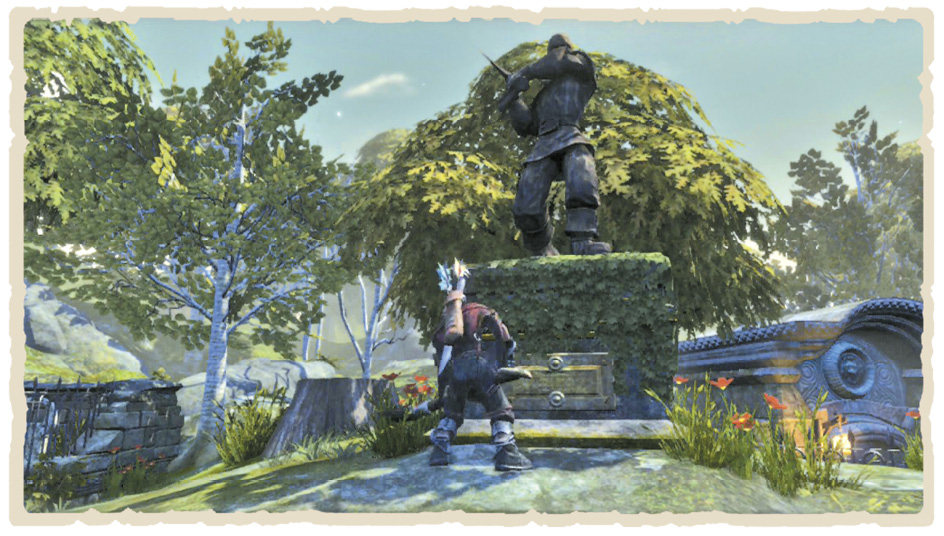
Good characters who’ve earned the ghost pirate’s thanks can find their spoils buried at the foot of the axe-wielding statue in the Memorial Garden. While you’re here, you might as well do a spot of grave-digging. There are two graves you can exhume to the west, earning you a Health Potion and a Golden Carrot. You won’t even earn Evil points for your disrespectful display! There’s nothing else to see here, however, so toddle back to Oakvale when you’re done.
More Oakvale Amusements
Chicken Kicking Competition
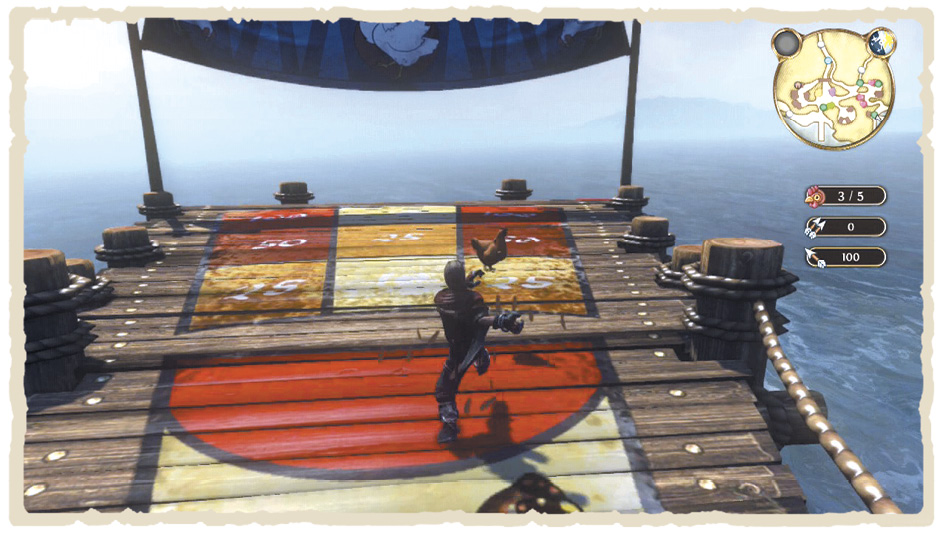
With the Ghost Pirate out of the way, make sure you’ve talked to the Oakvale contest organiser then wander on down to the eastern beach. For a mere 50 Gold, you can now enter the infamous Chicken Kicking Competition.
Your goal is to kick your chicken hard enough to land it on one of the numbered squares before you. You have five attempts in total, with a final score of between 50 and 150 points earning you the Cock-a-Doodle-Doo Expression. 150 to 250 points, meanwhile, wins a Silver Key and 250 points grants you the ever-so-fetching Chicken Hat.
Fist Fighter Gang ~ Part 2
Provided that you completed the first Fist Fighter Gang challenge back in Bowerstone Quay, you’re now free to tackle a second, more difficult round in the ring. Head on over to the barns (Point E) at night and, eventually, the punch-happy rabble arrives. Once again, talk to the mohawk-ed leader to start the challenge for the paltry sum of 50 Gold.
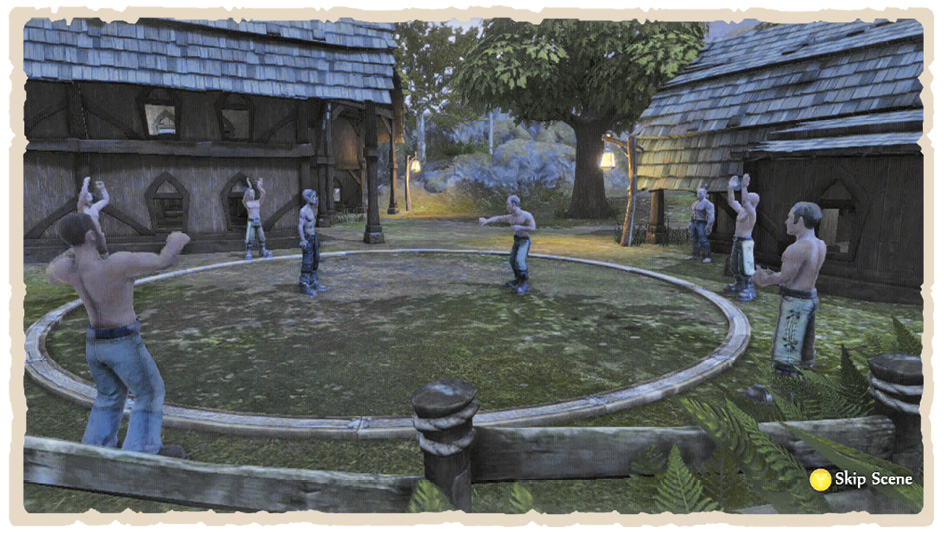
This fight is pretty much the same as in Bowerstone, only now there’s a fifth round and things are a little tougher. Be sure to block frequently and land a few swift blows when your enemies stagger. Opponents are far more prone to defensive manoeuvres here, so make the most of your unblockable Flourishes. Your reward for clearing every round is 450 Gold and the Fist Fight Level 2 Passed certificate. Don’t forget to put your clothes back on when you’re done!
The Coin Golf Mini-Game
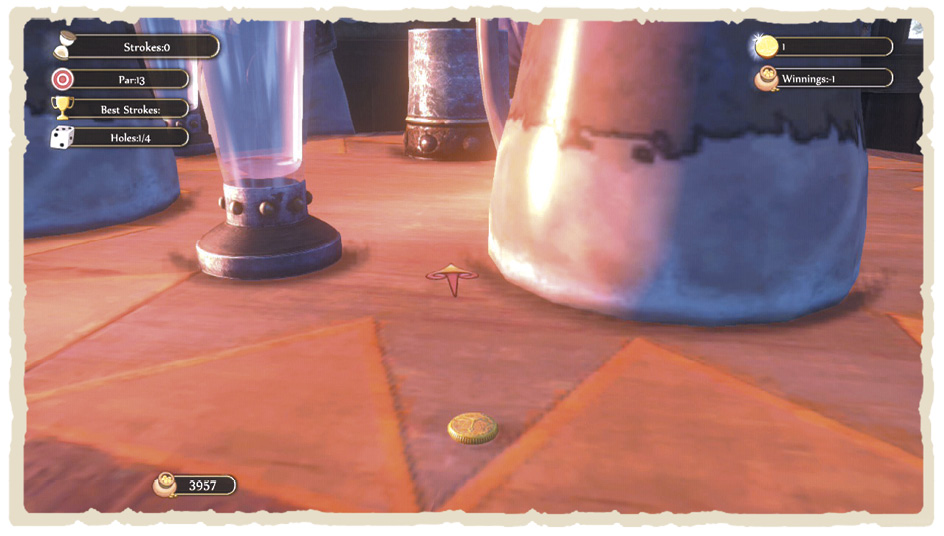
If you’re in the mood for a real test of skill, head to Oakvale tavern and try your hand at Coin Golf. Here, your goal is to flick the coin and reach the white circle in as few moves as possible. It’s not as easy as it sounds but, if you clear the course in 11 or fewer turns, you can win the Whisper Hero Doll as a reward.
HOLE 1
Use a high-powered shot to bounce the coin directly off the glass ahead and shunt it to the middle of the table. One more mid-charged flick should get it into the circle from here.
HOLE 2
Bouncing the coin off the mug to the right with a mid-powered flick should get it to the centre of the table. One more shot should reach your target.
HOLE 3
Aim at the right side of the wine glass to the far-left of the table using a fully charged shot. Do it right and you’ll be mere inches away from your goal.
HOLE 4
Bounce off the left-most edge of the glass to the left with a medium-powered shot to slip toward the two glasses nearby. There’s a third glass to the right of the mug ahead, which you can use to ricochet the coin around the corner toward the goal and your ultimate victory.
The Last Blue Mushroom
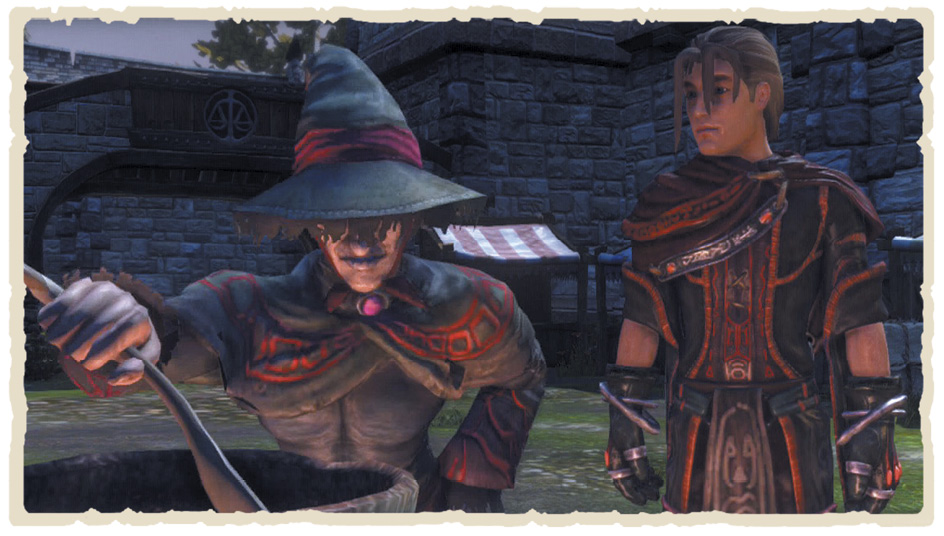
It’s time to claim the fourth and final Blue Mushroom in the Sick Child quest. Unless, of course, you killed the lovelorn gent back in Guild Woods—in which case you’ve already got everything you need. Talk to the woman standing near the well to the east of Oakvale and hand over the letter. You have two options when you do, rewarding either Good or Evil points:
 Give her the letter and reveal its true author.
 Claim the poem’s delicate verse as your own.
Whatever you choose, speak to the man in Guild Woods again to earn your prize. Once the final mushroom is yours, head to Bowerstone Quay and hand over all four to the witch outside the shack—she provides you with the cure needed to save the boy. Give it to his mother in Bowerstone South to pocket a juicy 2,000 Gold for your efforts. When you’re done, return to Oakvale for the next exciting instalment of your adventure.
Shopping in Oakvale
Oakvale is a bit of a shopper’s dream, with many items heavily discounted. You can find cheap Wedding Rings aplenty, for instance—perfect for the polygamists out there—and bargain-priced Steel weaponry, too.
WEAPONS
| MELEE | VALUE |
|---|---|
| Iron Greathammer | 225 |
| Iron Greatmace | 213 |
| Iron Greatsword | 238 |
| Iron Katana | 163 |
| Iron Longsword | 150 |
| Iron Pickhammer | 100 |
| Obsidian Axe | 1,950 |
| Obsidian Cleaver | 2,145 |
| Obsidian Greataxe | 3,120 |
| Obsidian Greatsword | 3,705 |
| Obsidian Katana | 2,535 |
| Obsidian Longsword | 2,340 |
| Obsidian Mace | 1,755 |
| Obsidian Pickhammer | 1,560 |
| Steel Axe | 375 |
| Steel Cleaver | 413 |
| Steel Greataxe | 600 |
| Steel Greathammer | 675 |
| Steel Greatmace | 638 |
| Steel Greatsword | 713 |
| Steel Katana | 488 |
| Steel Longsword | 450 |
| Steel Mace | 338 |
| Steel Pickhammer | 300 |
| RANGED | VALUE |
| Ebony Crossbow | 2,100 |
| Ebony Longbow | 1,820 |
| Oak Crossbow | 550 |
| Oak Longbow | 450 |
| Yew Crossbow | 200 |
| Yew Longbow | 150 |
| OTHER | VALUE |
| Piercing Augmentation | 2,100 |
CLOTHING
| HEAD | VALUE |
|---|---|
| Bright Chainmail Helmet | 790 |
| Chainmail Helmet | 742 |
| HANDS | VALUE |
| Bright Chainmail Gauntlets | 780 |
| Bright Dress Gloves | 15 |
| Bright Leather Gauntlets | 150 |
| Bright Villager Gloves | 25 |
| Chainmail Gauntlets | 742 |
| Dress Gloves | 13 |
| Leather Gauntlets | 127 |
| Plate Gauntlets | 1,980 |
| Villager Gloves | 21 |
| Will User’s Gloves | 148 |
| TORSO | VALUE |
| Bright Chainmail Shirt | 3,070 |
| Bright Leather Chest | 545 |
| Bright Upper Dress | 55 |
| Bright Villager Shirt | 96 |
| Chainmail Shirt | 2,967 |
| Leather Chest Piece | 507 |
| Plate Chest Piece | 7,920 |
| Upper Dress | 50 |
| Villager Shirt | 84 |
| Will User’s Upper Robe | 593 |
| LEGS | VALUE |
| Bright Chainmail Leggings | 2,650 |
| Bright Leather Leggings | 465 |
| Bright Lower Dress | 50 |
| Bright Villager Trousers | 82 |
| Chainmail Leggings | 2,596 |
| Leather Leggings | 443 |
| Lower Dress | 44 |
| Plate Leggings | 6,930 |
| Villager Trousers | 74 |
| Will User’s Lower Robe | 519 |
| FEET | VALUE |
| Bright Chainmail Boots | 395 |
| Bright Leather Boots | 70 |
| Bright Villager Boots | 12 |
| Chainmail Boots | 371 |
| Leather Boots | 63 |
| Plate Boots | 990 |
| Villager Boots | 11 |
| Will User’s Boots | 74 |
ITEMS
| POTIONS | VALUE |
|---|---|
| Health Potion | 80 |
| Resurrection Phial | 500 |
| Will Potion | 70 |
| GIFTS | VALUE |
| Chocolates | 10 |
| Emerald | 700 |
| Perfume | 120 |
| Red Roses | 20 |
| Ruby | 600 |
| Wedding Ring | 900 |
| PRODUCE | VALUE |
| Apple Pie | 15 |
| Carrot | 6 |
| Cider Crate | 52 |
| Fish | 12 |
| Flour Sack | 35 |
| Grain Sack | 25 |
| Green Apple | 4 |
| Red Meat | 14 |
| Tofu | 40 |
| OTHER | VALUE |
| “Making Friends” | 200 |
| “The Sock Method” | 200 |
| “Windbreaker Rule Book” | 200 |
| “You Are Not a Bad Person” | 200 |
| Fishing Rod | 50 |
| Spade | 200 |
WANTED
| WANTED | VALUE |
|---|---|
| Diamond | 800 |
| Flame Augmentation | 1,450 |
| Jet | 450 |
| Lightning Augmentation | 1,550 |
| Piercing Augmentation | 2,100 |
| Ruby | 600 |
| Sapphire | 550 |
| Sharpening Augmentation | 2,600 |
| Silver Augmentation | 1,650 |
| Tofu | 40 |
Maze’s Next Mission
Once you’ve emptied Oakvale’s fun-bags, make your way back to the Heroes’ Guild. Take a moment to spend your Experience, if you haven’t done so already, then collect the Find the Bandit Seeress quest from the Map Table. Now’s also a great time to tackle the Hobbe Cave quest that’s been taunting you on the table for a while. Your Renown (and general combat proficiency) should be ample to take on this surprisingly challenging quest by this point.
Hobbe Cave ~ Boasts
If you choose to accept the Hobbe Cave quest, consider taking the Cave Dweller Boast if you’re angling for a scrap. Evil characters, meanwhile, might also opt for the Sacrifice Innocent Boast. Be warned that the No Protection Boast can be tough, given the huge number of enemies you’re going to face down under.
| BOASTS | CRITERIA | WAGER | REWARD |
|---|---|---|---|
| Cave Dweller | Kill the inhabitant of the cave. | 200 | 500 |
| Fist Fighter | Use no weapons or offensive magic. | 100 | 1,400 |
| No Protection | Do the quest naked. | 100 | 800 |
| Protect Boy | Do not allow the boy to be harmed. | 200 | 900 |
| Sacrifice Innocent | Sacrifice a new innocent. | 200 | 500 |
| Without a Scratch | Take no damage. | 100 | 1,800 |
Find The Bandit Seeress ~ Boasts
There are several Boasts to consider when accepting the Find the Bandit Seeress quest. Bandit Blood is easy to do as a matter of course—so non-stealthy types should grab it while they can.
| BOASTS | CRITERIA | WAGER | REWARD |
|---|---|---|---|
| Bandit Blood | Kill at least 24 Bandits. | 200 | 400 |
| Spare Bandits | Don’t Kill a single Bandit. | 400 | 1,200 |
| Without a Scratch | Take no damage. | 500 | 3,000 |
Underground Movement
Once your quest log is looking a little heavier, it’s time to knuckle down and embark on the Hobbe Cave mission. Teleport back to Greatwood Cullis Gate and head south-west over the river. When you reach the fork in the road, bear right. This leads to Rose Cottage, where your quest begins.