
Assassin's Creed Odyssey Guide Odyssey Main Quests Chapter 1: Kephallonia Island
Get Your Money Back

So It Begins
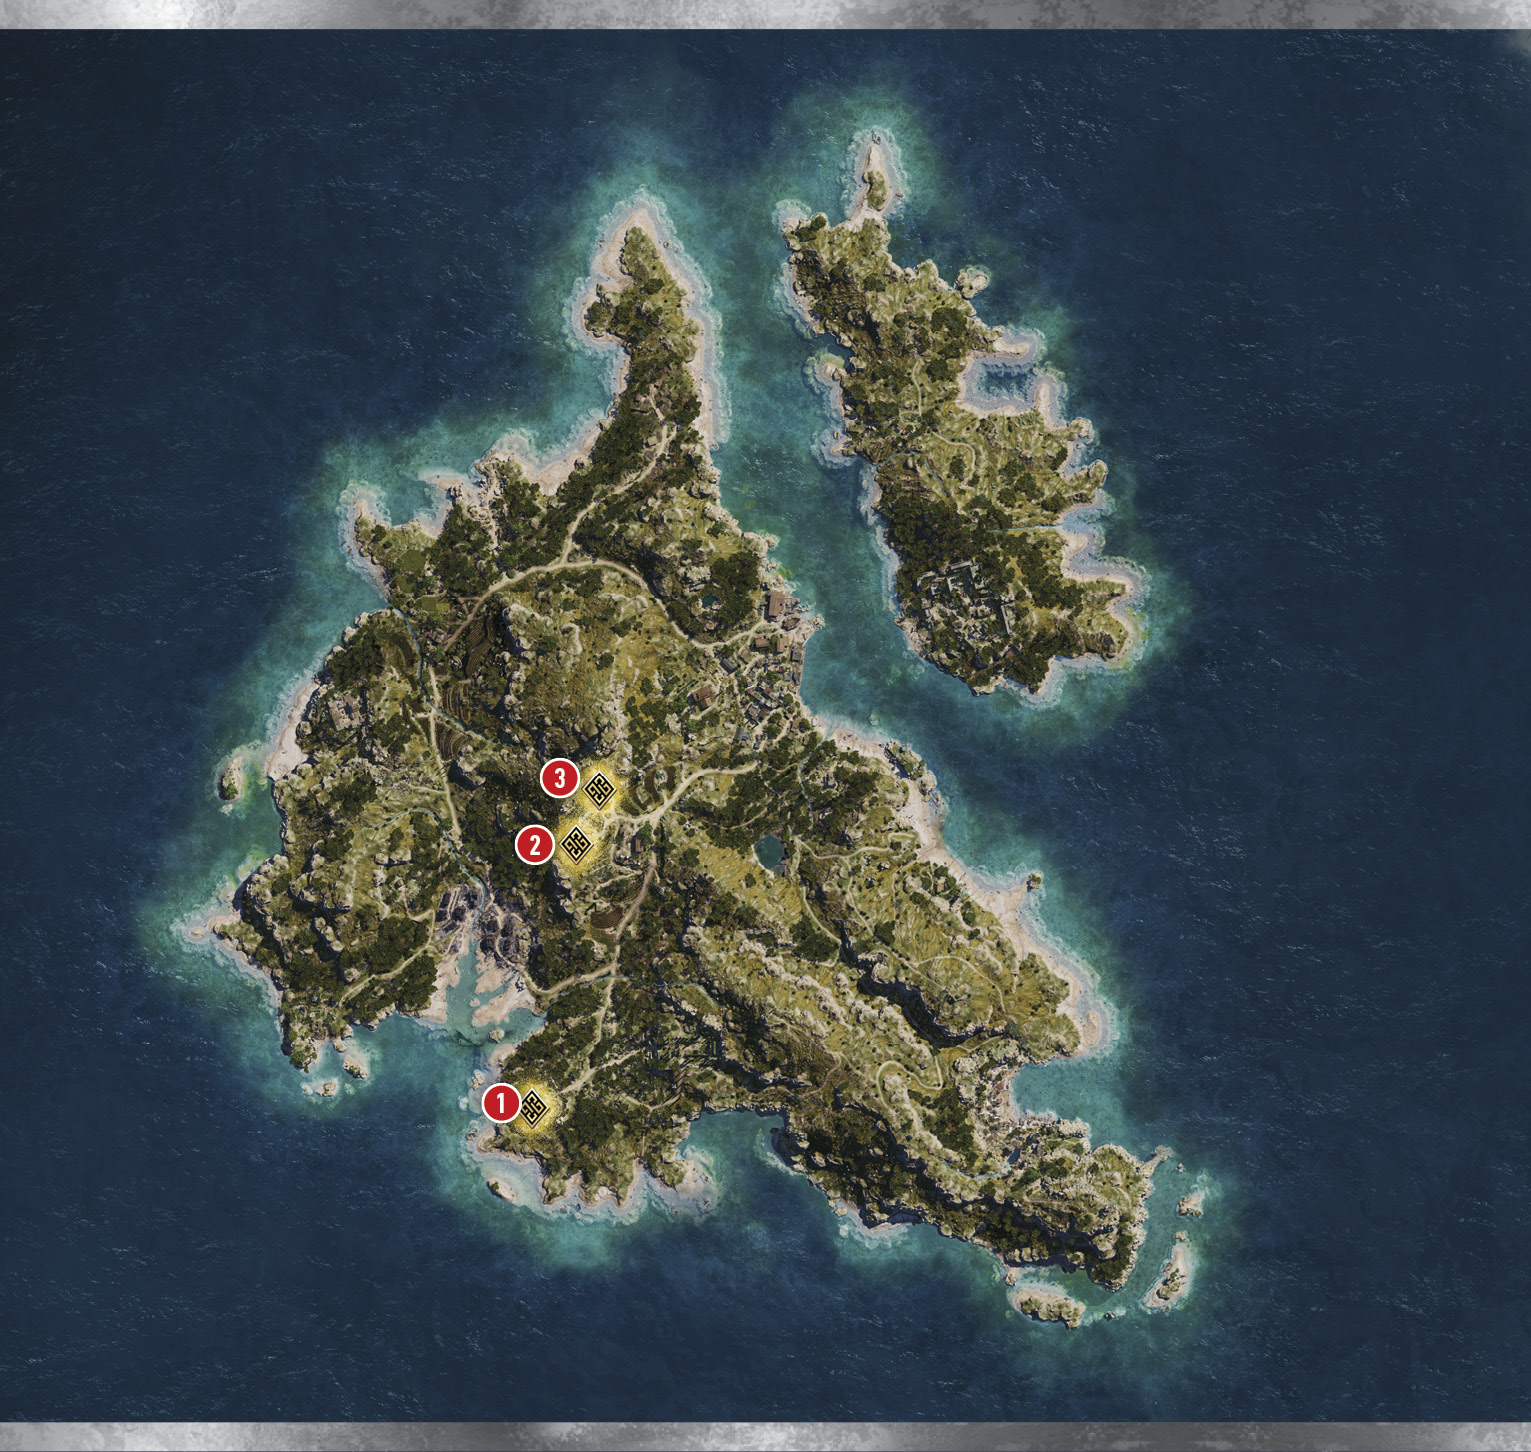
- Recommended Level: 1
- Prerequisite: Complete Prologue and Modern Day
- Unlocks: Debt Collector
- Story: Our story begins on the down-and-out isle of Kephallonia, where you are greeted by two parties—one friendly, and one not. The information they brought with them, however, is news to you.
Deal with the Thugs
The local crime boss, Cyclops, sent a couple thugs your way to collect money. The first lesson in this fight is a refresher course on the lock on feature. You will also be introduced to the parry mechanic which will momentarily stun your opponent and create a window to launch an uncontested counterstrike. Defeat the two rogues (1) using the fighting skills learned up to this point.
After the fight you meet Phoibe (a local orphan) and Ikaros, your tamed eagle, which will scout for you and attack enemies and prey.
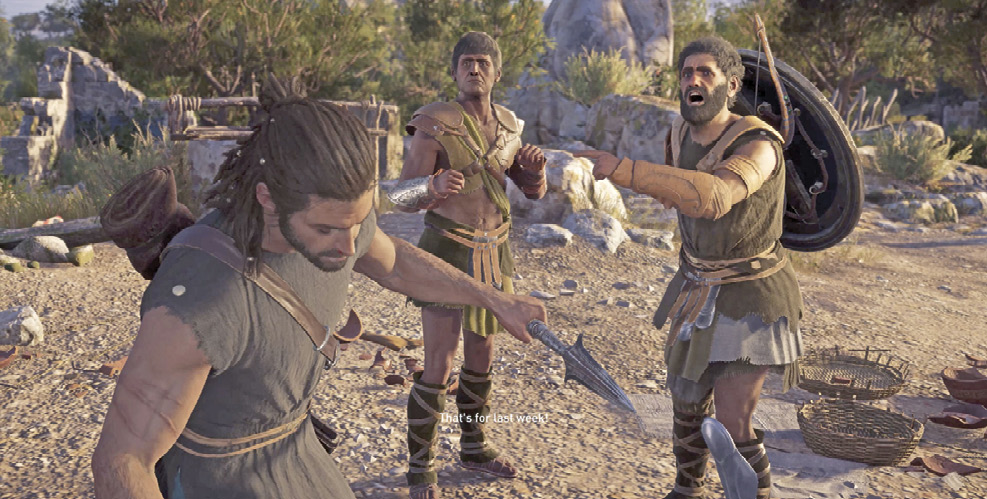
Conversation with Phoibe
 Phoibe is your young friend and any choices you make during this conversation will not impact how Phoibe feels about you. She’s there to inform you that Markos is looking for you.
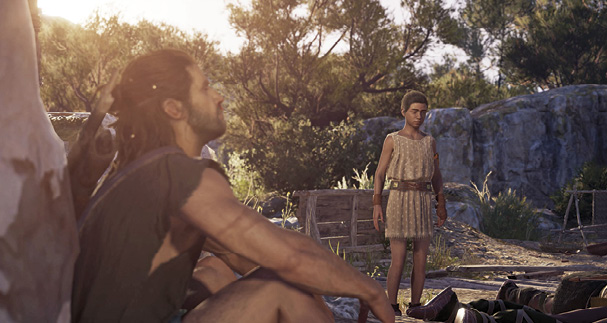
Conversation with Cyclops’s Thugs
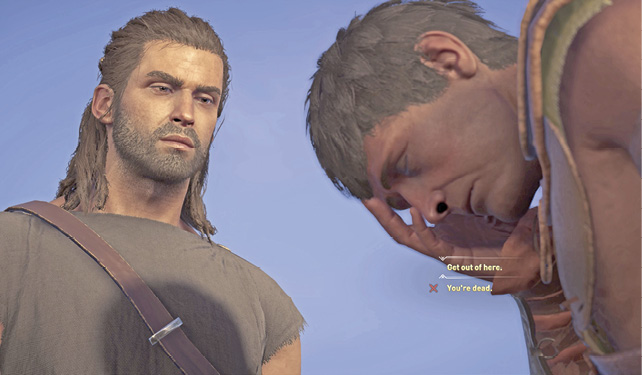
After Phoibe leaves, you have the choice of letting the dazed thugs go or becoming aggressive and killing them. Tell the thugs “Get out of here” if you don’t feel like a fight, but know at any time these thugs can come back to settle the score. Threatening the thugs with “You’re dead” will force a fight.
Collect Your Gear
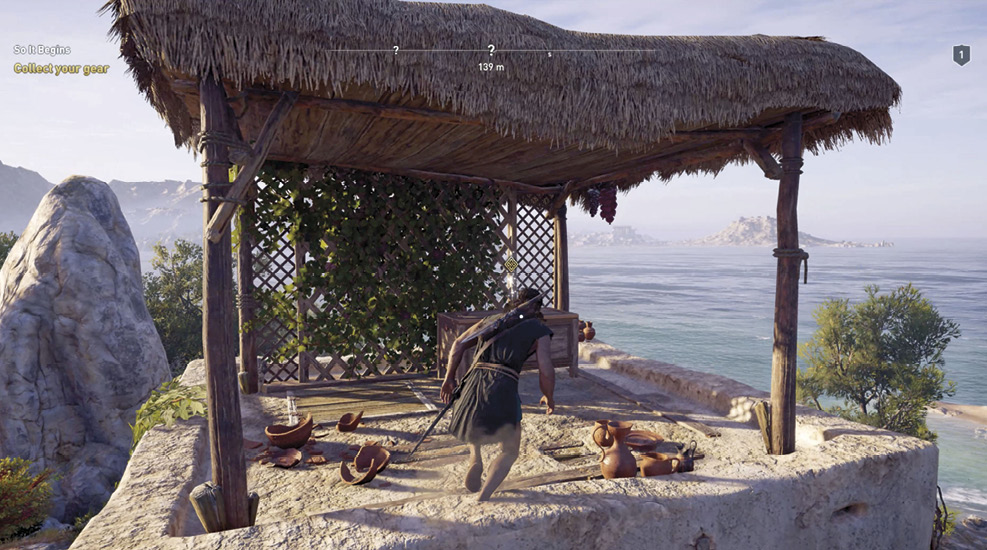
Parkour up to the top of your home while following the objective marker to the chest under the rooftop shelter. Loot the chest to obtain your gear. You obtain belt and lower body armor as well as a broken bow.
Equip Your Gear
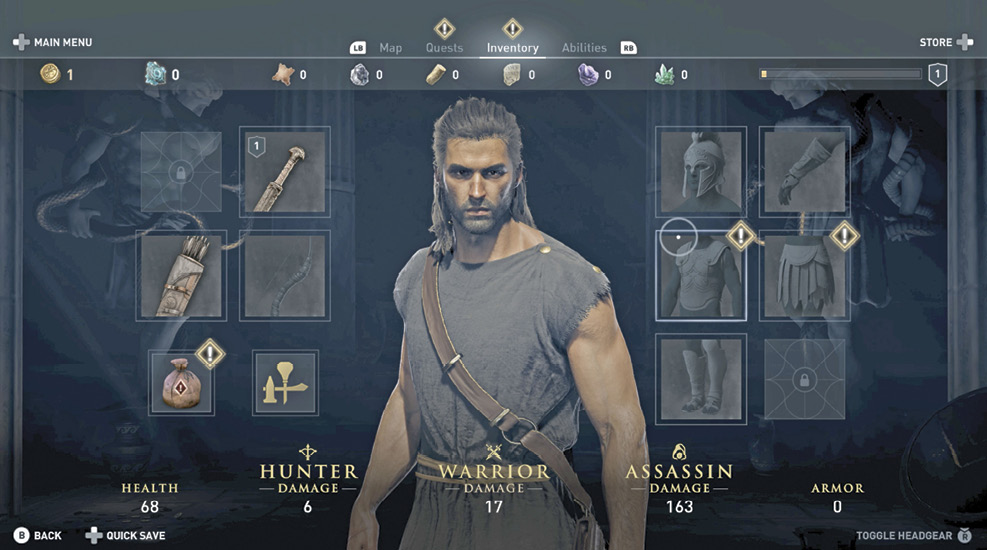
Open the Inventory menu and notice the newly acquired upper and lower body armor pieces amrked by exclamation point icons on the inventory categories where they are stored. The broken bow is in the bag of quest items. Click on the torso and waist categories to equip the two new pieces of armor to increase your Warrior and Armor stats. Fully explore the menu system and then exit the menu.
Find and Talk to Markos
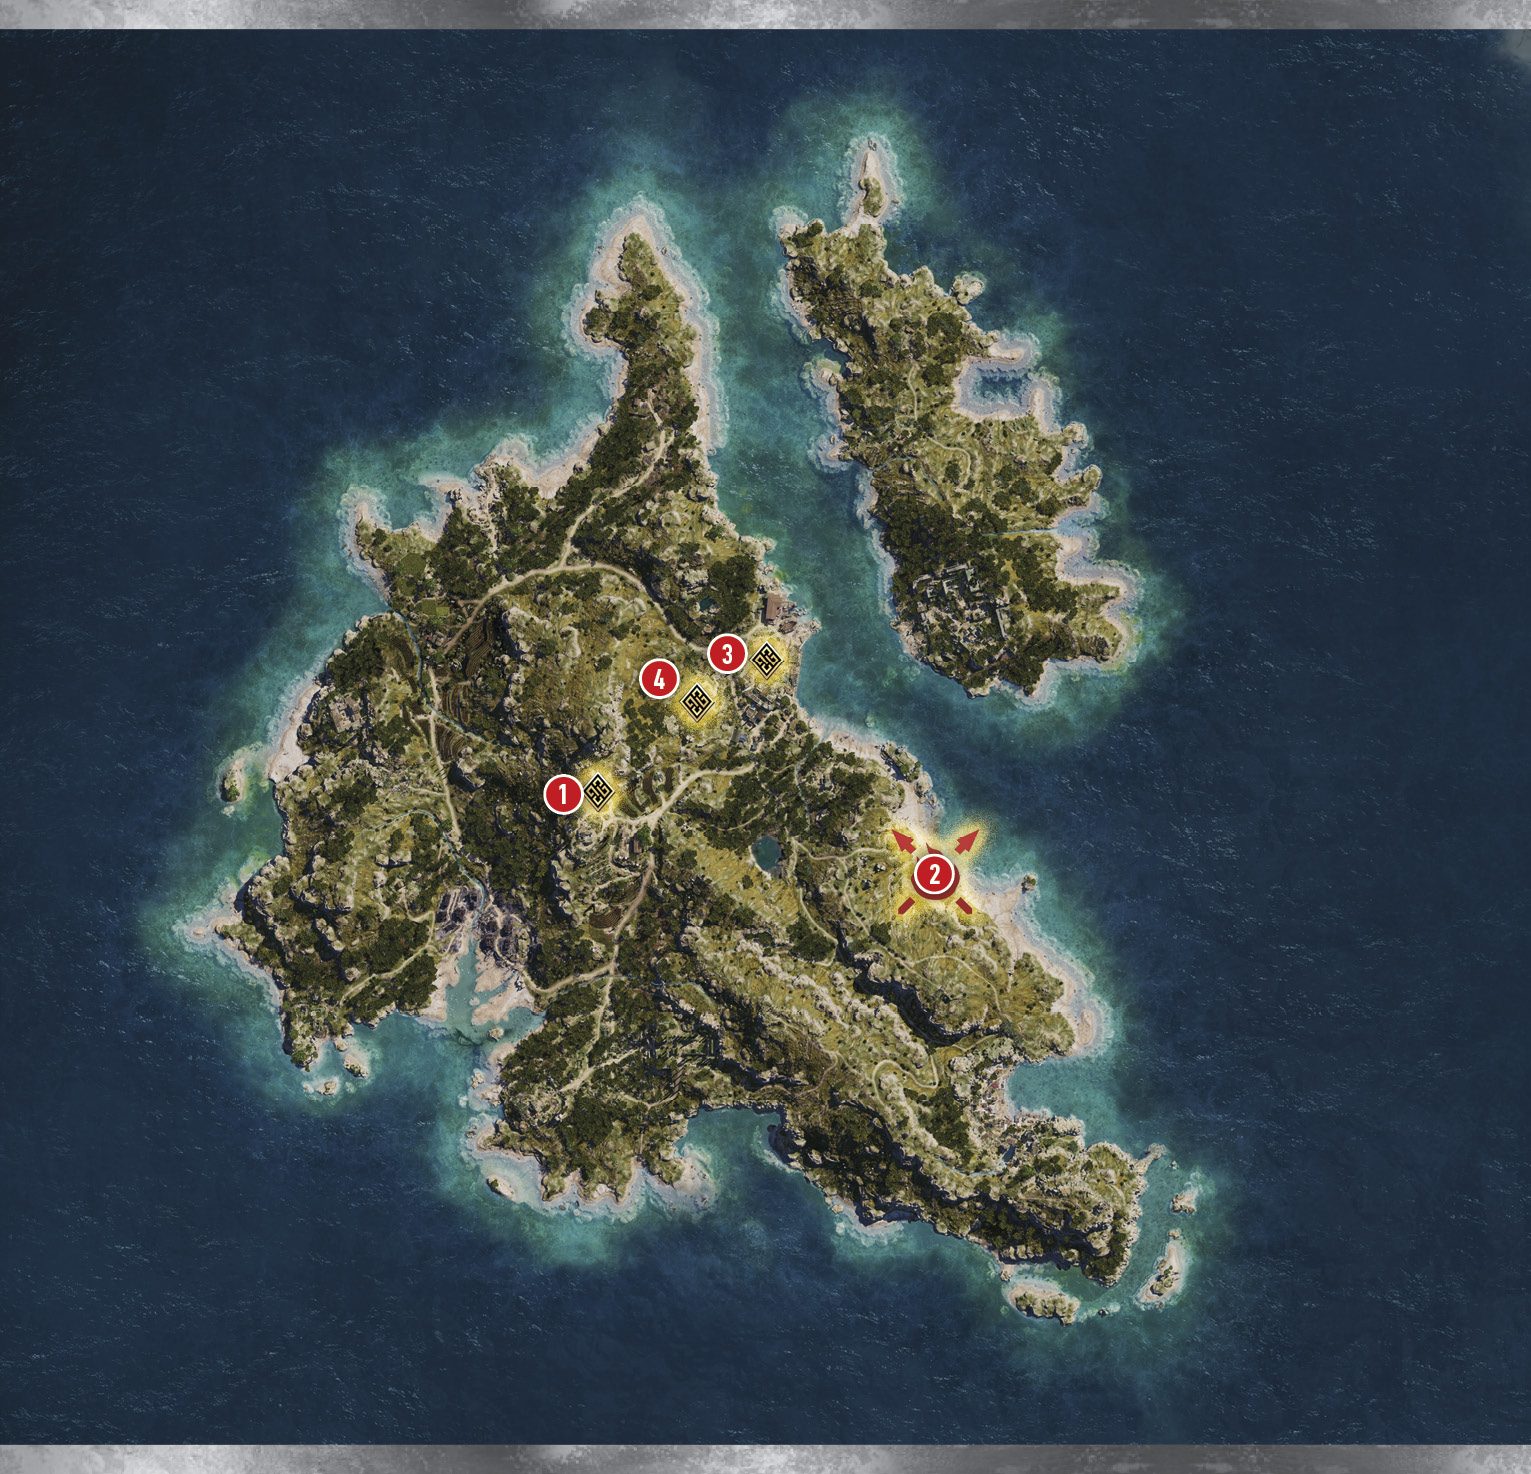
An objective marker appears in the world when a quest is selected. Right now it indicates that you are 371 meters from Markos. Travel to Markos (2) on foot. He’s in the southern area of Mount Ainos.
While near Markos’s location, send Ikaros up and follow the onscreen command to become stationary. This allows you to refine your aerial search for the current objective. The closer you get to the target the smaller the golden targeting reticle becomes. Close in on the target to ultimately mark it. Follow this marker to find Markos near his home talking to a farmer.
Conversation with Markos
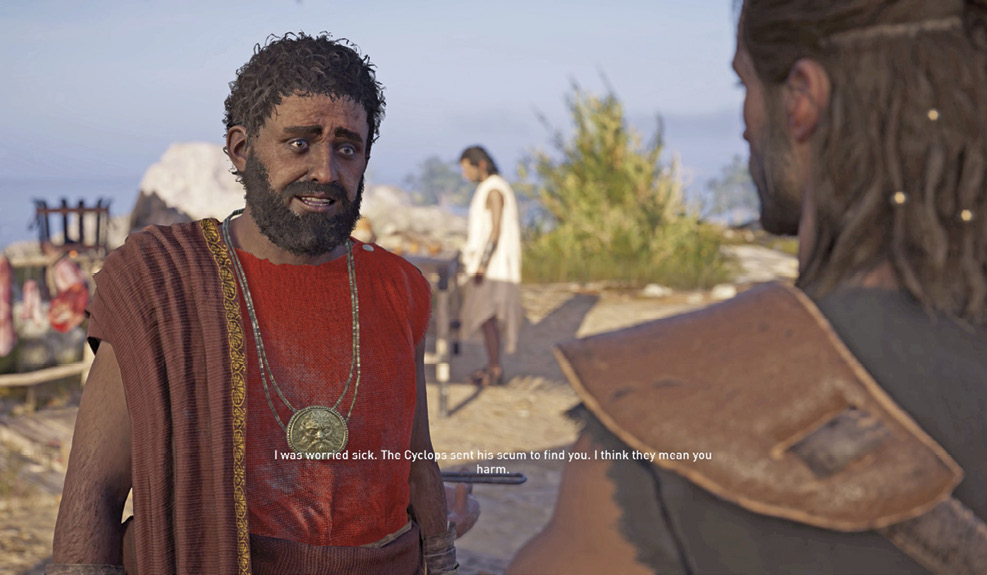
You can take a passive approach when talking with Markos or push the point through a more aggressive conversation choice. He may react differently based on your responses, but ultimately Markos cares about your well being.
Choosing a Horse
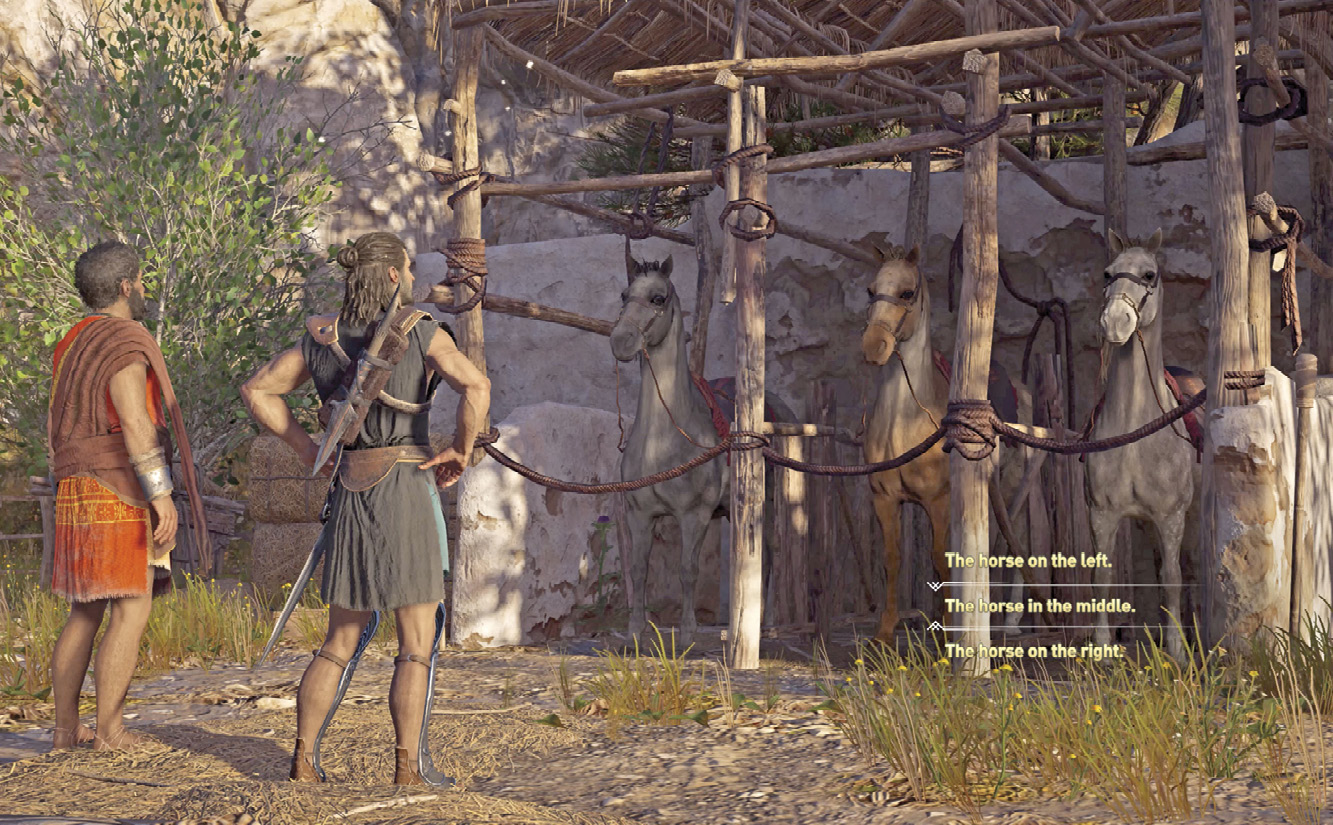
Markos presents you with three horses (3) to choose from to make one of them your own. Listen to the attributes of each and make a decision. The left one is a good mountain climber and the one on the far right is a good sturdy horse in battle. The one in the middle is a little of both. You can’t make a wrong choice here since the decision is more cosmetic, and no matter which horse you choose, it’ll be named Phobos.
As soon as you make a horse selection, a farmer approaches and hysterically announces Phoibe has been kidnapped by Cyclops’s thugs and taken to Ktimene Beach. This ends the first quest.
Debt Collector
- Recommended Level: 2
- Prerequisite: Complete So It Begins
- Unlocks:An Eye for an Eye
- Story: As fate would have it, Markos spent your drachmae again—on a wine vineyard of all things. You will have to do some debt collecting to get back what was owed.
Reach the Bandit Camp to Rescue Phoibe
From Markos’s stable (1), follow the objective marker to Phoibe (2). When you near the bandit camp at Ktimene Beach, jump off the horse and enter the tall grass heading toward the marker near a grass hut.
Kill the Bandit
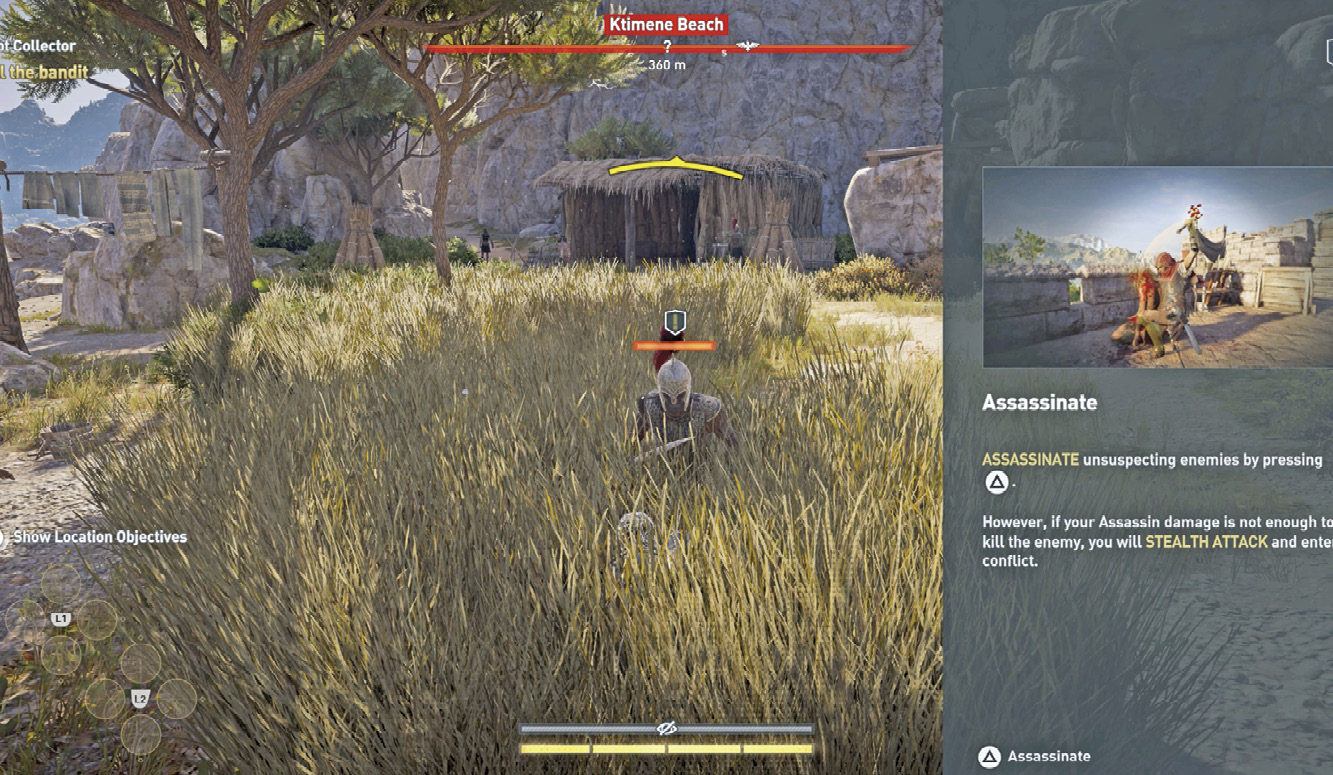
This is your first lesson in stealth assassinations. Follow the onscreen tips for detection and assassination with a stealth attack on the first enemy that approaches. If you missed the prompts, check out our Essentials chapter. When you enter thick vegetation while crouched, your body becomes wrapped in a white halo, and an eye with a slash through it appears in the middle of your health bar to let you know you’re successfully hidden. This indicates that you are in stealth. You can also become stealthy while underwater or just hiding behind objects.
Kill the Remaining Bandits
Head forward through the grass to the three remaining targets (they have yellow markers above their heads but rarely do going forward). You’re prompted to whistle for attention. A long whistle (press and hold) calls your horse—although horses do not enter restricted areas—while a short whistle attracts enemy attention. For best results, aim your whistle direction by facing the enemy that you’re trying to attract. When the enemy nears, he will spot you when up close and you can see this by recognizing the awareness meter above the enemy. Your time to attack is the moment the fully orange health meter appears below the enemy’s level marker. Strike with a stealth attack to silently kill the enemy while remaining under cover.
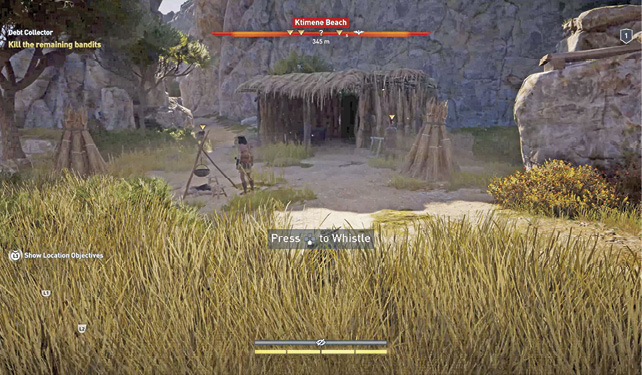
Remaining crouched to stay as silent as possible, creep up behind the final two bandits and take them out stealthily. Always loot the fallen. Even if you don’t need their items you can deconstruct them or sell them.
Free Phoibe
Loot the treasure chest inside the hut to complete the location objective. Make sure to always check location objectives and to knock them out while you are there on a quest. This is an efficient way to level up. Here, the location objective is to loot one treasure, but typically there are enemies to defeat in camps, forts, and outposts. Walk up to Phoibe and follow the prompt to free the prisoner. She explains that this happens to her often, and then a cinematic plays depicting a scene with your family from your childhood.
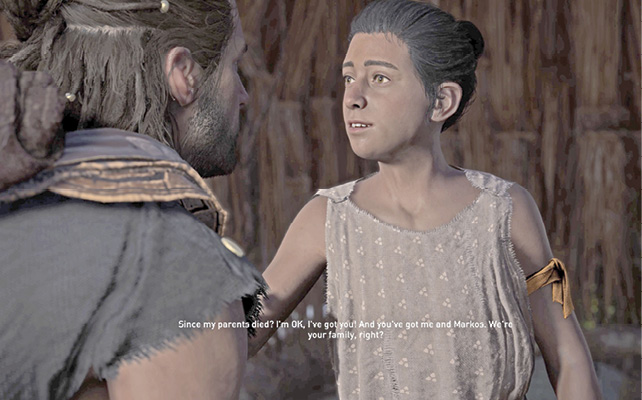
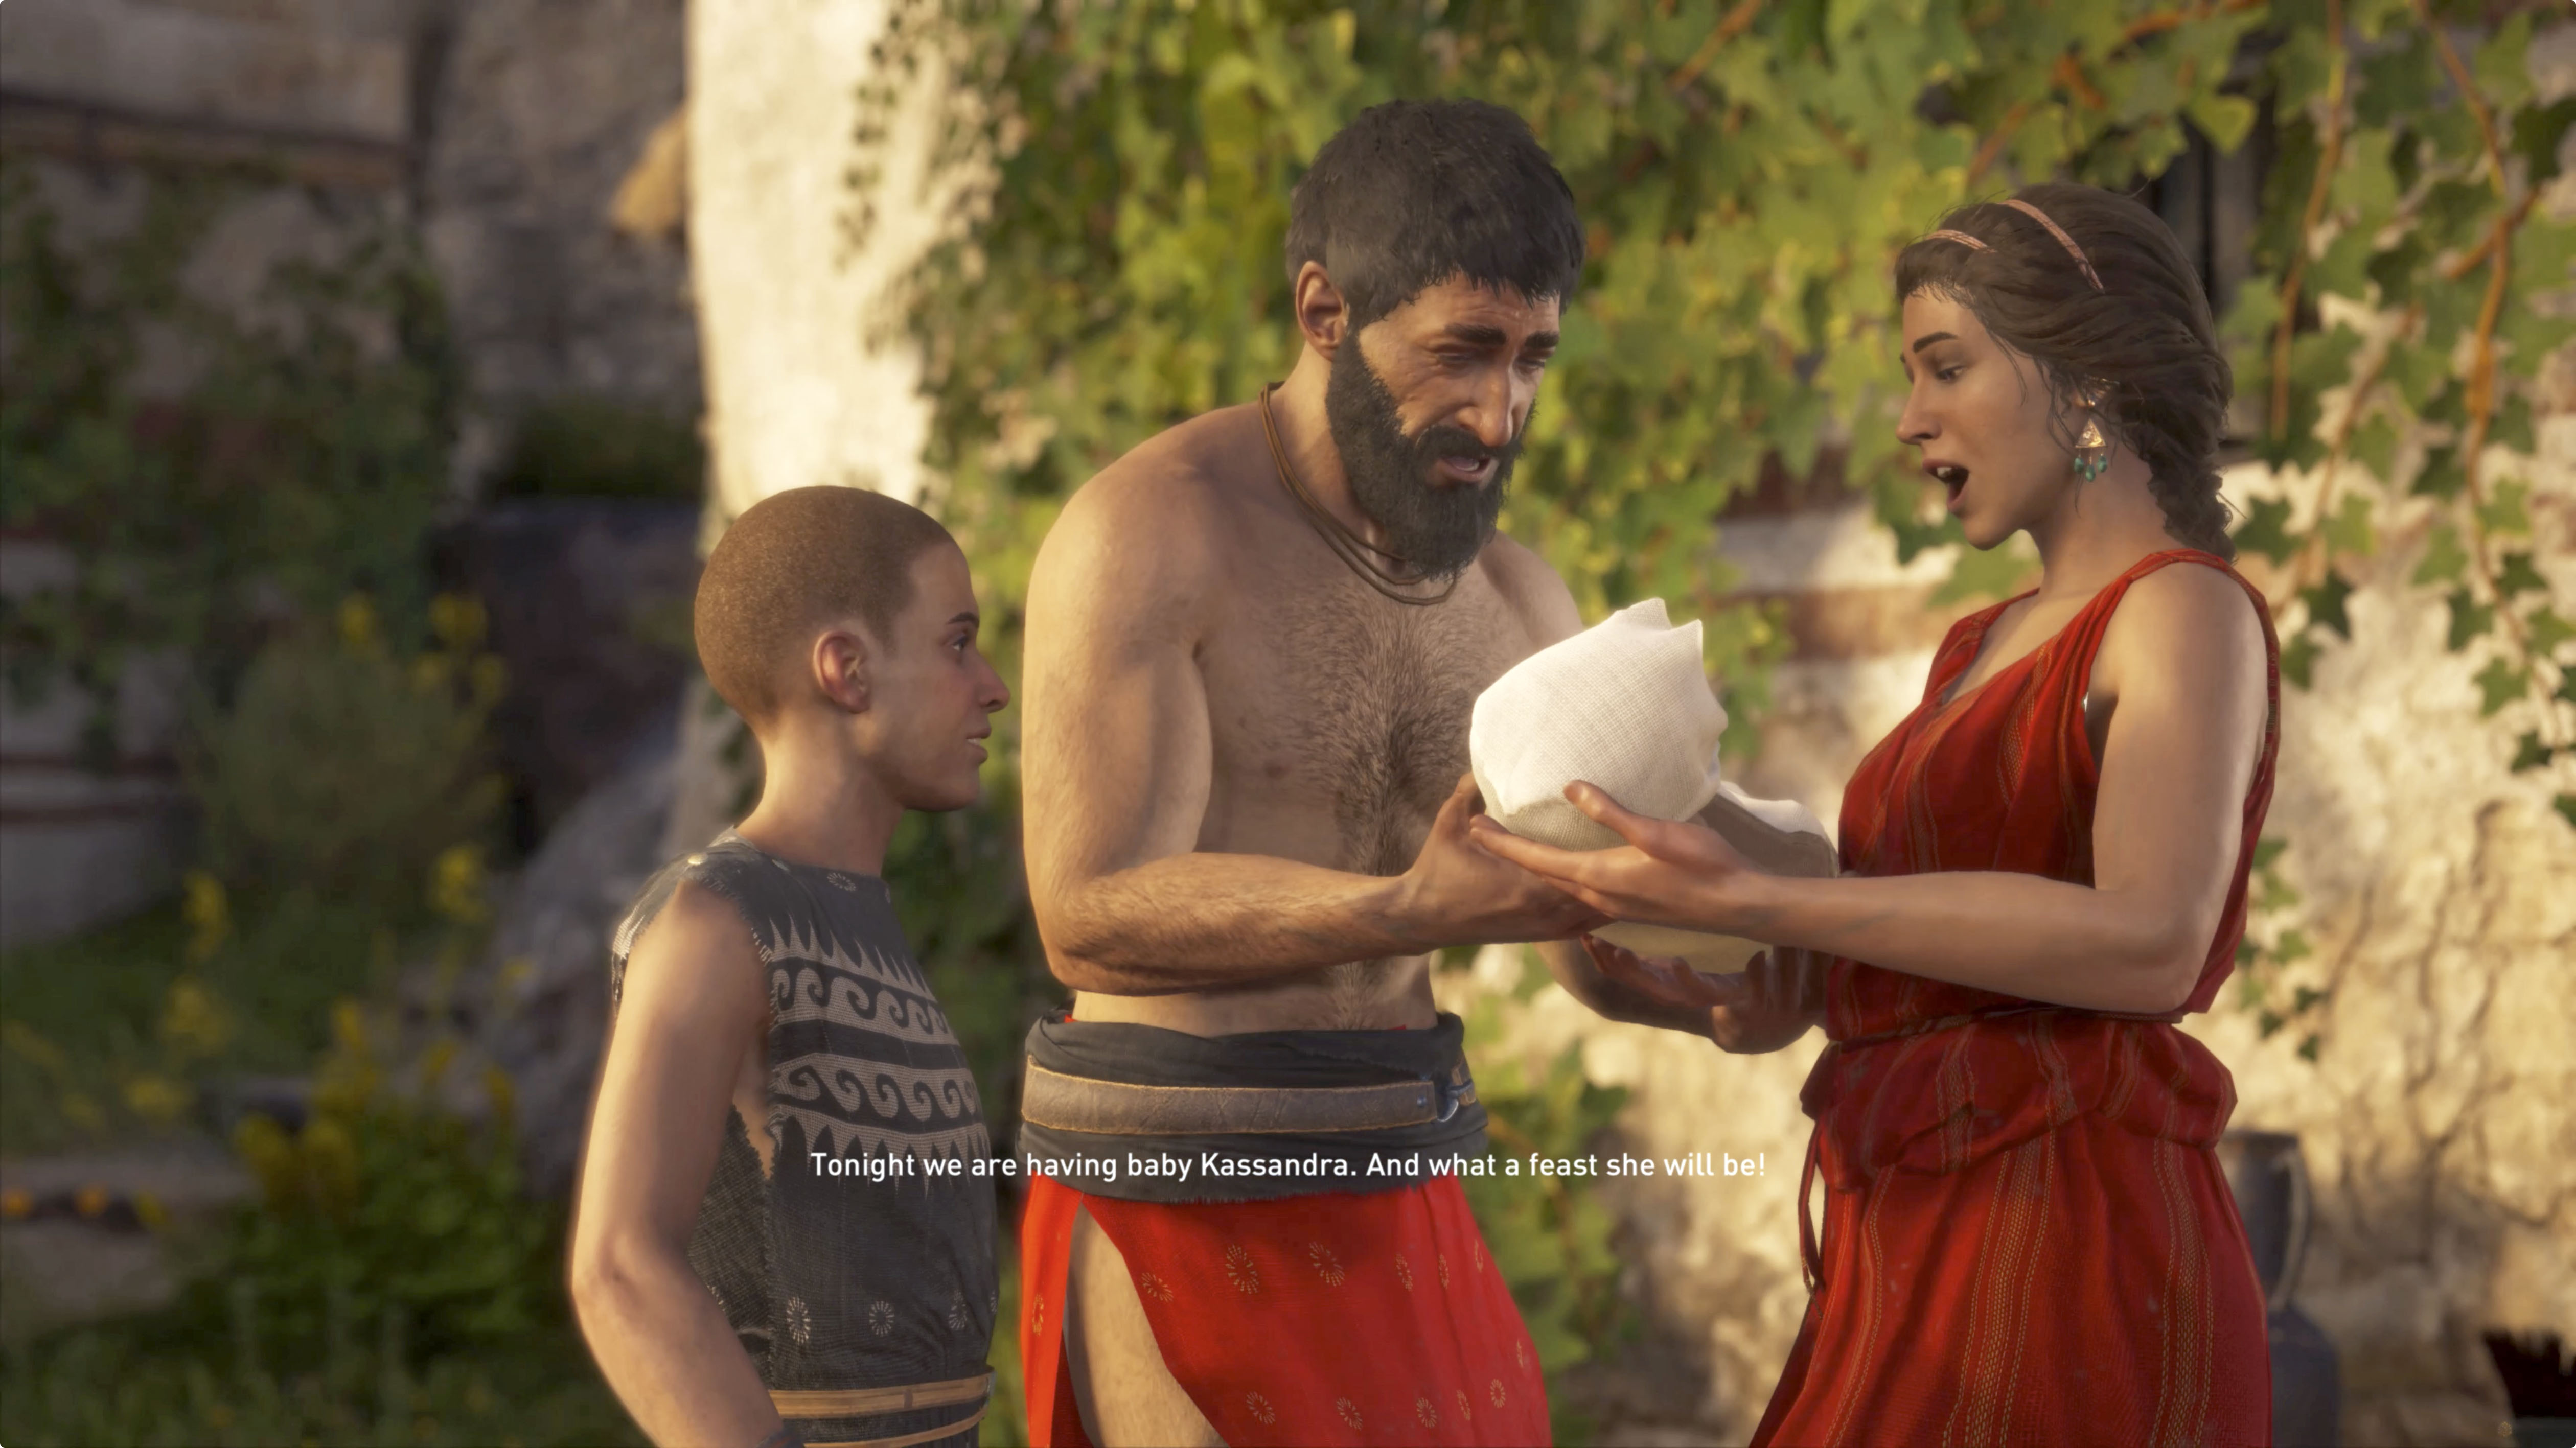
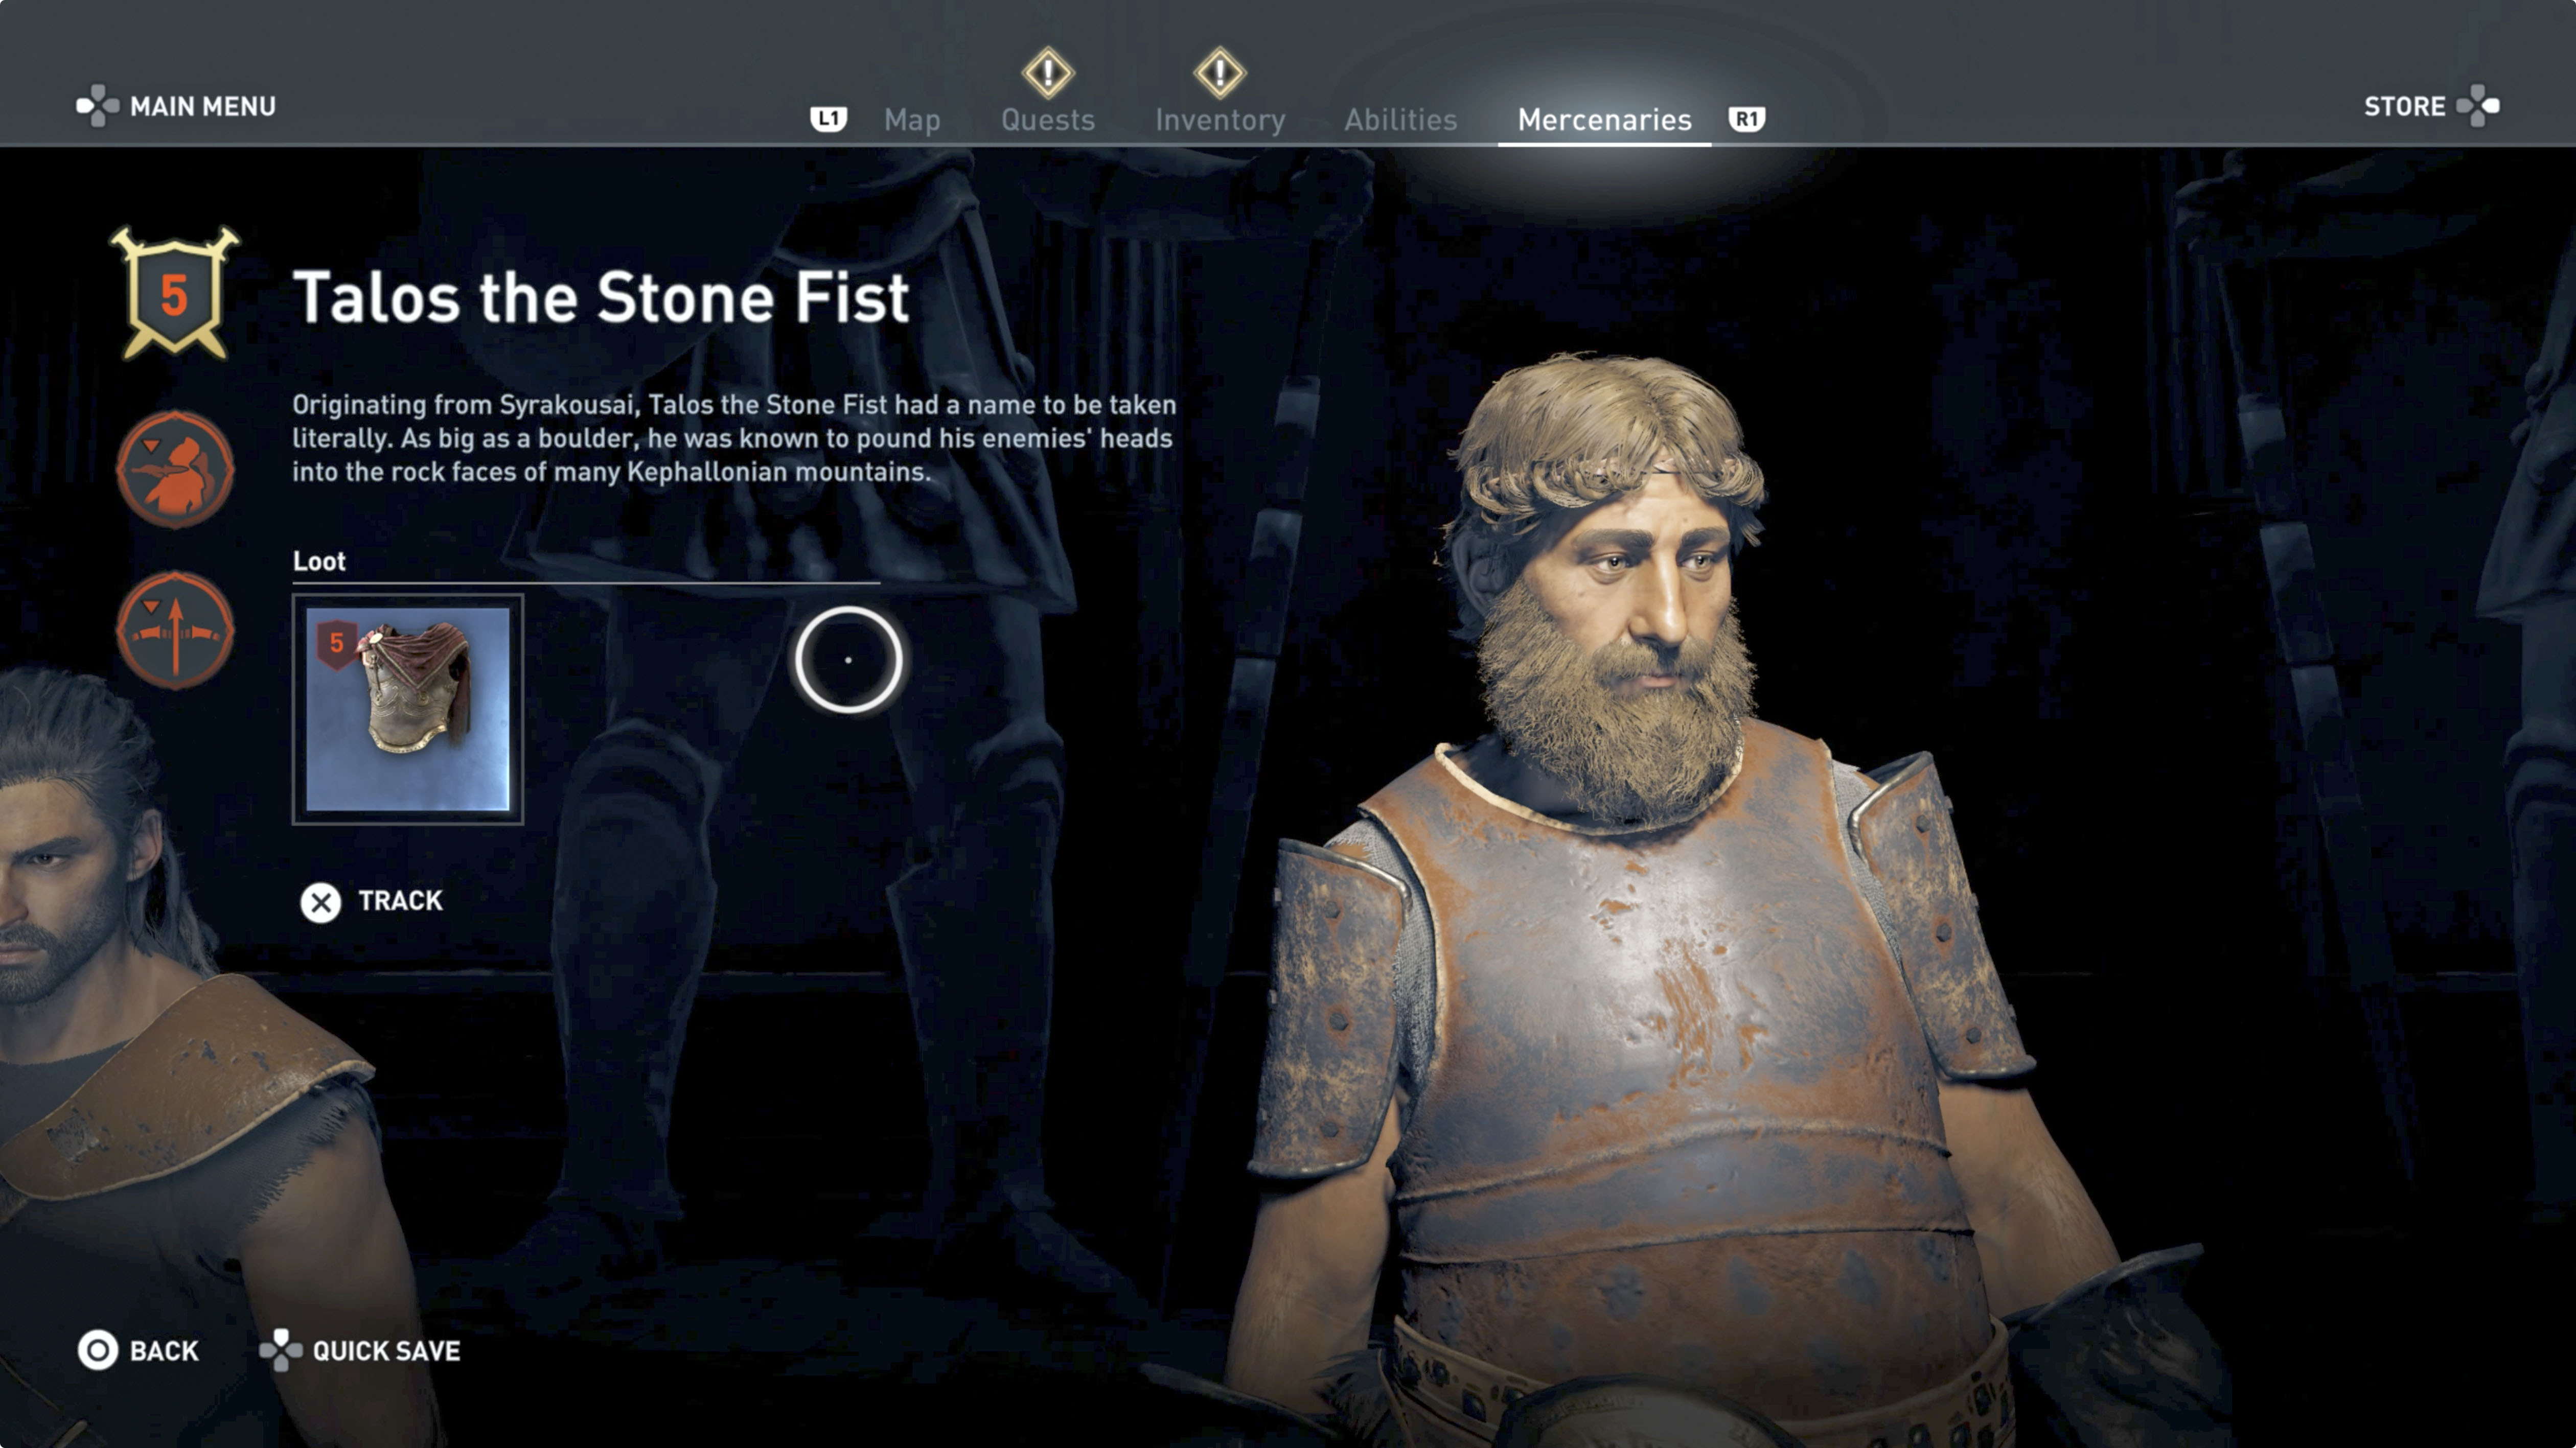
Afterward Phoibe says that the Cyclops put a big bounty on you, and this introduces the mercenary system. A prompt indicates that “You are hunted” and names Talos as the mercenary paid to find you. This opens the Mercenaries tab in the Pause menu. For more information on mercenaries, check out our Essentials chapter. This unlocks the main quest A Fight with Talos.
Collect the Money from the Merchant in Sami
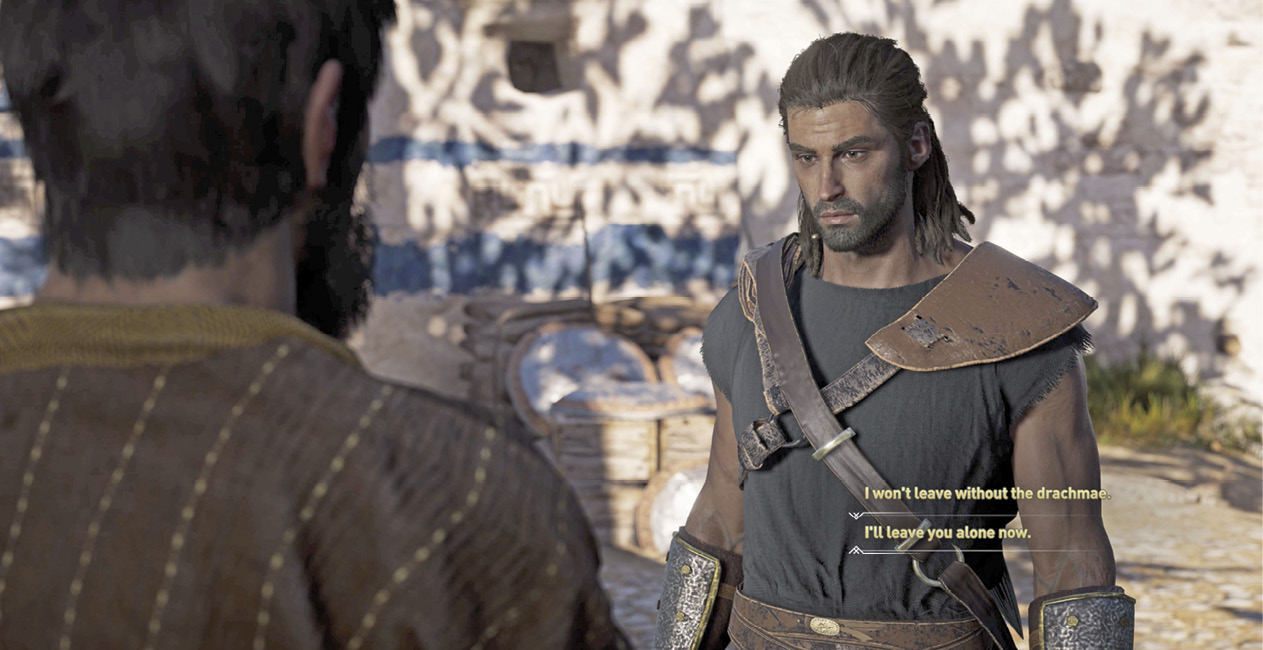
Exit the bandit camp, get out of the restriction zone, and call for Phobos. Ride to the next objective (3), which is Duris, a merchant in the street vendors’ area of Sami (almost directly across from the blacksmith you should also visit). The onscreen tips tell you that you can break Duris’s wares to encourage him to pay up, or you could kill him. Another option is to answer both conversation options unaggressively and he’ll give you his level 2 Duris’s Sword. A better ending.
Conversation with Duris to Get His Sword
Your can choose to be aggressive or you can side with Duris. The last conversation option with Duris determines if you walk away with the drachmae or a new sword. If you answer “I’ll leave you alone now”and agree the price is too high for the poor vendor, he will give you his sword.
Return to Markos
Temple of Zeus
Conversation with Markos
With the first conversation option, choose any one of the three replies and a cinematic begins of a childhood memory of how the two of you became acquainted. After the cinematic, Drucilla enters the conversation. In the end, Drucilla, the bowmaker, offers to fix your broken bow.
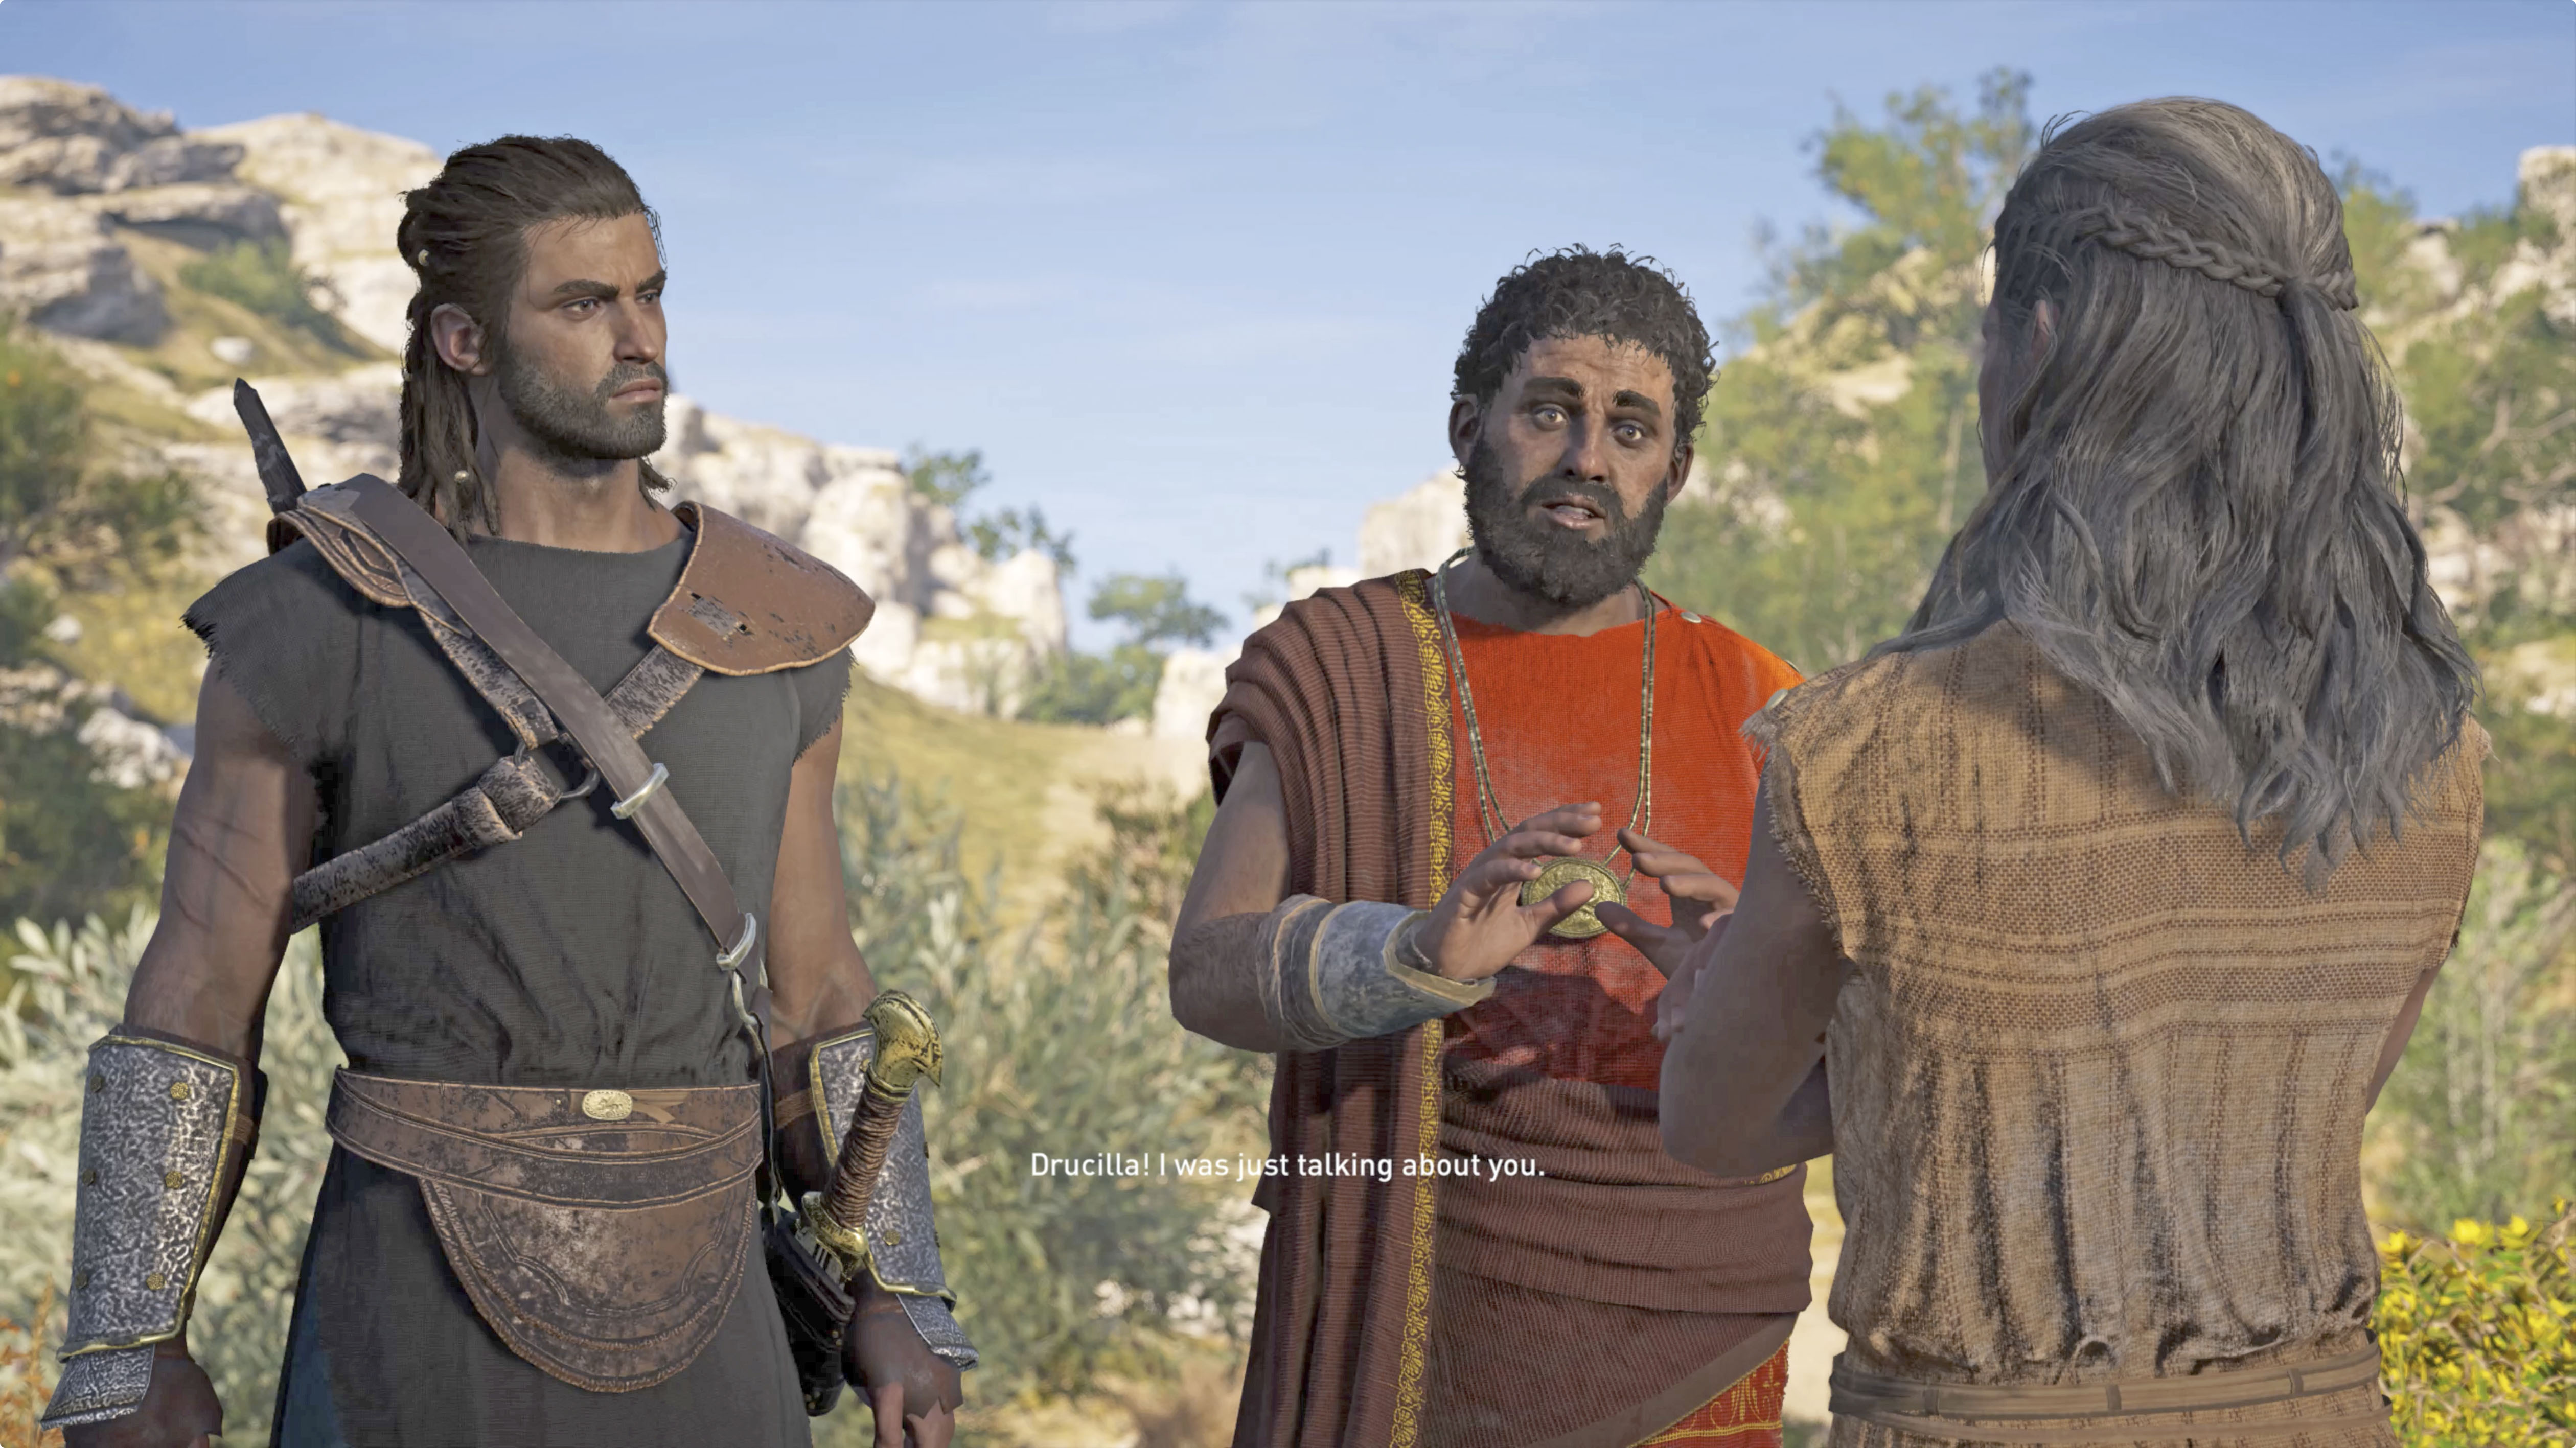
Follow Drucilla to Her Workshop
Follow Drucilla down the hill to her workshop just a short jog away. She fixes your bow and suggests you try it out on the two targets beside you.
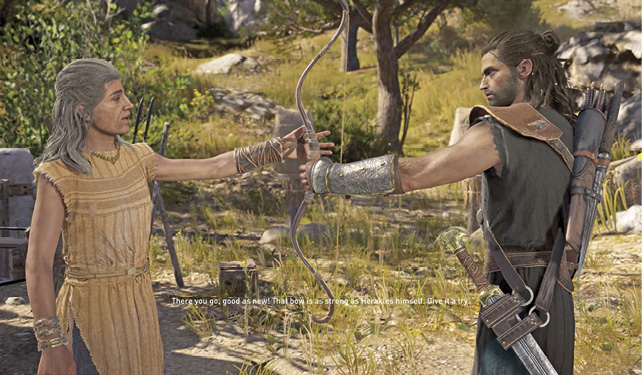
Destroy the Training Dummies
Hold the aim button, aim at the targets one at a time, and press the quick shot button for low damage or press and hold the same button to perform a charged shot, dealing more damage. Hit the targets multiple times until the objective markers disappear. This completes the quest and unlocks An Eye for an Eye, but if you talk to Drucilla again, you can pick up a side mission, too (Lumbering Along).