
Dead Rising 2 Guide Walkthrough Case 6-1: Help Arrives
Case 6-2: Last Stand
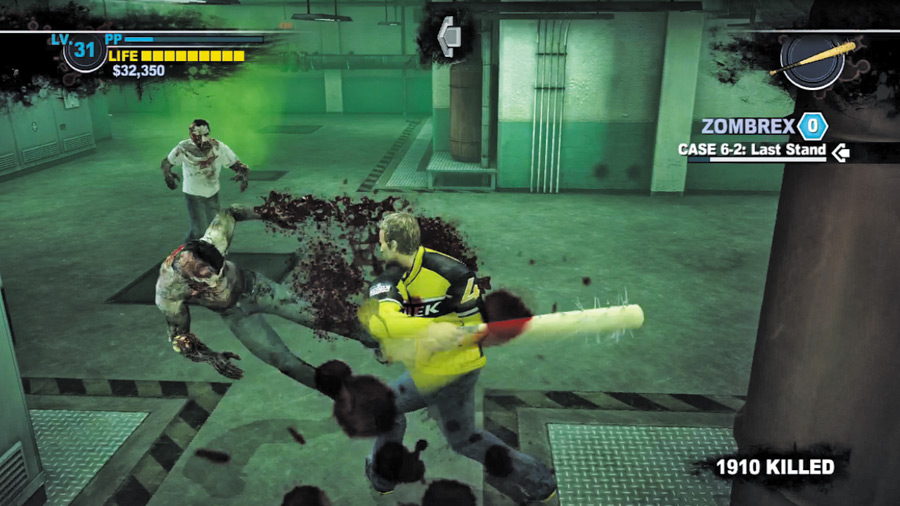
Chuck gets his first taste of super zombie shortly after leaving the Safe House: Two of the fiends come shambling toward him in the now-hazy maintenance passage.
Quickly clobber both zombies with your trusty spiked bat, building two more on your way to Royal Flush Plaza—the spiked bat’s fast attacks and wide spread knock-back are more valuable now than ever.
GO YOUR OWN WAY
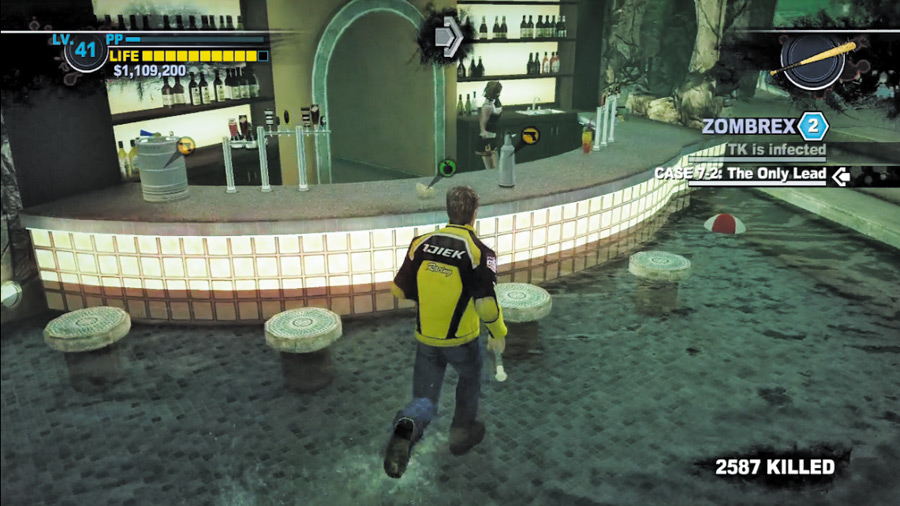
Rather than following the guide arrow to Royal Flush Plaza’s southeast service door, exploit the restroom shortcut to emerge at Palisades Mall instead.
Vault the fence and visit the grotto bar to mix up some Pain Killers. Grab the chain saw that’s stashed behind the counter as well.
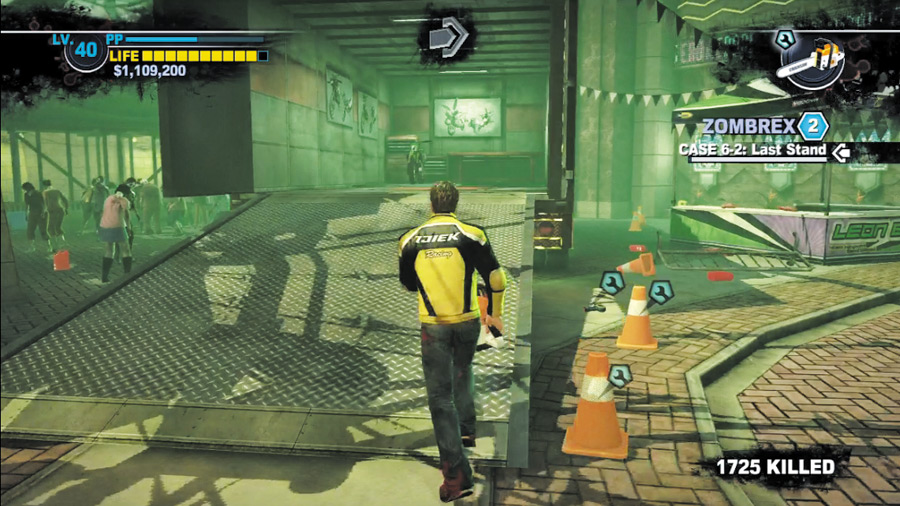
Streak to Yucatan Casino, hugging the casino’s left wall and exiting into Silver Strip via the Yucatan’s south doors.
When you hit the strip, carry the chain saw over to Chuck’s motor bike inside the Combo Bay. Install the weapon on to the bike to create a very deadly set of wheels.
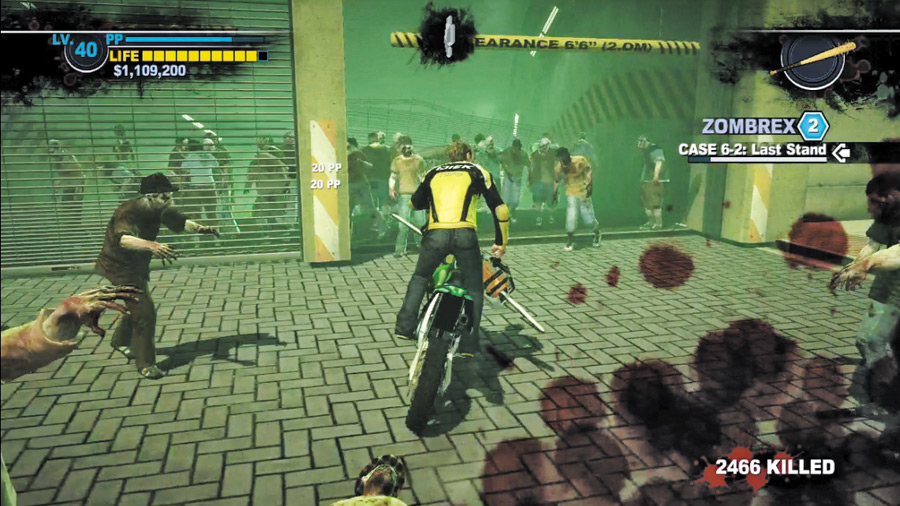
Feel free to motor up and down the strip, sawing through zombies for a constant trickle of PP. Avoid collisions with objects, however, as this harms Chuck.
When you’re done having fun, speed north toward the Silver Strip’s dead end and ride down into the Underground via the wide opening that the military created during their arrival.
TUNNEL OF TERROR
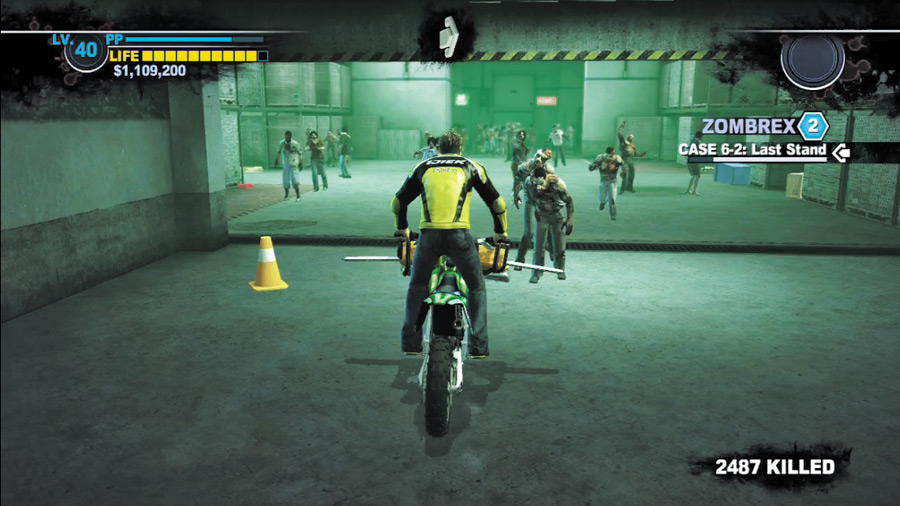
The Undergroundhas been hit hard by the gas—super zombies are everywhere down here. Fortunately, your souped-up motorbike means you’ve little to fear.
Zip over to the nearby restroom, clearing out the undead before hopping off the bike to save your progress. Run toward your objective on foot after saving; it isn’t far.
SERGEANT PSYCHO
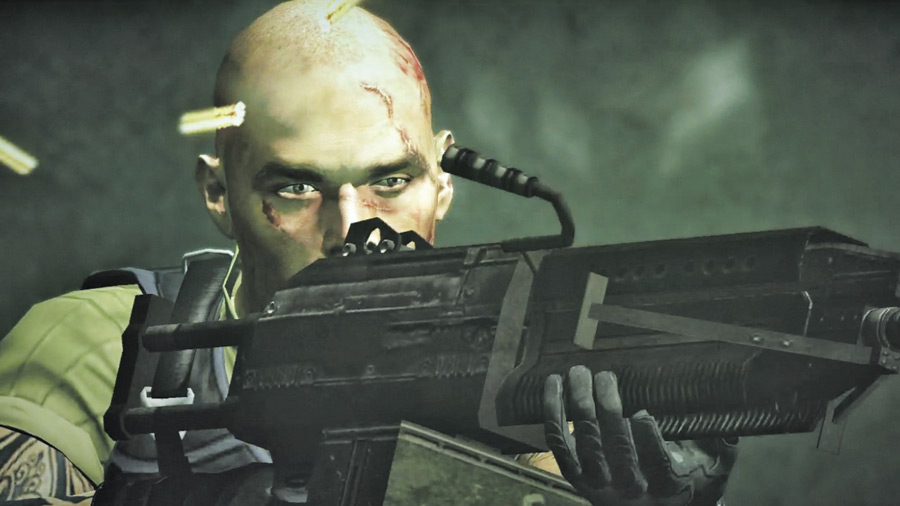
SPOILER! The undead ranks thin out as Chuck nears a crashed humvee. Gunshots ring out from the warehouse beyond; the sergeant is making his final stand here, and he’s got Rebecca in custody!
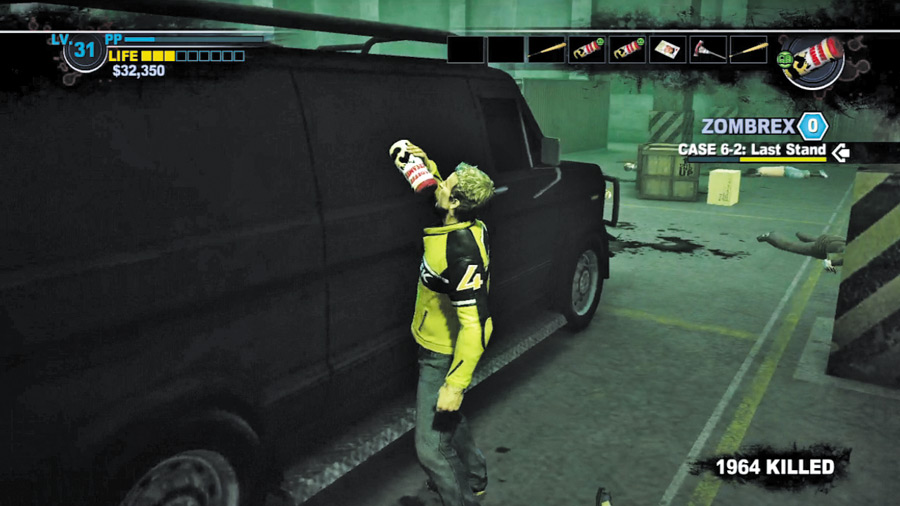
Sgt. Boykin has completely snapped and can no longer tell friend from foe. He opens fire on Chuck—take cover immediately and begin circling around the pillars and cargo crates, aiming to get within striking distance of the militant madman.
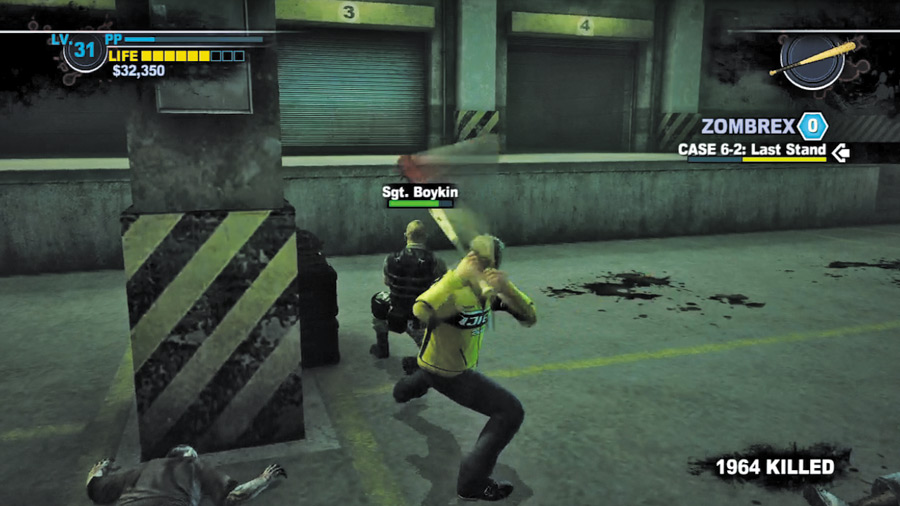
In many ways, this fight is similar to the battle against that psychotic mailman, Carl Schilff. Boykin primarily attacks by firing his powerful LMG, but he’ll also hurl a grenade at you from time to time—these are most deadly.
Listen carefully to what Boykin says and flee from your position whenever he shouts “grenade” or anything to that effect.
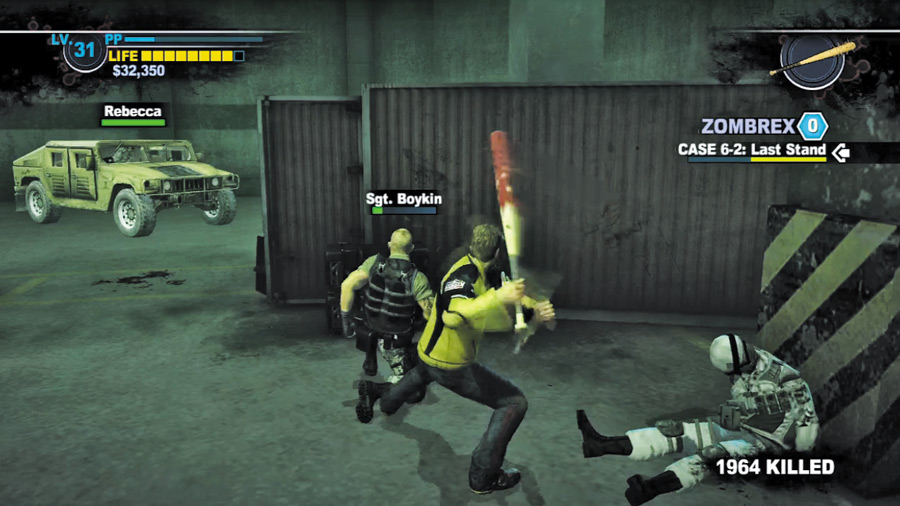
Approach Boykin tactfully by circling around pillars and the like. Punish the sergeant with a slew of spiked bat strikes each time you close in
Flee to cover after Boykin responds by knocking you down, shooting you, and heaving you away—then look to repeat the afore mentioned approach technique. Recovering health isn’t much of an issue here thanks to the plentiful amount of cover
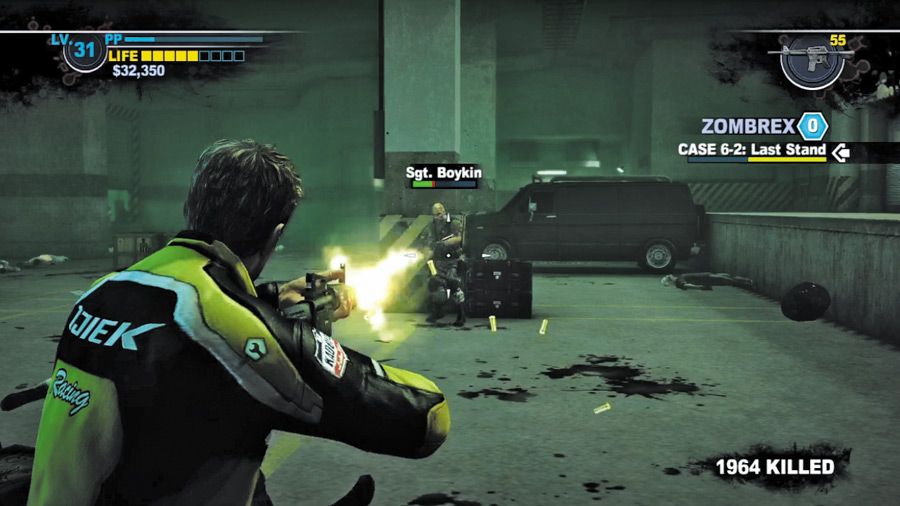
Continue playing hide and seek with Boykin, bashing his brains in with your bat each time the chance permits.
If you like, pick up one of the many military weapons scattered around the ground and cut the sergeant down from afar—grenades are great, and the LMG near Boykin’s humvee is particularly nasty.
If you came here with enough healing, you should have little trouble handing this fallen hero his discharge papers.