
Dead Rising 2 Guide Walkthrough Case 2-1: Sign of Life
Give Katey Zombrex: Day 2
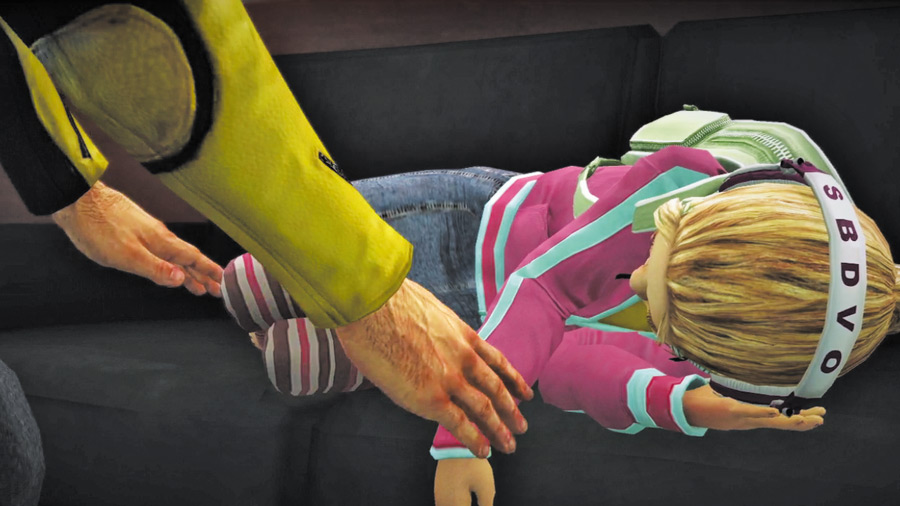
Enter the safe House after 7:00 am and give Katey her daily dose of Zombrex. Someone deserves a “world’s best dad” T-shirt....
KILLING TIME, PART 3
Katey’s safe for another 24 hours, and you’ve got a bit of free time before the next case begins at 10:00 am. You know what that means....
QUEEN CONTROL
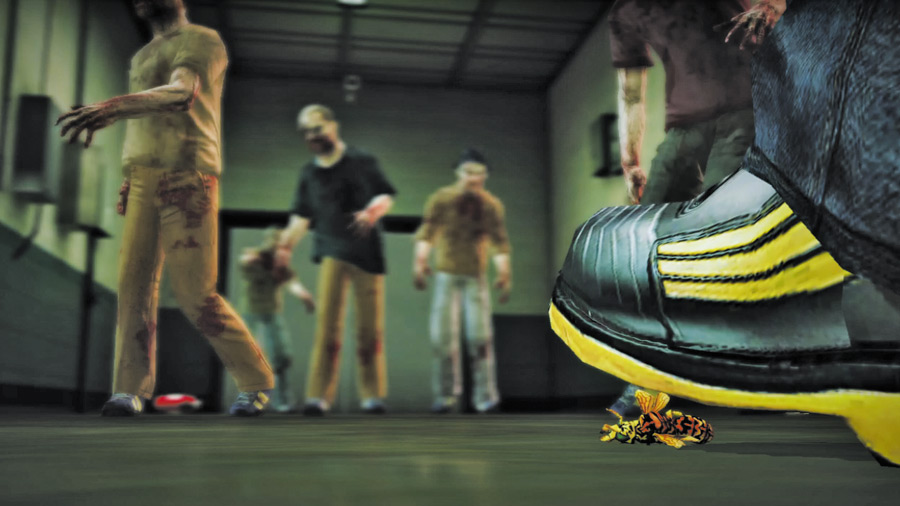
On his way out of the safe House, Chuck notices a mob of zombies, along with an annoying little bee. Chuck swats the pest from the air, then steps on it. Surprisingly, this causes all of the nearby zombies’ heads to explode!
SIDE MISSION: TASTES LIKE CHICKEN
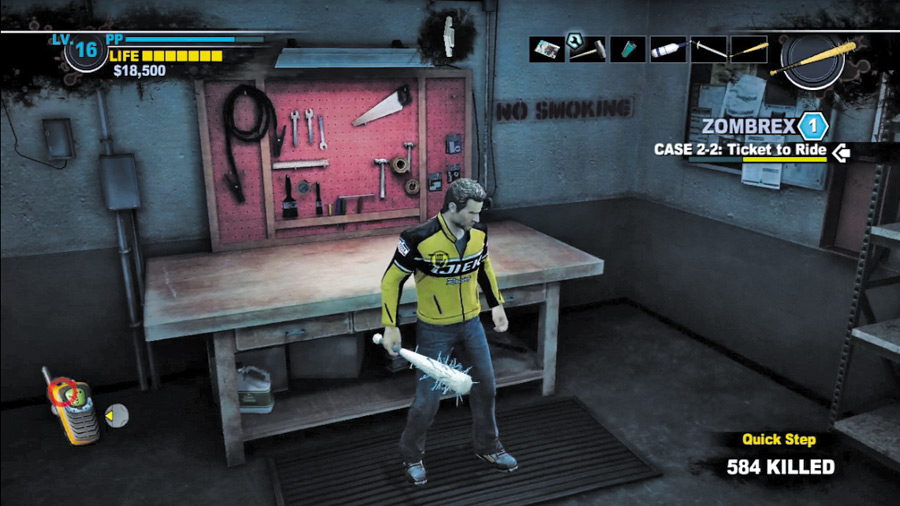
After the queen scene plays out, duck into the maintenance room and construct a couple of spiked bats. If you’re low on food, load up on coffee creamer at The Dark Bean before making your way to the Food Court’s Cucina Donnacci.
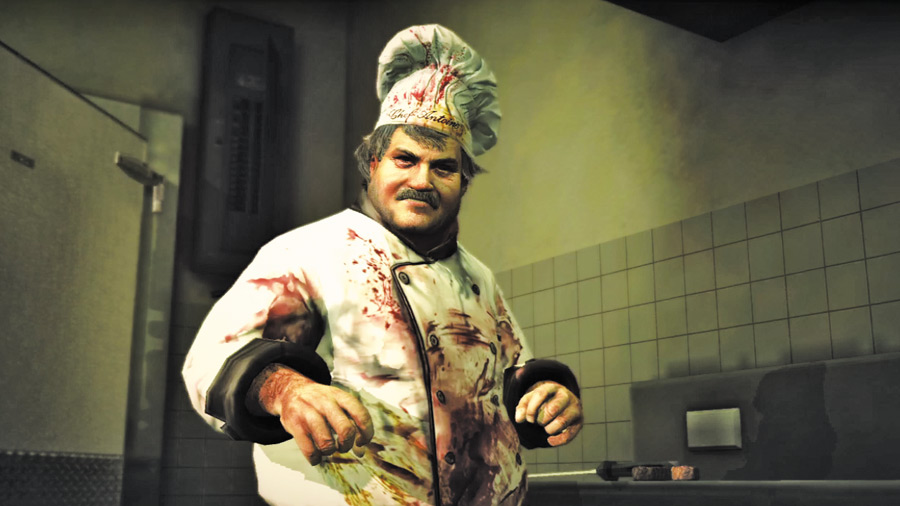
At the restaurant, Chuck meets a psychotic chef named Antoine, who is apparently making meals out of stray survivors.
He has imprisoned a woman in the restaurant’s back room and reacts violently when Chuck isn’t interested in sampling his cuisine. Time to serve this freak his just deserts.
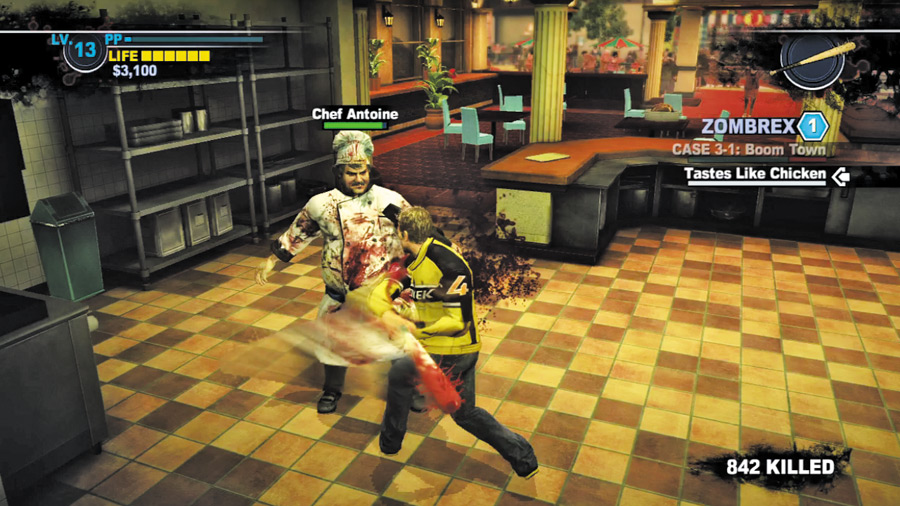
Antoine is a challenging psycho who can hurl objects at you from afar and whack you with a frying pan up close.
He’ll also defend against ranged attacks, so you’ve got to close in to deliver significant damage. Rush Antoine and batter him with your spiked bat until he knocks you for a loop and flees.
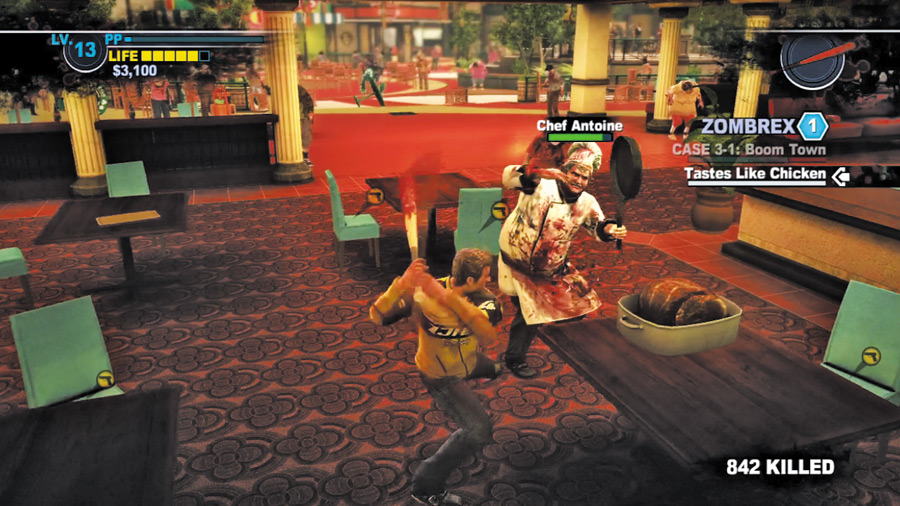
After running away, Antoine often moves to one of several food stations around the restaurant and begins gobbling up his sickening cuisine.
Antoine recovers health while stuffing his face in this fashion, so it’s important not to let him feast. Hurry up and hit him to interrupt his meal, dealing as much damage as possible before Antoine retaliates with a swipe of his pan.
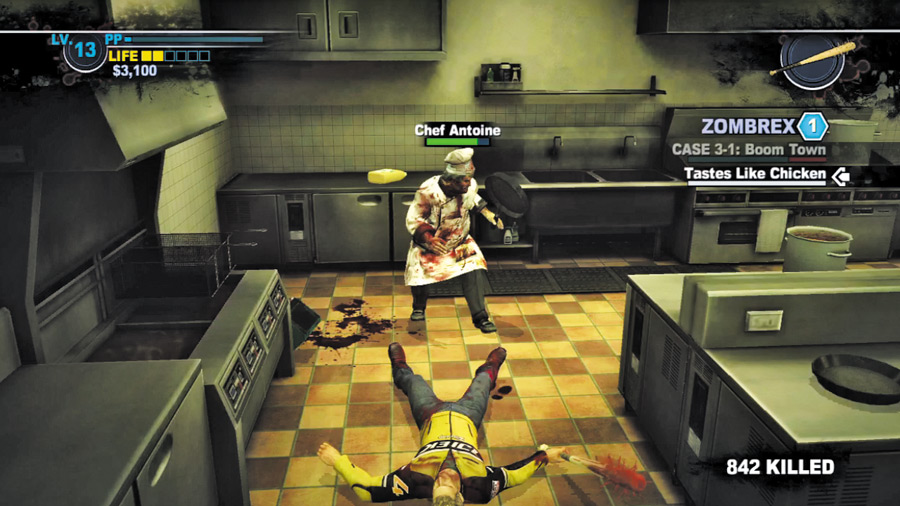
Antoine’s powerful attacks and ability to recover health can make this a grueling affair. It’s best to tackle Antoine with a co-op buddy— this allows one of you to assault him while the other takes a break to heal up.
You can always flee the restaurant to seek out recuperative foods in the Food Court, but Antoine will heal himself while you’re off doing the same. If you can’t seem to beat Antoine and don’t have a co-op ally to assist you, flee the scene and save this dangerous psycho for later.
ANTOINE’S CAPTIVE
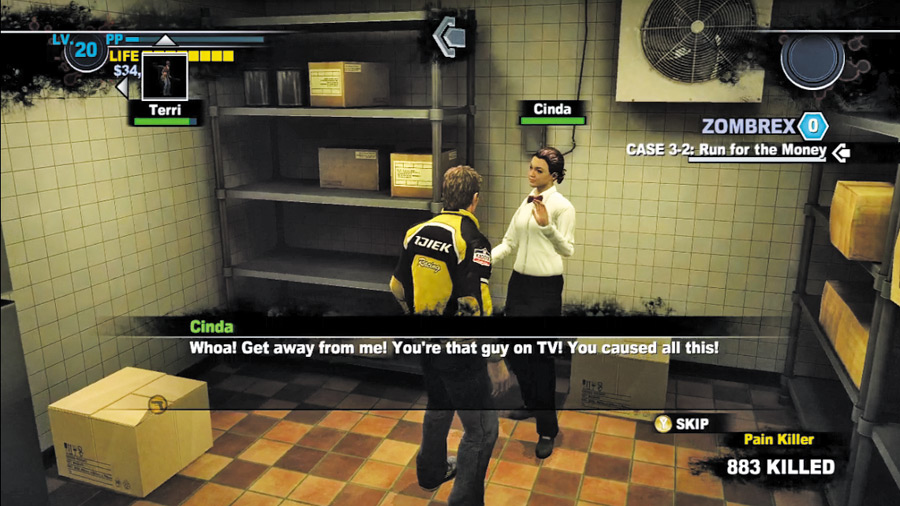
After dispatching the horrible chef, enter the back room to speak with his prisoner, a terrified woman named Cinda.
The traumatized girl won’t budge unless her trusted friend, Jasper, comes to find her. It looks like you’ll need to locate this Jasper fellow.
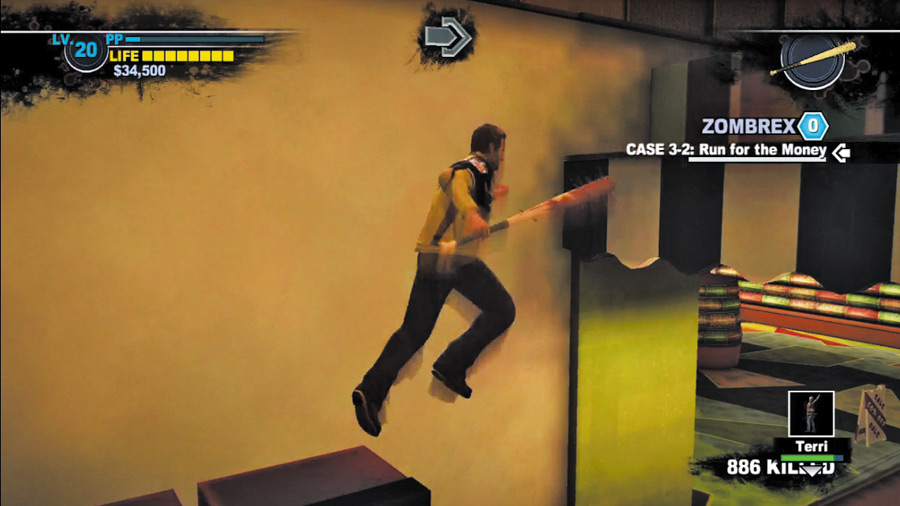
Exit the restaurant and cross the Food Court, heading for the snack machines near Lombari’s. Climb them to reach a secret area along the upper awnings.
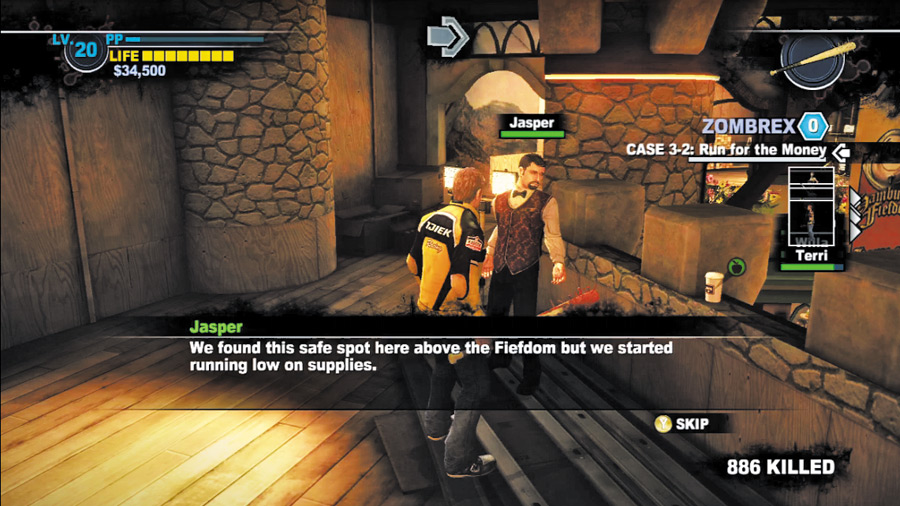
Jasper is cowering up here; speak with him to gain his company. Take a moment to explore this area as well.
You’ll find two bows arrows up here, along with some dynamite, and a Bargaining 2 magazine, which lowers the cost of pawnshop items by 10 percent
Grab a bow and arrow and a stick of dynamite if you feel like testing out the blambow, whose combo card you discovered in the Food Court earlier (it’s on the wall near the Wild West Grill House).
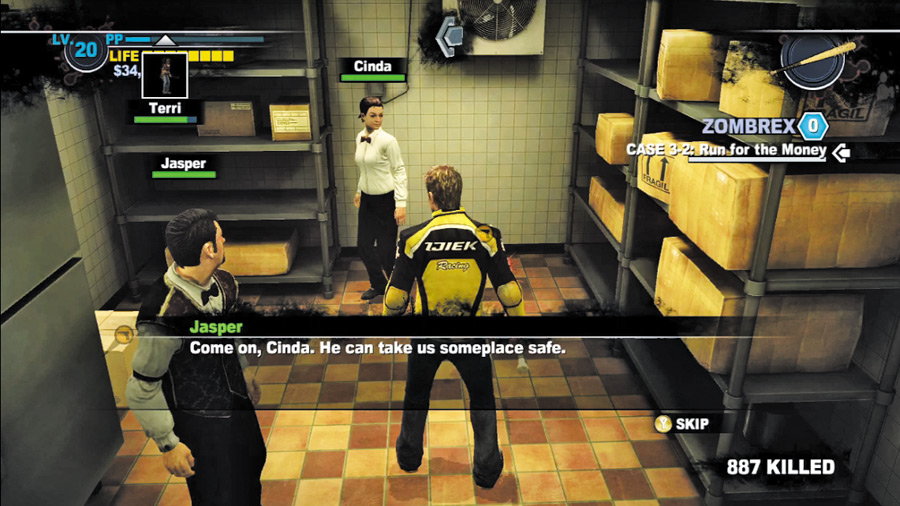
Bring Jasper to Cinda to gain her confidence and convince her to join you. Case 3 is likely about to begin by this point; hurry back to the Safe House with your survivors, but don’t bring them inside if you’d like to complete an Achievement later.
Order them to wait near the spiked bat maintenance room instead, then enter the Safe House and speak with Stacey to kick off Case 3.