
Dead Rising 2 Guide Multiplayer Terror is Reality
TIR Events
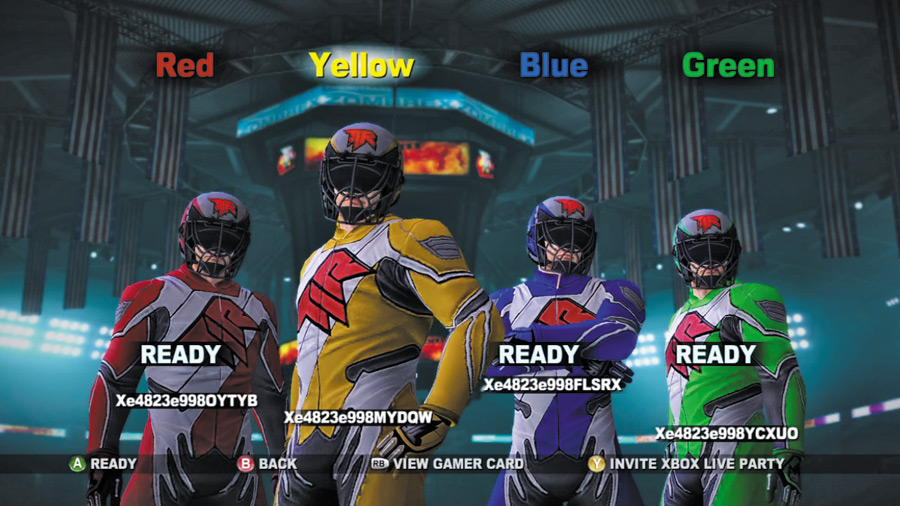
In “Terror Is Reality,” four players are pitted against each other in a series of frantic, white-knuckle events.
You never know what challenges the show’s host, Tyrone “T.K.” King, is going to feel like putting on for the crowd, so the first four games are always selected for you at random.
However, every “Terror Is Reality” episode concludes with a thrilling round of Slicecycles, wherein anyone can jump from zero to hero—provided they’re willing to risk it all!
BALL BUSTER
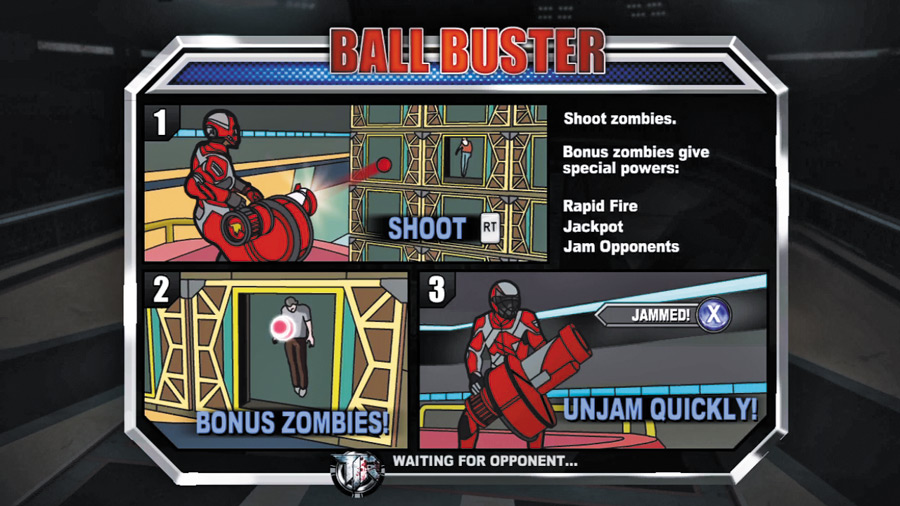
Lock and load — it’s time to bust some balls! In Ball Buster, all four players take aim at a wall of doors.
Zombies are thrust out of these doors at random, serving as immobile targets. Players must strive to shoot as many zombies as possible, earning points for each kill.
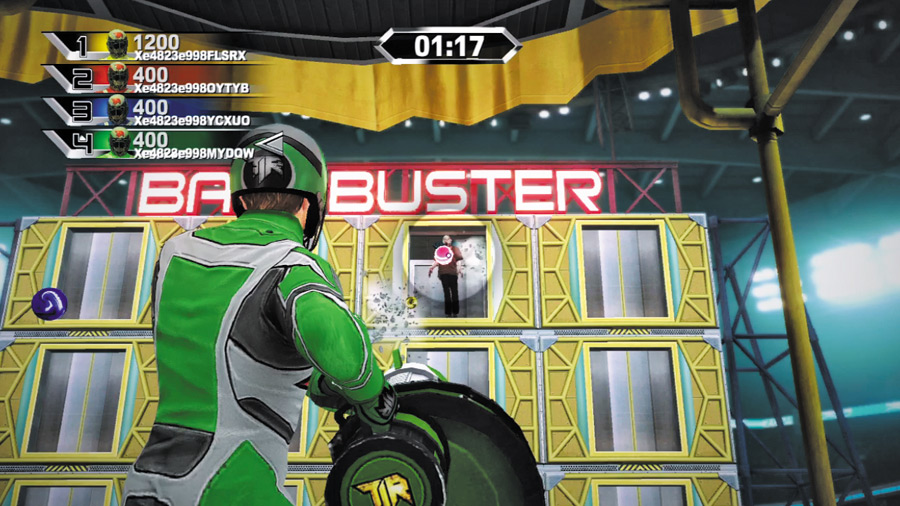
These zombies are worth special rewards to the first player who shoots them! When shot, a bonus zombie either gives the shooter extra points or rapid fire, or it does nothing for the shooter but instead causes all other player’s guns to jam.
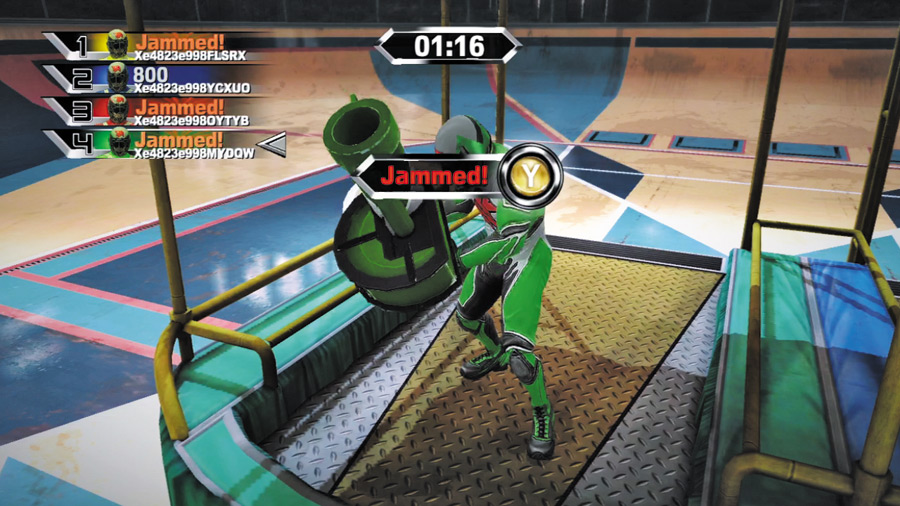
Don’t freak out if your gun ever jams up; just quickly press the series of buttons shown onscreen to get it working again.
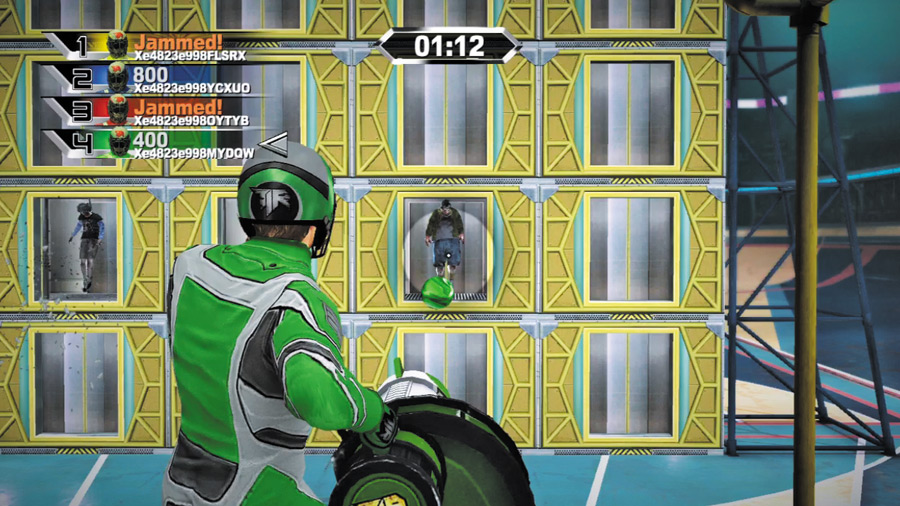
It helps to focus on your half of the wall in Ball Buster. Don’t aim at zombies across the way; it takes time to aim accurately and your rivals will often be able to fire before you.
Simply focus on zombies that are more or less directly ahead of you. This is a particularly efective tactic as the game draws toward its conclusion and lots of zombies are thrust out from the doors.
BOUNTY HUNTER
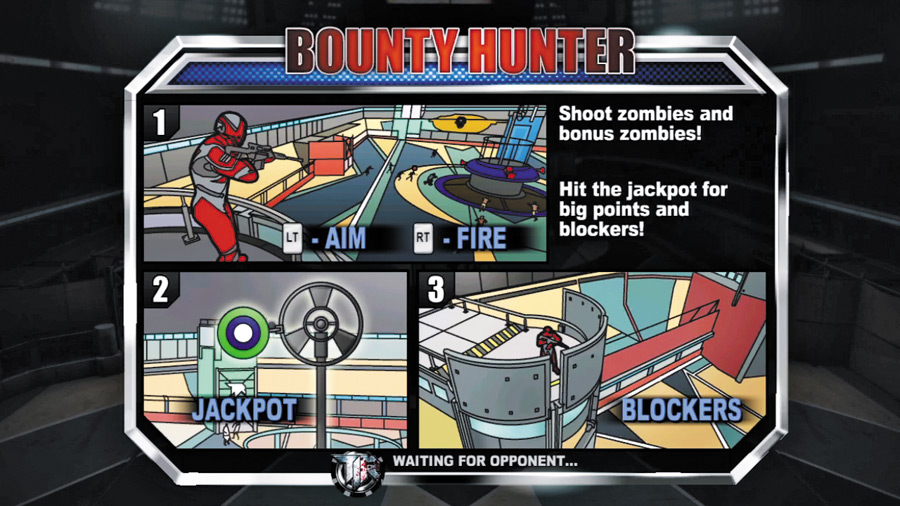
There’s a bounty on those flthy zombies’ heads, so take aim and get ready to blow ’em clean off! In Bounty Hunter, all four players fire down at a swarm of zombies that emerge from four separate doors.
The zombies run blindly toward a central meat grinder — hurry and shoot them before they get there for points!
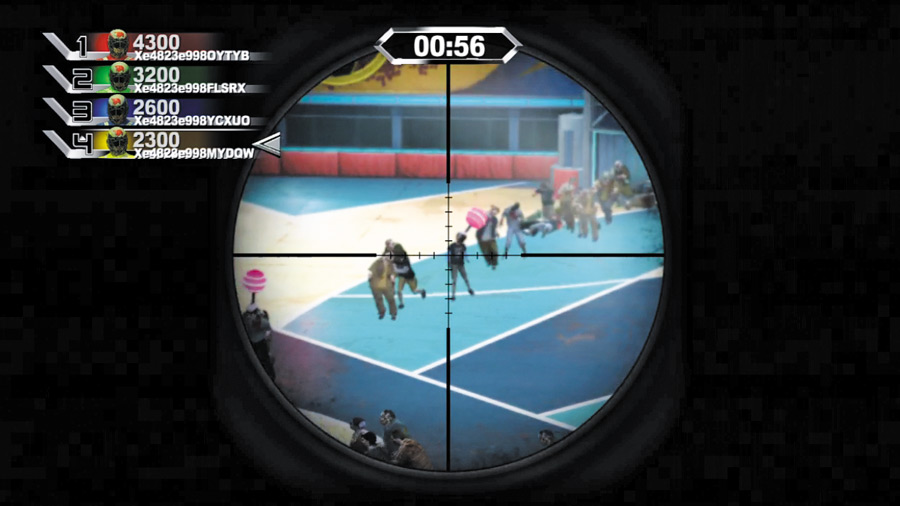
Make each shot count in Bounty hunter — firing recklessly causes you to miss more often than not.
Make sure to blast those bonus zombies, which have pink balls attached to their heads — they’re worth extra points! You don’t need to hit the pink balls themselves; just shooting the bonus zombie earns you the points.
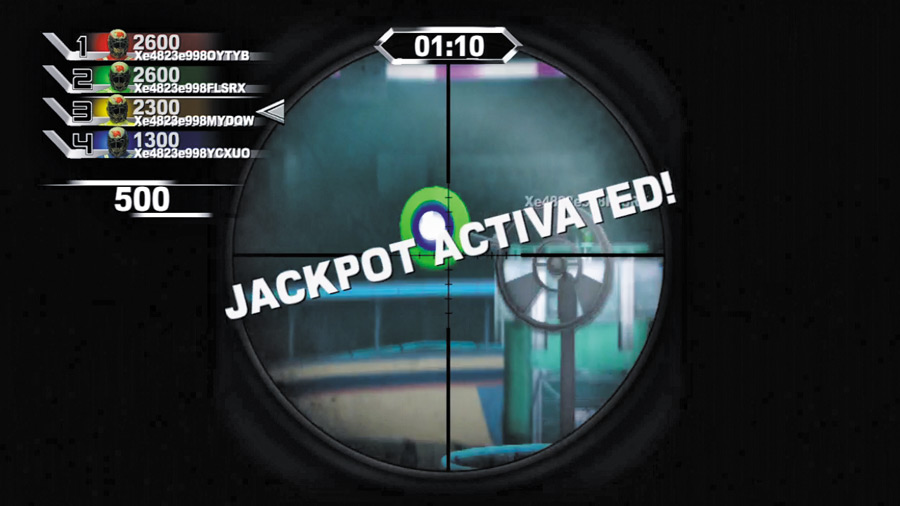
Heads up: a special “jackpot” target activates several times over the course of Bounty Hunter, and shooting this target is the key to victory.
The moment you’re told that the jackpot is active, aim at the top of the central grinder and shoot that rotating target to score big! You can hit the target from any angle, as long as your aim is true.
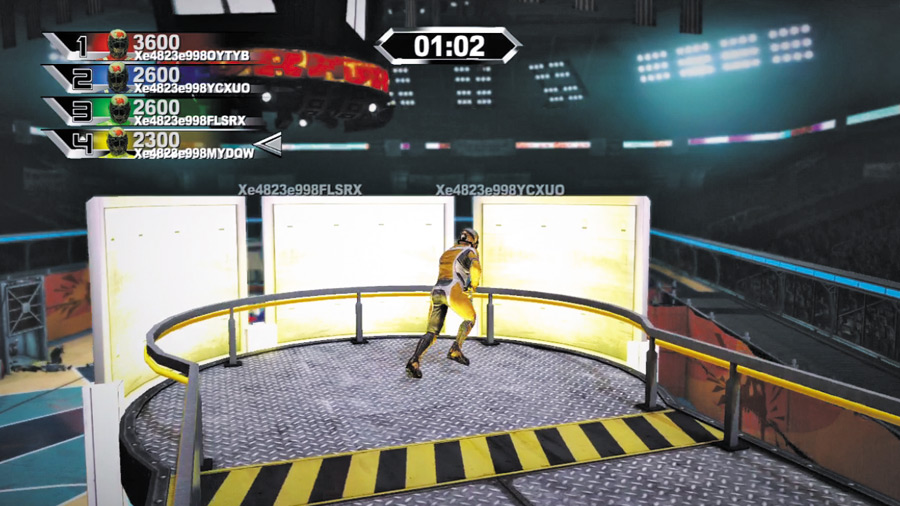
After one player hits the jackpot target, all other players’ vision is impaired by a barricade that rises all around them.
The barricades drop after a few seconds, but don’t just stand around waiting when you’re blocked — move so that you can continue to shoot zombies through the tiny gaps in those steel walls!
HEADACHE
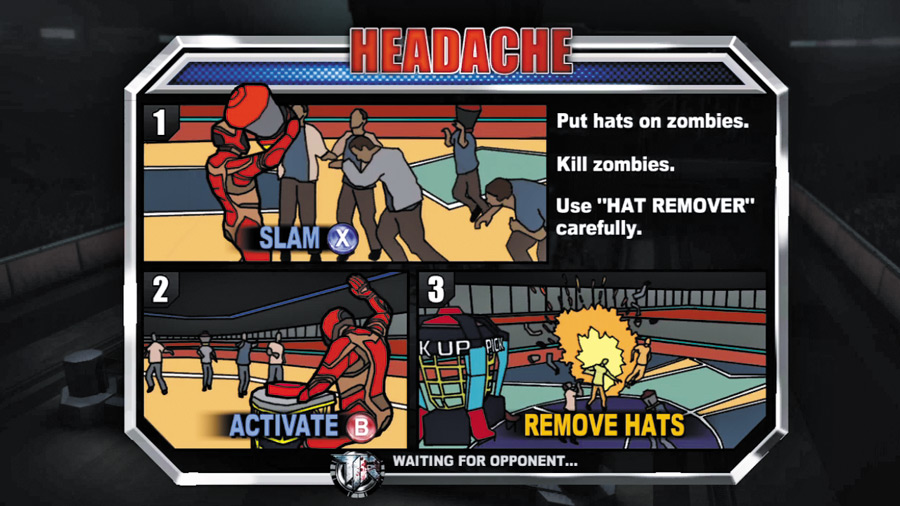
What’s better than a fistful of aspirin? Headache, the event that has zombies losing their minds! In this unique challenge, all players must rush to slap special hats atop the heads of the surrounding undead.
After placing a number of hats, players must rush to hit a “Trigger” button, causing their hats to activate and grind up those undead heads for points!
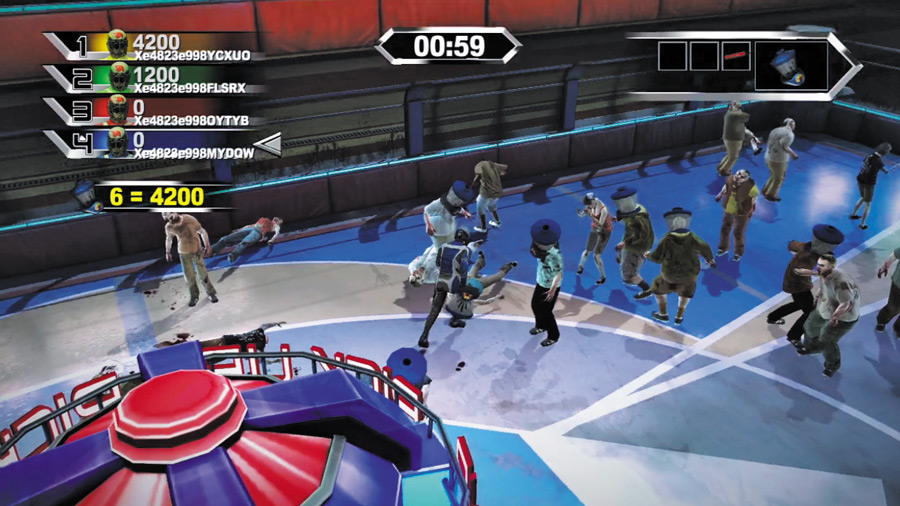
The hats are located at the central “pick-up” station, and the Trigger buttons (there are two of them) are found at either end of the arena. Grab your hats at the start of the event, then run around and start placing them onto zombies.
Each hat you place is worth points. Slap on those hats in quick succession to gain a vital score multiplier!
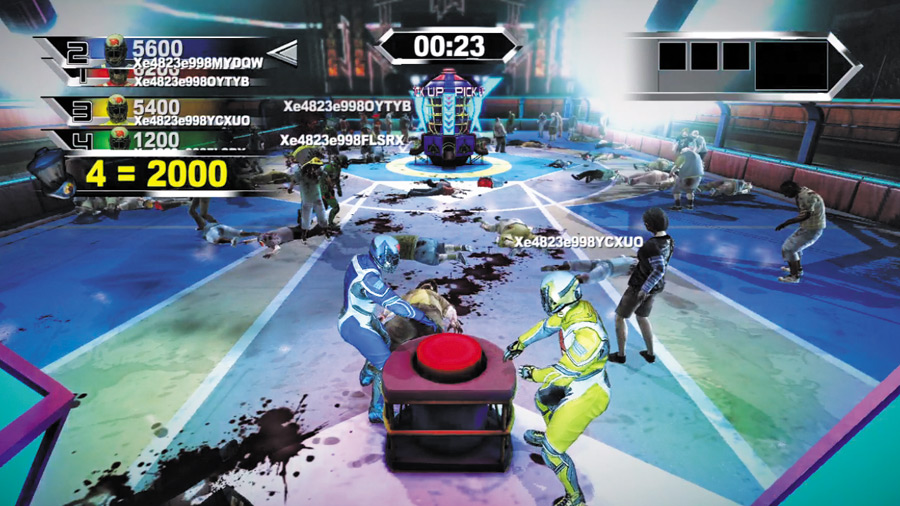
After placing all of your hats, run to the nearest Trigger button and hit it to slaughter your zombies, scoring big points.
Or forego pressing the button in favor of grabbing more hats and placing even more of them onto zombies. The more hats you’re able to set of at once, the bigger the score multiplier when you hit that button!
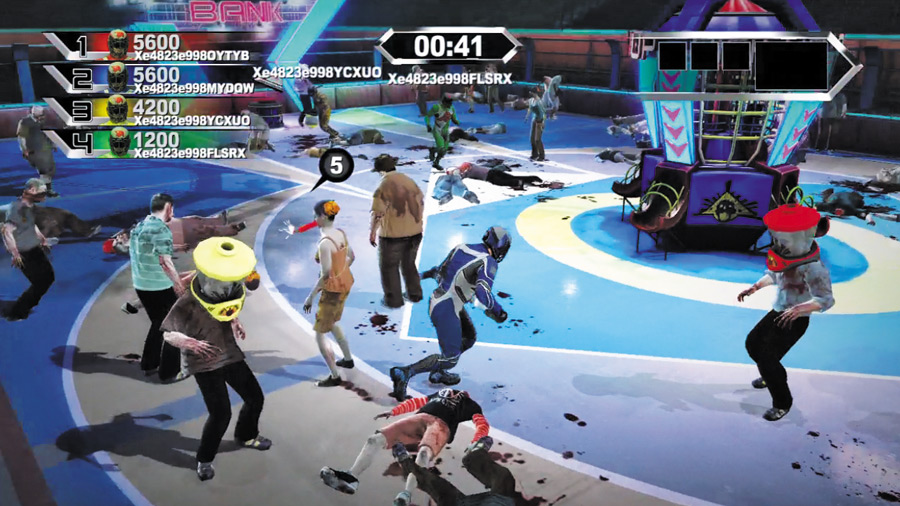
Don’t go too crazy with those hats, however. All players begin with a stick of dynamite, which they may use at any time to wipe out a cluster of zombies.
If you see a lot of hat-wearing zombies that aren’t “yours,” toss your dynamite into the throng, or run up and shove it into the mouth of a hatless zombie for an even more precise detonation.
Obliterating your rivals’ hat-wearing zombies with dynamite prevents them from scoring big points!
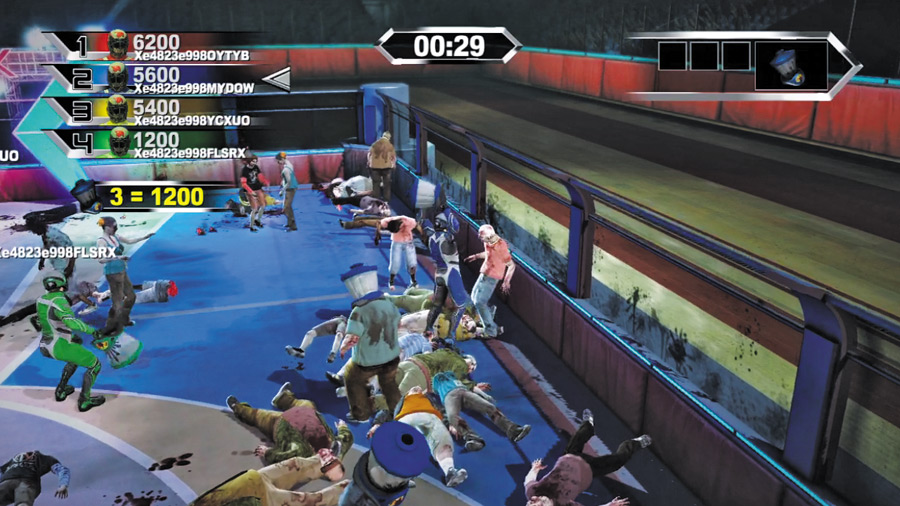
You can’t use your dynamite while carrying hats, so it’s best to slap on your hats, use your dynamite, then grab more hats and dynamite, and repeat the sequence.
Don’t risk waiting too long to hit that Trigger button, though — your rivals are certain to catch on and blast your hat-wearing zombies before long!
MASTER SHAFTER
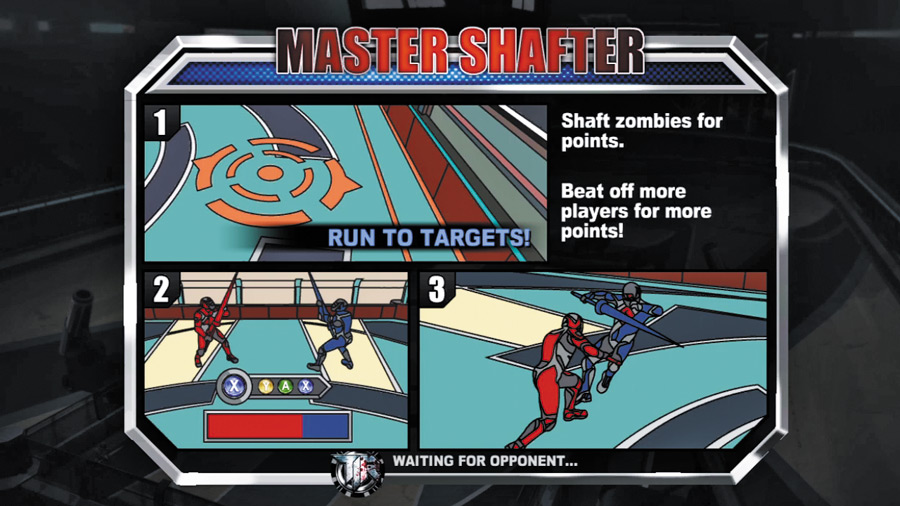
Zombie killing plays a backseat role in Master Shafter, where contestants do battle with one another directly.
In Master Shafter, zombies are periodically shot into the arena by surrounding cannons— look for orange targets on the ground, which indicate where the undead will land.
Race to those spaces and prepare to impale those falling zombies with your massive shaft!
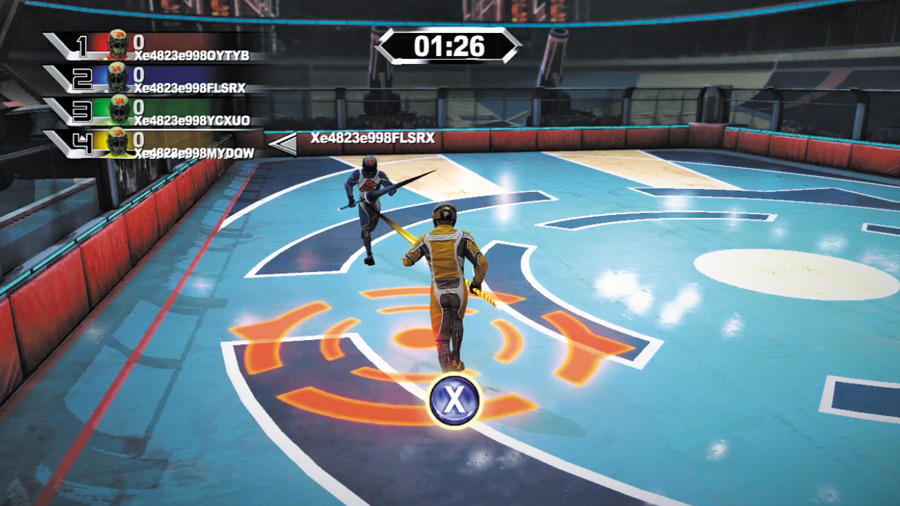
Once you arrive at a target, press the indicated button to hold your lance-like shaft firmly toward the heavens. It won’t be long before a zombie falls on it!
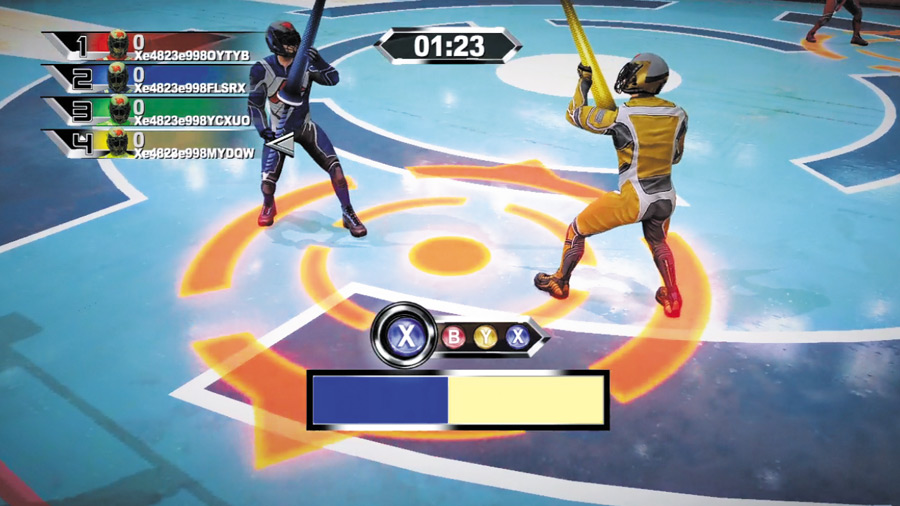
Look out, though — any rival that moves close to you is able to challenge your position, and vice-versa. When such a challenge occurs, a fierce battle takes place: press the onscreen buttons as fast as you can, hammering out the string of commands faster than your rival to seize the advantage!
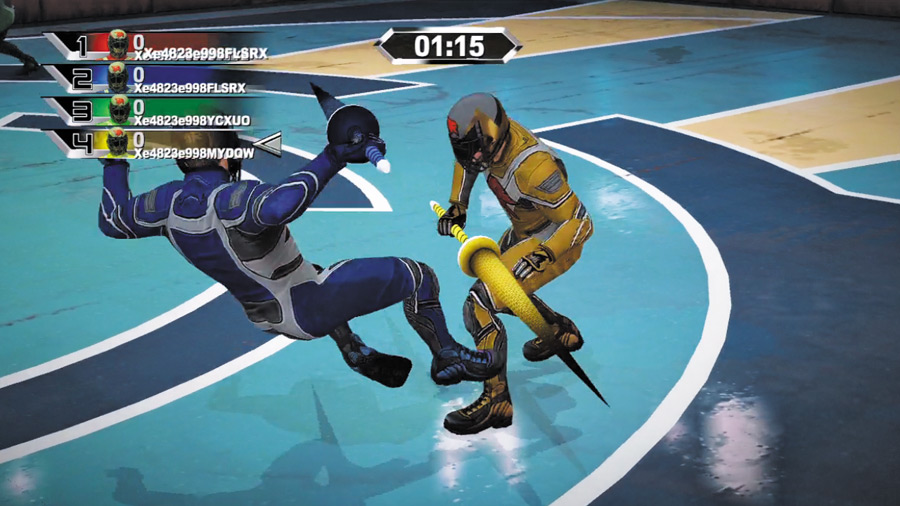
The player that’s quicker at hitting those buttons ends up the victor, knocking the rival of the target and impaling the inbound zombie for points.
Give zombies the shaft without failing in duels against other players to build your score!
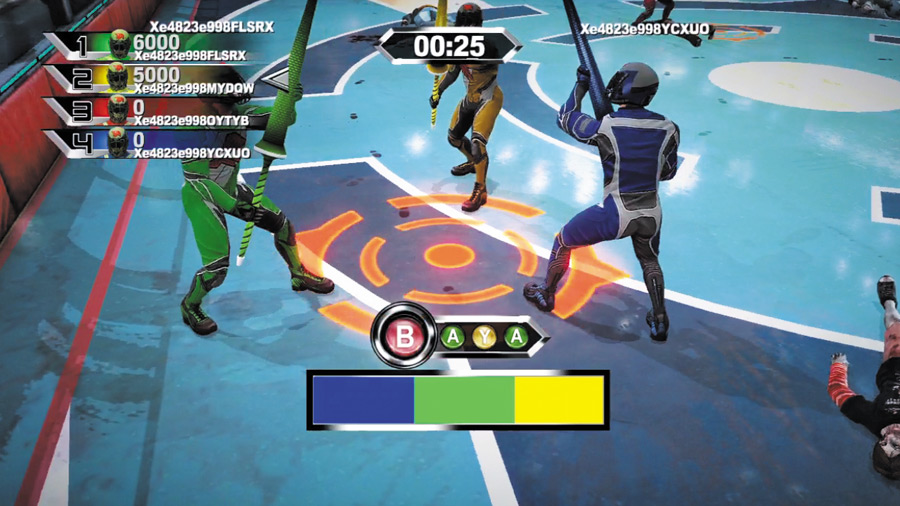
Targets only appear two at a time, so you’ll often be fghting opponents for each kill. However, it’s possible for three players to lock up in a struggle over a single target; when this happens and if you’re not involved, take advantage and impale zombies without fear of being challenged!
POUNDS OF FLESH
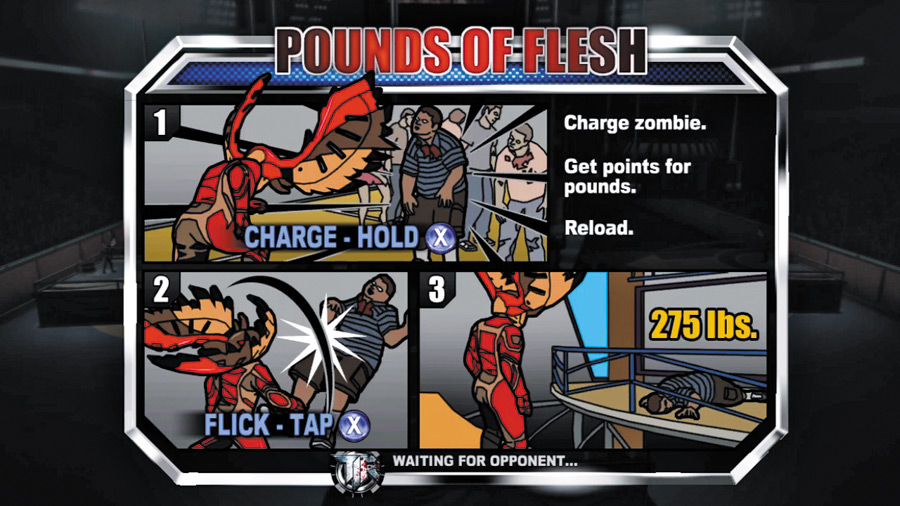
Ground-up zombies make excellent dog food, and in this unique challenge, contestants are paid by the pound!
Players don specialized helmets in Pounds of Flesh, using them to fing zombies onto a central scale. Points are scored for every undead ounce, so go after the fat zombies first!
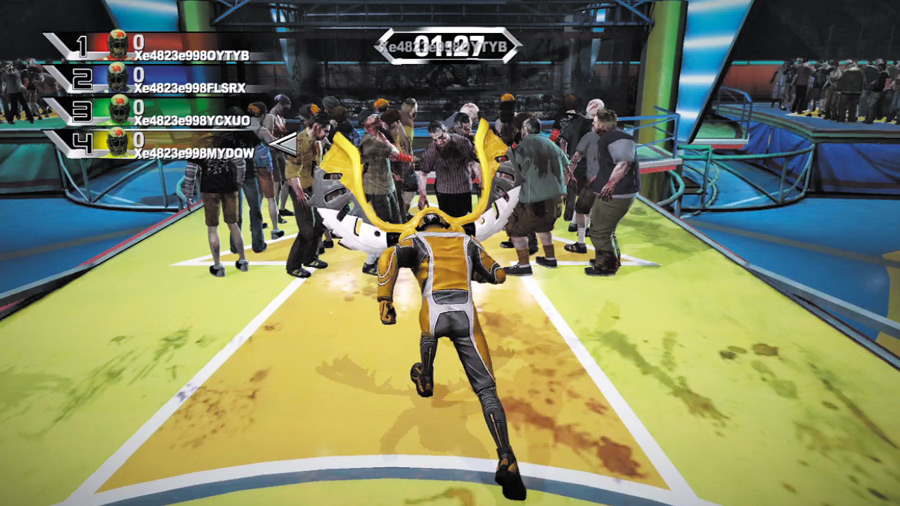
Charging at those filthy zombies is the key to success in Pounds of Flesh. Don’t use the single- zombie fick move; instead, hold the Attack button to rush the zombies, releasing the button just as you collide with the hoard.
Timing your charges properly this way ensures that multiple zombies are flung to the central scale!
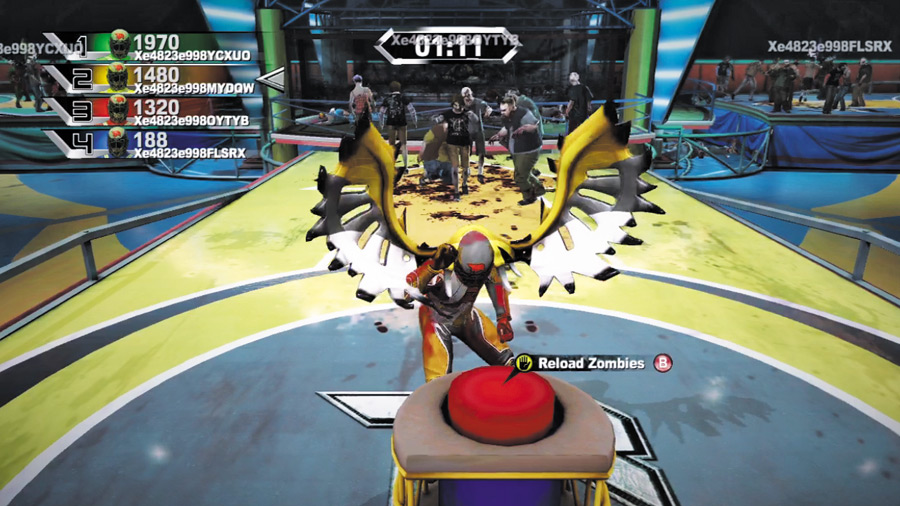
After hoisting some zombies onto the scale, immediately run back to the starting position and charge ’em again! Or, if your herd is thinning, hit the Reload button to receive a fresh load.
You can hit the Reload button as often as you like, so don’t waste time charging at thin crowds.
RAMSTERBALL
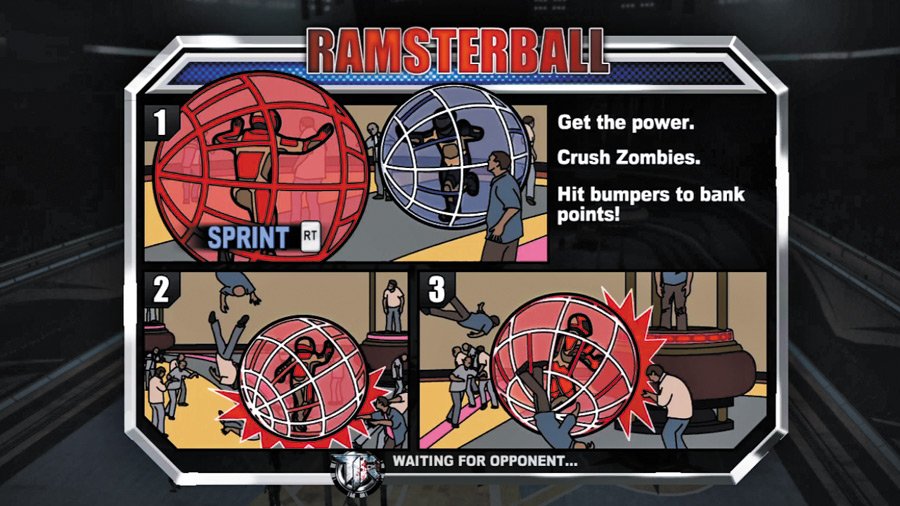
One of TIR’s most beloved events, Ramsterball has all four contestants rocking and rolling inside of giant, indestructible balls. The object: Steal the “power” away from other players, hoarding it for yourself so you may score points!
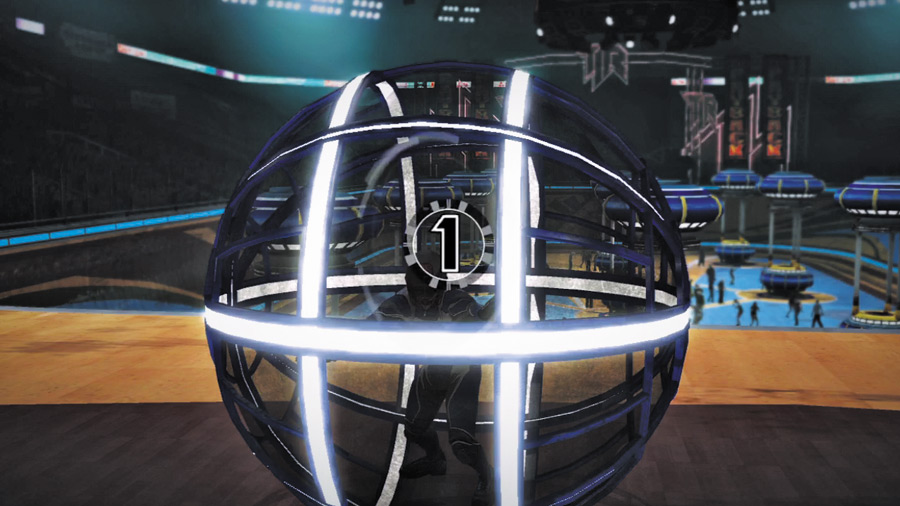
One player is selected at random to begin the game of Ramsterball with the “power.” You can clearly tell who has the power at any given time — their ball glows as if electrically charged.
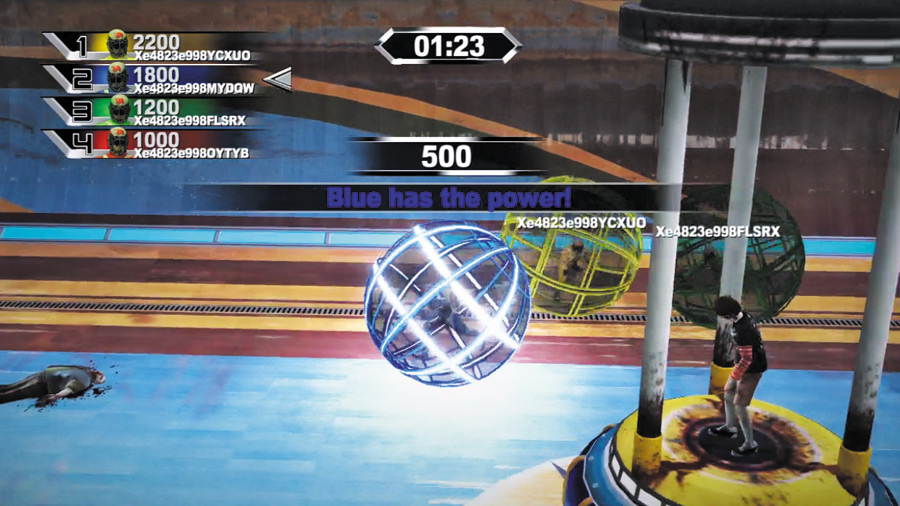
If you don’t have the power, ram the player who does to steal it! You’ve got to hit them with a bit of force to steal the power away.

Once you’ve stolen the power, immediately look to bounce into the many posts around the arena — doing so scores you points.
The key to scoring big in Ramsterball lies in bouncing from post to post like a pinball, so after slamming into one post, use your equal and opposite momentum to hit another — and try to keep that combo going!
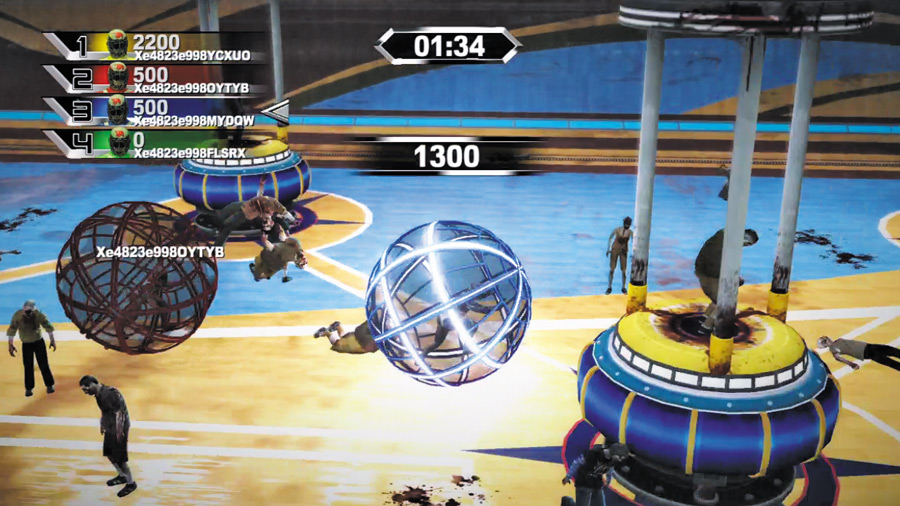
You’re a prime target after you’ve stolen the power, so hold the sprint trigger and put some distance between you and your rivals.
Keep to the outside to gain speed, then make a sudden move for the middle to give pursuers the slip. Start bouncing of those posts — it’s easiest to hit several when you keep to the center.
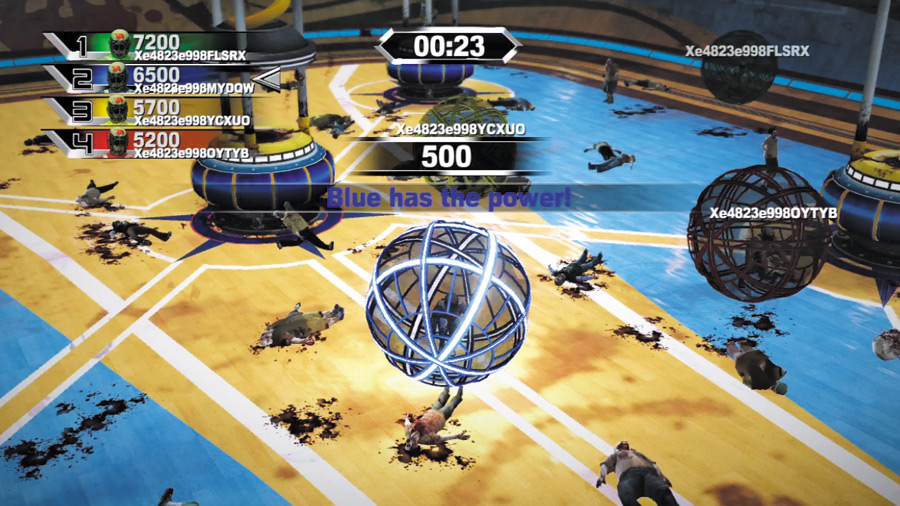
Hitting zombies while you’ve got the power increases the amount of points you’ll score when you hit a post, but don’t bother aiming for them.
You’ll likely hit the undead anyway, so simply aim for those posts and try to bounce of as many as you can each time you get the power. Bouncing back and fourth between just two posts can boost your score fast.
STAND UP ZOMEDY
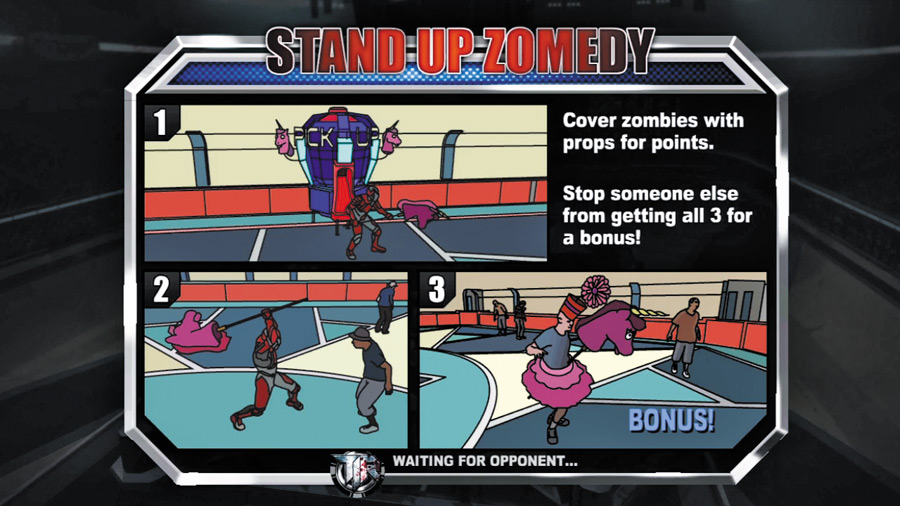
If you’re looking for laughs, look no further than stand up Zomedy!
Players battle to decorate zombies in this lighthearted affair, striving to plant as many comedic “prop” items on the roaming undead as they can. Each prop item you place scores you some points!
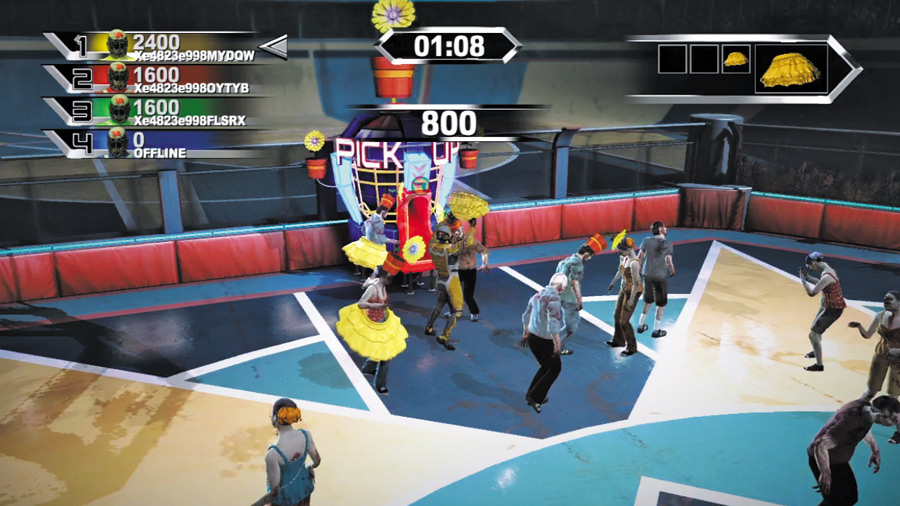
There are three diferent prop items: fowers, dresses, and unicorns. Rush to a prop dispenser to claim some of these items, then quickly start slapping them onto nearby zombies.
Decorate those undead quickly as you struggle to keep the lead!
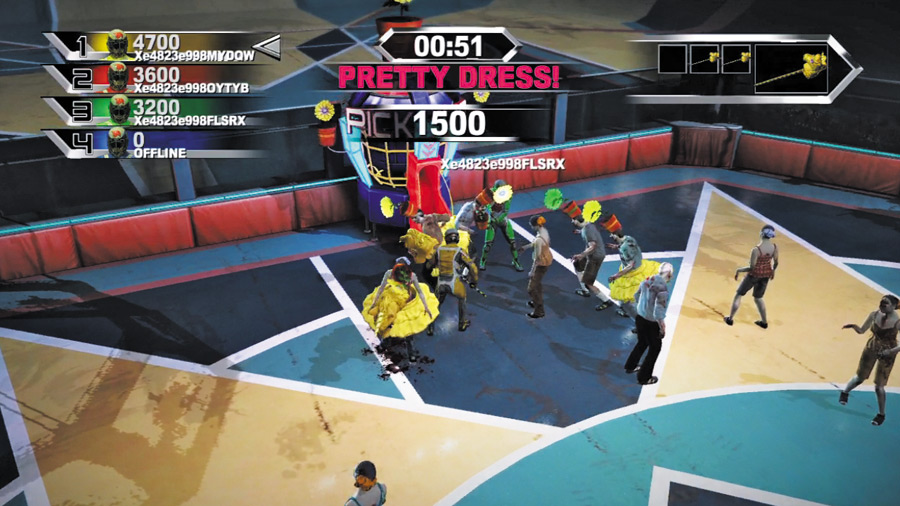
If you manage to decorate a zombie with all three items, you get a significant “Pretty Dress” bonus. Strive to claim these bonuses— they’re the key to victory.
Prevent your rivals from achieving this bonus by sticking your decorations on “their” zombies!
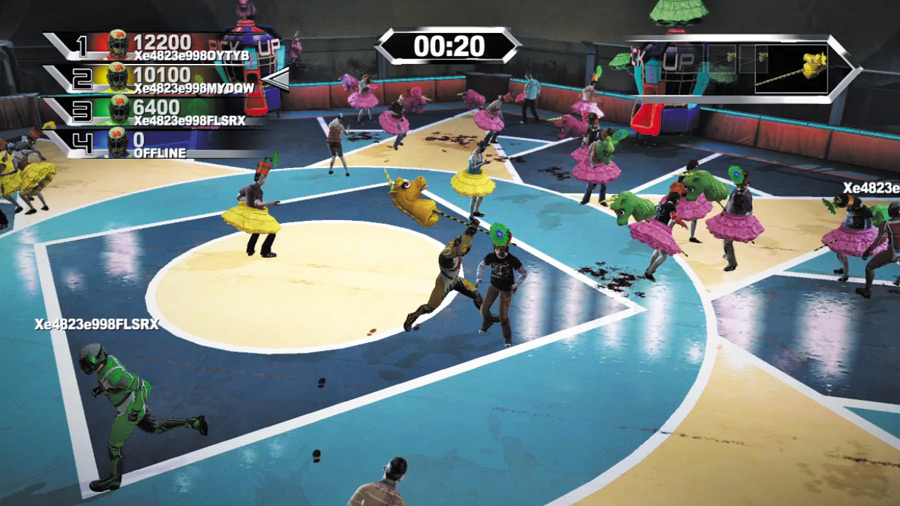
Block any rival zombies you’re able to (particularly those that the point leader is working on), but focus primarily on decking out zombies with all three props.
Earn those “Pretty Dress” bonuses to entertain the crowd and amp up your score!