
Disney Infinity 2014 Revised Edition Guide Playsets Pirates of the Caribbean
Dead Mans Cove
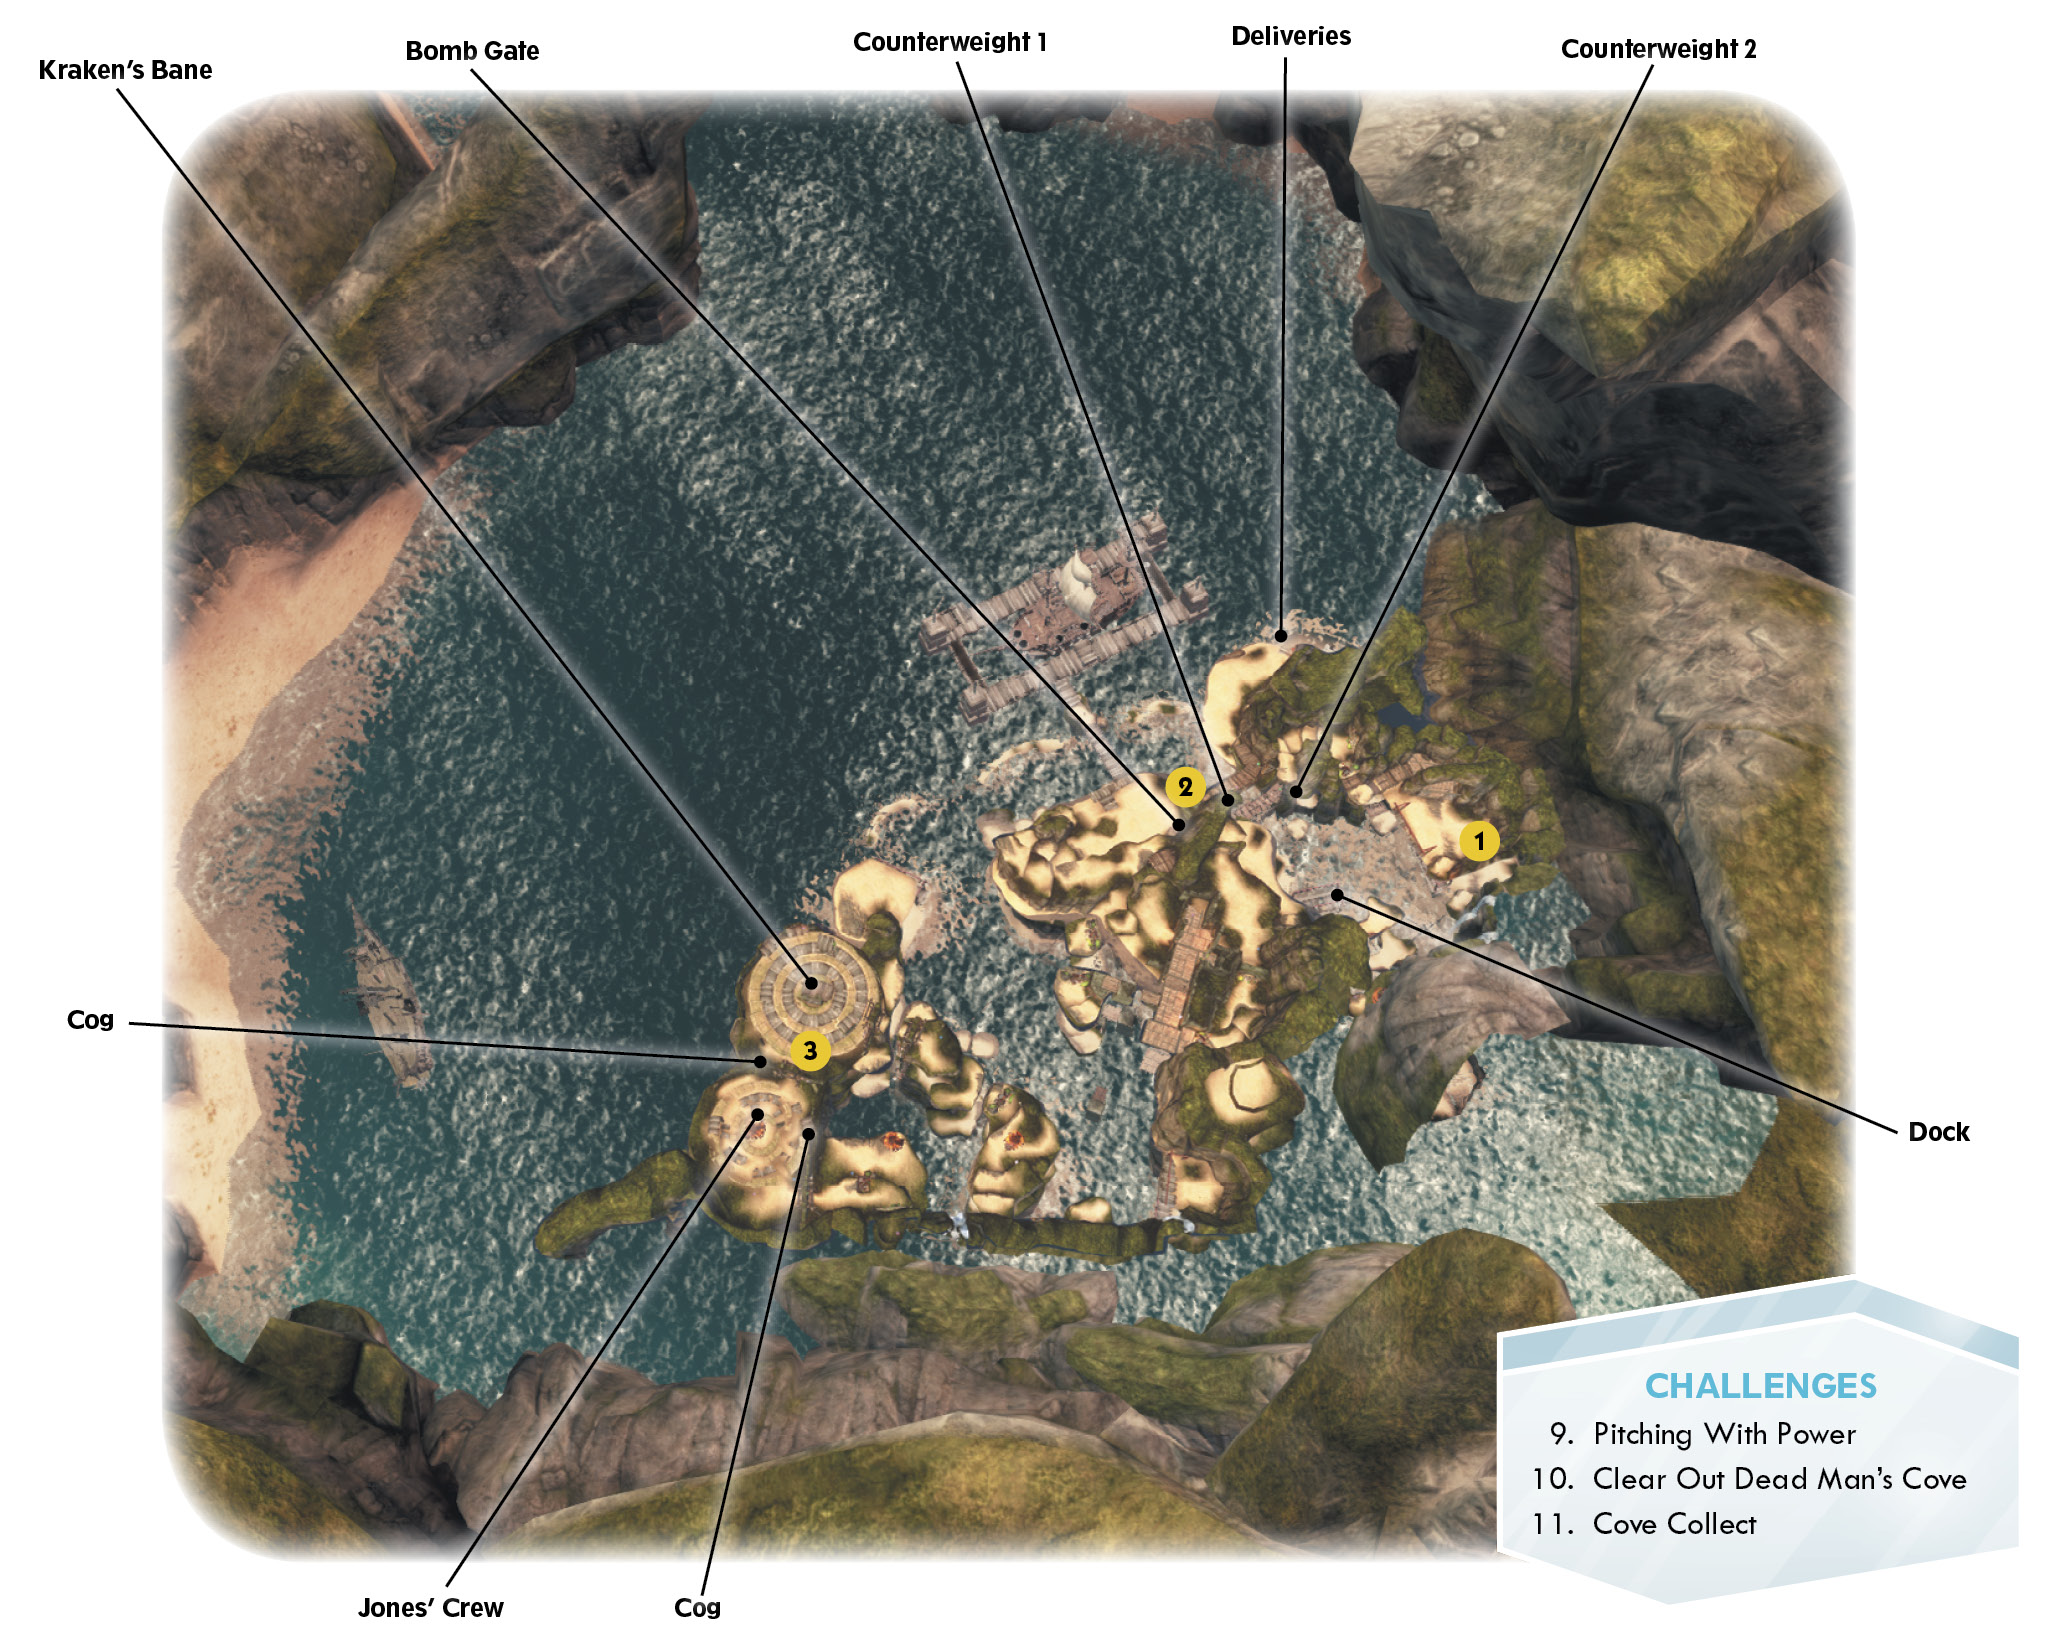
Off to Dead Man’s Cove!

- Mission Giver: Tia Dalma (automatic)
- Type: Locate
- Rewards: 500 Coins / 100 Sparks
- Wii Rewards: 200 Coins / 100 Sparks
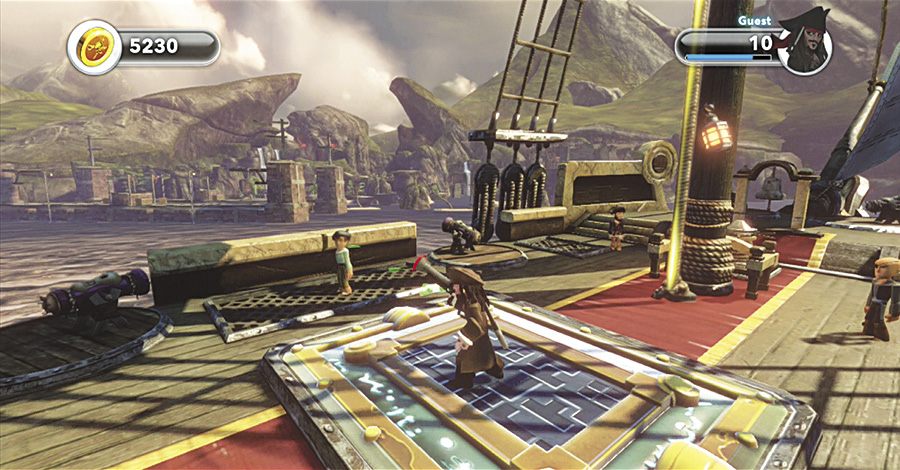
Another piece of the Kraken’s Bane is at Dead Man’s Cove. You must pass through the Demon’s Cape to get there and sail deep inside the cover to find this island.
Blasting Is the Only Way!

- Mission Giver: Pintel and Ragetti
- Type: Buy
- Reward: 200 Coins
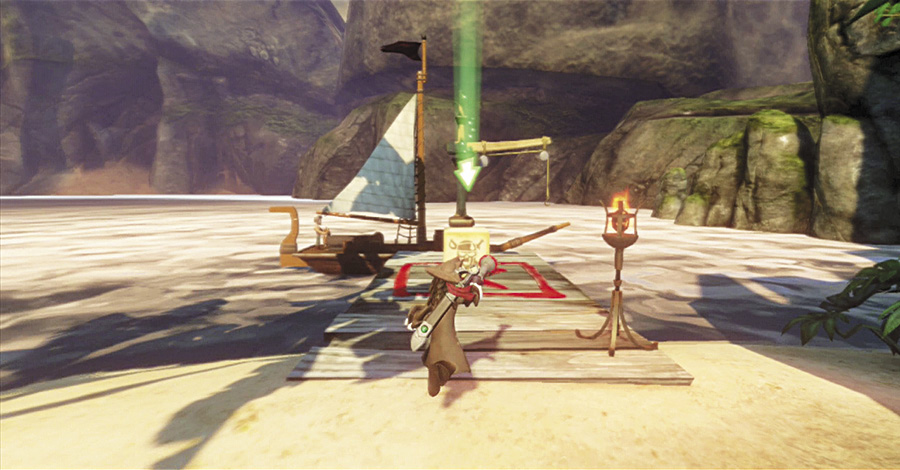
Remember those locks with the bomb symbol on them? Well you can finally open them once you purchase and pick up the Pirate Bomb.
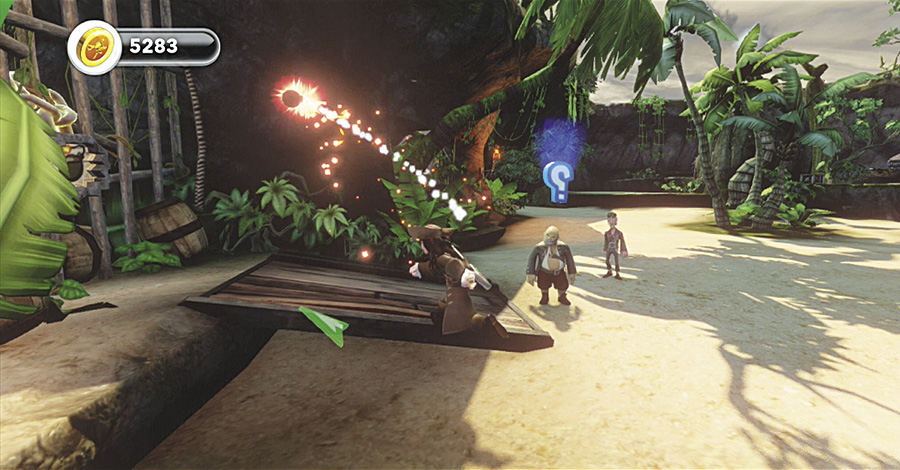
Equip your new tool and teach that locked gate a lesson for trying to keep you out. Blow it up with a bomb, and remember to go back to the other places you might have been shut out from.
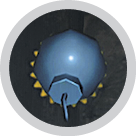 New Toy Unlocked: Pirate Bomb
 New Challenge Available:Clear Out Dead Man’s Cove
Knock Really Hard. Savvy?

- Mission Giver: Pintel and Ragetti
- Type: Buy
- Rewards: 200 Coins / 100 Sparks
First Counterweight
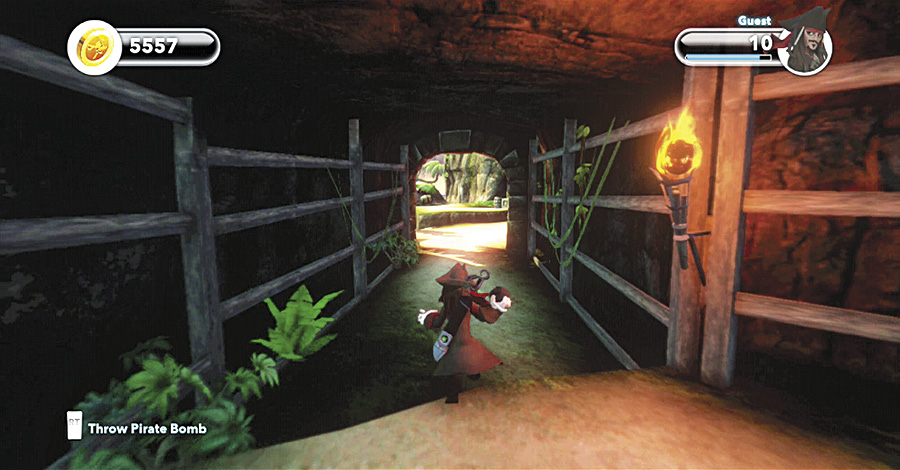
To get around at the cove, and the other side of the island, you need a boat. But there isn’t one waiting for you as there was back at the Bayou. Follow the compass to the docks, but you need to remove the counterweights to allow passage. The first step is to go through a long tunnel until you emerge back out in the sunlight.
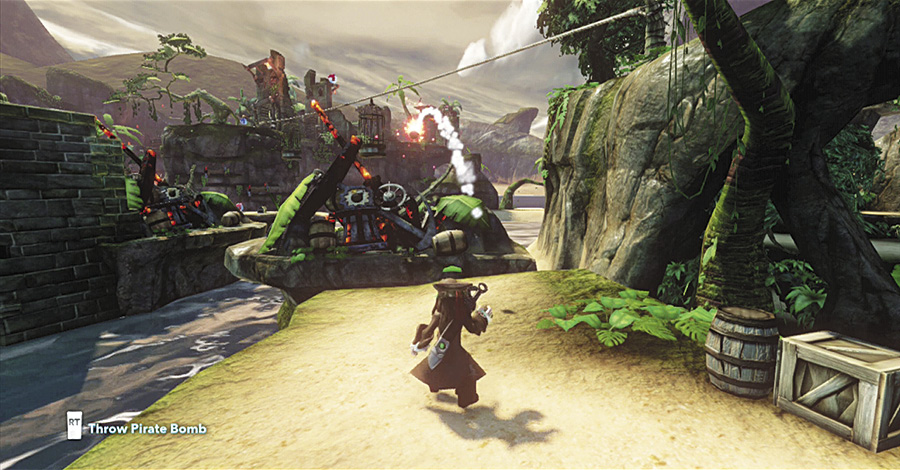
The only way to get past these junk-filled areas is to use the Pirate Bomb to blow up the mess. The red color in the junk heap is dead giveaway that it can be blown up.
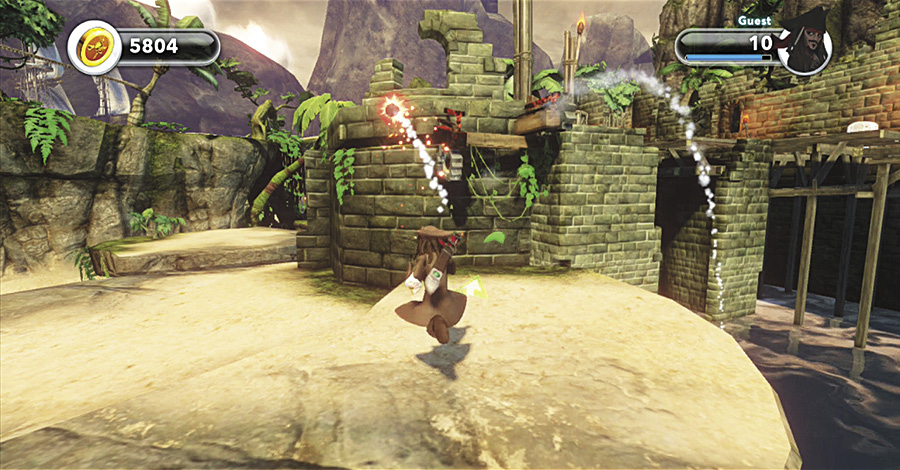
The Pirate Bombs can also be used on the red somewhat-rusted-looking bars to destroy them and reveal a thin ledge in the rock.
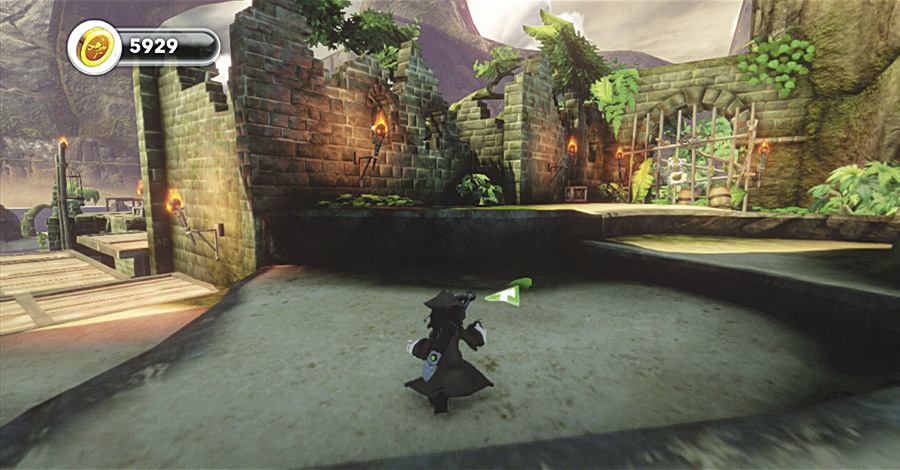
Leap up the ledge when it is clear and jump up to the upper walkway. Follow the wooden road to the right and blow up the pile of junk, then blow up the gate with the bomb symbol around the corner.
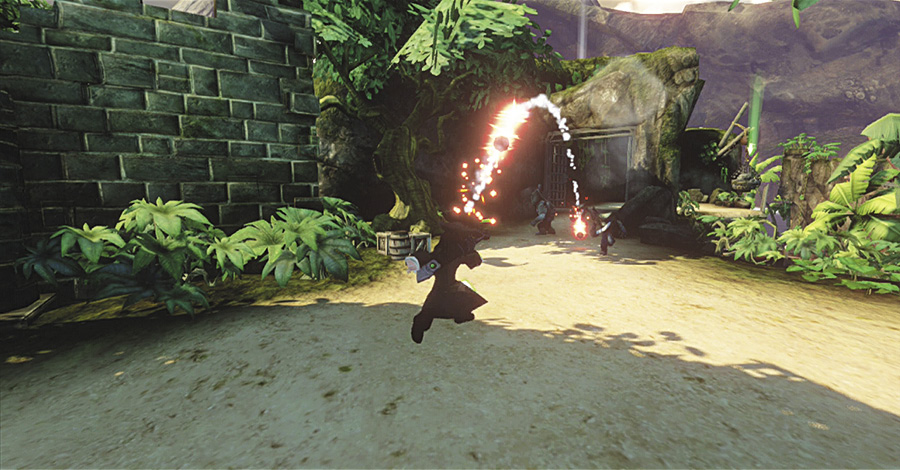
Several of Jones’ men will rush you, but this is a great chance to use the Pirate Bombs to blow them to smithereens before they even get close. The bombs are very powerful, but they follow a large arc that only makes them useful at a distance.
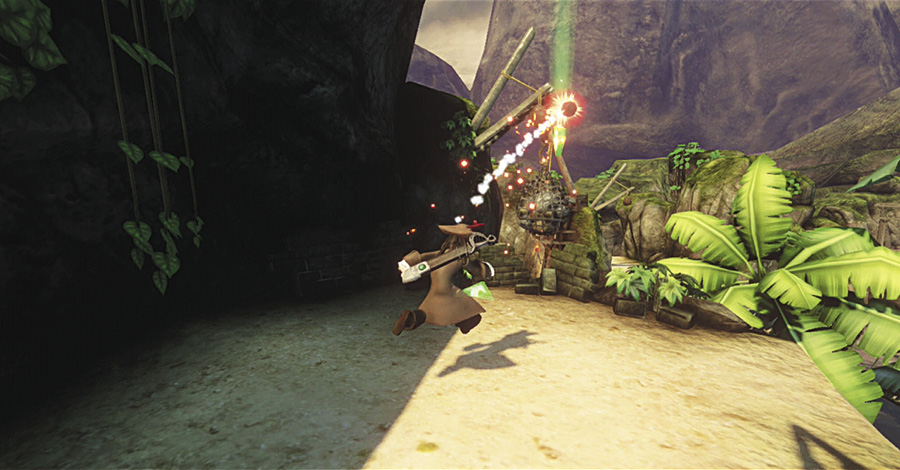
Continue through the gates the pirates came out of and toss a bomb to knock out the first counterweight.
Second Counterweight
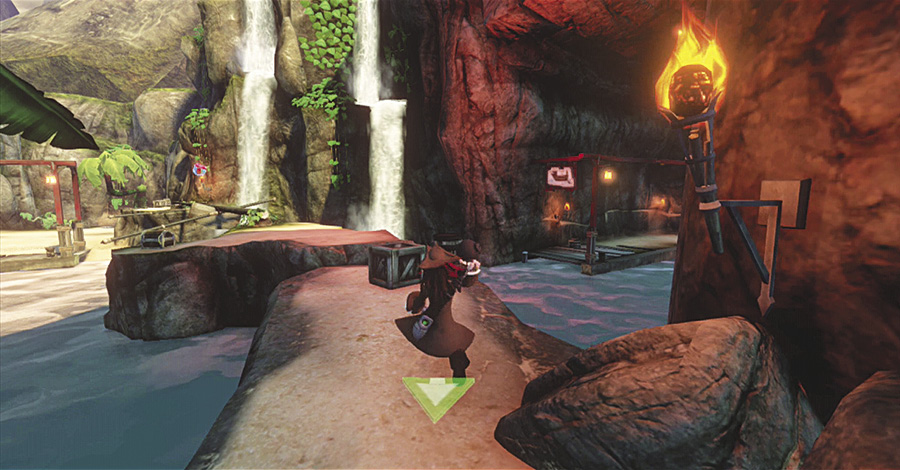
Starting from the docks, run behind Pintel and Ragetti to go up a series of plateaus. Leap across a split in the path and slide down near the docks on the opposite side you started from.
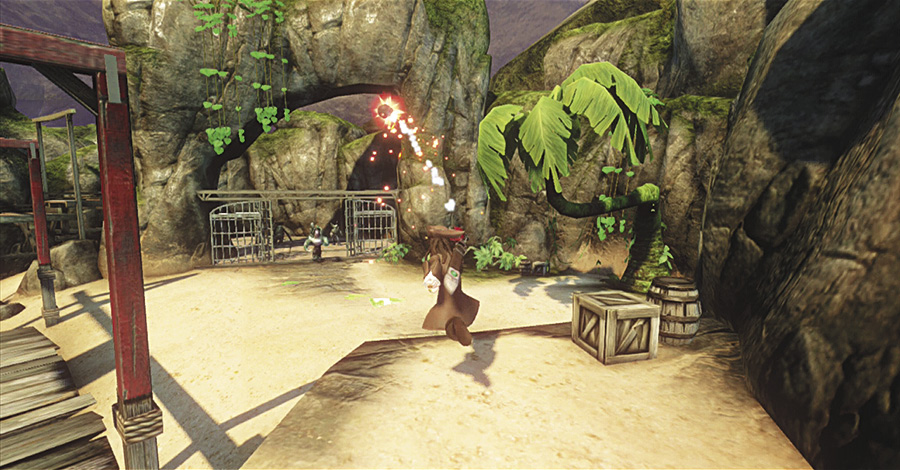
A bunch of pirates will greet you, but if you stay on the higher ledge and drop bombs on them, they will never get a chance to touch you.
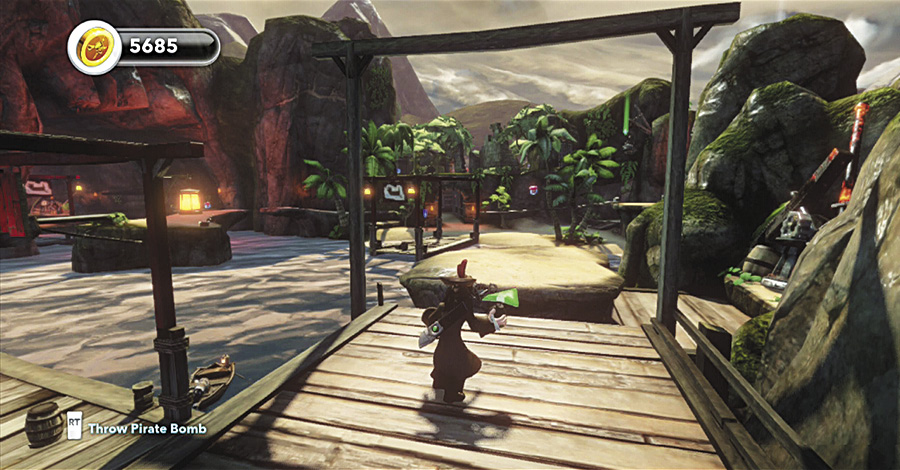
Run through the gate they came out of and leap up a ledge to a spot where you can blow up some cluttered junk on the right side. When it is gone, go down that path and blast open a pair of bombable gates.
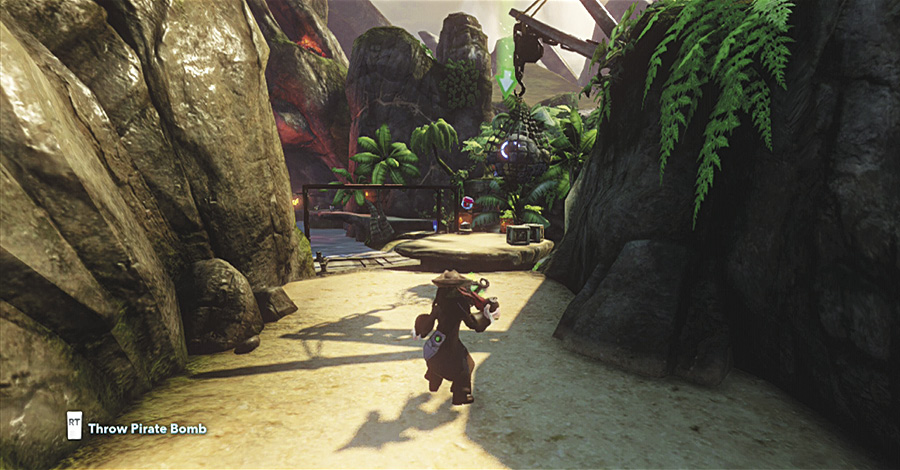
The gate to the left leads to the second counterweight that can be blown up to finally drop the blockade.
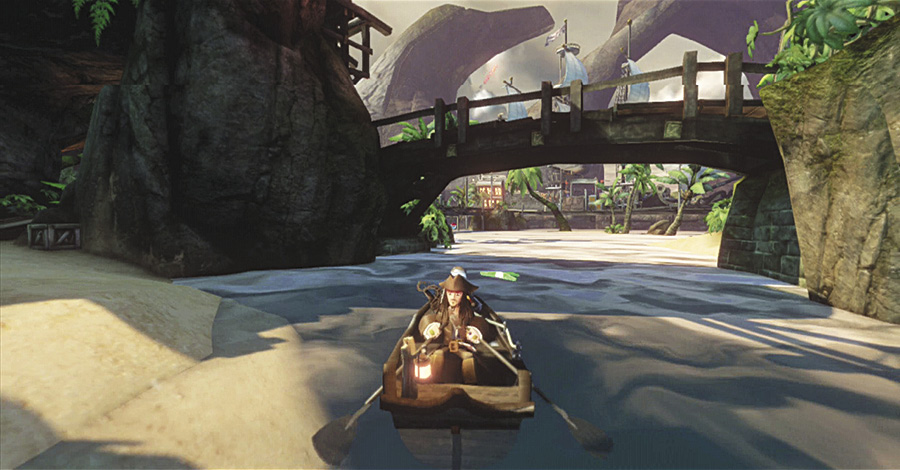
Return to the dock and get into the dinghy to row it through the newly opened passage.
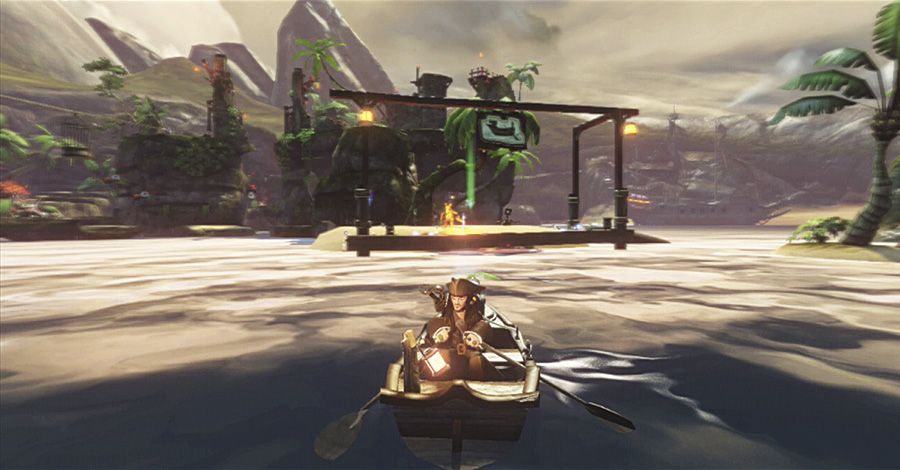
Follow the compass and blast any enemies you see until you can park the boat at the next dock, which of course is full of enemies.
Up to the Ruins

- Mission Giver: Pintel and Ragetti
- Type: Platform
- Reward: 200 Coins
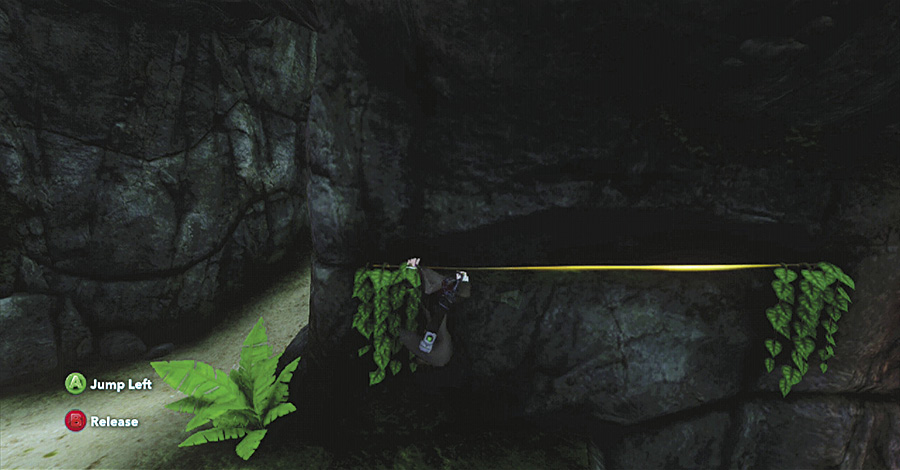
To get to the fort, blow up some rubble and use the ledge to the right to find the Cursed Theme Pack. Continue up the ramp where the debris once was.
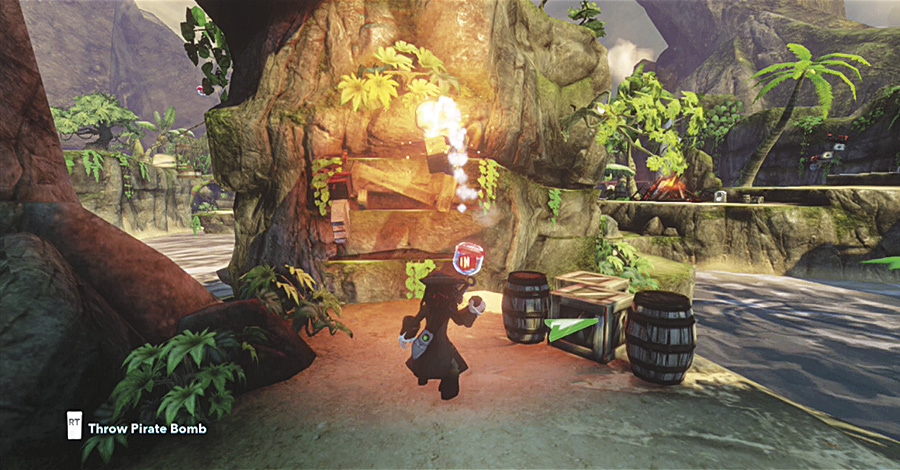
Leap up a series of ledges and destroy the clutter on the side of the rocky pillar. Jump to this pillar once it is clear and move along a ledge to the right.
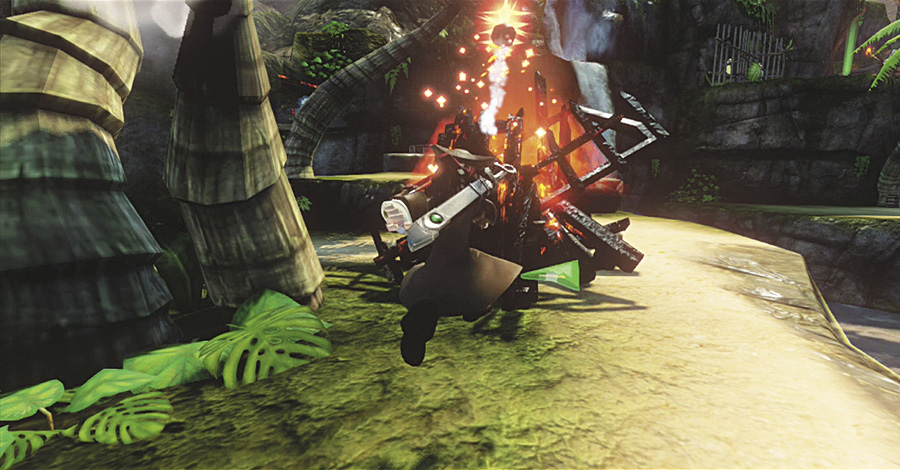
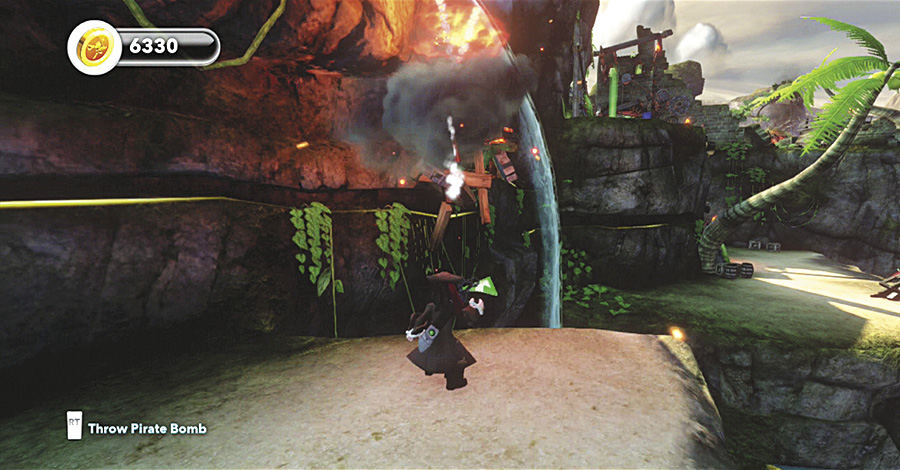
Blow up a few piles of burning junk to clear a path. Remove the clutter on a rocky wall to allow you to climb along the ledge to the right.
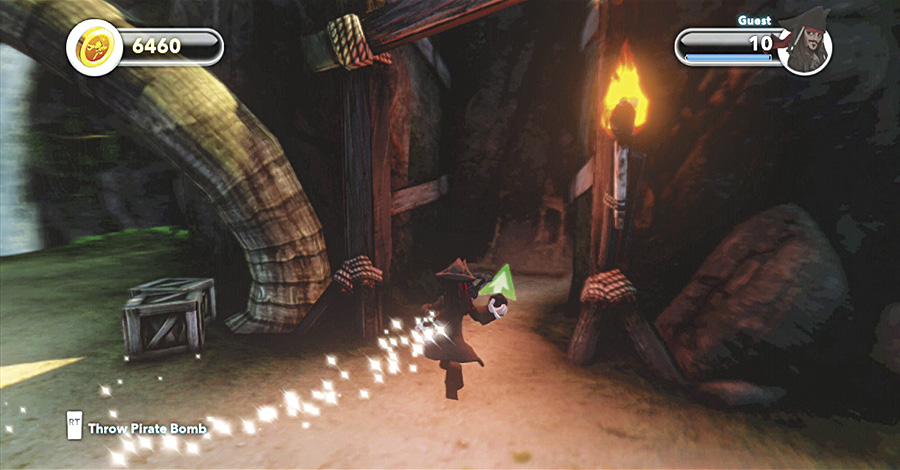
Wipe out the infestation of pirates and perform a wall jump on the narrow passage to reach the top level near the fort.
Fightin’ the Fish Faces

- Mission Giver: Pintel and Ragetti
- Type: Combat
- Reward: 200 Coins
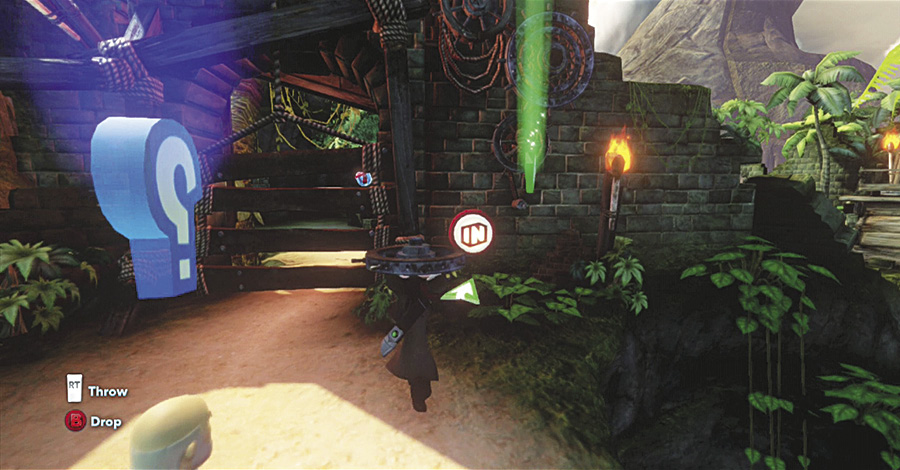
Davy Jones’ crew is looking for the piece of the Kraken’s Bane too. You have to fight them in the old ruined fort to beat them to it. However, before you get into the fort, you have to open the door. This is a simple task considering the cog you need is right by you and a green arrow will hover over it. Pick up the old cog and place it near the others on the wall next to the IN button.
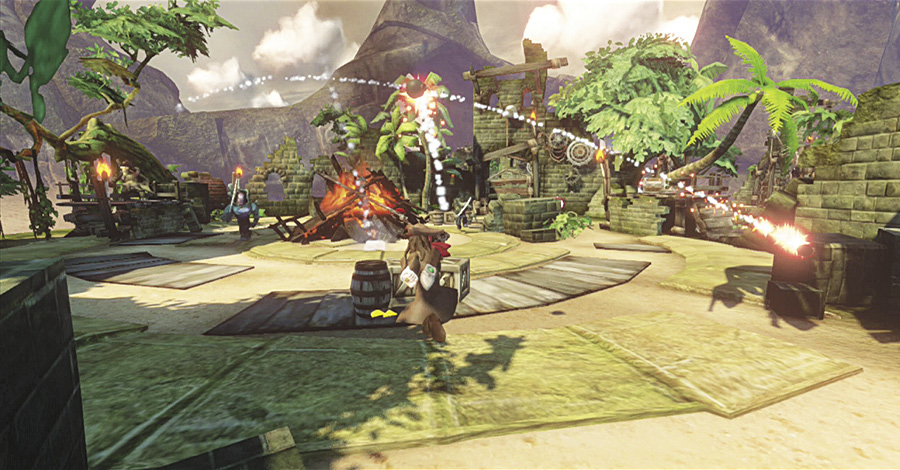
When the cog is in place, press the IN button and enter the circular arena for a big battle with Jones’ men. Start out the fight by tossing some bombs at the enemies before the swordsmen charge you.
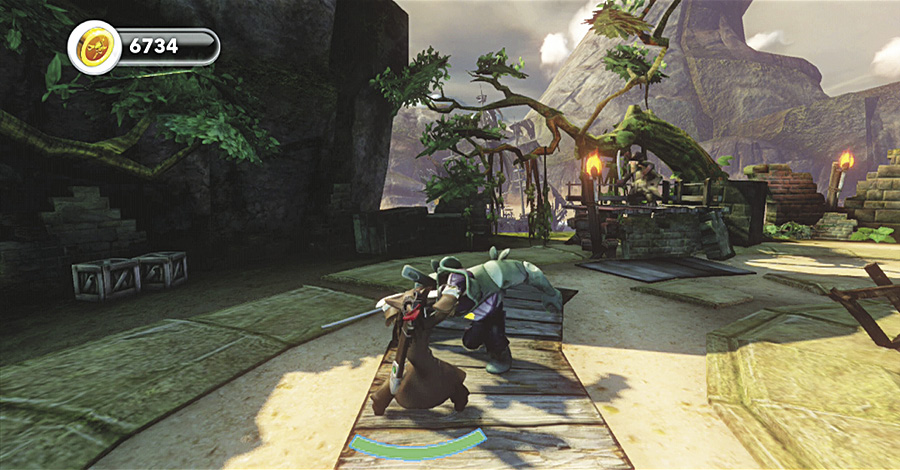
Continue to run and use bombs at long range for as long as you can, but the oyster-looking pirate will track you soon enough. Block its incoming attacks and counter, but only when you are safe from the bombing turtle nearby.
Bombs and Booby Traps

- Mission Giver: Pintel and Ragetti
- Type: Combat
- Rewards: 500 Coins / 100 Sparks
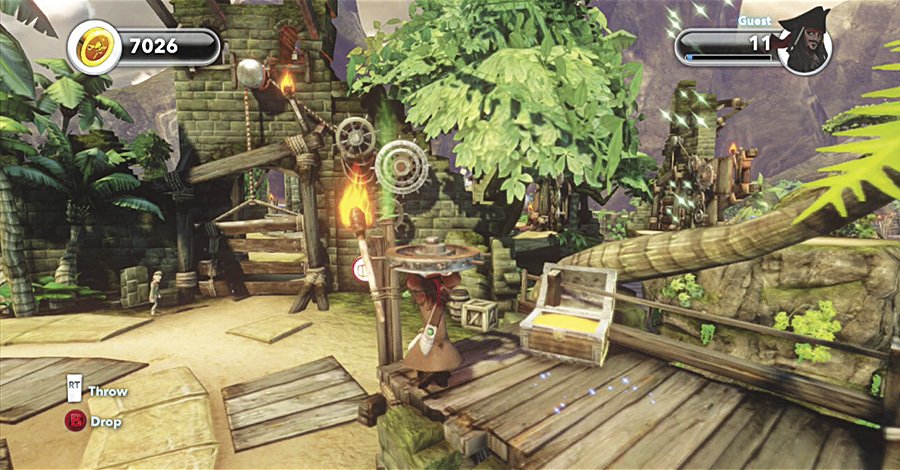
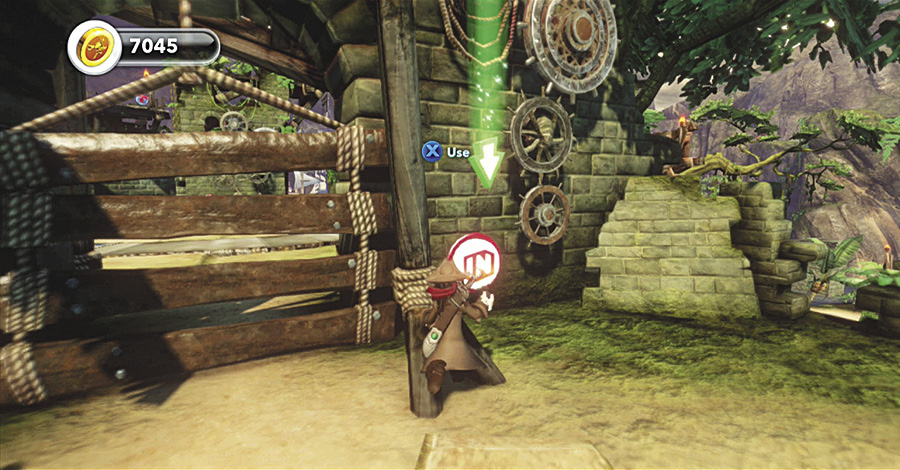
Find the cog to solve the gate puzzle and get to the piece of the Kraken’s Bane. The cog is on a small platform. Pick it up and put it with the others on the wall. Push the IN button and open the gate.
 New Challenge Available:Pitching With Power
Schools of Fish to Fight

- Mission Giver: Pintel and Ragetti
- Type: Combat
- Rewards: 500 Coins / 100 Sparks
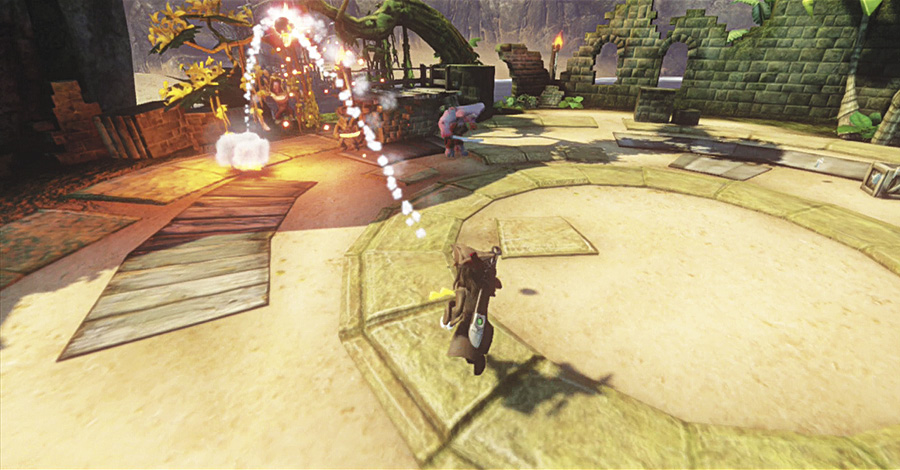
It’s time to take down Maccus and several more of Jones’ crew. When the gate is open, don’t charge into the next area—instead let them come to you. Run away to get some distance and open fire with the Blunderbuss or Pirate Bombs. Try to do as much damage as possible from a distance so that you don’t get overwhelmed by their superior numbers.
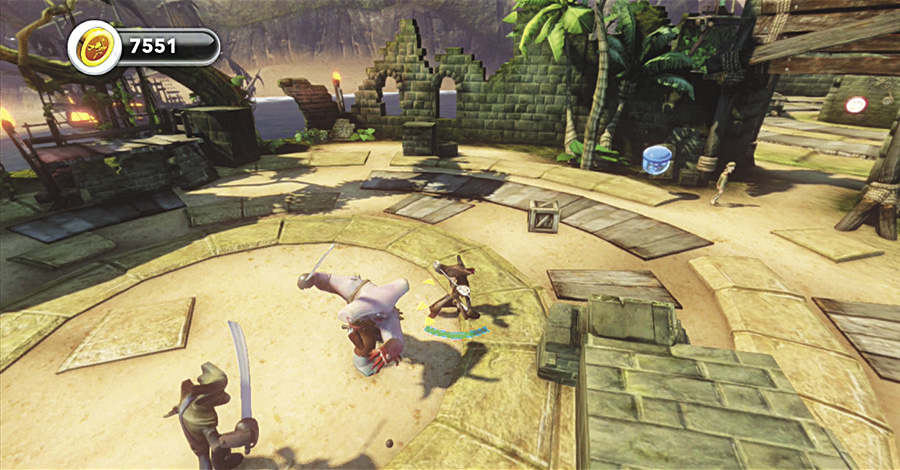
Maccus will be the last foe standing. Battle him the same way you have before by blocking and countering when he is done with his assault.
 Another Piece Be Here

- Mission Giver: Pintel and Ragetti
- Type: Combat
- Rewards: 2,000 Coins / 250 Sparks
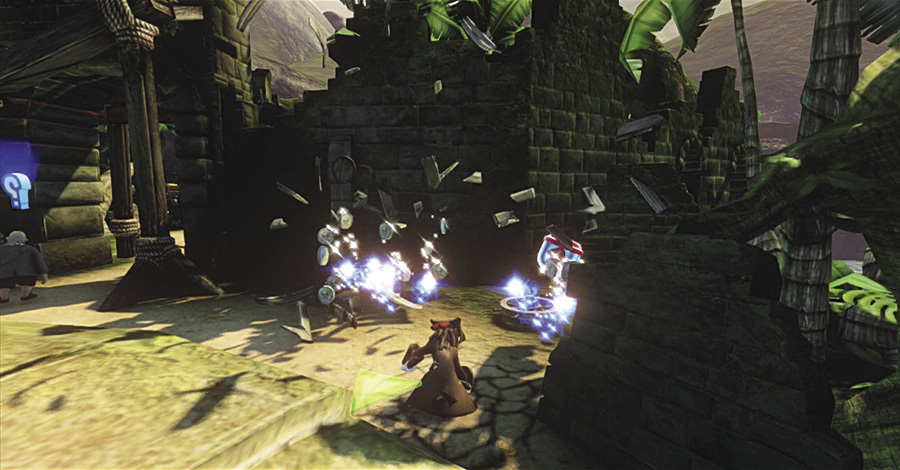
The goal is to get to the top of the moving platforms, but first you need to find another cog to get things moving—literally. Smash a bunch of crates by a red capsule to find the cog.
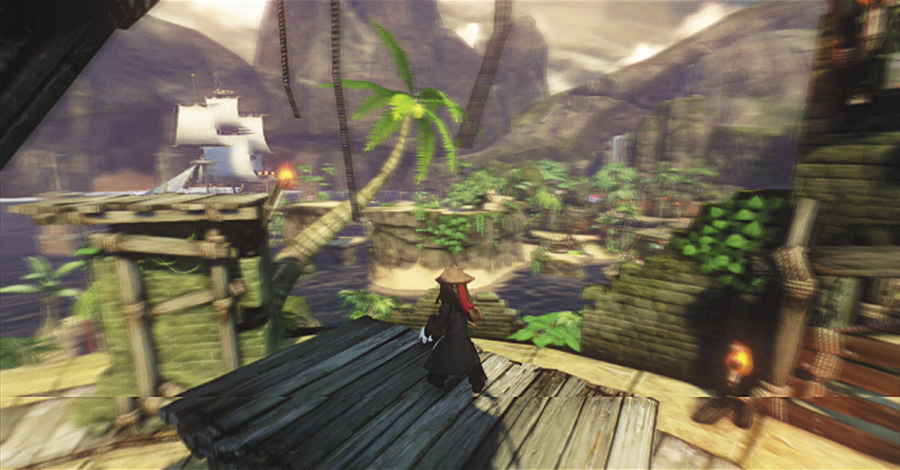
Getting to the top of the center pillar is not that difficult if you take your time and let the moving platforms line up. Jump on the lowest moving platform and wait for the next taller platform to get close enough to jump to.
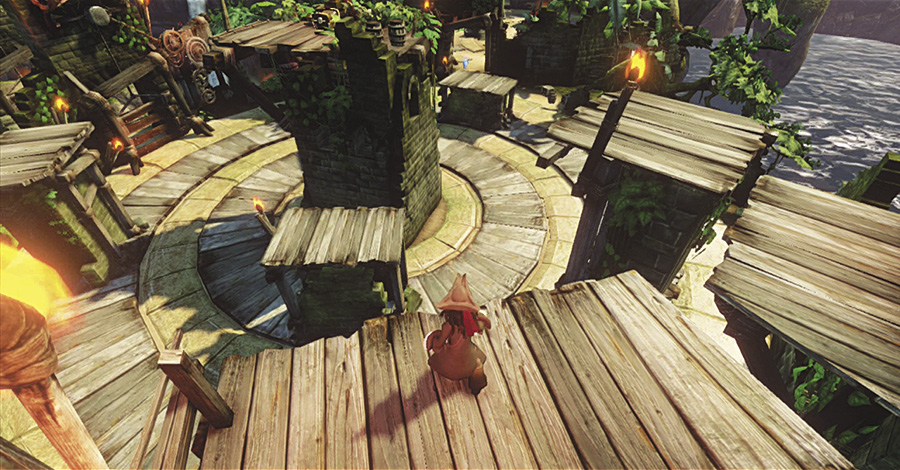
Near the top of the ascension you will get a break by jumping to a stationary ledge. Wait for the tallest moving platform and hop on board to get to the center and another piece of the Kraken’s Bane.
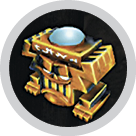 New Toy Unlocked: Phase Shift
 New Challenge Available:Cove Collect
Side Mission
Find Some Shine!

- Mission Giver: Tia Dalma (automatic)
- Type: Locate
- Rewards: 1,000 Coins / 50 Sparks
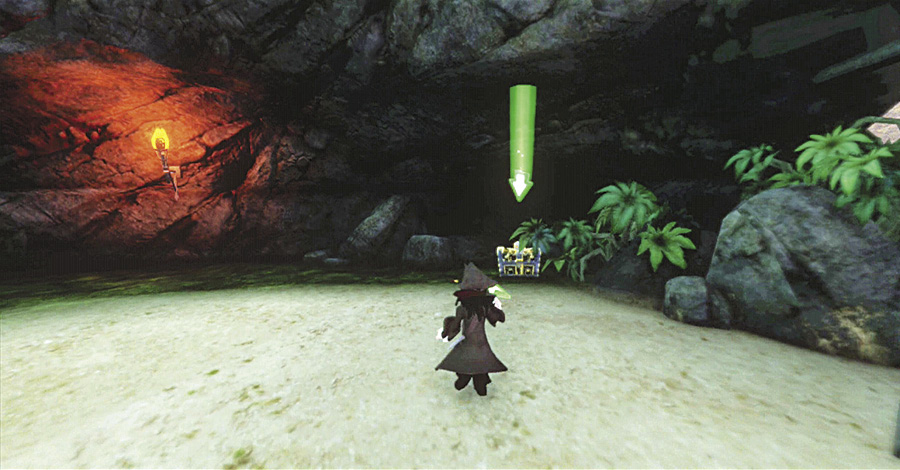
One of the crew heard rumors that someone stashed treasure on Dead Man’s Cove. There is only one chest to search for and it is in a circular area where you went to take care of one of the counterweights.
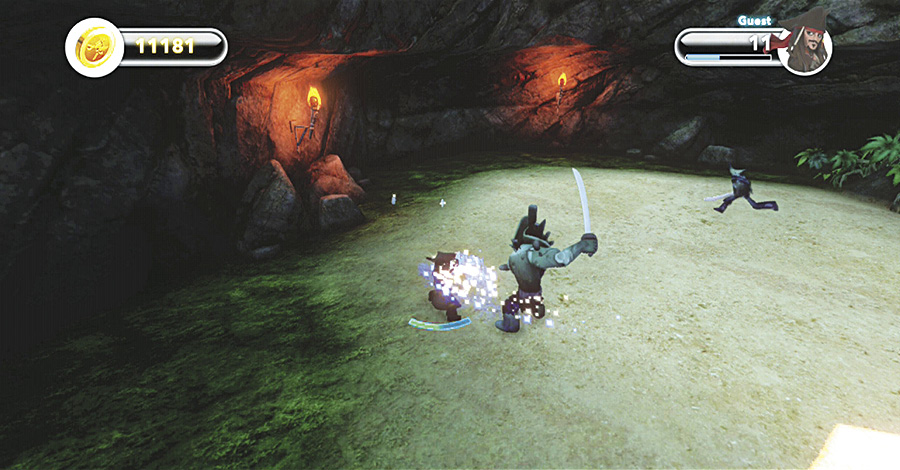
As soon as you open the chest, the gates will lock and you must wipe out the trio of pirates to get out alive.
Alert Mission: Helpin’ Other Pirates
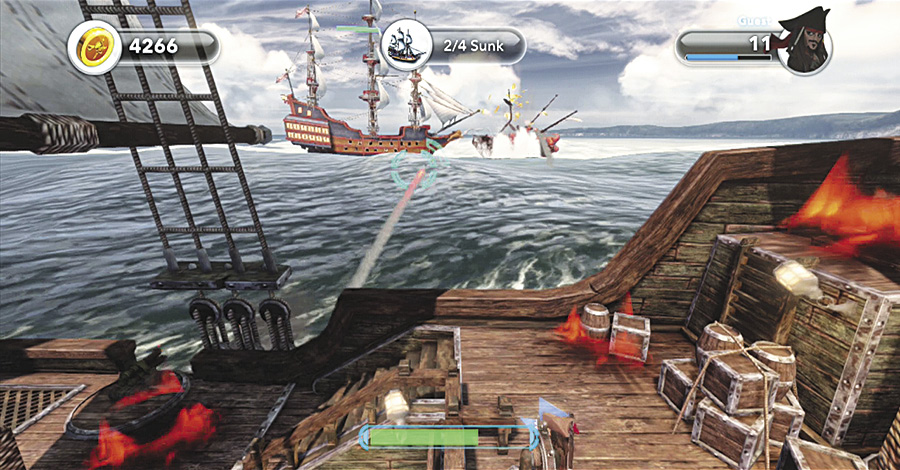 While sailing the open seas, you may come across other pirates under attack by the Royal Navy. This is a very long battle with several waves and it is best to have your favorite power-up in the set up before you get surrounded. Remember that the ship will repair over time. If you need to, get away from the heat of combat to take a break. |