Star Ocean: Integrity and Faithlessness Guide Part V: Optional Tasks
Cathedral of Oblivion
Introduction
The Cathedral of Oblivion is an optional set of dungeons containing incredible rewards for players who defeat the enemies within. There are a total of 14 instances of the cathedral, spread across three distinct tiers. The first tier of the cathedral consists of three instances, the second tier consists of five, and the final tier consists of six.
When the cathedral spawns in an area, you can find a distortion in the space-time continuum designated on the in-game map (OPTIONS/START button). However, the chance of spawning is a coin flip. If there’s one available in the area, you can force it to spawn by continuously leaving and re-entering the area and checking the map for the warp icon.
The first time you enter the cathedral prompts a tutorial regarding the optional dungeon. Once you’ve committed to taking the first warp point inside at the end of the aisle, you won’t be able to leave—so it’s do or die. Consider saving your progress, resting at an inn, and restocking your consumables before undertaking one of these trials (especially if it’s your first time).

Each instance of the Cathedral of Oblivion consists of several rooms; each room prior to the final room is filled with enemies that you must defeat in order to progress to the next area. The last room contains a boss, usually one that’s significantly higher in level than you (assuming that you enter at the earliest time possible).
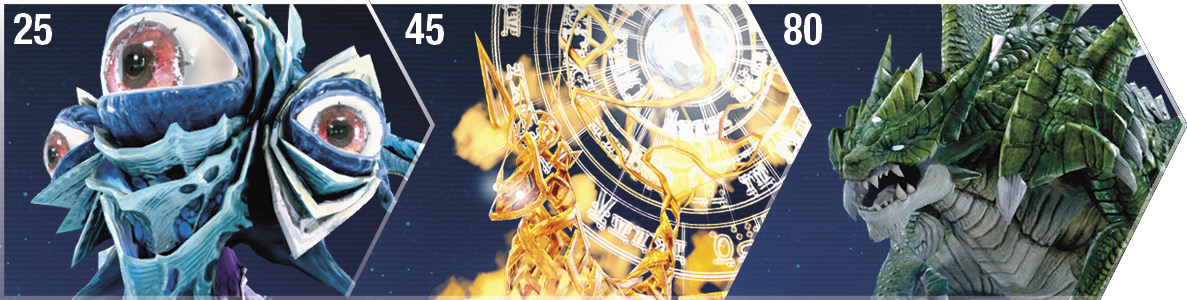
As you progress through the story, the previous cathedral instances evolve into more difficult ones, with higher-level enemies, more rooms to traverse, more chests, and a significantly tougher boss. The first generation of the cathedral features a Corrupt-type boss called the Eyebalone, the second generation’s boss is an avian called Vidofnir, and the third set’s boss is the Storm Dragon.
- First-generation instances of the cathedral are accessible between story chapters 3-6, with the cutoff after the siege of Eastern Trei’kur.
- Second set of instances is available between chapters 7-10.
- The final set of the Cathedral of Oblivion opens up in Chapter 10, after reuniting Relia with her parents.
Treasure chests found in the Cathedral of Oblivion are a constant. This means that even if you forgo completing the initial generations, you can still reap the rewards from them when you finish subsequent ones. For example, the first cathedral in the Coast of Minoz contains a final reward of a Blue Talisman in the third room. If you skip this first iteration and then return at a later point in the story to complete the second iteration, the Blue Talisman treasure chest will still be there in the third room (even though the boss in that room is replaced by a normal group of enemies).
The Cathedral of Oblivion trials primarily test your skills in combat, resourcefulness, preparation, and overall party level. Although it’s possible to defeat the bosses within at earlier levels, it’s recommended that you tackle them in order of boss levels. For instance, the power level of the Vidofnir boss in the second-generation instances of the cathedral varies depending on which area you enter from. The easiest encounter is in the Coast of Minoz, where Vidofnir is Lv. 45. At the other end of the spectrum, Vidofnir is Lv. 65 in the Northern Territory of Sohma—a staggering 20-level difference! Thus, you might want to take on the ones in the Coast of Minoz and the Resulian Plains before trying to defeat the higher-level ones. See the data tables following the Boss Battle Tips section for enemy details.
Eyebalone 
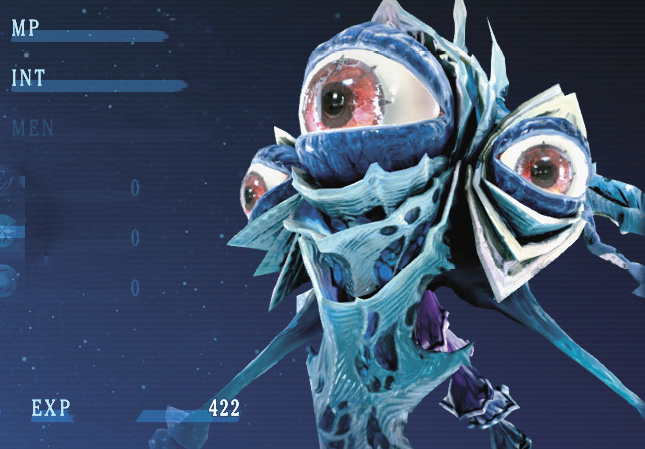
This Corrupt-type boss is found in the first iteration of the Cathedral of Oblivion. Its primary attacks are laser beams that originate from its giant eyeballs. Your main concern against the Eyebalone is to make sure that your party members evade its tracking beam attacks. Dry Eye is a three-pronged beam focused in a cone in front of Eyebalone. Keep your members away from it as best as you can. Eye of the Beholder is a tracking beam that follows a single party member. It’s mostly avoidable if the character it’s targeting is in your control, since you can maneuver away from it.
Eyebalone’s physical damage primarily comes from a ground pound, dealing damage in an area around it with a chance of inflicting paralysis. Aside from its beams and area-of-effect attacks, it can cast a long-range signeturgical spell called Radiant Lancer. Eyebalone summons a large projectile through a portal above a target party member, dealing extensive damage. You can avoid this by moving out of the way.
Although Eyebalone is weak to the Mutant Slayer role, it’s most likely too early in the game to have the role unlocked (it requires the Raven, Beast, Plant, and Insect Slayer roles maxed out).
Vidofnir 
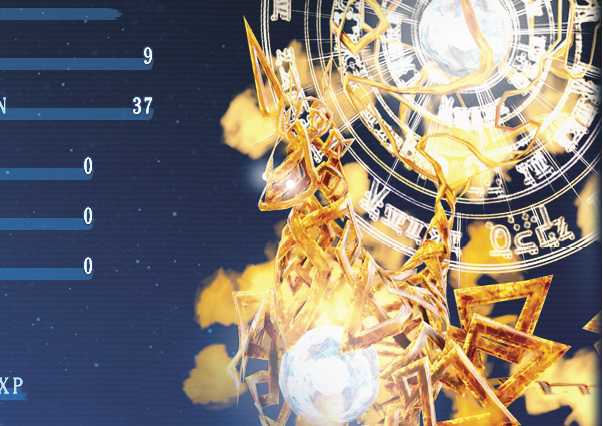
Vidofnir is an avian menace with a propensity for using fire- and wind-based attacks. Its main attacks to watch out for include Tornado, Volcanic Burst, and Divergent Shade.
To avoid Tornado, you’ll need to be sharp. Move your back line members out of harm’s way as soon as you see Vidofnir initiate the Tornado spell. This is best done by pausing into the Battle menu, then selecting and moving the endangered party member out of the way of the tornado’s path. Volcanic Burst is much more difficult to avoid since it appears quickly in a large area. It’s best to keep your party members away from each other (especially Miki, Fiore, and Emmerson) to mitigate the destruction done.
While battling against an avian, make sure to equip one of your damage-dealing party members like Fidel or Anne with the Raven Slayer role. This drastically reduces damage taken while increasing damage done to the flying beast.
Keep up with your defensive tactics while raising knocked-out party members as quickly as possible. Keep Miki alive to ensure that you always have healing available to the rest of your party.
Storm Dragon

The Storm Dragon is an extremely dangerous foe and is likely the most difficult encounter you come across if you attempt the third iteration of the cathedral before you attempt the Maze of Tribulations. It’s highly recommended that you take on the Cathedral of Oblivion from the Coast of Minoz first (the third generation of cathedrals opens up after the events on the fifth basement floor of the Symbological Facility Prime).
Preparation is vital here, and you should strongly consider the following precautions and measures before taking on the Storm Dragon. For healing roles, Healer, Sage, and Savior should be leveled and equipped on Miki. These help her heal up your hurt allies quickly and efficiently.
Since the Storm Dragon has a tremendous amount of physical defense, offense-based roles such as Berserker, Daemon, and Raven Slayer are highly recommended. If you fight the Storm Dragon without proper ATK ratings on your physical damage-dealers, you might not be able to do enough damage to last the entirety of the battle, so equip your party with the best weapons possible.
The Storm Dragon can cast the Enshelter spell, considerably raising its defense, so be sure to have the Void spell unlocked for Fiore (this requires the Purification Signets, Vol. 2 skill book). Learning the Cooking specialty to prepare attack-enhancing food such as Grilled Steak is a major boon for this encounter, too.
Interestingly, although its attributes don’t reflect this fact, the Storm Dragon absorbs all wind-based damage. Spells like Wind Blade and Tornado are not only ineffective, but also heal the dragon of lost HP. Also, keep in mind that Emmerson’s Seraphic Thunder is a wind-based attack. If you find that something is healing the dragon during the fight, check on your members’ battle sets to ensure that they aren’t using these types of attacks.
Like Vidofnir, the Storm Dragon can cast a devastating Tornado spell destroying anything in its way. This attack can instantly kill most party members, especially your weaker ones like Miki and Fiore, so maneuvering them away from danger is extremely important here!
Coast of Minoz
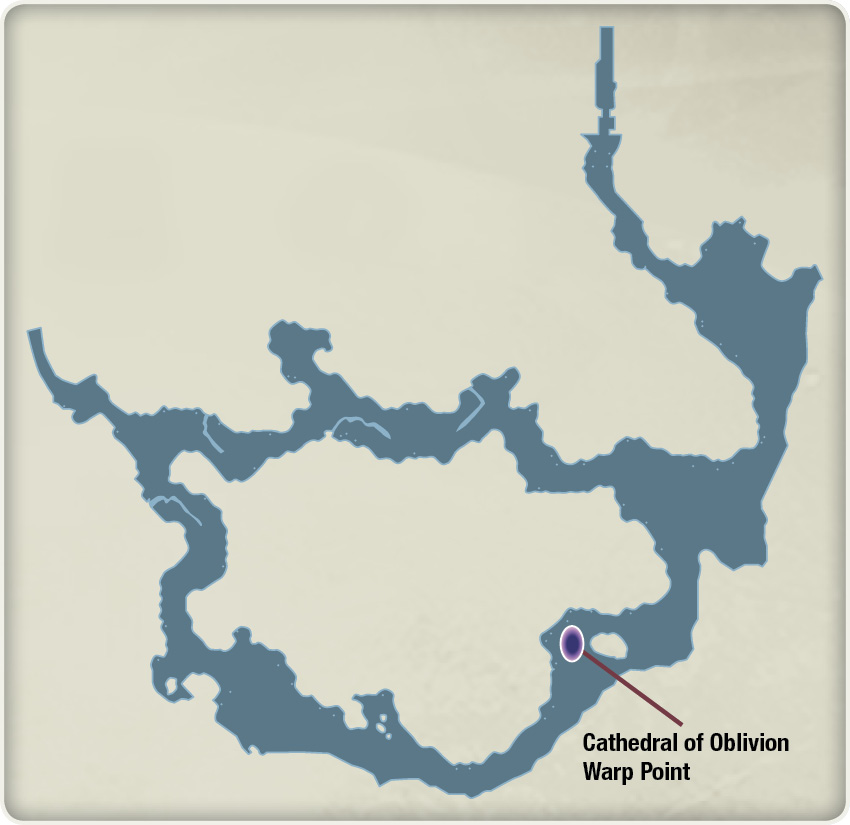
| Cathedral Iteration | Room 1 | Room 2 | Room 3 Blue Talisman | Room 4 | Room 5 Blood Chain Mail | Room 6 | Room 7 Asclepius |
|---|---|---|---|---|---|---|---|
| First-Generation Enemies | Apprentice Scumbag x 3 | Axe Beak x 2, Stone Golem | Eyebalone x1 (Lv. 25) | — | — | — | — |
| Second-Generation Enemies | Lizard Warrior x 3 | Corpse Bat x 2, Ridiculer | Adephaga Milies x 3 | Devil Child x 2, Seventh Core | Vidofnir (Lv. 45) | — | — |
| Third-Generation Enemies | Bone Knight x 3 | Toy Soldier x 3 | Lamia Radix x 2, Welwitschia | Dinosaurus x 3 | Guiafairo x 2, Jatayu | Chaotic Cell x 2, Sacred Guard | Storm Dragon (Lv. 80) |
Resulian Plains
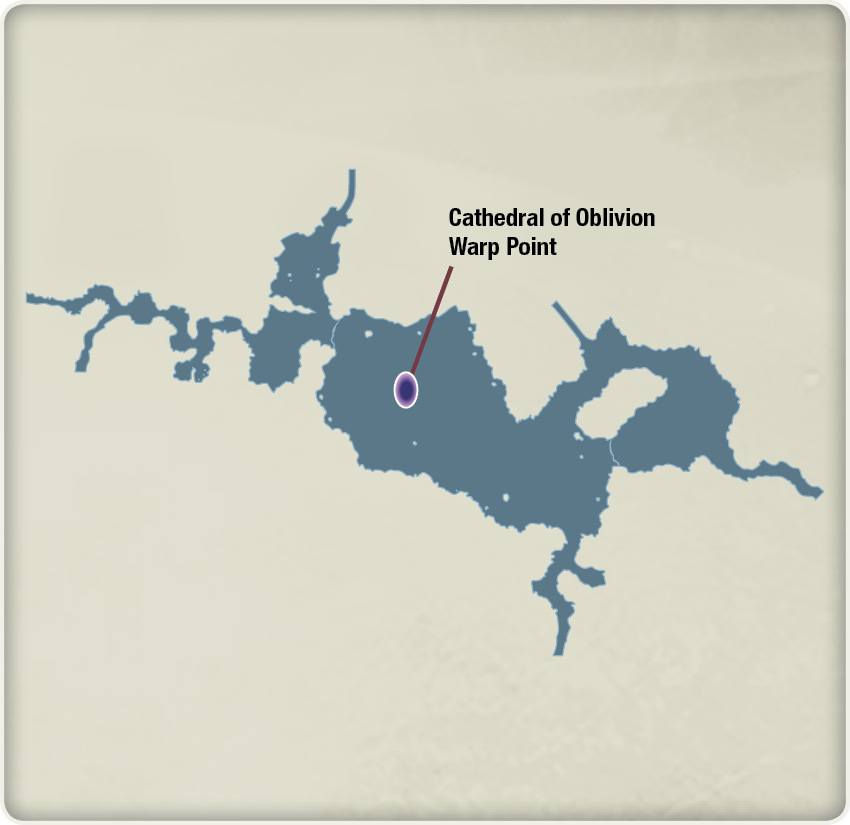
| Cathedral Iteration | Room 1 | Room 2 | Room 3 Green Talisman | Room 4 | Room 5 Duel Armor | Room 6 | Room 7 Arcadian Serenity |
|---|---|---|---|---|---|---|---|
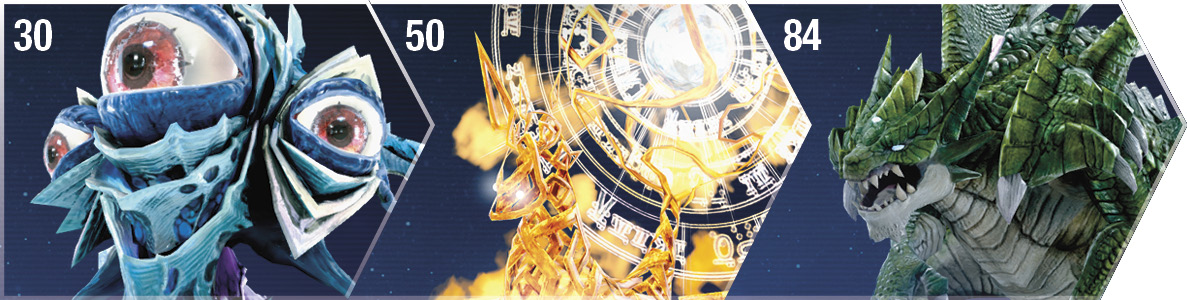
| First-Generation Enemies | Apprentice Scumbag x 3 | Harpyia x 2, Carnivorous Plant | Eyebalone (Lv. 30) | — | — | — | — |
| Second-Generation Enemies | Lizard Warrior x 3 | Corpse Bat x 2, Ridiculer | Stroper x 3 | Devil Child x 2, Cursed Horror | Vidofnir (Lv. 50) | — | — |
| Third-Generation Enemies | Adephaga Prox x 3 | Toy Soldier x 3 | Lamia Radix x 2, Welwitschia | Dinosaurus x 3 | Guiafairo x 2, Jatayu | Chaotic Cell x 2, Sacred Guard | Storm Dragon (Lv. 84) |
West of the Eastern Eihieds
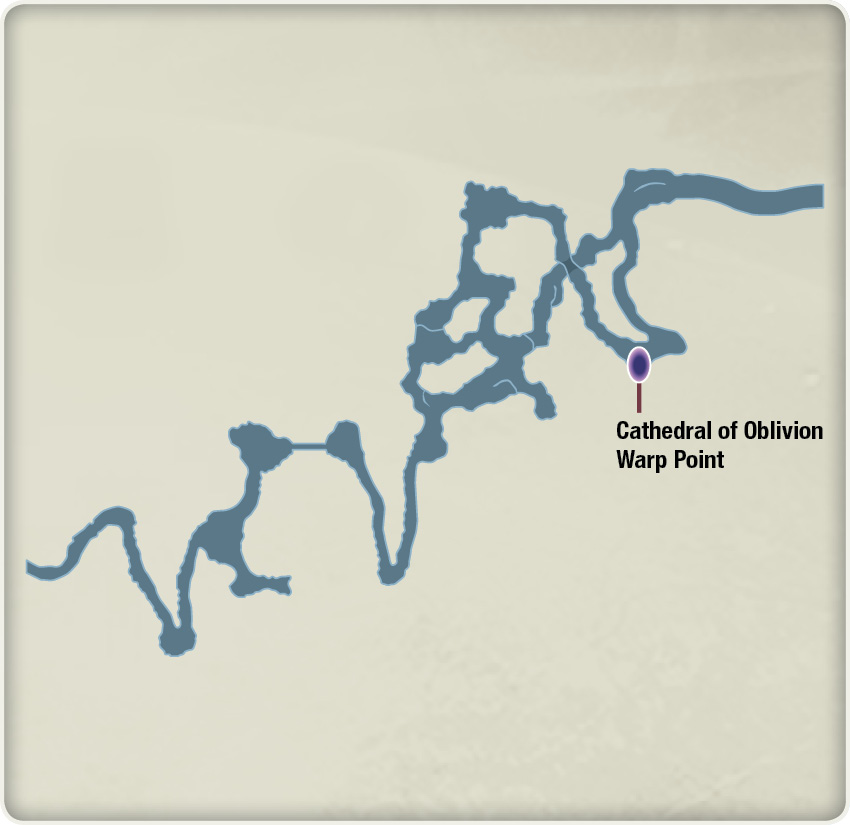
| Cathedral Iteration | Room 1 | Room 2 | Room 3 Red Talisman | Room 4 | Room 5 Atrementous Usurper | Room 6 | Room 7 Carbuncle’s Prison |
|---|---|---|---|---|---|---|---|
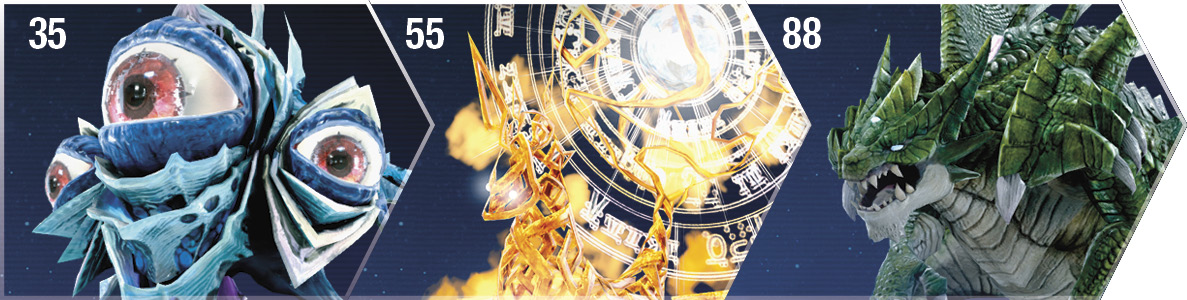
| First-Generation Enemies | Saber-Toothed Tiger x 3 | Kobold Bandit x 3 | Eyebalone (Lv. 35) | — | — | — | — |
| Second-Generation Enemies | Lizard Shaman x 3 | Corpse Bat x 2, Ridiculer | Stroper x 3 | Devil Child x 2, Cursed Horror | Vidofnir (Lv. 55) | — | — |
| Third-Generation Enemies | Great Scumbag x 3 | Toy Soldier x 3 | Lamia Radix x 2, Welwitschia | Dinosaurus x 3 | Guiafairo x 2, Jatayu | Chaotic Cell x 2, Sacred Guard | Storm Dragon (Lv. 88) |
Trei’kuran Dunes
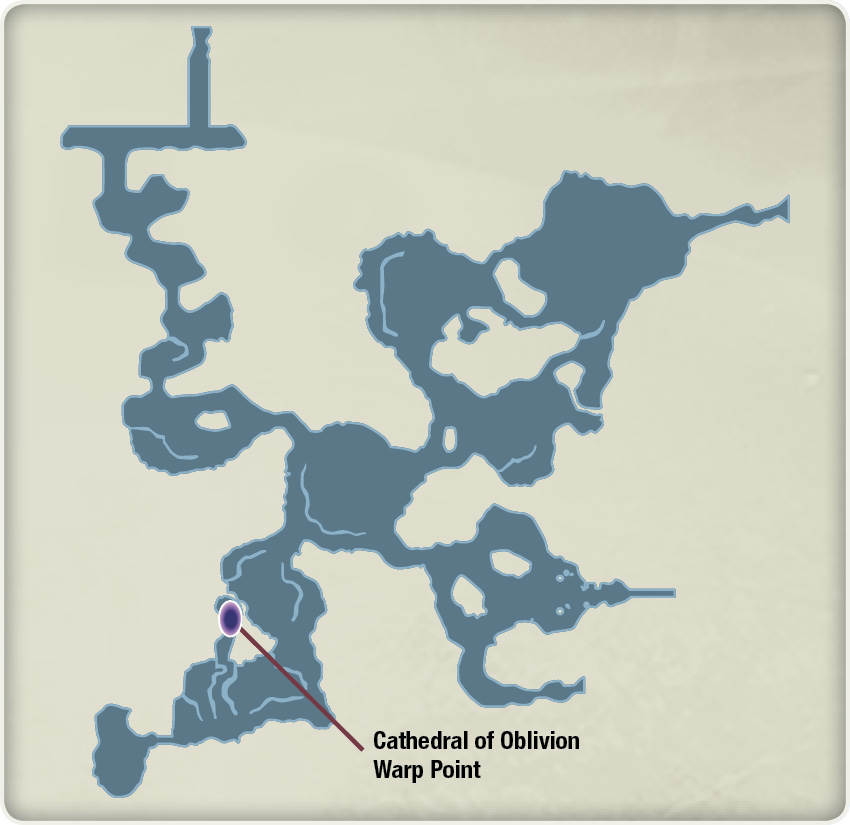
| Cathedral Iteration | Room 1 | Room 2 | Room 3 | Room 4 | Room 5 Faerie Band | Room 6 | Room 7 Bloody Knuckles |
|---|---|---|---|---|---|---|---|
| Second-Generation Enemies | Metal Golem x 3 | Vampire Bat x 2, Cursed Horror | Hades Crab x 3 | Lesser Dragon x 3 | Vidofnir (Lv. 60) | — | — |
| Third-Generation Enemies | Kobold Ranger x 3 | Skeleton Soldier x 2, Doleful Lord Brahms | Amber Princess x 3 | Chaotic Cell x 2, Sacred Guard | Avenger x 3 | Valiant Conscript x 2, Blutgang | Storm Dragon (Lv. 92) |

Northern Territory of Sohma
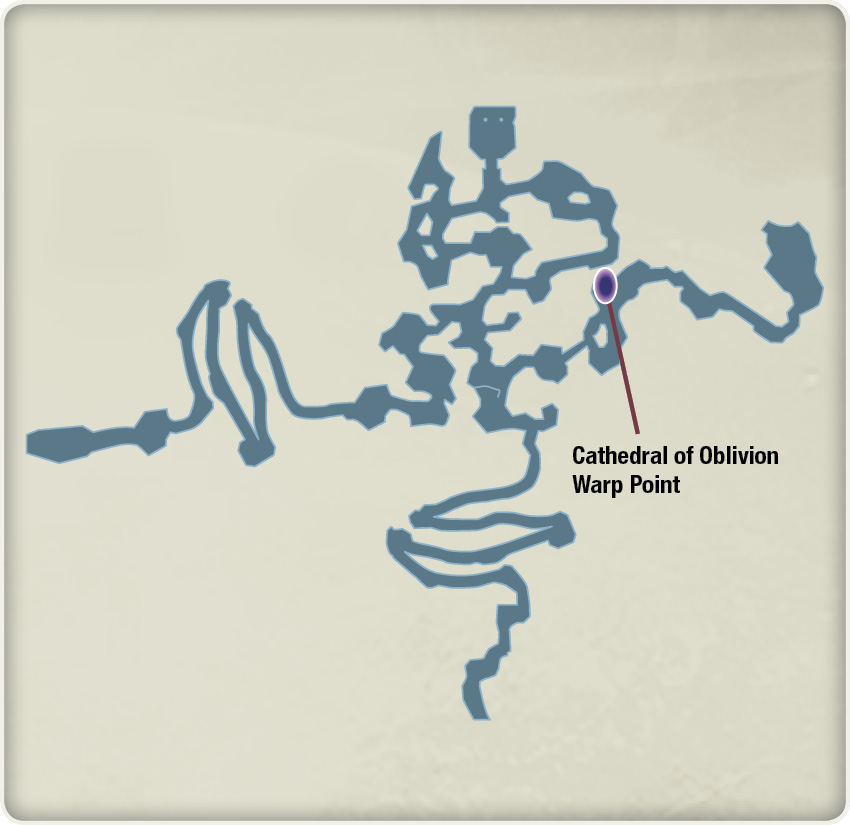
| Cathedral Iteration | Room 1 | Room 2 | Room 3 | Room 4 | Room 5 Healing Band | Room 6 | Room 7 Chrome Nightmare |
|---|---|---|---|---|---|---|---|
| Second-Generation Enemies | Metal Golem x 3 | Stroper x 2, Cursed Horror | Adephaga Prox x 3 | Antlered Tortoise x 3 | Vidofnir (Lv. 65) | — | — |
| Third-Generation Enemies | Kobold Knave x 3 | Skeleton Soldier x 2, Doleful Lord Brahms | Amber Princess x 3 | Chaotic Cell x 2, Sacred Guard | Avenger x 3 | Valiant Conscript x 2, Blutgang | Storm Dragon (Lv. 96) |

Alcazar of the Golden Age: A2
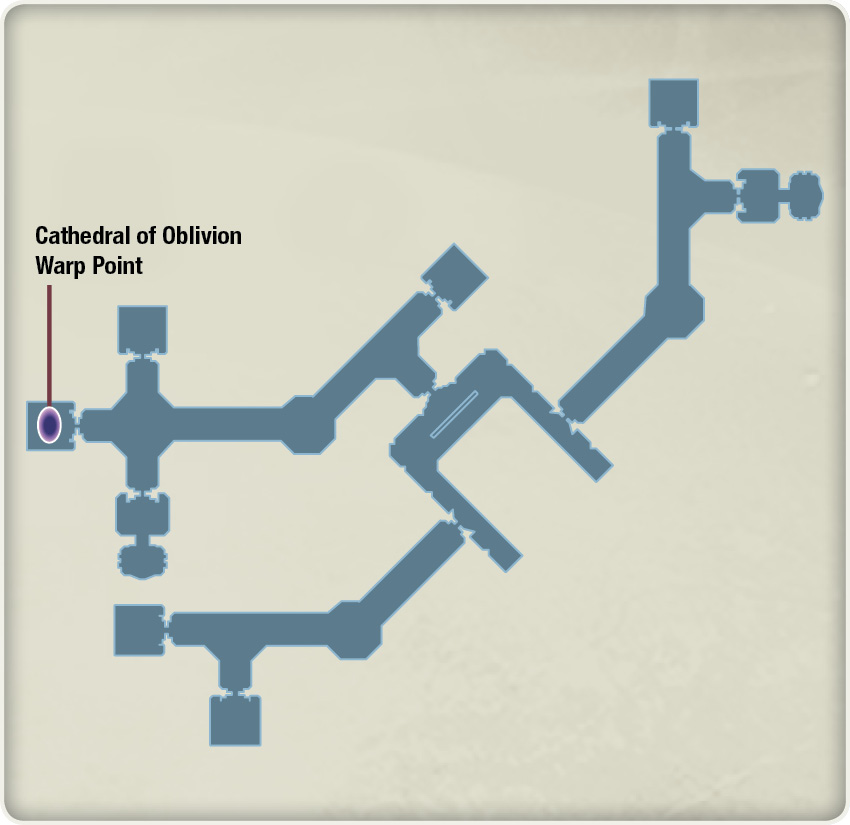
| Cathedral Iteration | Room 1 | Room 2 | Room 3 | Room 4 | Room 5 | Room 6 | Room 7 Farwell |
|---|---|---|---|---|---|---|---|
| Third-Generation Enemies | Avenger x 3 | Valiant Conscript x 2, Blutgang | Bane Dragon x 3 | Maidenly Blossom x 3 | Gust Hornet x 2, Polyphaga Gamboge | Melusine x 3 | Storm Dragon (Lv. 99) |