Star Ocean: Integrity and Faithlessness Guide Part III: Main Story Walkthrough Chapter 12
Mission: Find Feria and Defeat Alma
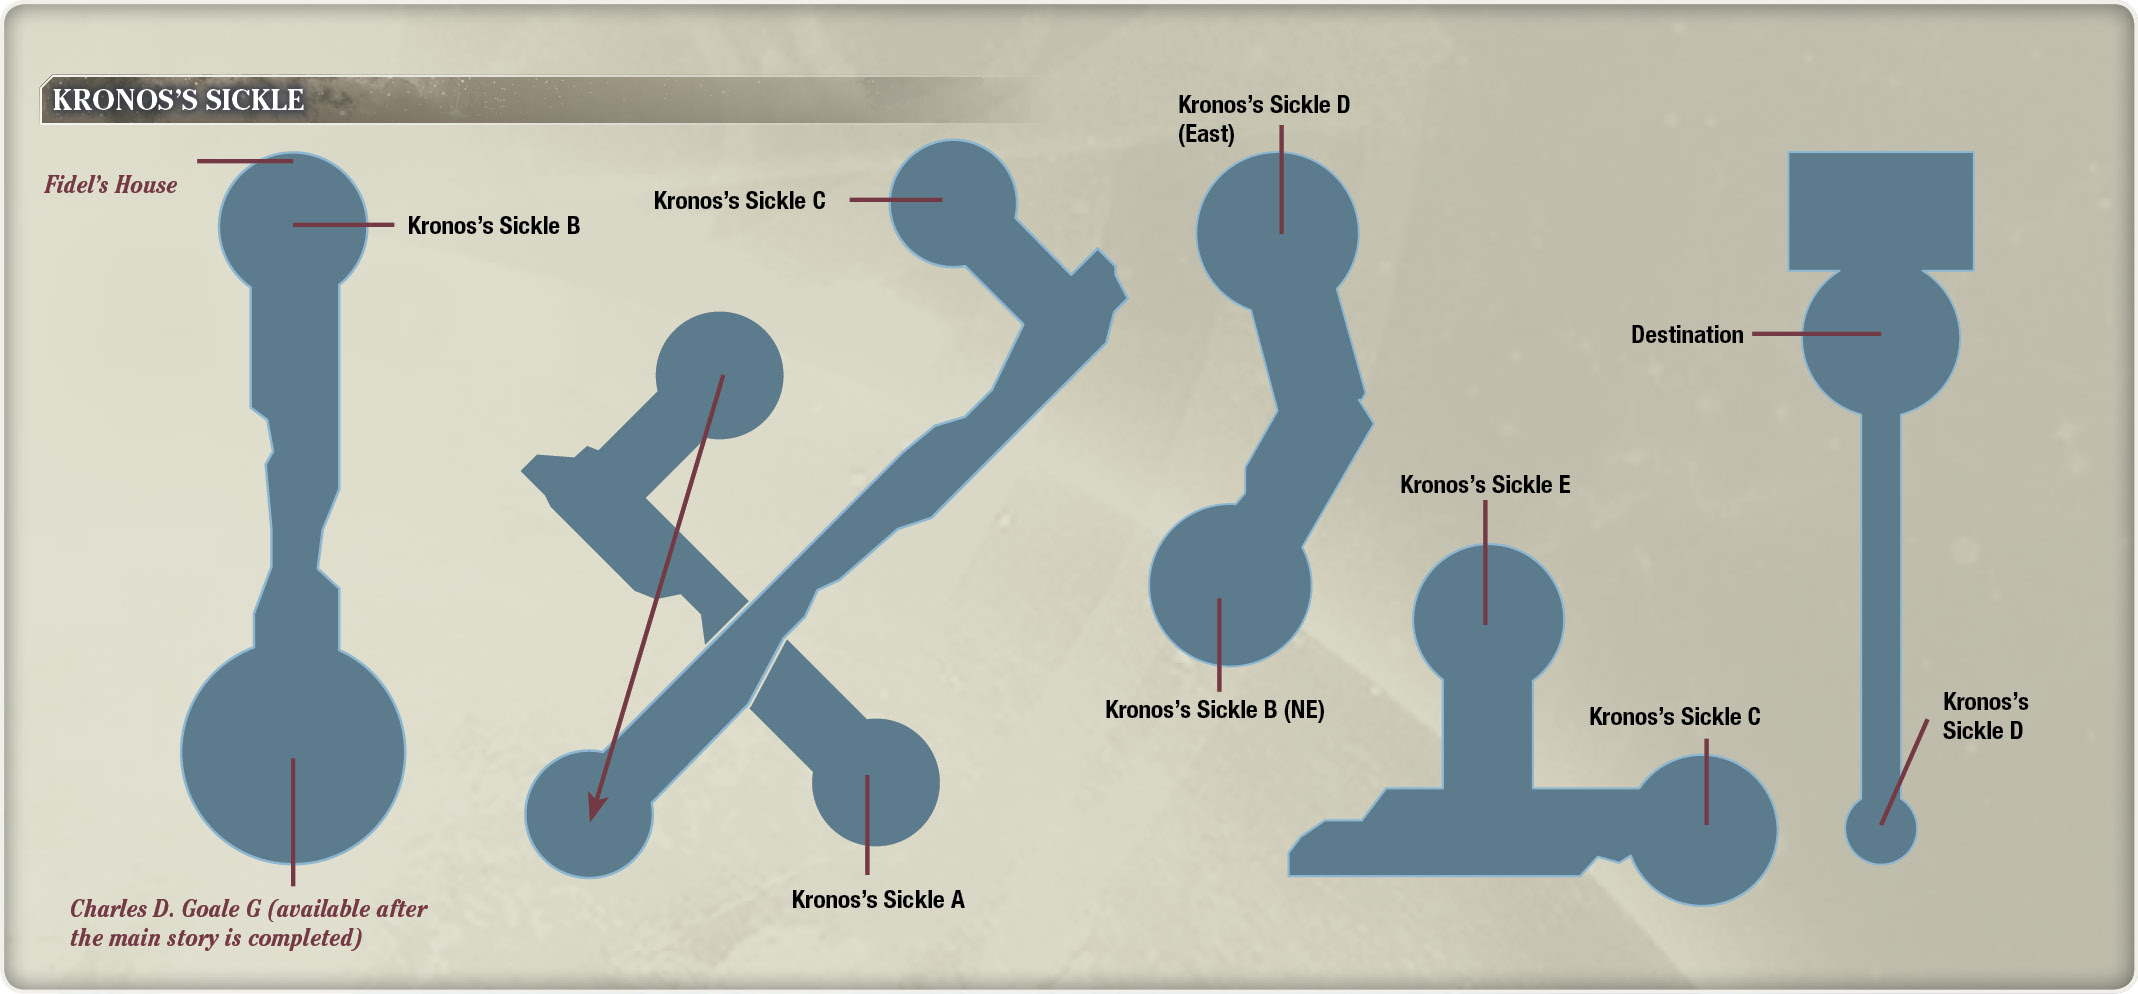
General Alma arrogantly waits for our heroes in a symbology-created dimension. Fidel, Miki, Victor, Fiore, Emmerson, Anne, and Relia set out for one final mission.
Action Checklist
- Optional: Warp back to Faykreed to complete remaining side quests
- Optional: Trigger outstanding Private Actions
- Optional: Complete Cathedral of Oblivion to upgrade weapons
- Destroy General Alma
Mission Walkthrough
With Thoras defeated, all that’s left for you to do is to climb Kronos’s Sickle in order to find General Alma and defeat him.
Forsaken Beast

Harbinger of the Apocalypse

Bane Dragon

Rout the Rebel General
Although there’s no in-game map for the area here, your path is straightforward. If you go directly north from the battle with Thoras, you’ll encounter a conveniently placed physical displacement point. You can use this to travel back to Fidel’s House, back on Faykreed. Of course, this is a good time to go back to
complete any optional objectives like side quests and Private Actions before finishing the main story.
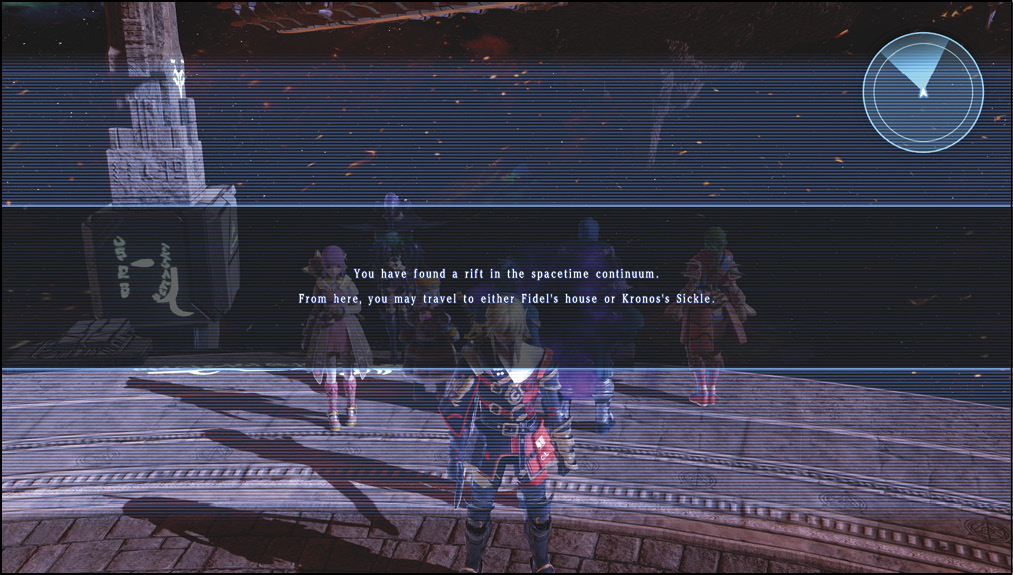
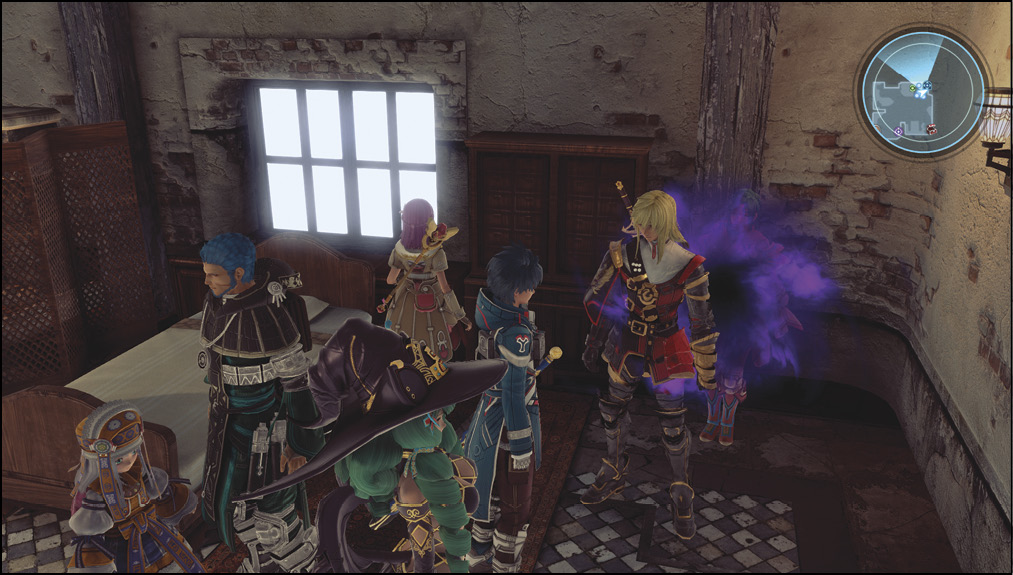
At this point in the game, the side quest log can be 100% completed. Further Private Action triggers can be unlocked, as well (if you haven’t viewed them all).

When you’re ready to take down Alma for good, return to Kronos’s Sickle through the warp point in Fidel’s House. The transport pad to the next area is directly in front of the warp point when you arrive at Kronos’s Sickle. Operate it to get to the next platform in the alternate dimension.
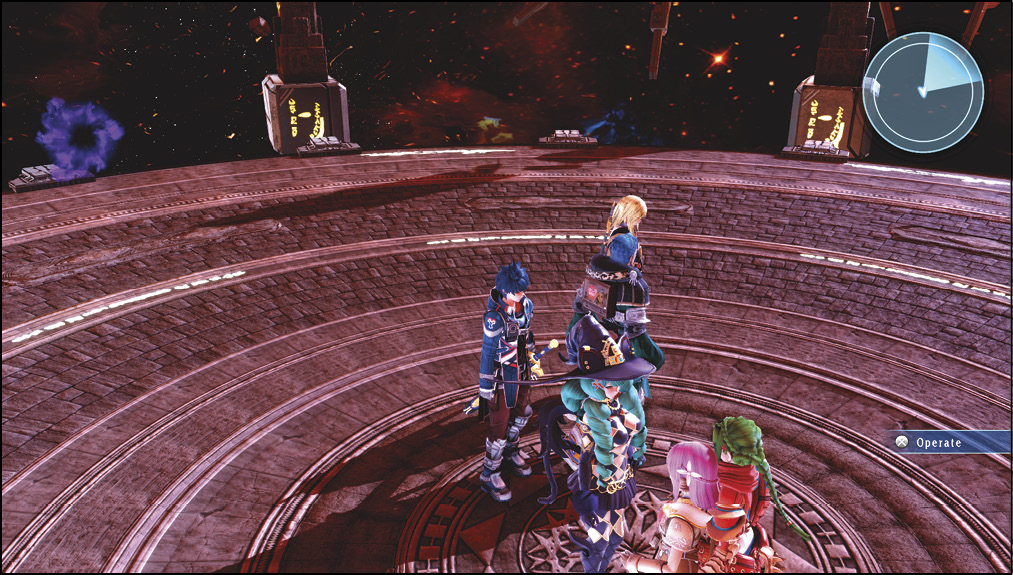
Here, you’ll see a giant beast off in the distance. This is a forced encounter (as are all of the battles here), so you’ll have to defeat the Forsaken Beast to progress. This giant canine likes to initiate the fight with a luminescent beam that deals a large amount of damage to anything in its way, so avoid it as best as you can. After you slay the beast, go up the northeast ramp to get to the next area.
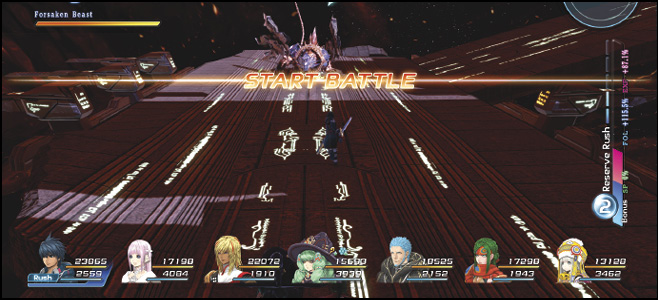
There are a few more encounters on this platform. First is a small group of Valiant Conscripts, followed by a battle with a pair of sentries, two Harbingers of the Apocalypse.
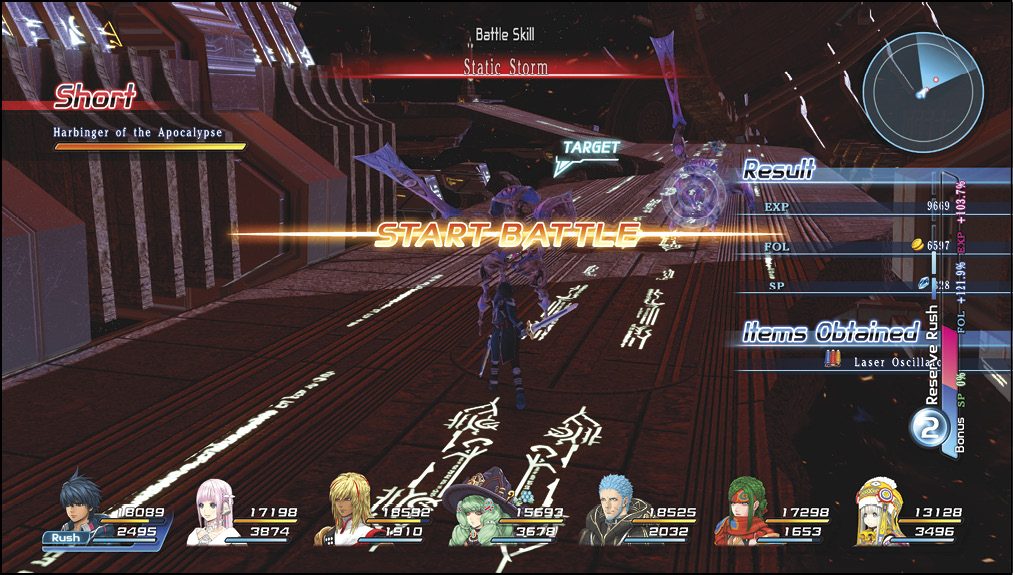
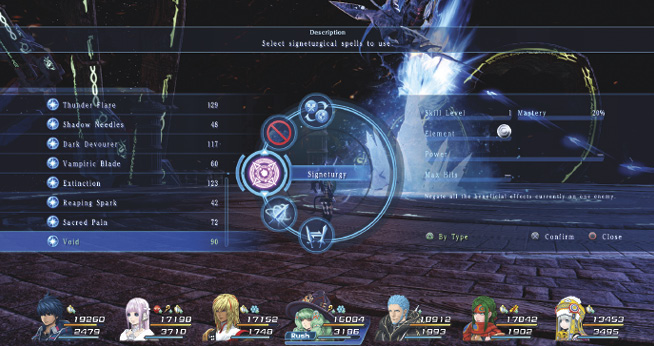
These corrupted crystal guardians cast the powerful Extinction signeturgy spell, so stay out of the spell’s blast radius to minimize damage taken. Defeat them and the following Valiant Conscripts, then continue through the area up to another platform with another group of Valiant Conscript enemies. Nothing noteworthy here, so ascend another level for one more mini-boss encounter.
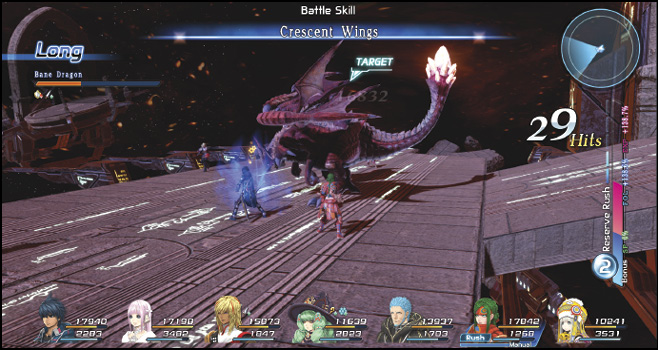
The Bane Dragon guards the remaining teleport pad up to the encounter with General Alma. It’s an avian-type monster with high ATK power, as well as the Enhance ability (which should be dispelled with Fiore’s Void). Slay the dragon, then make your way up the ramp and up to the final area of Kronos’s Sickle.
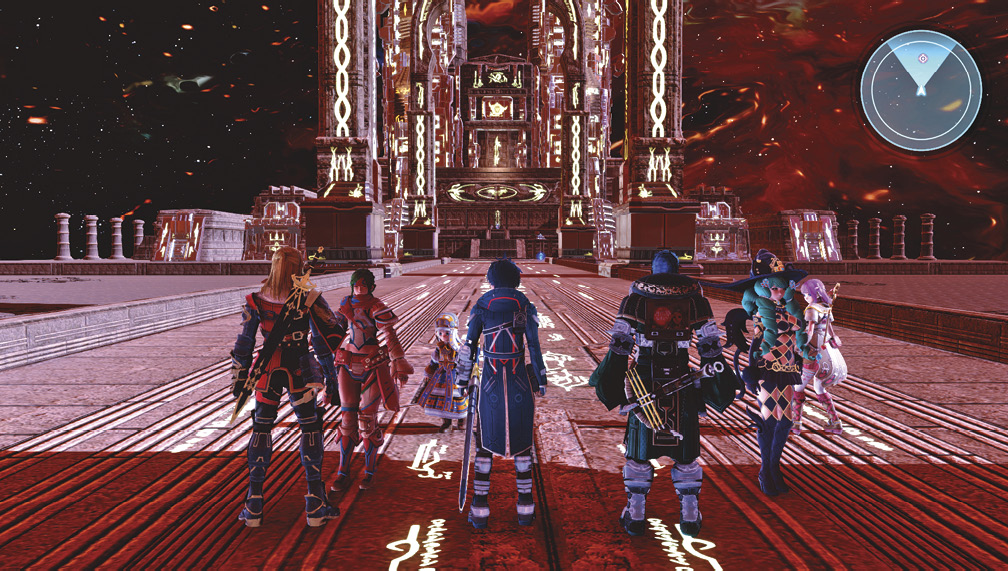
In conventional final boss tradition, you’ll have to run across a long bridge, leading up to a save point. Save your progress, heal any wounds, and get ready to confront Alma up ahead.
General Alma


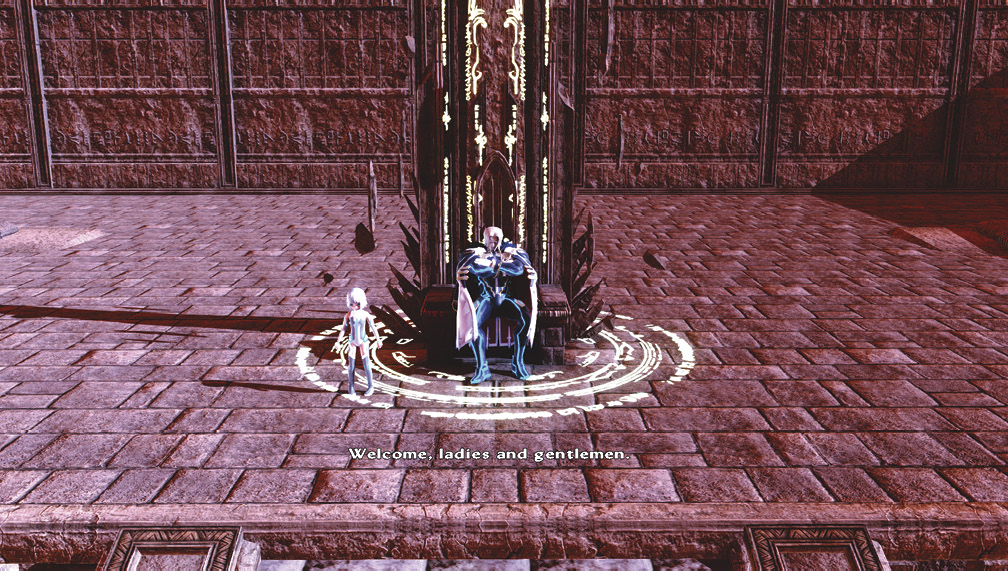
General Alma imbues himself with Feria’s powers, then proceeds to attack the party. You won’t be able to damage him at first, no matter what you do. Your goal is to simply stay alive for the meantime. Although you can’t damage him, you can dispel any buffing effects he casts on himself, so make sure to cast Fiore’s Void whenever you see enhancements under General Alma’s status bar.
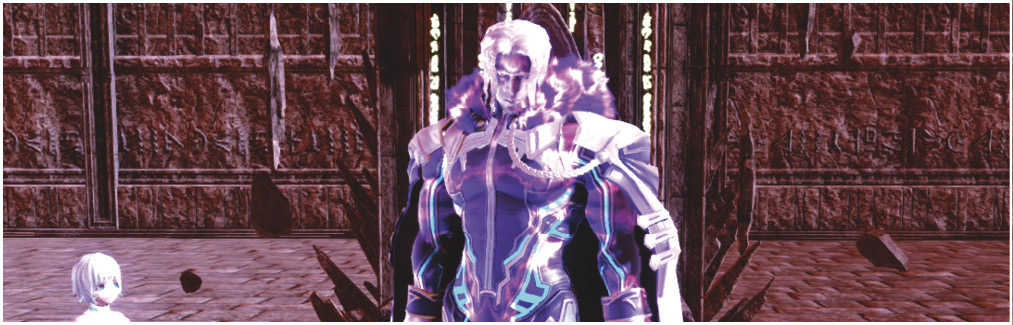
In his first form, Alma primarily deals ATK damage. He’s fond of lunging across the battlefield, delivering fierce punches to your party members. After a certain period of time, a cutscene triggers, with Relia losing hope.
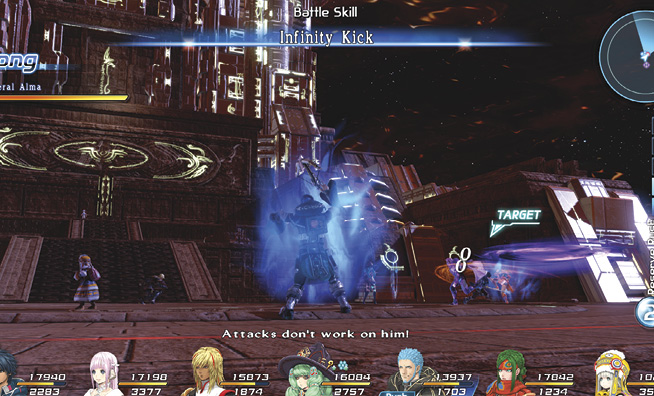
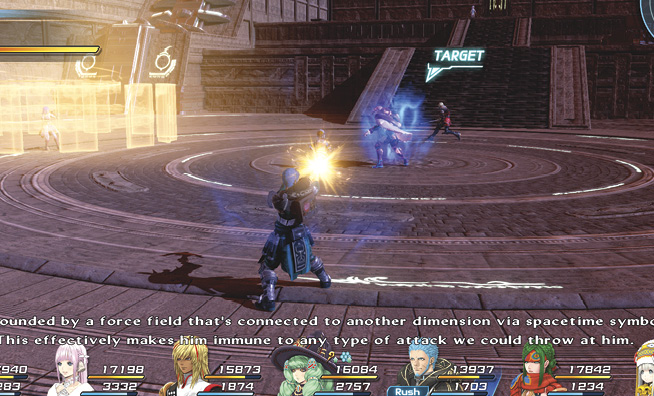
After Fidel’s words of encouragement, Relia musters up the strength to split Alma’s bond with her sister, disabling his immunity. Now’s your chance to destroy him.

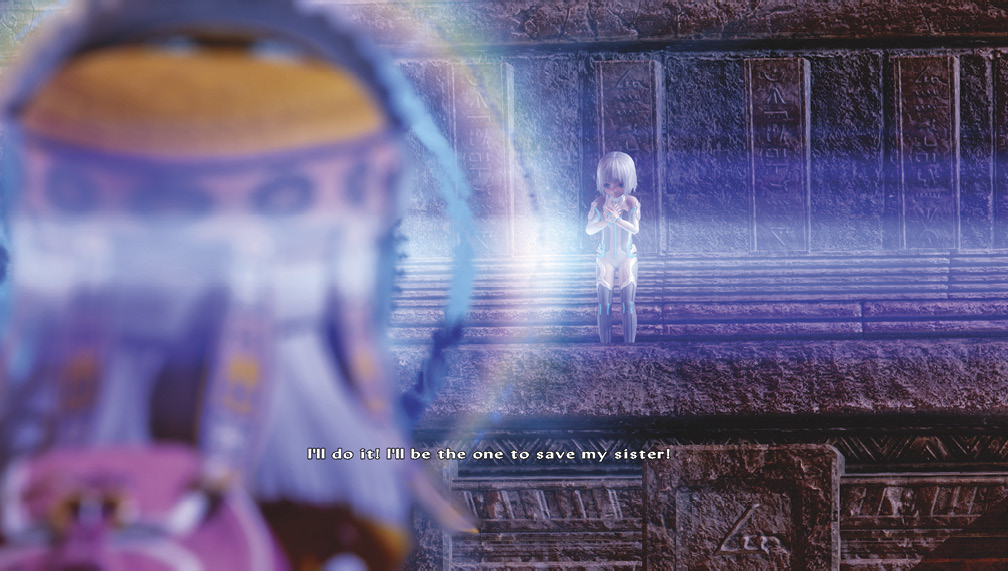
General Alma

Since he’s only human here, the Warrior Slayer role helps greatly in depleting Alma’s HP. Once he’s at 50%, another cutscene triggers.
The weakened general commences phase two of his plan, imbuing signets directly onto his body. The fight becomes increasingly difficult due to his enhanced powers. He gains access to a new ability called Bosom Blow, which knocks down anyone close to him, with a chance to stun.
Take control of Miki and Fiore to keep them away from this AoE attack so they can heal your injured party members.
If Miki’s roles are set up properly (with the Healer, Savior, and Sage roles), she should be able to keep all of your party members healthy while you chip away at Alma’s health. Use whatever means necessary to take him down, including burning through your Reserve Rush with cancel combos.
When his life total reaches 25%, he becomes extremely desperate, forcing Feria to completely merge with him.
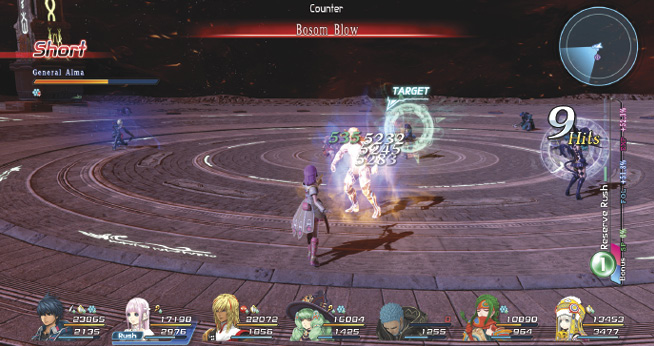

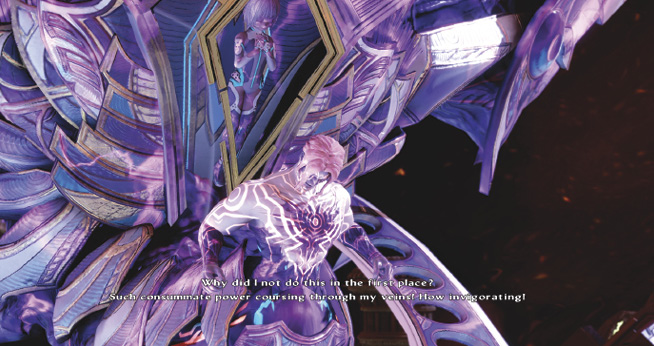
Transmogrified Alma

Like Alma’s first form, you won’t be able to damage him, so concentrate on evading his projectiles and attacks.
Relia is reluctant to use her powers again in fear of harming her sister.
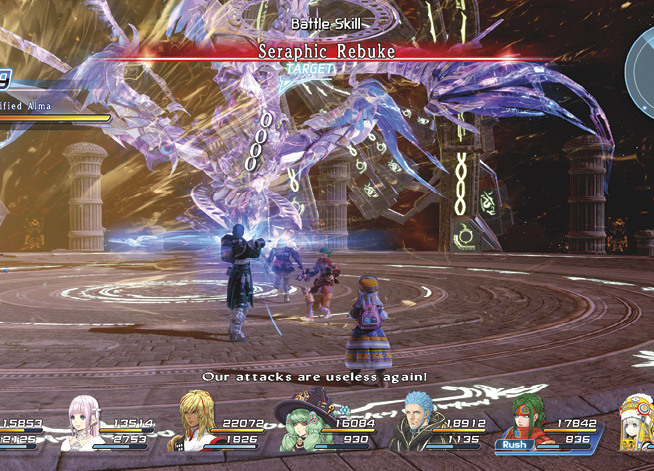
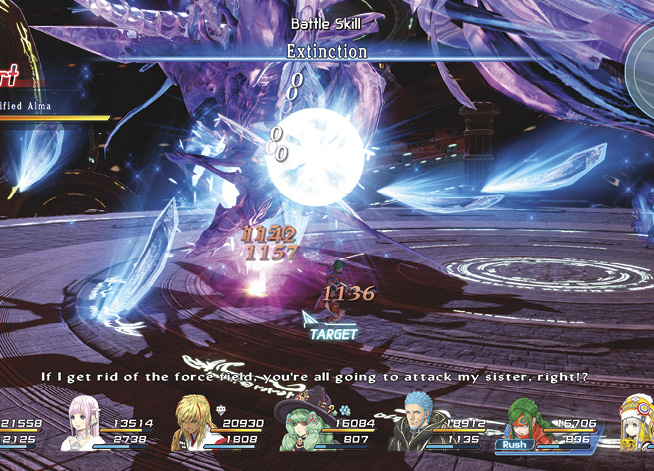
Alma recognizes her hesitation and unleashes a devastating attack called Annihilation.
This transitions into a cutscene, with everyone pleading with Relia to do what it takes to end the madness. Eventually, Feria and Relia gather their resolve to nullify Alma’s invincibility.
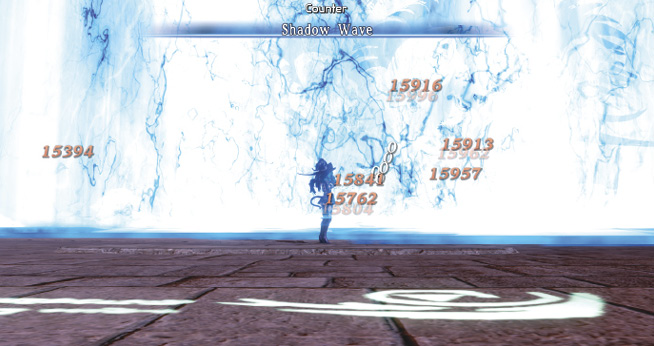
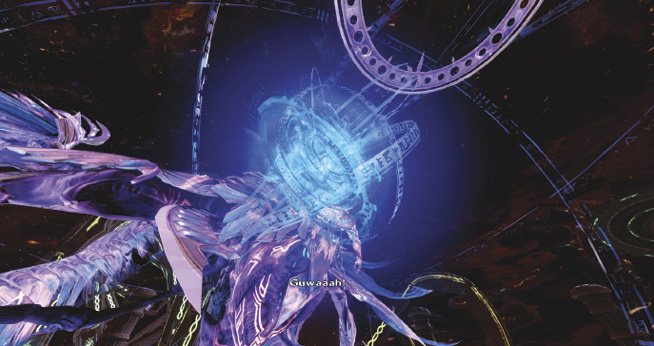
Now that you can damage him, unleash everything you have on Transmogrified Alma while avoiding his destructive area-of-effect attacks. Ogrefall is particularly harmful, potentially killing anyone in its vicinity.
Additionally, Alma can silence party members, which can be extremely detrimental to Miki. Use Chamomile or cast Cure Condition on anyone afflicted with these ailments.
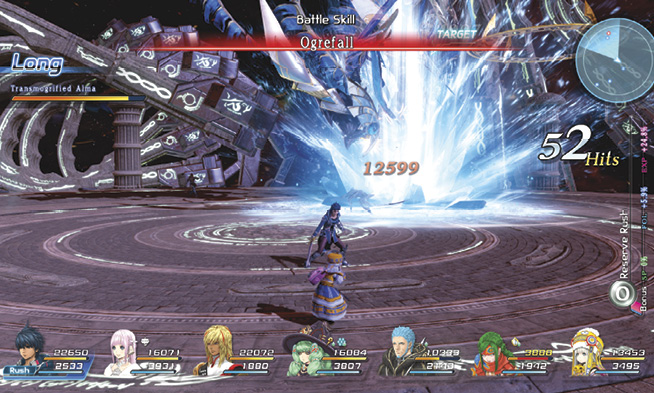
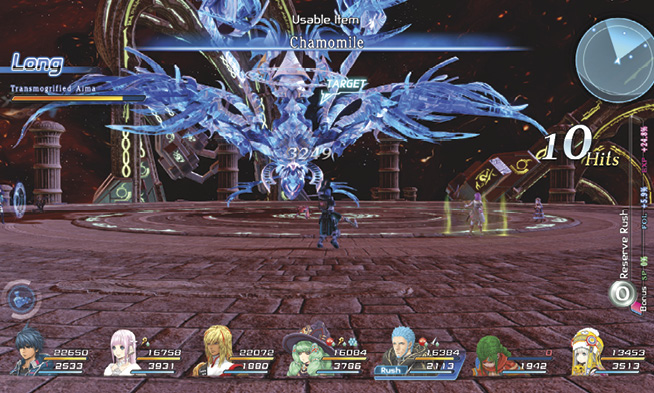
If you’re fortunate enough to have unlocked the God Slayer role (Lv. 5 Mutant Slayer and Lv. 9 Warrior Slayer), you can make this encounter much more manageable, although it’s not required. As long as Miki, Fiore, and Emmerson are out of harm’s way, you should be able to keep most of your party members alive through Faerie Light and Resurrection. Expect to raise your close-range combatants frequently because of Alma’s heavy damage output around him. If Miki goes down, spare no expense and use either Fresh Sage or Signet Card: Raise Dead to revive her as soon as possible.
Thanks to his newfound powers, Alma can cast Angel Feather, a spell that boosts all of his stats. This requires your immediate attention and should be promptly dispelled with Fiore’s Void (so it’s vital to keep Fiore alive).
When the situation is stabilized, spend any Reserve Rush gauge you’ve accumulated to deal significant amounts of damage to Alma. Feel free to use Vitaliteas or Robust Vitaliteas (this is the final battle, after all, so don’t be thrifty with your items!). Eventually, you’ll be victorious, with the villain completely vanquished.
Congratulations on completing the main storyline! After the credits, you can reload your last save file in order to complete optional tasks. Furthermore, a new dungeon crawl is unlocked—the Maze of Tribulations.