Star Ocean: Integrity and Faithlessness Guide Part III: Main Story Walkthrough Chapter 5
Mission: Find Relia’s Origins
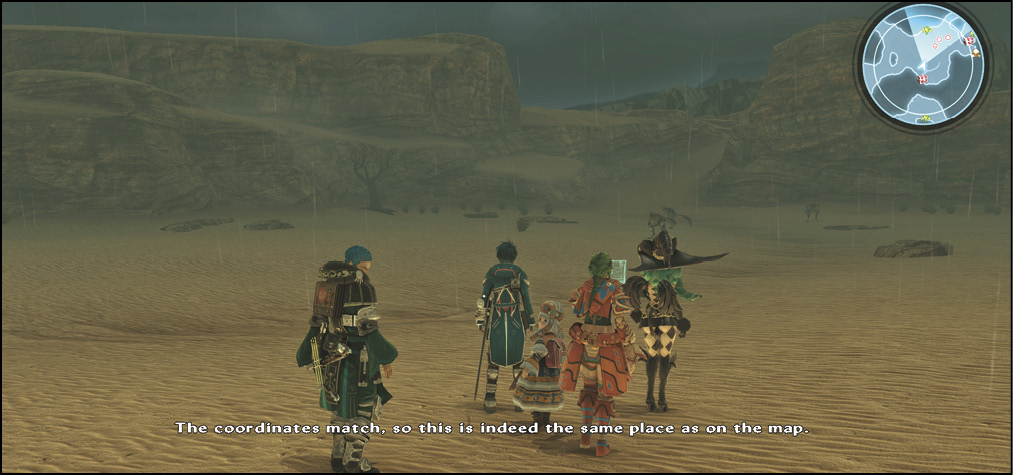
As Miki recovers from the devastating wounds she suffered from the encounter with Pavine, Fidel and the others go on the hunt for answers without her. Their next destination is located somewhere in the dusty dunes of Trei’kur.
Action Checklist
- Optional: Complete side quests and view Private Actions with your new teleportation capabilities
- Uncover the secret entrance of the Cryptic Research Facility
- Find Relia’s origins and escape the facility
Mission Walkthrough
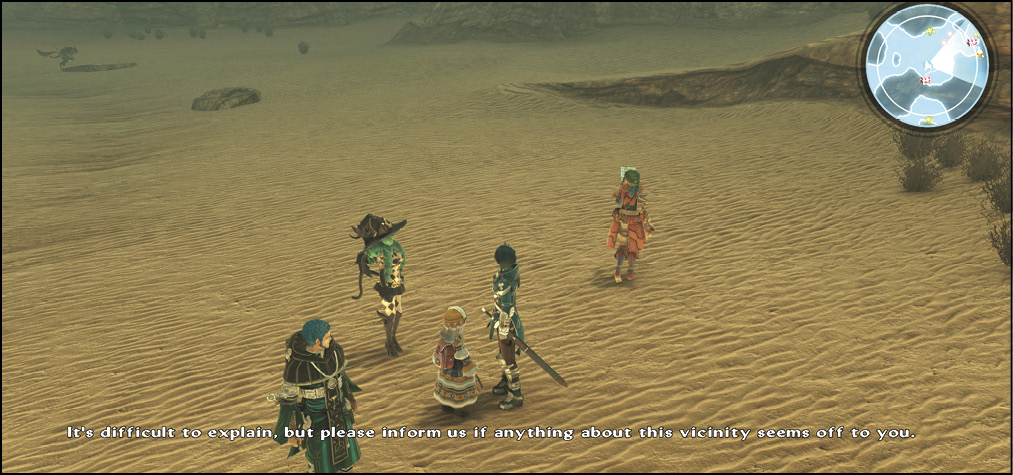
Now that you have a lead to follow (thanks to the starship’s advanced technology), your next mission is to find the laboratory that Relia mentioned during her memory recollection. The location you’re looking for is suspected to be masked with a cloaking field. You’ll need to explore the dunes and find anything that looks suspicious.
You’re also given a new key item, the Communicator. Using this through the Item menu allows you to instantly transport the party back to the Charles D. Goale. From there, you can be beamed to any locations on Faykreed that you’ve visited.
For now, use the Communicator to return to Emmerson’s starship to save your progress and do some shopping.
Shops—Charles D Goale
 Myth & Weston Outfitters
| Item | Cost | Type |
|---|---|---|
| Acuity Crest | 3000 | Accessory |
| Arcane Crest | 1500 | Accessory |
| Attack Crest | 3000 | Accessory |
| Energy Crest | 1500 | Accessory |
| Fortitude Crest | 3000 | Accessory |
| Mind Crest | 3000 | Accessory |
| Resistance Suit | 2650 | Armor |
| Riot Gear | 2450 | Armor |
| Booster Wand | 2800 | Weapon |
| Ceramic Sword | 3500 | Weapon |
| Mechanical Fists | 3150 | Weapon |
| Mekhanesphere | 4400 | Weapon |
| Microblaster | 3700 | Weapon |
 Atoms R Us Provisions
| Item | Cost | Type |
|---|---|---|
| Diffusion Device | 1080 | Material |
| Micro Circuit | 1200 | Material |
| Rivets | 360 | Material |
| Wire | 900 | Material |
| Basil | 90 | Usable |
| Blackberries | 80 | Usable |
| Blueberries | 40 | Usable |
| Chamomile | 180 | Usable |
| Cinnamon | 300 | Usable |
| Fresh Sage | 160 | Usable |
| Jasmine | 90 | Usable |
| Lavender | 300 | Usable |
| Mint | 90 | Usable |
 The Future Is Now
| Item | Cost | Type |
|---|---|---|
| Common Eggs | 90 | Food |
| Fresh Vegetables | 180 | Food |
| Prehistoric Meat | 180 | Food |
| Spring Water | 240 | Food |
| Whole Milk | 360 | Food |
| Olive Oil | 240 | Material |
| Seasonings | 60 | Material |
| Wheat Flour | 240 | Material |
| White Rice | 180 | Material |
Optional
Private Actions
| Charles D. Goale |
| Resulian Fruit Wine |
|
| Fiore’s Mentor Waxes Inspirational |
| Fiore’s Mentor Waxes Admonitory |
| Sthal |
| Mom and Dad for Fidel |
| Climate Change |
|
| Myiddok |
| Mistaken Identity |
| Fidel’s Relationship Status |
| Survey on Singing |
| Fidel’s Type |
| Fidel’s First Love |
| Central Resulia |
| Seemingly Unattainable |
| Faykreedian Beauty |
| Stuffed Full of Kindness |
| Return to Sender |
|
| Picking Presents |
| Outstretched Hand |
| The Joy of Giving |
| Gift Guidance |
| Santeroule |
| Different Frame of Reference |
|
| Different Perspectives |
| Emotionally Distant |
| Mr. Rabbit’s Change of Clothes |
Side Quests
| Central Resulia |
| Building Character into Your Crafts |
| Collecting Coal for the Fire |
| Subjugation Directive: Napto |
|
| Subjugation Directive: Moogmorts |
| Death to the Dine-and-Dasher |
|
| Subjugation Directive: Walking Conflagrations |
| Santeroule |
| Of Vital Importance After Hours |
| Sexy Little Devil |
| Building a House Takes a Collective Effort |
| Open Season on Fran |
|
Kobold Bandit

Terarin

Sandeater

Rock Hermit

Uncloak the Laboratory
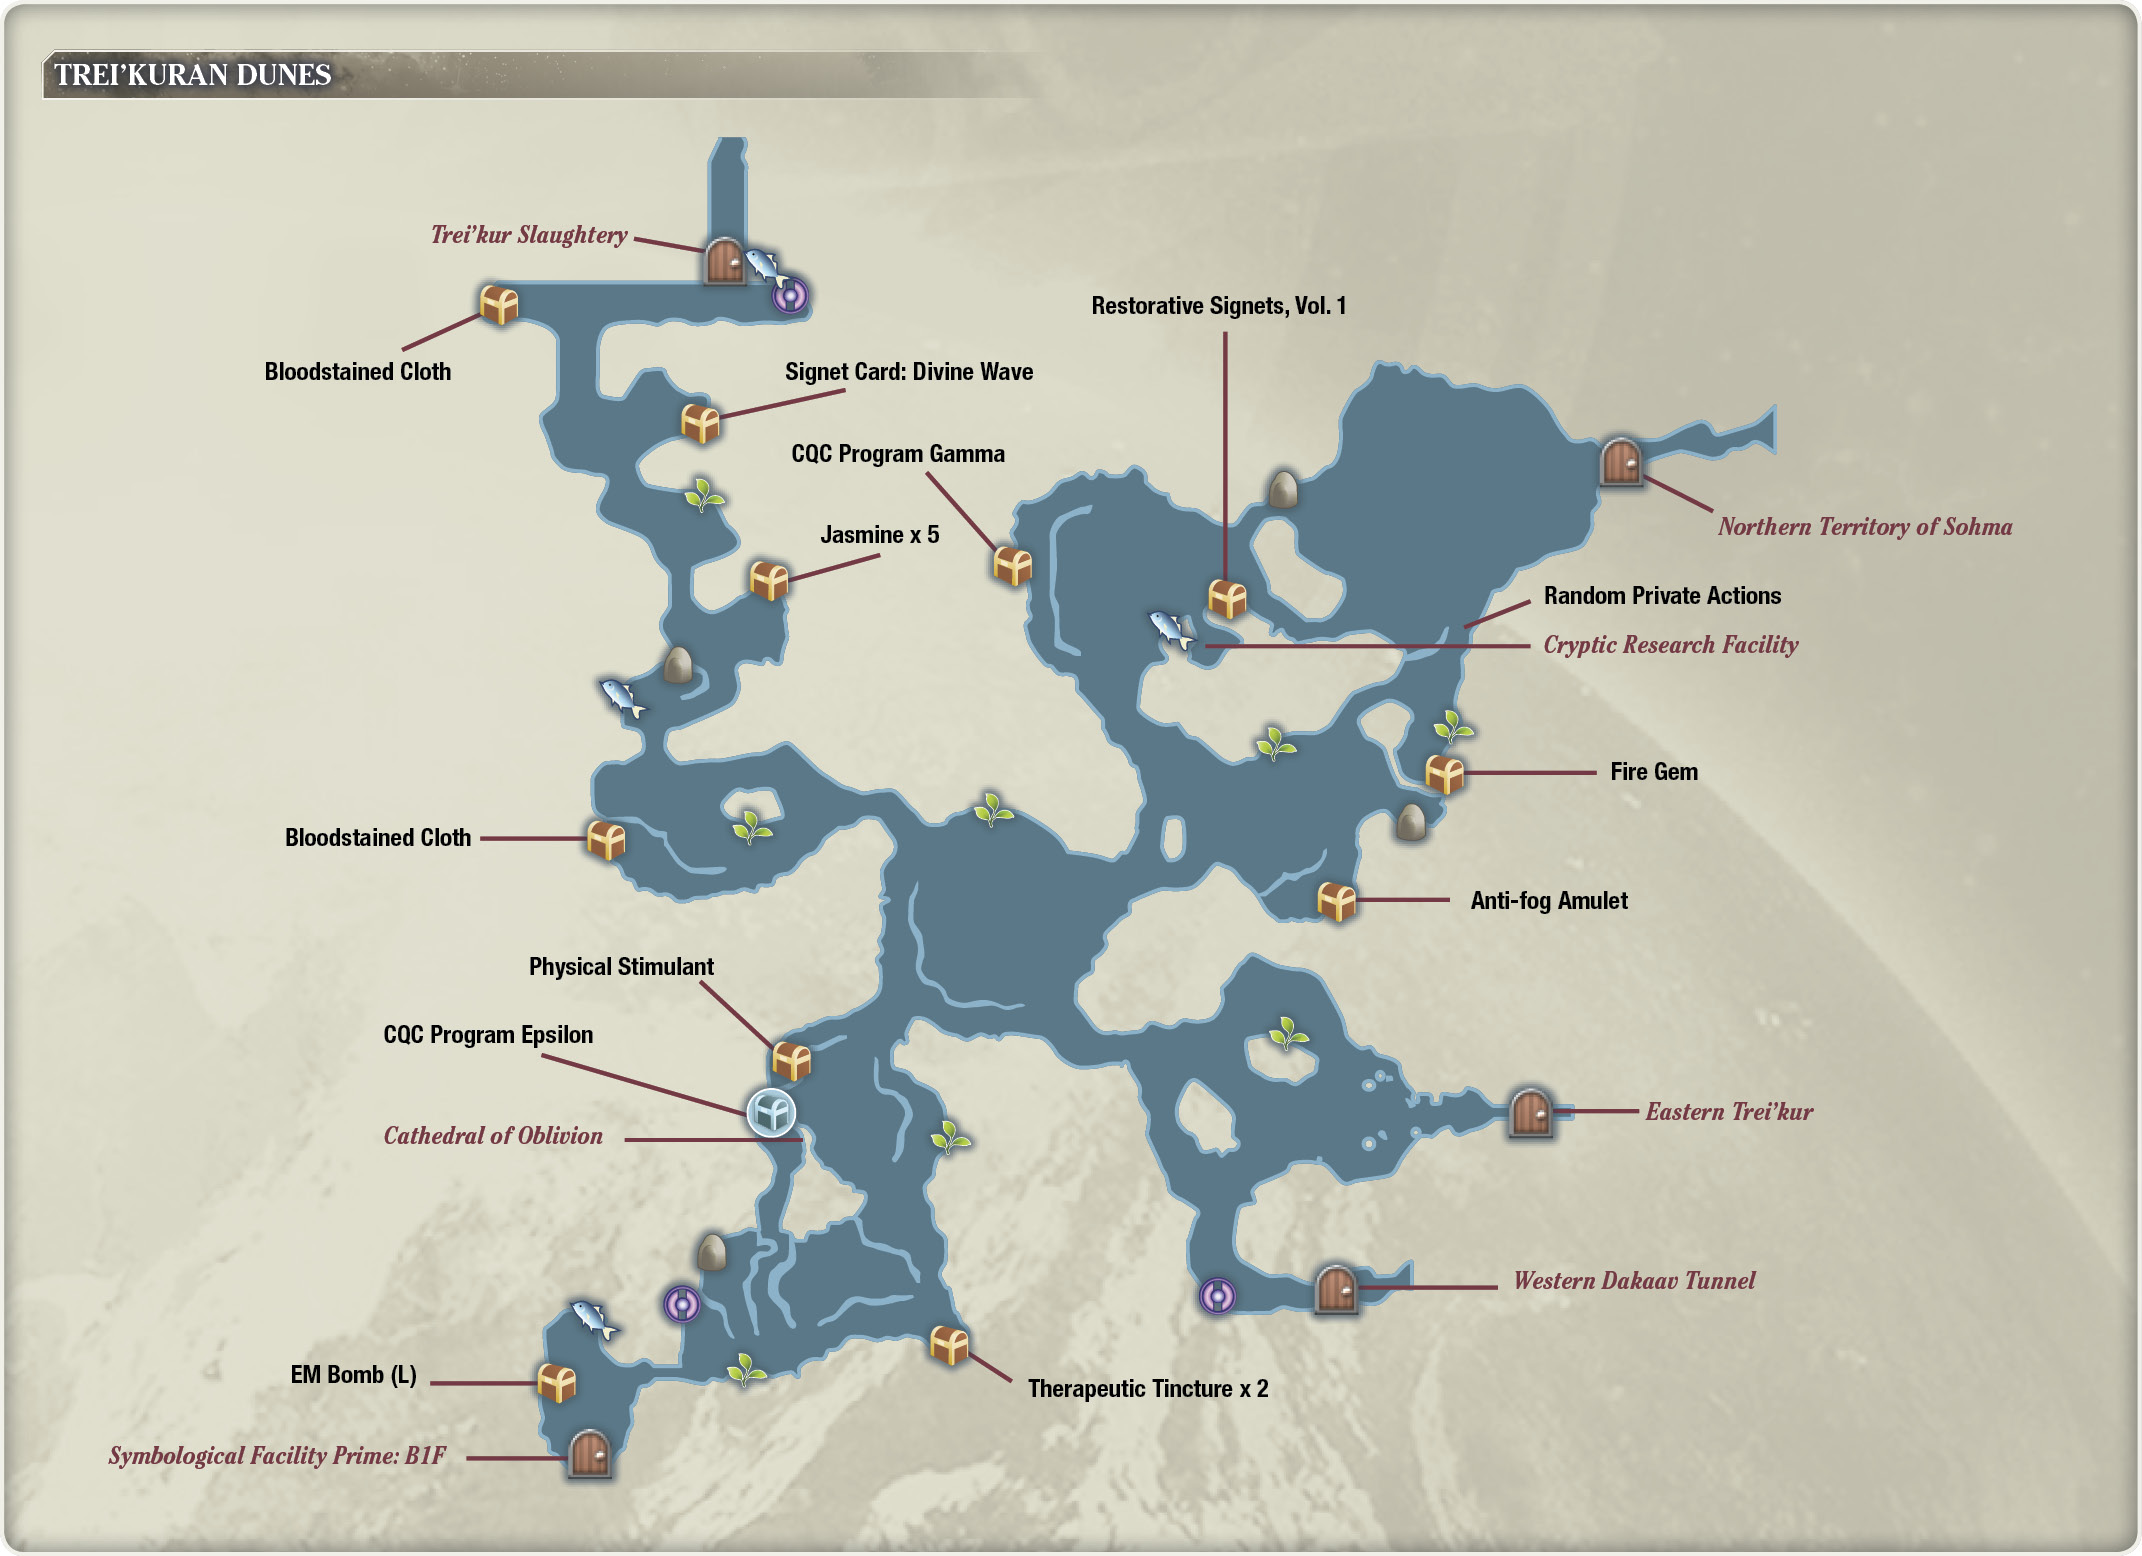
When you’re ready to continue, teleport back out to the Trei’kuran Dunes. Since the northeast exit and the southwest portions of the map are blocked off, you won’t be able to do much exploring here.

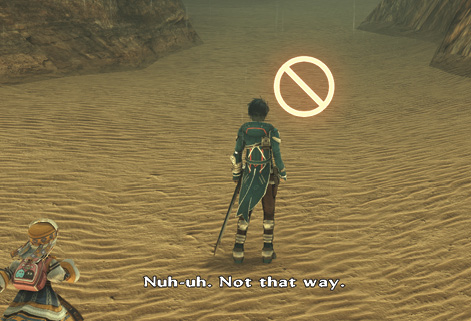
Your destination is north from your starting position, inside an alcove by a chest. Before you head there, collect some items from chests in the area. Just west from your initial teleport position, you can find an Anti-fog Amulet in a chest on a ledge. To the northeast up a cliff, there’s another chest containing a Fire Gem. Then, northwest of that one, you’ll find a chest close to your destination with the Restorative Signets, Vol. 1 book. Before you enter the alcove, grab a copy of CQC Program Gamma in the western corner of the immediate area.
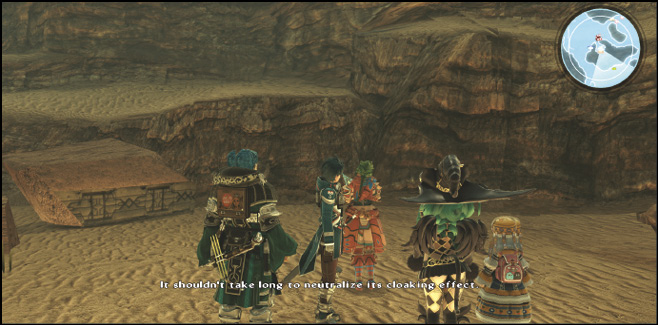
After you’ve opened all of the chests, go into the inlet next to the Restorative Signets, Vol. 1 chest, where Anne uncloaks the entrance of a building.
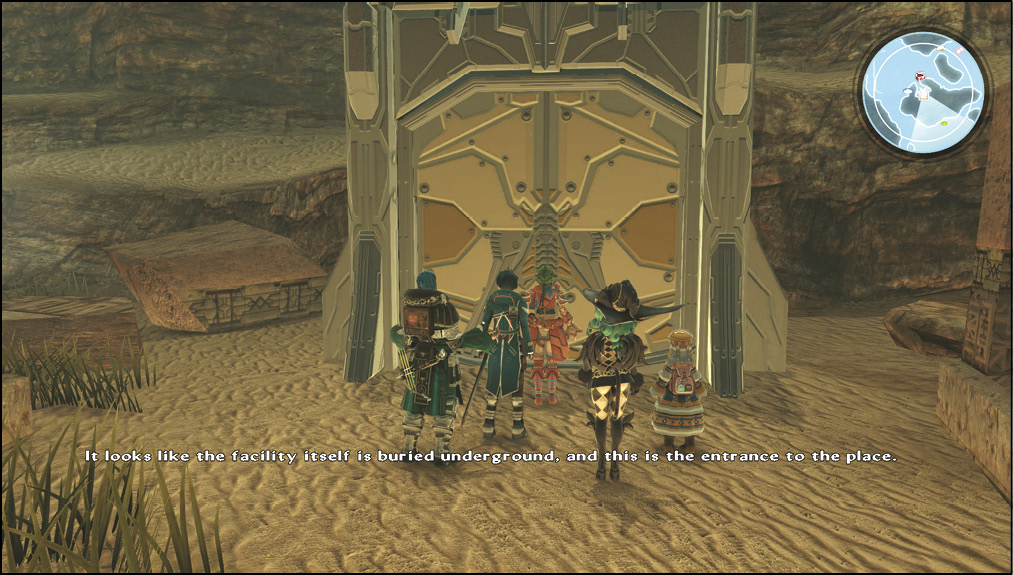
Relia runs inside ahead of everyone else. Follow her into the Cryptic Research Facility. Turns out that this is where Relia used to live, as she recognizes the institute. After the party’s short dialogue sequence, save your progress, and then prepare to delve into the facility to find out more about Relia’s past.
Polyhedron

Explore the Research Facility
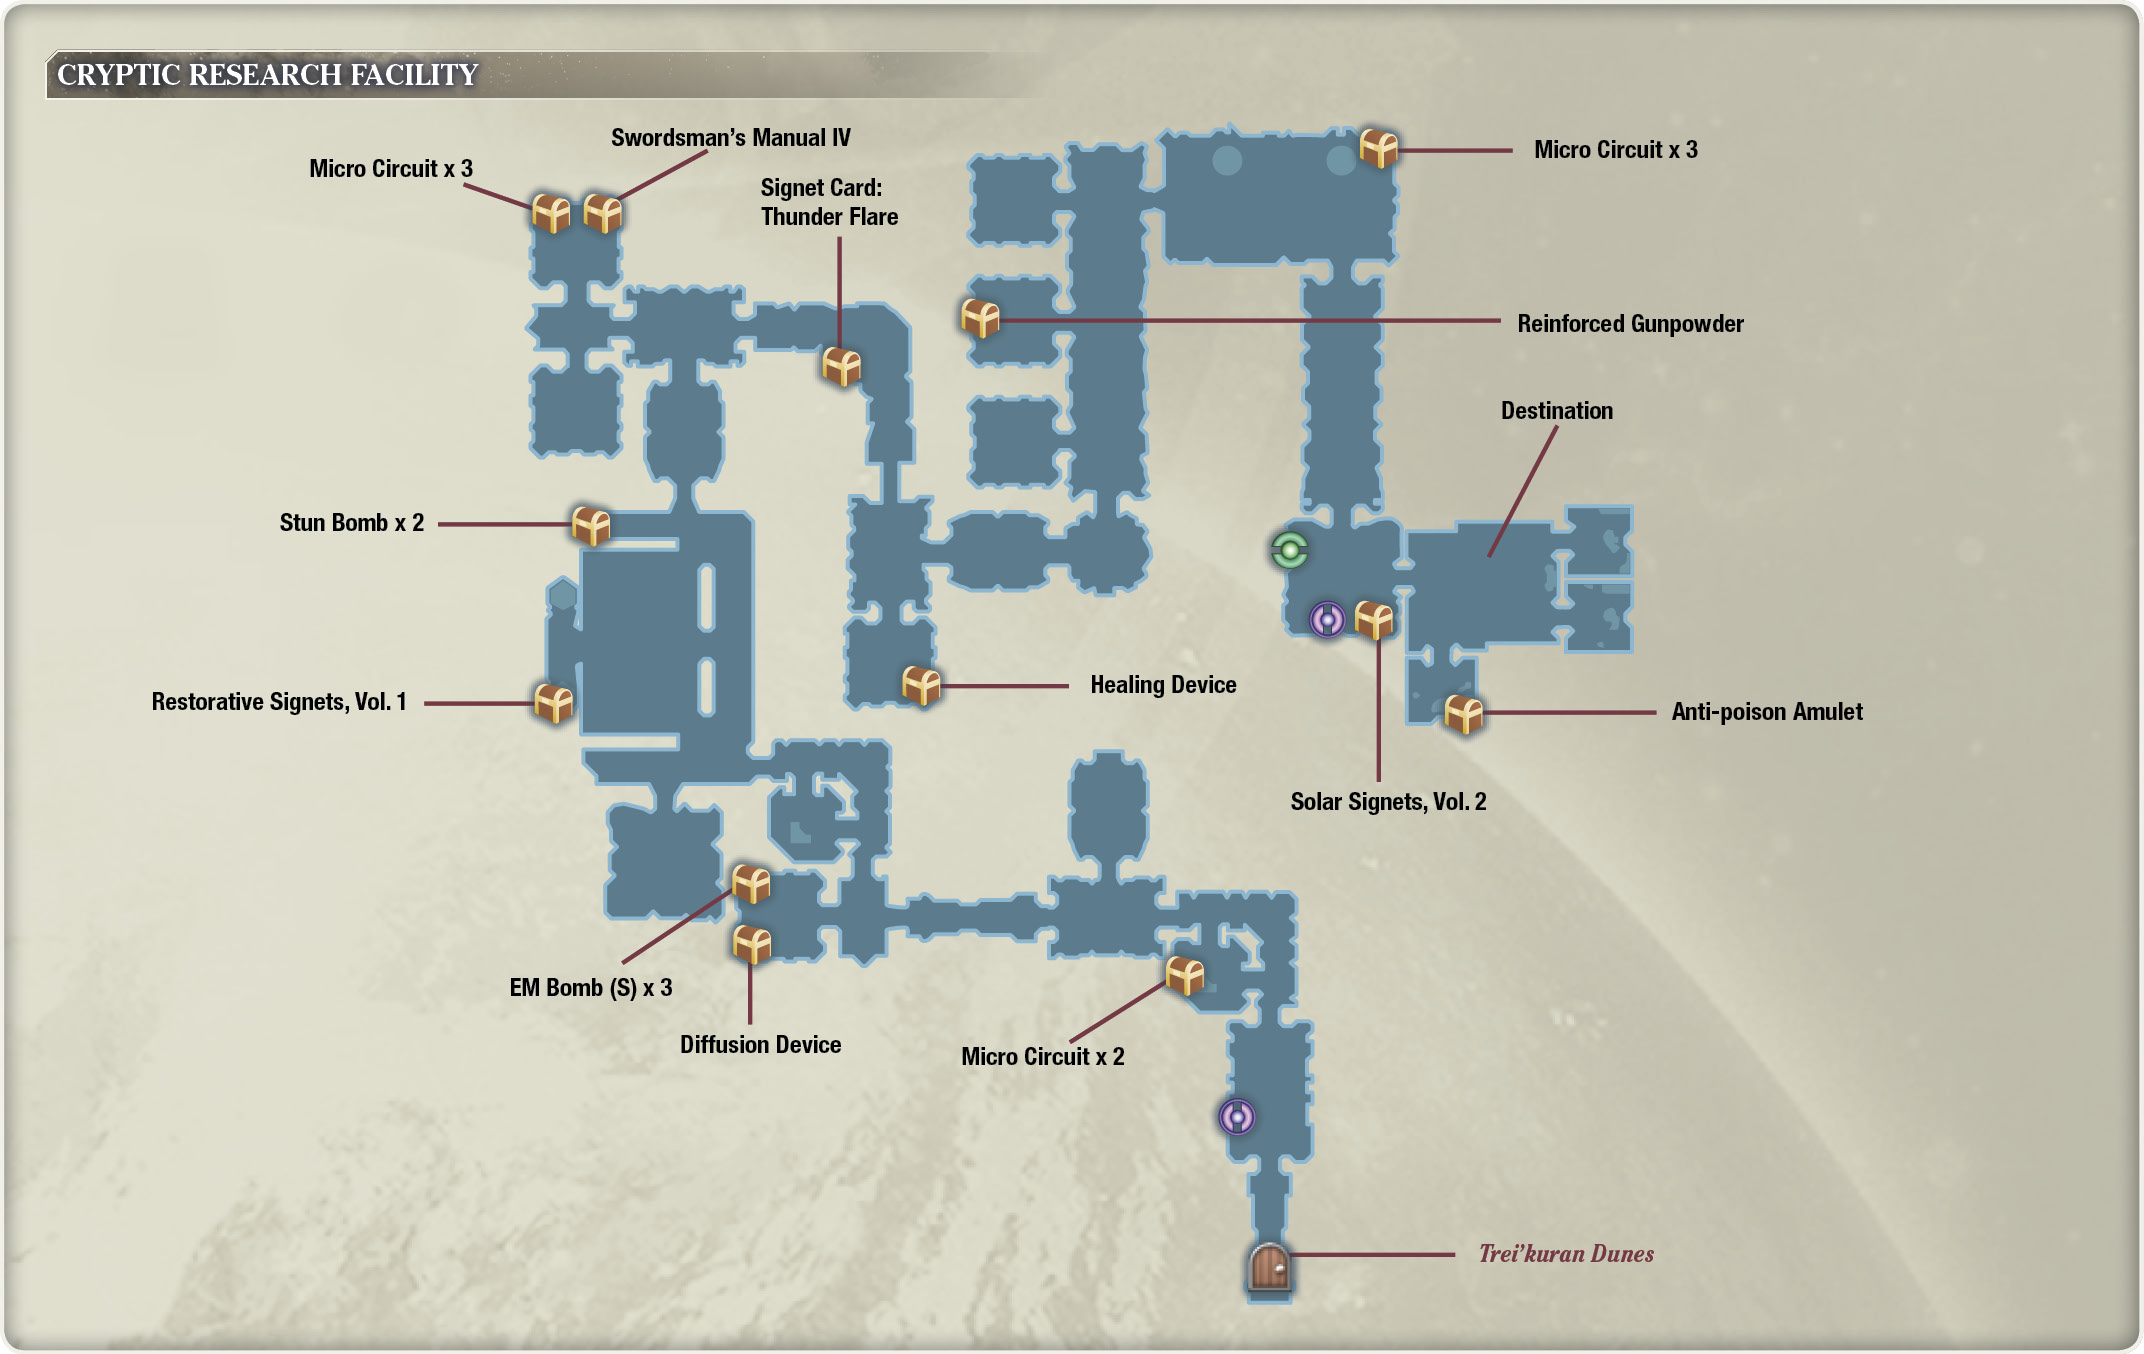
From the save point, go north and make a left into a connecting room with a workstation in it. Open the treasure sphere with Micro Circuit x 2 inside, and then make your way out into the hallway, traveling westward.
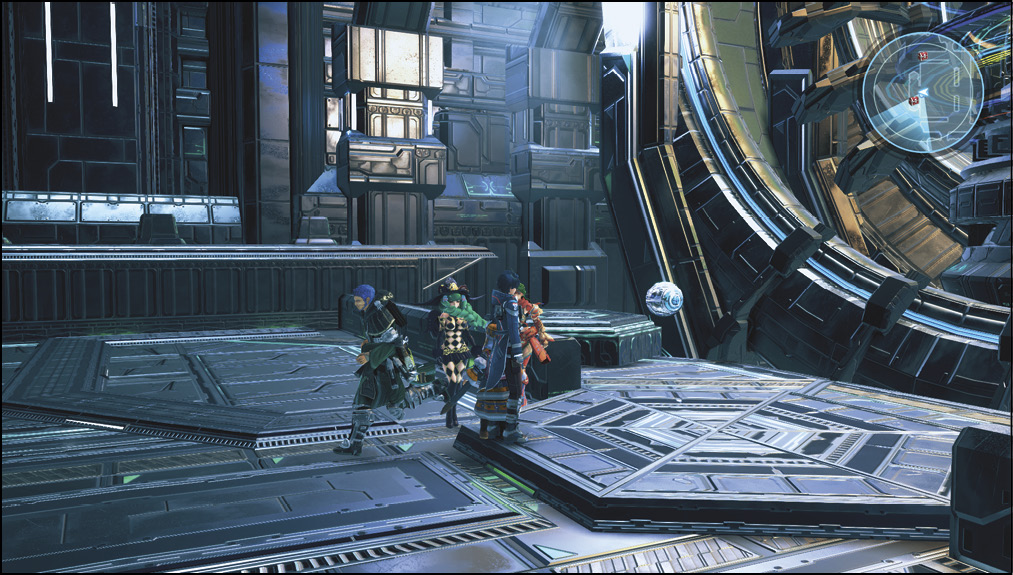
Keep going west until you reach a room with two spheres in it, containing EM Bomb (S) x 3 and a Diffusion Device. Pick these up, then leave the room and continue north and west. In the large room, you’ll see some amazing machinery. There’s a treasure sphere close to it in the west end, containing another Restorative Signets, Vol. 1. This should be your third copy of this book if you’ve been following this guide, so Fiore should really have learned the Healing spell by now!
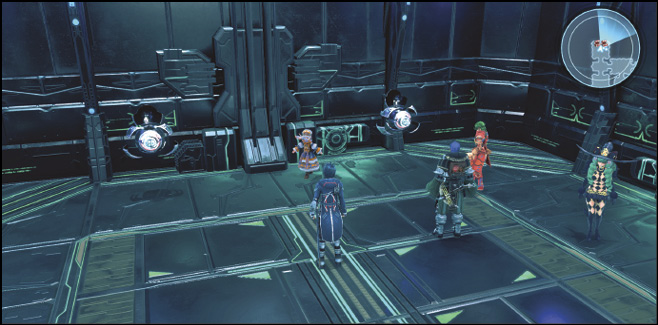
In the northwest corner of the room, there’s another sphere containing Stun Bomb x 2. You’re finding a lot of these things… there might be a use for them soon.
Fight through more Polyhedron enemies through the north, and make a left turn into a room to the west. Enter the north room from here to find a group of foes and two spheres that hold Micro Circuit x 3 and Swordsman’s Manual IV.
Turn around and go east until the path bends south. Around the corner here is a sphere with Signet Card: Thunder Flare in it. Go straight south from here until you hit a dead end with a treasure sphere containing a Healing Device.
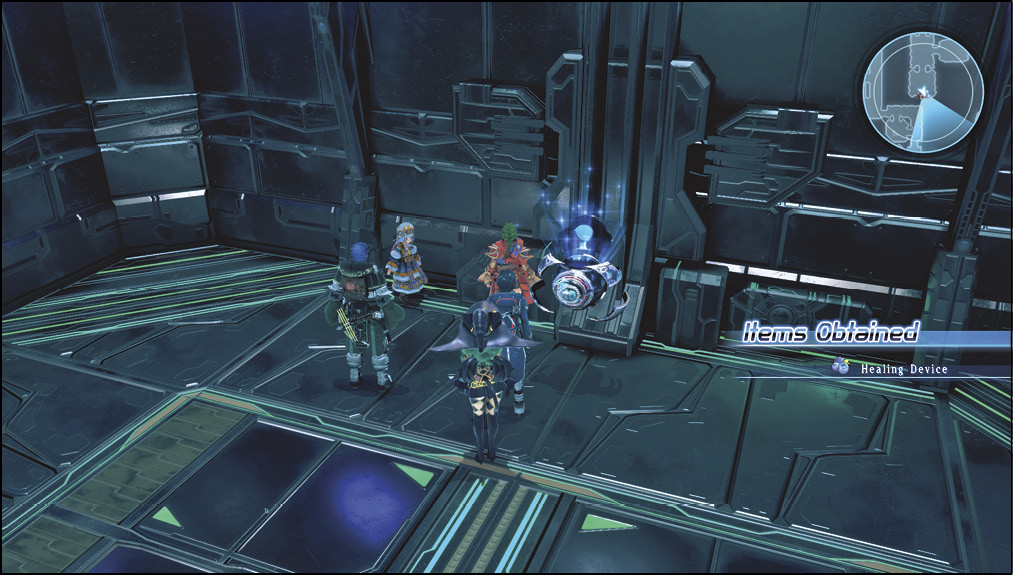
Turn around and take the east path through more automatic doors. Make a left, heading north, when you reach the small circular room. You find three rooms to your left in the hallway here. In the second room, you’ll find a sphere containing Reinforced Gunpowder in it.
Head back out to the hallway, and take a right at the north end. There’s more interesting research technology here, along with some comments from Emmerson and Fiore.
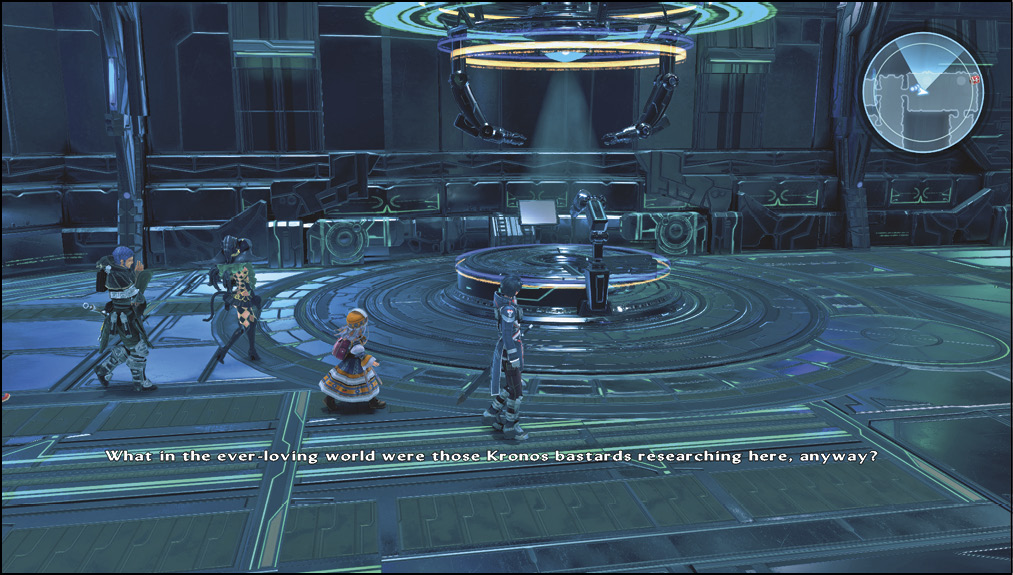
In the northeast corner of this room, pick up Micro Circuit x 3 from a sphere there. Go south into a room with restore and save points, including another treasure sphere with a Solar Signets, Vol. 2 book inside. Restore your HP and MP here, and save your progress. Consider using some stat-boosting food here if you have some. Either Pasta Peperoncino or Golden Omelet works nicely. You can equip Anne with HP-enhancing accessories to make the next encounter more manageable, too.
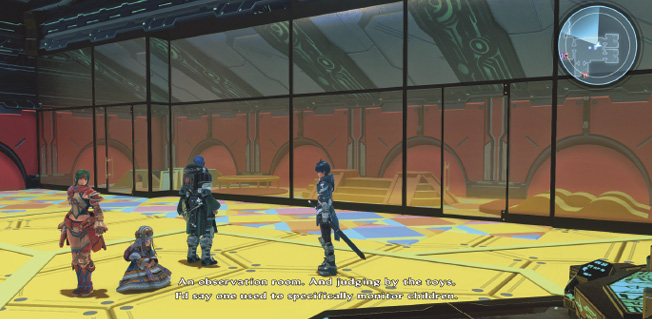
When you’re ready, enter the next room. It seems to be an observation room where Relia grew up, with a toy room and a research workstation nearby. After some party dialogue, Anne attempts to gather data from the computer console.
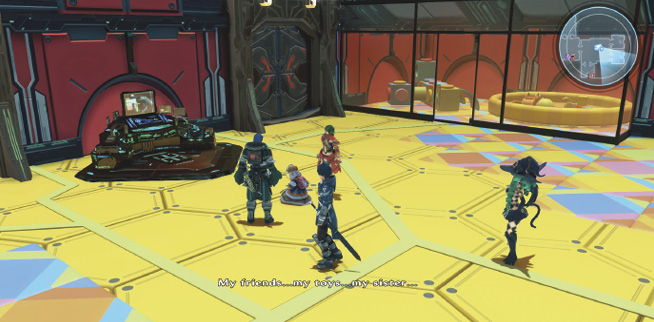
It trips off security measures, and enemies beam in to stop her! Get ready to protect Anne at all costs!
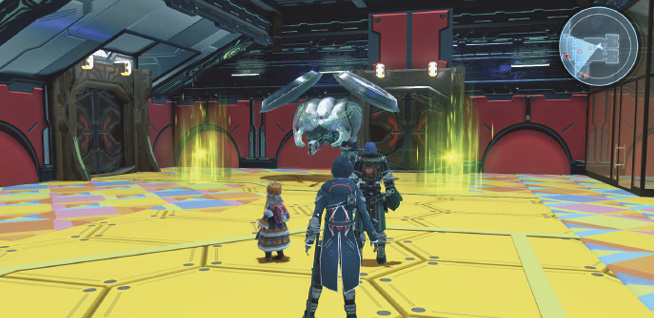
Robo Gunner

Sentinel

After you dismantle the robots, a self-destruct sequence commences, and you’ll need to hightail it out of there!
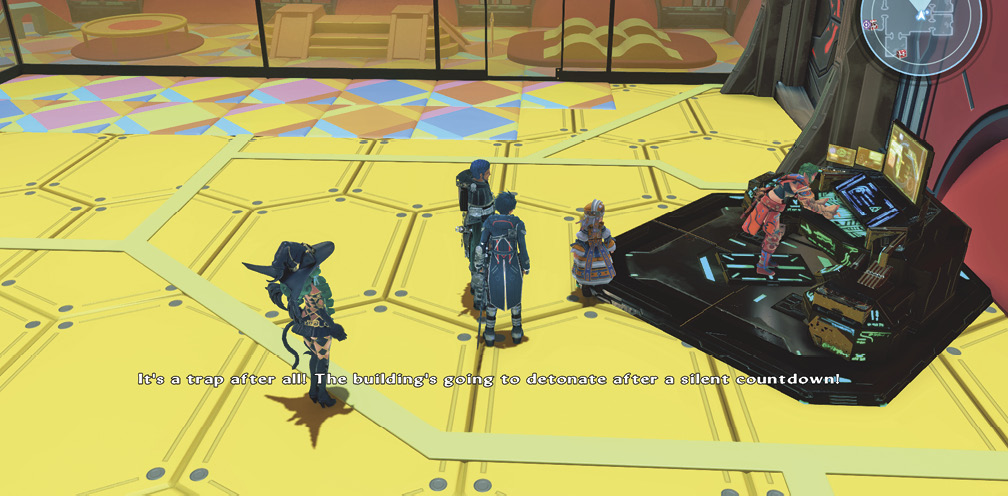
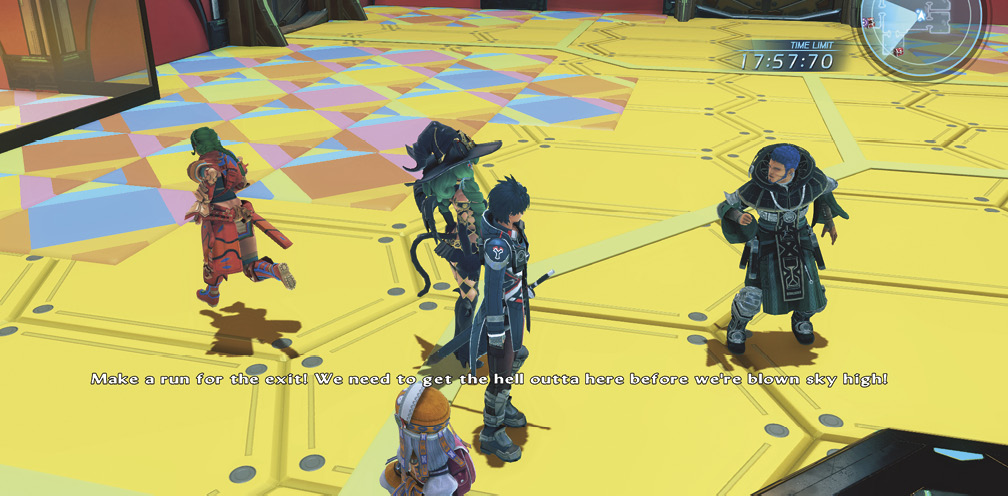
Escape
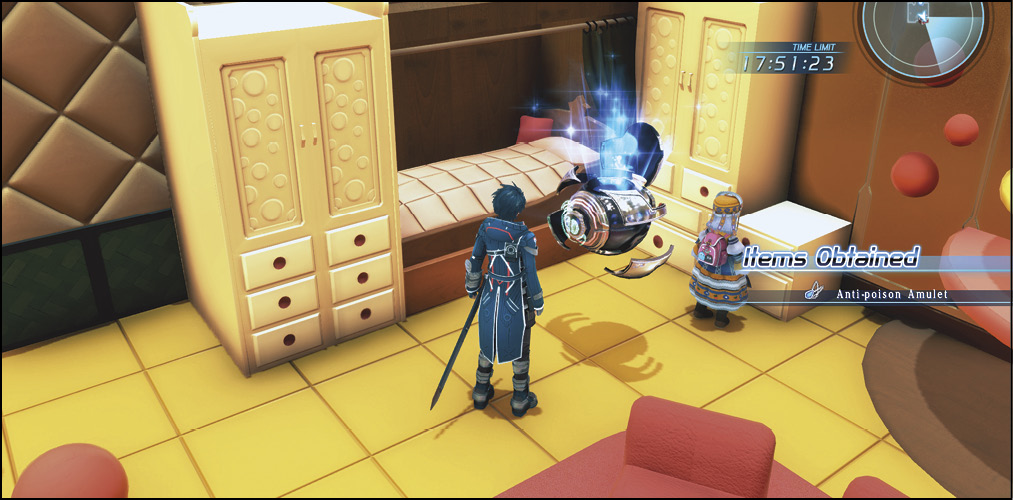
Before you leave the room, open the treasure sphere in Relia’s room to the south to find an Anti-poison Amulet. Now, fight your way back to the entrance of the research facility to escape. You have around 18 minutes to do so. You can restore your HP and MP at the restore point if any of your allies were knocked out from the boss encounter.
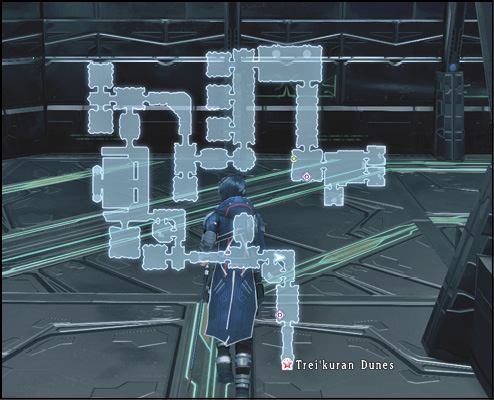
On your way out, there are several security bots roaming the halls. If you’ve opened all of the chests on your way to Relia’s observation room, you shouldn’t need to go out of your way to collect anything while you escape. However, you should have enough time to do so in case you missed any. Refer to your map frequently. Pausing the game with the OPTIONS/START button also pauses the timer, so check your map to plan out your exit route.
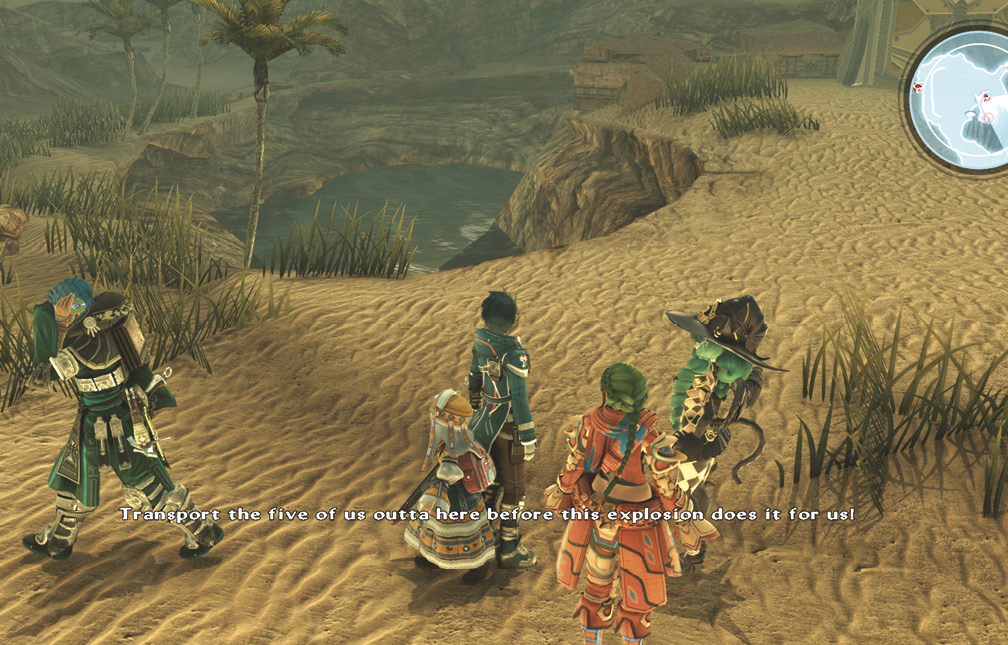
Once you’ve exited the compound, Emmerson calls in a transport to have the party beamed up to safety.
Before you check up on Miki’s condition, save your progress aboard the starship. Head to the lift to the sick bay, where Emmerson discloses pertinent information about his origins and the situation between the Pangalactic Federation and Kronos.
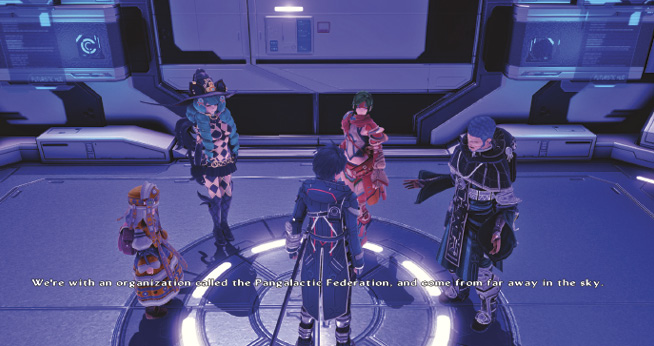
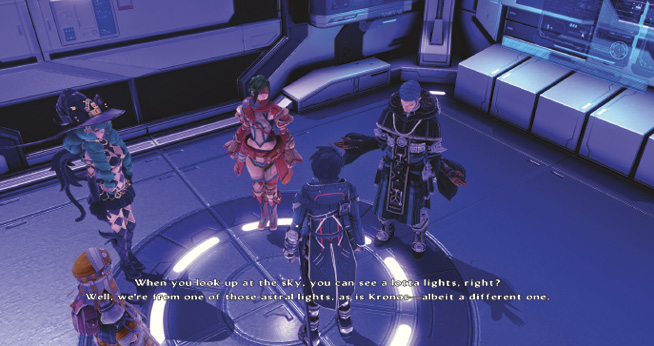
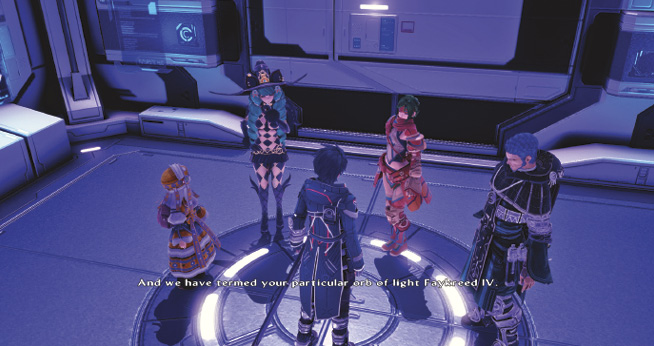
When you enter the sick bay, a lengthy cutscene plays out. Miki has recovered, and plans have changed.
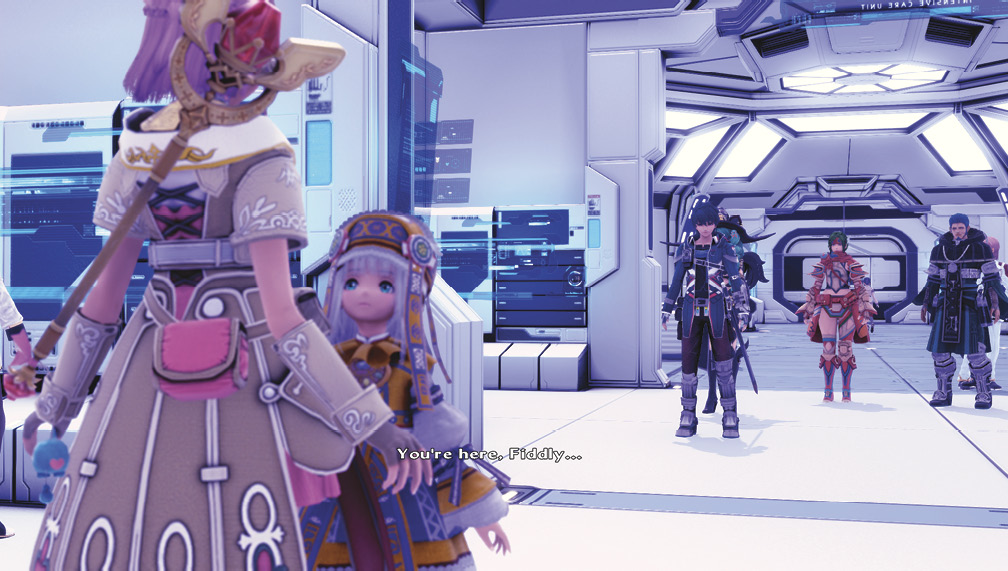
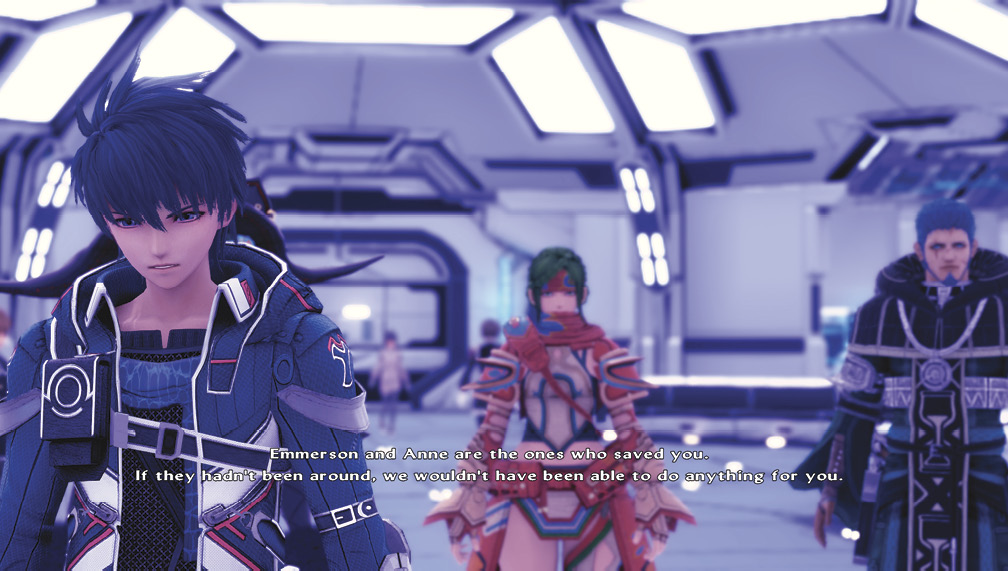
Emmerson insists that Relia stay with him and Anne to prevent Kronos from pursuing the group, as well as to put an end to the attacks on Resulia. After Fidel, Miki, and Fiore beam back to their home planet, Kronos ships begin an assault on the Charles D. Goale. With his quick wit and acuity, Emmerson devises a plan to escape with Relia from his pursuers.

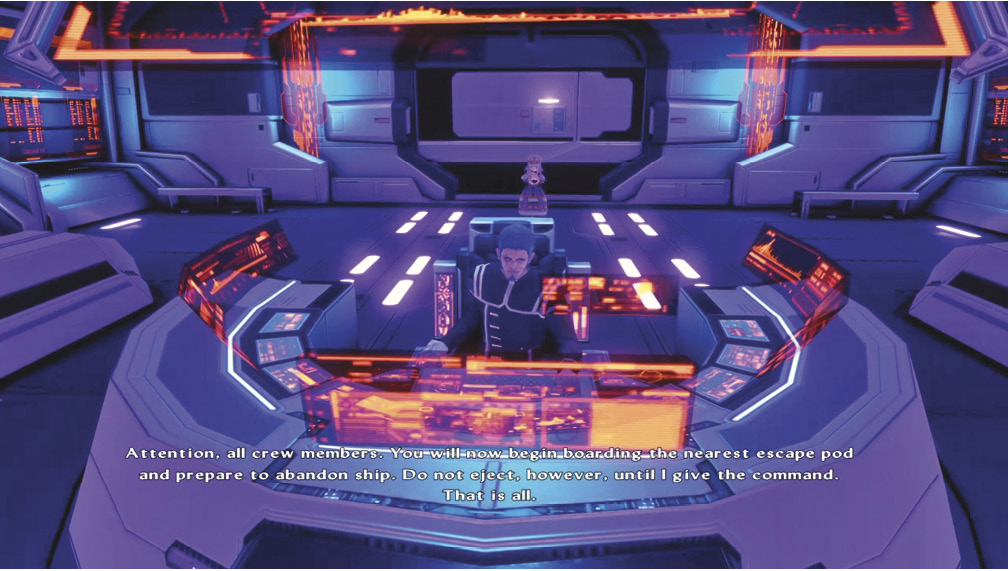
After the cutscene, you’ll gain control of Relia. Follow Emmerson and Anne into the lift to commence Emmerson’s escape ruse. After exiting the elevator, you can save your progress at the save point before entering the transport area. Get into position on the transport pads to play out another cutscene showing Emmerson and Anne following through with their ploy. The three safely board an escape pod. With the Charles D. Goale sacrificed, they land on Faykreed IV to wait for a rescue team. Unfortunately, their plan didn’t go as smoothly as they had hoped. A shielded Kronos ship was able to lock on to Relia’s coordinates, kidnapping her with a remote teleportation sequence.