
Star Ocean: Integrity and Faithlessness Guide Part III: Main Story Walkthrough Chapter 7
Mission: Cloak-and-Decipher
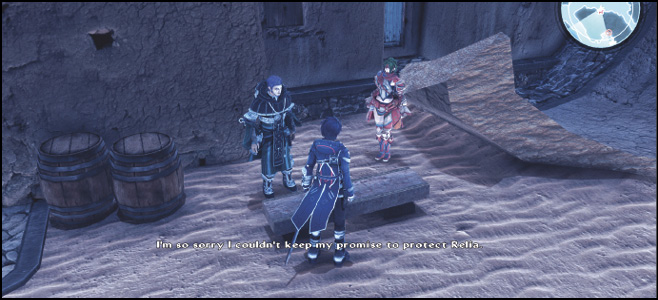
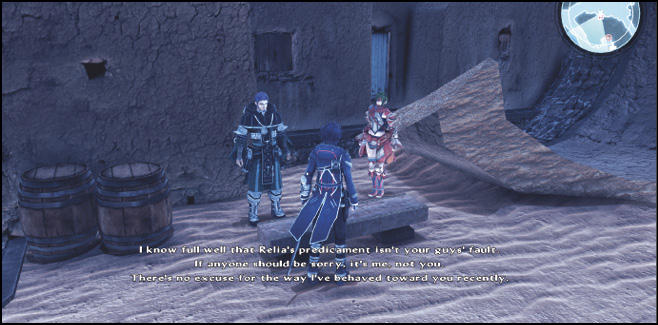
Tensions arise between Emmerson and Fidel. However, no amount of blame can change what has transpired. The Faykreedians need to work with the two federation officers if they want to save the innocent child from Kronos’ exploitative practices.
Action Checklist
- Optional: Upgrade equipment
- Optional: Undertake new side quests and view Private Actions
- Optional: Complete Welch quests
- Optional: Complete Cathedral of Oblivion (second set)
- Find the cloaked research facility
- Descend to the bottom floor
- Rescue Relia
Mission Walkthrough
With the Resulian occupation of Eastern Trei’kur and the reunion between Fidel and his space-faring allies, your new priority is to search for Relia. Your objective here is to gather any intel you can from Emmerson and Anne, and then follow the leads that you find.
Before you set off on your search, you can take a break from the main story mission to obtain exceptionally powerful equipment and battle skills. A plethora of optional tasks has opened up, including several Private Actions, bulletin board quests, and all-new instances of the Cathedral of Oblivion.
Shops—Eastern Trei’kur (Updates)
 Quicksand Crafters
| Item | Cost | Type |
|---|---|---|
| Common Eggs | 90 | Food |
| Fresh Vegetables | 180 | Food |
| Lemon | 90 | Food |
| Nectar | 120 | Food |
| Prehistoric Meat | 180 | Food |
| Spring Water | 240 | Food |
| Cocoa Powder | 240 | Material |
| Fermentation Pot | 2400 | Material |
| Seasonings | 60 | Material |
| White Rice | 180 | Material |
 Eat Dirt Military Supplies
| Item | Cost | Type |
|---|---|---|
| Acuity Crest | 3000 | Accessory |
| Arcane Amulet | 25000 | Accessory |
| Attack Crest | 3000 | Accessory |
| Energy Amulet | 25000 | Accessory |
| Fortitude Crest | 3000 | Accessory |
| Mind Crest | 3000 | Accessory |
| Amber Robe | 3750 | Armor |
| Silver Cloak | 5250 | Armor |
| Silver Cuirass | 5950 | Armor |
| Silver Mesh | 4900 | Armor |
| Streaked Chainmail | 3500 | Armor |
| Superior Armor Plate | 4250 | Armor |
| Composite Bow | 7350 | Weapon |
| Corvine Orb | 8750 | Weapon |
| Deadly Edge | 5500 | Weapon |
| Farcutter | 7700 | Weapon |
| Fragmenters | 6300 | Weapon |
| Moonfalx | 7000 | Weapon |
| Rune Wand | 4000 | Weapon |
| Sacred Scepter | 5600 | Weapon |
| Slasher Claws | 4500 | Weapon |
| Sunsylph Orb | 6250 | Weapon |
| Walloon Sword | 5000 | Weapon |
| Wild Arc | 5250 | Weapon |
Side Quests
| Eastern Trei’kur |
| Medical Emergency |
| Grannie Never Rests on Her Laurels |
| Central Resulia |
| Reconstructing an Enigma |
| Collection of Romantic Entanglements |
| Survive This! |
| Spleen for a Spleen |

|
| Welch’s Laboratory |
| Of Weapons and Womanizers |
| Santeroule |
| Too Little, Too Late |
| Open Season on Mujas |
| Wanted: Randaghor |
| Quiet Down in There! |

|
Private Actions
| Eastern Trei’kur |
| No Two-Timing |
| Reminiscing with Daril (* Missable Private Action *) |
| Position of Power |
| You a Cat Person or Dog Person? |
| A Fine Young Man |
| Patch Conversion |
| No Different |
| Ask Him Yourself |
| Crossing the Line |
| Sweet and Sour Personalities |
| Combat and Concern |
| Prepared to Take Lives |
| Spirited Conversation |
| Overshadowed by Fear |
| Only So Much You Can Do |
| Enter a Mysterious Woman (* Missable Private Action *) |

|
| Central Resulia |
| The True Cause of the Corrupt |
| Trouble Brewing Between Nations |
| Anne and Canines |
| Manly Miki |
| Asking About Accessories |
| Myiddok |
| Neverending Story of Sweets |
| The Dutchess of Duking It Out |
| Fidel and Love |
| Reverse Psychology |
| More Cat Capers |
| Portrait of the Creature as a Young Kitten |
| Tipping the Scales When Tipsy |
| No Hangovers, No Reason to Decline |
| Guzzle It Like Granny |
| Santeroule |
| Nothing’s There |
| Asceticism over Affections |
| Conversational Battle of the Sexes |
| Helping Hand Towel |
| Fixated on Fiore |
| Out for Blood |
| Sneaking Suspicion |
| Haunted by the Unknown |
| Sthal |
| Like Father, Like Son (* Missable Private Action *) |
| Space Food |
| High-Stakes Gambling |
| Over Fidel’s Head (* Missable Private Action *) |
Cathedral of Oblivion, Evolved

Once you’ve taken part in the siege of Eastern Trei’kur, more instances of the Cathedral of Oblivion open up. Not only will there be two additional gauntlets (located in the Trei’kuran Dunes and the Northern Territory of Sohma), but the previous ones will have new enemies for you to take on, with even better rewards.
If you want to attempt a challenge, try your hand at some of these dungeons. It’s recommended that you complete them in the following order: Coast of Minoz, Resulian Plains, West of the Eastern Eihieds, Trei’kuran Dunes, and the Northern Territory of Sohma. The final boss in each instance is identical, but its power level is much higher in the latter areas. For example, the Coast of Minoz’s cathedral boss is Lv. 45, while the one in the Northern Territory of Sohma is Lv. 65!
Start with the cathedral in the Coast of Minoz to familiarize yourself with Vidofnir, the final round boss of this set of dungeons. To get them to appear, simply re-enter the area until the warp point is displayed on your in-game map.
Vidofnir


Vidofnir is a phoenix-like avian adept at fire-based spells and attacks. Naturally, it’s weak to ice spells, so you’ll want to equip your battle sets accordingly. Have Fiore’s signeturgies set to Ice Needles (or Deep Freeze, if available). For Miki, don’t forget to turn off her offensive spells. You’ll need her to focus primarily on healing and raising your allies.
Additionally, because Vidofnir is an avian-type creature, the Raven Slayer role is extremely effective on one of your close-combat fighters (like Fidel, Victor, or Anne).
This infernal phoenix is most likely the hardest boss you’ve fought up until now if you’re running through the cathedral at the earliest point possible, so bring plenty of supplies and food items.
Vidofnir

Vidofnir

Vidofnir

Vidofnir

Vidofnir

Its main attacks to watch out for are Tornado, Volcanic Burst, and Divergent Shade. Tornado is particularly devastating, as it can knock up and deal extraordinary amounts of damage on Miki and Fiore. Watch out for this spell, open the battle menu, and take control of your back line members to move away from its path or to guard the incoming tornado.
Volcanic Burst is an area-of-effect spell that lays down destruction in a large space. Mitigate its damage by separating your members as best as possible, especially your back line. Vidofnir has a tendency to cast it on Miki, Fiore, and Emmerson.
When Vidofnir casts Divergent Shade, it randomly unleashes a flock of fireballs. These can’t be guarded, but they’re mostly avoidable.
It’s imperative that you keep Miki alive as best as you can, since she’s most likely your only reliable way of healing multiple party members. Use Fresh Sage on knocked-out party members immediately.
During the fight with Vidofnir, keep your allies healthy while doing your best to avoid its devastating spells, and you’ll eventually be victorious.
If you manage to save up Reserve Rush, don’t be afraid to unleash a high-damage 200% ratio Reserve Rush attack on the beast.
WELCH: The Beautiful and Genius Inventor, Part III
At this point in the game, you can undertake another Welch quest if you’ve been diligently completing the previous ones in the quest line. Visit Welch’s Laboratory in Myiddok to trigger a cutscene for the Of Weapons and Womanizers quest. If you’ve saved up five Micro Circuits, you can turn them in immediately. This unlocks the Engineering item creation specialty.


Uncloak the Laboratory Entrance
Fidel wakes up alone in The Moonlit Tabby. Pick up the Vitalitea potion in a chest in the room, and then leave the inn to find out where everyone is.
Explore the Eastern Trei’kur outpost, picking up some side quests from the bulletin board here and upgrading equipment from the armorer. Near the east exit, up a ramp, you can find a chest containing a Love Potion No. 256. Next, go to the waypoint in the northern section of the encampment to meet with Emmerson and Anne.
The two federation officers seem to be discussing the mission amongst themselves. After Fidel maturely apologizes for his aggressive behavior toward Emmerson, head back into the inn.
The party reconvenes, with Anne having new information of the whereabouts of another cloaked research facility.
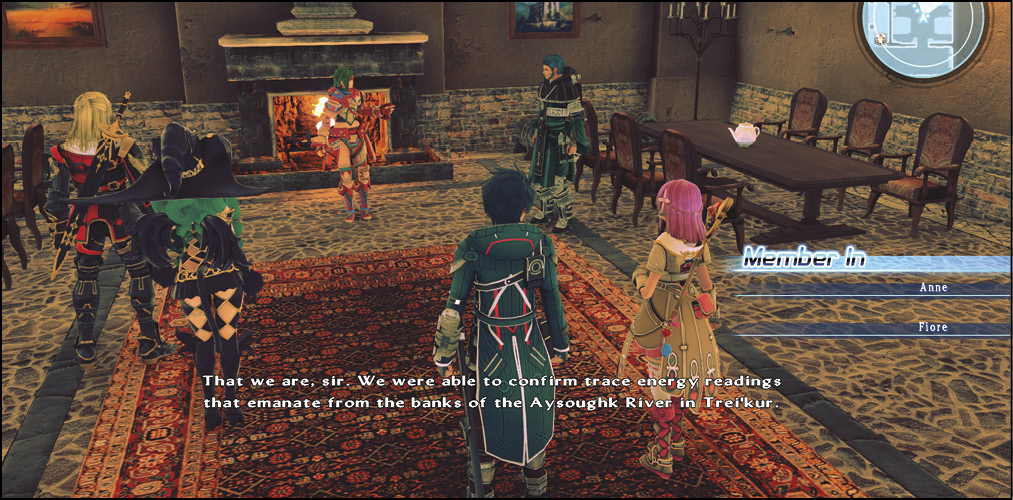
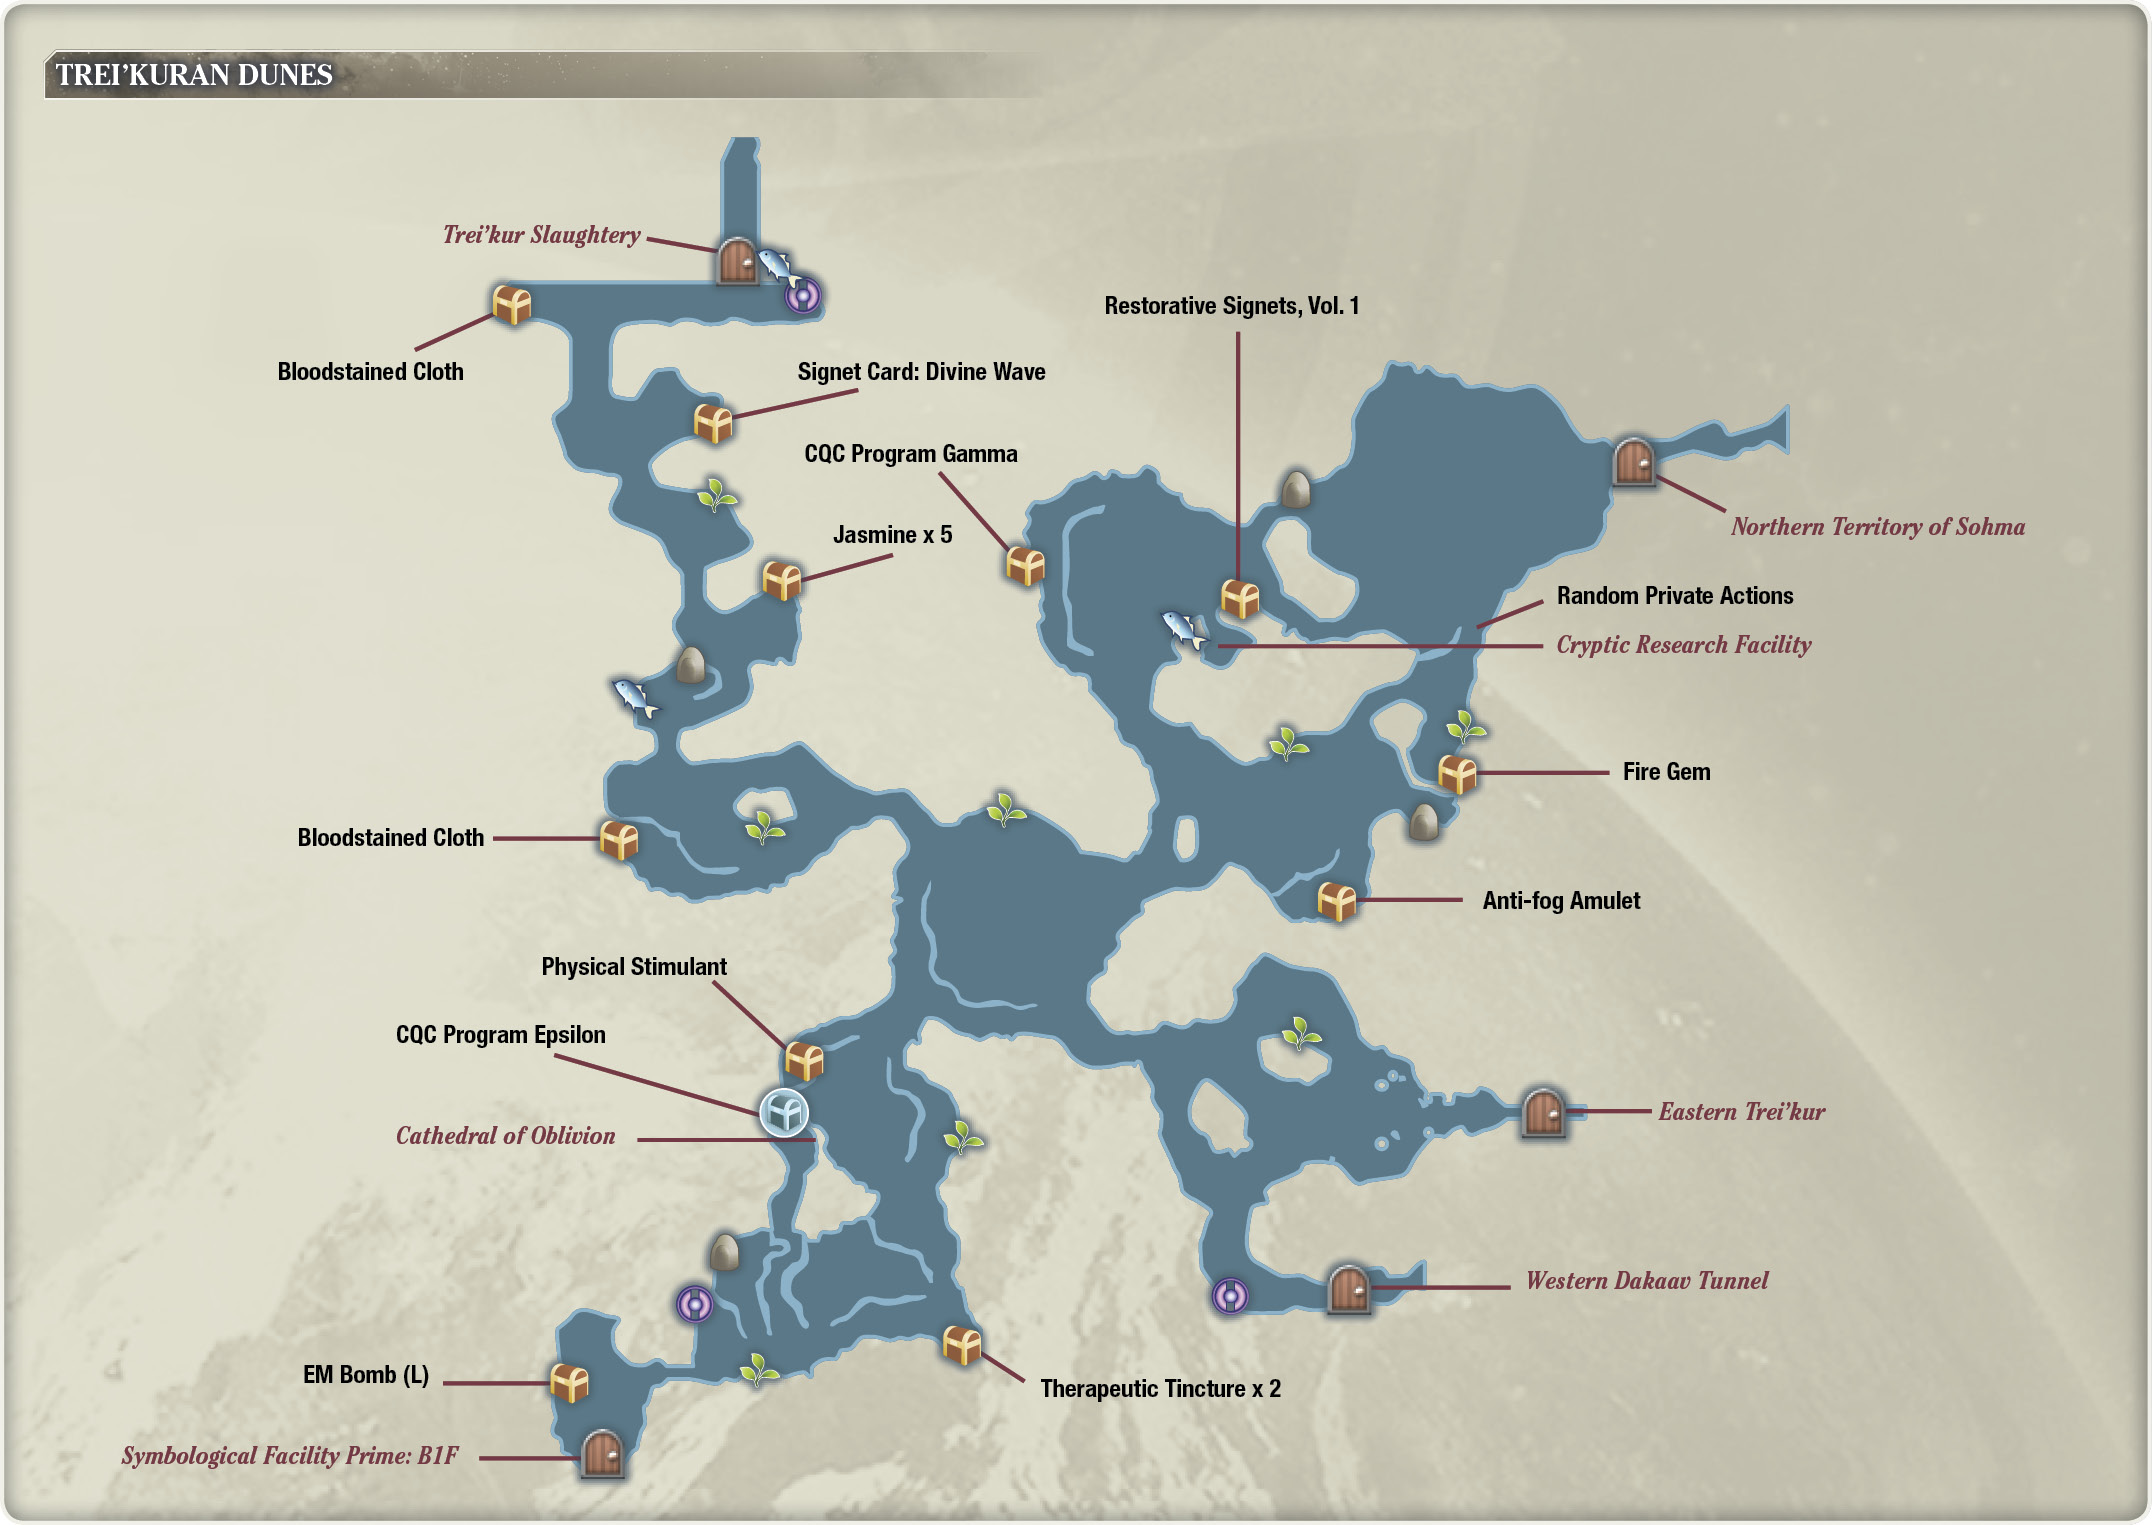
You can now traverse the Trei’kuran Dunes to search for the hidden research facility. Unlike your first visit to the dunes, you’ll have access to the entire area. Exit to the dunes through the west exit from Eastern Trei’kur.
Lizard Warrior

Adephaga Milies

Trei’kuran Knight

Trei’kuran Signeturge

Trei’kuran Armored Bowman

Stroper

Vampire Bat

Lizard Shaman

Your objective in the southwest region of the area is marked with a red star. On your way there, you can pick up a few chests. On a ledge to the west is a chest containing a Physical Stimulant. After you pick it up, head southeast from there to the other corner of the immediate region, and open a chest with Therapeutic Tincture x 2 in it. Now, head west until you reach a bridge formation that leads north. If you have the Lock Picking specialty, you can unlock a chest with a CQC Program Epsilon disk in it at the end of this bridge. You can also try your hand at the Cathedral of Oblivion here if the warp point has spawned (although it may be difficult if you’re under-leveled, so be sure to save your progress first).
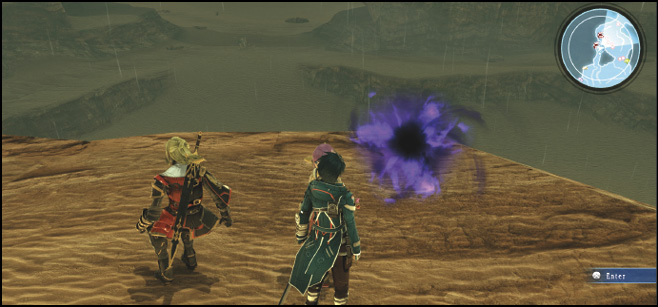
Continue into the southwest area, where you’ll trigger some dialogue with Anne. Her scanner has picked up something off in this location.
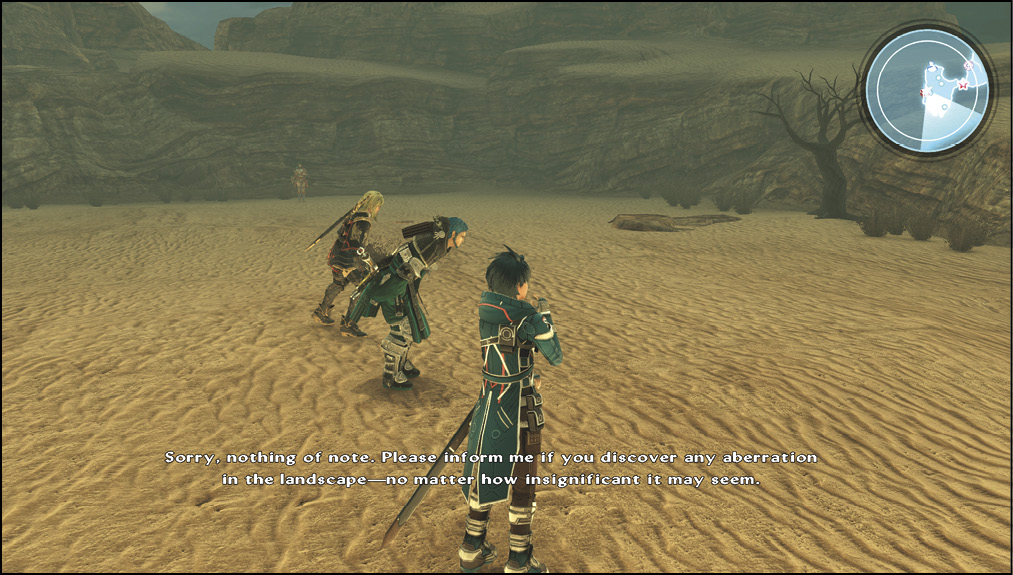
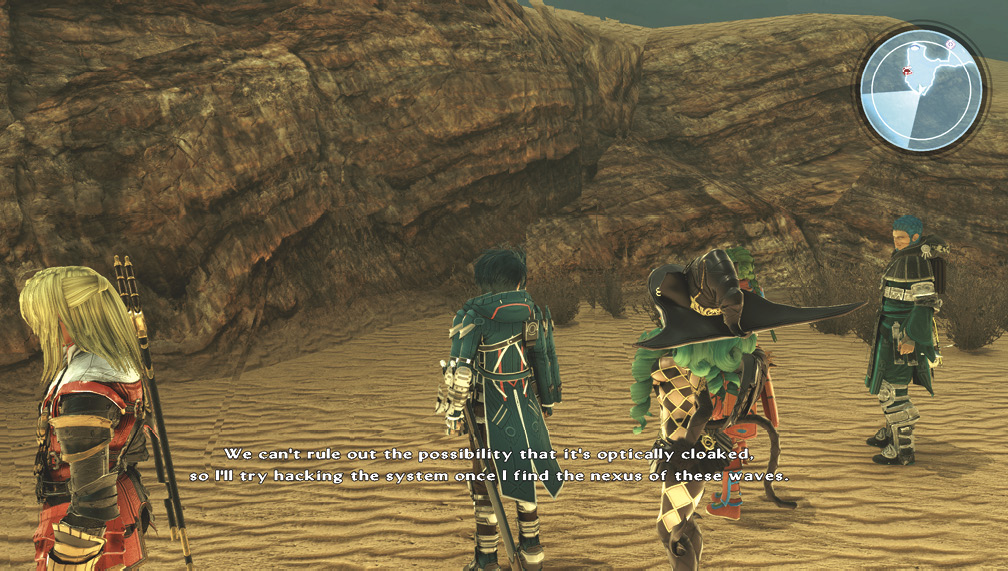
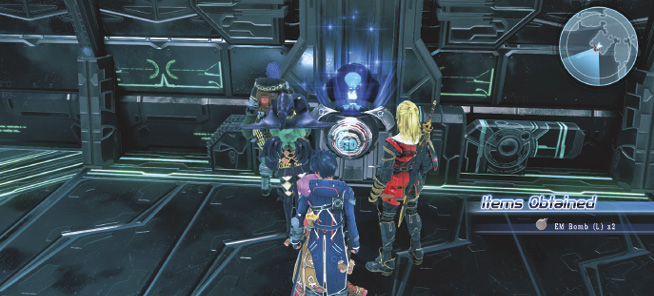
Just like with the Cryptic Research Facility, you’re looking for a cloaked entrance. There’s a chest with an EM Bomb (L) on the edge to the west. Open it, and then to the south of the area, look for an odd distortion near Anne. When you’ve found it, Anne will attempt a hack into the building’s system. This triggers an ambush—protect Anne at all costs!
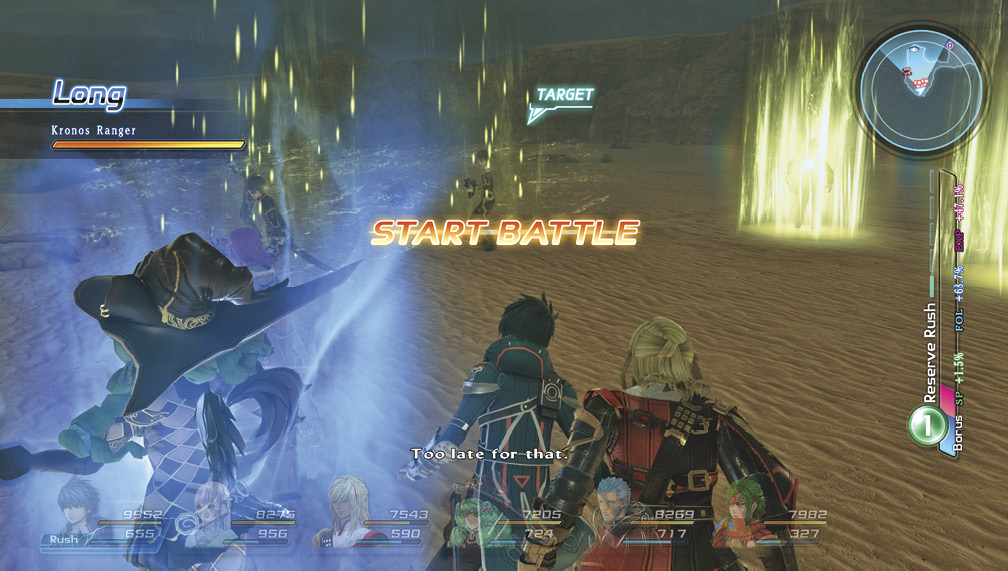
Kronos Ranger

Kronos Soldier

Kronos Rifleman

Phantom Dragoon

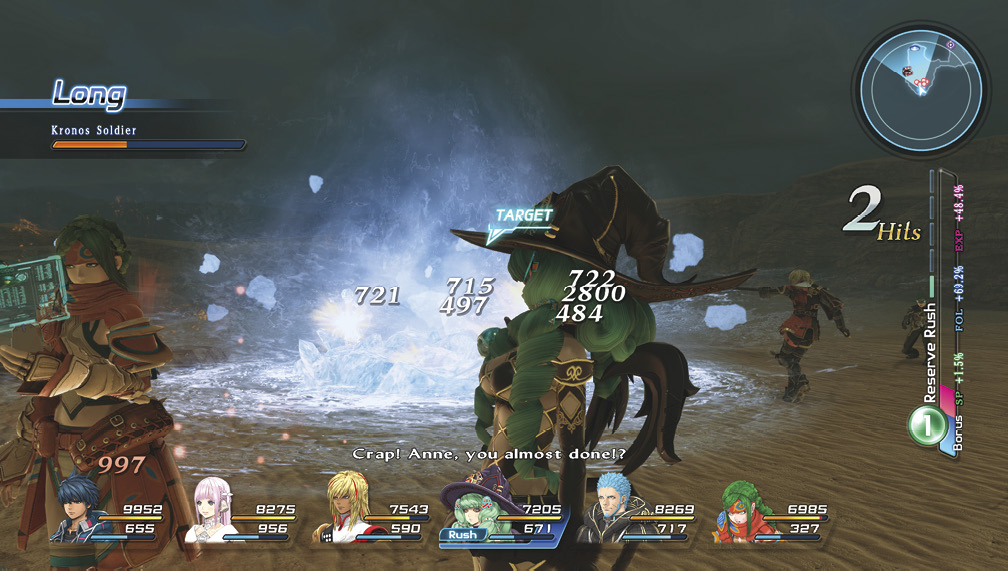
Similar to the security drones you encountered at the first research facility, you’ll need to fight without Anne, as she’s busy hacking the security protocols. Furthermore, enemies will relentlessly attempt to take her down; if they’re successful, the game ends, and you’ll need to reload your save. Do your best to keep her alive. Heal her up with Miki’s spells while your other members take out the threats. This can prove very difficult if you’re not prepared. The first thing you should do is move Miki out of the foes’ line of sight so that she doesn’t take collateral damage while they’re attacking Anne. Then, you can use the bomb that you picked up earlier to eliminate some of the troops.
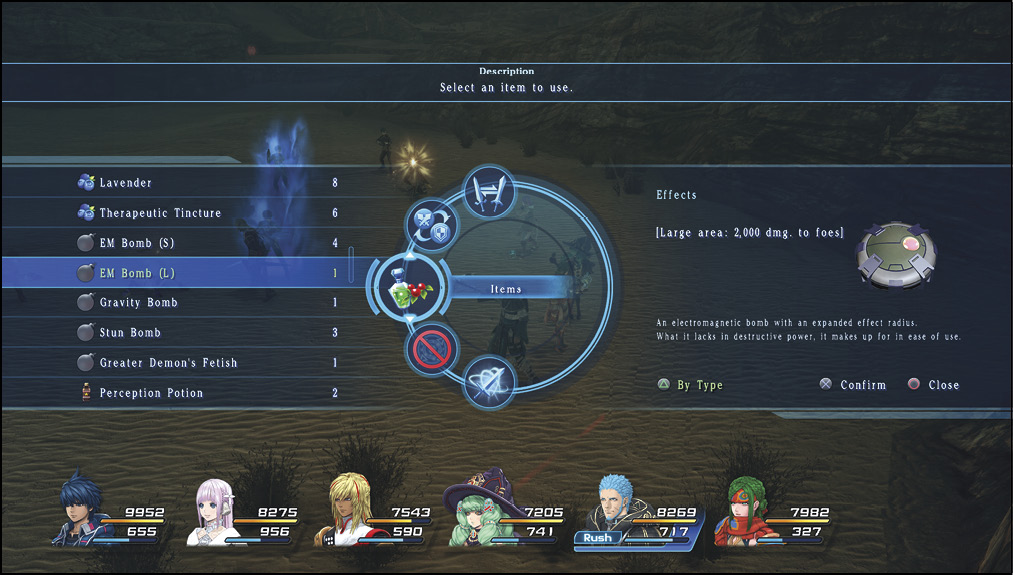
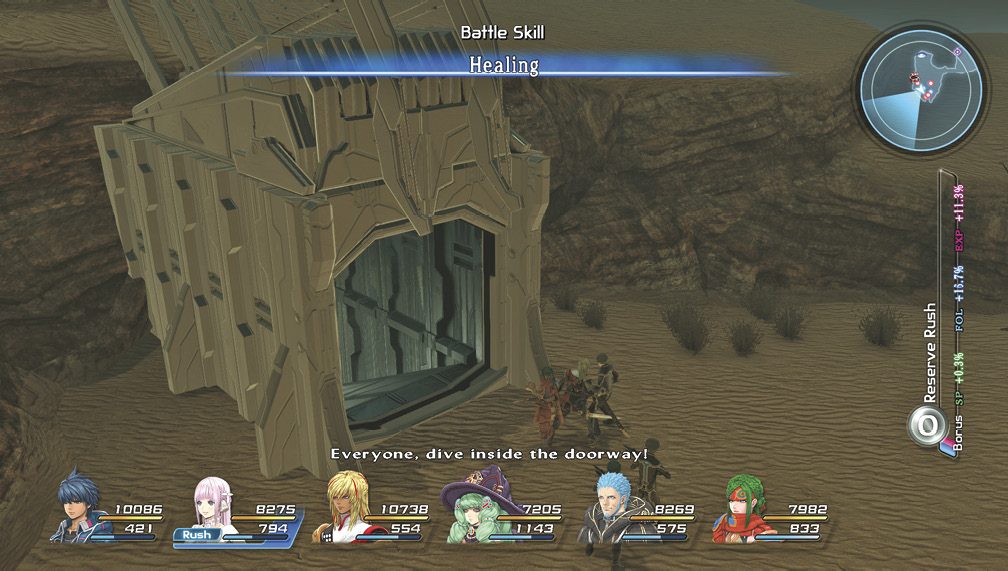
Make sure to heal Anne with items like Blueberry Potions if Miki can’t keep her health up. If she’s healthy, you can start using debilitating attack skills like Fidel’s and Victor’s Double Slash techniques to knock out aggressors, mitigating damage done to Anne. After a period of time, she’ll successfully open the emergency hatch.
Descend into the Research Facility
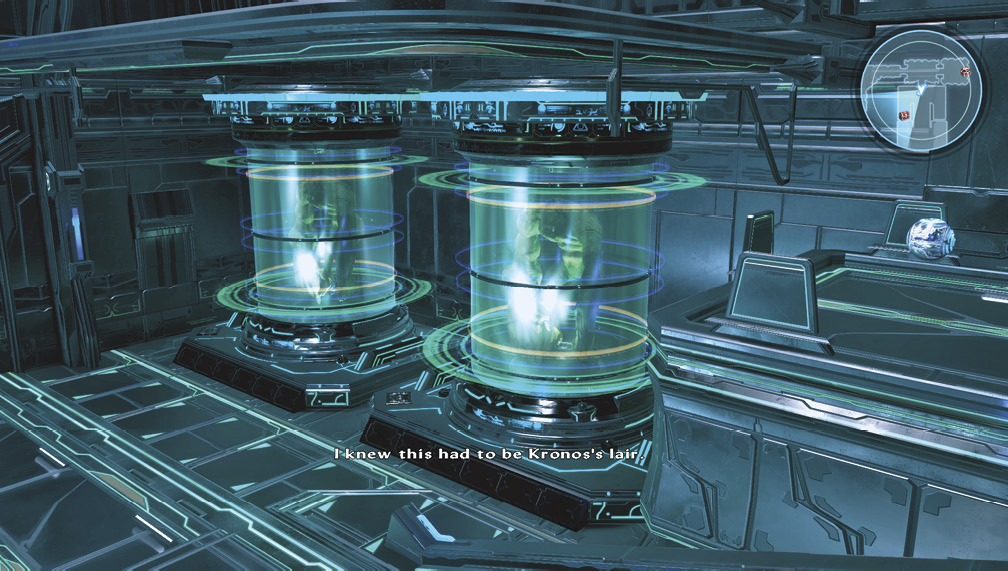
Seventh Core

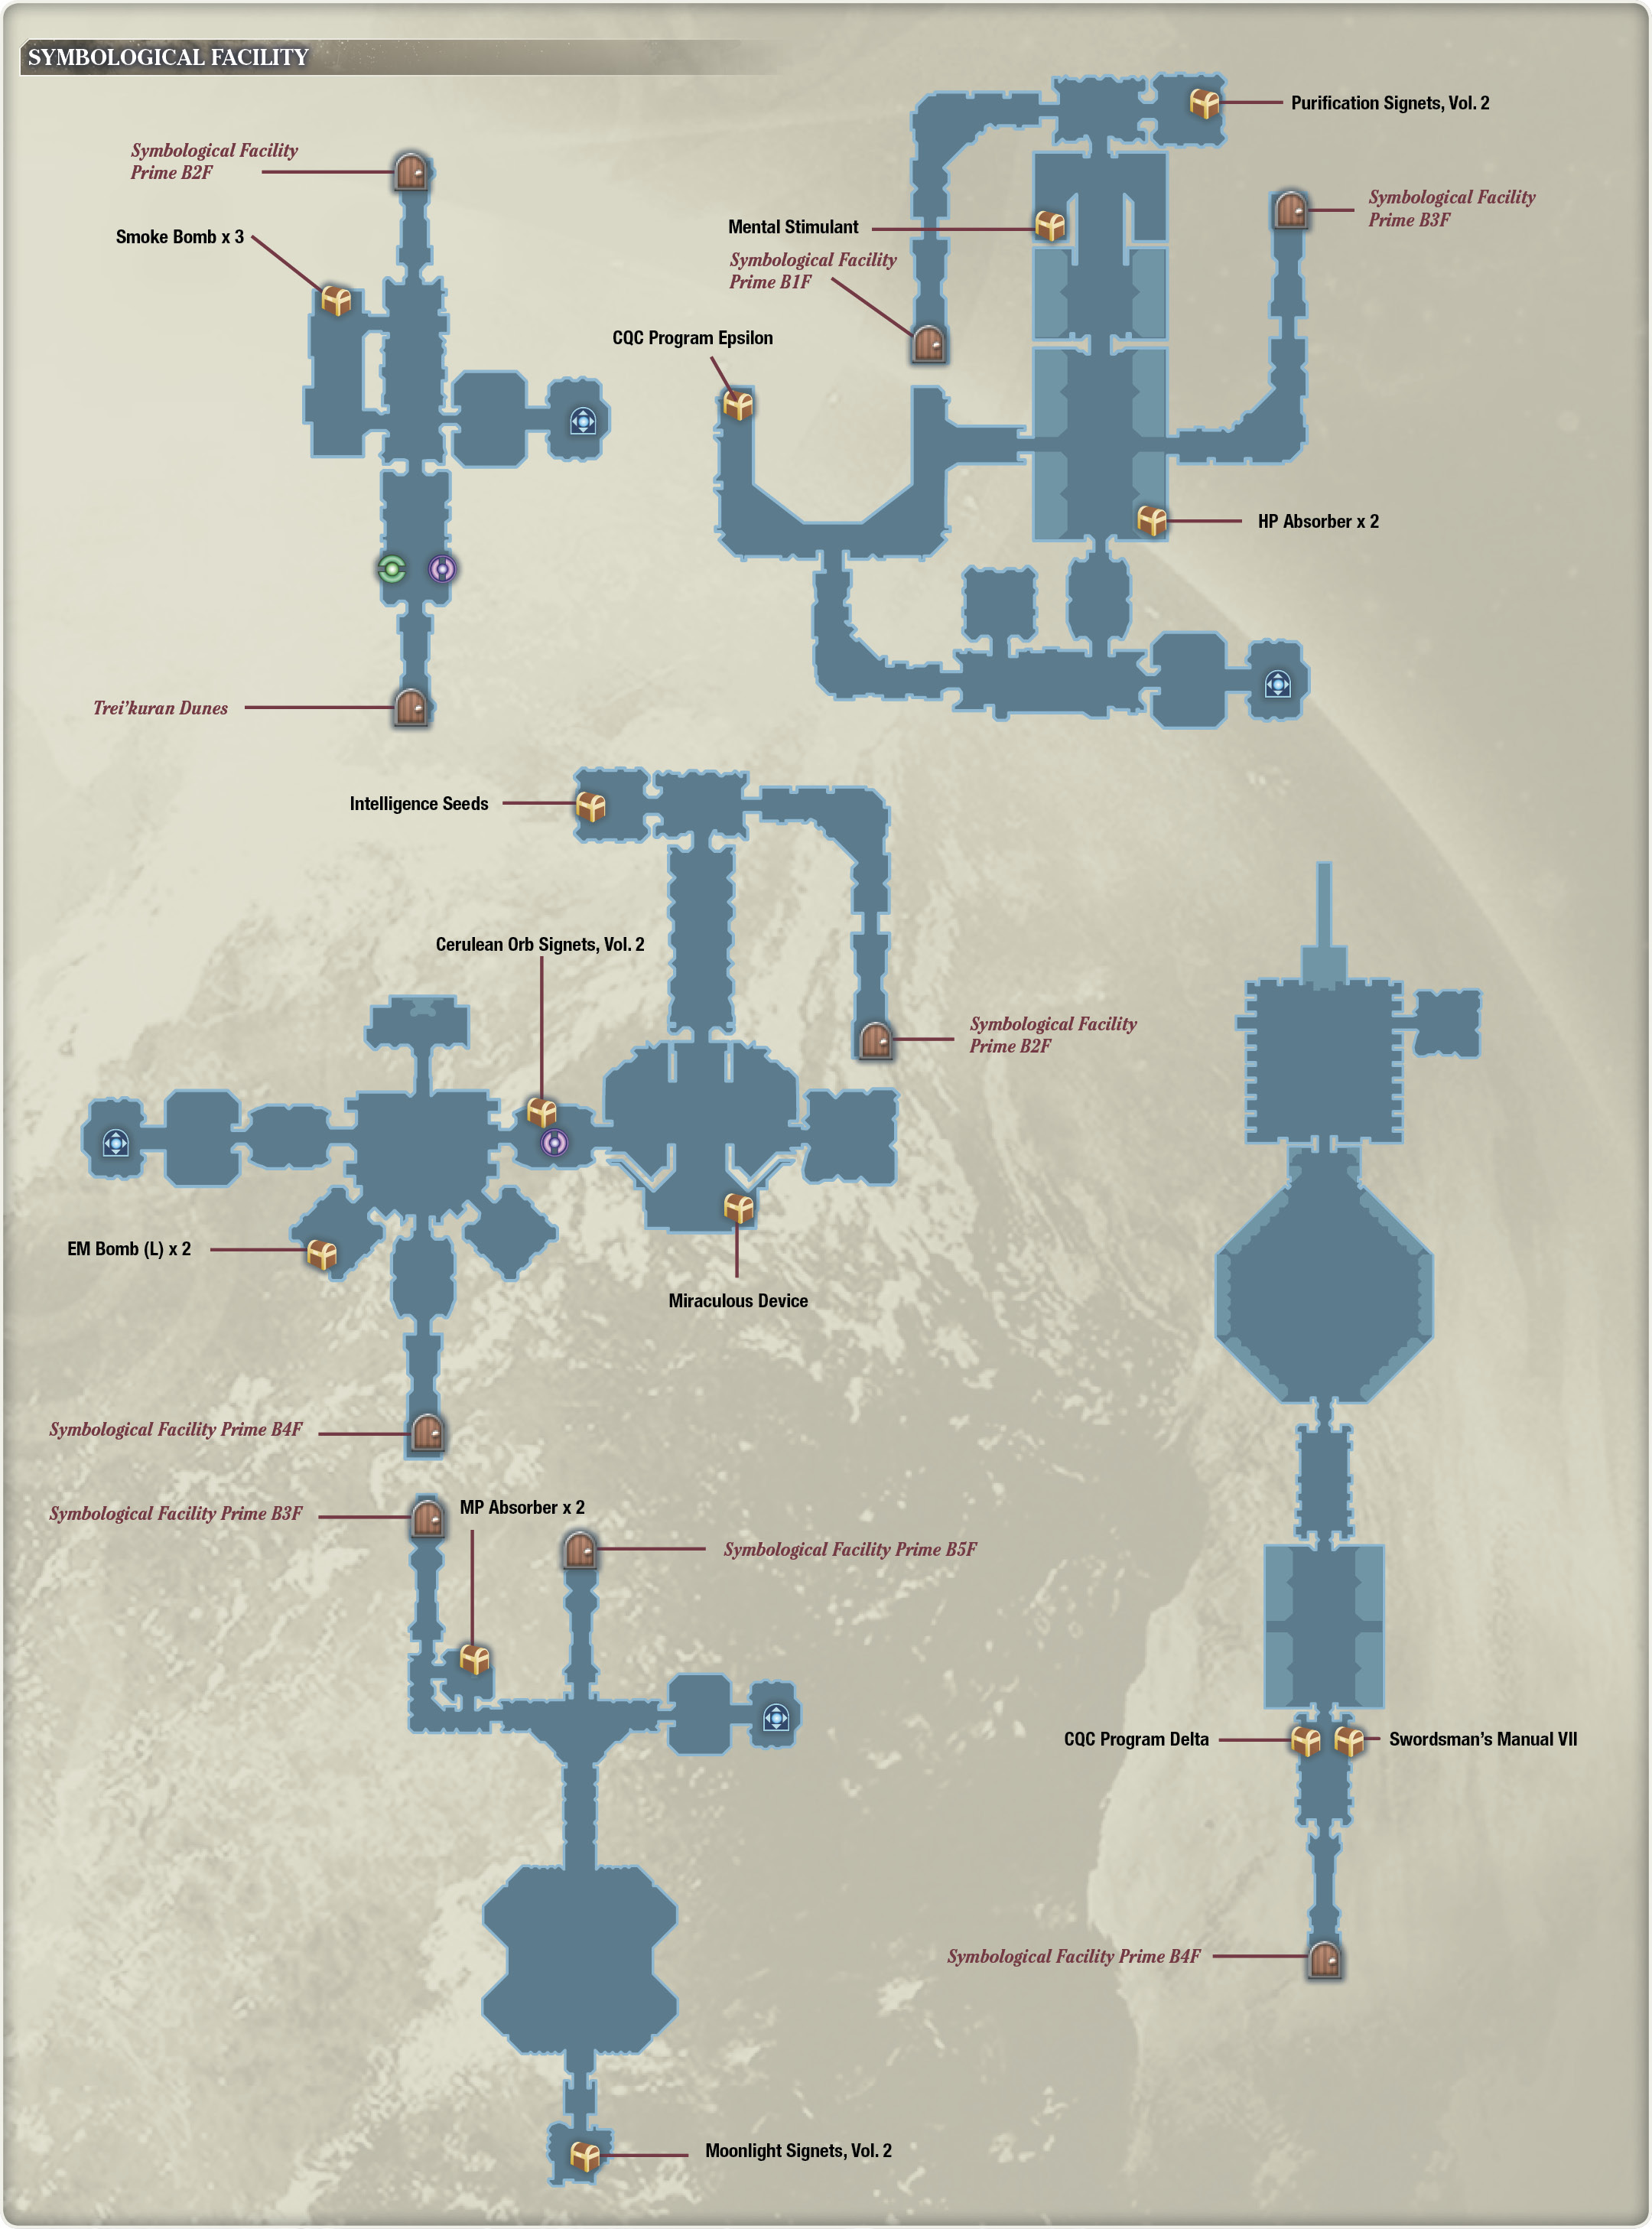
Once you’re safely inside the facility, you can use the save and restore points. When you’re ready, go north and west into a room with a treasure sphere containing Smoke Bomb x 3. Open it, and then continue north to the second basement floor.
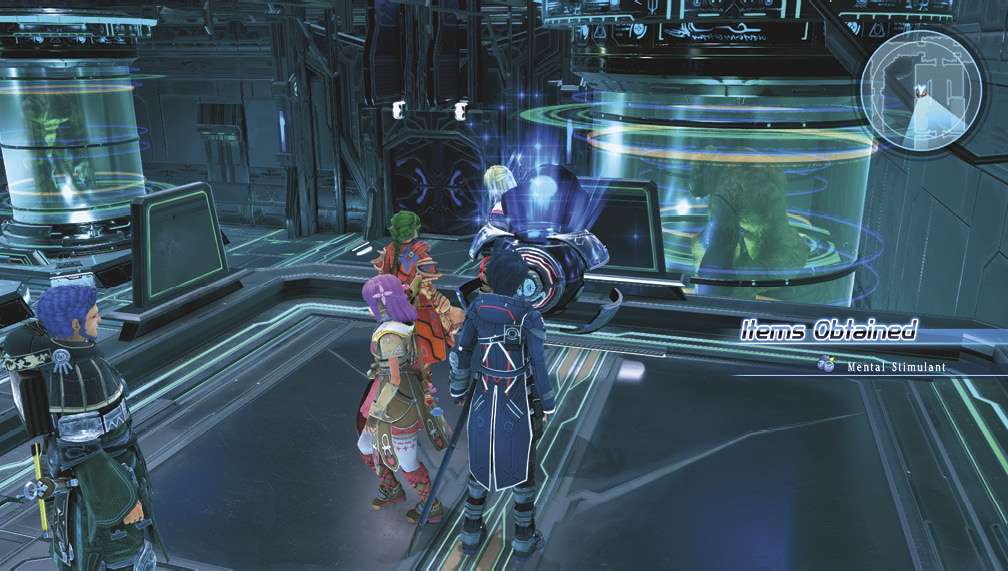
From your starting point here, head north, then make a right and continue going straight into the room to the east. Pick up a copy of Purification Signets, Vol. 2 here, then turn around and enter the large laboratory to the south. There’s another treasure sphere here west of the ramp; open it to obtain a Mental Stimulant.
Continue south past the Kronos experimental subjects, then take the door to the west. Across the platform here (at the westernmost end), you’ll find a CQC Program Epsilon disk in a sphere. Defeat the Phantom Dragoon guarding it, and then open the sphere so you can have Emmerson or Anne learn a new attack skill.
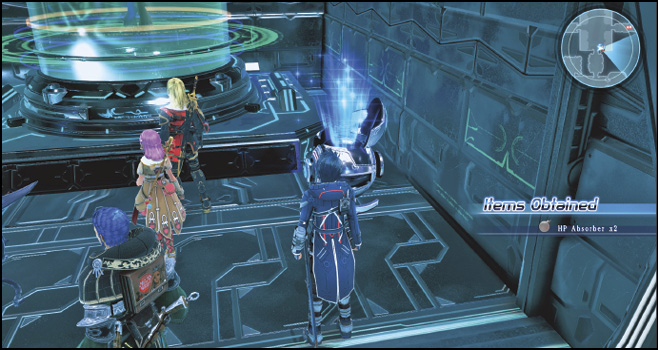
Now, turn around and take the door to your right into the southern region of the floor. Then, travel east, fighting through more Kronos cronies. Take the second door to your left, looping back around into the large lab area. There is a sphere to your immediate right, containing HP Absorber x 2. Open it, then take the path to the east from the center of the area, leading to the third basement floor.
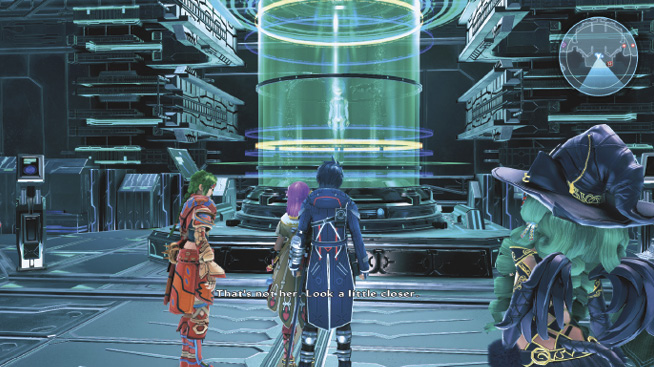
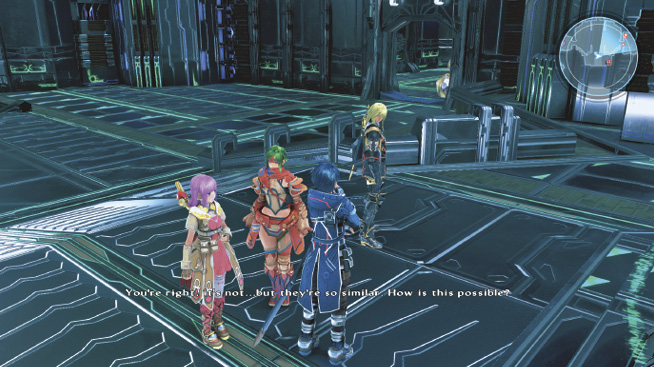
On the third floor here, follow the hallway until it bends west. Keep going west, and you’ll find a treasure sphere with Intelligence Seeds in it. After you pick it up, turn around and take the door south, proceeding past a long hall until you reach a storage unit with what looks to be Relia inside. However, it’s not. In the southeast corner of the laboratory, pick up a Miraculous Device in the sphere there.
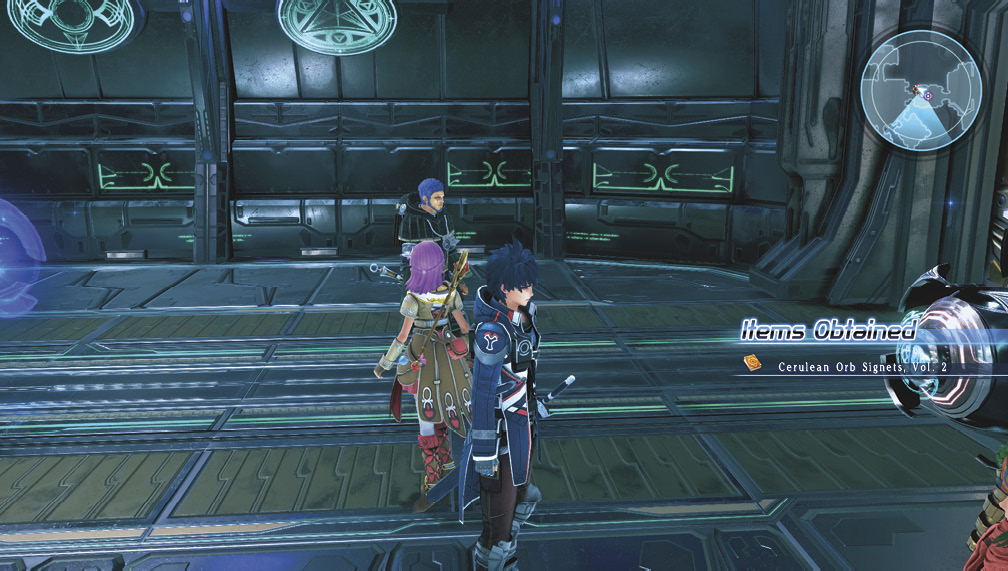
Continue by going west from the Relia-like experiment to a room with a save point and another treasure sphere that has Cerulean Orb Signets, Vol. 2 inside it. Loot the contents, and then save your progress here. Restore your HP and MP with items if you need to. You’ll be on Anne protection duty again soon!
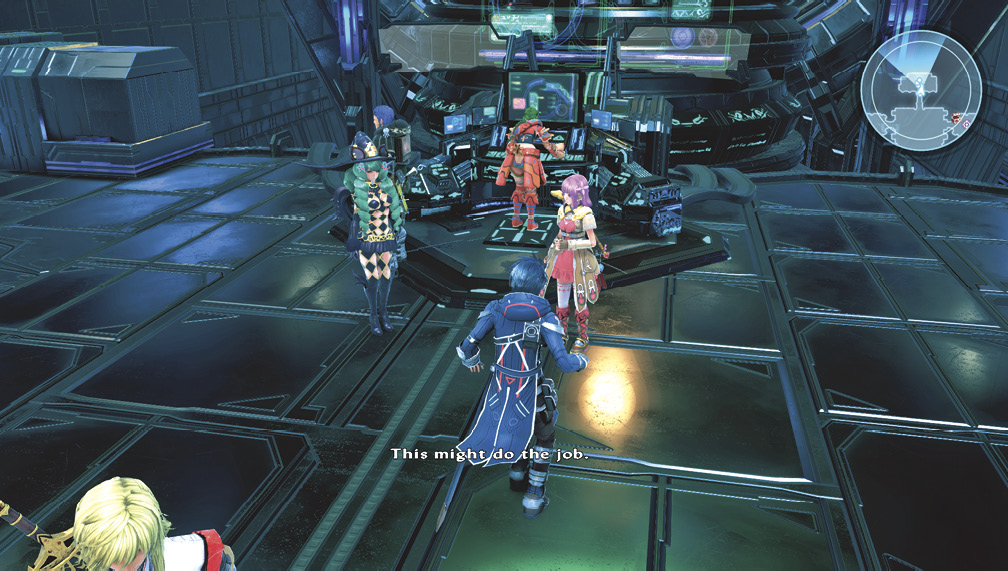
At this point, you should have your party chow down on party-wide stat-boosting food (such as Hamburg Steak or Curry Rice). From the save point, go west and then north into the workstation area. Anne attempts to access the network in hopes of finding more information on Relia’s whereabouts. This cues several Kronos security soldiers to attack the party. As before, you’ll need to protect Anne again at all costs!
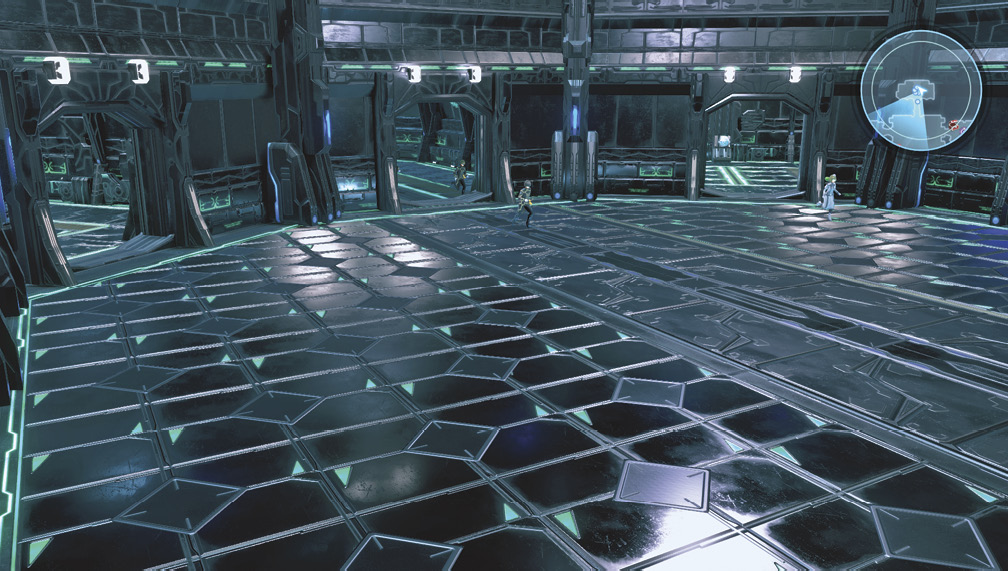
Kronos Scholar

Kronos Gunner

Thankfully, you have a positional advantage here because enemies must funnel into the room to get to Anne. Keep them out with your relentless attacks, making sure to keep Anne healed with items and healing spells.
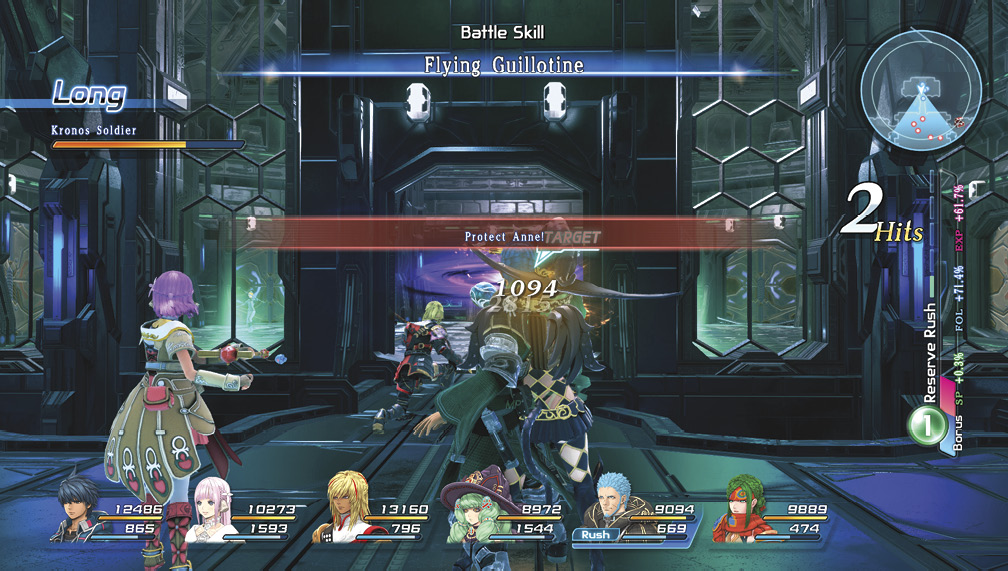
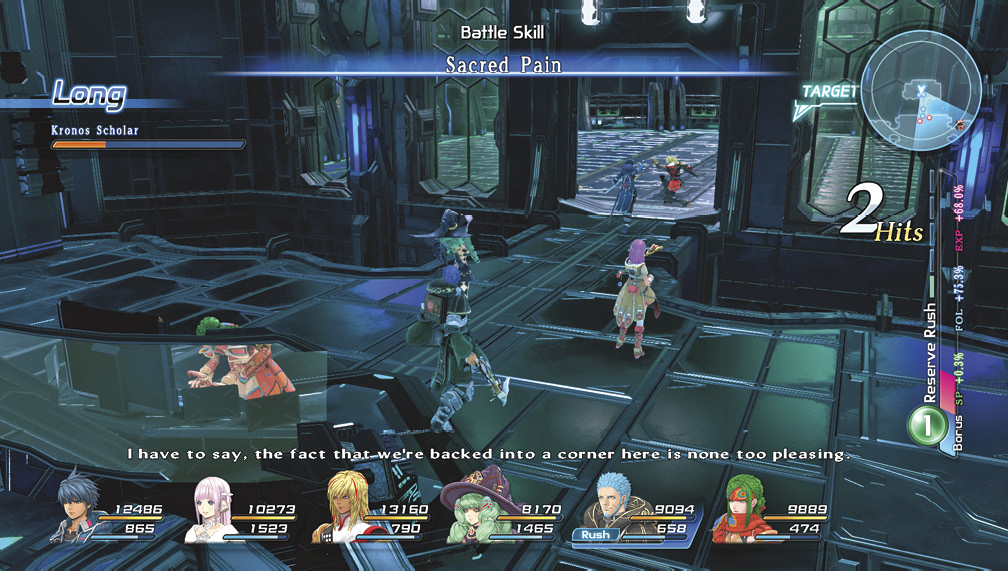
After you defeat several waves of Kronos Gunners and Scholars, Anne successfully finds Relia’s location. Before you follow Anne, enter the room to the southwest of the larger main room to pick up EM Bomb (L) x 2. Now, head for the south path, taking you to the floor beneath where Relia is supposedly held.
On the fourth floor, make an immediate left into a small workstation room. Open the treasure sphere to pick up MP Absorber x 2. Continue east, and then to the south. You arrive at a large area with what looks to be an army of robots and soldiers waiting for you.
Destroyer

Complete the Extraction Mission
This mini-boss battle has you up against a massive spider-like machine and several Kronos troops. Start by separating your party members, keeping Miki away from harm. Make sure to equip Fidel, Victor, or Anne with the Machine Slayer role if you have it, and another damage-dealer with the Warrior Slayer role to take care of the Kronos Soldiers. The Destroyer inflicts a ton of damage and can apply a stun effect; it can be especially dangerous if it decides to make a beeline for Miki. Take control of her if necessary to maneuver her away from its physical area-of-effect attacks.
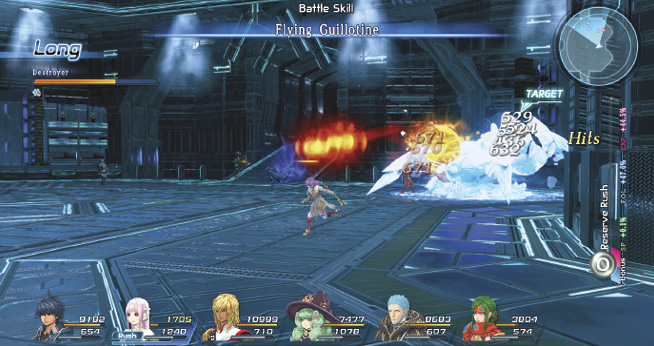
When you’ve stabilized the situation, unleash your most powerful Reserve Rush combo on it to turn the giant mechanical arthropod to scrap.
Now, move to the room to the south, where a short cutscene triggers. Looks like Relia got a haircut. She’ll rejoin your party, so make sure to equip her with supportive roles.
Before you leave, open the treasure sphere here for a copy of Moonlight Signets, Vol. 2. Turn back the way you came, and Anne will notify the crew of active transport devices, conveniently located on each floor for easy transport between levels. They’re now marked on your map, so head back up north until you get to the divergence, and then make a right into the transport room. Exit the facility by selecting B1F while operating the transport pad.
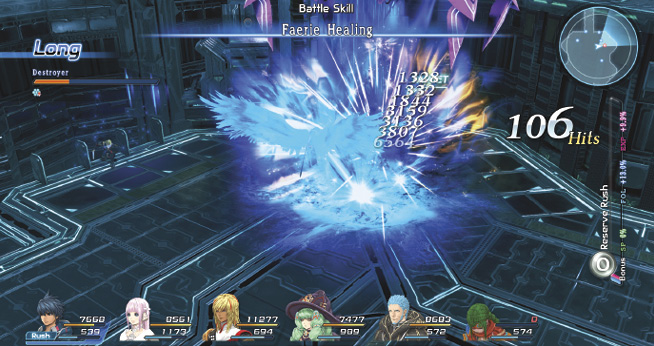
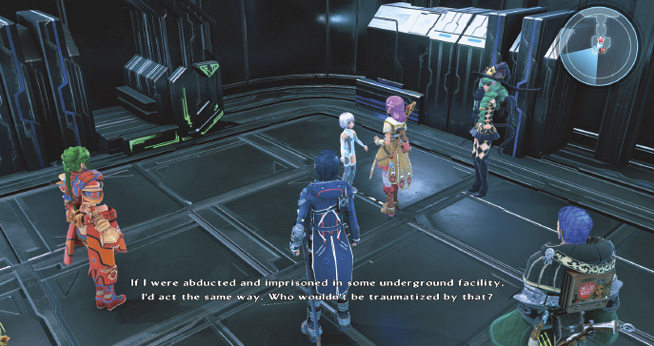
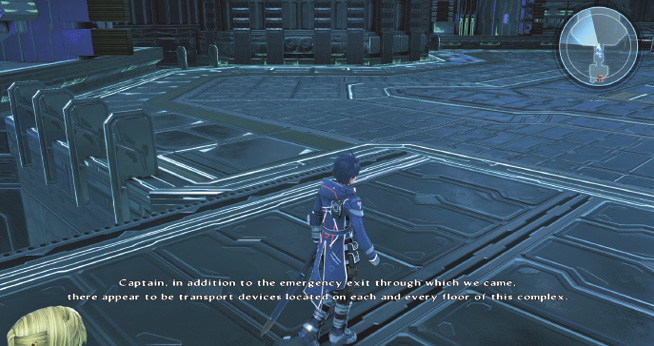
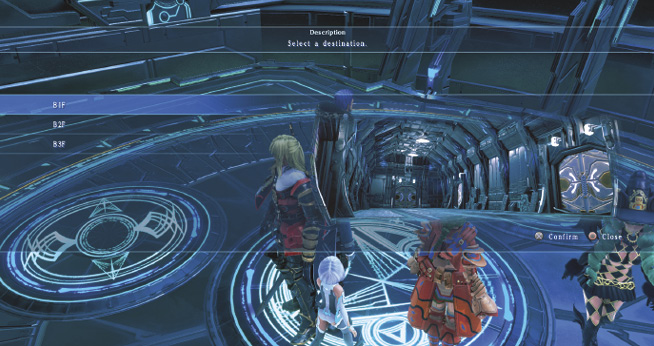
On the first basement level, exit the transport room and fight off the enemies in the hallway, then make your way out of the facility. You can save your progress and restore HP and MP before you leave.
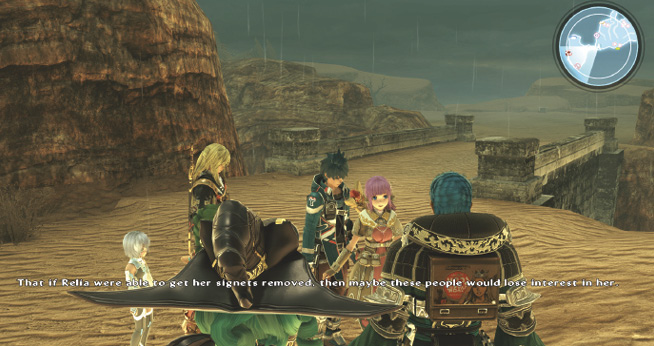
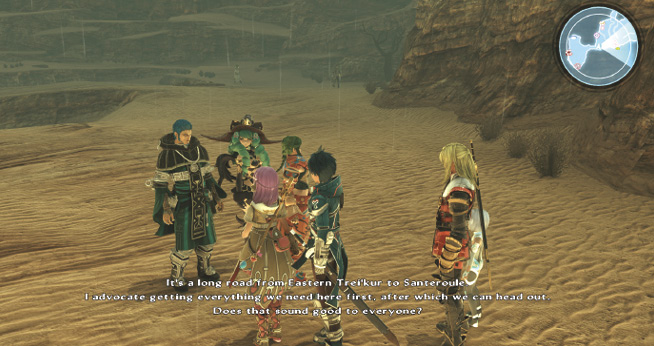
As soon as you exit the building, more Kronos Soldiers warp in to attack. After you make quick work of them, more dialogue between Emmerson, Anne, and Fiore ensues as they talk about removing Relia’s signets. Your new mission is to take Relia to Santeroule.
The journey back to Eastern Trei’kur is littered with hostile Kronos troops, so fight through them, and then enter the encampment.
Upon entering Eastern Trei’kur, Victor reports to Daril in a short dialogue sequence. The party is exhausted after the extraction mission, so head to the inn to get some rest.