Star Ocean: Integrity and Faithlessness Guide Part III: Main Story Walkthrough Chapter 8
Mission: Rescue
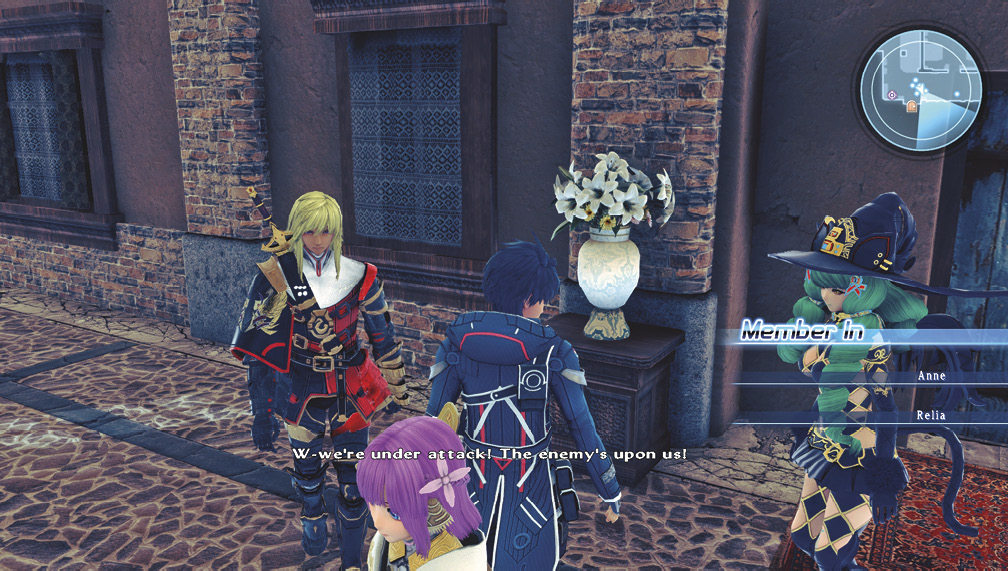
Fidel’s acts of nobility and courage don’t go unnoticed by his father. In a rare gesture, Daril gives his son a few words of adulation. However, Fidel’s elation is cut short when a vengeful villain attacks the now-Resulian encampment.
Action Checklist
- Meet with Daril
- Summon Victor and defend the encampment
- Optional: Upgrade equipment
- Optional: Unlock Private Action events and random Private Actions by visiting the Trei’kur Slaughtery entrance
- Optional: Undertake and complete side quests in various towns
- Find Daril and Relia in the Trei’kur Slaughtery
Mission Walkthrough
Your main objective here is to meet with Daril and defend Eastern Trei’kur from its original proprietors. Then, you’ll need to undergo a rescue mission in the Trei’kur Slaughtery.
Defend against Der-Suul
Again, Fidel wakes up in the middle of the night. Exit The Moonlit Tabby, and take a walk outside for some fresh air. Your destination is in the northern area of Eastern Trei’kur, where you’ll meet with Fidel’s father. As they have a heart-to-heart talk, Daril feels that something is amiss.
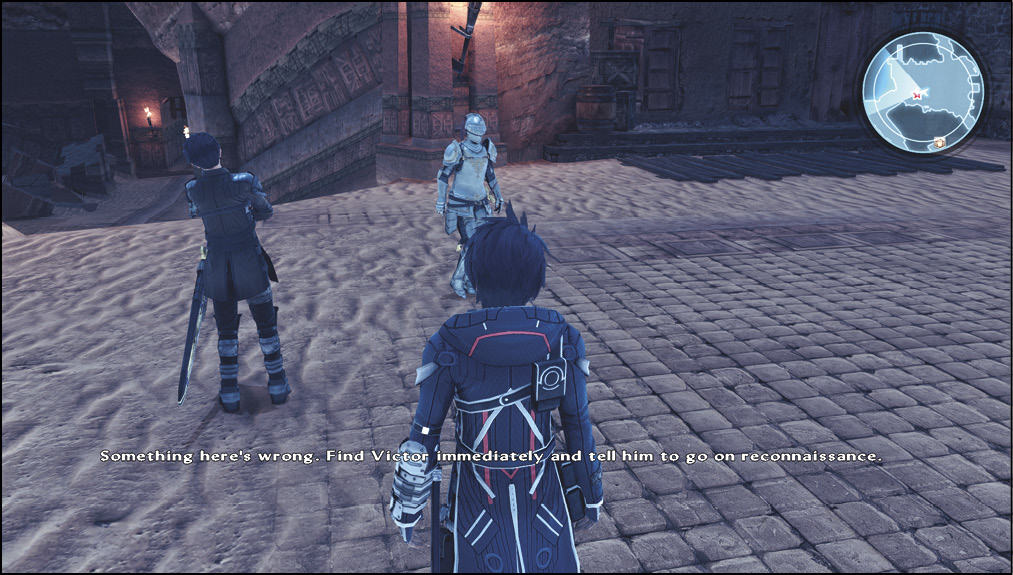
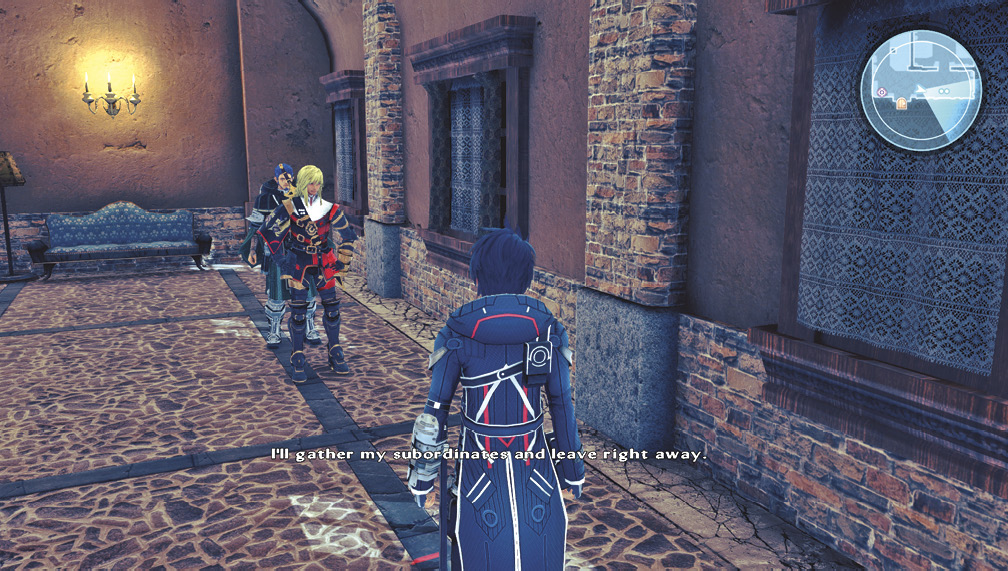
He orders Fidel back to the inn to beckon Victor’s aid. Return to The Moonlit Tabby to send Victor on a reconnaissance mission. Before he can go, Trei’kur sieges the encampment.
Der-Suul

Trei’kuran Sharpshoooter

Trei’kuran Soldier

Trei’kuran Signeturge
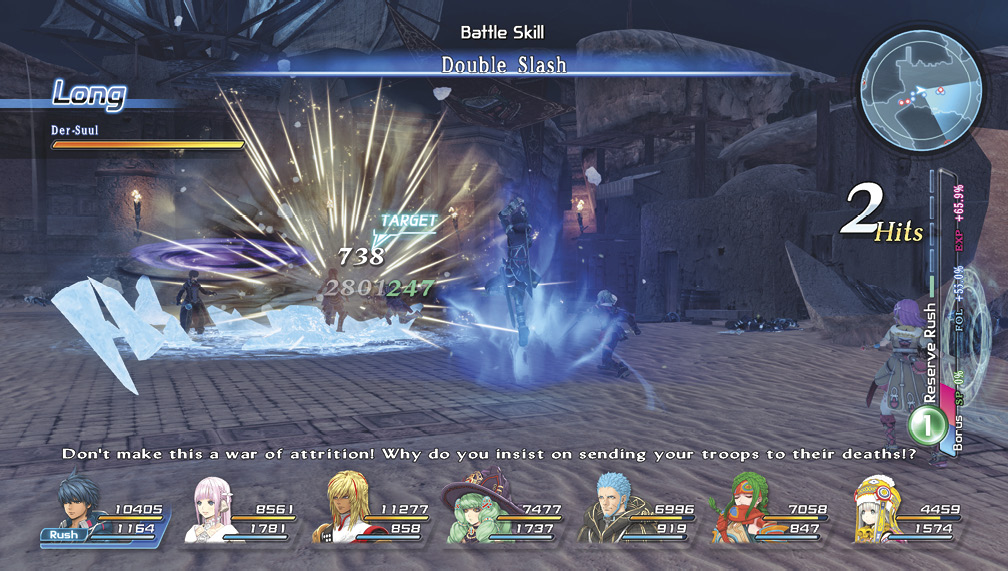
With control of the full party, leave the inn to defend the Resulian outpost. Fight your way to the upper area of the map, where you met with Daril earlier. Der-Suul is here, along with several Trei’kuran troops. Since you won’t be able to damage Der-Suul, you’ll need to work on thinning out the barrage of incoming henchmen. Keep fighting, and Der-Suul’s men eventually retreat without him.
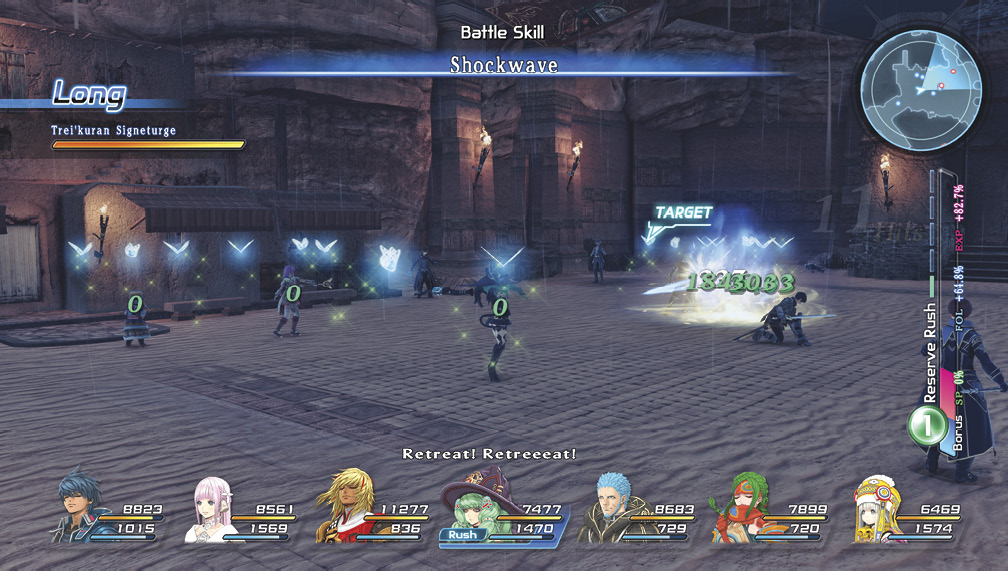
In a desperate fit of rage Der-Suul maims Daril with a signeturgical spell. He then abducts both Relia and Fidel’s father and demands for Resulian troops to concede the Trei’kuran territory before sunrise. However, Fidel and Victor have different plans: they’re going to infiltrate the enemy camp and put an end to Der-Suul.

To the Other End of the Dunes
Looks like plans have changed and you won’t be heading to Santeroule after all. Since you only have until sunrise, all of your adventuring from now until you confront Der-Suul will take place at night. You can stop by the military supply shop here in Eastern Trei’kur before making your way toward the Trei’kur Slaughtery.
Optional
Shops— Eastern Trei’kur (Upgrades)
 Eat Dirt Military Supplies
| Item | Cost | Type |
|---|---|---|
| Acuity Crest | 3000 | Accessory |
| Arcane Amulet | 25000 | Accessory |
| Attack Crest | 3000 | Accessory |
| Energy Amulet | 25000 | Accessory |
| Fortitude Crest | 3000 | Accessory |
| Mind Crest | 3000 | Accessory |
| Alchemist’s Cloak | 6750 | Armor |
| Ogre’s Armor | 7650 | Armor |
| Silver Cloak | 5250 | Armor |
| Silver Cuirass | 5950 | Armor |
| Silver Mesh | 4900 | Armor |
| Superior Armor Plate | 4250 | Armor |
| Superior Mesh | 6300 | Armor |
| Cesti of Torment | 8100 | Weapon |
| Composite Bow | 7350 | Weapon |
| Corvine Orb | 8750 | Weapon |
| Crystal Wand | 7200 | Weapon |
| Farcutter | 7700 | Weapon |
| Flamberge | 9000 | Weapon |
| Fragmenters | 6300 | Weapon |
| Homing Arc | 9450 | Weapon |
| Marmoreal Sphere | 11250 | Weapon |
| Moonfalx | 7000 | Weapon |
| Oriental Blade | 9900 | Weapon |
| Rune Wand | 4000 | Weapon |
| Sacred Scepter | 5600 | Weapon |
| Slasher Claws | 4500 | Weapon |
| Sunsylph Orb | 6250 | Weapon |
| Walloon Sword | 5000 | Weapon |
| Wild Arc | 5250 | Weapon |
Side Quests
| Eastern Trei’kur |
| Collective Parting of the Sands |
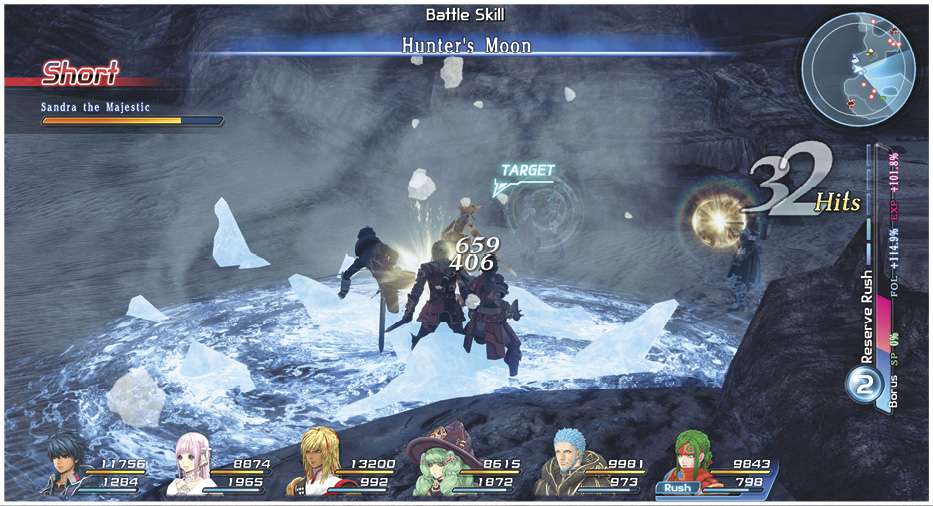
| Subjugation Directive: Sandra |
|
| Subjugation Directive: Zurtails |
| Central Resulia |
| Subjugation Directive: Pargyns |
| Subjugation Directive: Donadello |

|
| Device of the Ancients |
| It Came from the North |
| Collection as Innocent as a Valkyrie |
| Subjugation Directive: Arjain |
| Subjugation Directive: Shelda |
| Wanted: Anonnus |
| Welch’s Laboratory |
| Behavioral Study |
| Santeroule |
| For Whom the Bell Tomes |
| An Inkling for Artistry |
| Collecting Something Blue |
| Open Season on Orizons |
Private Actions
| Eastern Trei’kur |
| Rendered Speechless while Dining in Trei’kur |
| Support from his Subordinates |
| Especially Observant |
| Bathroom Breakdown |
| Myiddok |
| Its and Her Circumstances |
| Sthal |
| Talking with Ted |
WELCH: The Beautiful and Genius Inventor, Part IV
If you return to Welch at this point in the game and you’ve completed all of her previous quests, you can complete a simple subjugation task for her to unlock the Authoring specialty. You can find the Sanddozer she wants you to hunt down in the Trei’kuran Dunes.

A Daring Rescue
Lizard Warrior

Adephaga Milies

Trei’kuran Knight

Trei’kuran Signeturge

Trei’kuran Armored Bowman

Stroper

vampire Bat

Lizard Shaman

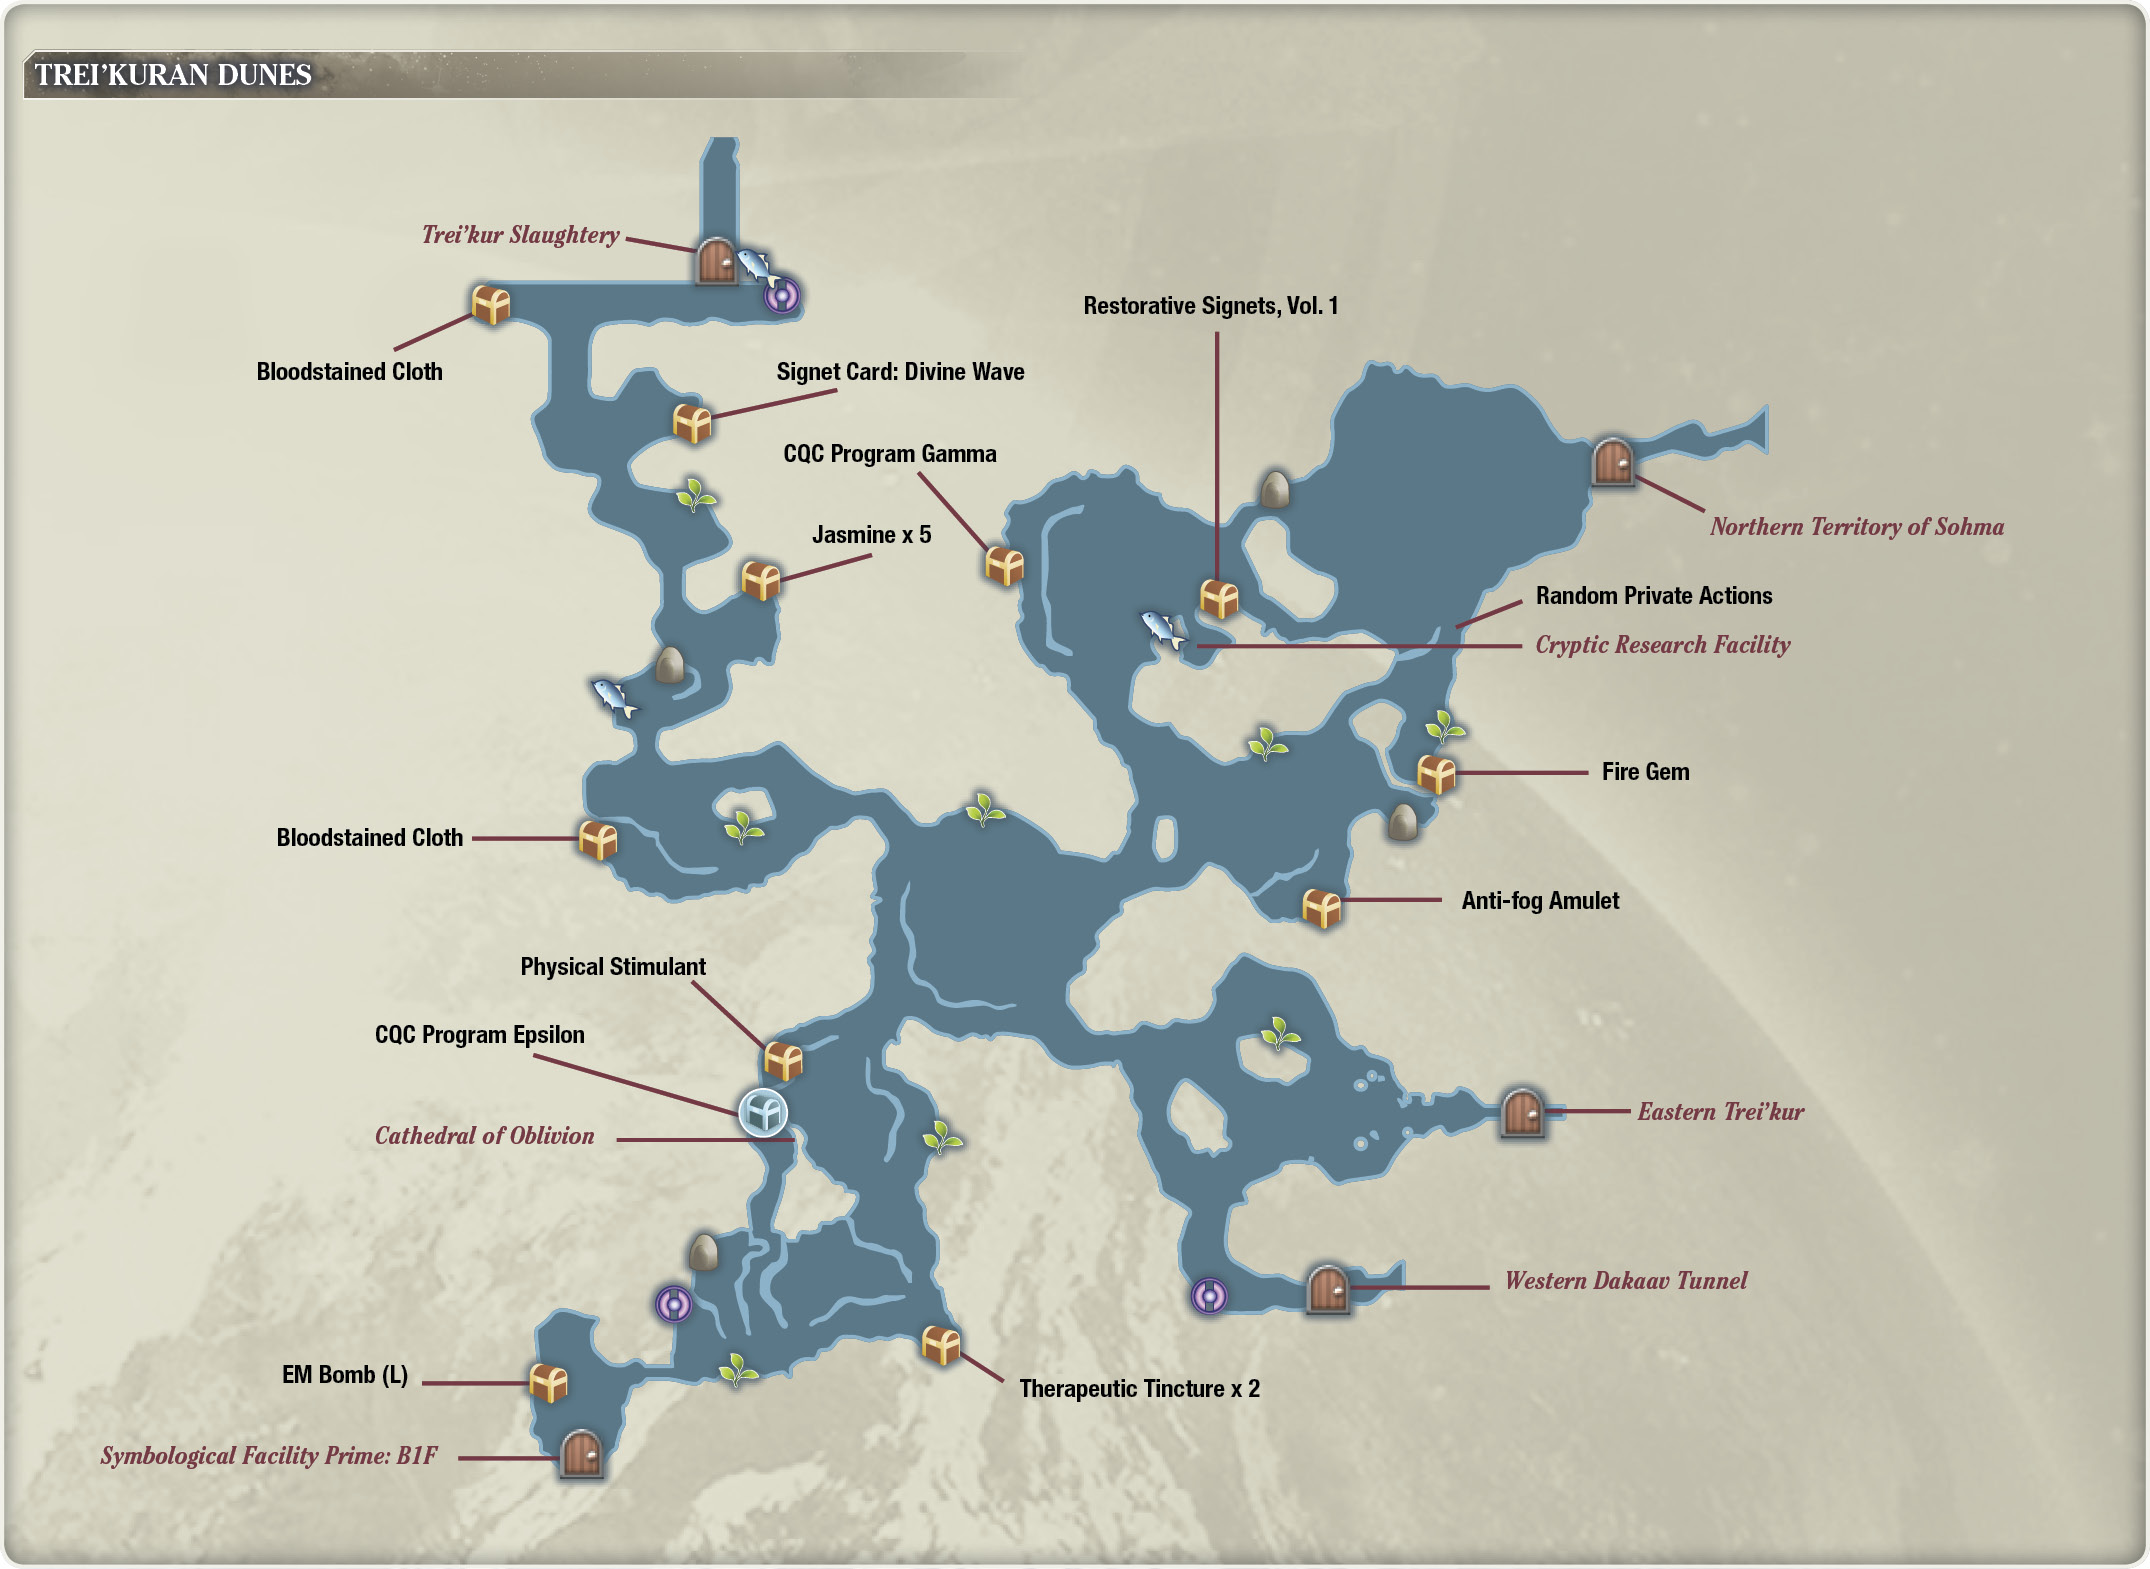
Before you leave to rescue Daril and Relia, make sure to stock up on restorative supplies like Blueberries and Blackberries. Then, exit Eastern Trei’kur from the west gate, heading into the Trei’kuran Dunes. Your destination here is in the northwest corner of the map, indicated by the red star waypoint of your in-game map. Traverse to the center of the map, then take the path west into another open area with a harvesting node. On a ledge to the west here, there’s a chest containing a Bloodstained Cloth. Pick it up, then go north into another area, cutting through the Trei’kuran defense troops.
To the northeast of the immediate area, there’s a chest that holds Jasmine x 5. Open it, then continue north to find another group of Trei’kuran enemies. Defeat them, then retrieve the Signet Card: Divine Wave from the chest nearby. Now, go north, and you’ll see the Trei’kuran Slaughtery just over its moat. At the west end lies another chest, containing another Bloodstained Cloth. After you open the chest, you can save your progress at the point to the east near the slaughtery’s bridge. Enter the tower to start the rescue operation.
Inside the Trei’kur Slaughtery
Trei’kuran Sharpshooter

Cursed Horror

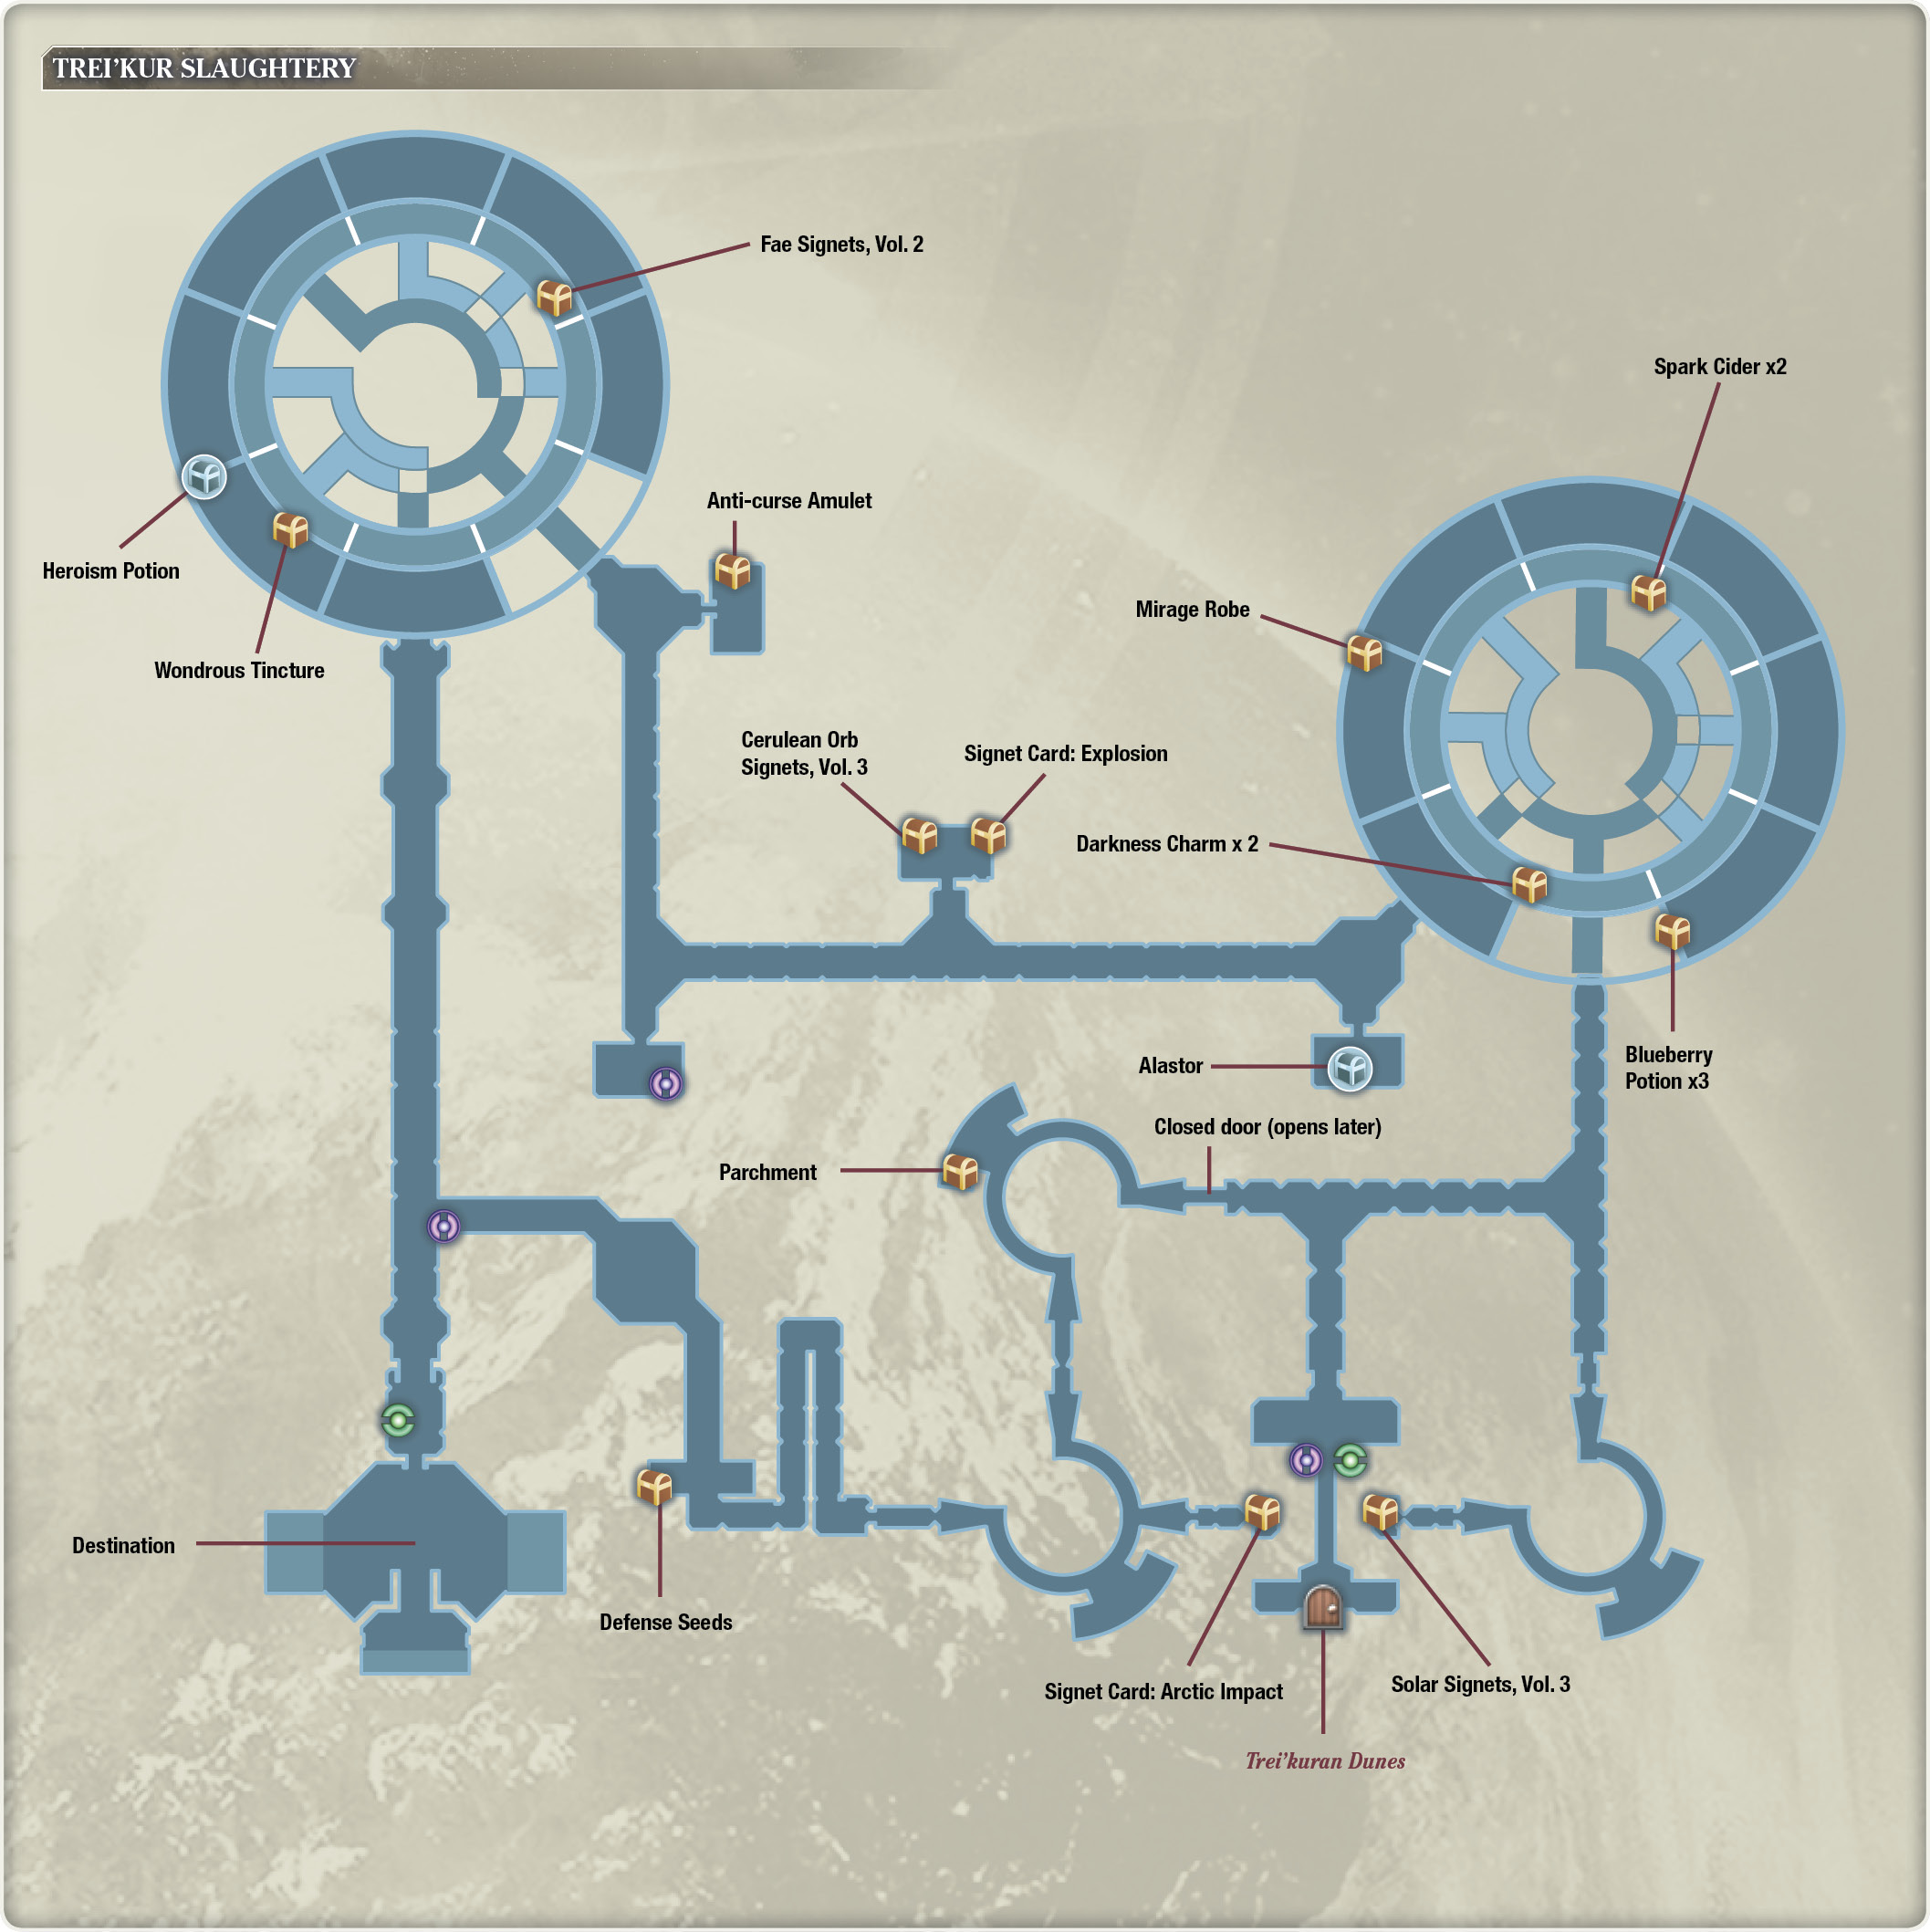
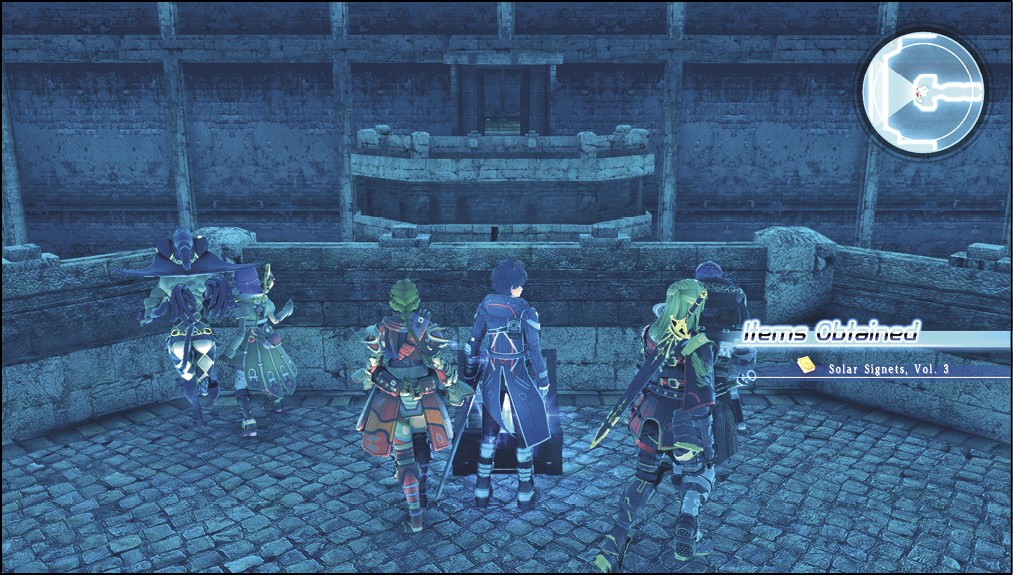
Once inside, you can refill your HP and MP at the restore point here. You can also save your progress if you haven’t already. Your destination on this map is in the southwest corner, but you’re going to have to go the long way around since the back door is locked (for now). Make your way north from the save point, then go east and follow the path south. This leads you upstairs to a dead end with a chest containing a copy of Solar Signets, Vol. 3. You can have Fiore learn the powerful Tornado signeturgical spell with this skill book.
Now, turn around and take the north path that leads into one of the slaughtery’s watchtowers. To your immediate left, just before the tower, there’s a chest with Darkness Charm x 2 inside. These can be used to augment your equipment with darkness elemental resistances. If you have the Subjugation Directive: Zurtails quest, you’ll encounter Cunning Zurtails foes as you enter the tower.
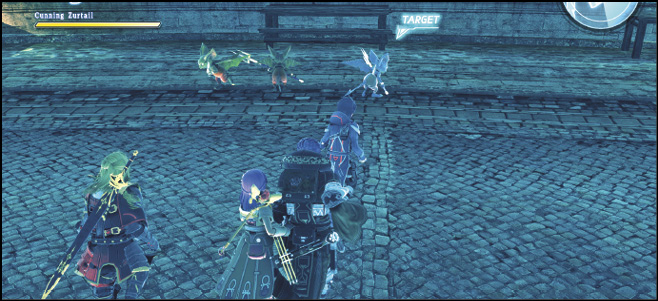
Before you make the tower climb, take a left at the base of the tower. This takes you to a prison cell with some enemies and a chest with a Mirage Robe inside. After you grab it, equip it on one of your signeturges. Then, start climbing the tower by taking the stairs to the east. At the peak of these stairs, there’s a chest immediately before a cell entrance. Open it to obtain Spark Cider x 2, then enter the cell to the west.
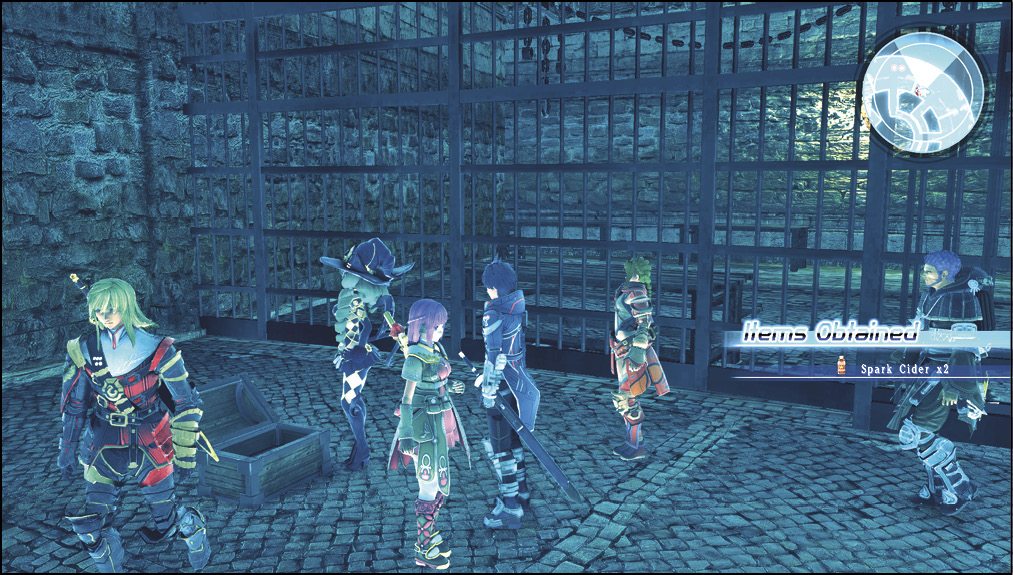
Defeat the adversaries here, and enter the adjacent cell just south of it. Head west from this cell back into the tower. If you take a left inside the tower here, you can enter the southeast cell with a chest containing Blueberry Potion x 3.
Continue up the tower by climbing the interior stairs, which lead you to a cell with two armored enemies.
Grendelian Knight-Errant

Cabrakan

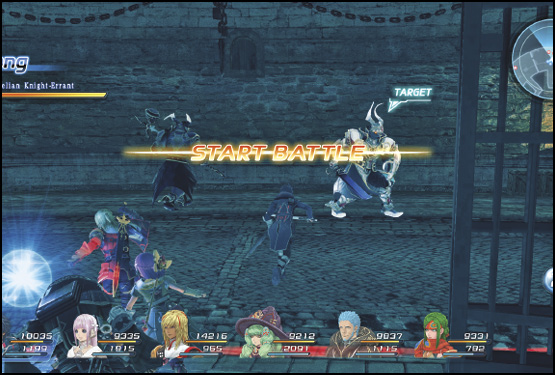
Like the armored mini-bosses from the Western Dakaav Tunnel, these two walking suits of steel can deal large amounts of damage around themselves. Keep Miki and Fiore away from them while healing your front line party members.
After you’ve banished them, you can make your way into the adjacent cell to the west, which then loops back into the tower, up to the top level. From here, you can make your way east toward another tower. Before you cross the bridge, there’s a room to the south with a locked chest inside. If you have the Lock Picking specialty, you can obtain a new weapon for Victor: the Alastor.
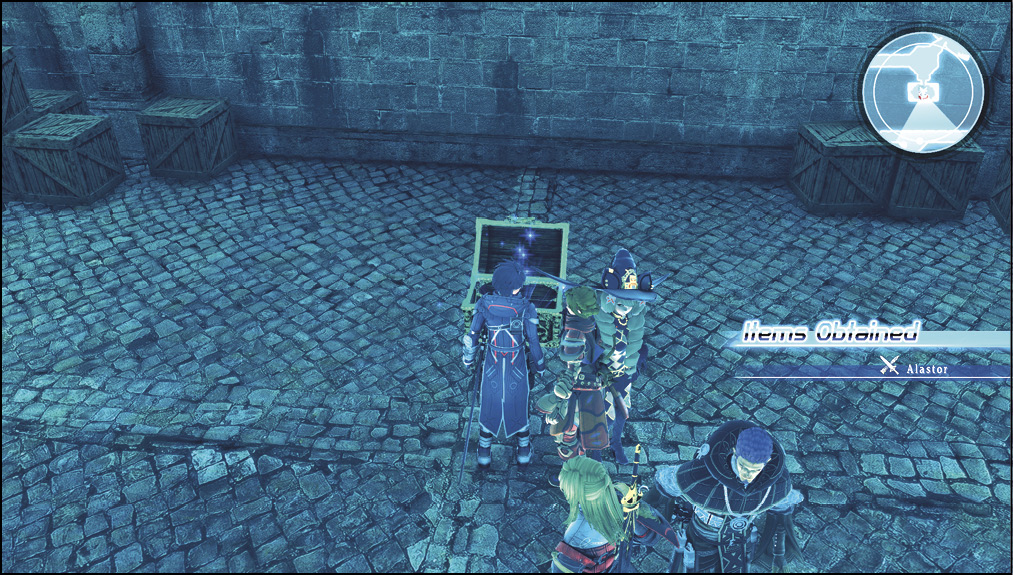
It should be an upgrade for him at this point, so equip it, and then make your way across the bridge and up another set of stairs to the east. In the room north of the bridge, there are two chests, one with a Cerulean Orb Signets, Vol. 3 skill book and one with Signet Card: Explosion.
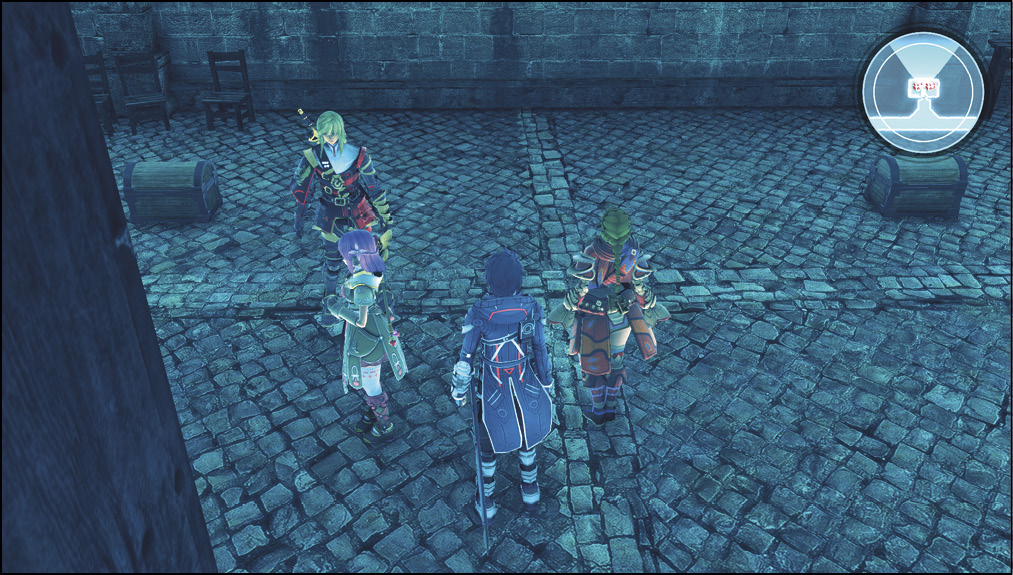
Continue eastward. At the divergence, you can make a left turn into a room to the south to save your progress at the save point. Head north from here up two more flights of stairs. Before you enter the second tower, there’s a room to your right with a chest containing an Anti-curse Amulet inside.
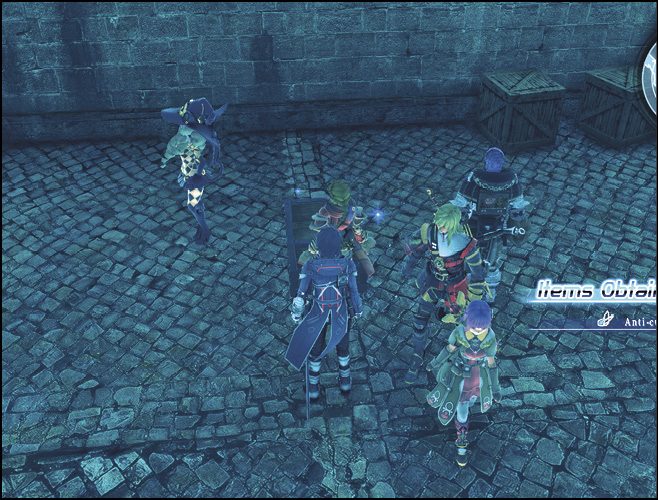
Enter the northwest tower. Take a left down the stairs, leading to a room with some enemies, a locked chest, and an unlocked one. The open chest contains a Wondrous Tincture, while the locked one holds a Heroism Potion.
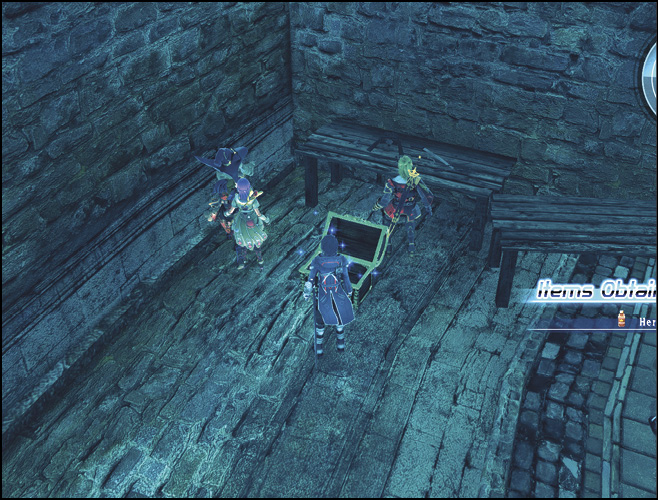
Now, climb your way up several stairs, which take you to the north cell. Enter the adjacent cell to the east, clearing the Trei’kuran Soldiers. Just outside of this cell, there’s a chest containing Fae Signets, Vol. 2. Have Miki read the book to learn Faerie Light, an enhanced version of Faerie Healing.
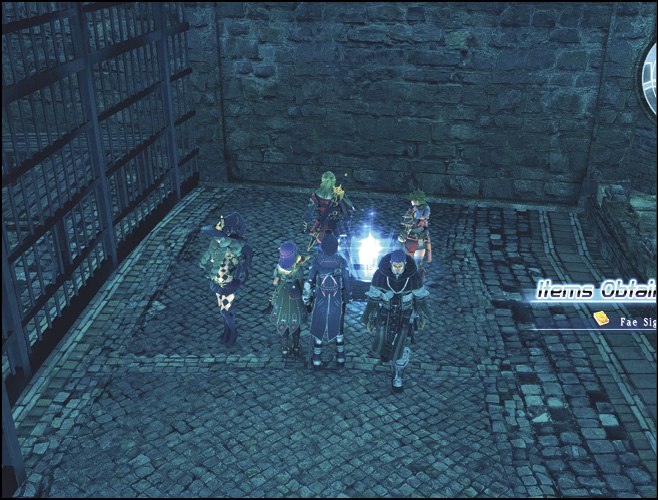
Re-enter the tower and make a right when you’re inside, up a set of stairs. This takes you to the northwest cell, which connects to the western cell. Enter the west cell, then take the connecting path east up two more sets of stairs to the top level. From here, you can exit the tower, going south.
Along this bridge, you’ll fight another pair of armored suits, except they have some extra Trei’kuran troops with them. Defeat them, and continue all the way south until you reach a save point along the path. Save your progress, and go follow the path east. Slay the Cursed Horrors here, then keep following the path until you come to a locked door (these doors will be open the next time you visit the slaughtery). There’s a chest with Defense Seeds in it to your right. Pick them up and return to the save point, then go south into the large room to find Daril and Relia.
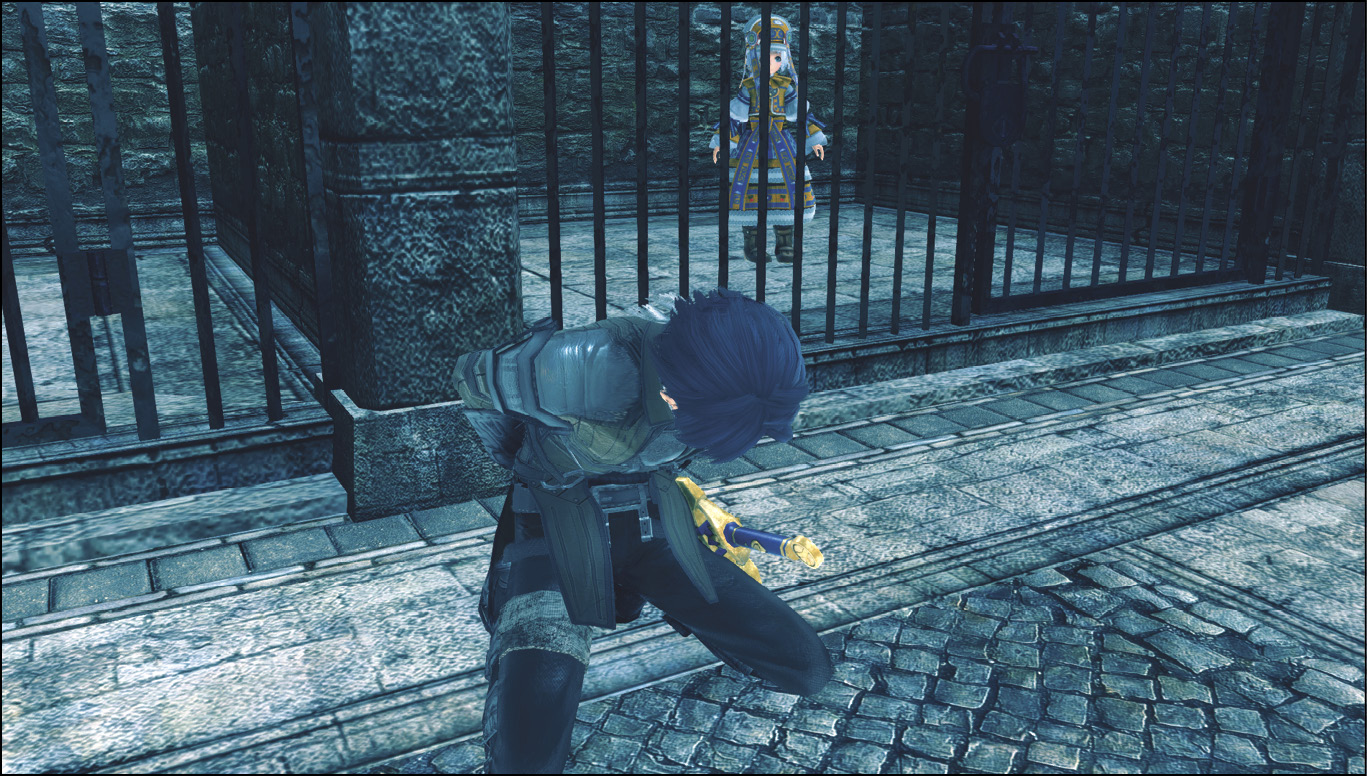
Unsurprisingly, you walk into a trap. Der-Suul orders waves of Trei’kuran troops to attack. After you fight off several soldiers, a cutscene triggers where Der-Suul calls for a retreat, but not before he orders his men to fire on the party. Daril heroically embraces Relia to protect her from the gunfire. With the ultimate sacrifice, Daril succumbs to his fatal wounds.