Star Ocean: Integrity and Faithlessness Guide Part III: Main Story Walkthrough Chapter 9
Mission: Energize and Engage
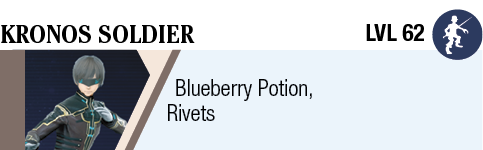
Kronos Soldier
Kronos Soldier
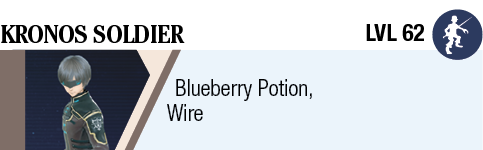
Kronos Gunner
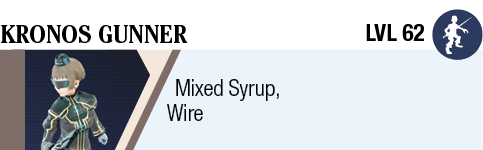
Kronos Authority
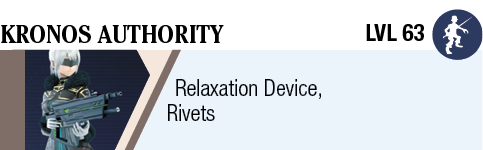
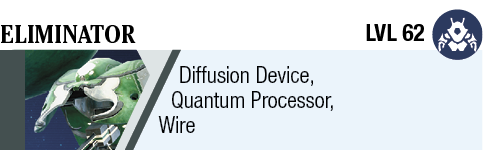
Eliminator
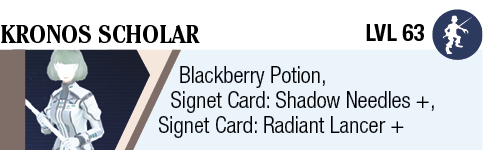
Kronos Scholar
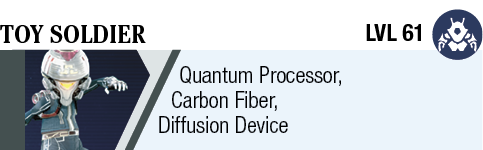
Toy Soldier
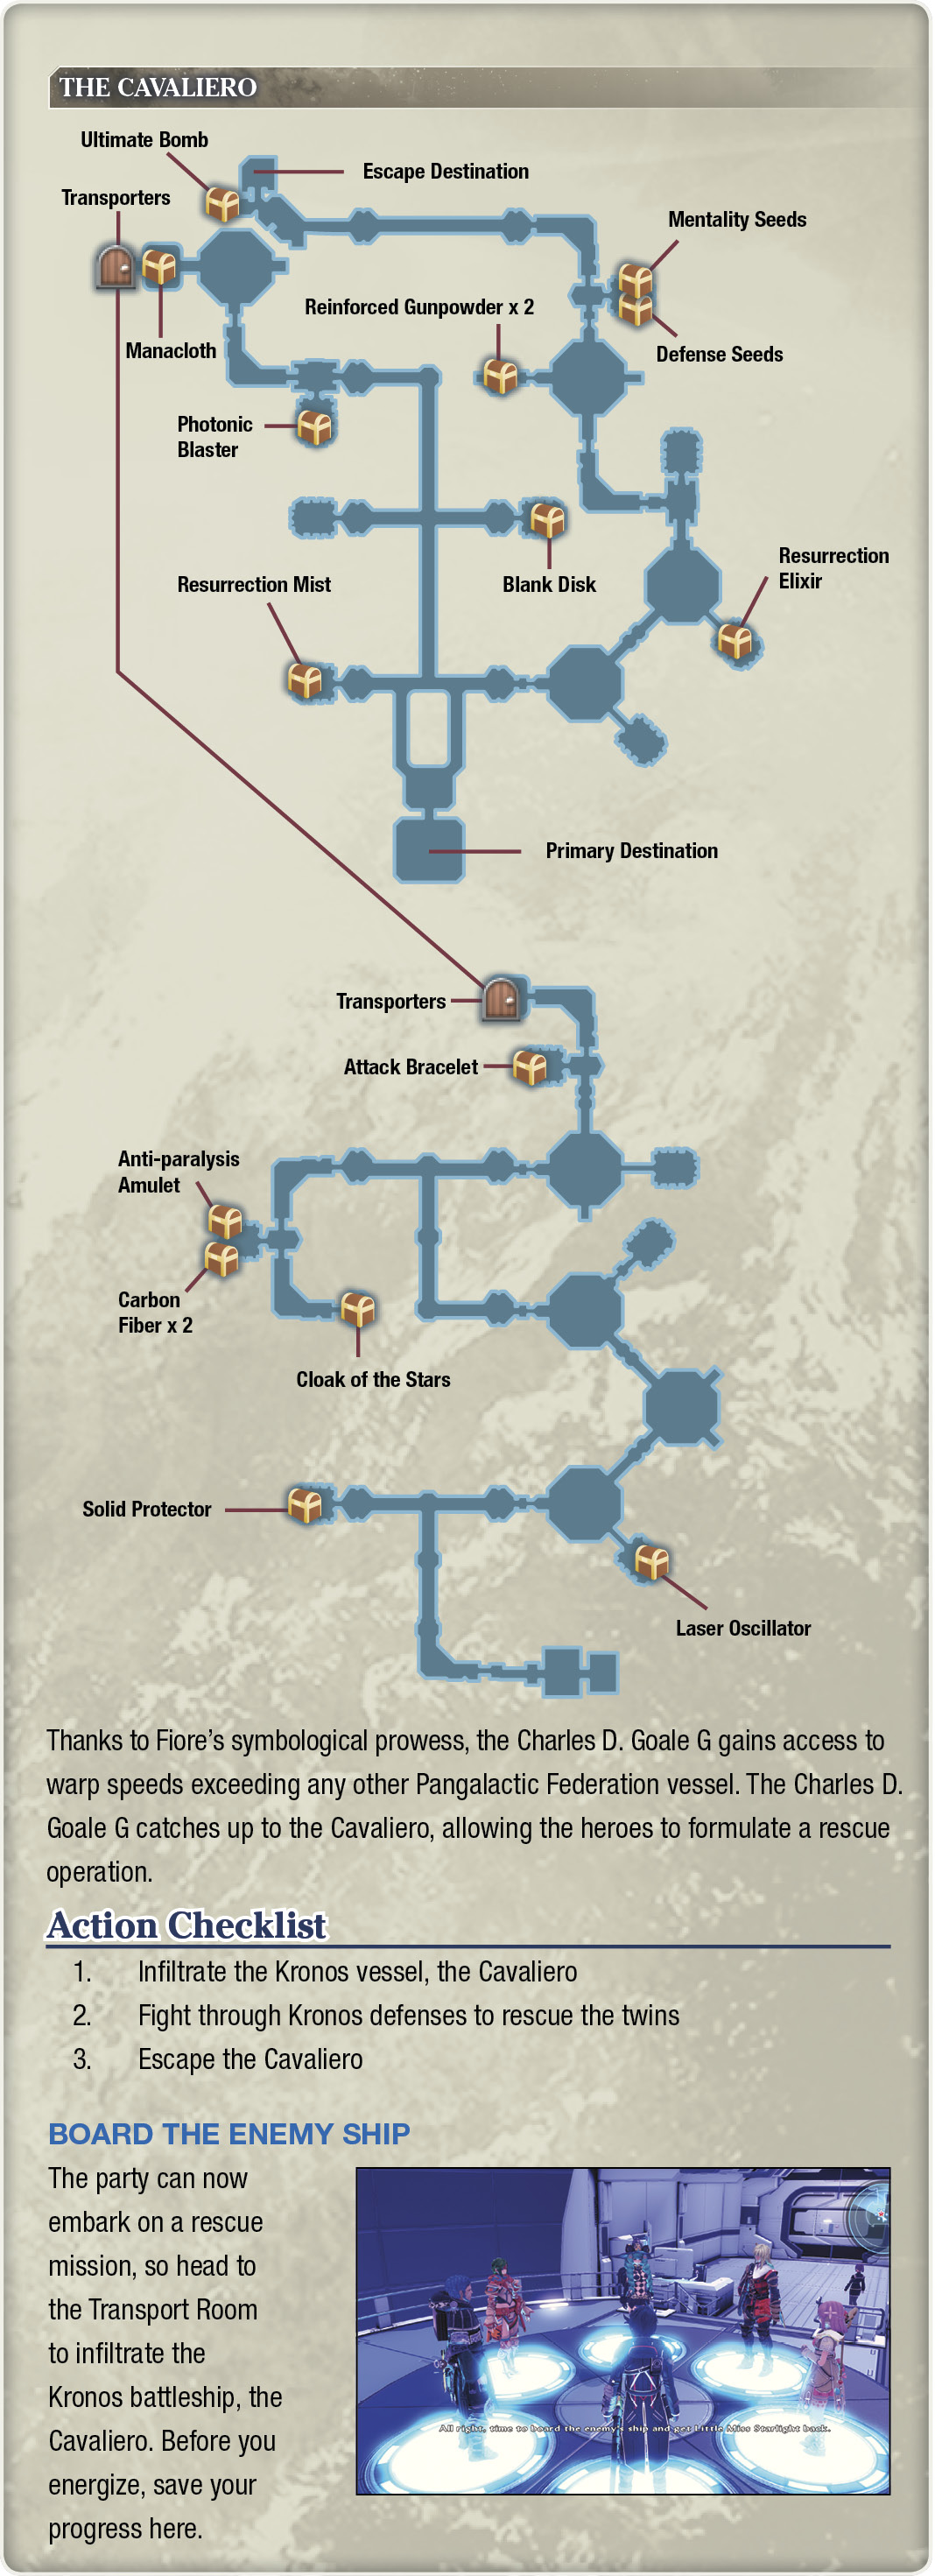
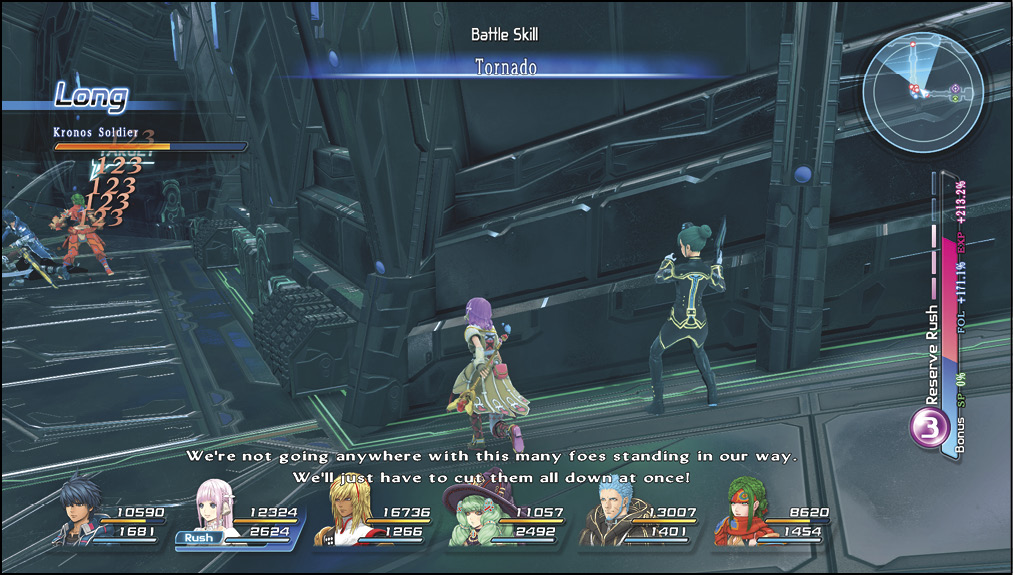
As soon as you board the Cavaliero, a welcoming party consisting of several hostile Kronos Soldiers ambushes you. This battle can be particularly difficult, so prepare to defend yourself from all angles. Make Miki your party leader so she can stay safe from enemies at the flank. Once you’ve defeated them, you can make way to the east of your starting position to access restore and save points.
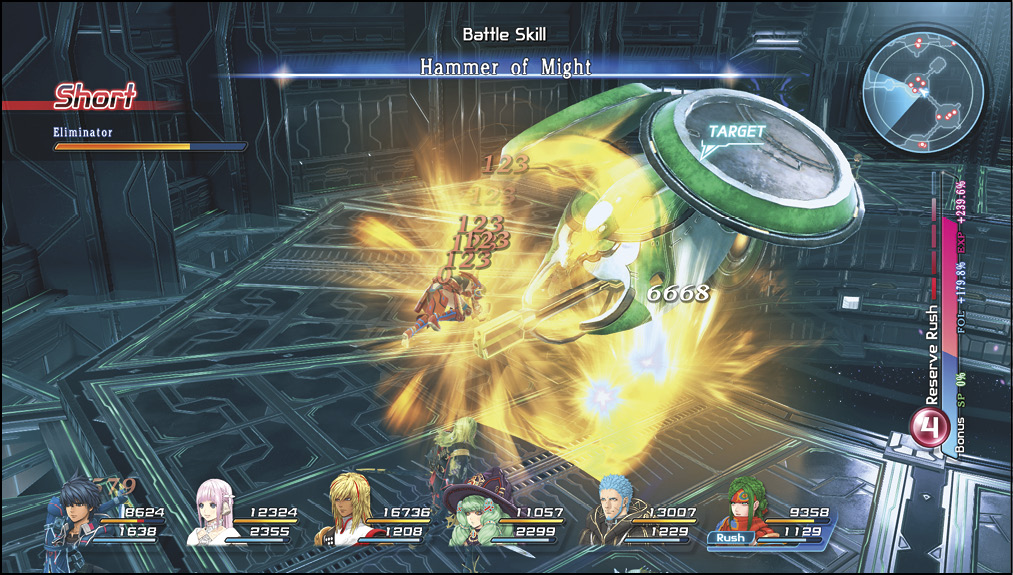
The Cavaliero is composed of two areas. Starting from the southern section, you’ll need to traverse your way to the north to get to the transport to the northern area. Begin by crossing the bridge to the north, then head west into a room with a treasure sphere containing a Solid Protector. Pick it up, then cross the bridge east into a room with more soldiers and a dangerous sentry robot called Eliminator. Take out the Eliminator before the less threatening soldiers. It has relatively low HP, but it deals a large amount of damage
The room southeast of here has a sphere with a Laser Oscillator in it. You can collect three of these for the Reconstructing an Enigma quest. Continue north through two more circular areas, leading into a center bridge going west and north. The bridge eventually splits into two paths. Take the left one, leading to several treasure spheres. The two spheres in the west room contain an Anti-paralysis Amulet and Carbon Fiber x 2. Keep following the path south and east to get to another sphere with a Cloak of the Stars in it.
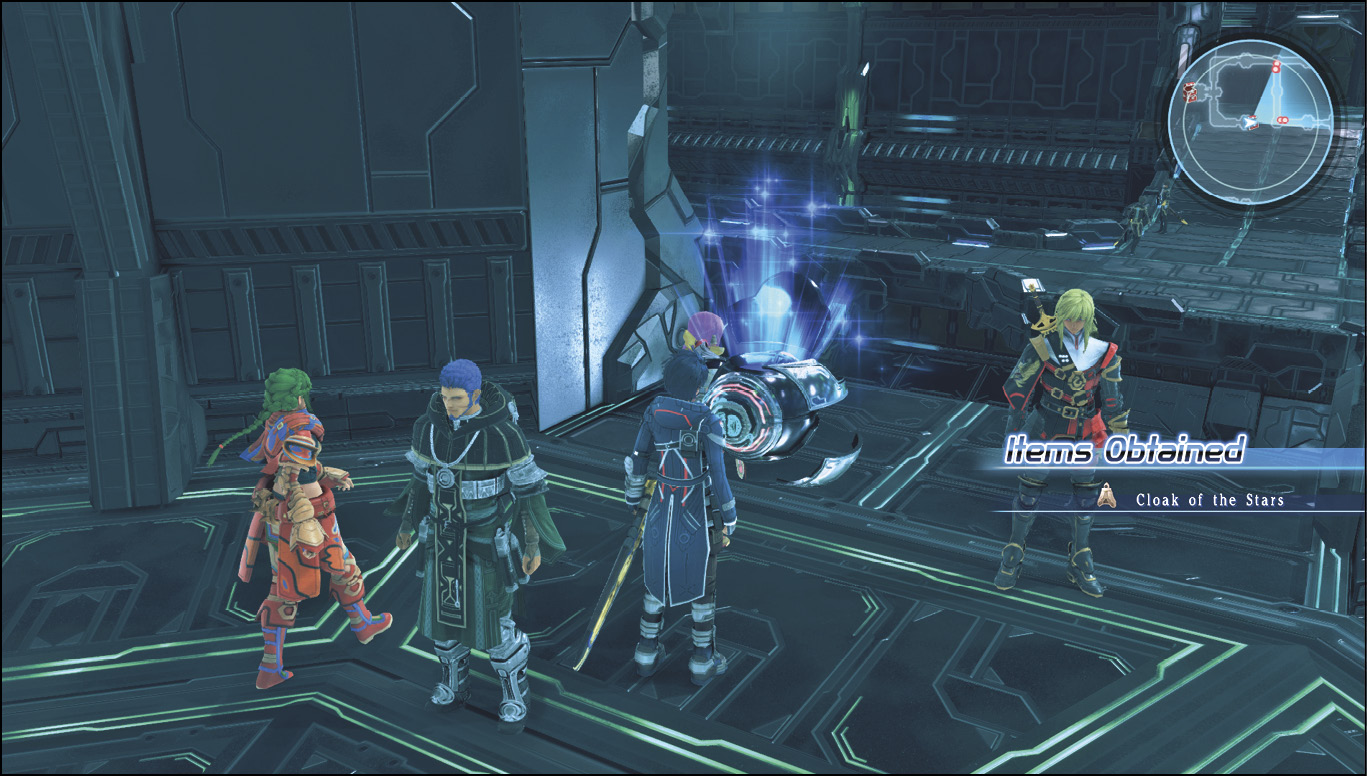
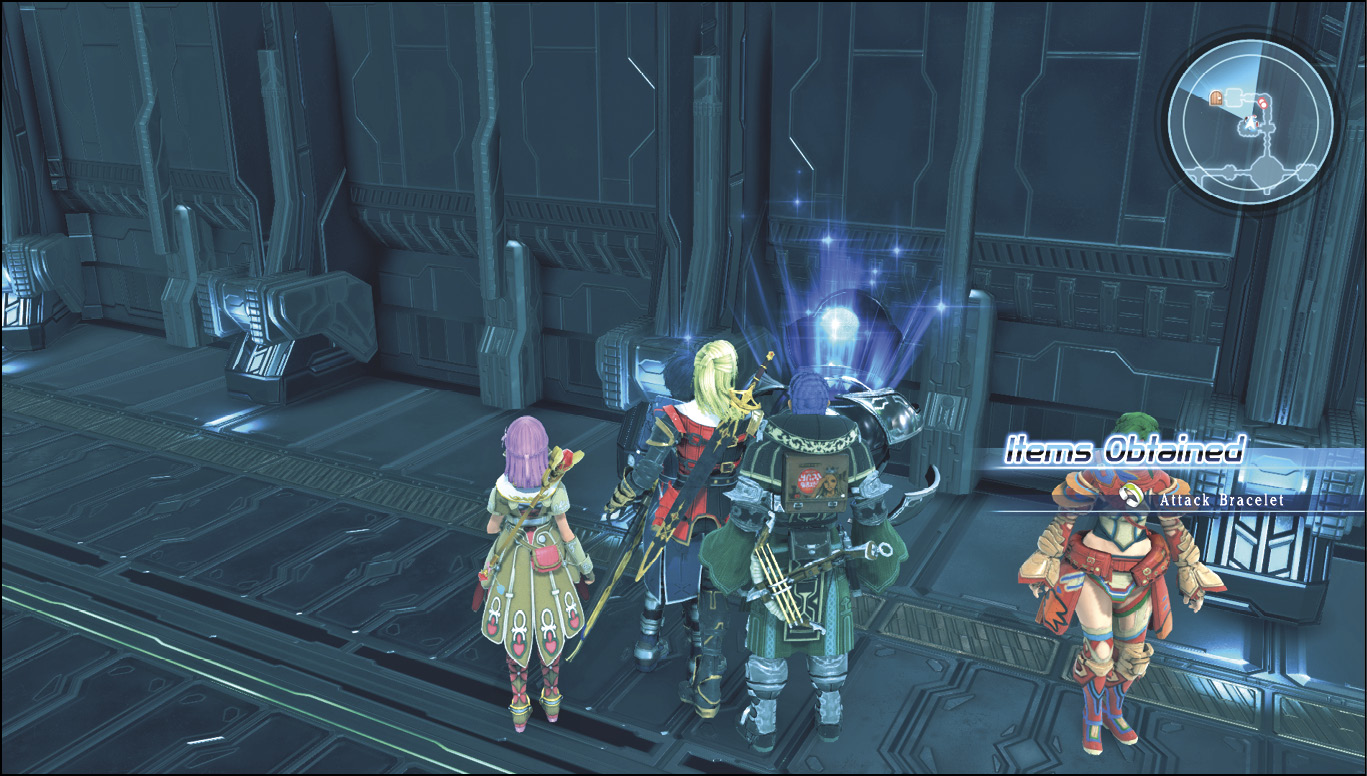
Now, return to the center bridge and continue east into a room with two Eliminators and some Kronos Scholars. Take them out, then head north into a hallway. Before you take the teleport to the northern half of the ship, enter the small room to the west to pick up an Attack Bracelet in the sphere there.
Guardian Beast
Continue north, and operate the teleporter pad to get to the next area. You begin at the northwest portion of the area with a treasure sphere nearby containing a Manacloth.
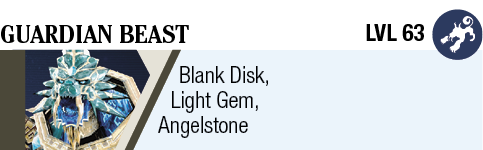
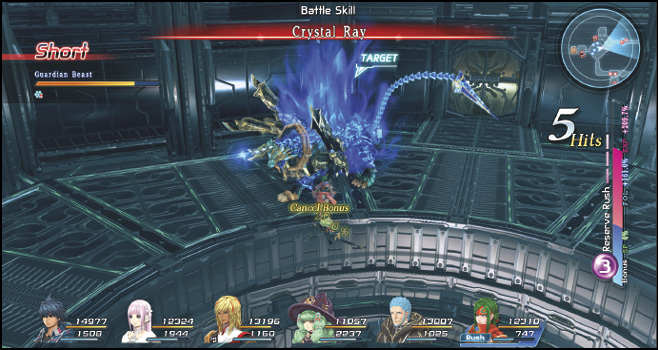
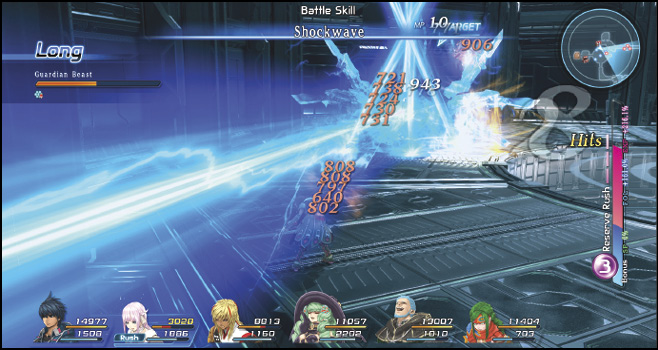
In the adjacent room to the east, you’ll encounter a Guardian Beast, a powerful beast-type monster. Be careful of its high-damage Crystal Ray attack. Not only does it deal a massive amount of damage, it also breaks guard. Move out of its line of sight to avoid the damage.
Search for Relia and Feria
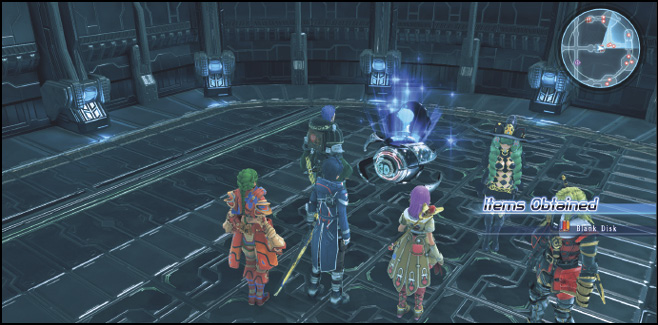
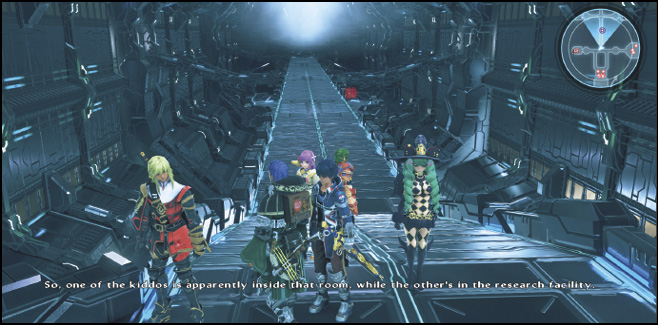
Slay the beast, then continue south and then west. There’s a small room to the south on your way to the main bridge area. Enter the room and pick up the Photonic Blaster inside. Proceed across the bridge, defeating any Kronos enemies in your way. In the middle of the bridge is a save point. Before you save your progress, take the west path at the intersection on the bridge to get to a treasure sphere with a Blank Disk in it. Grab it, then save your game. Head south to trigger a short cutscene indicating that one of the girls is nearby.
Before entering the large room to the south, go inside the room to the west to obtain a Resurrection Mist from a sphere there. Now, make your way south, where you’ll encounter a large number of Kronos Soldiers guarding a room.
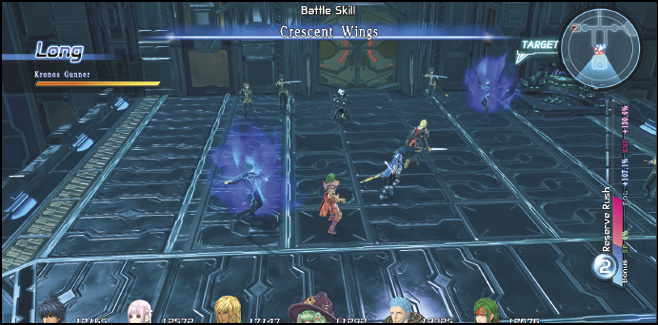
Defeat them, and then restore your HP and MP with curative items or foods. When you enter the room, there will be a standoff between Fidel and a Kronos Commander, with Relia as hostage.
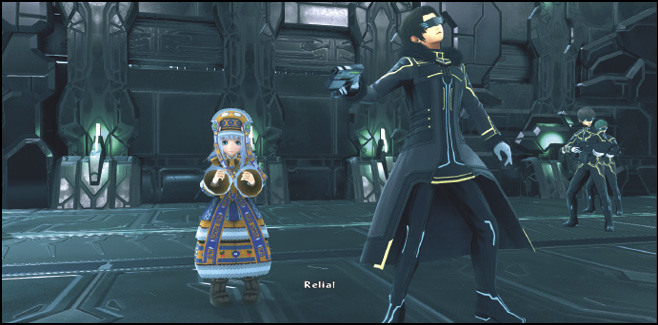
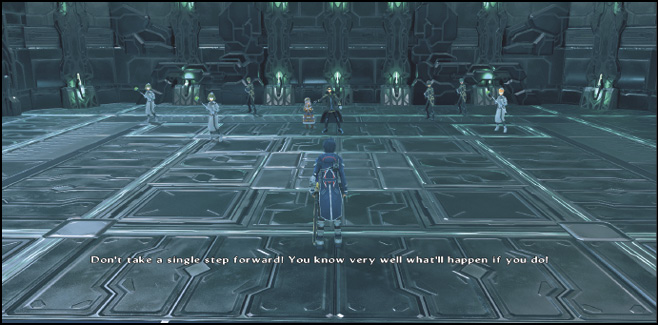
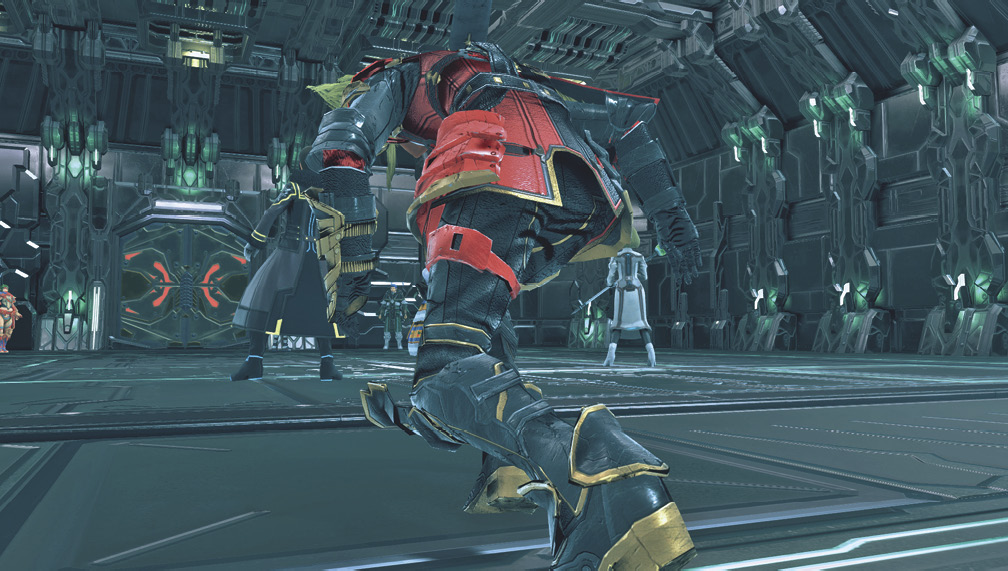
While the commander is distracted, Victor leaps in from behind the enemy troops and heroically rescues Relia. A battle with the commander and his cronies ensues.
Kronos Commander
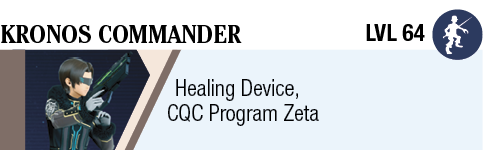
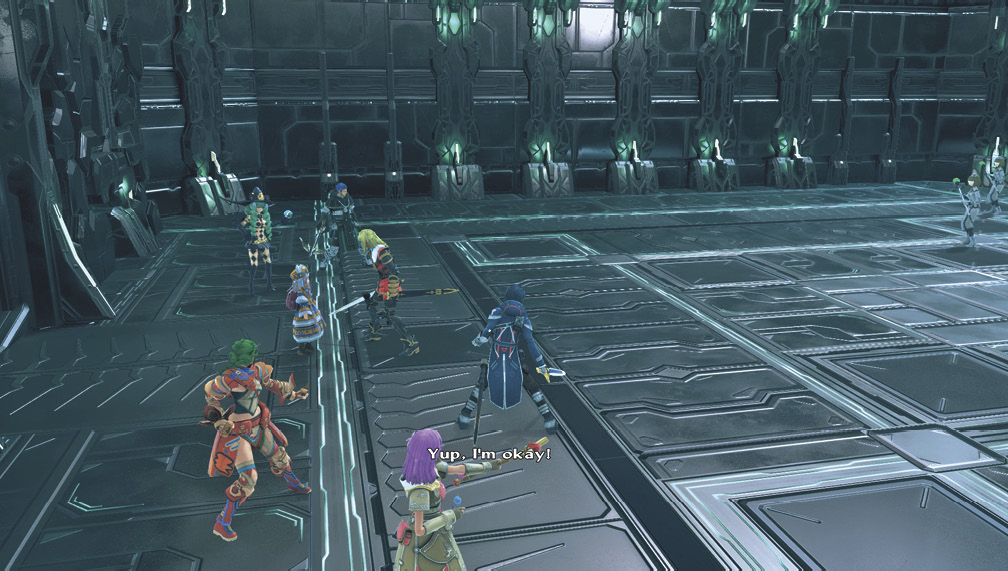
The commander isn’t much stronger than his subordinates, but he does have a high HP total. Naturally, you’ll want to eliminate his underlings before taking him on, all while keeping Miki safe. You can make the fight much more manageable by burning your Reserve Rush on the Kronos Rangers.
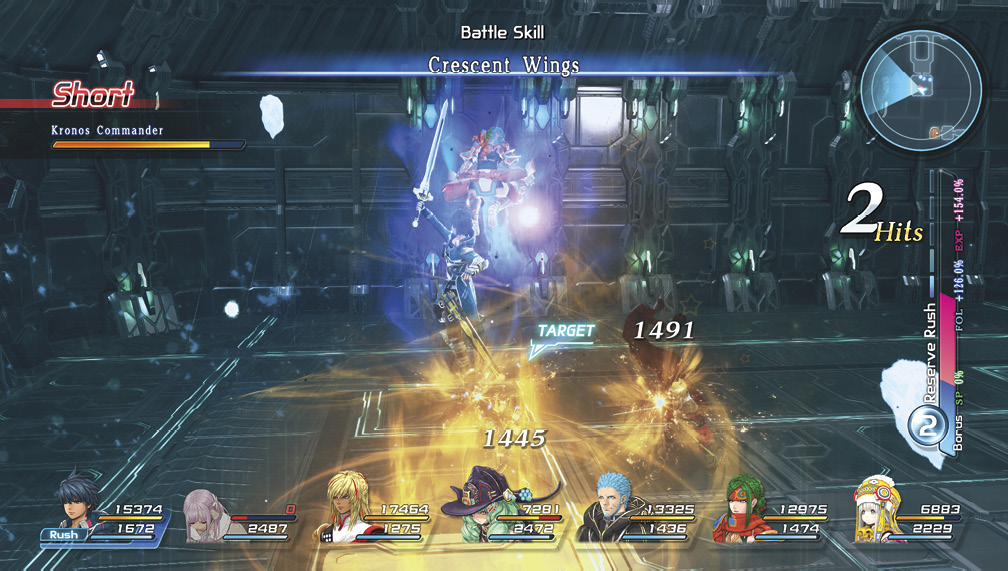
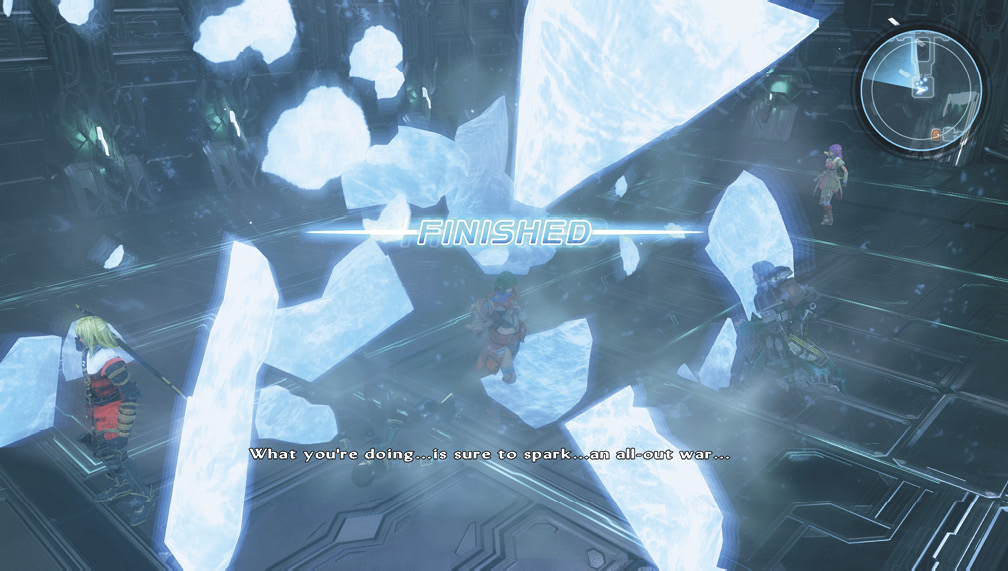
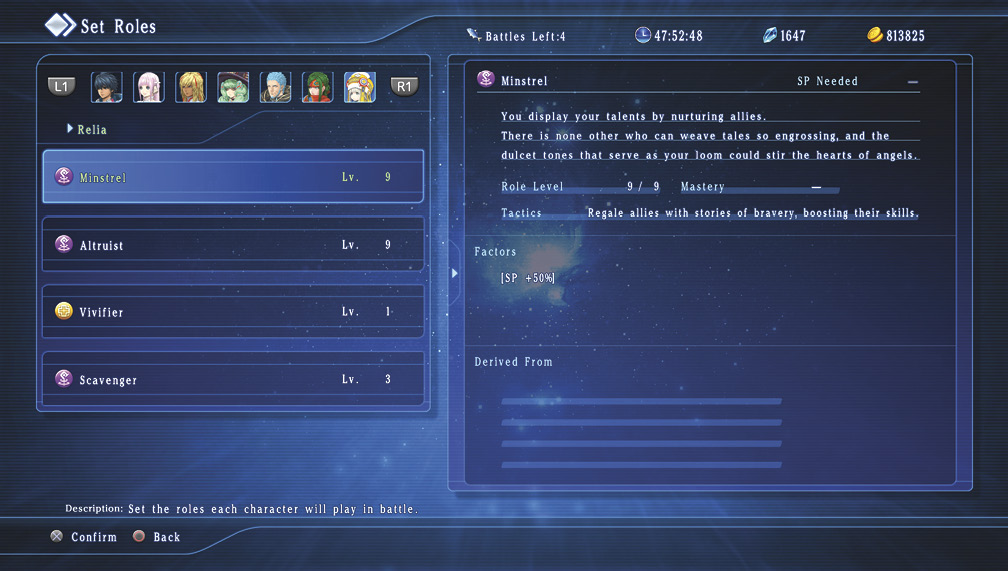
After you defeat the commander, a short cutscene triggers. The real Relia is now permanently a part of your group. Don’t forget to equip her with supportive accessories and roles before making your escape from the Cavaliero.
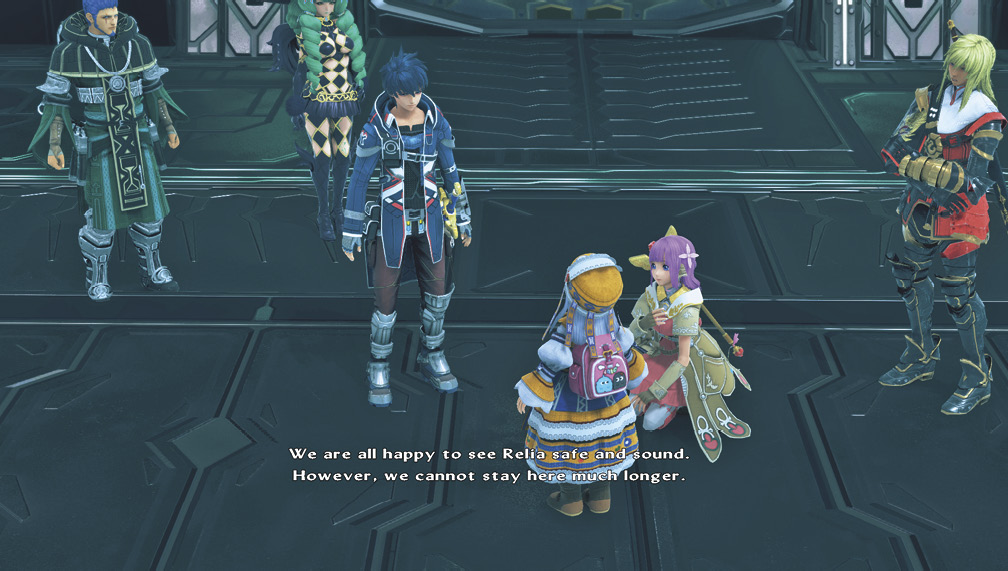
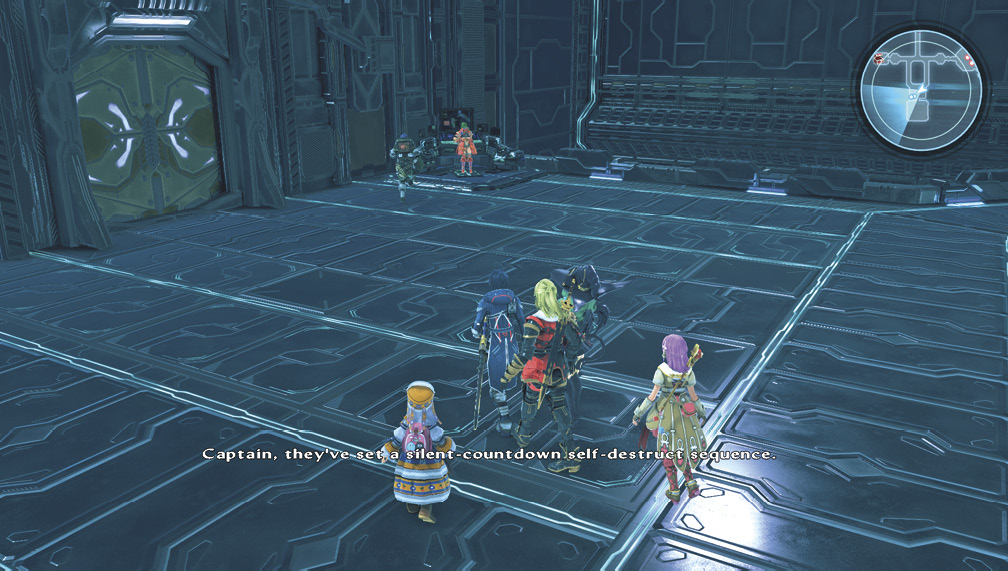
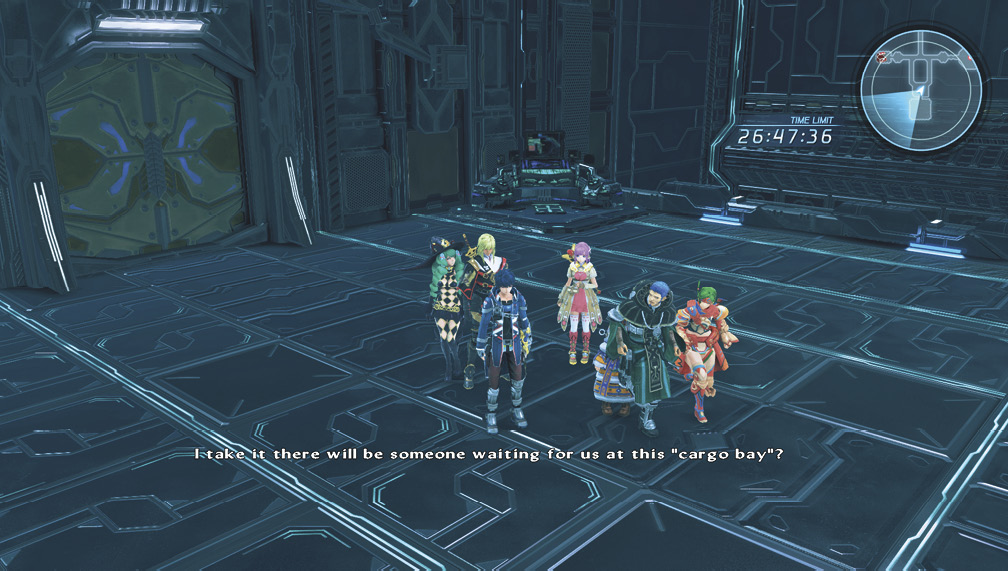
With Relia safe, leave the room. Emmerson calls in for a transport, but the tracking signal is jammed by the Cavaliero’s force fields. Furthermore, killing the commander has caused a self-destruct sequence to initiate. You have roughly 27 minutes to get to the Cargo Bay for a physical extraction from the Cavaliero.
Beat the Clock
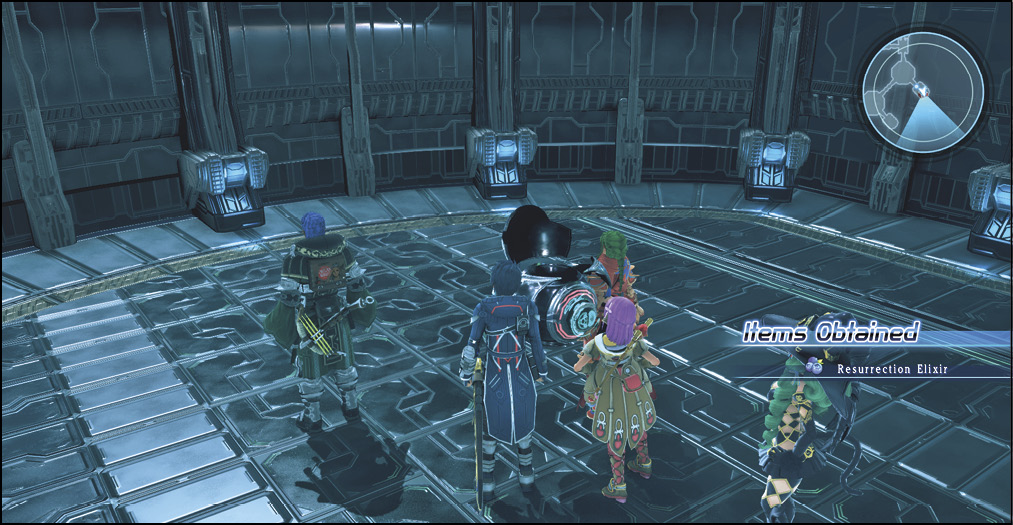
To get to your destination, take the path east from the save point into a circular room with an Eliminator enemy and more Kronos Soldiers. Clear them, and then enter the adjacent room to the northeast and take care of more foes here. To the southeast of this room is a treasure sphere with a Resurrection Elixir in it. Grab it, then continue north into a small room. From here, make a left going west and then north into another circular area with more Kronos assault troops.
You should have plenty of time left to pick up more items on the way out, so after you take care of the enemies here, go into the room to the west to obtain Reinforced Gunpowder x 2. Then, go north, and then turn right into another small room with two treasure spheres holding Mentality Seeds and Defense Seeds. After you pick up the seeds, finish escaping the area by returning to the hallway and traveling north, then all the way west, where you’ll see another treasure sphere with an Ultimate Bomb inside it. Open the sphere, then go north to the Cavaliero’s Cargo Bay for an escape cutscene.