Star Ocean: Integrity and Faithlessness Guide Part III: Main Story Walkthrough Chapter 6
Mission: Operation Snake Eyes
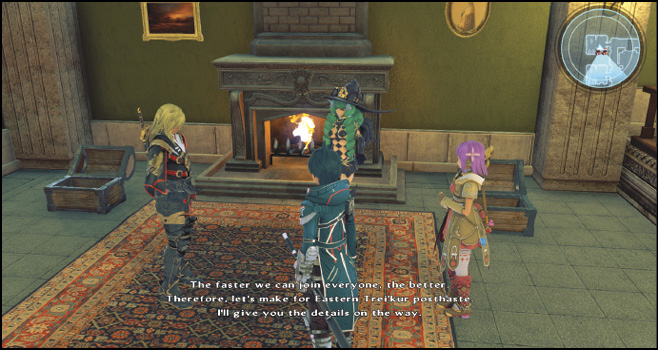
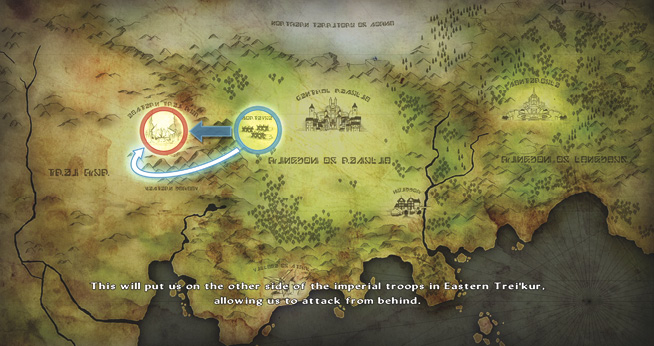
The four are ready to make their way to Eastern Trei’kur, where the Resulian military is planning an assault to take over the area in order to set up a base of operations. They’ll need to traverse the Western Dakaav Tunnel to join the invasion with a subversive rear attack.


Action Checklist
- Optional: Upgrade equipment
- Optional: Undertake and complete side quests
- Optional: Take a tour around various towns to view Private Actions
- Take the southwest exit from Central Resulia and travel to the Western Dakaav Tunnel
- Fight through the Western Dakaav Tunnel and into Trei’kuran Dunes
- Enter the Eastern Trei’kur outpost
Mission Walkthrough
Your next mission involves joining a small task force at the west end of Eastern Trei’kur while the rest of the Resulian military creates a diversion from the east. Do so by traveling through the dangerous Western Dakaav Tunnel, fighting through its corrupted inhabitants.
The Tunnel to Trei’kur
With your party consisting of Fidel, Miki, Victor, and Fiore, your next task is to head toward Trei’kur, through the Western Dakaav Tunnel. Enter the inn to rest up and save your progress. When you exit, there should be new Private Actions that you can trigger. New side quests are available at the bulletin board in Central Resulia, too. If you have extra Fol, you can upgrade your equipment at Tall Tails Armaments before leaving town.
Shops —Central Resulia (Update)
 Tall Tails Armaments
| Item | Cost | Type |
|---|---|---|
| Acuity Crest | 3000 | Accessory |
| Arcane Amulet | 25000 | Accessory |
| Attack Crest | 3000 | Accessory |
| Energy Amulet | 25000 | Accessory |
| Fortitude Crest | 3000 | Accessory |
| Mind Crest | 3000 | Accessory |
| Amber Robe | 3750 | Armor |
| Chainmail | 700 | Armor |
| Plate Armor | 2150 | Armor |
| Streaked Chainmail | 3500 | Armor |
| Superior Armor Plate | 4250 | Armor |
| Traveler’s Cloak | 750 | Armor |
| Bastard Sword | 2500 | Weapon |
| Conflagrant Soul | 3200 | Weapon |
| Cordon Scepter | 2000 | Weapon |
| Deadly Edge | 5500 | Weapon |
| Gauntlets | 2250 | Weapon |
| Hunting Bow | 2700 | Weapon |
| Rune Wand | 4000 | Weapon |
| Sinclair | 2750 | Weapon |
| Slasher Claws | 4500 | Weapon |
| Sunsylph Orb | 6250 | Weapon |
| Walloon Sword | 5000 | Weapon |
| Wild Arc | 5250 | Weapon |
Optional
Side Quests
| Central Resulia |
| Enrollment Gift |
| Feeling Fuzzy All Over |
| Resulian Beauty: Collector’s Edition |
| The Four Stooges Strike Again |
|
|
| Santeroule |
| Runaround Ruddle |
| Sweet on the Outside… |
| Steel Yourself for the Future |
| Collecting the Fungus among Us |
| Open Season on Karacins |
Private Actions
| Central Resulia |
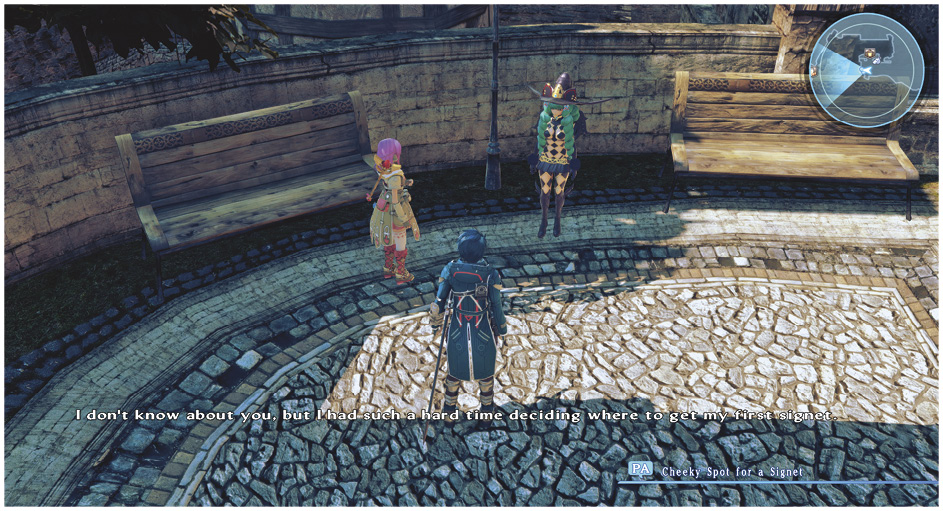
| Cheeky Spot for a Signet |
|
Private Actions
| Myiddok |
| The Luxury of Eating |
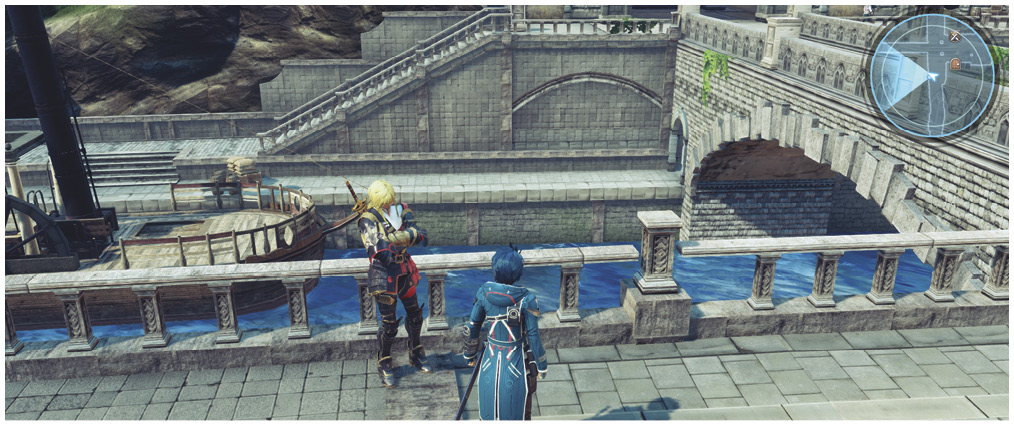
| Fidel and Outer Space |
|
| Santeroule |
| Aptitude for Ambiguity |
|
| Suspicions Arise over Baths |
| Chez Miki |
| Suspicions Arise over the Male Form |

|
| Fidel and Fish: Dining in Santeroule |
| Sthal |
| While Fidel’s Away, Ted Plays |
| Dueling a Vicious Beast |

|
| Dueling a Trained Professional |
Optional: Enemy Data
West of the Eastern Eihieds:
Devil Child

Crater Peryton

Ridiculer

Passage on the Cliffs and Coast of Minoz:
Adephaga Drus

Deep One

AQUAREGIA

Dakaav Footpath:
Corpse Bat

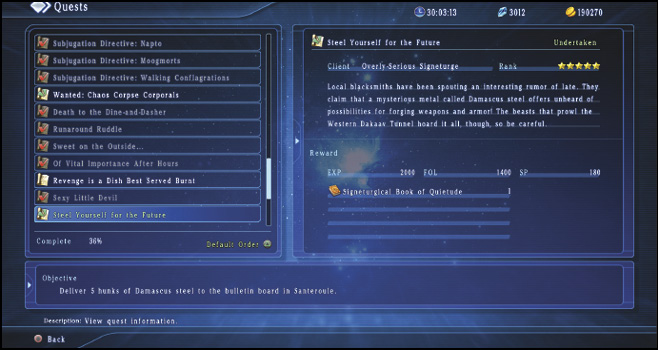
When you’re ready to progress the story, start by exiting the capital of Central Resulia through the southwest exit. Since you now have access to the Western Dakaav Tunnel, make sure to undertake any quests involving the area, such as Collecting Coal for the Fire, Wanted: Chaos Corpse Corporals, and Steel Yourself for the Future.
Unicorn Wolf

Thieving Scumbag

Albero di Anima

Honeybee

Diminutive Fungus

Giant Fungus

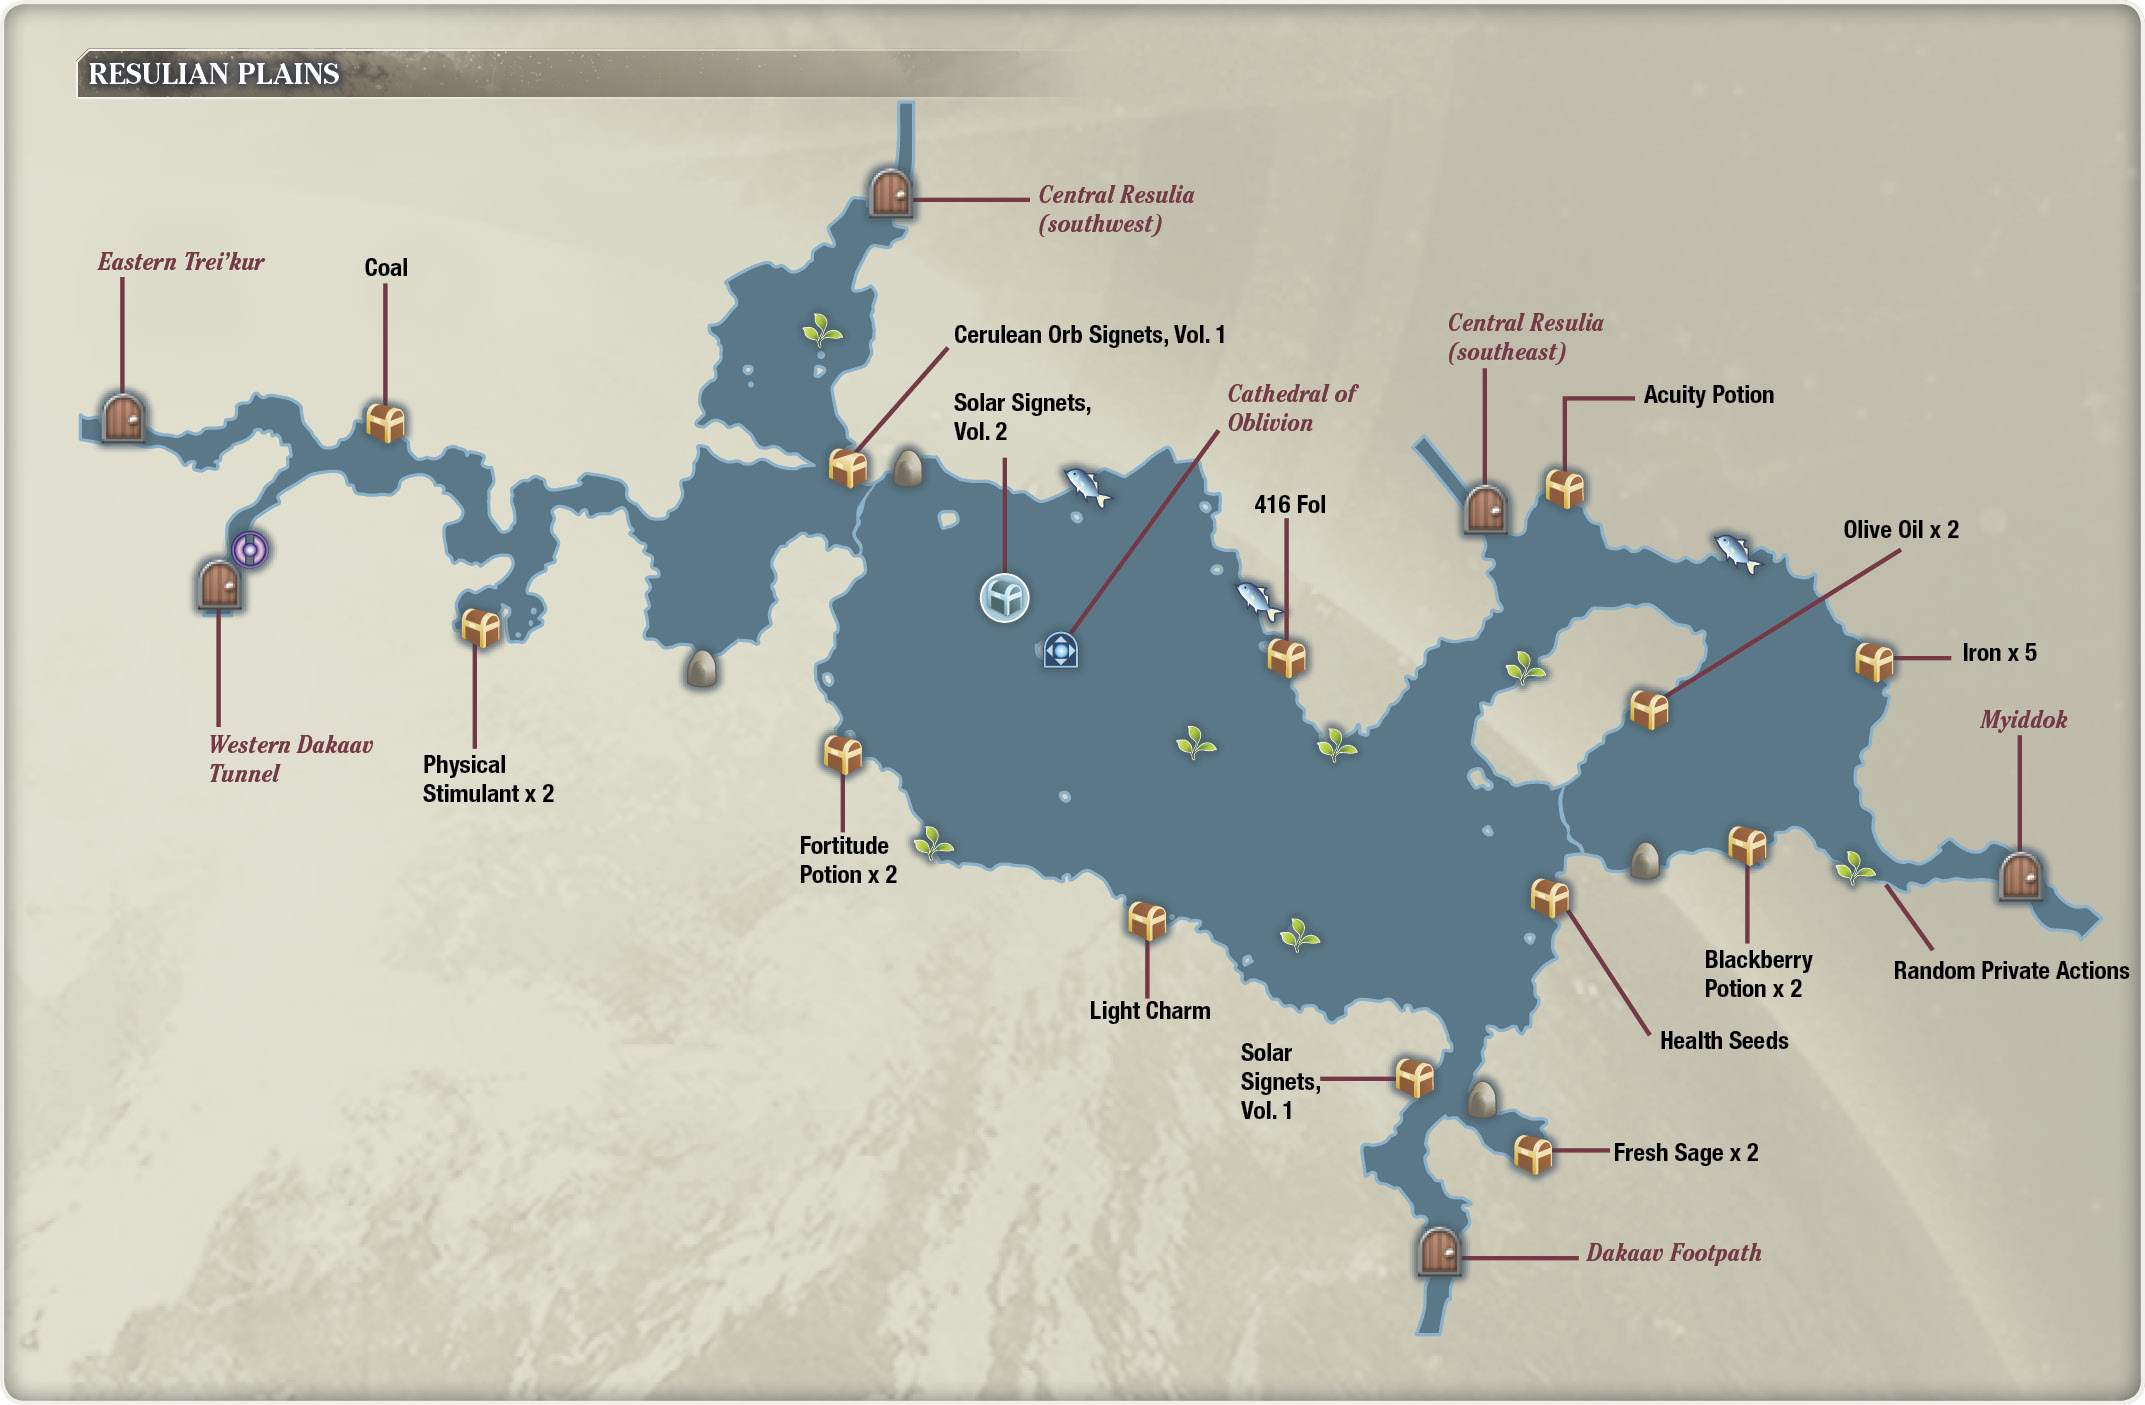
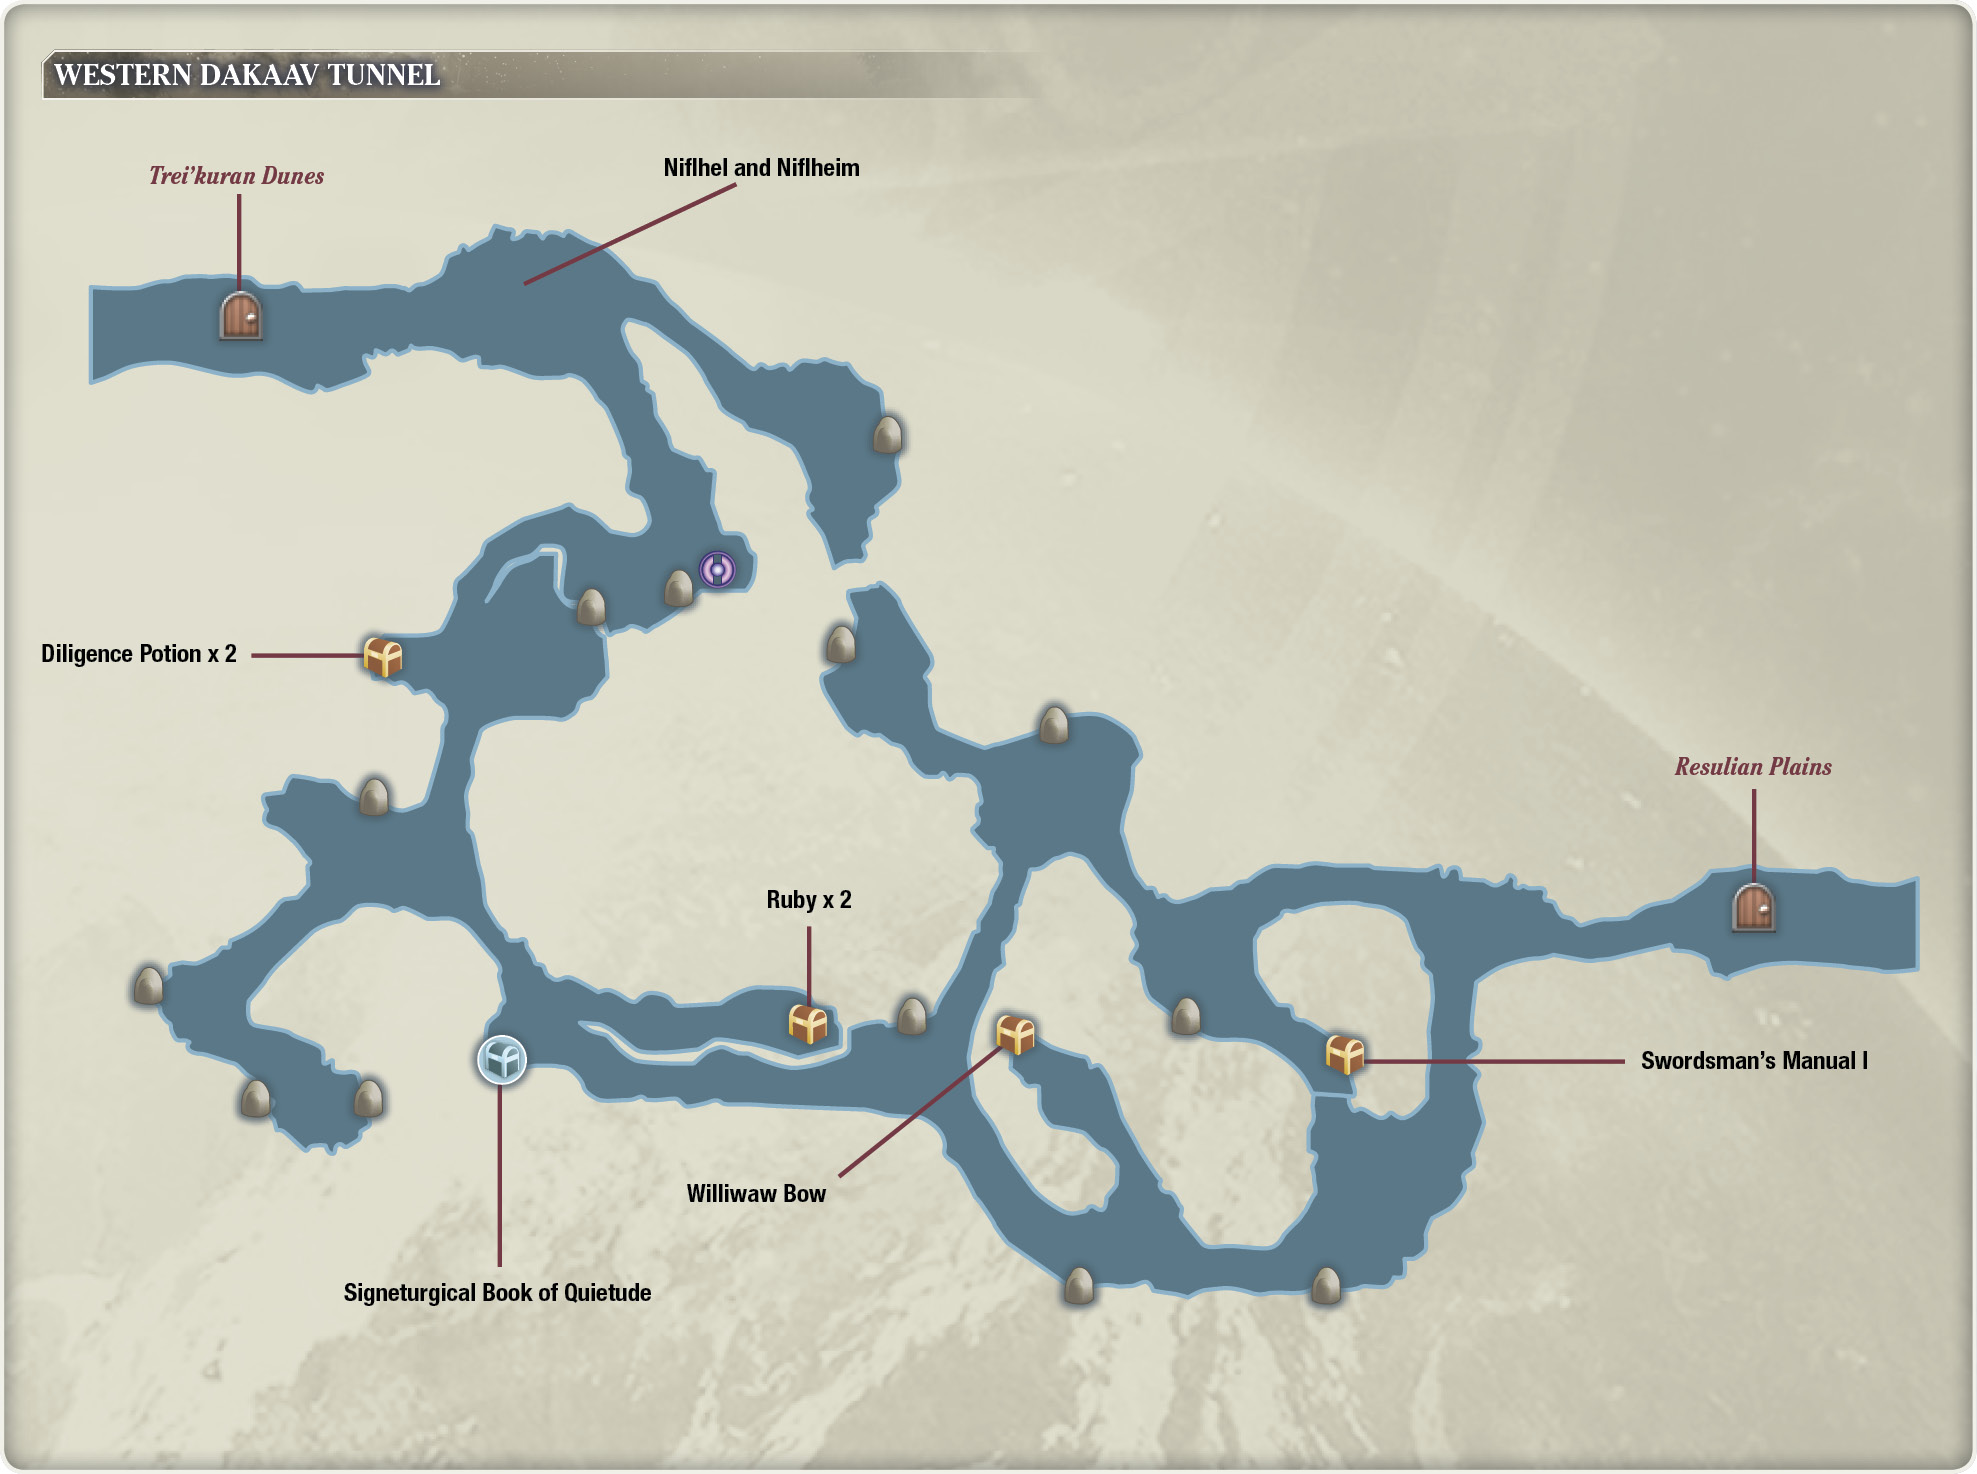
Traverse through the plains to the west, toward the Resulian outpost set up earlier for the encounter with the Trei’kuran army. There are two entrances to Trei’kur, one directly west of the encampment and one southwest. Save your progress at the save point near the east end of the Resulian Plains, then take the southwest exit, as it’s the only one accessible for now. This takes you to an indirect passage into Trei’kur, through the Western Dakaav Tunnel. This is an excellent area for excavating valuable ores to smith—like Silver, Coal, and Gold. Make sure to have your Excavation specialty leveled up if you want to take advantage of the mining nodes here.
On the Way to the Dunes
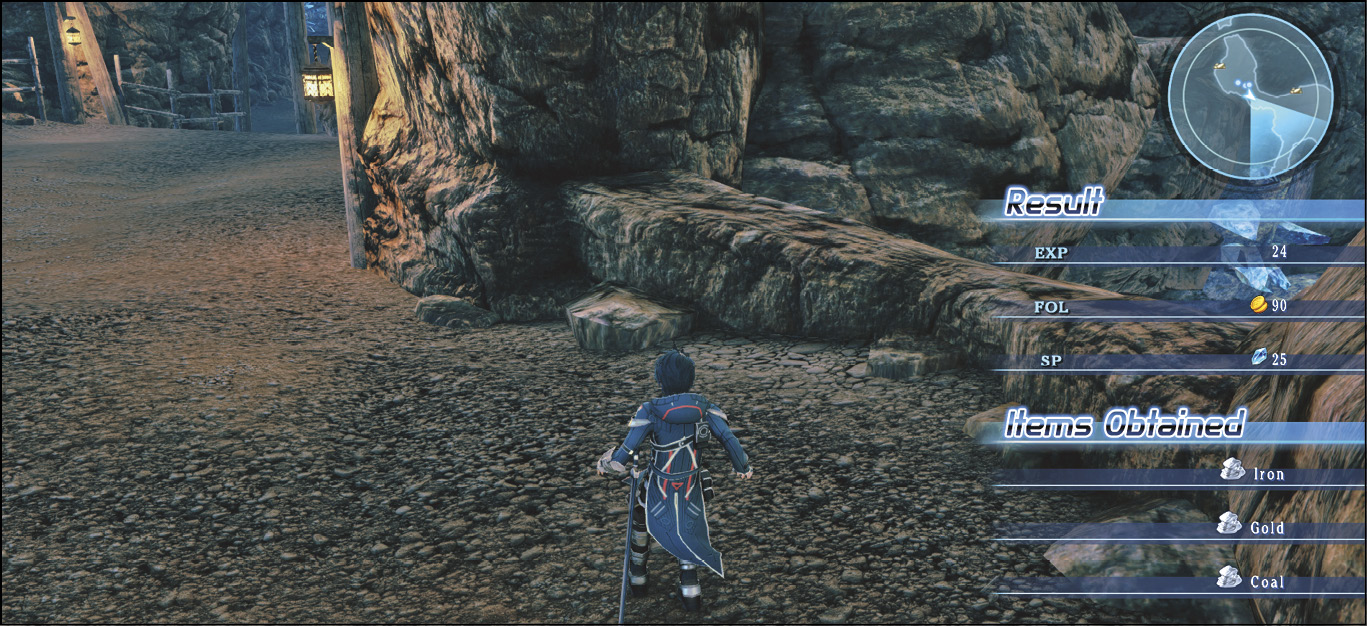
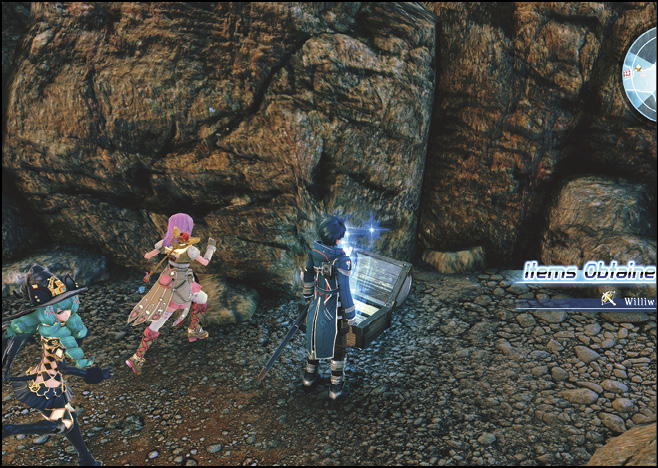
Once inside the tunnel, take the path west and defeat any enemies you encounter (many of the monsters here drop valuable crafting materials).In the path to the south of the three skeletons enemies is a chest with a copy of Swordsman’s Manual I inside. Open it, and then head into the northwest area with more foes and excavation points. If you want to pick up a new weapon for Emmerson, you can go south, then east along the southern area. There’s a cul-de-sac to the north with a treasure chest containing a Williwaw Bow at the end of it.
Metal Golem

Skeleton Armor

Damascus Fort

Exit the cul-de-sac, then keep traveling westward along the southern path. There’s a chest in another cul-de-sac that branches to the east around here, containing Ruby x 2. Pick it up, and continue west (there’s a locked chest on the way, which you can open once you have the Lock Picking specialty). In a corner area southwest of the map, you find three excavation nodes with plenty of Damascus Fort enemies inside. Defeat the enemies for hunks of Damascus Steel, and harvest the mining points for extra resources.
Now, continue north from there until you see a chest to your left. Pick up the Diligence Potion x 2, and save your game at the save point up ahead. To the north, before you can exit the tunnel, a minor boss battle is awaiting.
Niflhel, the Armor that Walks

Niflheim, the Armor that Roams

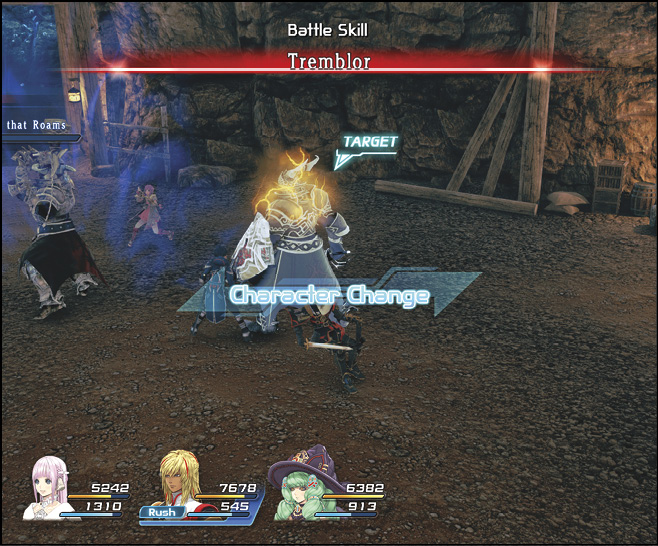
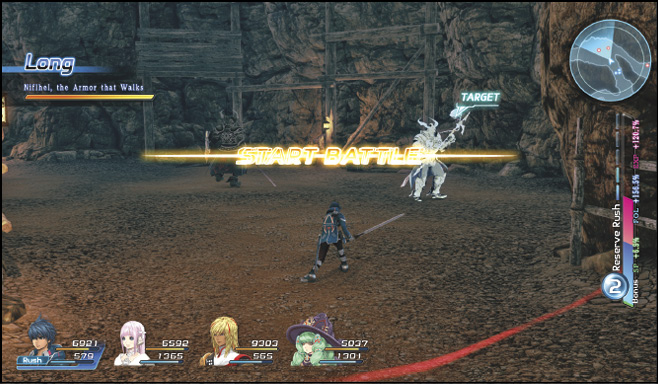
These two suits of possessed armor hit extremely hard. However, they move rather slowly, so your main goal is to keep Miki and Fiore away from them. They can be paralyzed, so if you’ve learned Fiore’s Lightning Blast signeturgy, you can incapacitate them. This makes the fight much easier to manage.
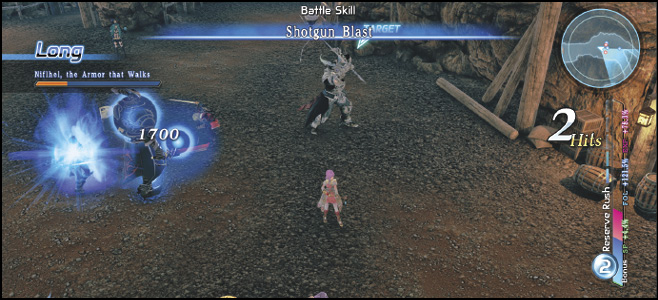
Once you’ve defeated them, you’ll have access to the Trei’kuran Dunes, and you won’t have to fight these large armored husks again if you re-enter the tunnels. Additionally, you’re rewarded with a copy of Pneuma Signets, Vol. 1 from slaying the two giants. Have Miki read the book so she can learn the Raise Dead spell.
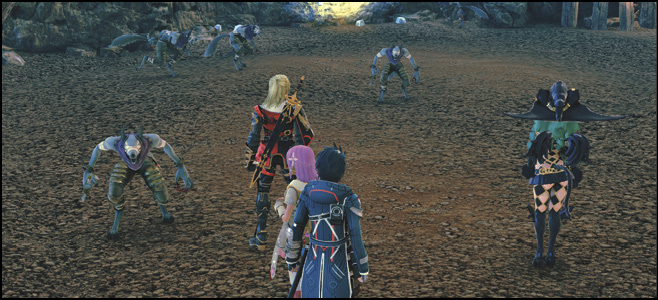
If you have the Wanted: Chaos Corpse Corporals quest, you can complete it by clearing out the room just east of the boss area.
When you’re done collecting items and mining the tunnels, exit to the west into the Trei’kuran Dunes.
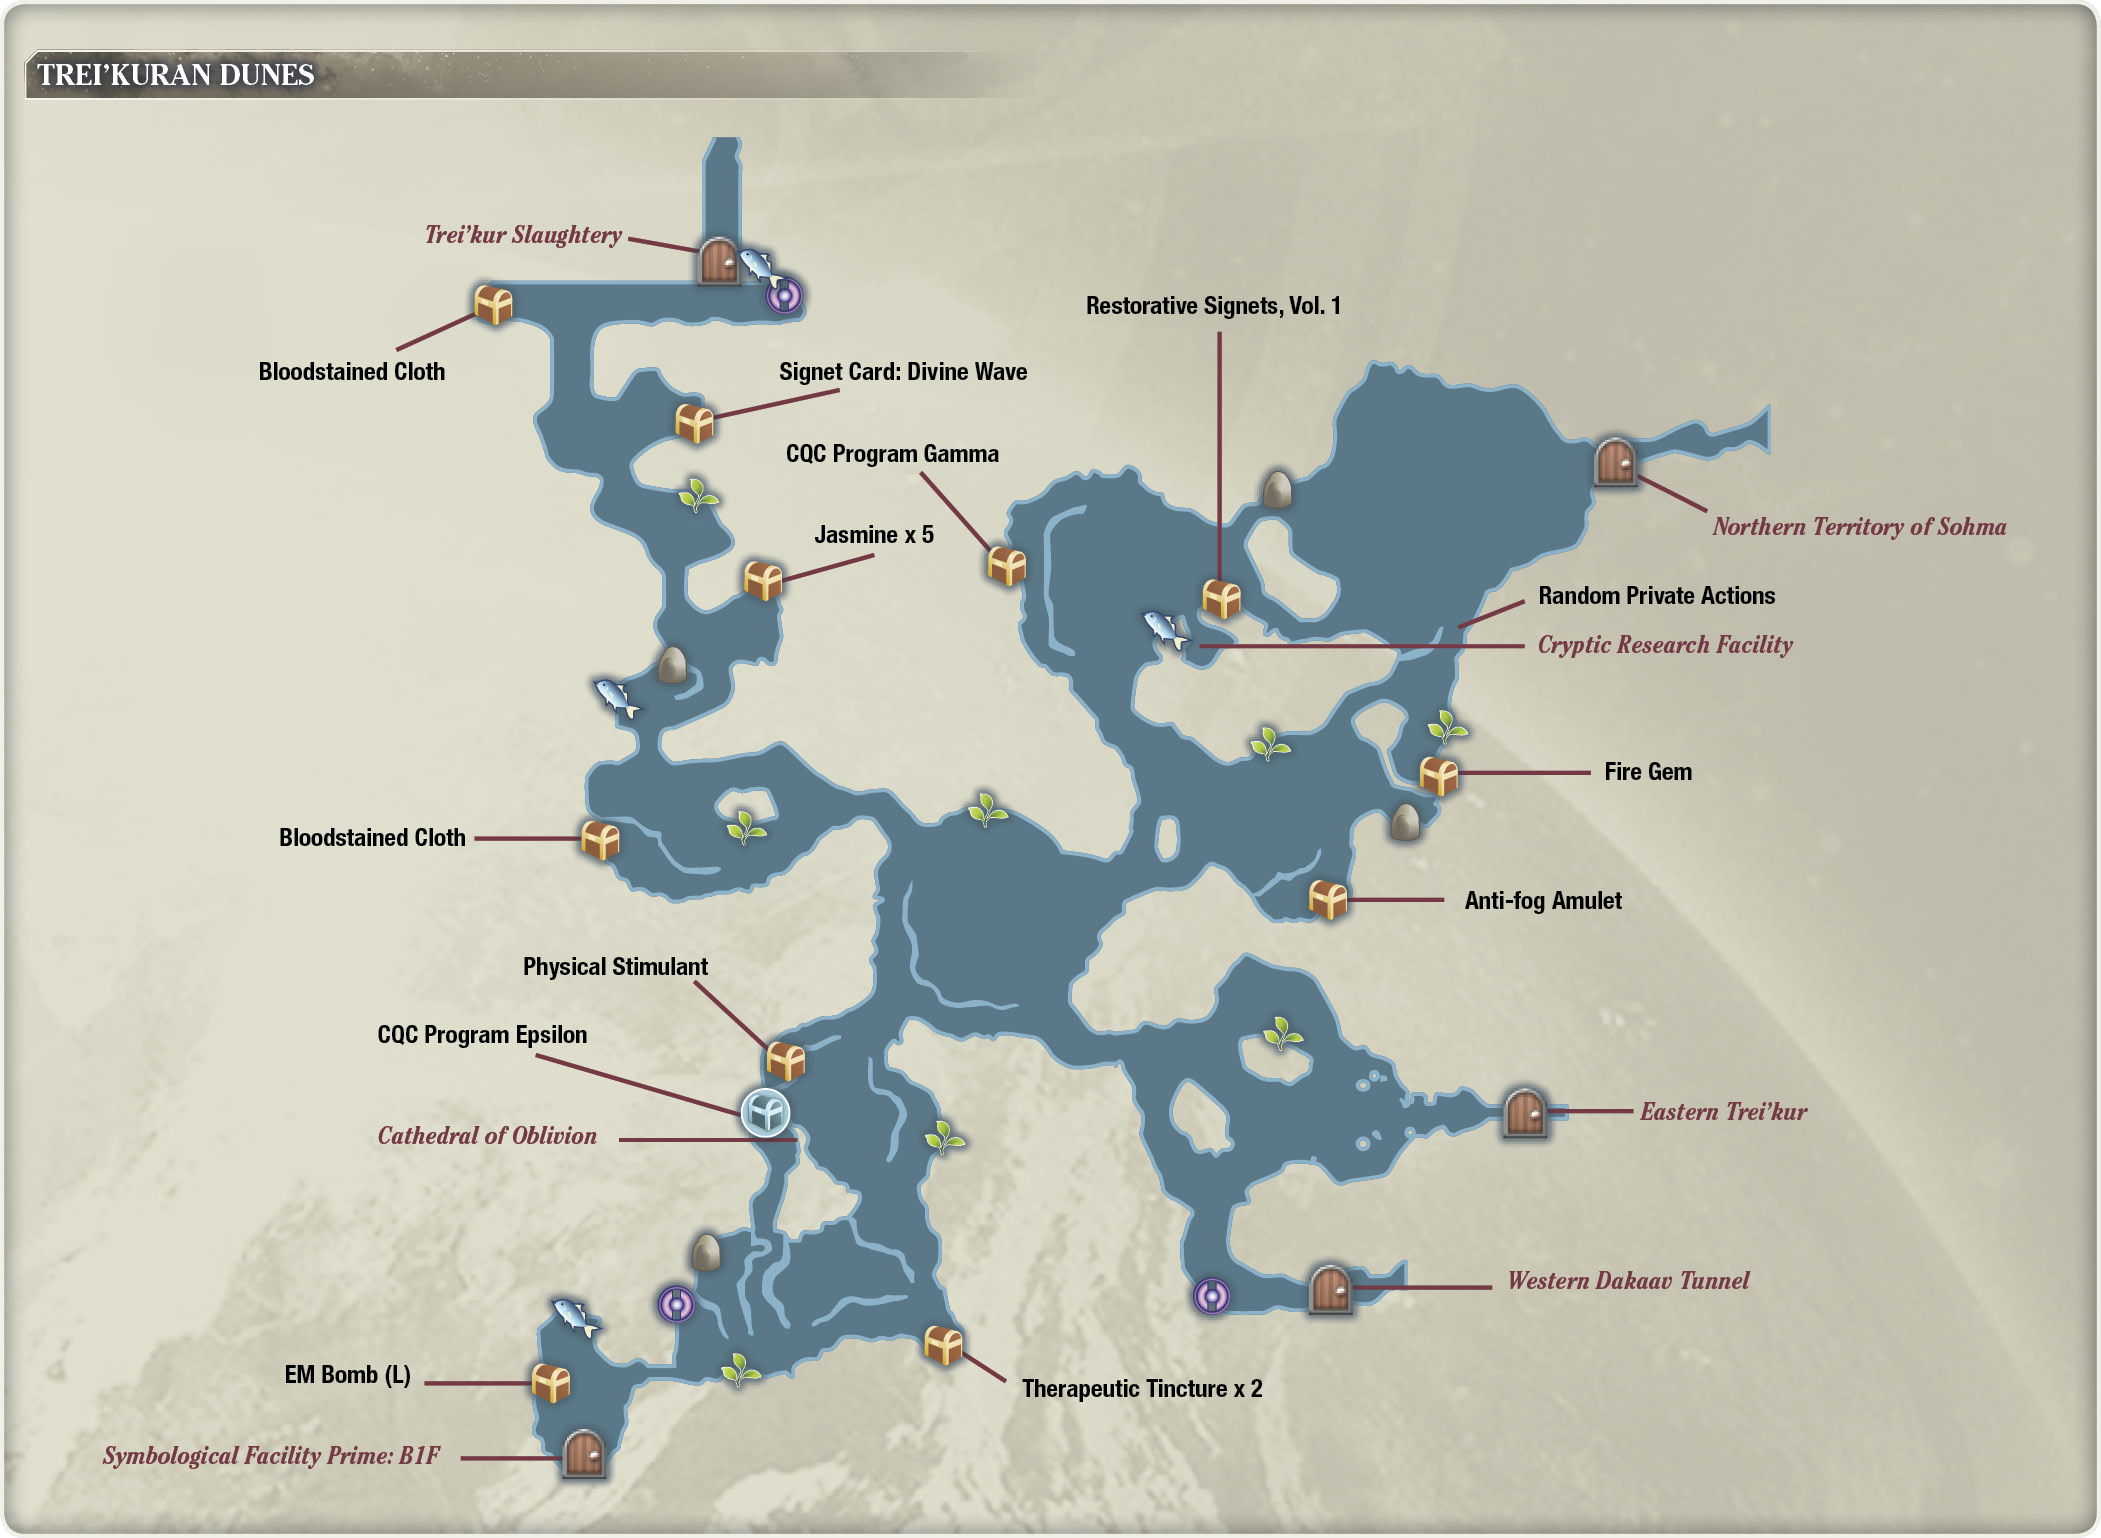
From here, your destination is Eastern Trei’kur, located northeast from the mouth of the Dakaav tunnels. If you need to refuel on curatives, there’s a convenient usable items vendor nearby.
Shops
 Call of the Desert Traders
| Item | Cost | Type |
|---|---|---|
| Basil | 90 | Usable |
| Blackberries | 80 | Usable |
| Blueberries | 40 | Usable |
| Chamomile | 180 | Usable |
| Cinnamon | 300 | Usable |
| Fresh Sage | 160 | Usable |
| Jasmine | 90 | Usable |
| Lavender | 300 | Usable |
| Mint | 90 | Usable |
Occupy Eastern Trei’kur
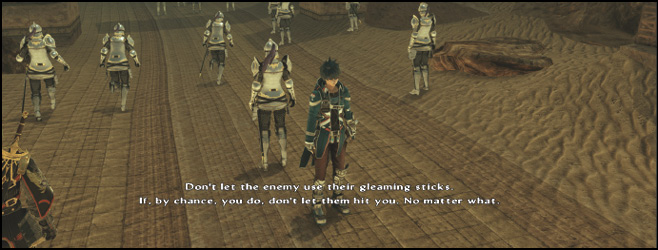
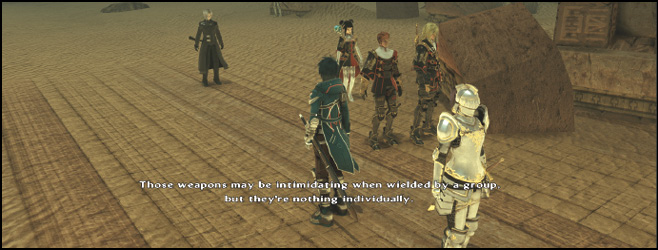
When you’re ready, approach the destination, indicated by the red star on your minimap. Resulian troops soon gather around, with one of the leaders giving you some advice on how to approach the Trei’kuran opposition.
Adephaga Milies

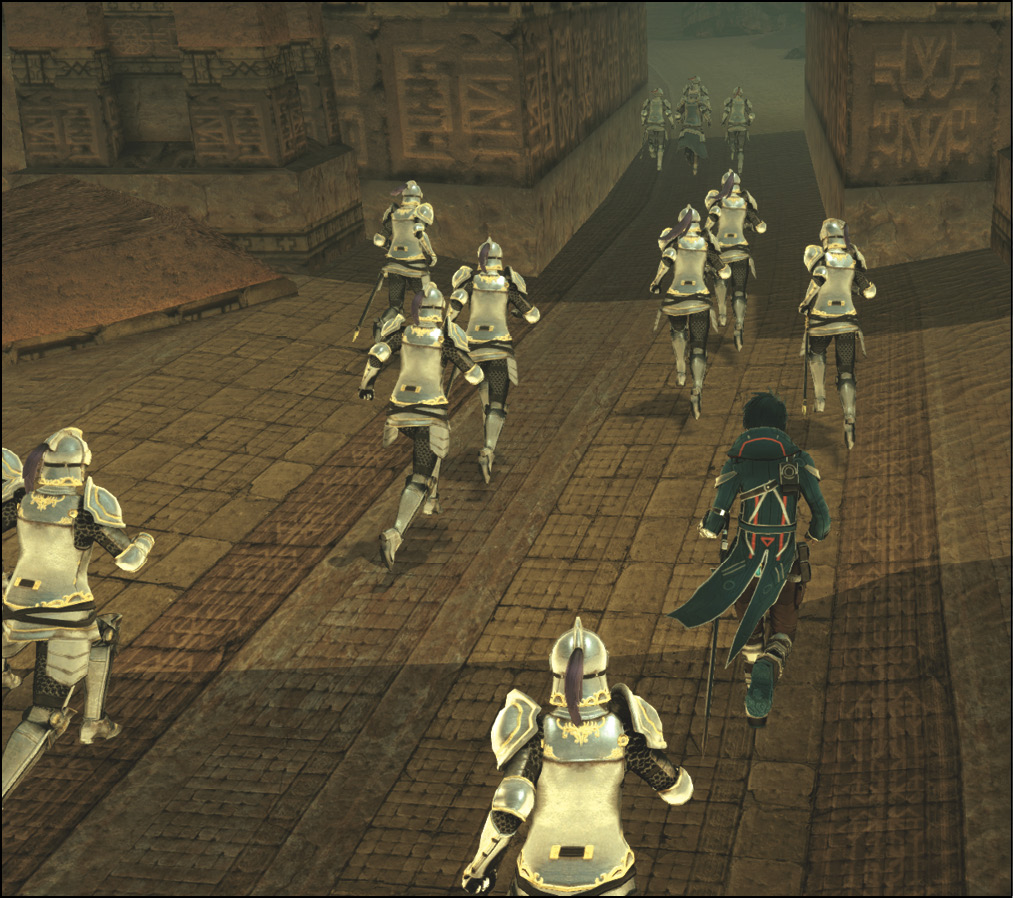
Once again, the King’s Chosen joins the party. Save your progress and heal up if you haven’t done so already, then enter Eastern Trei’kur to dive into the fray. Victory ensures Resulian occupation of the area.
Trei’kuran Knight

Trei’kuran Armored Bowman

Trei’kuran Soldier

Trei’kuran Signeturge

Trei’kuran Sharpshooter

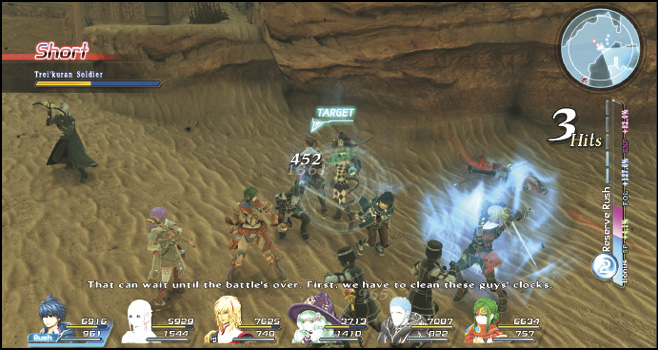
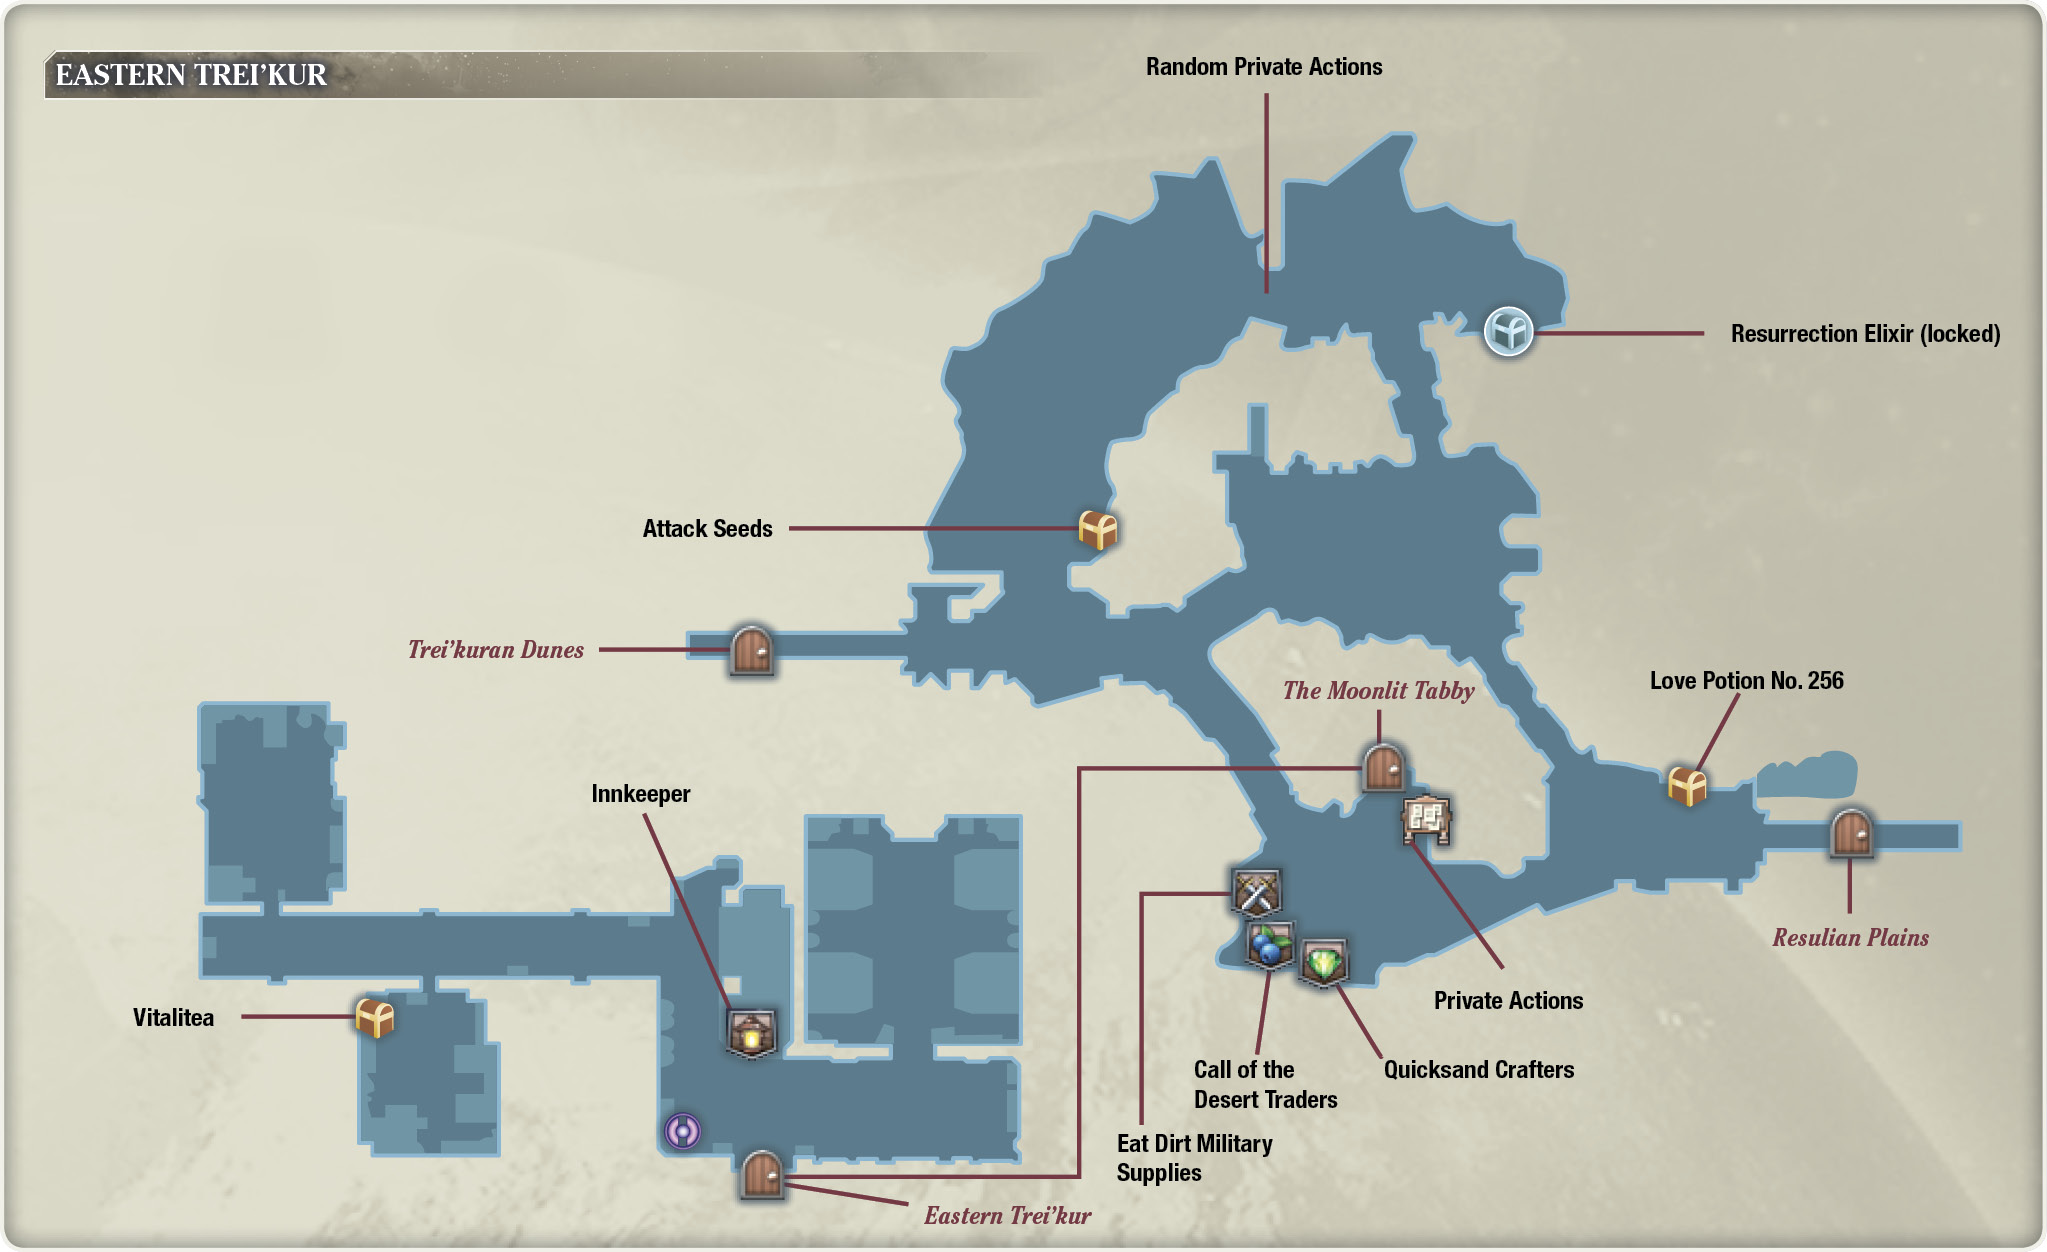
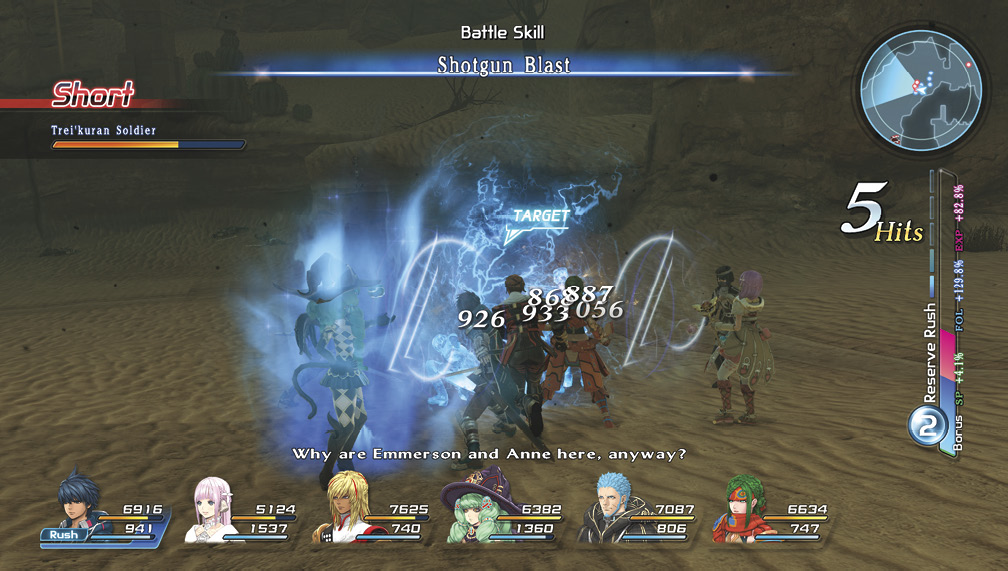
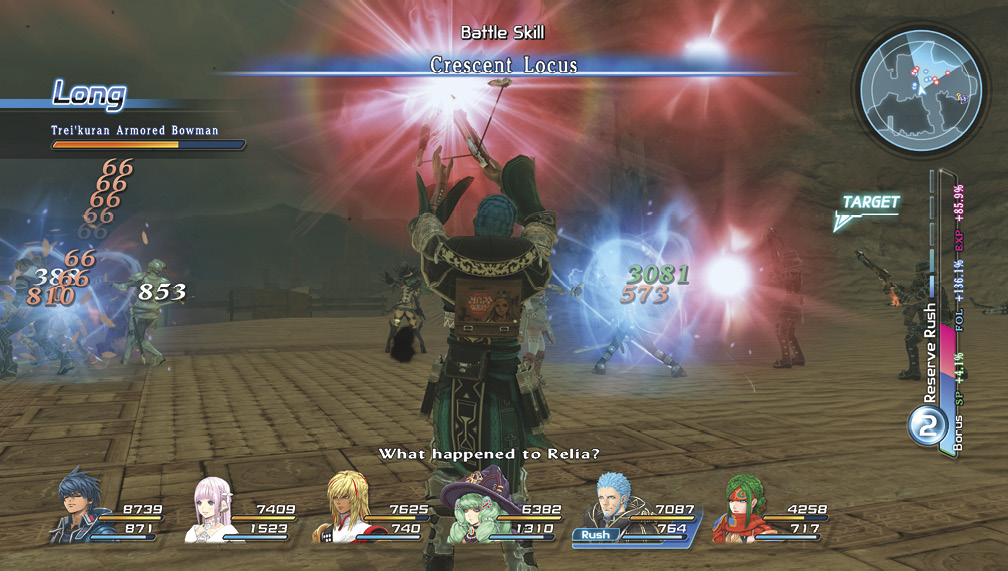
Once inside, head north and defeat the Trei’kuran Knights and Armored Bowmen here. Remember to equip the Warrior Slayer role on either Fidel or Victor since all of the enemies here are humanoids. After you’ve dealt with this group, open the chest nearby for some Attack Seeds. Continue north, and confront the Trei’kuran Soldiers here. During this fight, the crew is reunited with Emmerson and Anne, who will fight alongside you.
Der-Suul

Finish off the soldiers, and then make sure to fill out Emmerson and Anne’s accessories and role slots (since they’re empty).
Continue east, then south, clearing out the Trei’kuran military in your way.
You’ll eventually meet their commander, Der-Suul. Take out his underlings before you take him on, making sure to heal up any hurt party members (at this point, an AI-controlled Miki with the proper healing roles can do just fine on her own).
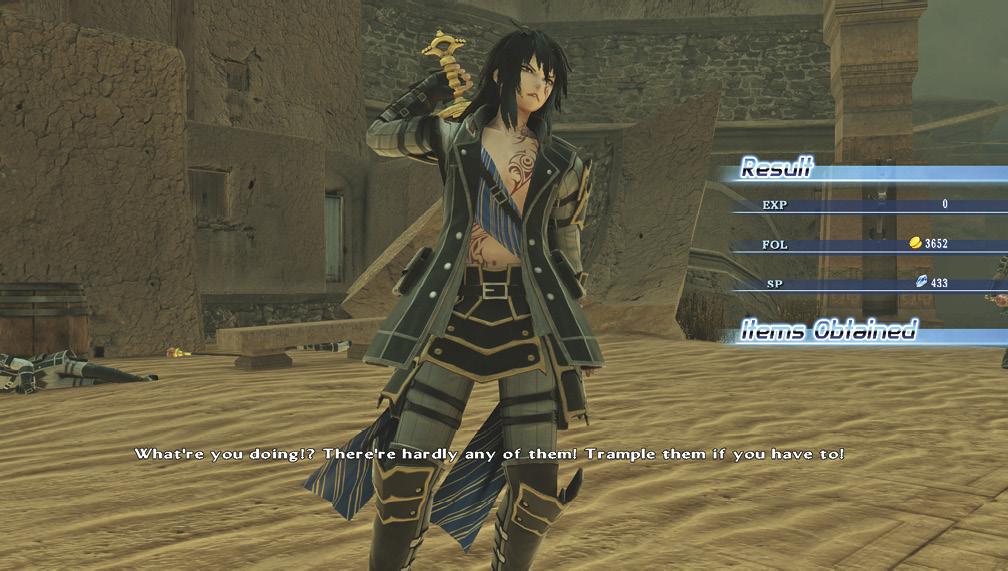
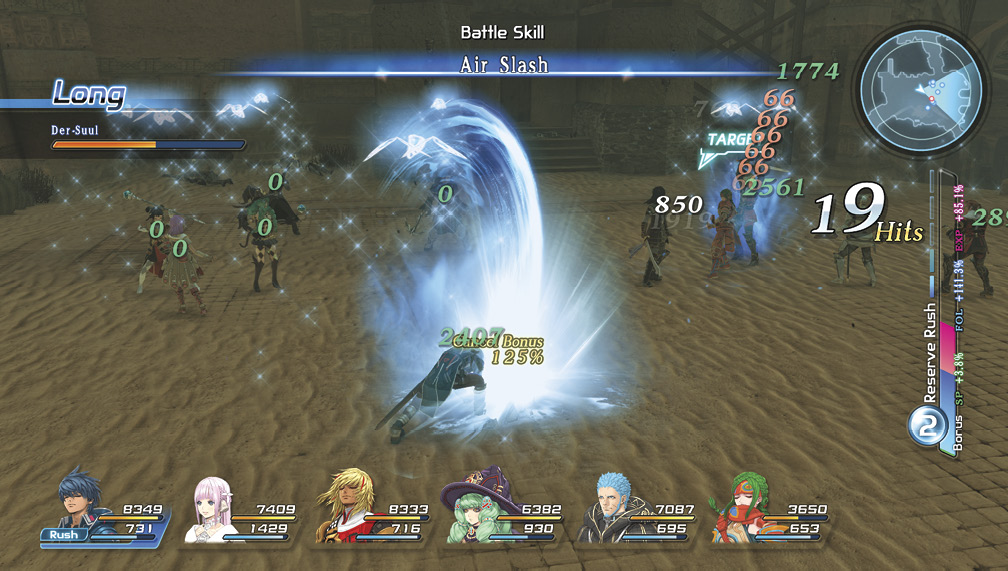
When you take Der-Suul down to 25% HP, he’ll retreat to the roof, leaving several waves of his subordinates for you to deal with.
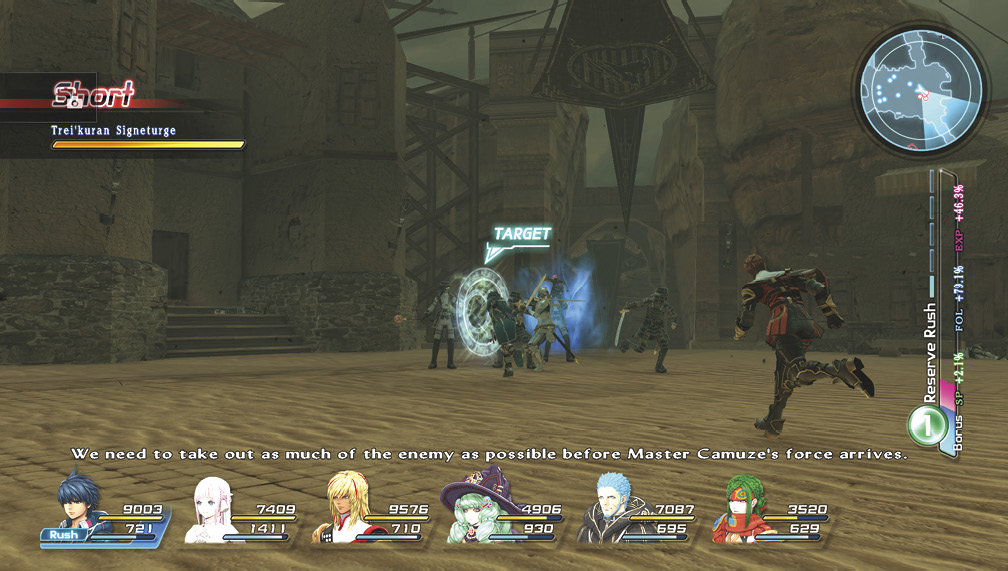
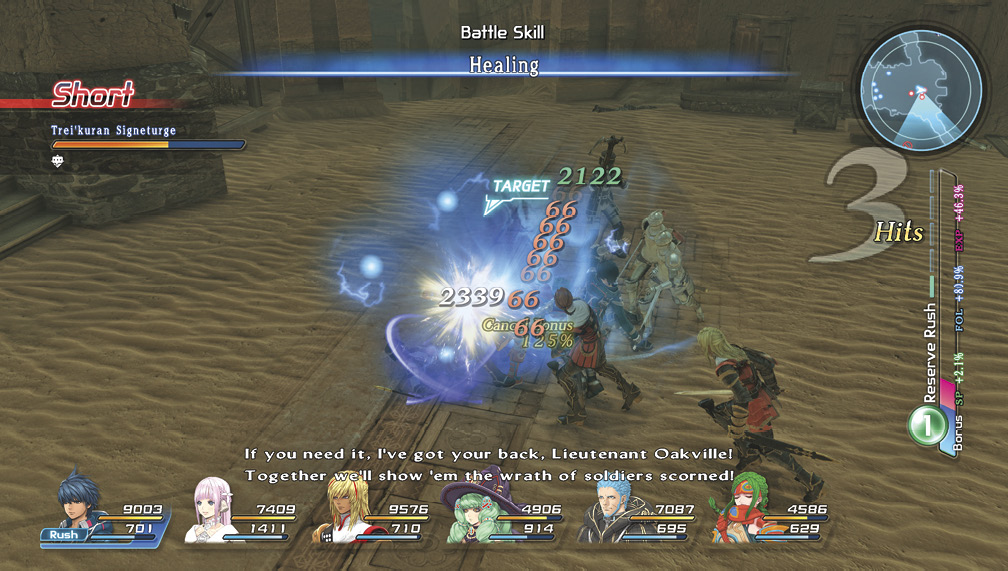
Once they’ve all been vanquished, a cutscene triggers. Fidel and Miki fume as they discover that Relia’s been kidnapped under Emmerson’s watch.
However, Fiore reminds Anne about data retrieved from the research facility.
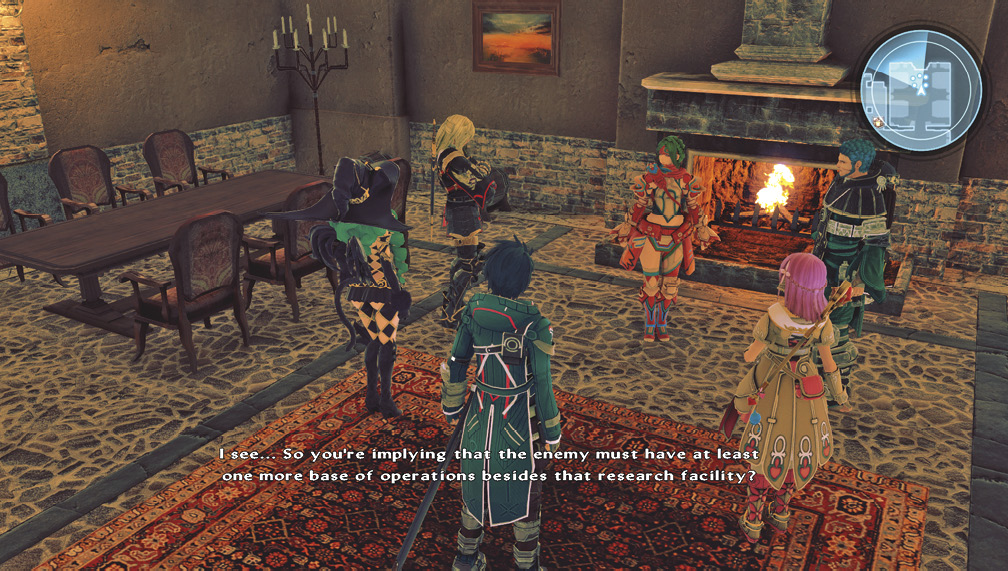
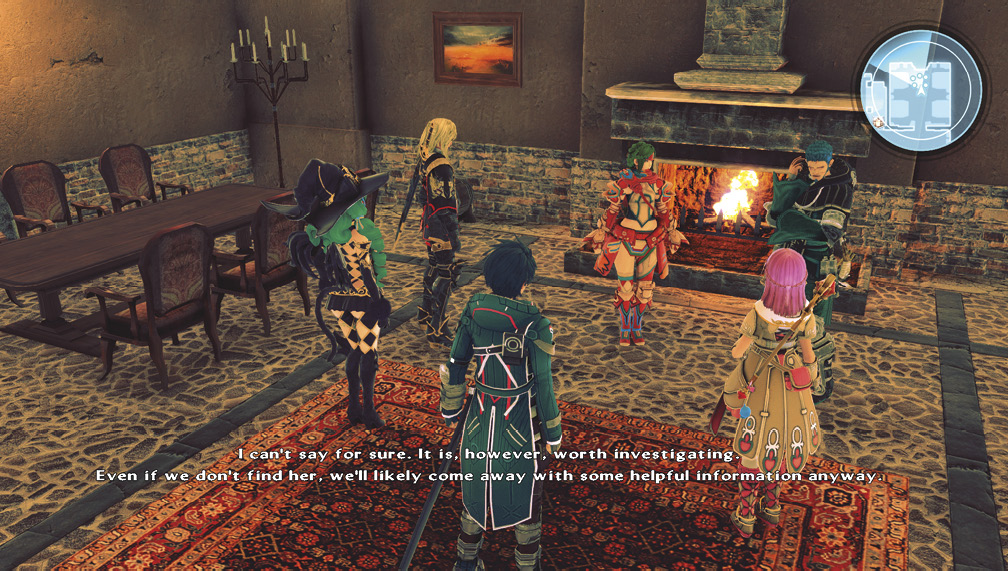
After a brief recess, the group reconvenes and discusses a lead regarding another laboratory Kronos has set up, involving studies in symbometrics. However, further analysis must be done before they can identify its location.
When you’re back in control of Fidel in The Moonlit Tabby, talk to the innkeeper to rest for the night.