Star Ocean: Integrity and Faithlessness Guide Part III: Main Story Walkthrough Chapter 12
Mission: Infiltrate the Asteroid Base
President Mutal, the Kronos governing leader, helps the Pangalactic Federation by relaying coordinates of the rebellion base of operations. However, simply finding the headquarters isn’t enough. Emmerson’s crew must find a way to get through the asteroid base’s force fields if they want to rescue Feria.
Action Checklist
- Optional: Undertake and complete remaining side quests
- Rest in the Private Quarters on the Charles D. Goale G
- Take the shuttle and infiltrate the enemy base, the Alcazar of the Golden Age
Mission Walkthrough
Your main objective here is to rescue Feria within the rebellion headquarters, the Alcazar of the Golden Age. There’s a point of no return (albeit, a temporary one), so finish up any side quests and optional tasks before undertaking your final mission.
Take a Break
Emmerson recommends that everyone take a break before the next mission, so your next step is to rest in the Private Quarters of the Charles D. Goale G. At this point, a few new Private Actions become available, one being Anne’s First Mission. Viewing it unlocks the Instructor role, which drastically increases EXP gain. This is a good spot to complete any side quests and Private Actions you may have queued up, as well. If you commit to resting, you won’t be able to return to Faykreed until the mission is completed.
Private Actions
| Charles D. Goale G |
| Anne’s First Mission |
| Santeroule |
| Sorry, Sis |
|
| Reason to Fight |
| Central Resulia |
| It’s Better to Have Loved and Lost? |
When you’re ready, rest up in Fidel’s private quarters to commence the next operation. Fidel wakes up, unable to sleep. You can find one of the other party members gazing out at the fleeting stars in the Transport Room (the ally found here depends on whoever has the most affinity with Fidel). Walk up to your friend to trigger a cutscene.
Board the Shuttle
After their heart-to-heart colloquy, the scene transitions into a comm-link between President Mutal and General Alma. The operation to rescue Feria while putting an end to General Alma officially begins.
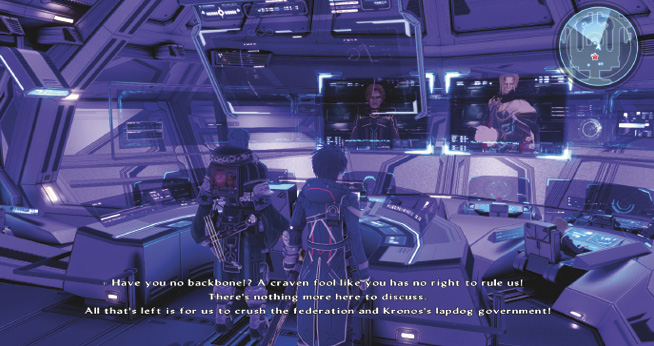
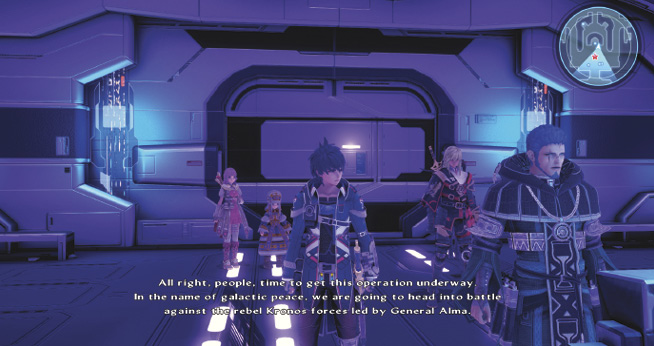
As the Charles D. Goale G takes enemy fire, Fidel suggests an attack directly on General Alma, reasoning that defeating him will put an end to the rebellion for good. Although impractical, Anne posits that it’s possible by using spacetime symbology with Relia’s powers to deactivate the enemy’s shields, allowing a direct transport in.
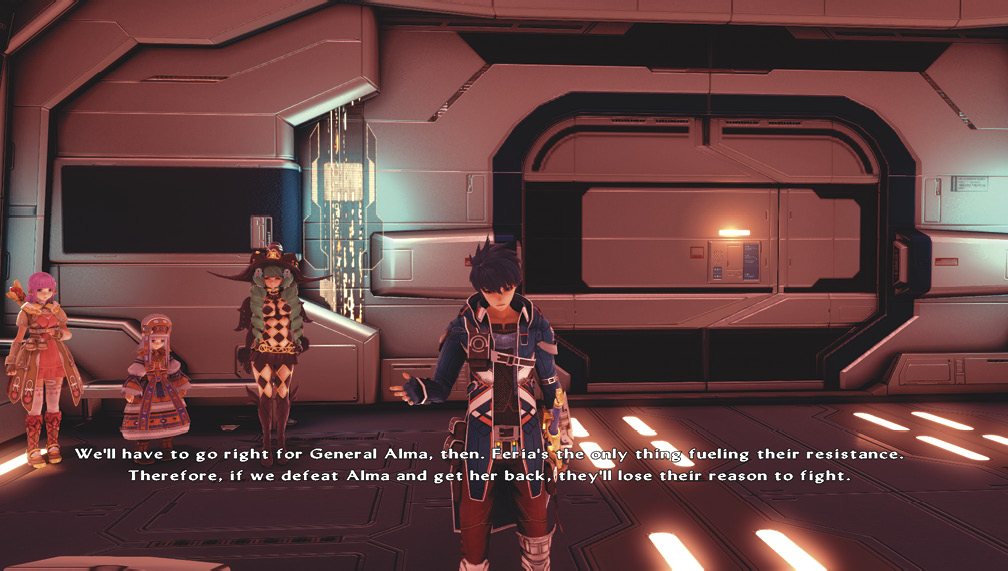
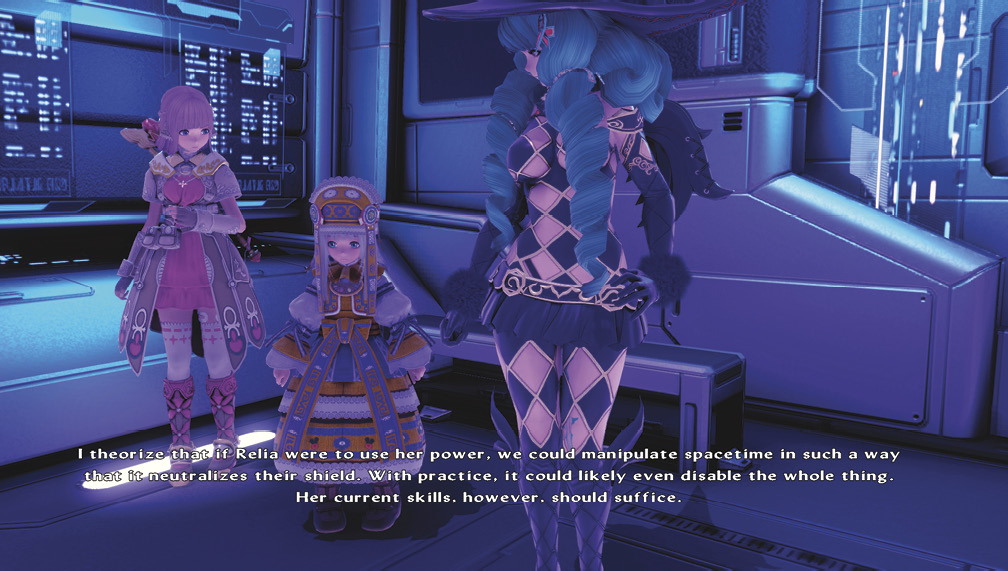
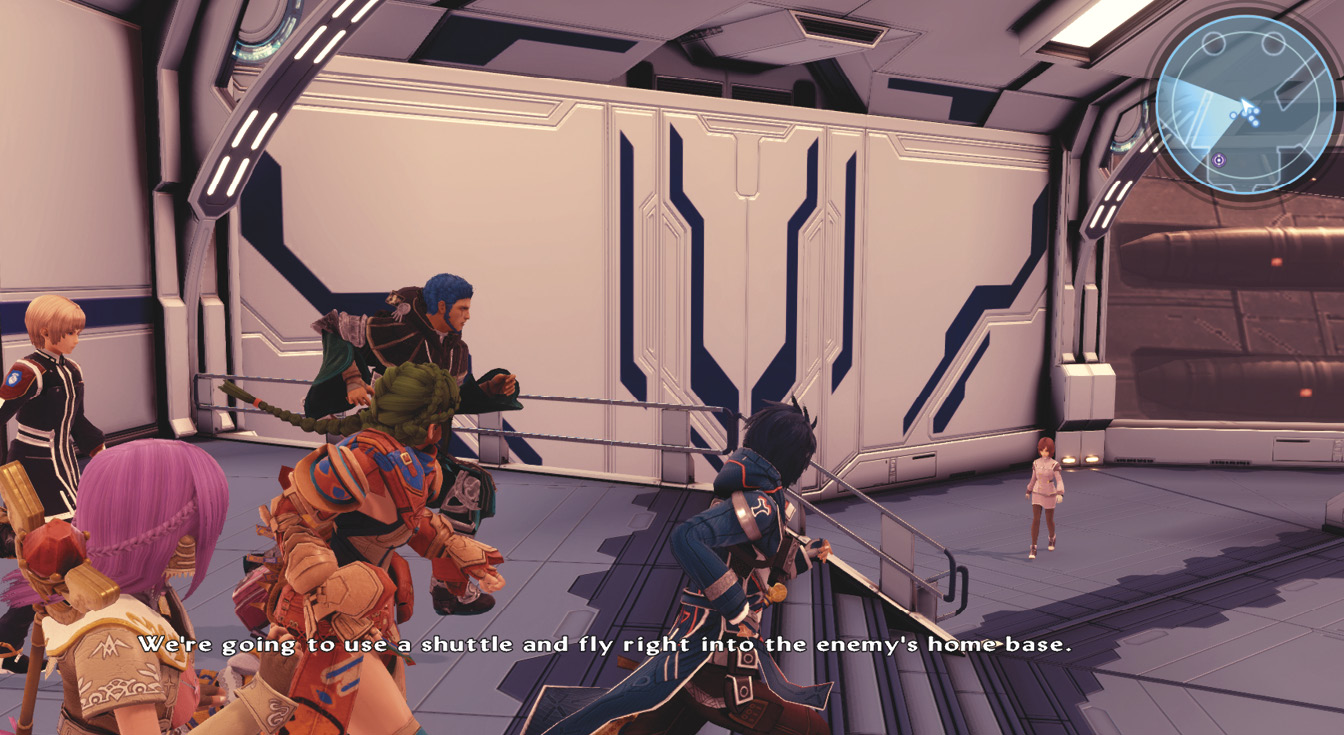
Get to the transporter to activate another cutscene. Unfortunately, Feria’s powers are blocking Relia’s, so the plan won’t work. However, Anne and Emmerson come up with another idea involving taking the shuttle directly into the enemy base.
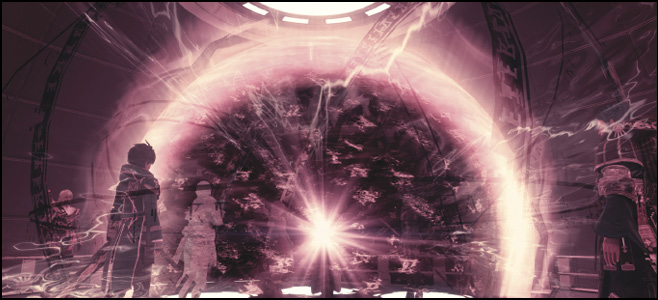
Take the turbo lift to the Cargo Bay, then enter the shuttle to trigger a cutscene. Emmerson and crew find the entrance to the Kronos asteroid base, the Alcazar of the Golden Age. Relia confidently fires up her signeturgical powers, disabling the shields and allowing the satellite shuttle to dock safely inside.


Search the Asteroid
Kronos Commander

Valiant Conscript

Avenger
Kronos Authority

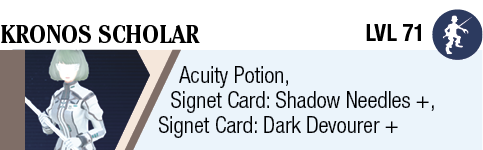
Kronos Scholar
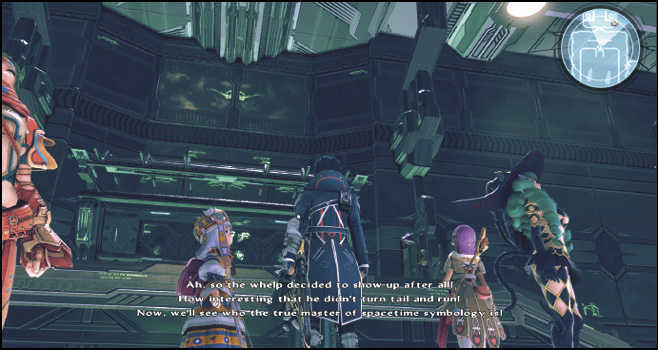
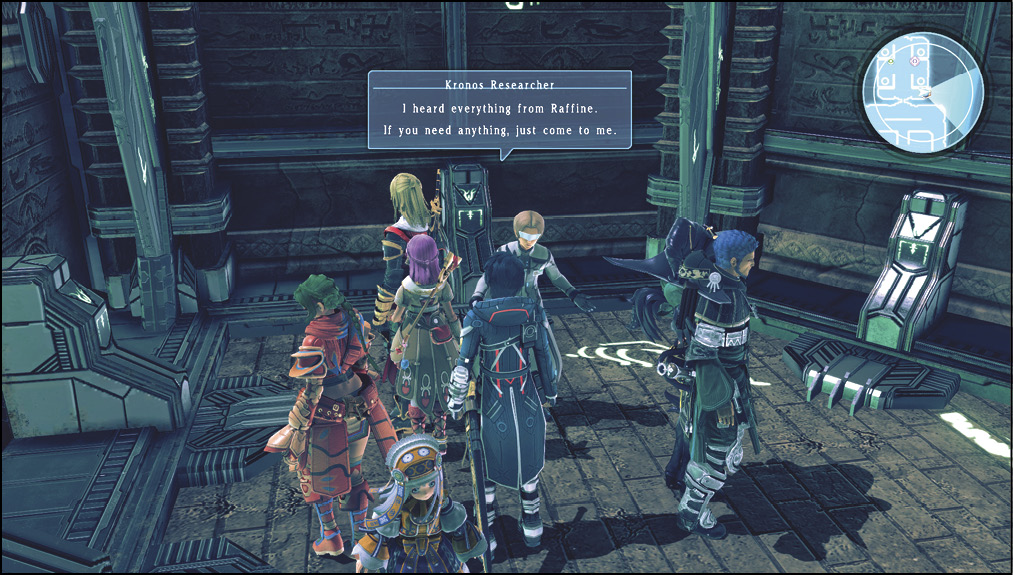
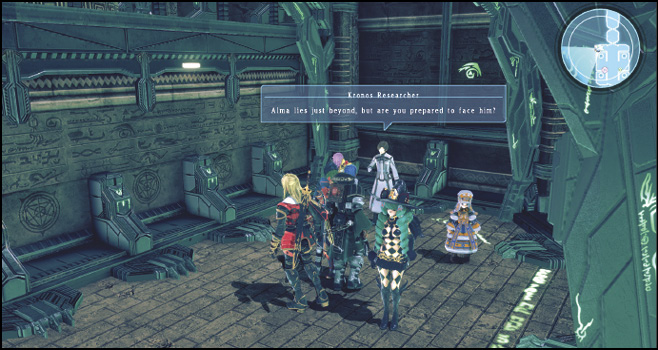
After the maniacal Alma taunts Fidel and friends, make your way deeper into the Kronos asteroid through the north path. On your way up, you’ll encounter a Kronos Researcher shopkeeper who assists you with regards from Raffine. Several armor and weapon upgrades are available here; however, the weapons aren’t as strong as the final Cathedral of Oblivion rewards if you’ve obtained those already. After you’re done shopping, you can save your game and restore your HP and MP just up ahead.
Shops
 Tacius
| Item | Cost | Type |
|---|---|---|
| Acuity Bracelet | 10000 | Accessory |
| Arcane Bracelet | 5000 | Accessory |
| Attack Bracelet | 10000 | Accessory |
| Energy Bracelet | 5000 | Accessory |
| Fortitude Bracelet | 10000 | Accessory |
| Mind Bracelet | 10000 | Accessory |
| Mystic Robe | 30000 | Armor |
| Mythril Mesh | 28000 | Armor |
| Mythril Plate | 34000 | Armor |
| Basil | 90 | Usable |
| Blackberries | 80 | Usable |
| Blueberries | 40 | Usable |
| Chamomile | 180 | Usable |
| Cinnamon | 300 | Usable |
| Fresh Sage | 160 | Usable |
| Jasmine | 90 | Usable |
| Lavender | 300 | Usable |
| Mint | 90 | Usable |
| Mythril Gauntlets | 36000 | Weapon |
| Mythril Rod | 32000 | Weapon |
| Mythril Sword | 40000 | Weapon |
| Orb of Antiquity | 50000 | Weapon |
| Silvance | 44000 | Weapon |
| Sylvan Ray | 42000 | Weapon |
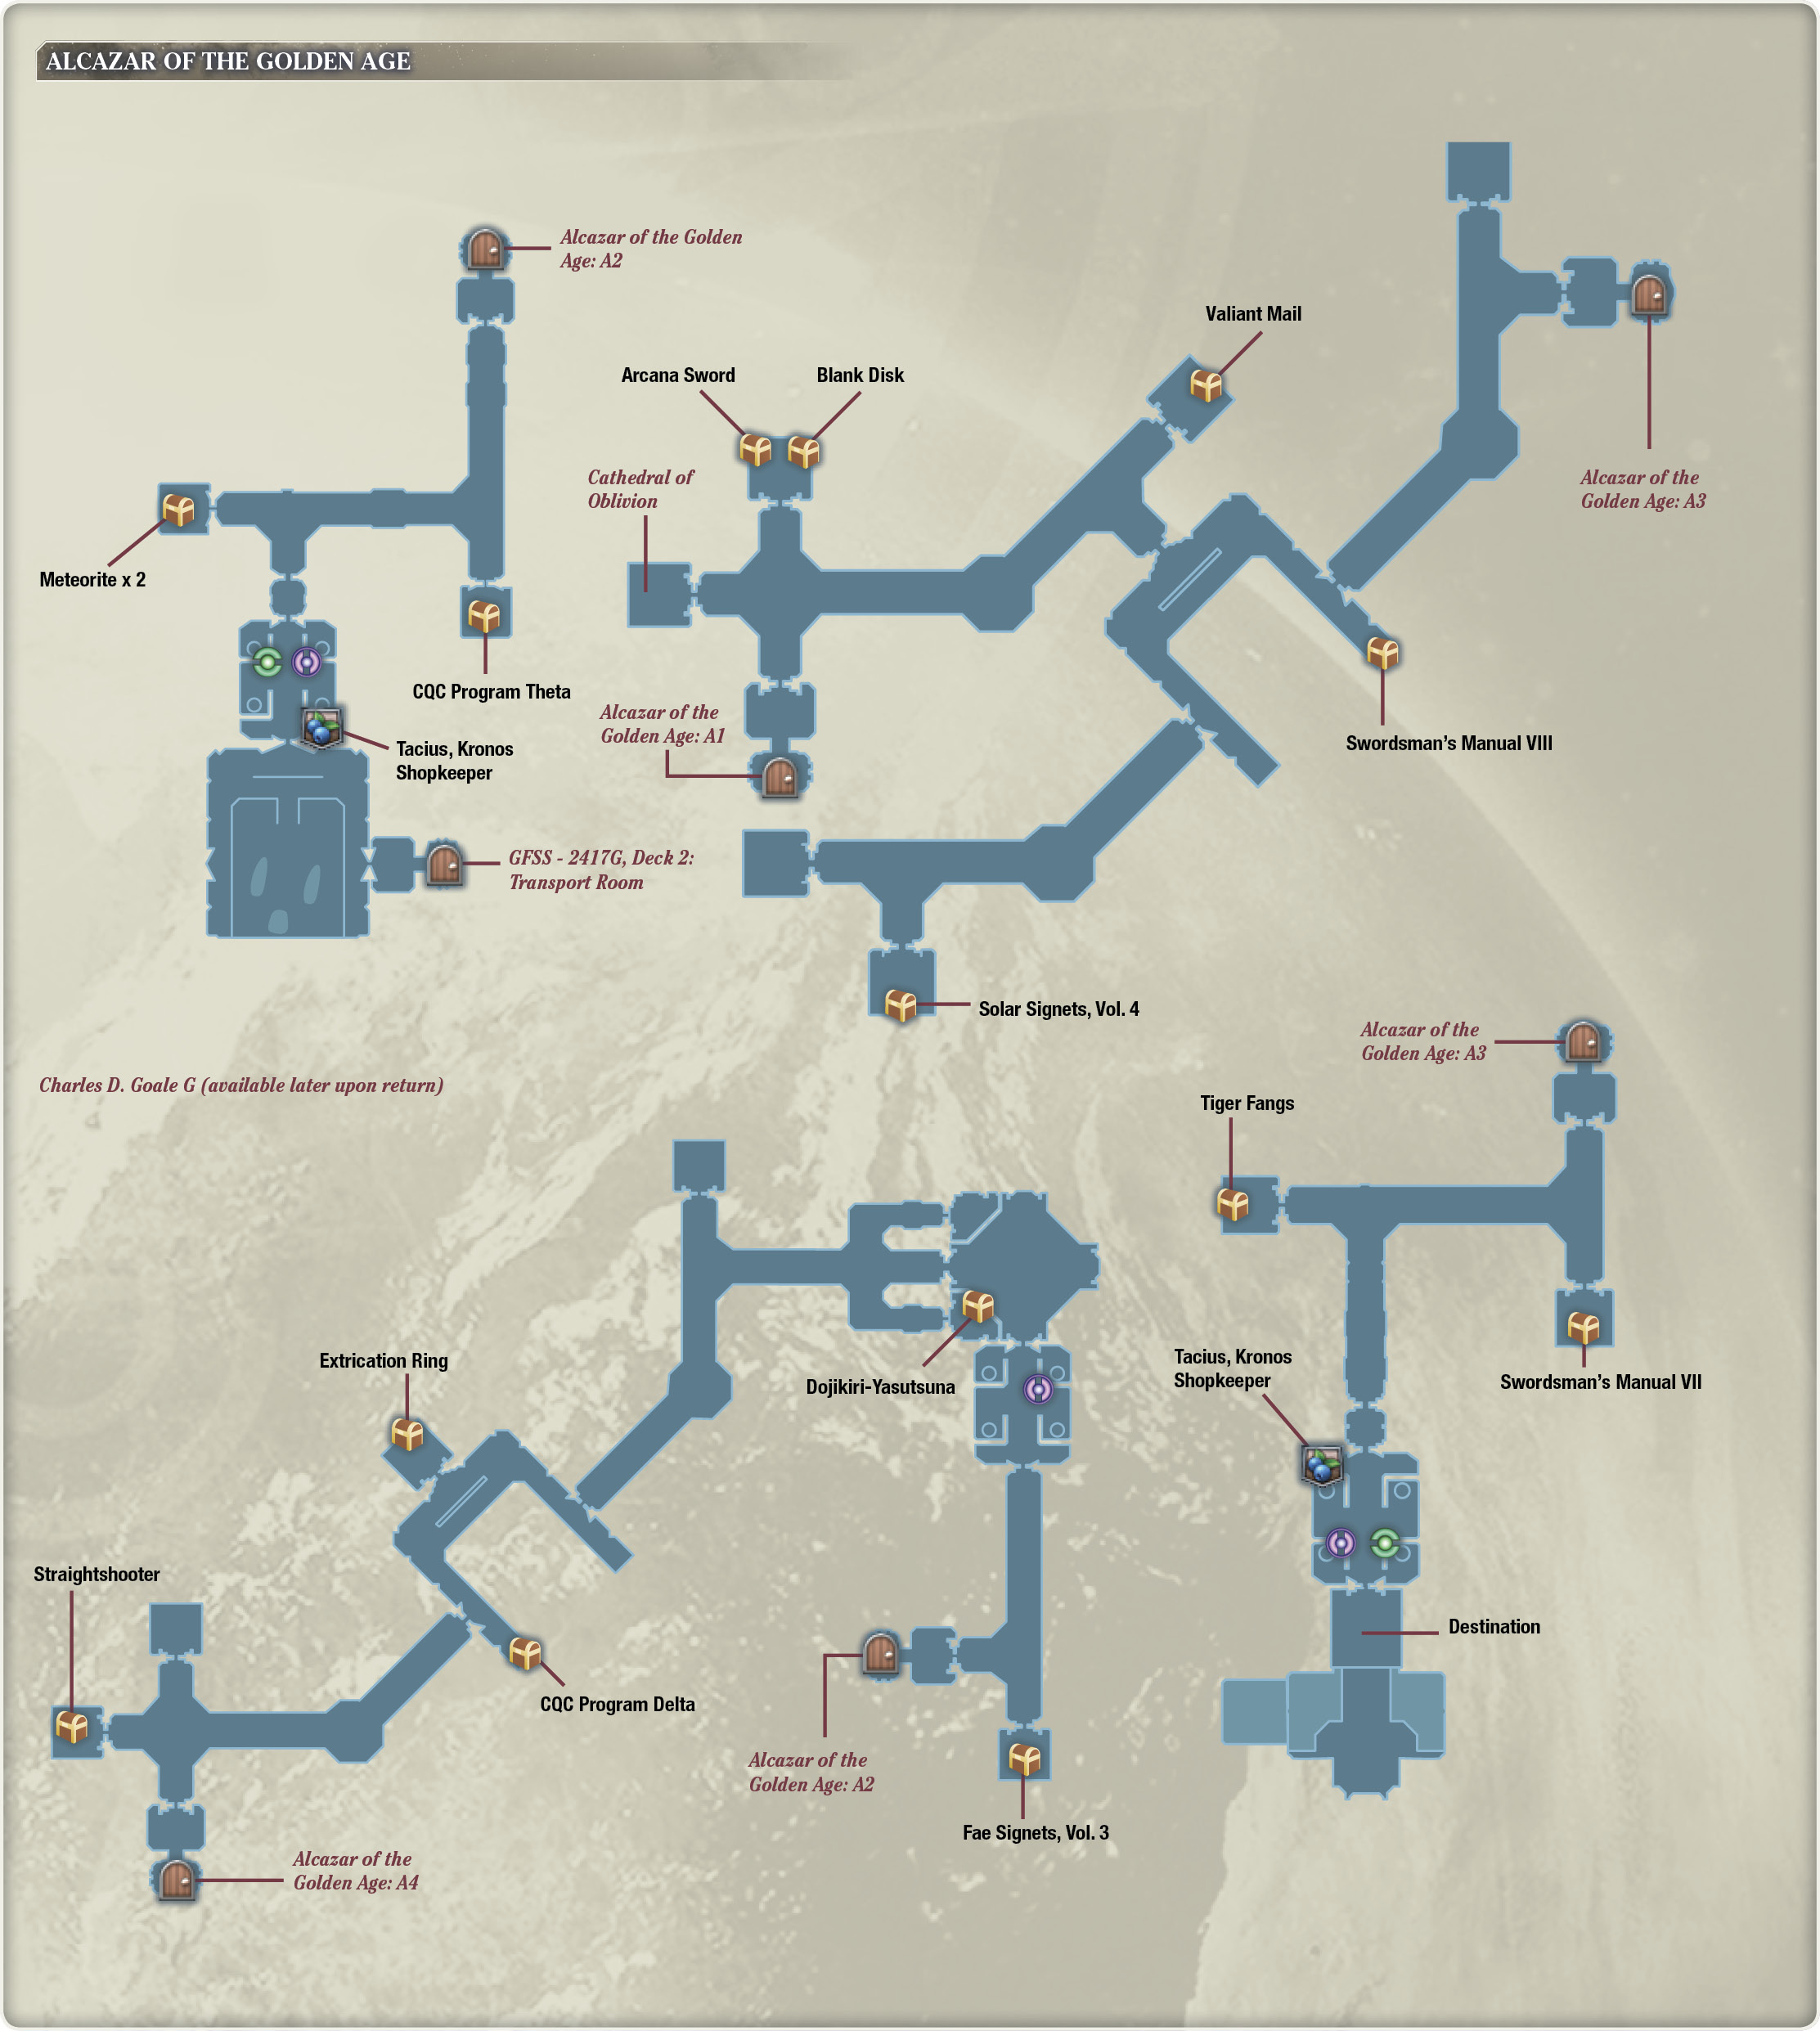
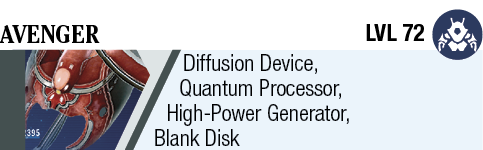
When you’re ready, your destination is in the northeast region of the first map. On your way there, you’ll encounter several high-level Kronos military units, including deadly machinery known as Avengers. Avengers can deal a large amount of damage in a short period of time due to their heavy firepower, so equip your party members accordingly (Machine Slayer on Fidel works wonders here).
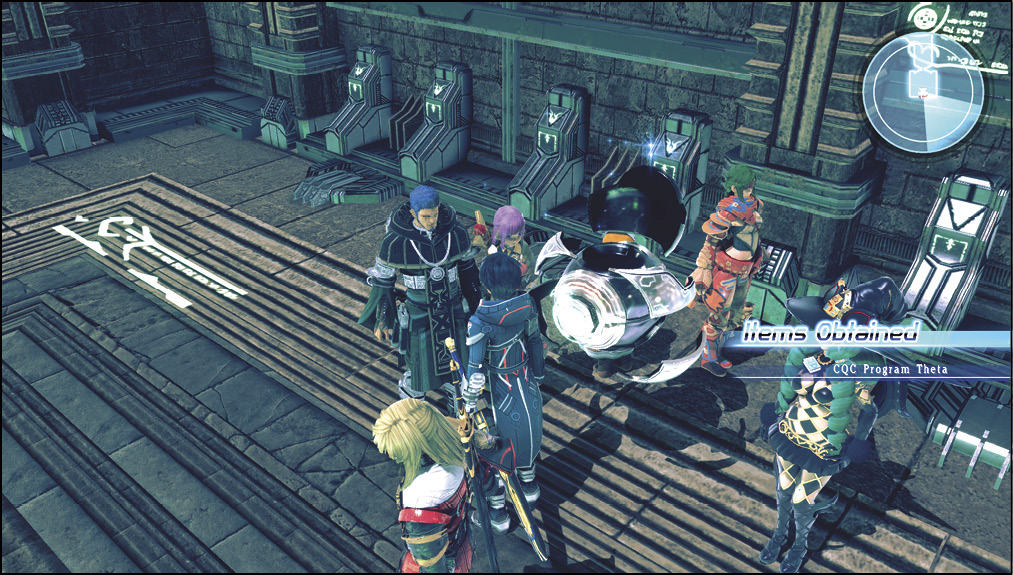
At the first divergence, make a left, going westward, into a room with a treasure sphere containing Meteorite x 2. Open it, then turn around and head all the way east until you come across a group of Avengers and Valiant Conscripts. Slay them, then go south into another room with a sphere holding a CQC Program Theta skill disk.
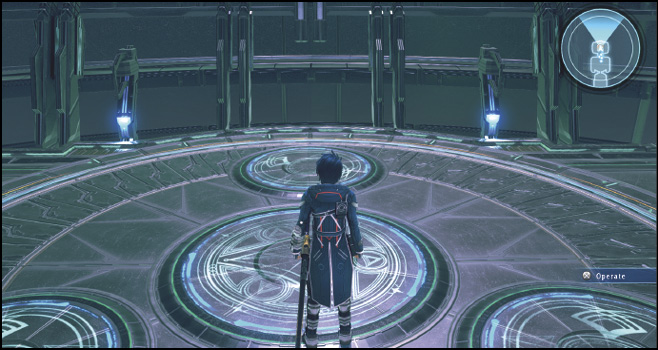
Turn around and head all the way north to operate the teleport pad, boosting the party to the next level of the asteroid.
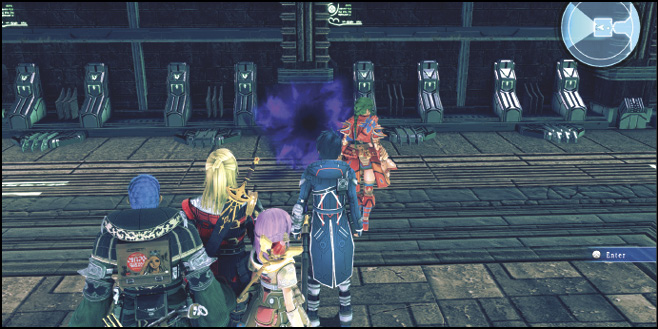
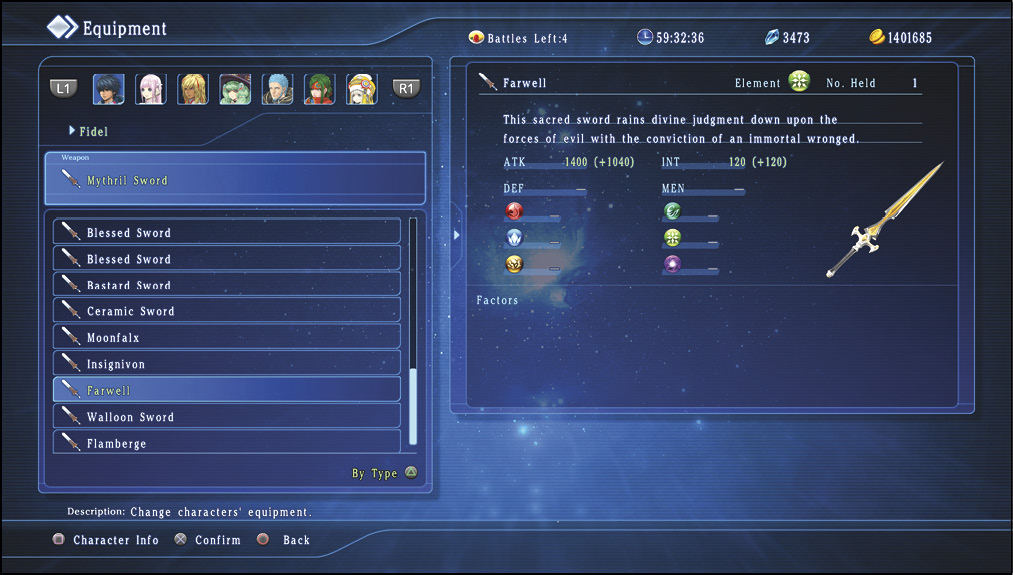
From here, if you pause the game with the OPTIONS button, you can check for the final Cathedral of Oblivion instance in the westernmost room of the map. If you’re up for a challenge (and it is, indeed, quite a difficult one), you can force it to spawn by exiting the area back to the A1 area and re-entering A2. You can always come back to complete it later to obtain Fidel’s second-best weapon.
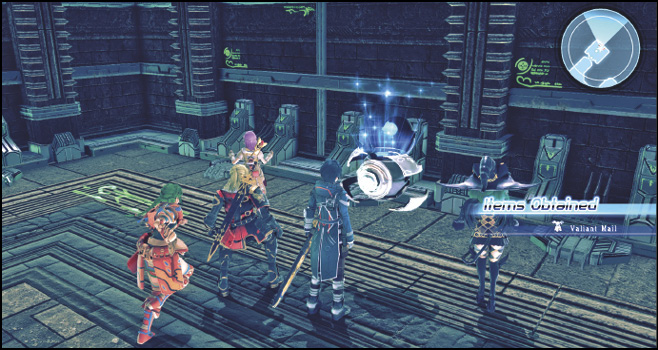
To the north of the initial intersection here is a room with two treasure spheres. Open them to obtain an Arcana Sword and a Blank Disk. Now, take the east path from the intersection. Keep going as it bends northeast into a room with another treasure sphere containing Valiant Mail armor.
Now, turn around and take the southeast path, crossing over into the second half of the map, where you’ll see a Kronos spacecraft docked.
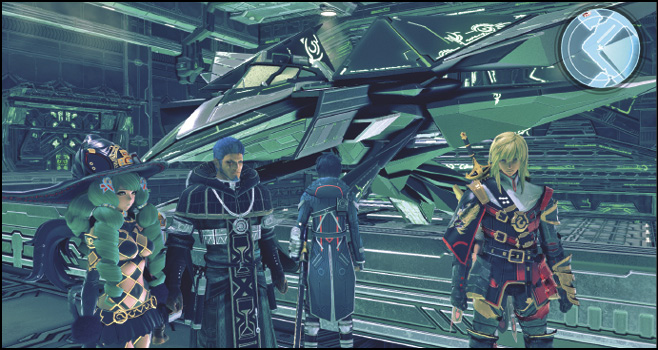
Your destination is to the northeast from here, labeled Alcazar of the Golden Age: A3 on your map. However, you can pick up some treasure if you travel to the southwest corner of the area. Fight your way to the southernmost room to pick up a copy of a Solar Signets, Vol. 4 skill book.
Return to the docking area in the middle of the map. Before you enter the northeast path, there’s a treasure sphere in the east corner with Swordsman’s Manual VIII in it. Grab it, then continue to the transport pad located in the northeast area to get to the next area of the asteroid base.
The path in the third area is relatively linear, with a couple of chests along the way. Run east from the starting point, then south into a room to collect a copy of Fae Signets, Vol. 3 from the treasure sphere.
Now, take the path north until you reach a multilevel room with a save point in the middle. Save your progress here, then continue your journey north for a mini-boss battle.
Exorcise Thoras’s Experiments
Shrouded Gaze

The mad Kronos scientist Thoras has a surprise experiment in store for you here. He summons a Corrupt-type Baskanian monster to test Relia’s signeturgical powers. If you’ve fought the Eyebalone boss in the first iteration of the Cathedral of Oblivion, you’ll be familiar with its attacks. Dodge its eye beams while the other party members dish out the damage.
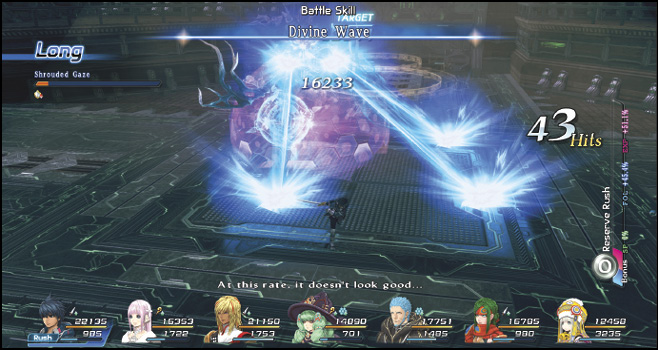
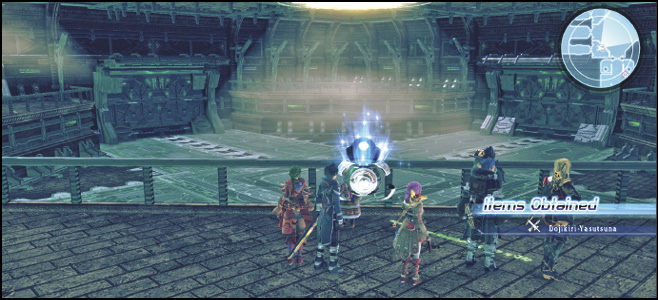
Once you’ve defeated the monstrosity, take the west exit from the arena into a hallway with an intersection. Take the south path from here, winding up into a set of stairs that leads to a door back into the previous arena. You can find a treasure sphere up on this platform containing a weapon for Victor, the Dojikiri-Yasutsuna. This katana is an upgrade for him if you haven’t obtained the Chrome Nightmare from the Cathedral of Oblivion. Otherwise, you can use it as augmentation material to upgrade your Chrome Nightmare.
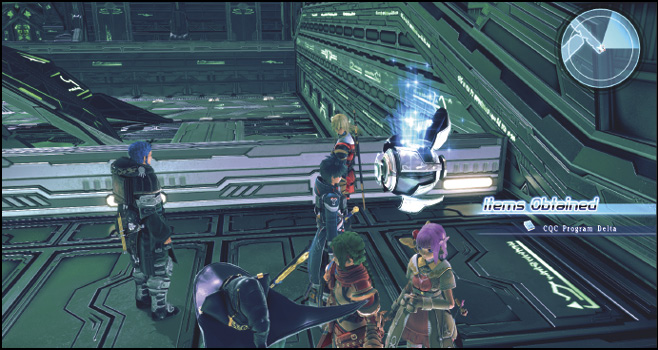
Continue west and then south, fighting through Kronos military and their security robots. When you reach another docked spacecraft, there’s a room up a small set of stairs to the northwest. It contains some enemies and a treasure sphere with an Extrication Ring inside. Defeat the Valiant Conscripts and take the ring, then return to the docking area. To the south of the docked ship around the corner, there’s another sphere that holds a CQC Program Delta skill disk. Pick it up, then exit through the southwest door into another hallway.
At the final intersection here, there’s a room to the west with a treasure sphere containing a Straightshooter phaser gun for Emmerson. After you grab it, take the transport pad to the final area south of the intersection.
From the starting point on A4, head directly south until you get to a room with a Swordsman’s Manual VII in a treasure sphere. Open it, then turn around and take the west path all the way into another room with yet another treasure sphere. Grab the Tiger Fangs, and make your way down the south path until you reach another pair of save and restore points. Another Kronos shopkeeper can be found here, too. If you need to resupply, purchase whatever you need from him, and then use the save and restore points. Get ready for another boss battle just south of here.
Feria’s Clone

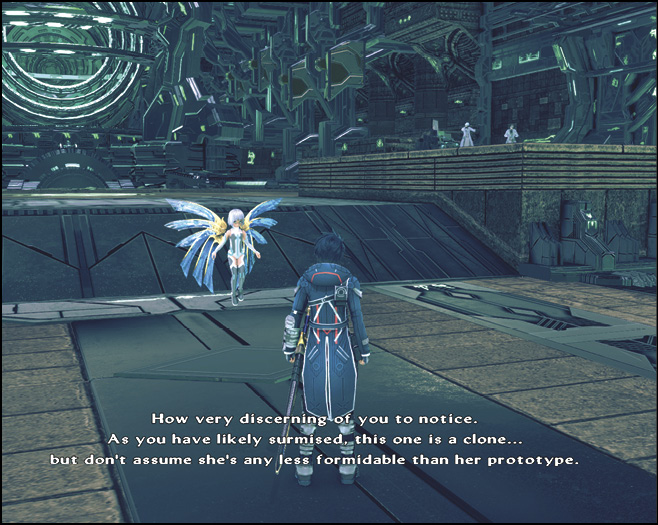
When you enter the room, Thoras summons another experiment for you—Feria’s Clone. This clone is empowered with strong signeturgical abilities, so take care, and heal anyone hit by her high-damage spells. Although she’s a clone, she’s also considered a human type, so consider equipping the Warrior Slayer role on Fidel, Victor, or Anne.
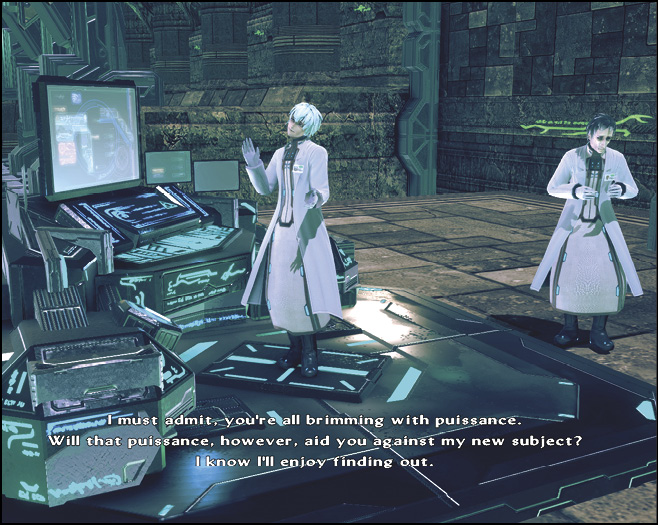
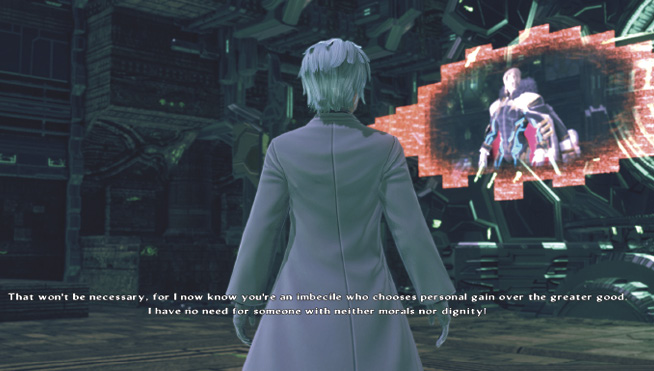
After you defeat the clone, General Alma appears alongside Feria on a communication line. Upset with Thoras’s insubordination, Alma beams down a behemoth-sized plant that merges with the mad scientist. At the same time, the entire party (including a transmogrified Thoras) is teleported to a parallel dimension known as Kronos’s Sickle.
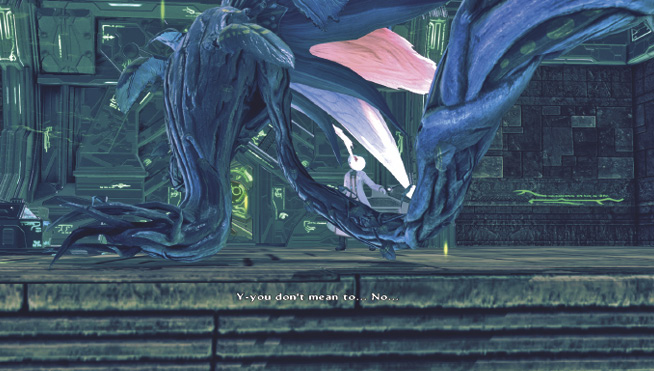
Thoras the Abomination

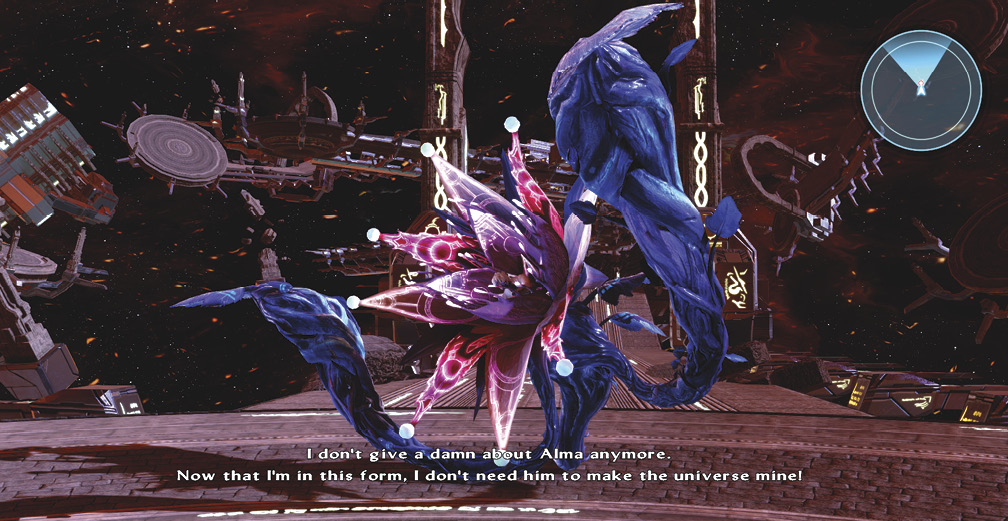
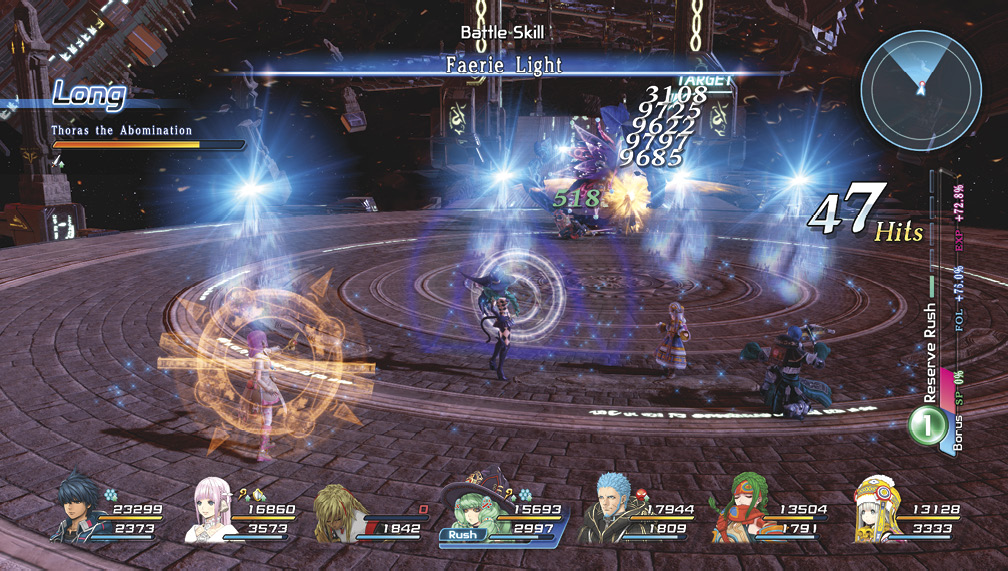
Here, you’re immediately attacked by the amalgamation of plant and evil scientist, Thoras the Abomination. Although he’s part human, he’s mostly plant, so the Plant Slayer role works well against the abhorrent being. His main attacks are physical-based ones, so your primary concern should be moving your back line members away from him. Although he deals large amounts of melee damage, he lacks mobility, so you should be able to maneuver away accordingly. Additionally, Thoras has access to the Enhance signeturgy, boosting his ATK power. Make sure to have Fiore cast Void to dispel the effect.
After you finish slaying Thoras, General Alma shows up on a screen once again, taunting the party and alluding to a final face-off.