Star Ocean: Integrity and Faithlessness Guide Part III: Main Story Walkthrough Chapter 4
Mission: Seek Out Victor
While they don’t have all of the answers, Fidel and company have gained some ground, since Relia now recalls growing up in a sandy area. Maybe her parents were scientists in Trei’kur? But before they can cross the border, the party needs to catch up with Victor at Castle Bariff.
Action Checklist
- Optional: Trigger additional Private Actions
- Optional: Clear the Cathedral of Oblivion in West of the Eastern Eihieds
- Optional: Stop at Myiddok to complete Welch quests and view Private Actions
- Optional: Stop by Sthal to trigger Private Actions, visit the Infirmary (Find Ruddle!), and complete any outstanding quests
- Return to Central Resulia
- Optional: Upgrade equipment
- Optional: Complete Find Ruddle!
- Find Victor at the Castle Bariff steps
- Defend Castle Bariff
Mission Walkthrough
Your primary goal now is to find Victor in Central Resulia to get permission to cross into Trei’kuran territory. Finish up any optional tasks in the area and then leave Santeroule, making your descent down the mountain back to Myiddok.
Side Quests
| Welch’s Laboratory |
| Grand Designs |
| Happy Fun Bunny Time |
Private Actions
| Santeroule |
| From Prodigious to Pedestrian |
| One Has Smarm, the Other Charm |
| Fidel as a Kid |
| Figment of Anne’s Imagination |
| Bird Watching |
Optional
Return to Resulia
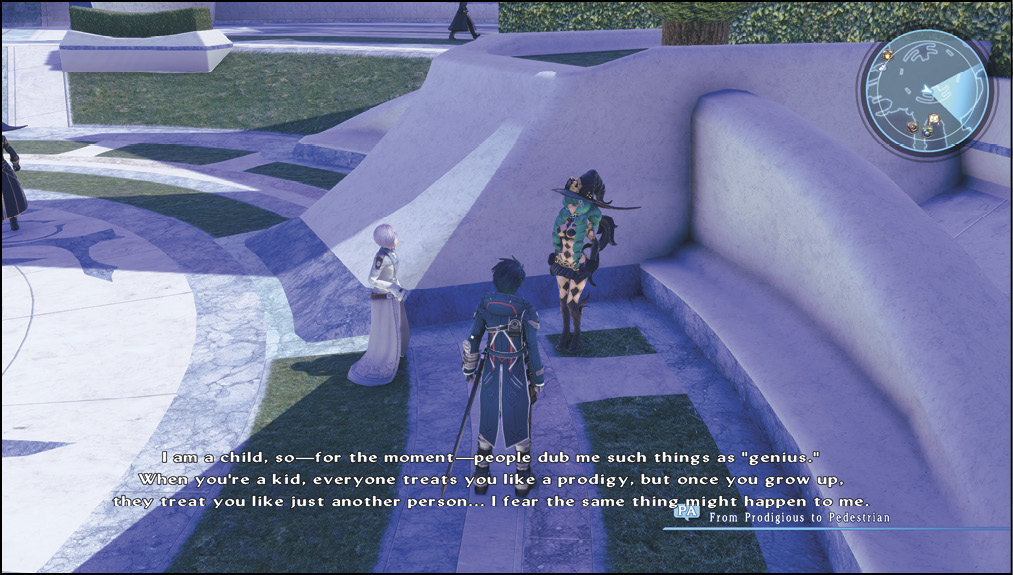
If you cleared the Private Actions in Santeroule before visiting the Ancient Institute, you can trigger a few more of these special events.
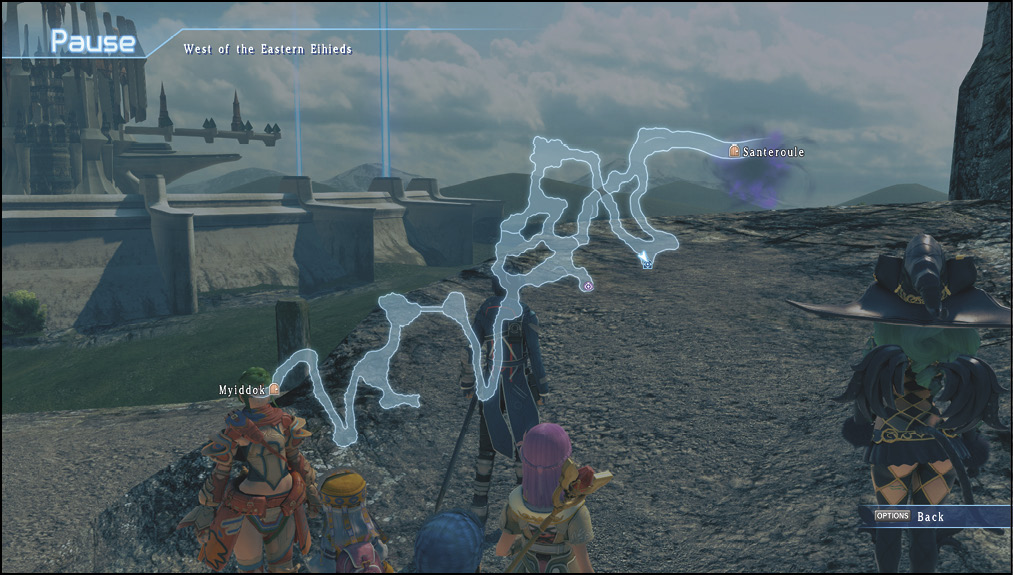
Once you’re all set to go, return to West of the Eastern Eihieds. There’s a Cathedral of Oblivion warp point here, just off the south path from Santeroule. As before, if you want to get it to spawn, enter the area and check your map with the OPTIONS/START button. If it doesn’t appear on the map, return to Santeroule and re-enter West of the Eastern Eihieds until it does.
Now, make your way back down the mountain and enter Myiddok. There are a couple of Private Actions to view here. If you’ve been vigilantly completing Welch quests, you can finish a few more while you’re here, too.
Private Actions
| Myiddok |
| Can’t Find Kitty |
| The Most Bitter Drink Is Life |
| In the Mood for Sweets |
| Sthal |
| Emmerson’s Reconnaissance Methods |
| A Skirt for Fidel |
| Selfish Children |
WELCH: The Beautiful and Genius Inventor, Part II
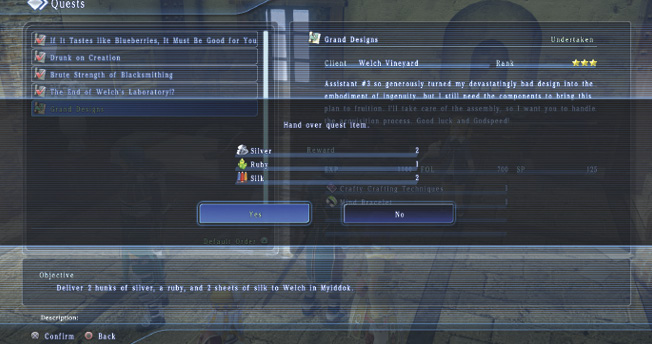
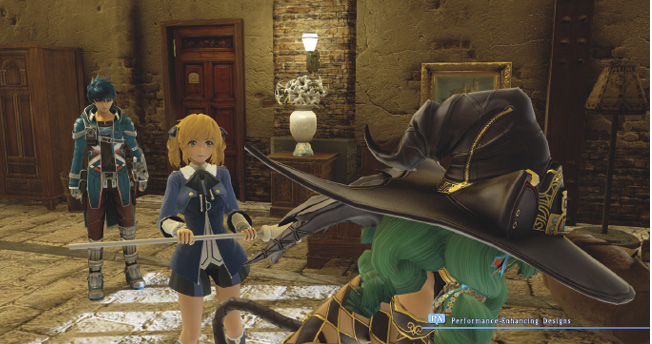
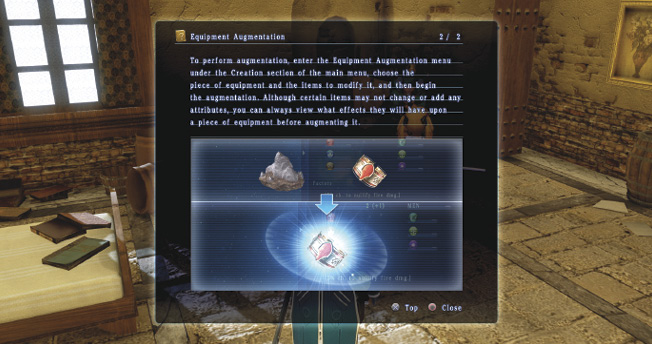
If you have two hunks of Silver, a Ruby, and two sheets of Silk, you can complete Grand Designs during your stop in Myiddok. This quest unlocks two specialty skills, Crafting and Augmentation, with an in-game tutorial about Augmentation following it.
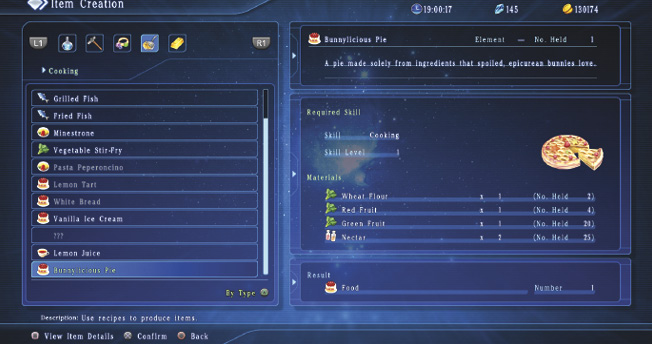
Exit Welch’s Laboratory and re-enter it to take on the Happy Fun Bunny Time quest. This quest requires the Cooking skill specialty to complete since you need to create five Bunnylicious Pies. Two of the ingredients, Wheat Flour and Nectar, can be found at the grocer in Santeroule. You can find Red Fruit and Green Fruit on enemies or from harvesting points.
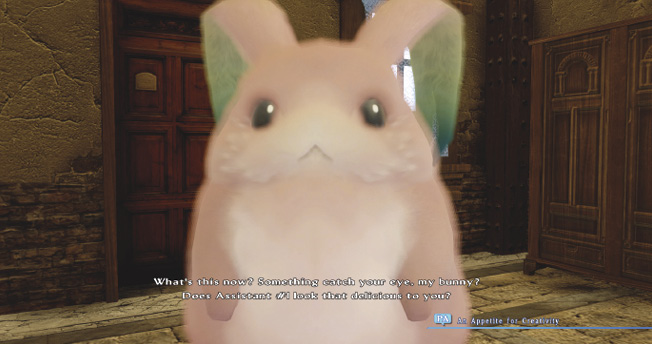
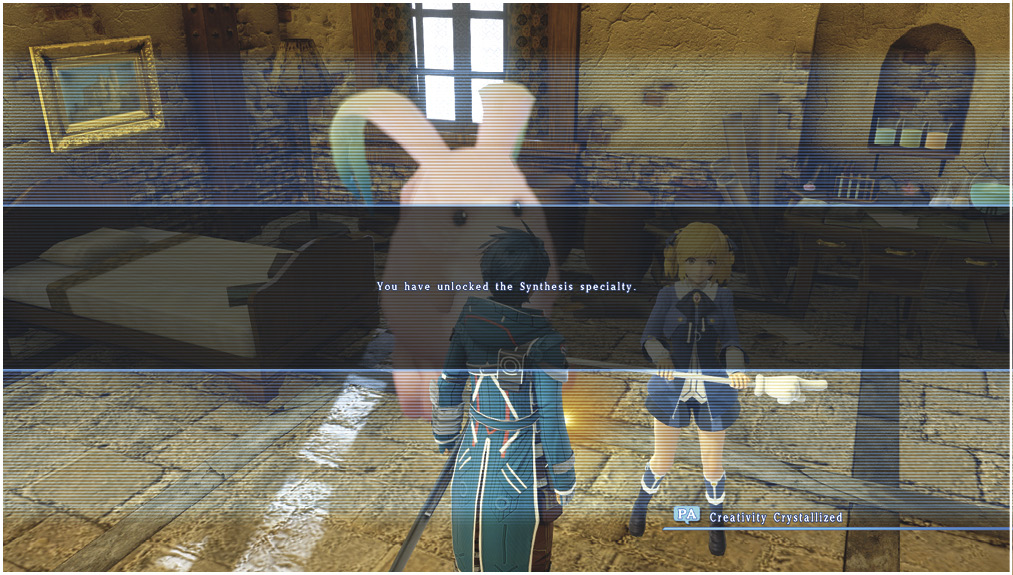
When this quest is completed, you’ll earn the Bunny role and the Synthesis specialty. Synthesis allows you to combine almost any mixture of items in the game to produce other items.
If you have the Find Ruddle! quest, you can find more clues about his whereabouts from a couple of people just west of the bridge in Myiddok. Otherwise, head out to the Resulian Plains.
At this juncture, you can take a detour and go home to Sthal to view some Private Actions or complete any quests involving the Dakaav Footpath. You can also visit the Infirmary in Sthal to progress the Ruddle quest, which you can then finish when you return to Central Resulia.
When you’re ready, travel to Central Resulia. As you walk into the capital, the city folk all seem perturbed by something.
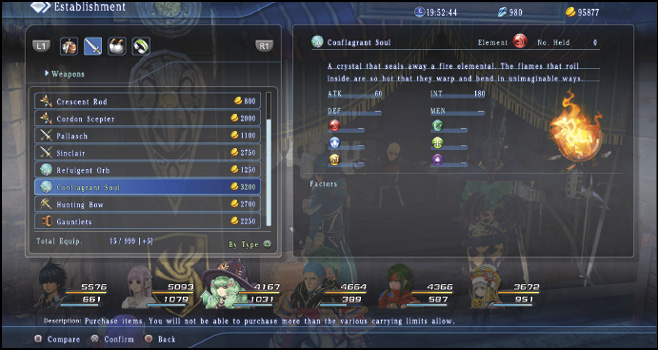
Before you visit Castle Bariff, it’s a good idea to upgrade some of your equipment here for the upcoming battle. Tall Tails Armaments carries better weapons, armor, and accessories now, so stop in and buy whatever you need.
You can also complete the Find Ruddle! quest if you’ve been keeping up with it.
Shops—Central Resulia (Update)
 Tall Tails Armaments
| Item | Cost | Type |
|---|---|---|
| Acuity Crest | 3000 | Accessory |
| Arcane Amulet | 25000 | Accessory |
| Arcane Bracelet | 5000 | Accessory |
| Attack Crest | 3000 | Accessory |
| Energy Amulet | 25000 | Accessory |
| Energy Bracelet | 5000 | Accessory |
| Fortitude Crest | 3000 | Accessory |
| Mind Crest | 3000 | Accessory |
| Chainmail | 700 | Armor |
| Cuirass | 850 | Armor |
| Plate Armor | 2150 | Armor |
| Traveler’s Cloak | 750 | Armor |
| Bastard Sword | 2500 | Weapon |
| Conflagrant Soul | 3200 | Weapon |
| Cordon Scepter | 2000 | Weapon |
| Crescent Rod | 800 | Weapon |
| Falchion | 1000 | Weapon |
| Gauntlets | 2250 | Weapon |
| Hunting Bow | 2700 | Weapon |
| Pallasch | 1100 | Weapon |
| Refulgent Orb | 1250 | Weapon |
| Sinclair | 2750 | Weapon |
Now, find out what’s disturbing the city by making your way to the castle steps.
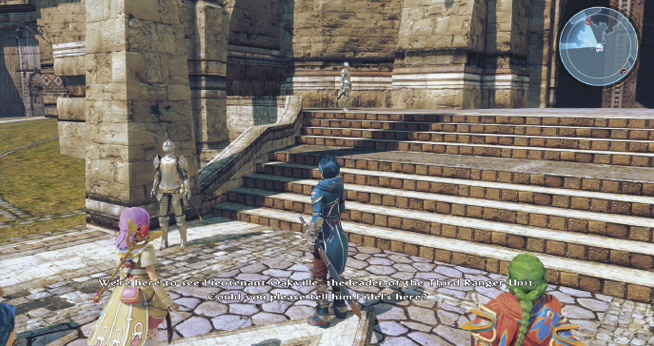
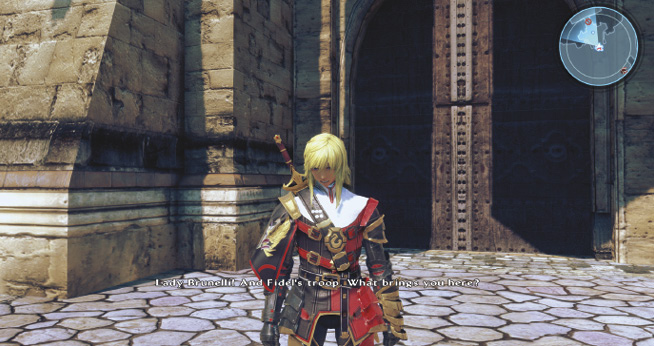
During the cutscene here, Victor greets the party and gives you the unfortunate news of Sortevue’s demise.
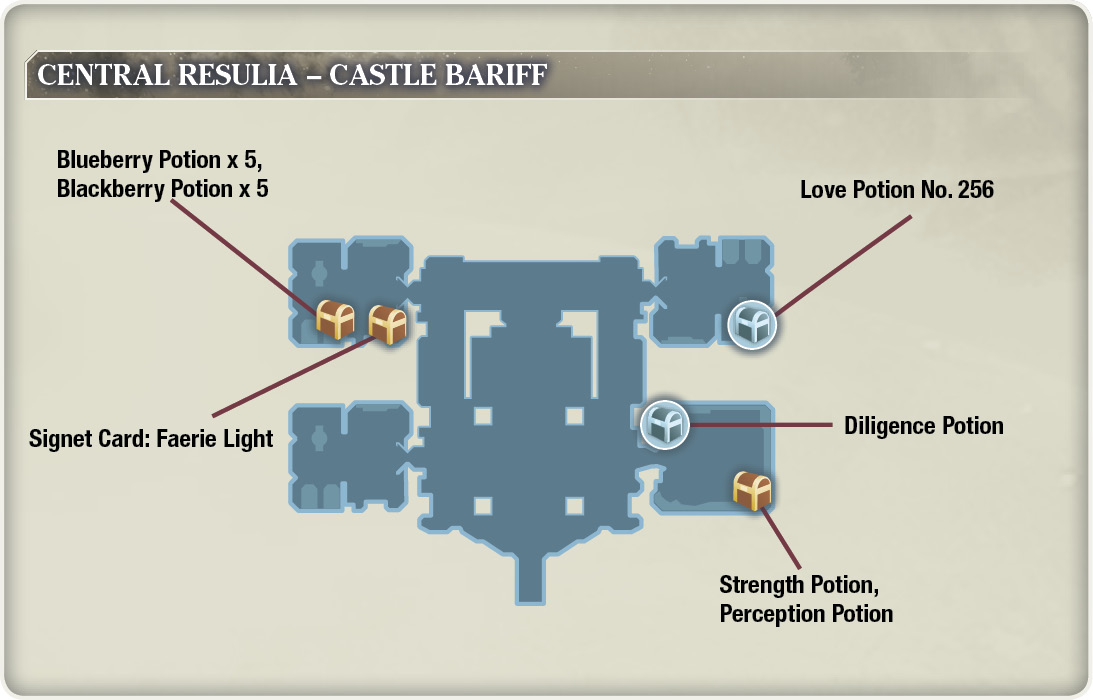
Afterward, you’re finally welcome into Castle Bariff. Follow Victor upstairs into a room on the left, where he insists that you take some provisions. Open the chests to retrieve Blueberry Potion x 5, Blackberry Potion x 5, and Signet Card: Faerie Light.
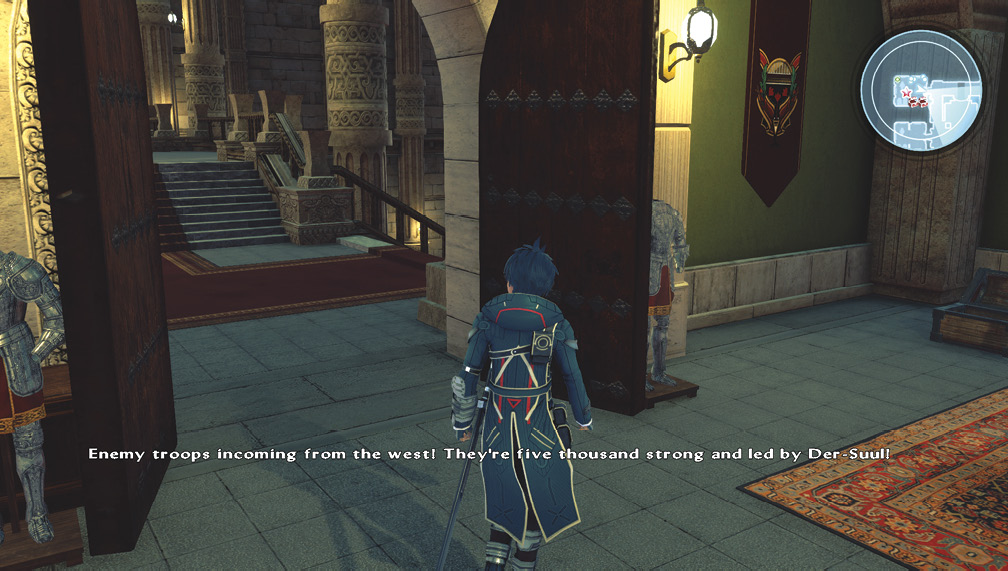
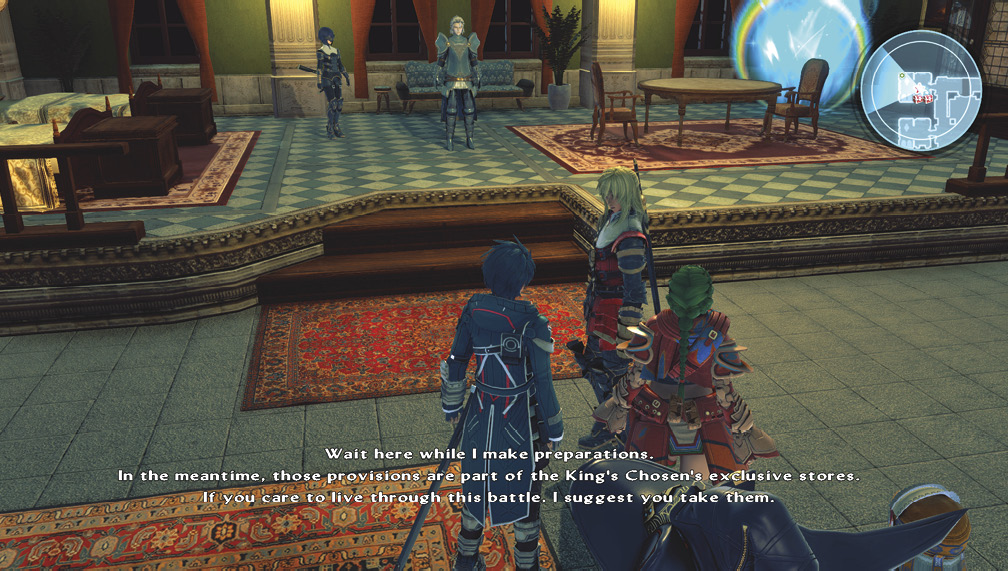
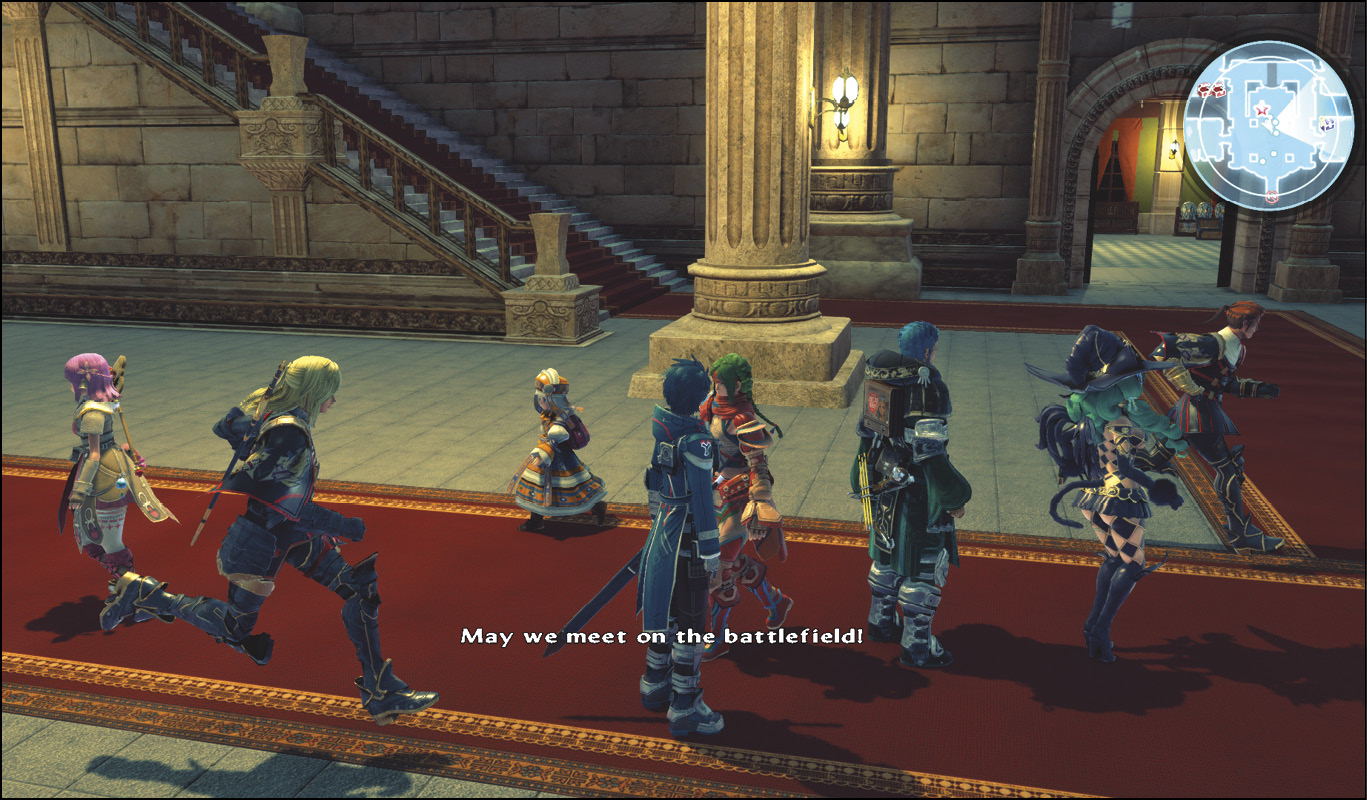
As you talk to Victor and your other companions about the situation, a horde of enemies attacks! Go downstairs into the southeast room to pick up some more items, including a Strength Potion and Perception Potion. You can also restock on consumables here if you talk to the nearby Supply Corps Soldier who mans the Call of the Desert Traders shop. When you’re ready, gather with Victor and exit the castle. Prepare to defend the city!
Trei’kuran Signeturge

Trei’kuran Arquebusier

Here you’re confronted with several groups of Trei’kuran Signeturges. However, when defeated, endless waves continuously replace them, so ignore them and make your way to the southwest section of the city.Get ready for a difficult battle with a group of Trei’kuran gunmen in the middle of the street. It seems they have obtained extraordinary weaponry similar to those equipped by the Eitalons. Take caution, and make sure to heal up any allies taking gunfire.
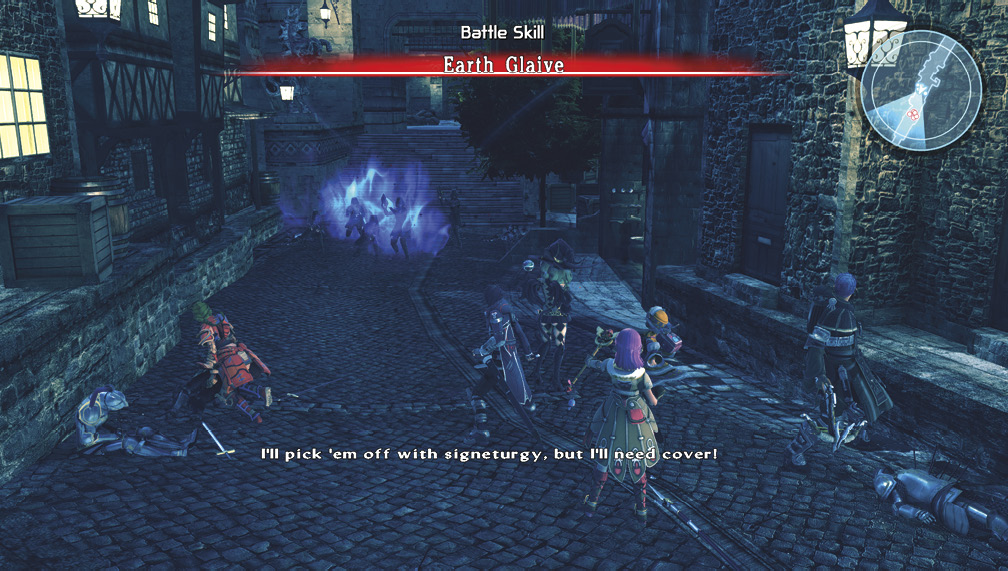
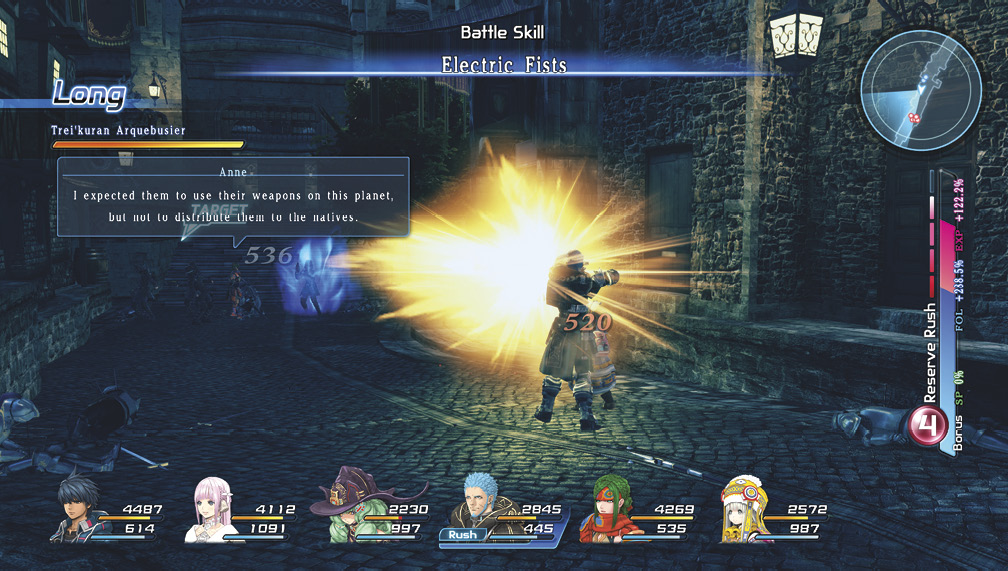
After a seemingly endless amount of Trei’kuran forces is defeated, you’ll be introduced to Pavine, a ruthless soldier whose mission is to take Relia.
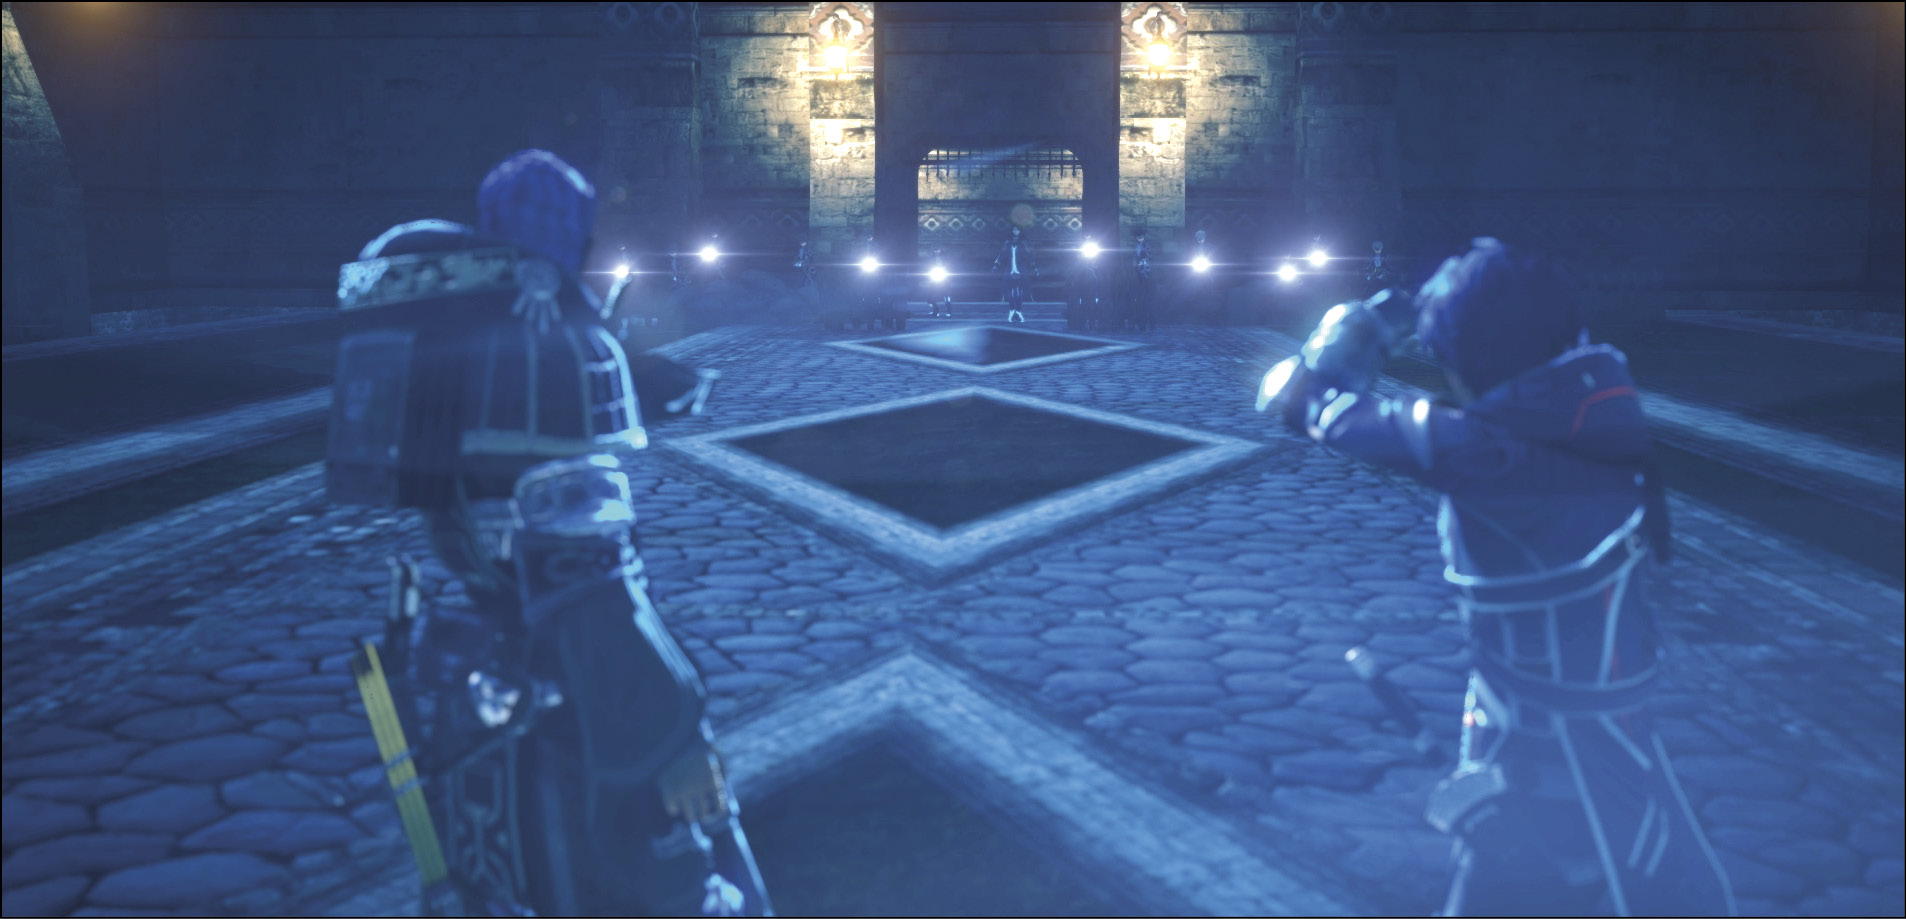
The plot thickens when Fidel realizes that things aren’t what they seem. Emmerson and Anne reveal some information, including the fact that external forces are interfering with the war between Resulia and Trei’kur.
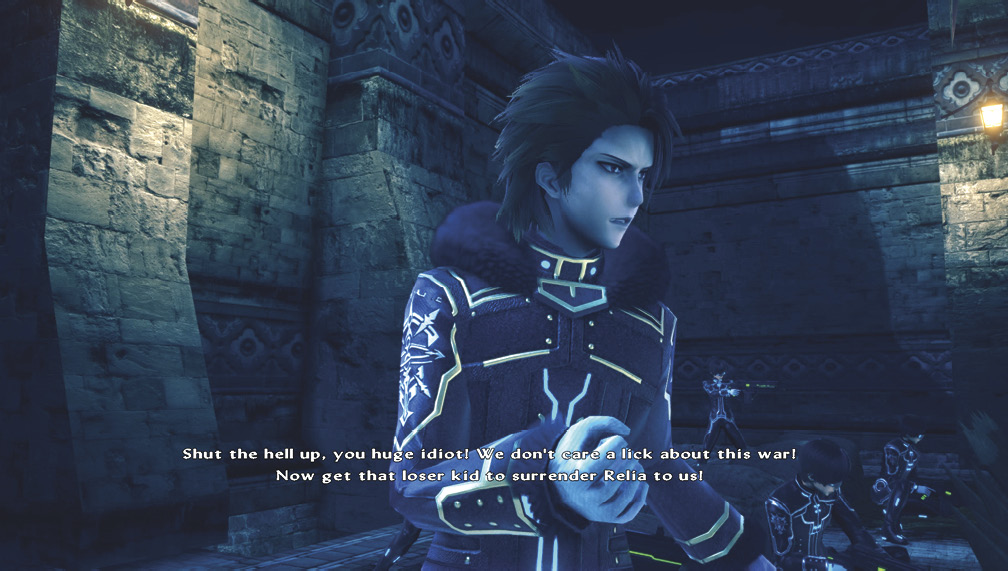
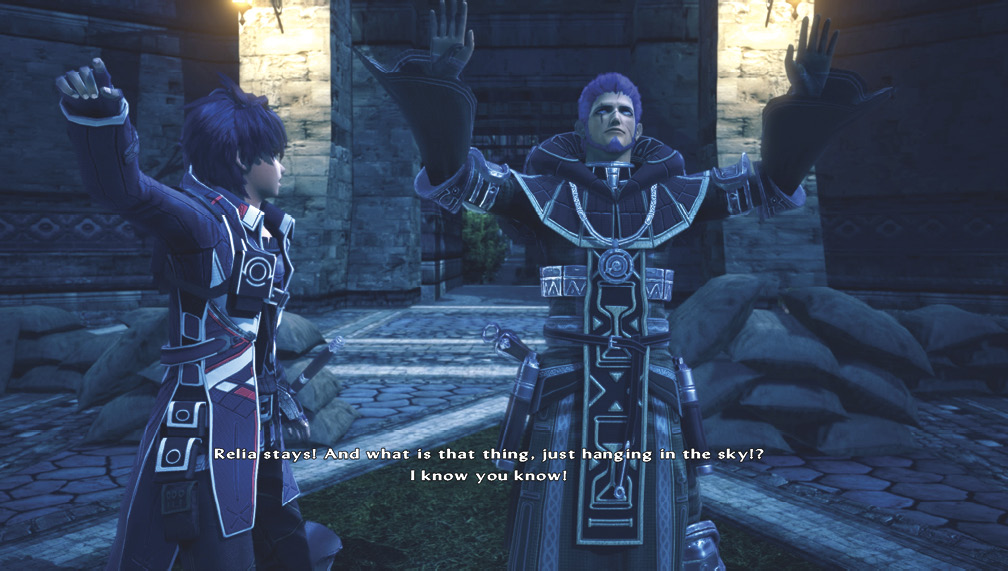
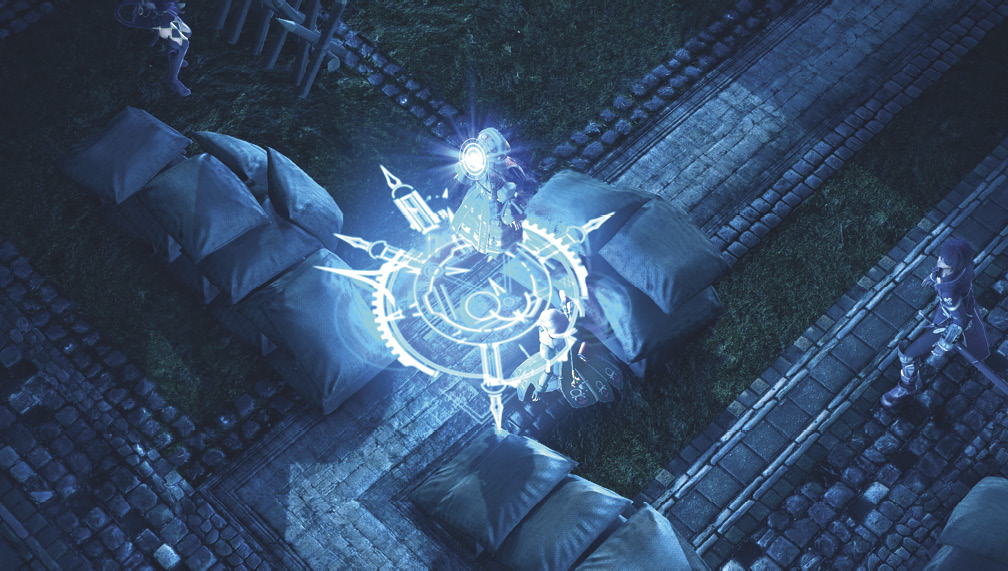
As Pavine orders his men to take Relia, she activates an incredible signeturgical technique, teleporting Fidel and his company away from danger—but to where?
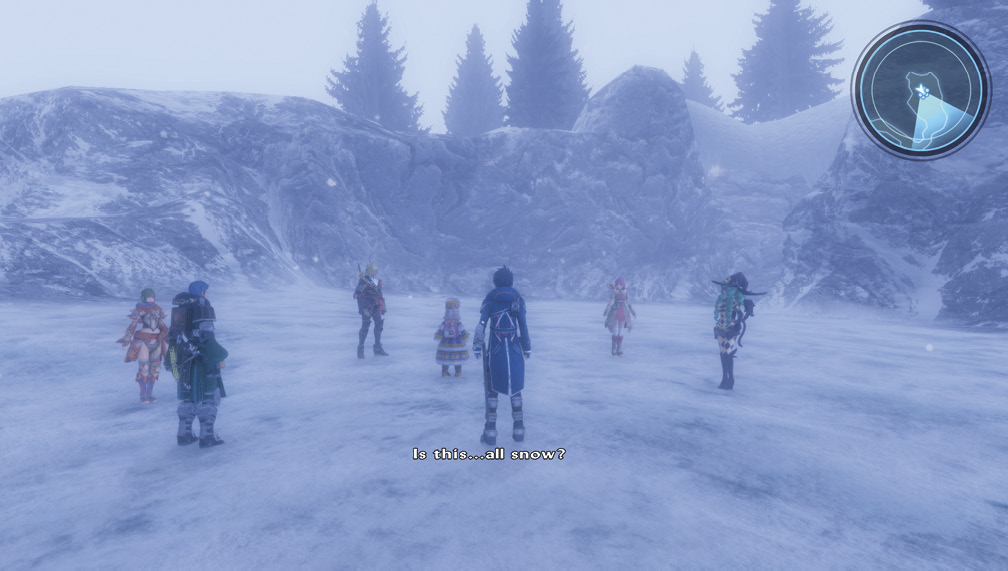
The party ends up far north of Resulia, in a snowy tundra called the Northern Territory of Sohma. Head south and follow a path until you reach a save and restoration point. As the crew gathers their thoughts under the natural mountainside shelter, talk to your companions for extra dialogue. When you’re ready, exit the cavern to the northwest. You can turn around and activate the save point now that it’s blue.