Star Ocean: Integrity and Faithlessness Guide Part III: Main Story Walkthrough Chapter 5
Mission: Traverse the Tundra
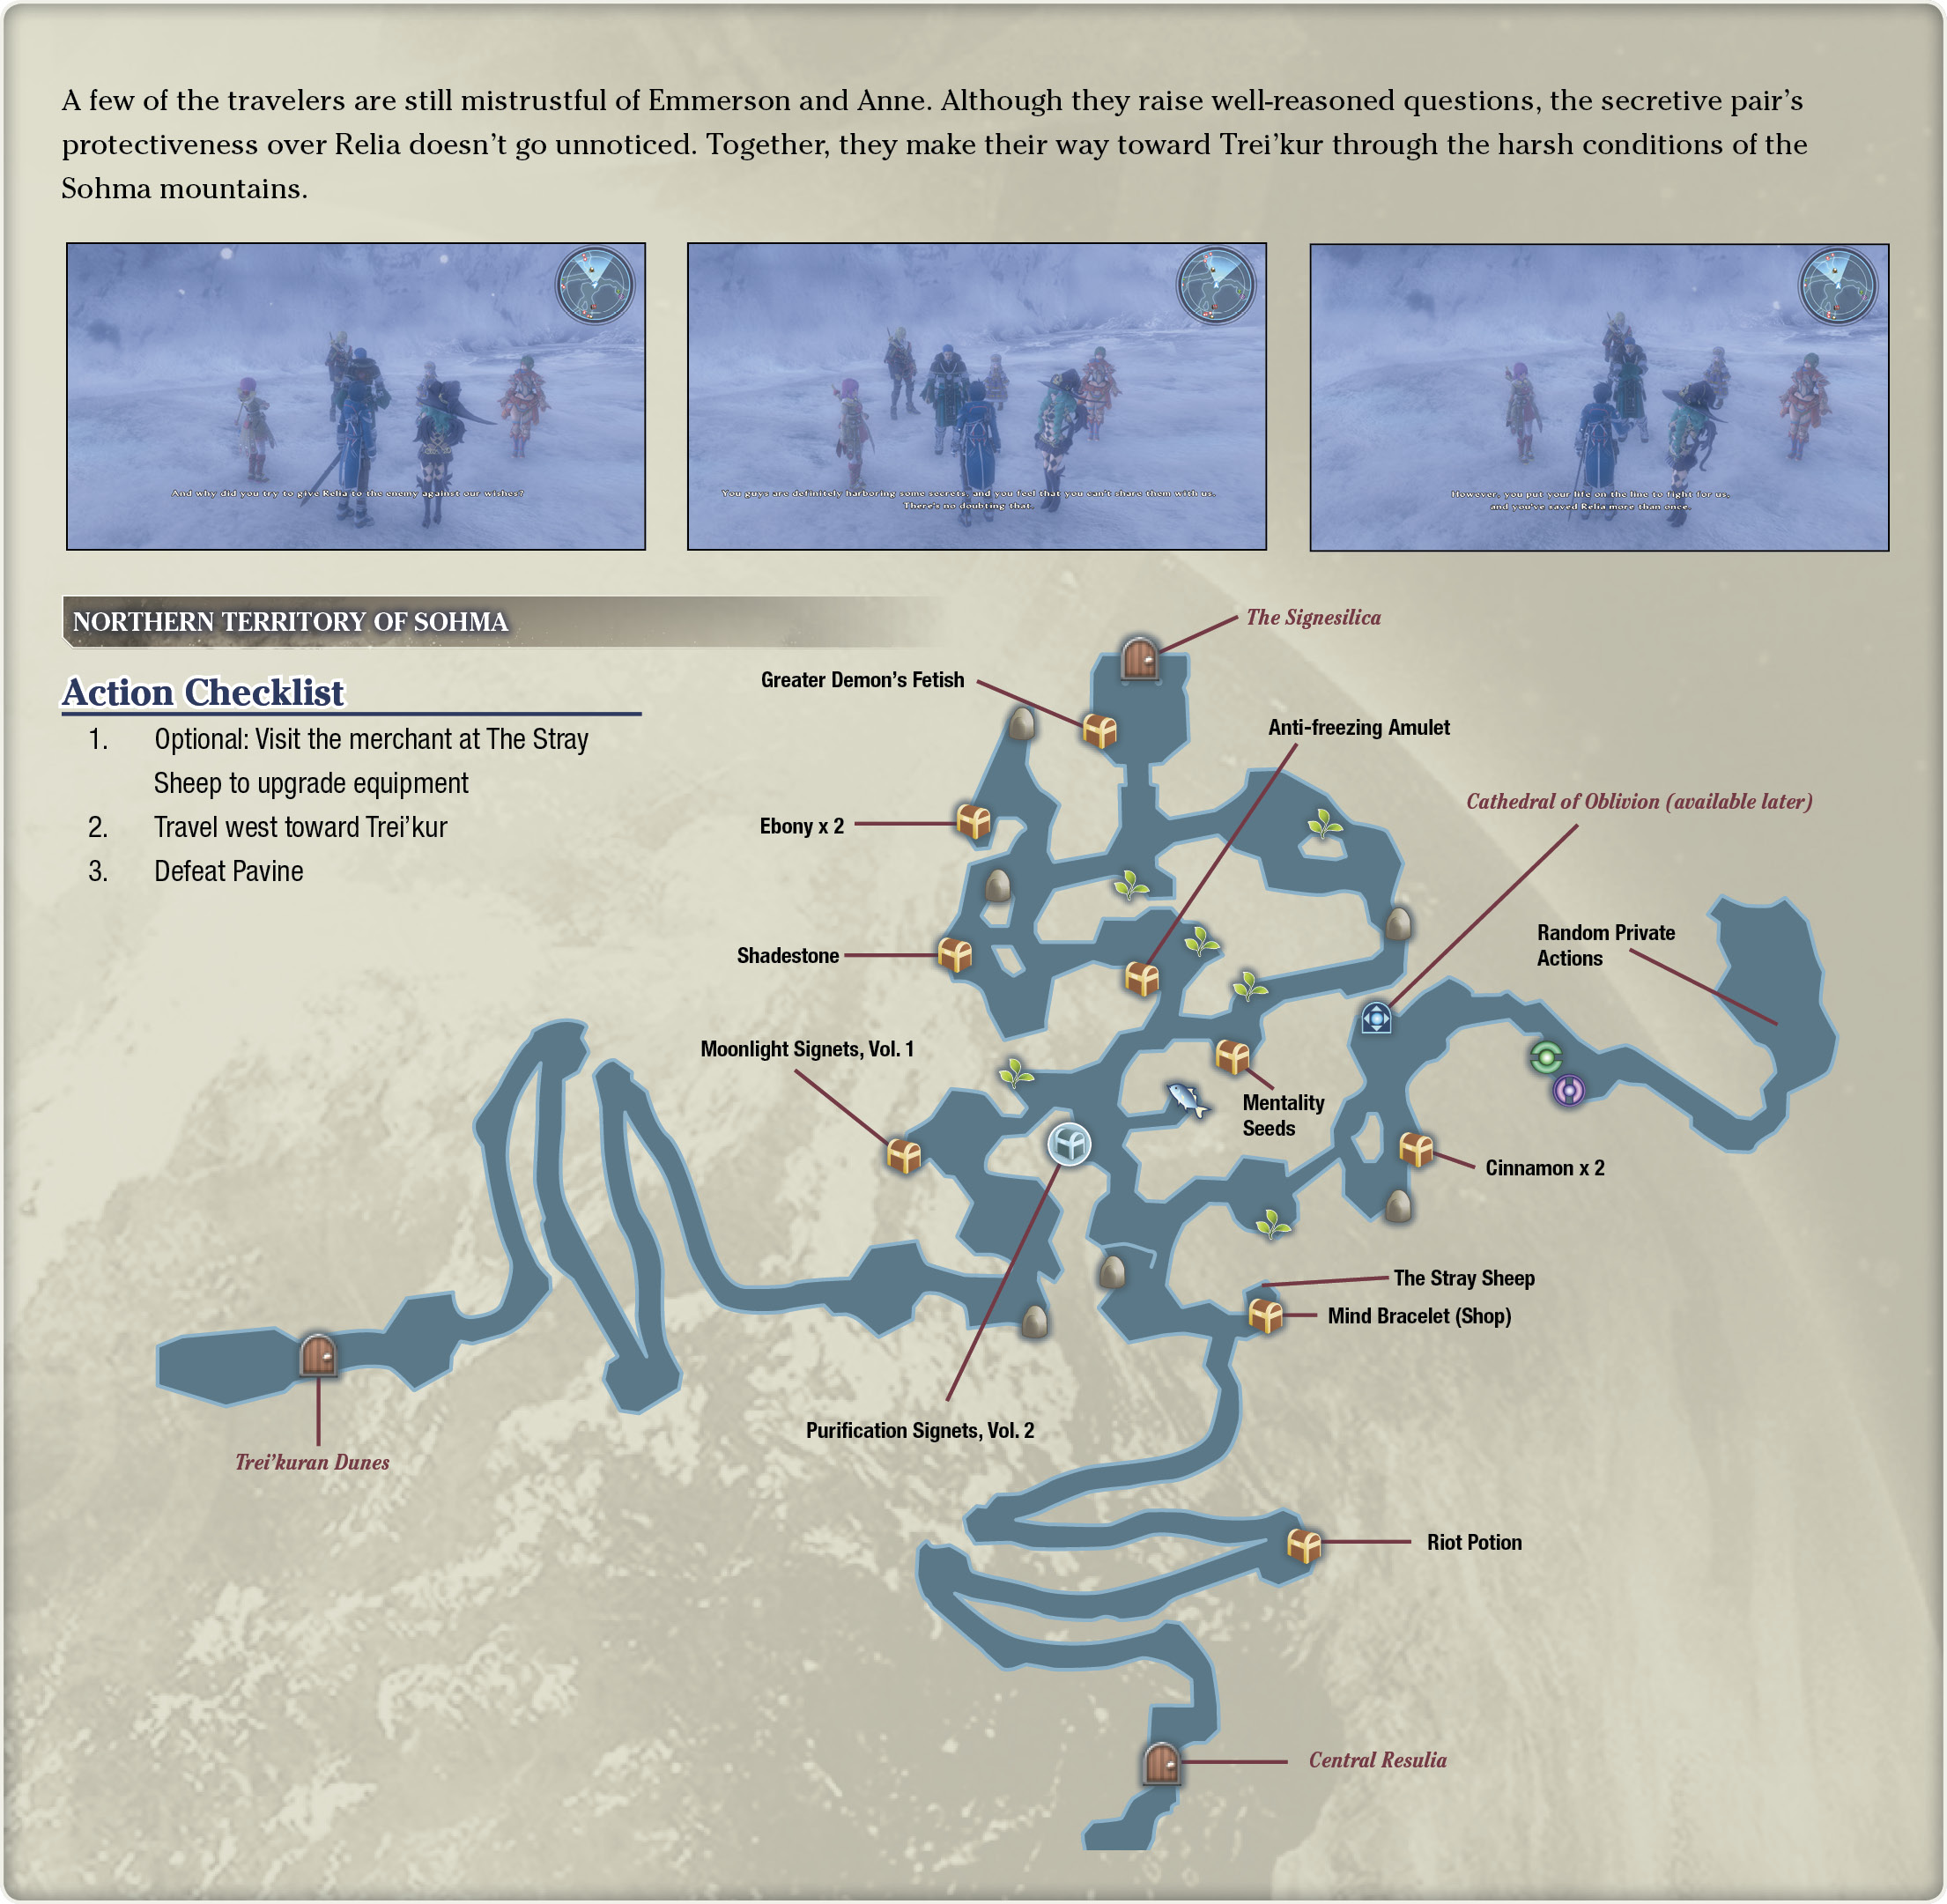
Mission Walkthrough
Your main goal is to hike your way across the snowy mountains and into Trei’kur. Prepare yourself for a final confrontation with one of your pursuers.
Snow Mermaid

Saber-toothed Tiger

Shops
The Stray Sheep
| Item | Cost | Type |
|---|---|---|
| Acuity Crest | 3000 | Accessory |
| Arcane Amulet | 25000 | Accessory |
| Arcane Bracelet | 5000 | Accessory |
| Attack Crest | 3000 | Accessory |
| Energy Amulet | 25000 | Accessory |
| Energy Bracelet | 5000 | Accessory |
| Fortitude Crest | 3000 | Accessory |
| Mind Crest | 3000 | Accessory |
| Banded Mail | 1400 | Armor |
| Crest Mail | 1050 | Armor |
| Crest Robe | 1150 | Armor |
| Plate Armor | 2150 | Armor |
| Basil | 90 | Usable |
| Blackberries | 80 | Usable |
| Blueberries | 40 | Usable |
| Chamomile | 180 | Usable |
| Cinnamon | 300 | Usable |
| Fresh Sage | 160 | Usable |
| Jasmine | 90 | Usable |
| Lavender | 300 | Usable |
| Mint | 90 | Usable |
| Bastard Sword | 2500 | Weapon |
| Conflagrant Soul | 3200 | Weapon |
| Cordon Scepter | 2000 | Weapon |
| Crescent Rod | 800 | Weapon |
| Falchion | 1000 | Weapon |
| Gauntlets | 2250 | Weapon |
| Hunting Bow | 2700 | Weapon |
| Pallasch | 1100 | Weapon |
| Refulgent Orb | 1250 | Weapon |
| Sinclair | 2750 | Weapon |
Navigate through the Arctic
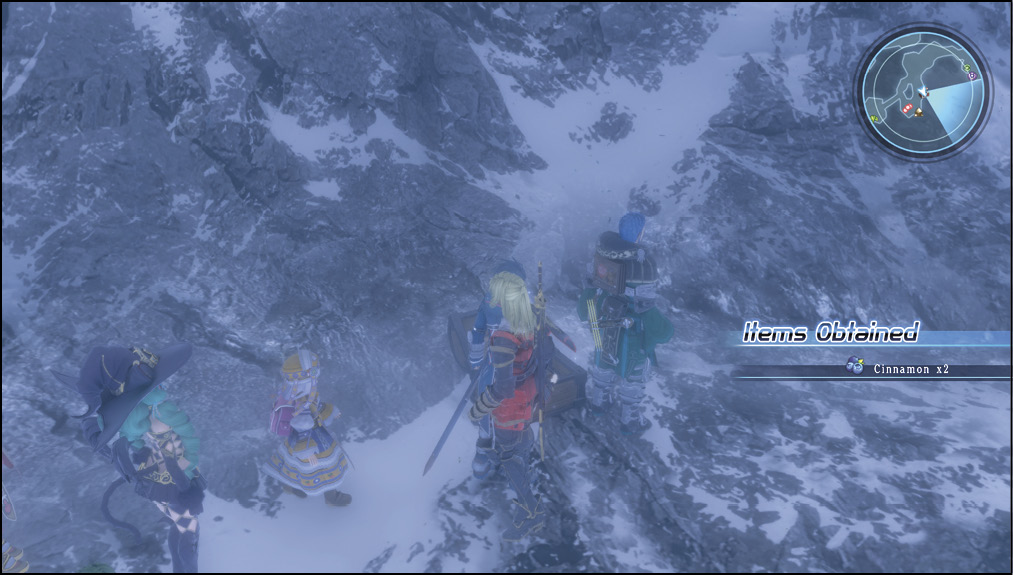
From the save point, make your way west and then south. Before you encounter a group of Snow Mermaids, there’s a chest containing Cinnamon x 2 in it. Open it, and then continue west, fighting any enemies you find. The monsters here are primarily ice-based, so naturally, they’re weak to fire-based attacks.
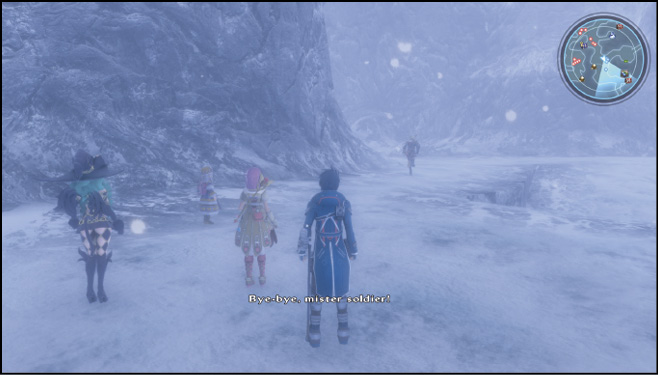
Upon reaching the center of the area, Victor leaves the party to check on the results of the attack on Central Resulia, trusting Emmerson to keep his friends safe.
There’s an unfortunate merchant located in an inlet just southeast from the center of the map (which is fortunate for you). As perilous as his situation seems, he has valuable stock, with up-to—date upgrades if you happened to miss the shopping opportunity in Central Resulia. Alternatively, you can wait until the next mission for even better upgrades if you’d like to save your hard-earned Fol. There’s also a chest holding a Mind Bracelet next to the merchant.
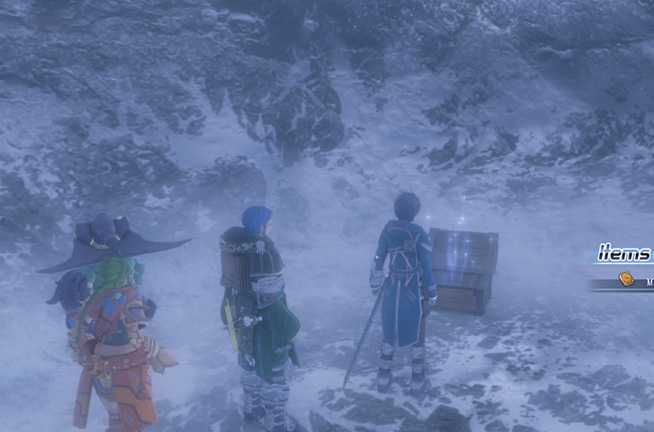
As nice as it would be to explore the area, you’re blocked off from the north and south paths, forced to trek west toward Trei’kur.
Enter and follow the western trail northwest of the center of the map. Don’t forget to grab the Moonlight Signets, Vol. 1 book from the chest before heading south along the path.
Pummel Pavine
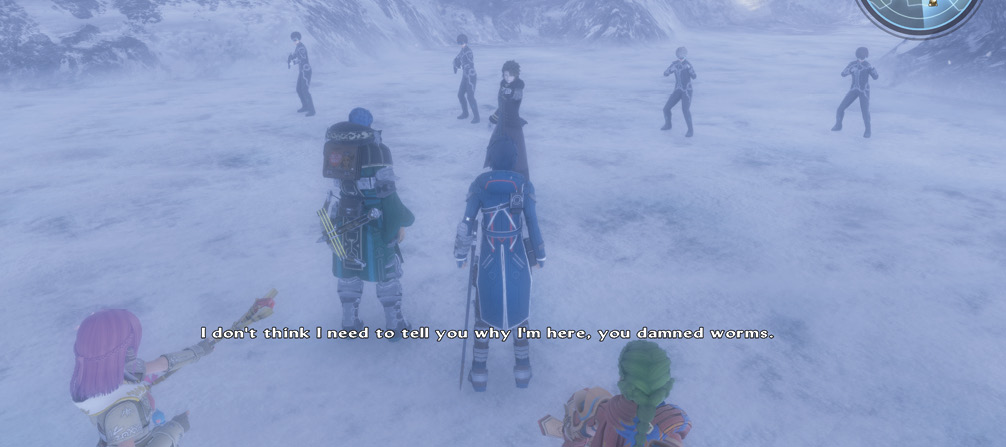
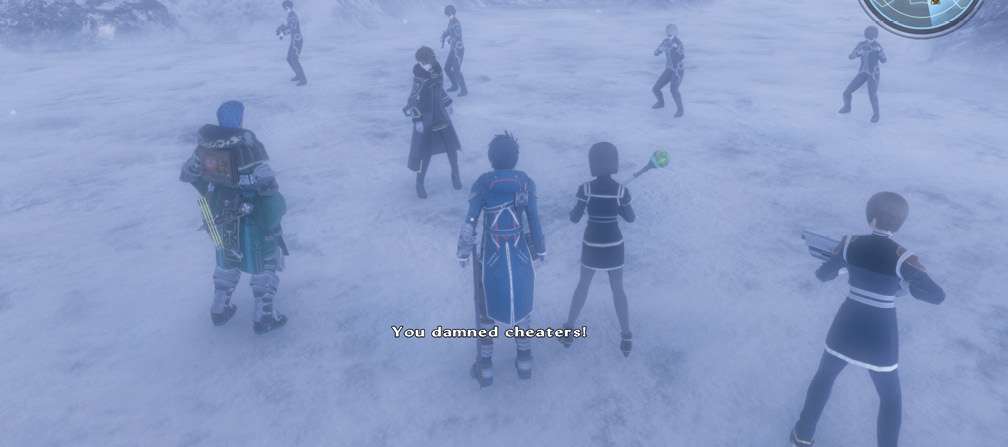
Along the trail, Pavine, who’s been patiently waiting for his second chance at snatching Relia, confronts the party. He calls for backup from his mothership, but unfortunately for him, he won’t be receiving any. Friendly troops (presumably with Emmerson) beam down to help fight against Pavine and his henchmen, and a battle ensues. Get ready to defend Relia from Pavine!
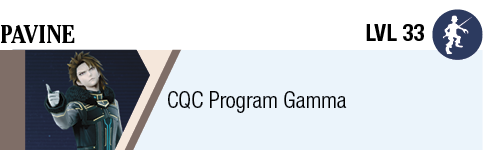
Pavine


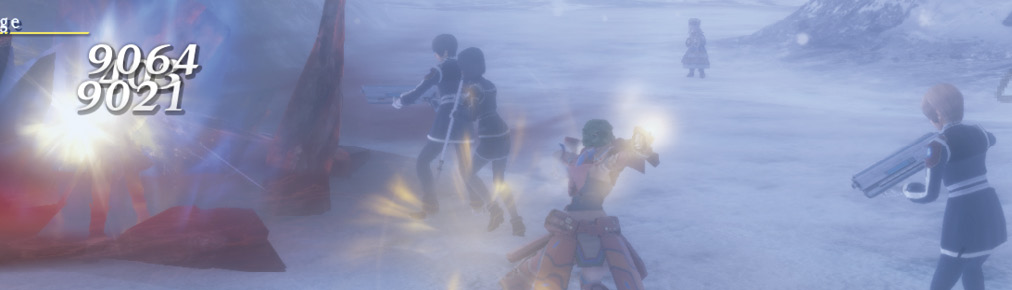
The ruthless Kronos soldier wields an exceptionally powerful firearm. Many of his attacks deal damage over a large area, so be careful of how your party is positioned. Try to keep your allies separated and out of the way of his gunfire while dealing with his underlings. An effective strategy against Pavine is to take control of Anne to unleash repeated Hammer of Might attacks on him. This attack has a chance of stunning an enemy, particularly humanoids.
Pavine
Kronos Soldier

Kronos Ranger

Note that Miki won’t be controllable for this fight. Additionally, she’s a primary target for many of the enemies, so peel any aggressors off of her so she can heal up hurt allies uninterrupted. Don’t spare your usable items if you need to heal, either; this can be a tough battle because of Pavine’s damage output. Once you’ve dealt with the weaker soldiers, you can unleash a Reserve Rush combo to take Pavine’s health down quickly. When his health drops to 25%, a cutscene triggers. In a fit of rage, Pavine callously unleashes a barrage of bullets, leaving Miki in critical condition.
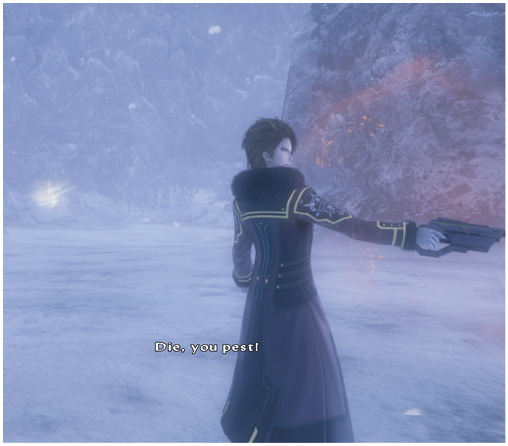
Since you’ll need to finish off Pavine without Miki’s healing spells, it’s imperative that you heal your party with Blueberries and Blueberry Potions.
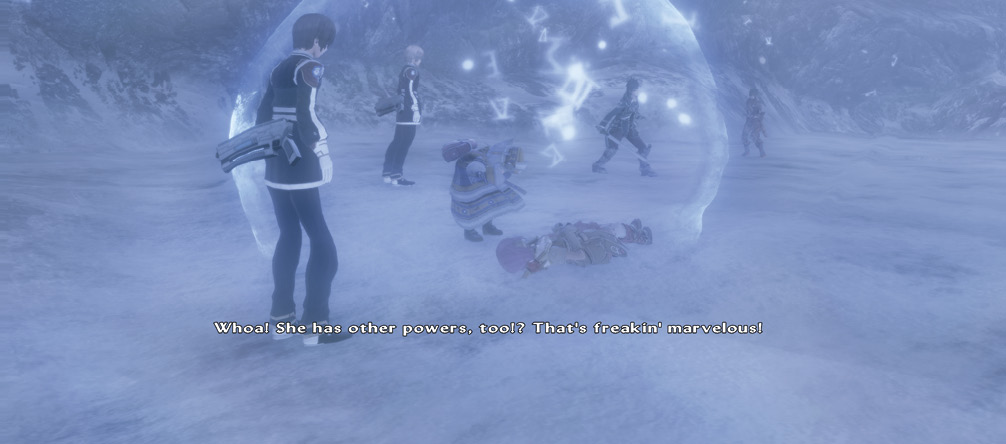
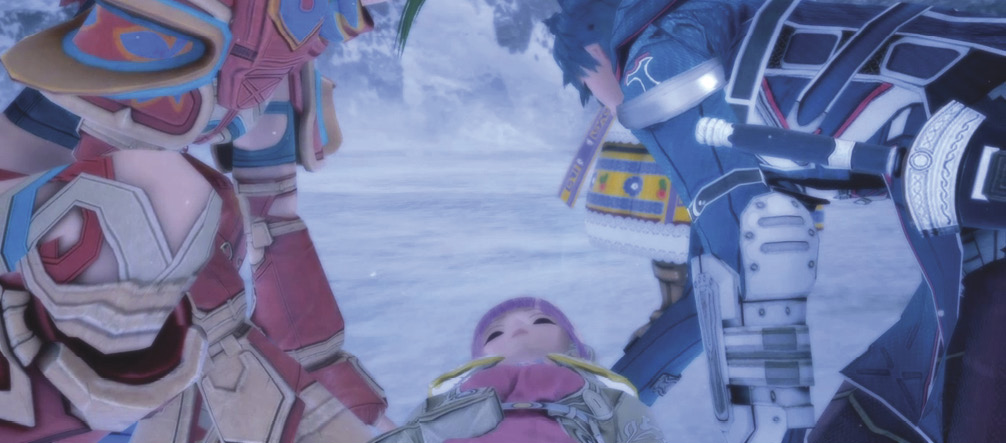
After you avenge Miki, Emmerson calls for a transport from his starship, and the team is beamed up to safety.
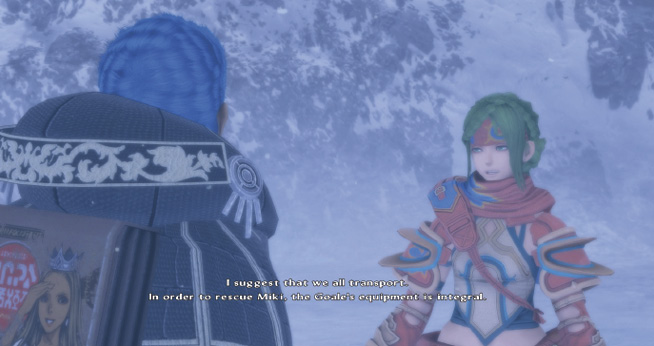
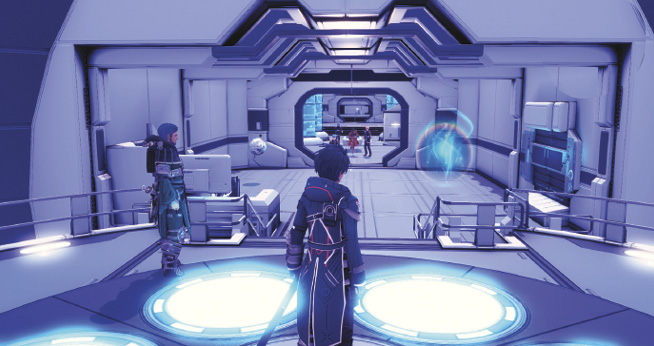
On board the Charles D. Goale’s transport room, there’s a treasure sphere containing a copy of Restorative Signets, Vol. 1 to your immediate left. Pick it up, and have Fiore learn the Healing battle skill. She’ll need it since Miki’s out of commission. Before you can do anything else, you’ll need to escort Miki to the Sick Bay, so head to the north exit of the transport room to the turbo lift.
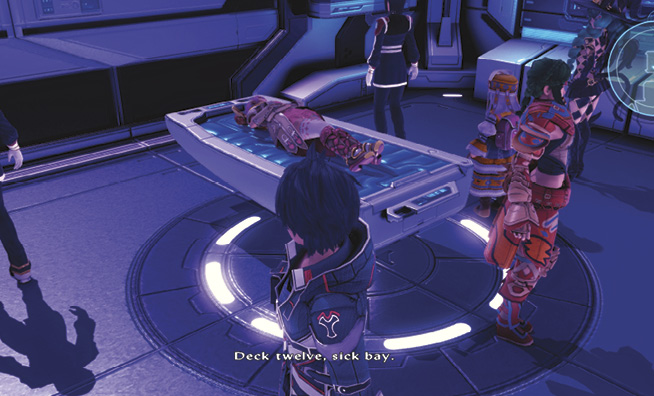
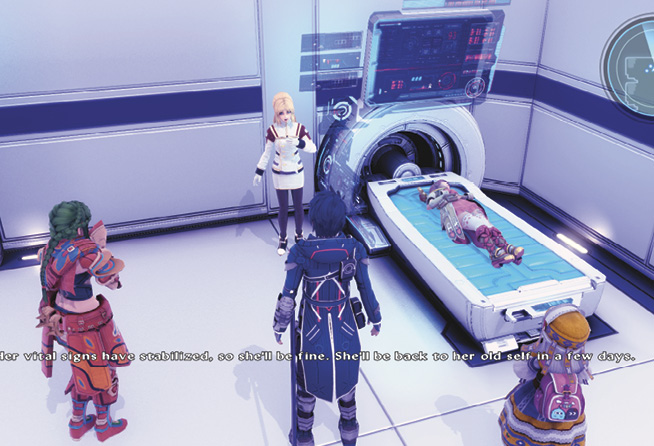
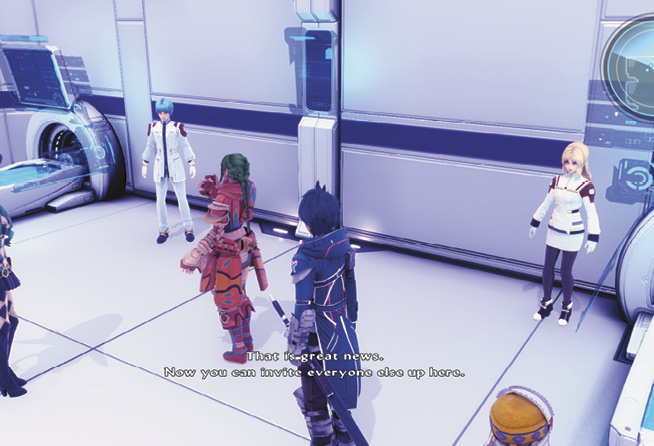
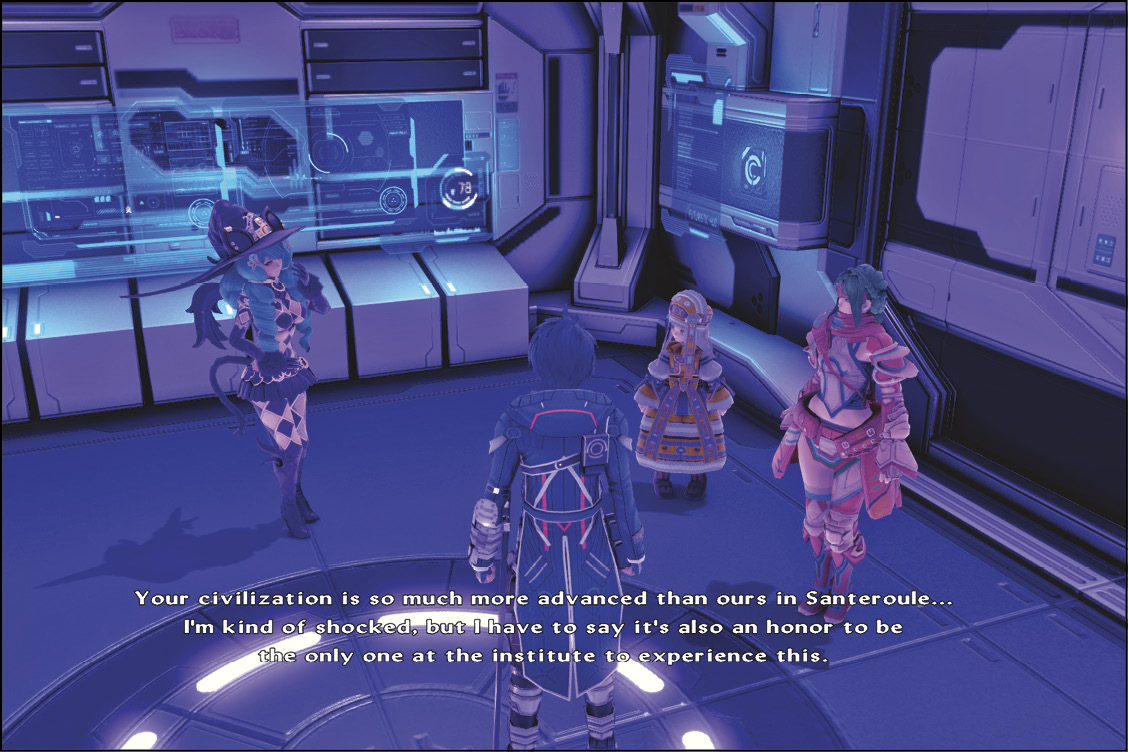
The sick bay doctors are able to stabilize Miki’s condition, revealing to the party that she’ll make a recovery in a few days. With Miki in good care, the party is summoned to the ship’s bridge. Follow Anne to the lift to meet with Emmerson. On the way there, Anne explains that she and Emmerson are from a world far, far away from Faykreed.
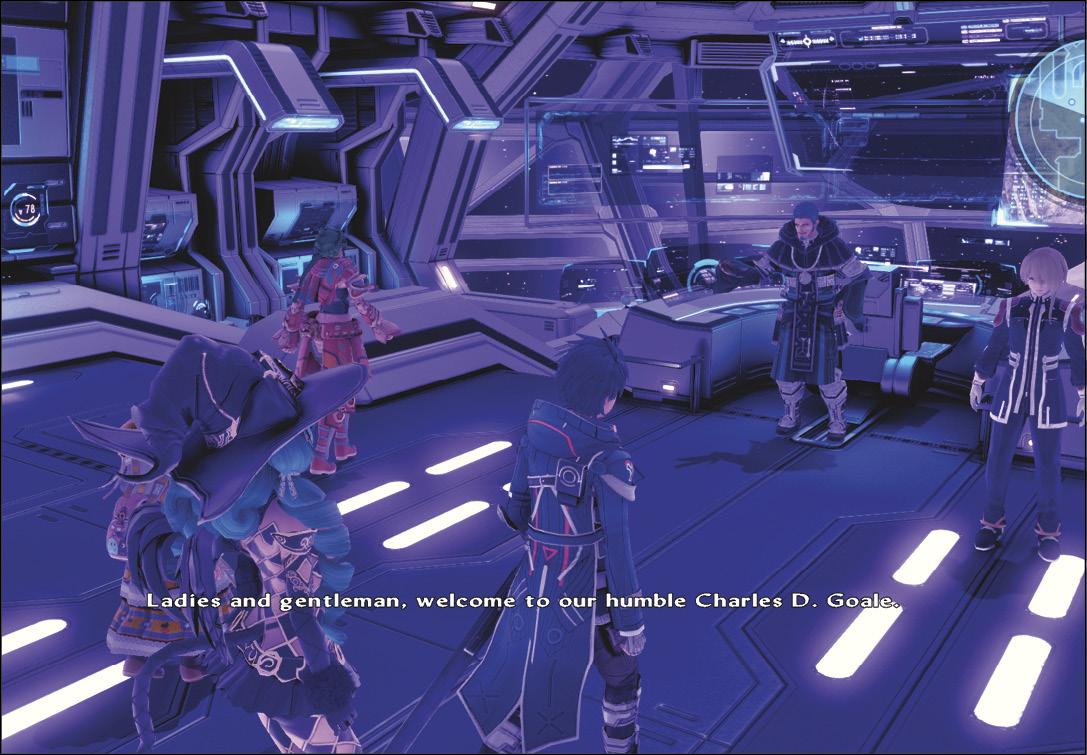
There’s no time to waste, though. Emmerson brings up a map of Trei’kur and surmises that Relia originates from there. Follow him to the transport room, where you’ll be beamed down to the Trei’kuran Dunes.